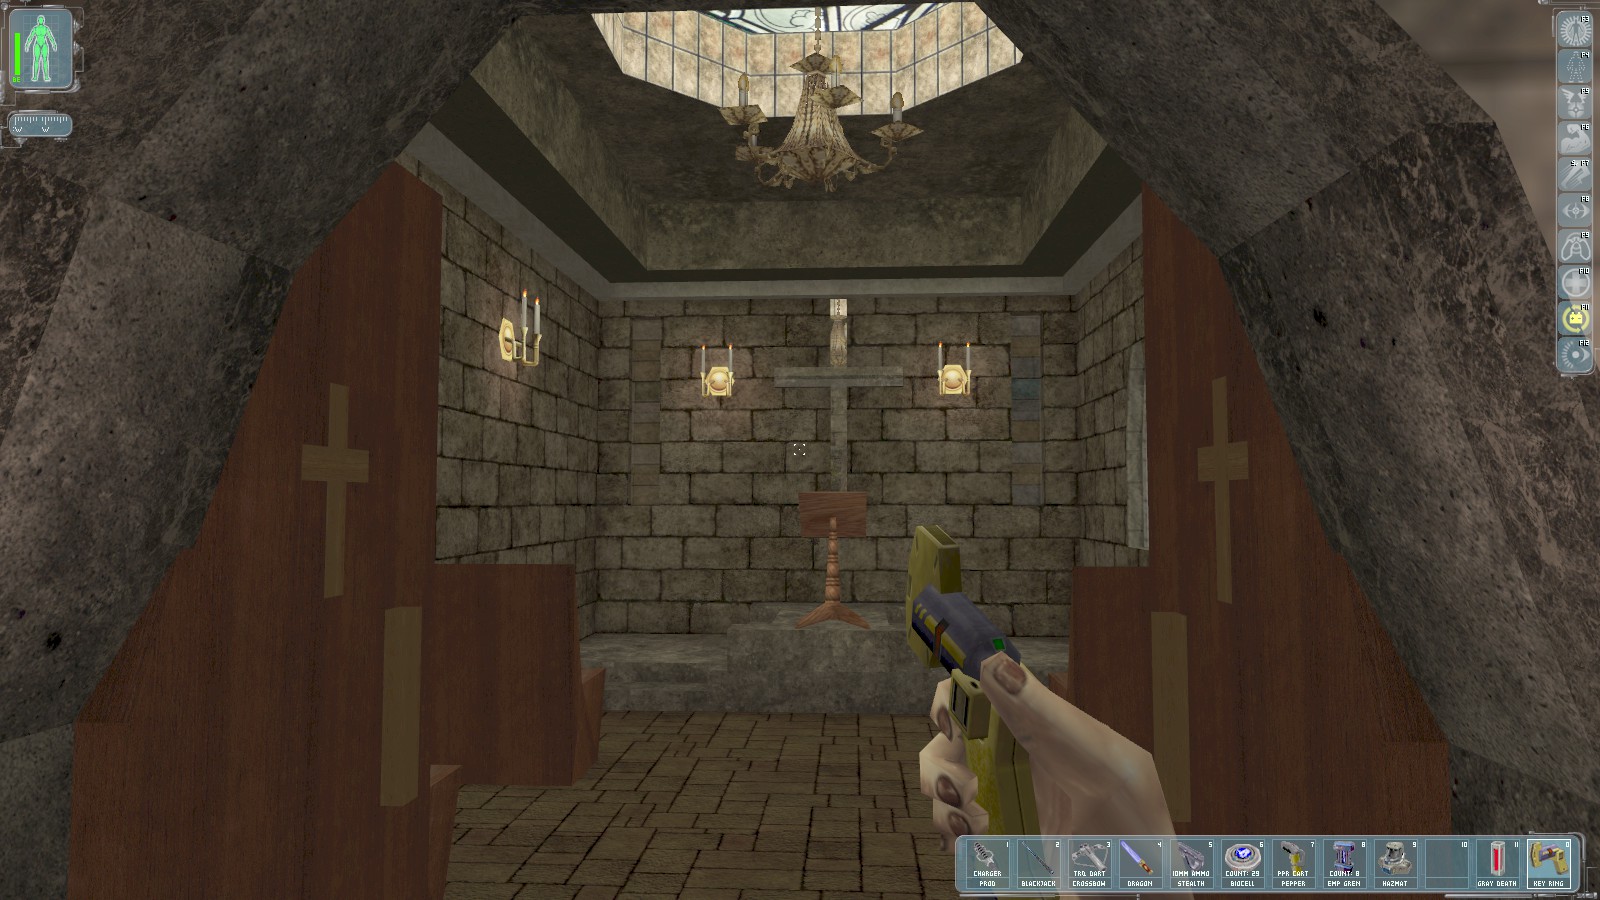
The chapel door opens with your key. Inside is a book on one of the benches, an empty lecturn, and various candelabra, but none of them do anything interesting.
|
|
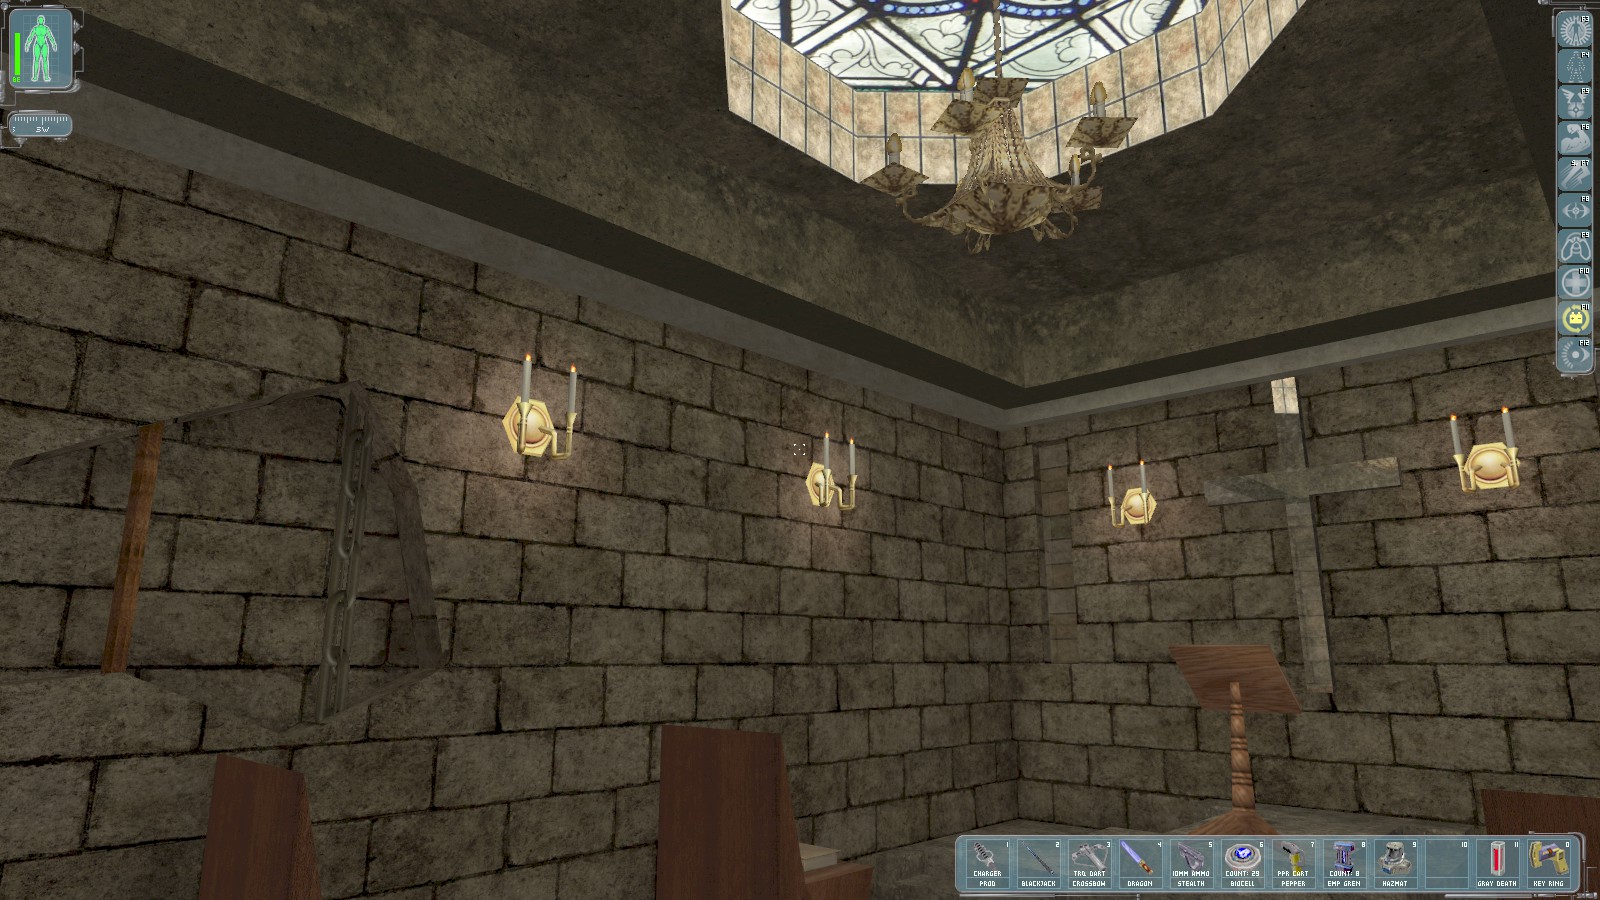
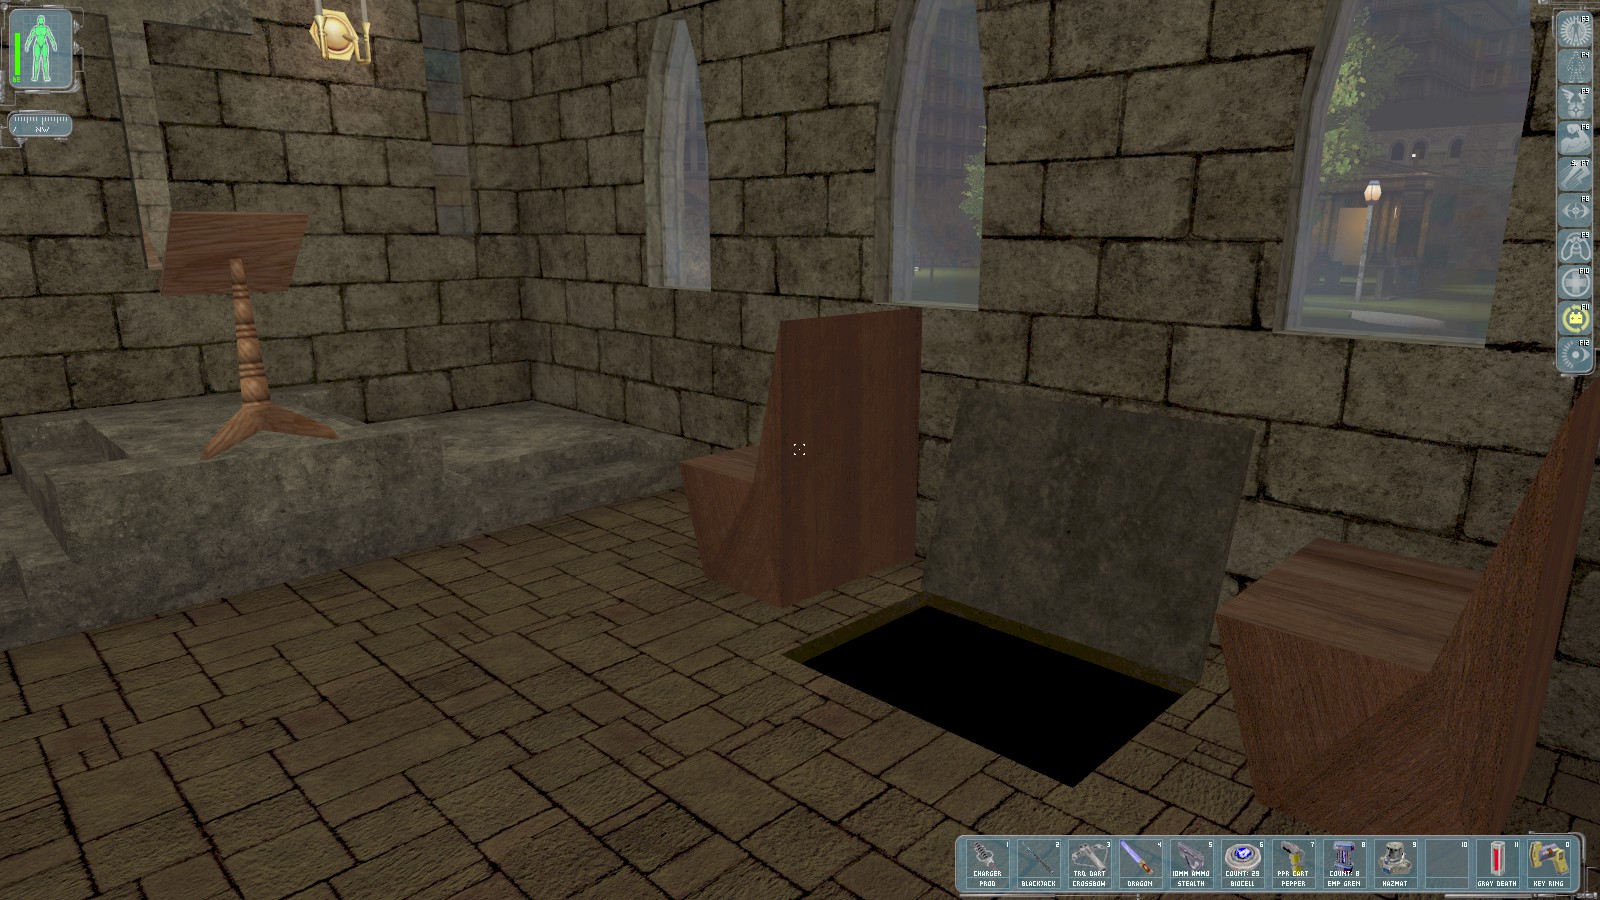
Behind the door is an alcove containing a chain and a wooden pulley. Activate the pulley to open a hidden section of the floor. Drop down for 50 skill points.
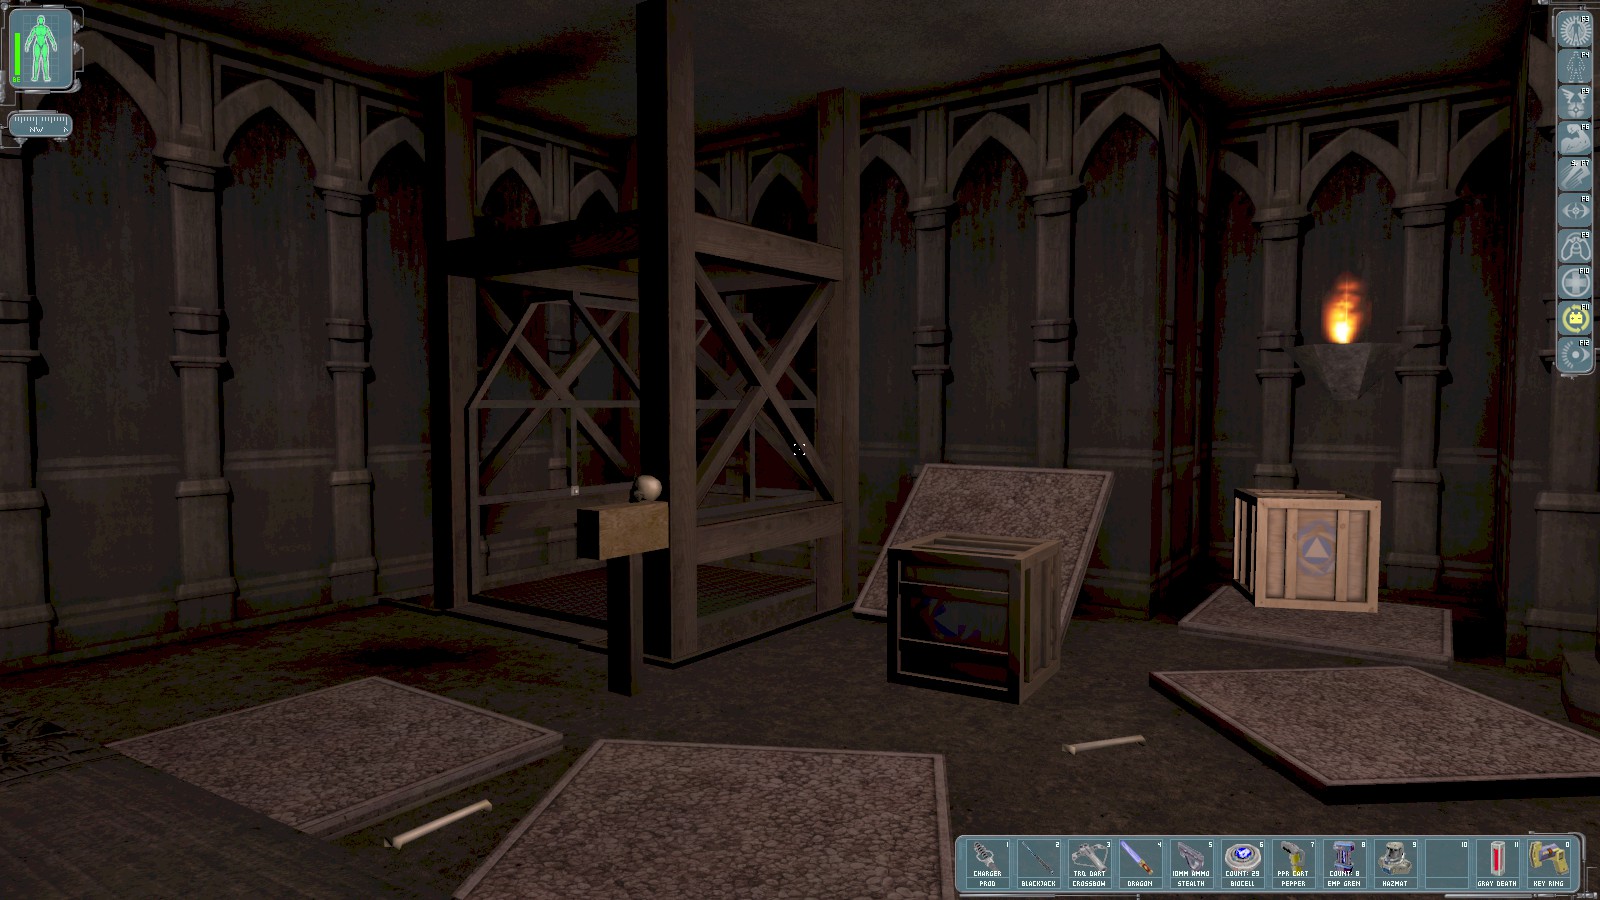
At the bottom collect flares from the crates—they will turn out to be useful here—and then use the elevator.

It’s a very long ride to the bottom. The only way forward is through the door to the South.
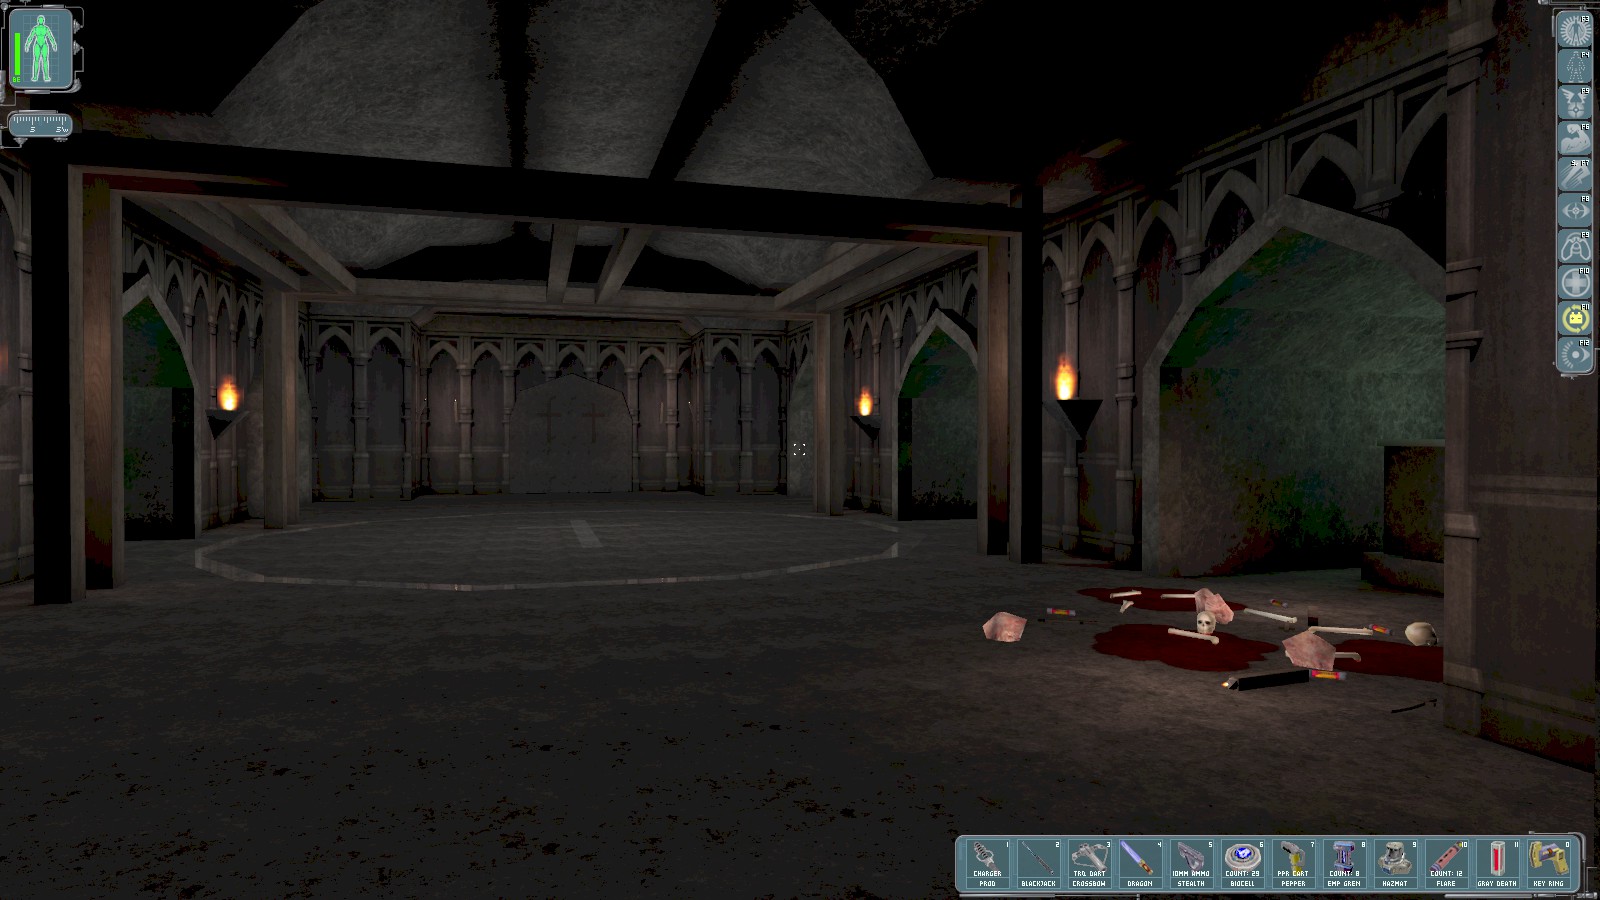
You’ll eventually reach this crypt. As you enter the mirrored ring the door ahead of you opens. Head inside.
|
|
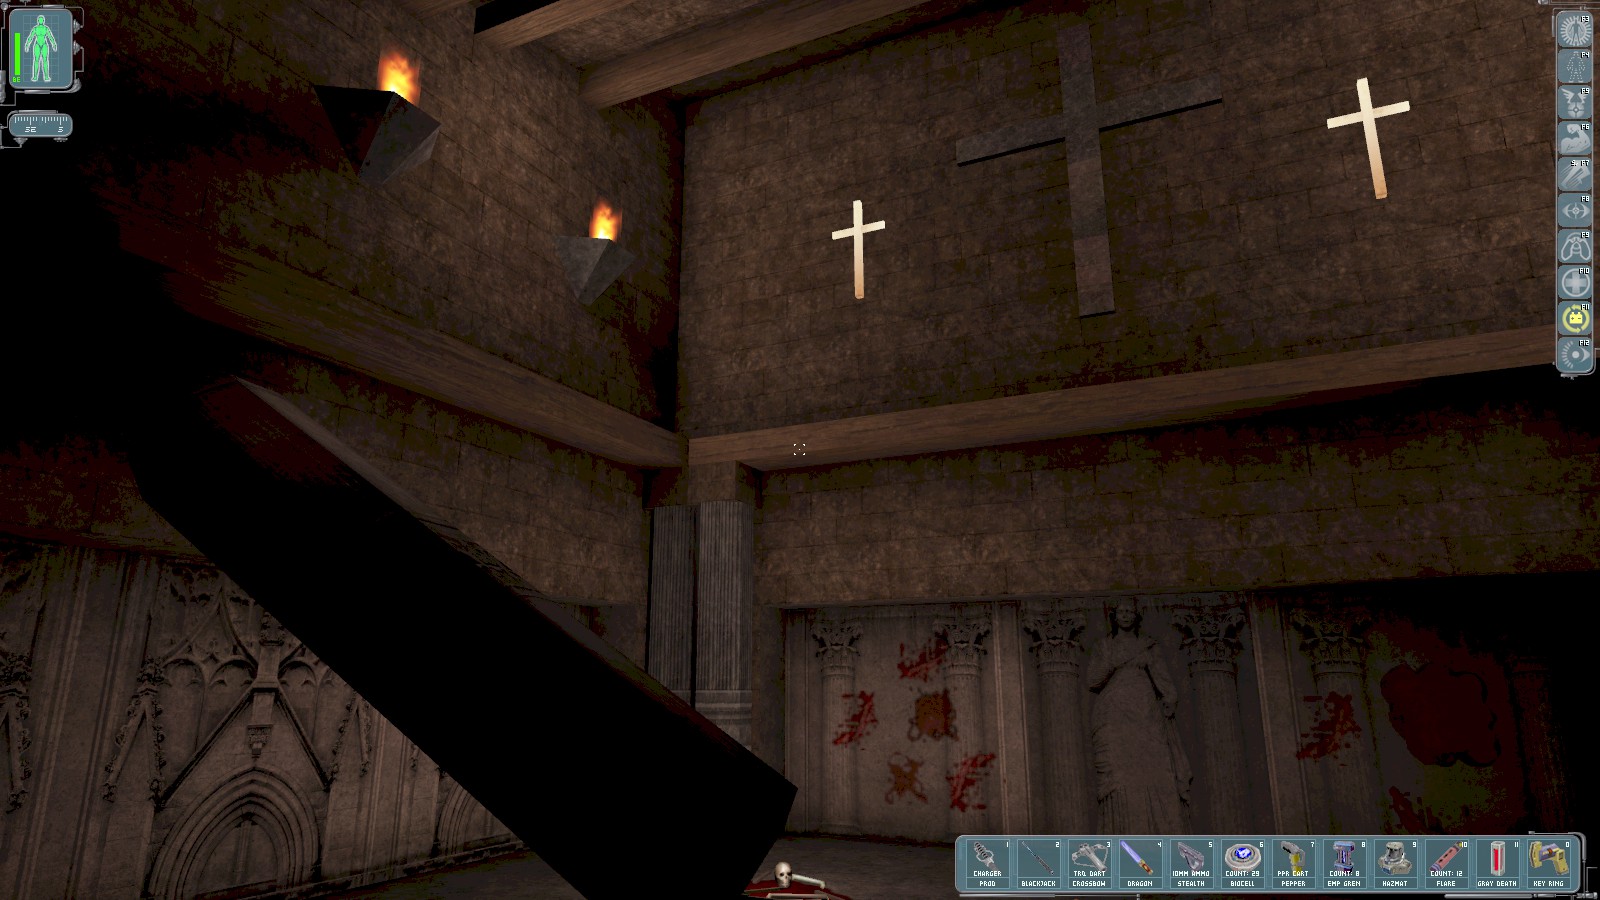

If you climb the fallen pillar and crawl around the ledge to the right you’ll notice that one of the crucifixes can be interacted with. Doing so opens another hidden doorway below.
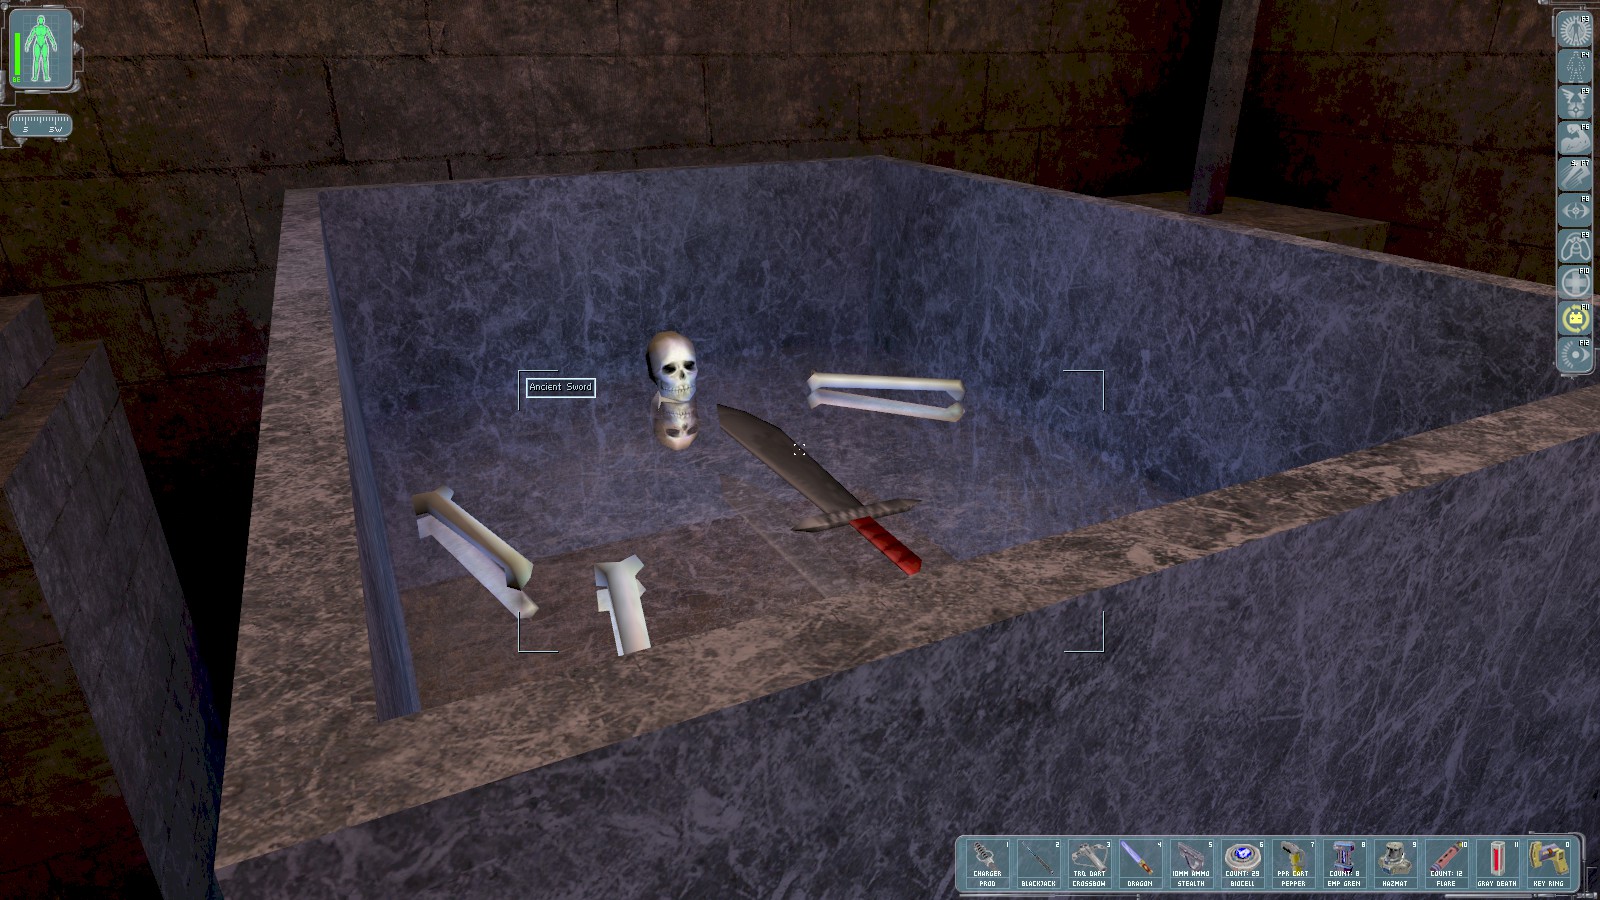
Inside the hidden room is an open casket containing an ancient sword. Lift the sword to provoke ominous disembodied laughter. It has the same basic properties as the Dragon’s Tooth sword, but I decide not to keep it; the laughing put me off.
|
|
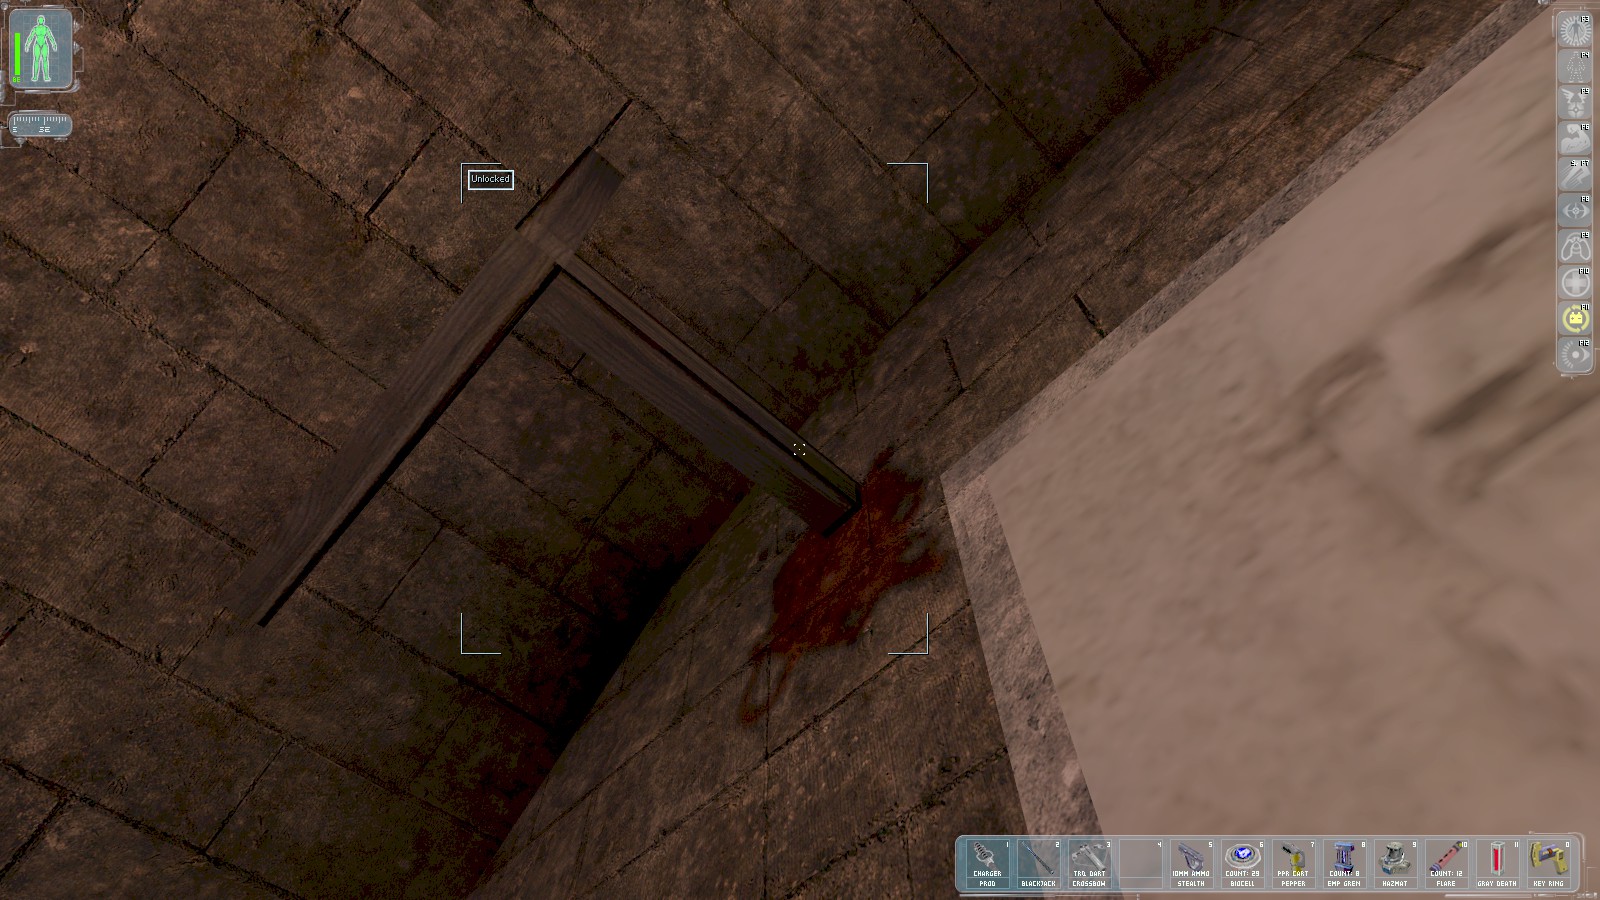

Lifting the sword enabled the wooden strut in the left pane. Activating it reveals another hidden hole in the floor. A pattern emerges…

Activate Speed Enhancement as you drop through to avoid injury, and follow the corridor until you reach this junction. The whole area is a labyrinth of long passages, some of which contain greasels. I’ll save you the trouble: head left (West) here.

Follow the winding passage until you come near another turning on the left. A pair of greasels guard the passageway, but the simplest way to pass is to activate Cloak and Speed Enhancement to scoot past them.
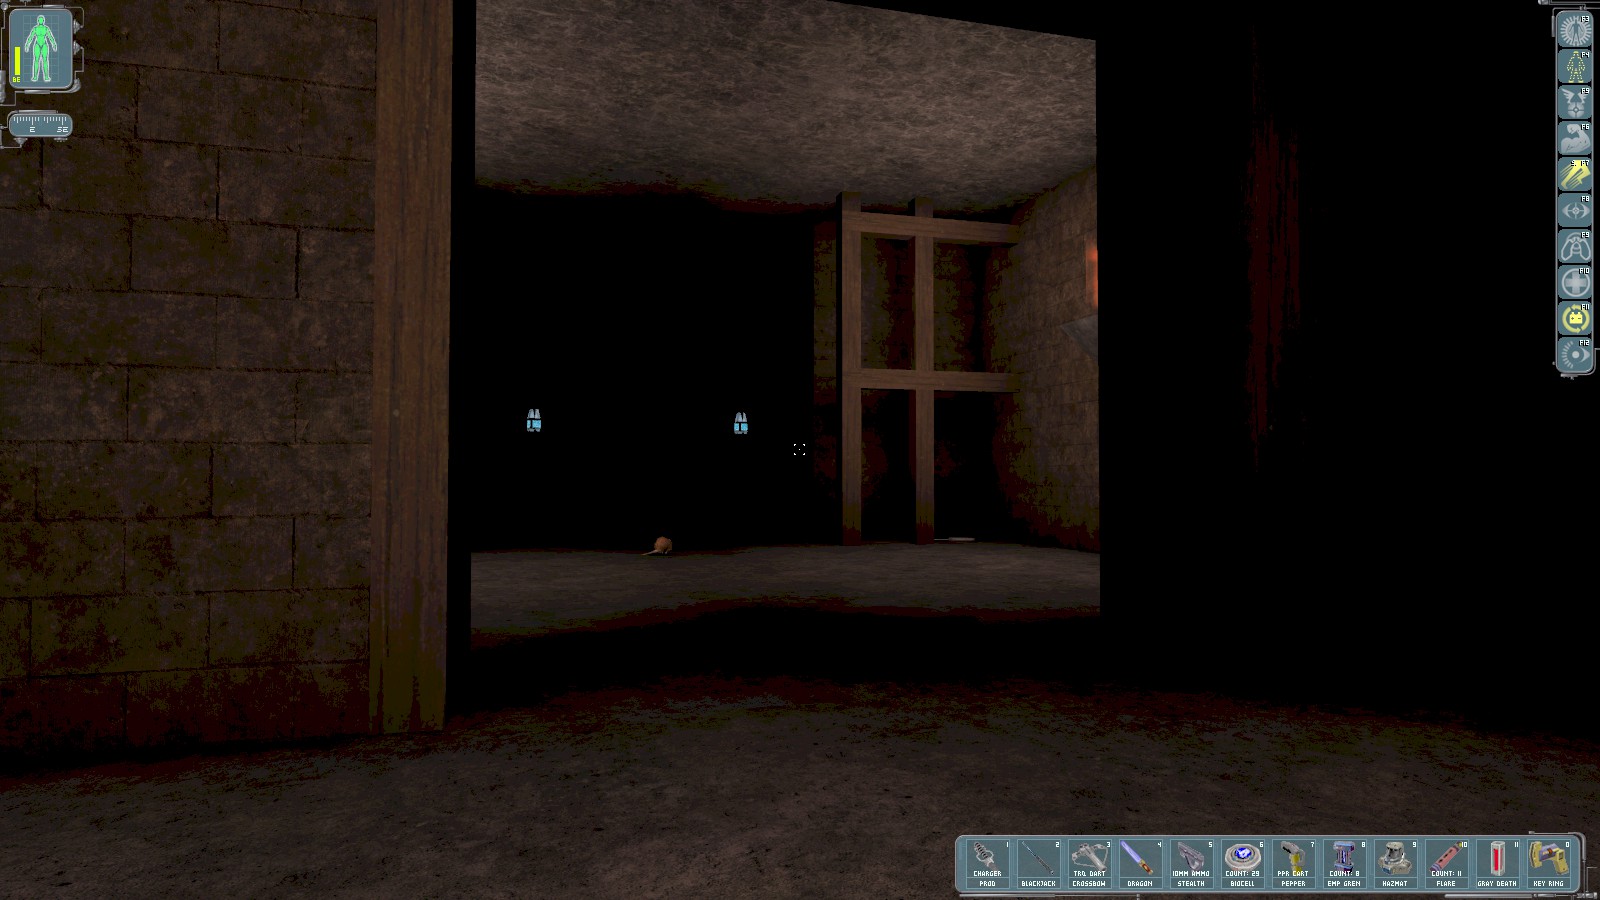
The first turning on the left past the greasels is an empty dead end. The second left contains a tempting prize: 2 augmentation upgrade canisters!
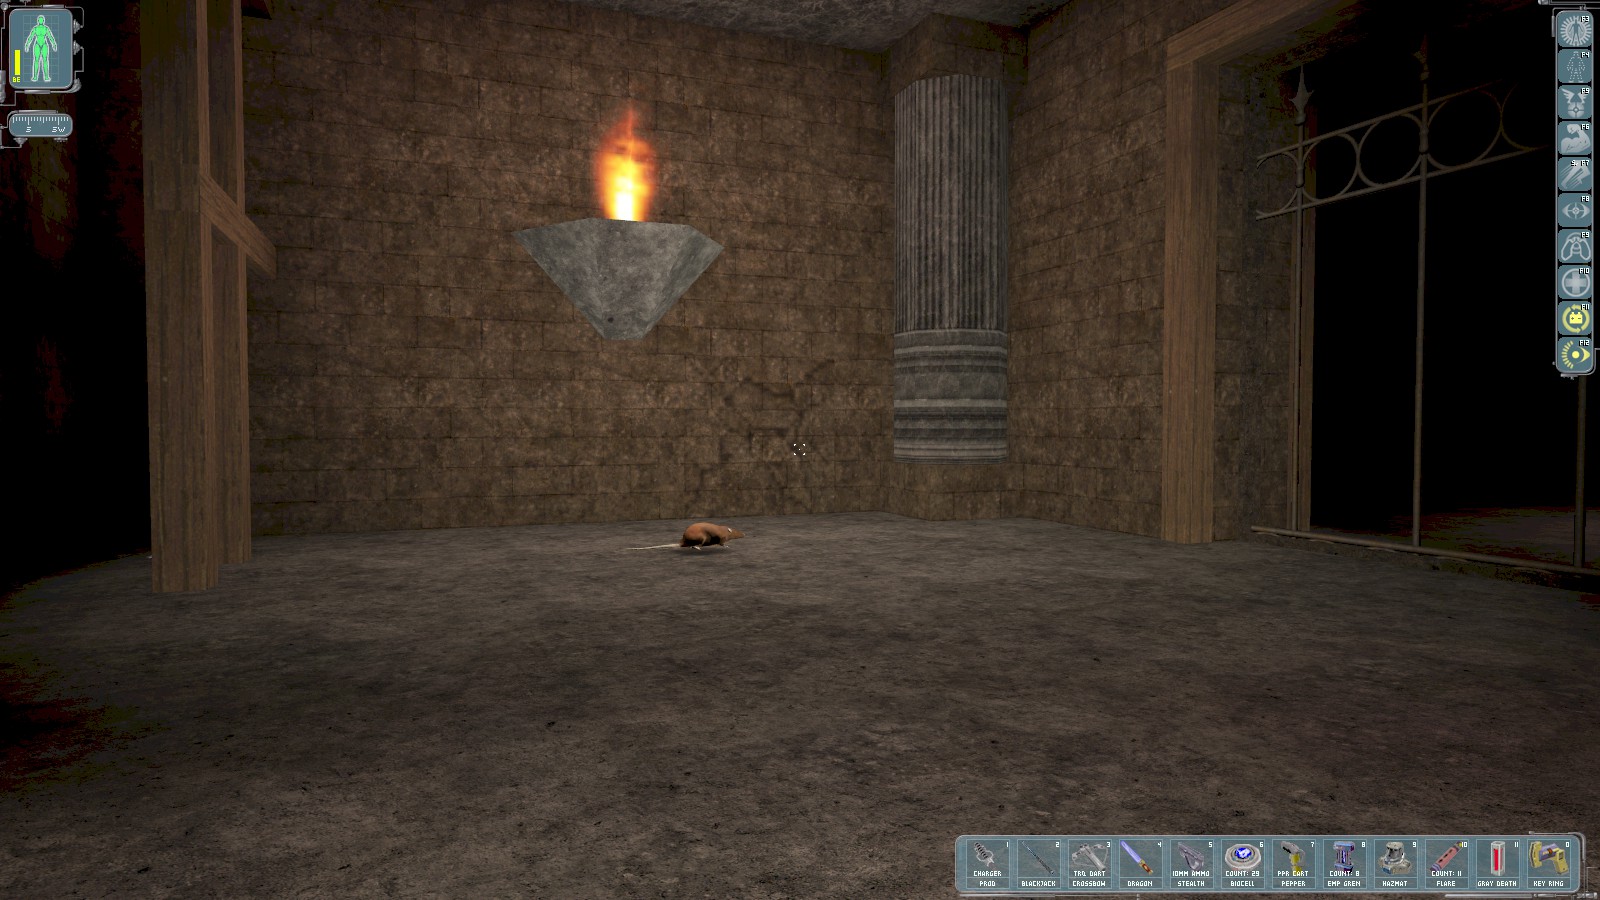
However, the room is a trap. As soon as you enter the canisters disappear (irretrievably) and the door closes behind you. The sharp-eyed will notice a small section of discolored wall near the floor between the lamp and the pillar on the South side.

Break the weak wall with your blackjack or sword to reveal a hidden wooden strut. Using it opens the door.

Back outside activate Cloak and return to the pair of greasels, this time along the passage to the West.
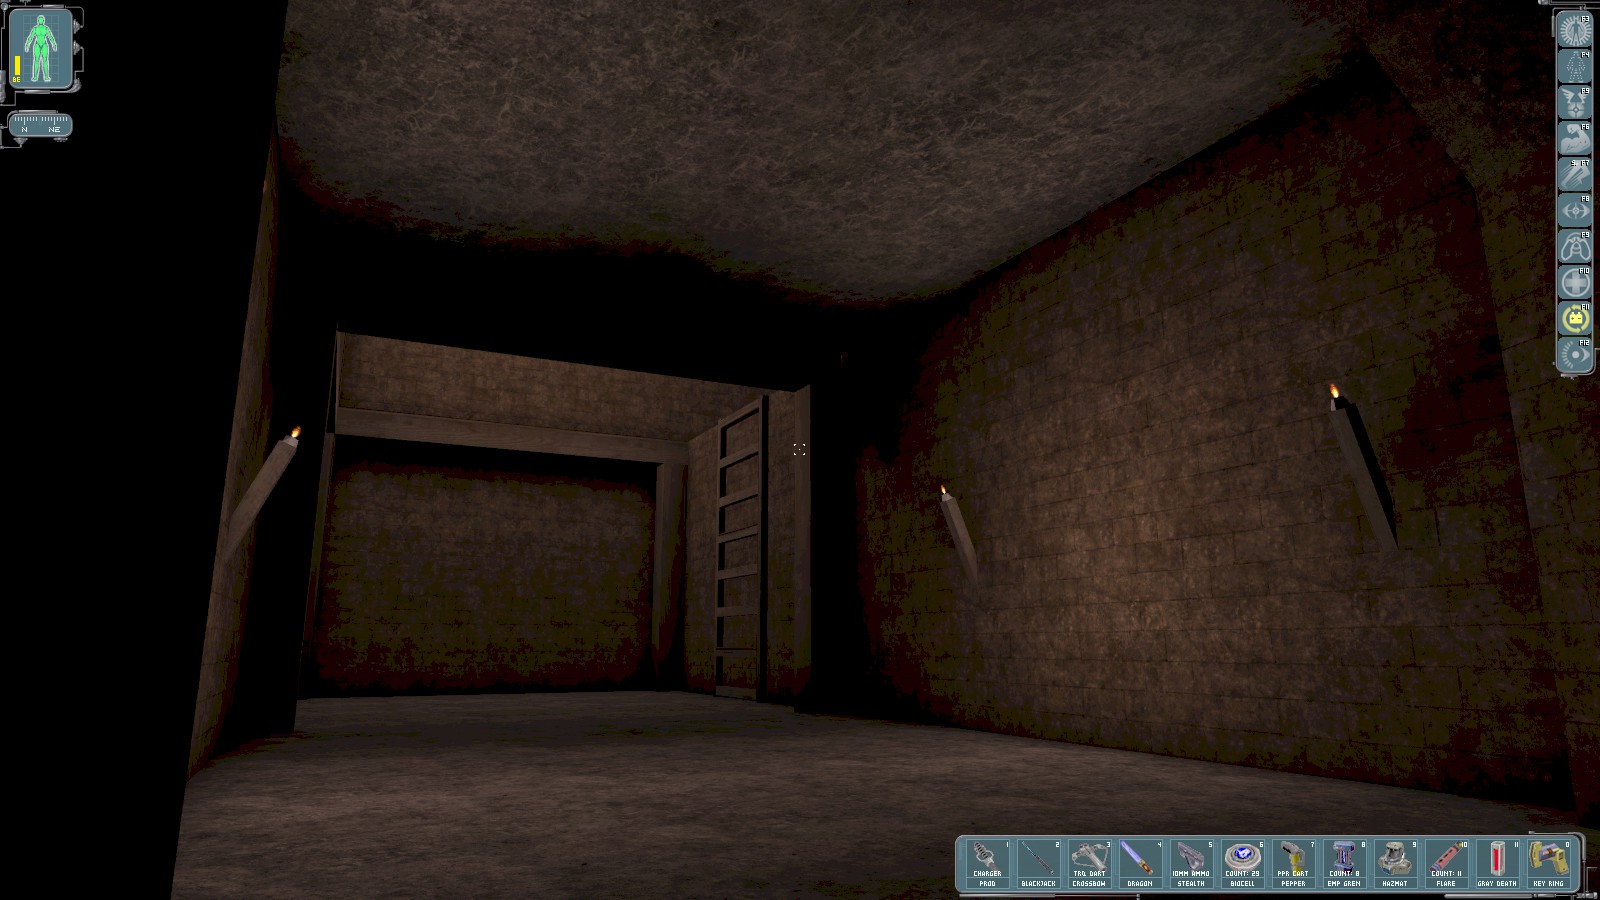
At the end is a short ladder to climb.

It’s another surprise—the floor drops away as you reach the top. If you’re careful you can scoot around the edge, avoiding the next section altogether, but where’s the fun in that?
1 |
2 |
|
|
|
|
3 |
4 |


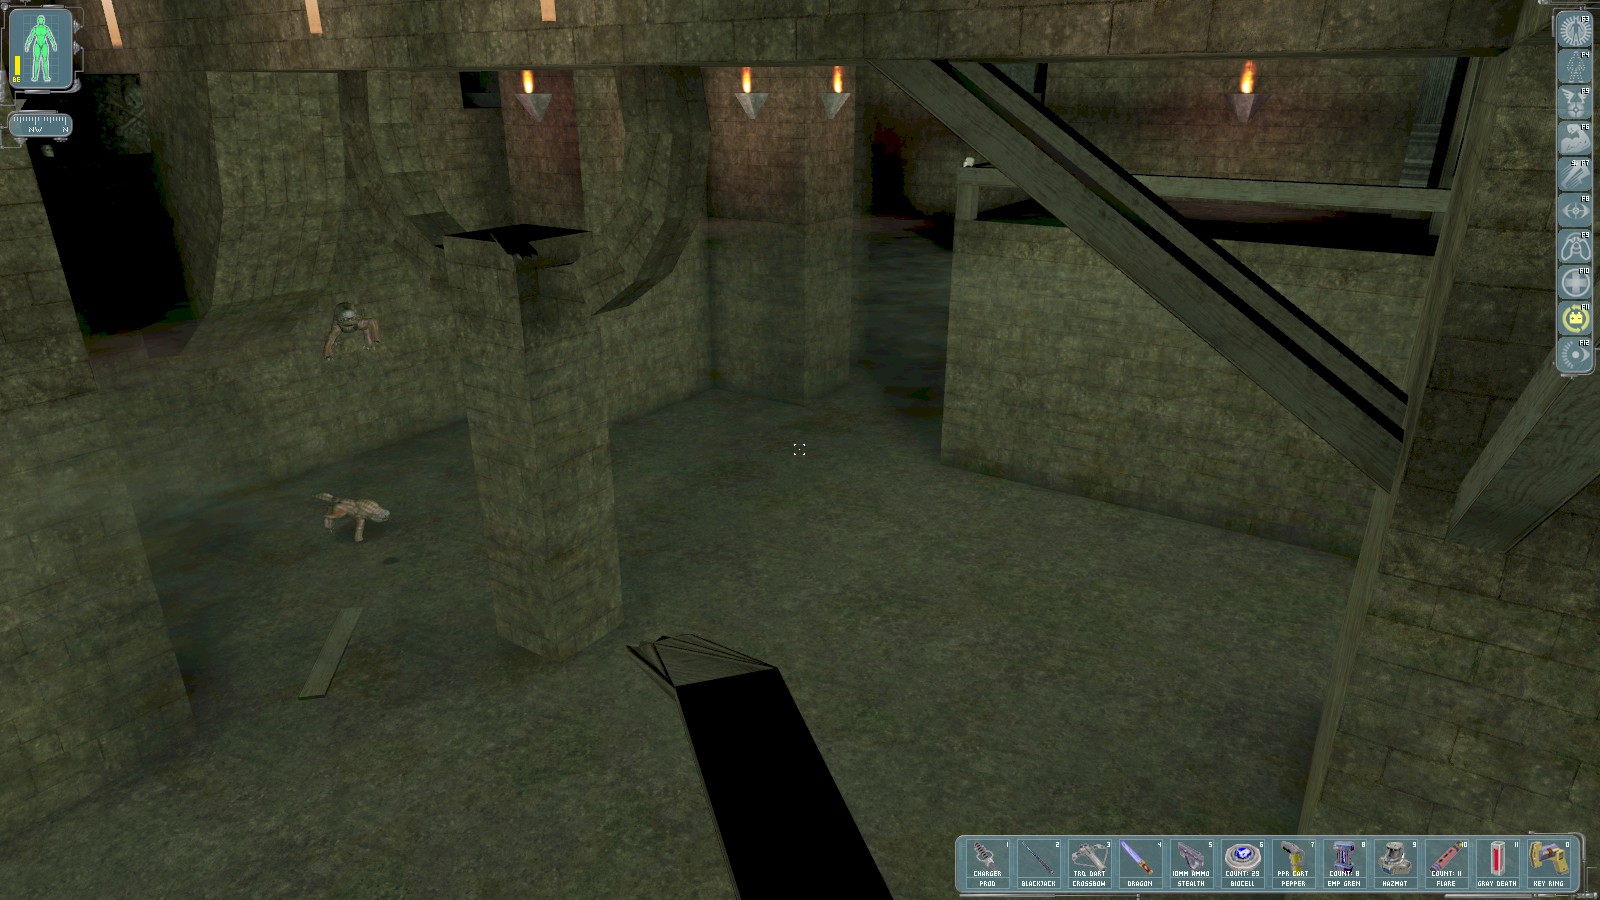
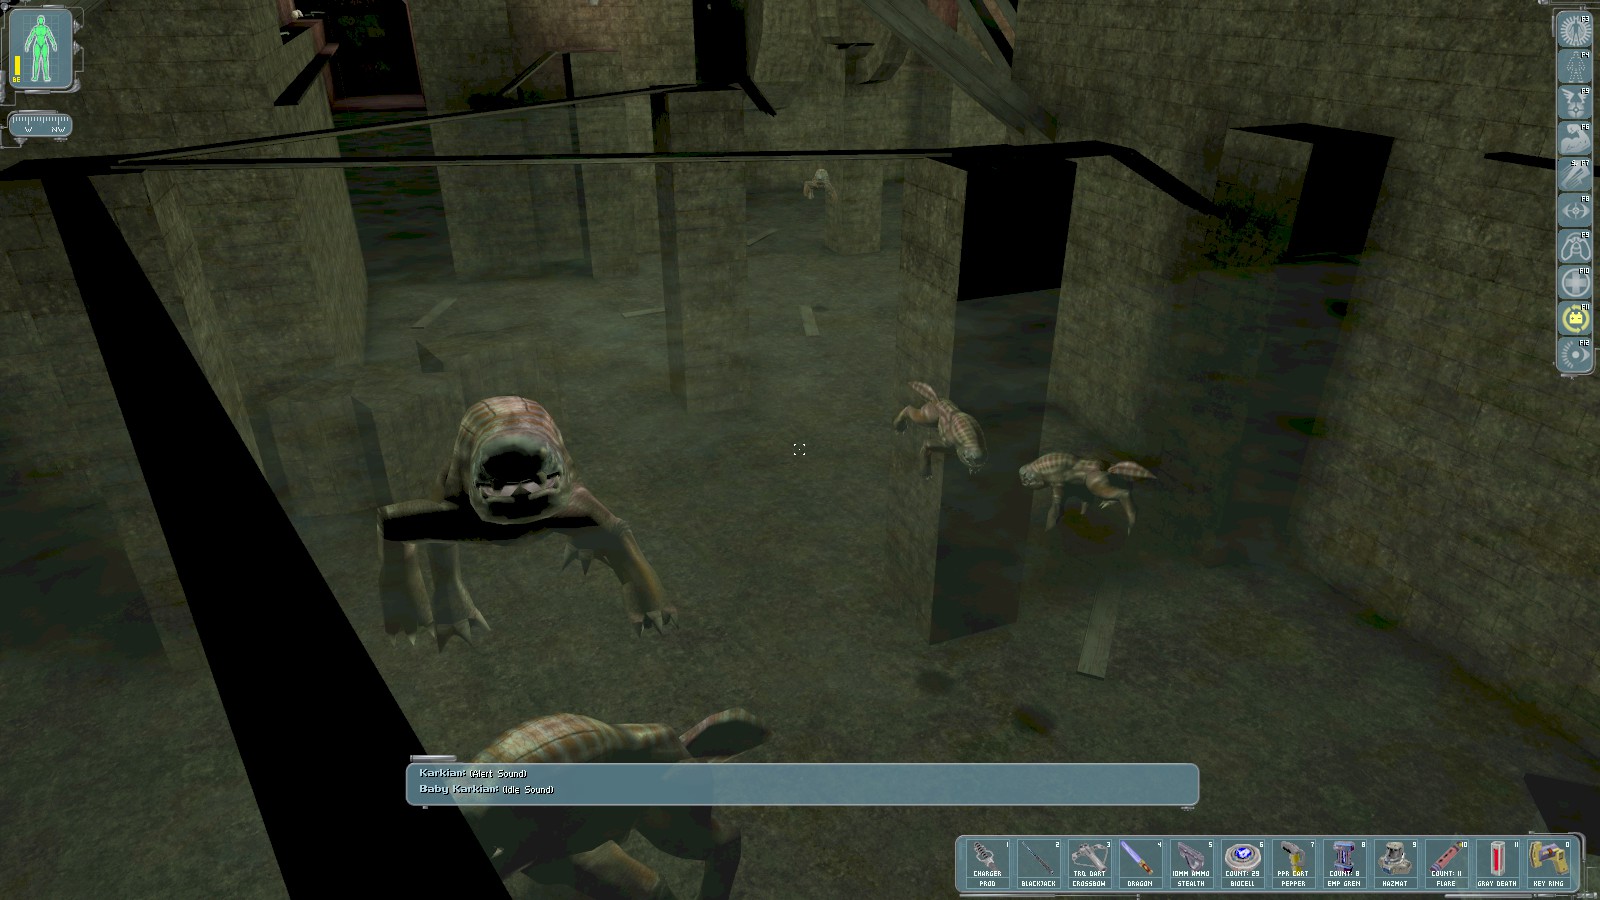
The trap drops you into a flooded area containing a family of karkians. Climb out nearby to the West. From here you can see some planking above the water (and out of reach of the karkians). At the fork take the left path to head North. Eventually you come to the end of the planks, but well short of your destination—another ledge to the North. If you attract the karkians' attention you can lure most of them away giving you a straight swim to another ledge to climb out of the water on the North side.
|
|
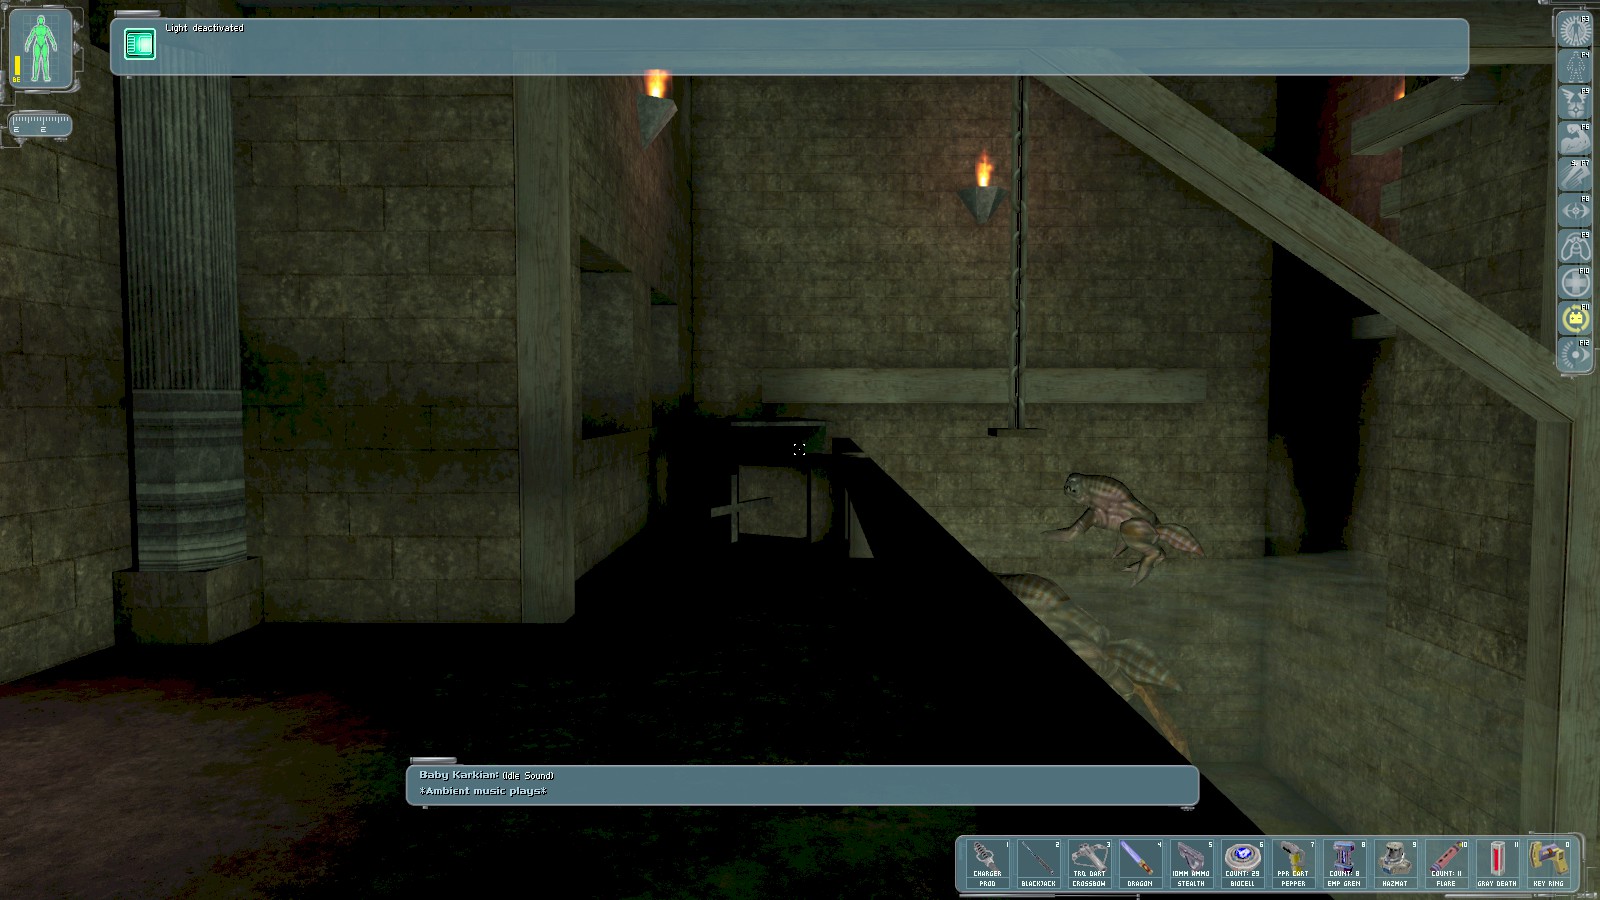
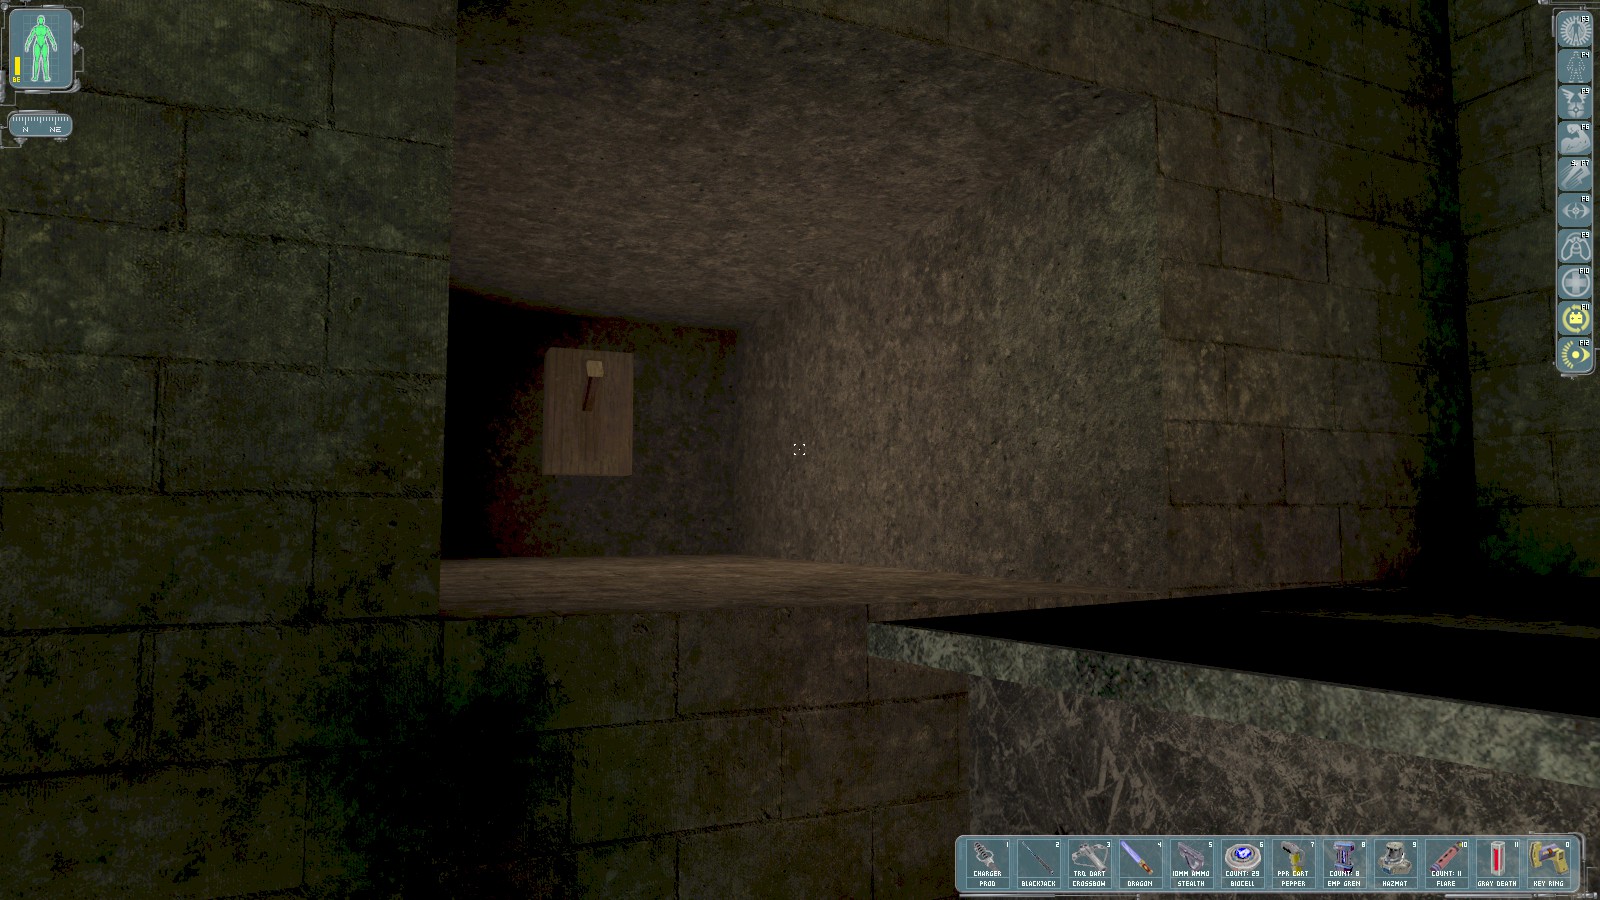
Further along are two recesses in the wall. The first contains a stone casket, but a little light reveals another switch hidden in the second recess. Flip the switch to open a door above.
|
|
|
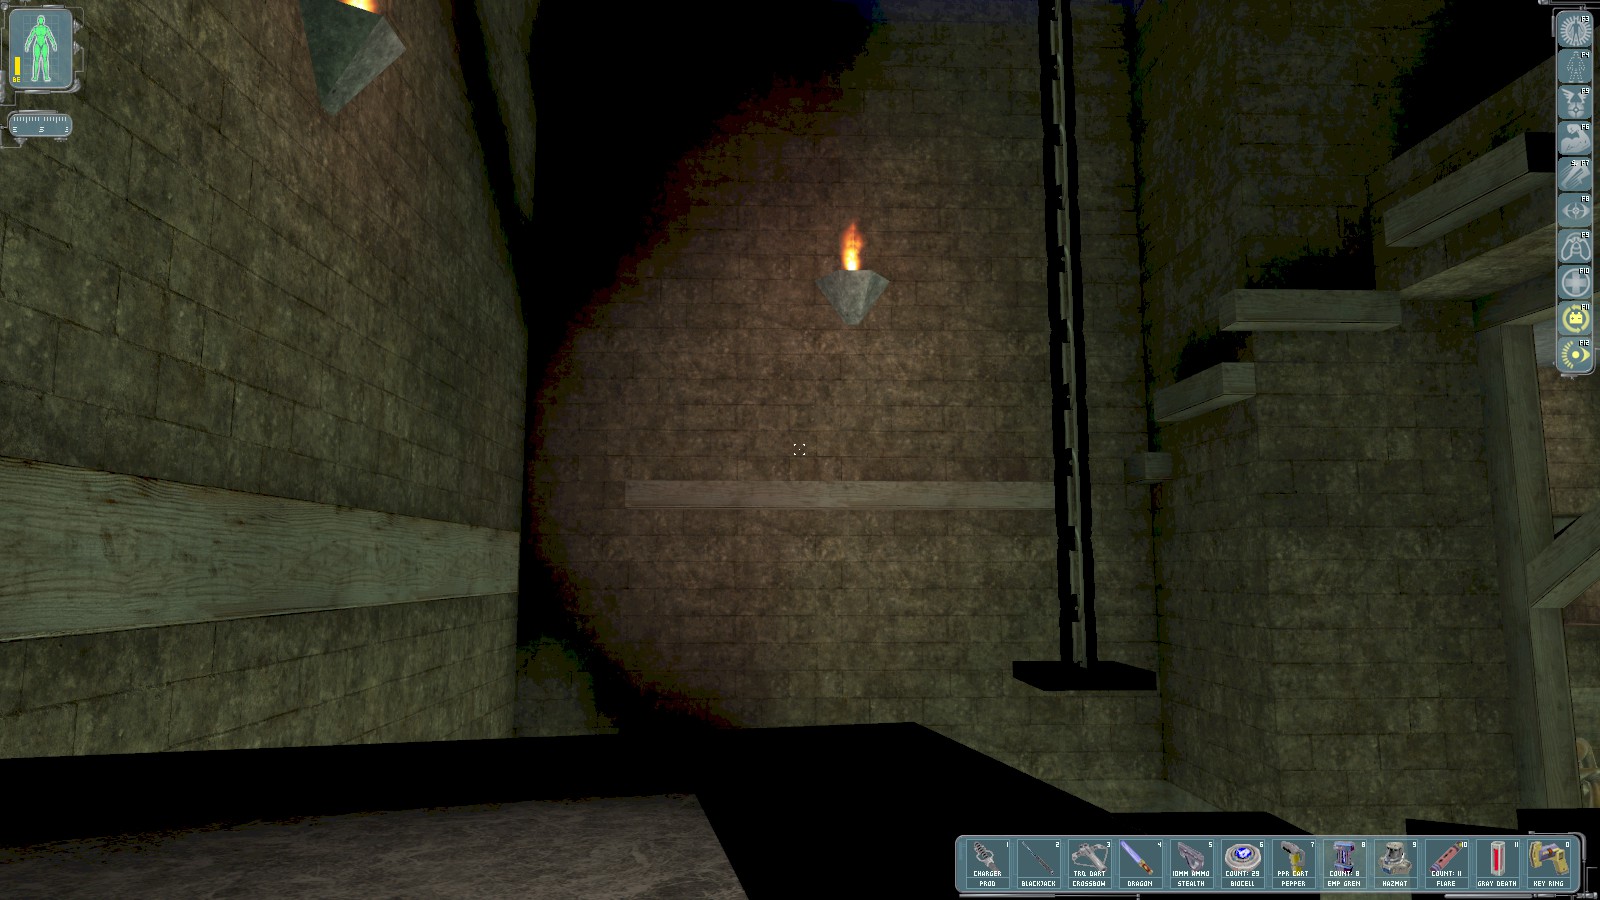

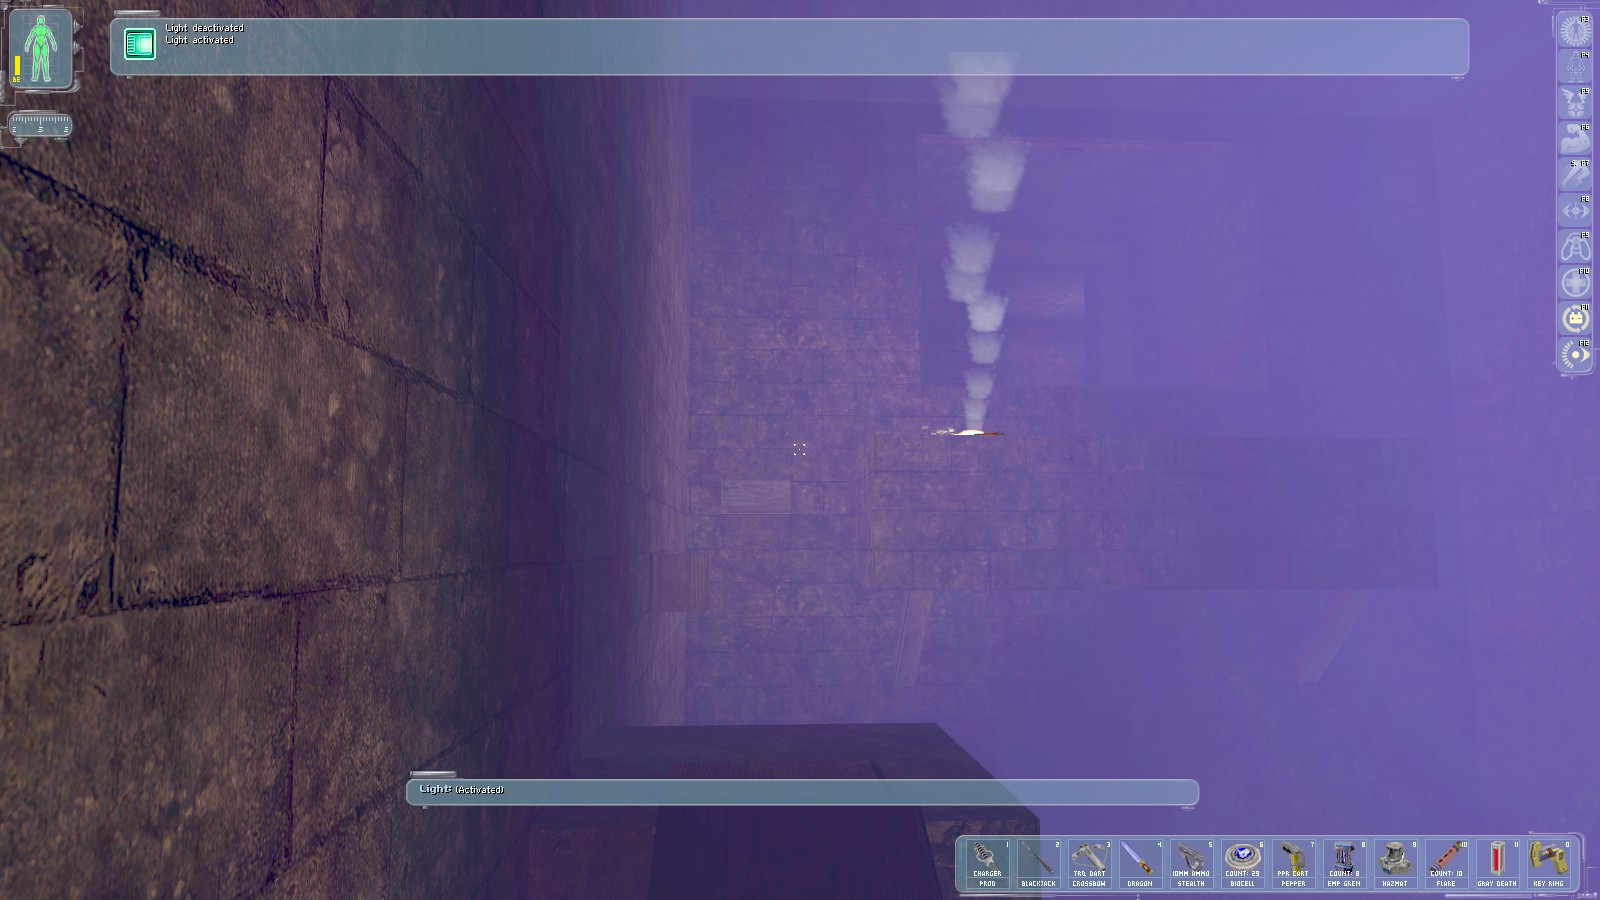
From here it’s just a matter of platforming along the narrow ledges up to the top. It looks harder than it is, although there are a couple of tense jumps over the karkians in the water below. Speed Enhancement can help, and the flares are definitely useful here! The door to the right of the flare in the right hand panel is the one opened by the switch below. Head through and up a ladder.

At the top, grab the medikit and head through the unlocked door on the right.
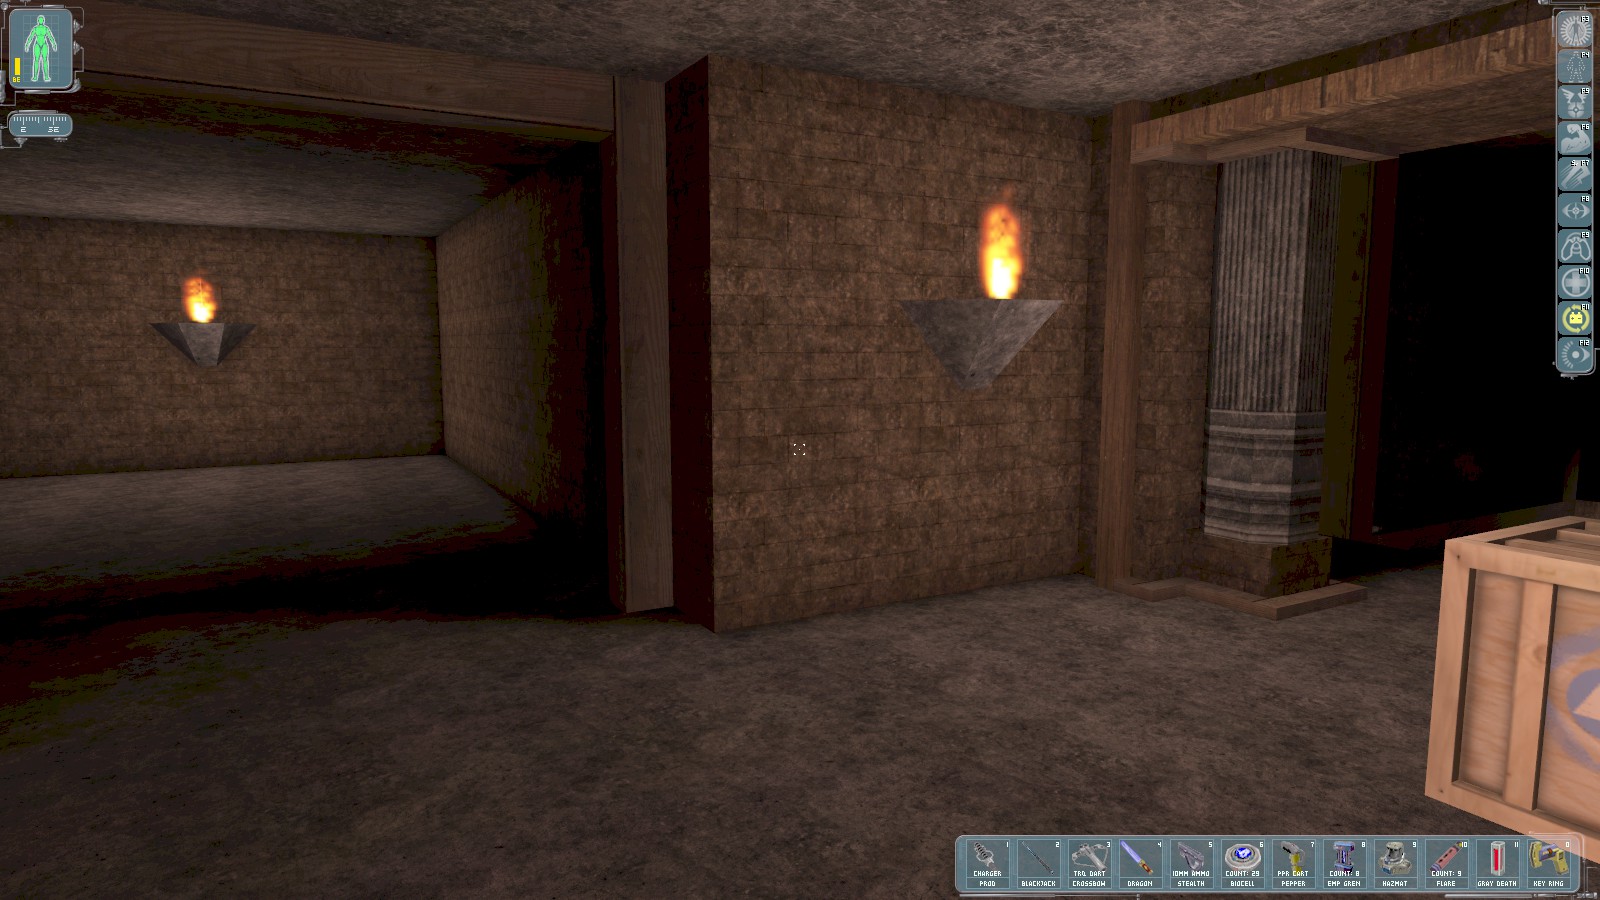
Through the door the right hand passage leads back to the trapdoor trap. More flares are in the supply crate. Head to the left.

A biocell and another medikit are here. Make sure you’re in good health before continuing—especially your head.
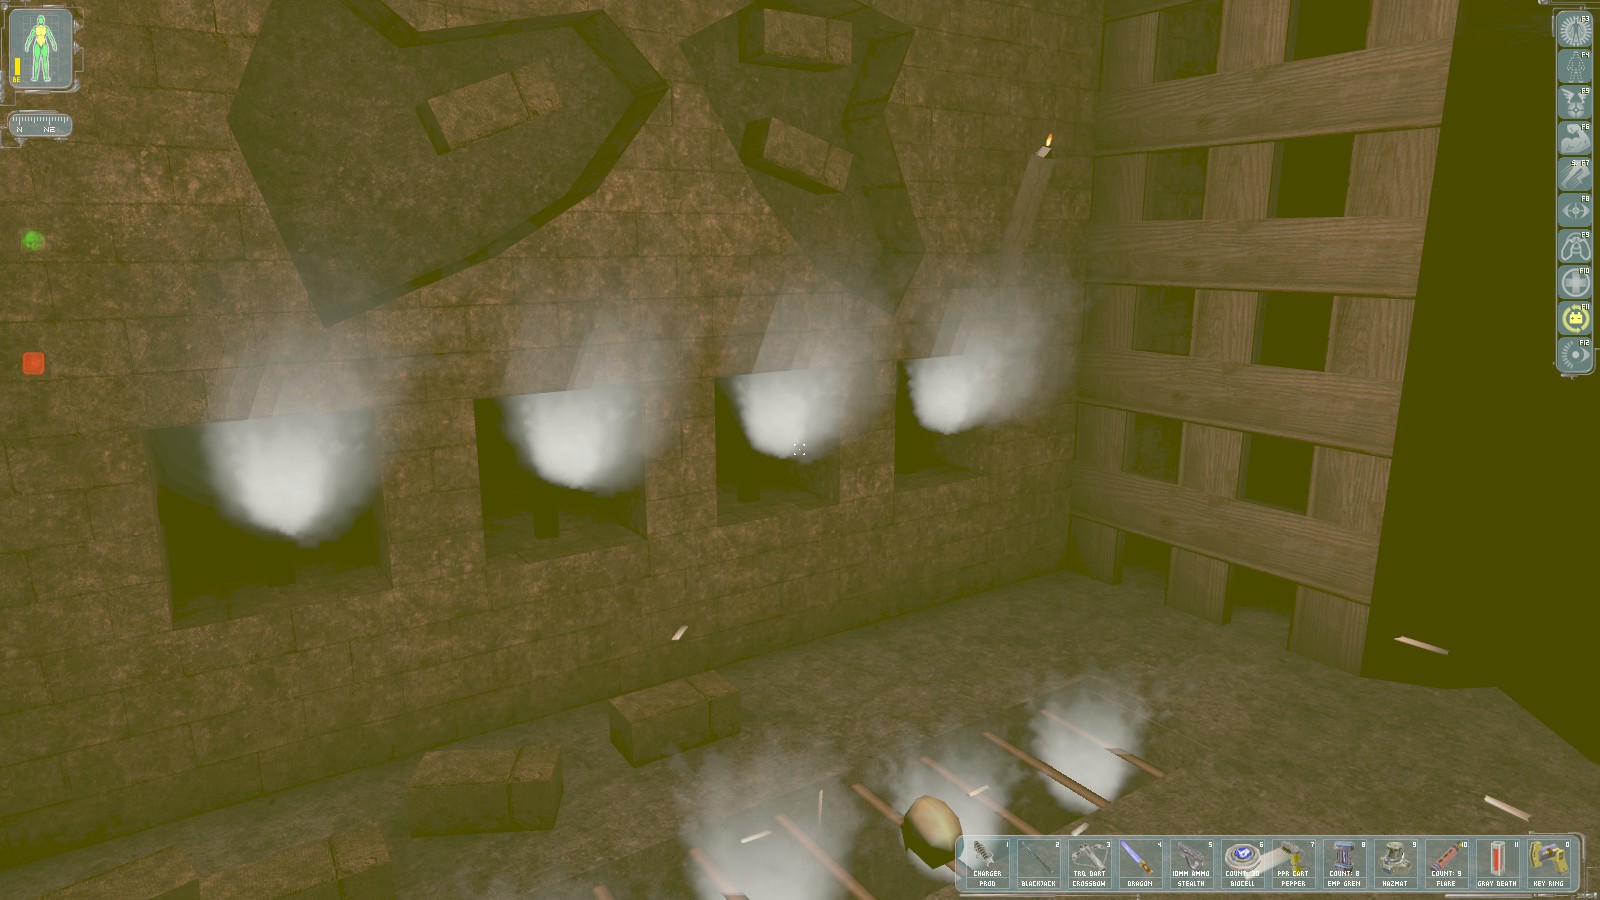
As soon as you cross the threshold the doors behind and in front both close, and the room is flooded with extremely toxic gas. A hazmat suit will help, but even that isn’t sufficient to prevent damage.
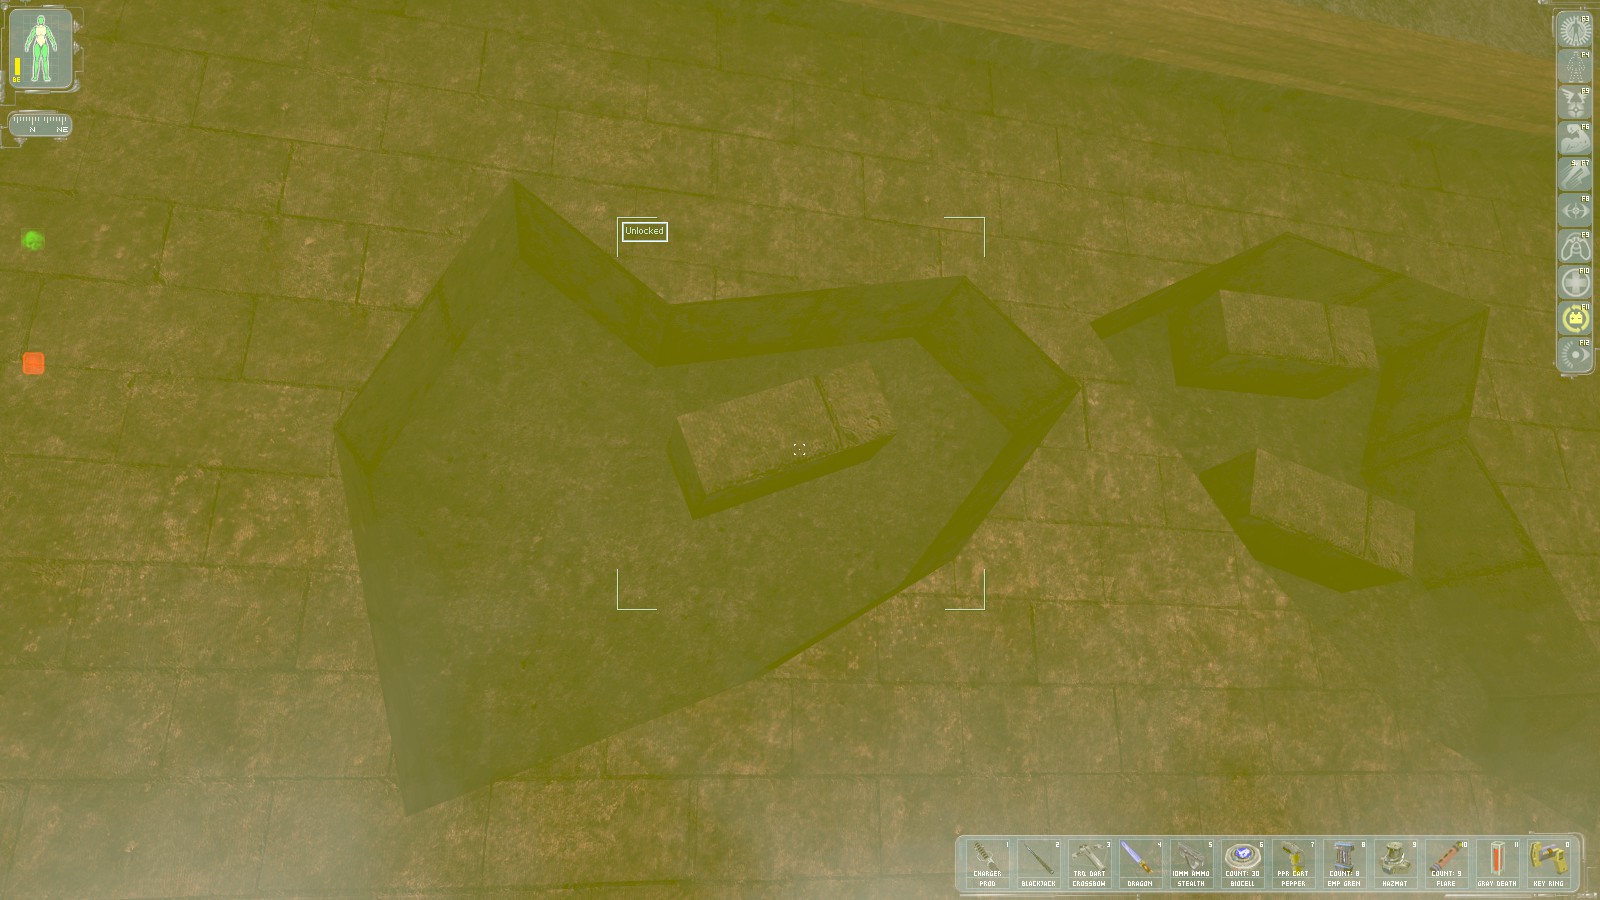
The exit door is opened by using this brick on the left wall. It opens painfully slowly.
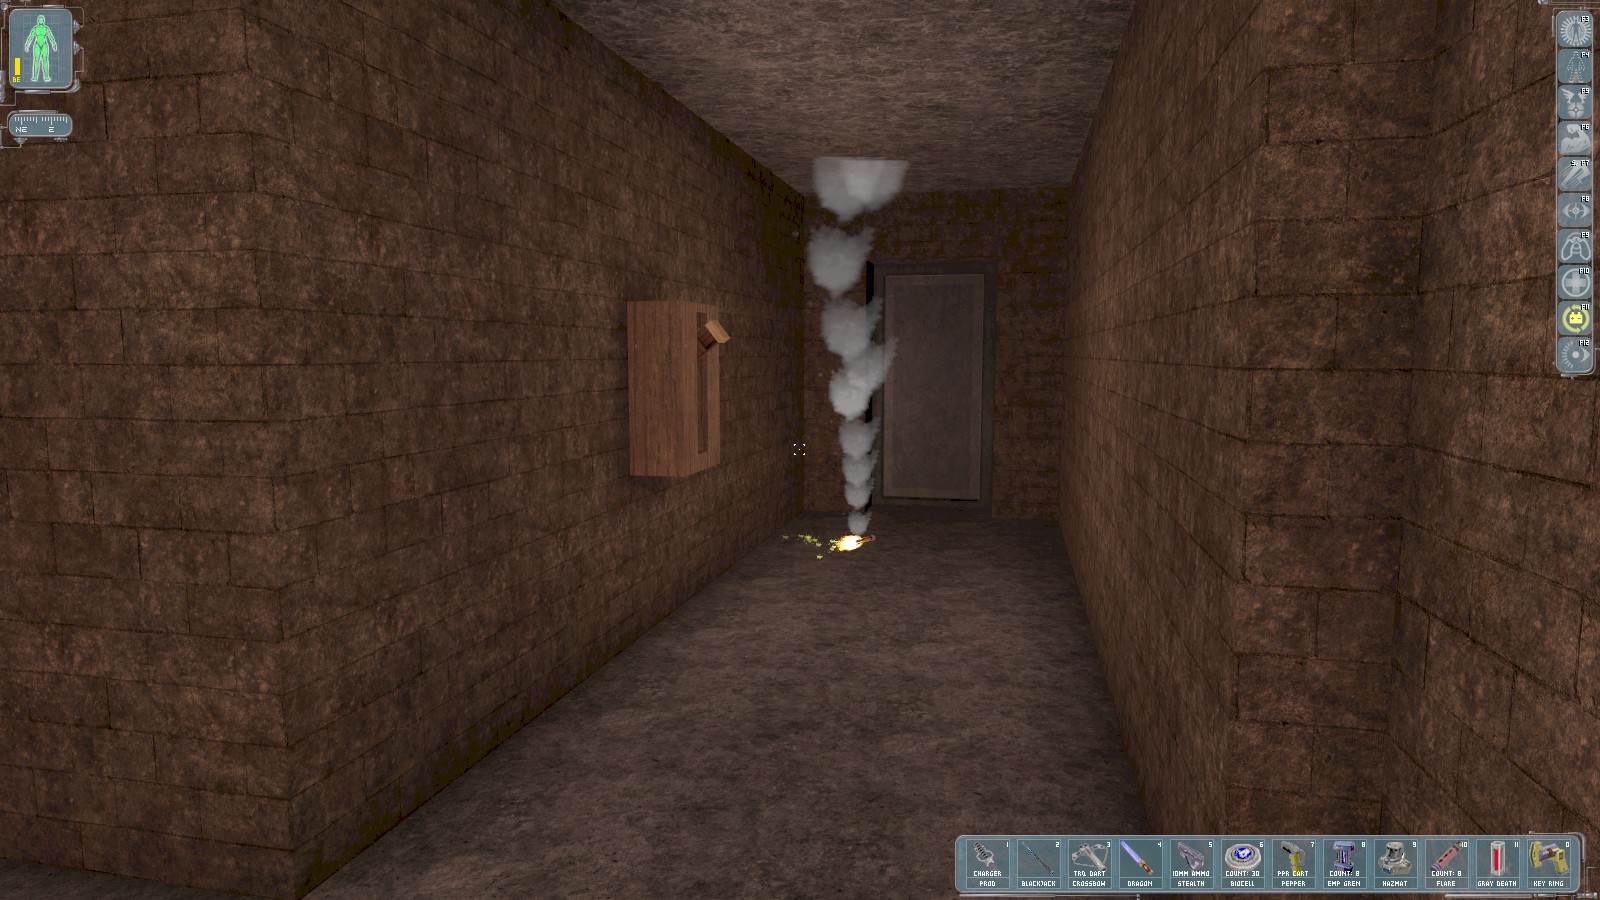
Heal your injuries to find another switch to open a door around the corner.

You emerge near the elevator shaft, and receive 750 skill points for enduring the challenge. Take the long ride back to the surface.
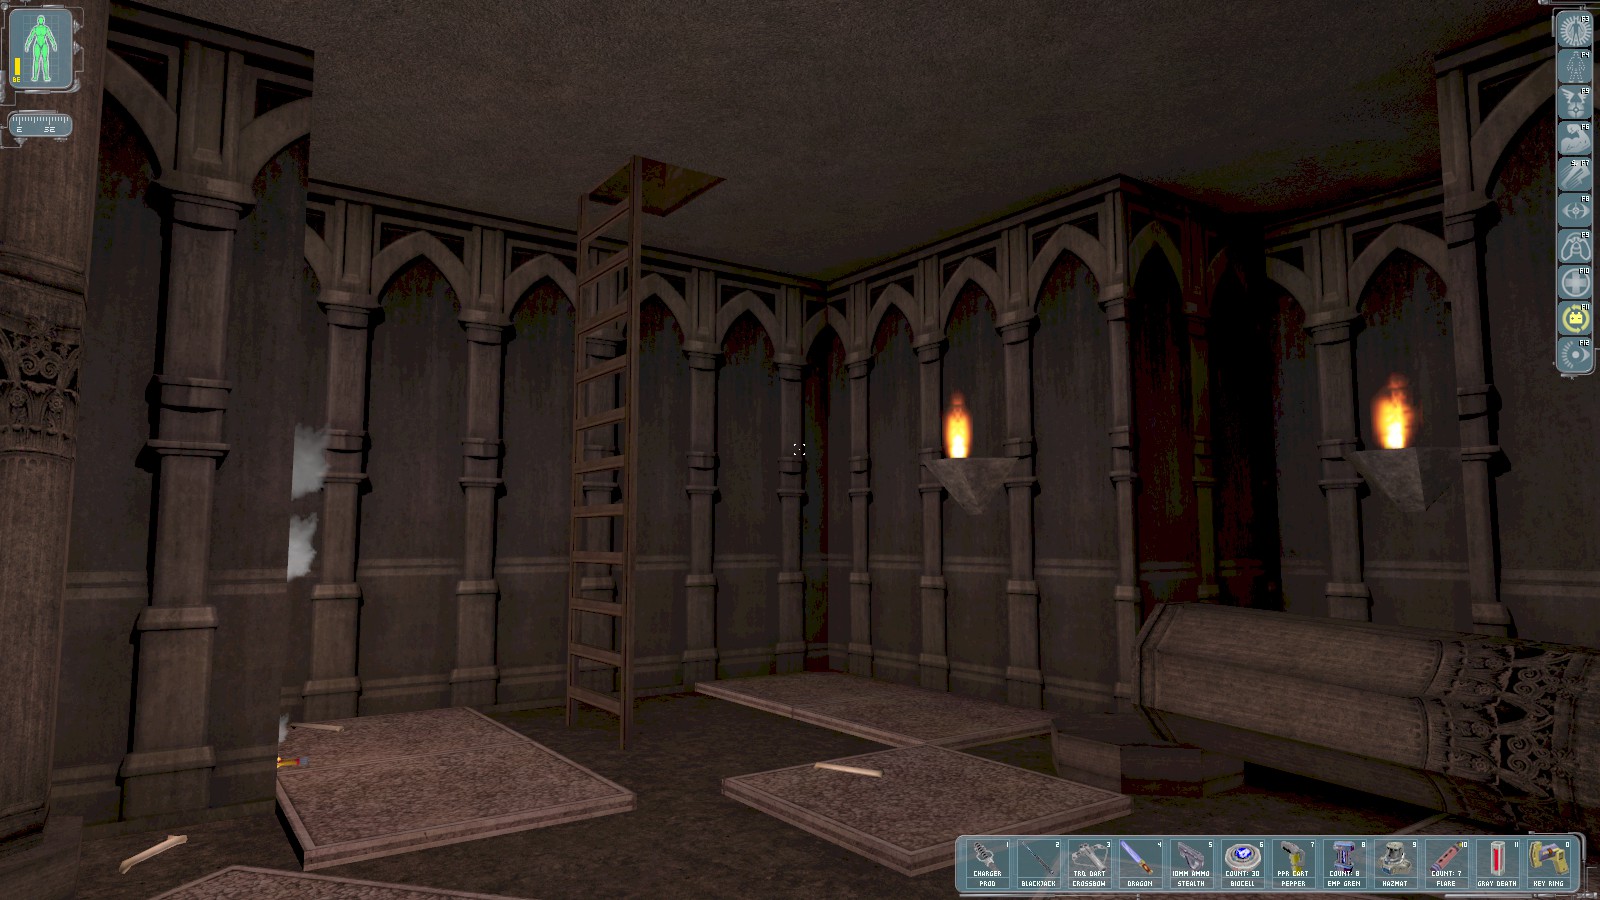
Finally climb the ladder to return to the chapel.