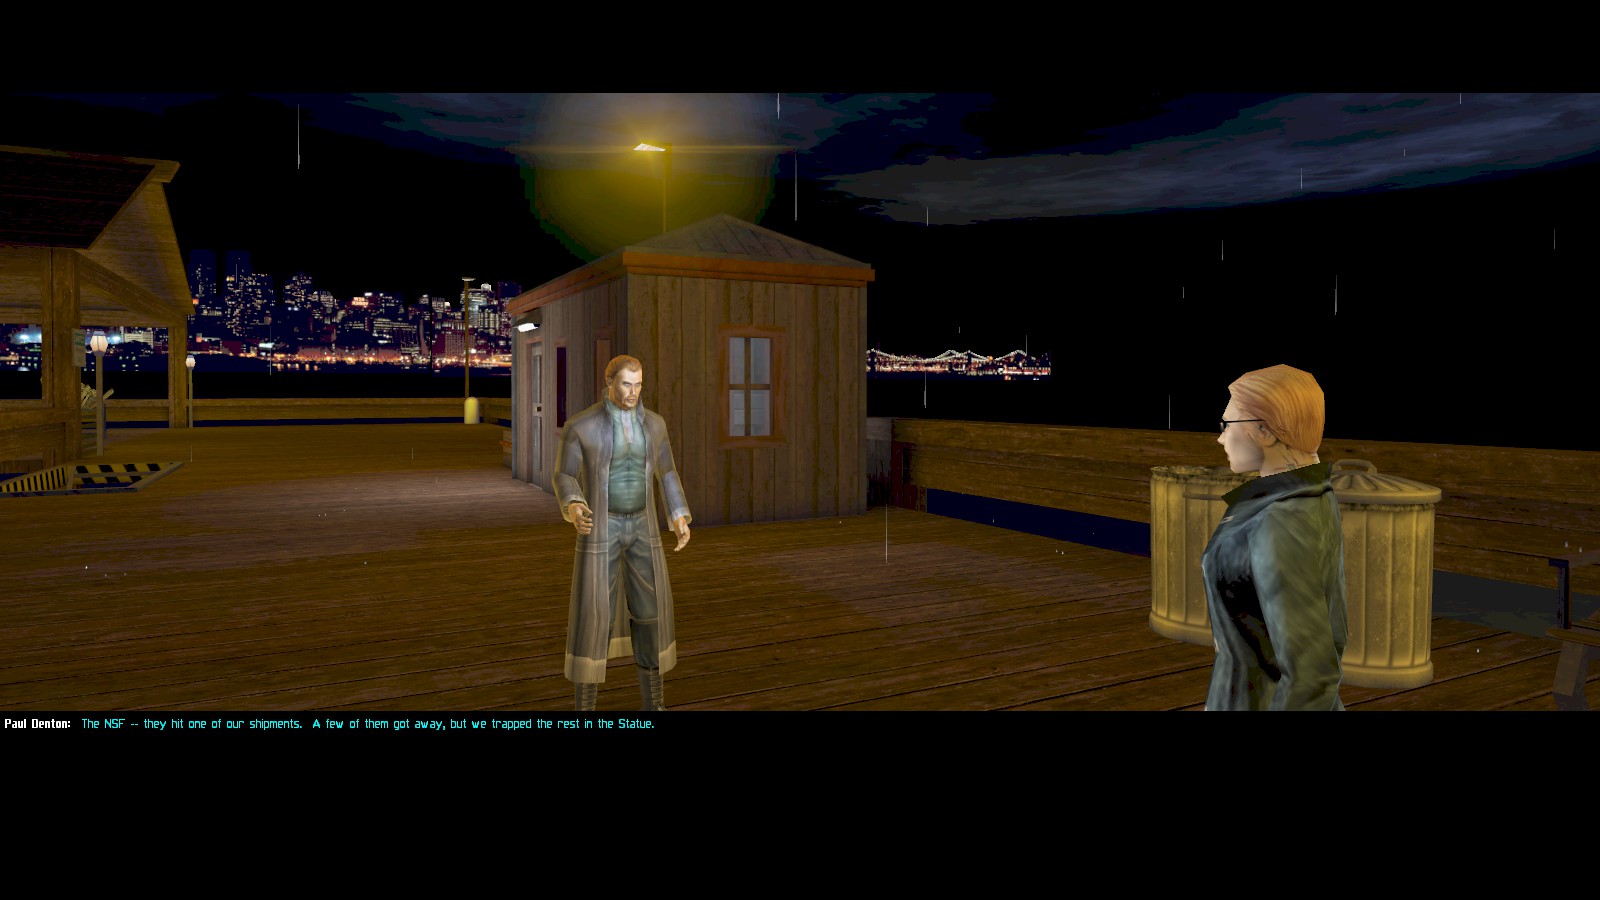
You begin the level on the dock. Alex Jacobson pings your communicator to say that your brother Paul is coming your way. Sure enough, he comes running over and gives you some background on what your objectives are. Firstly, you’re to find and interrogate the terrorist leader. You also get two secondary objectives: locate one of your colleagues (Agent Hermann) who’s been captured and is being held hostage, and to talk to Harley Filben at the North dock.
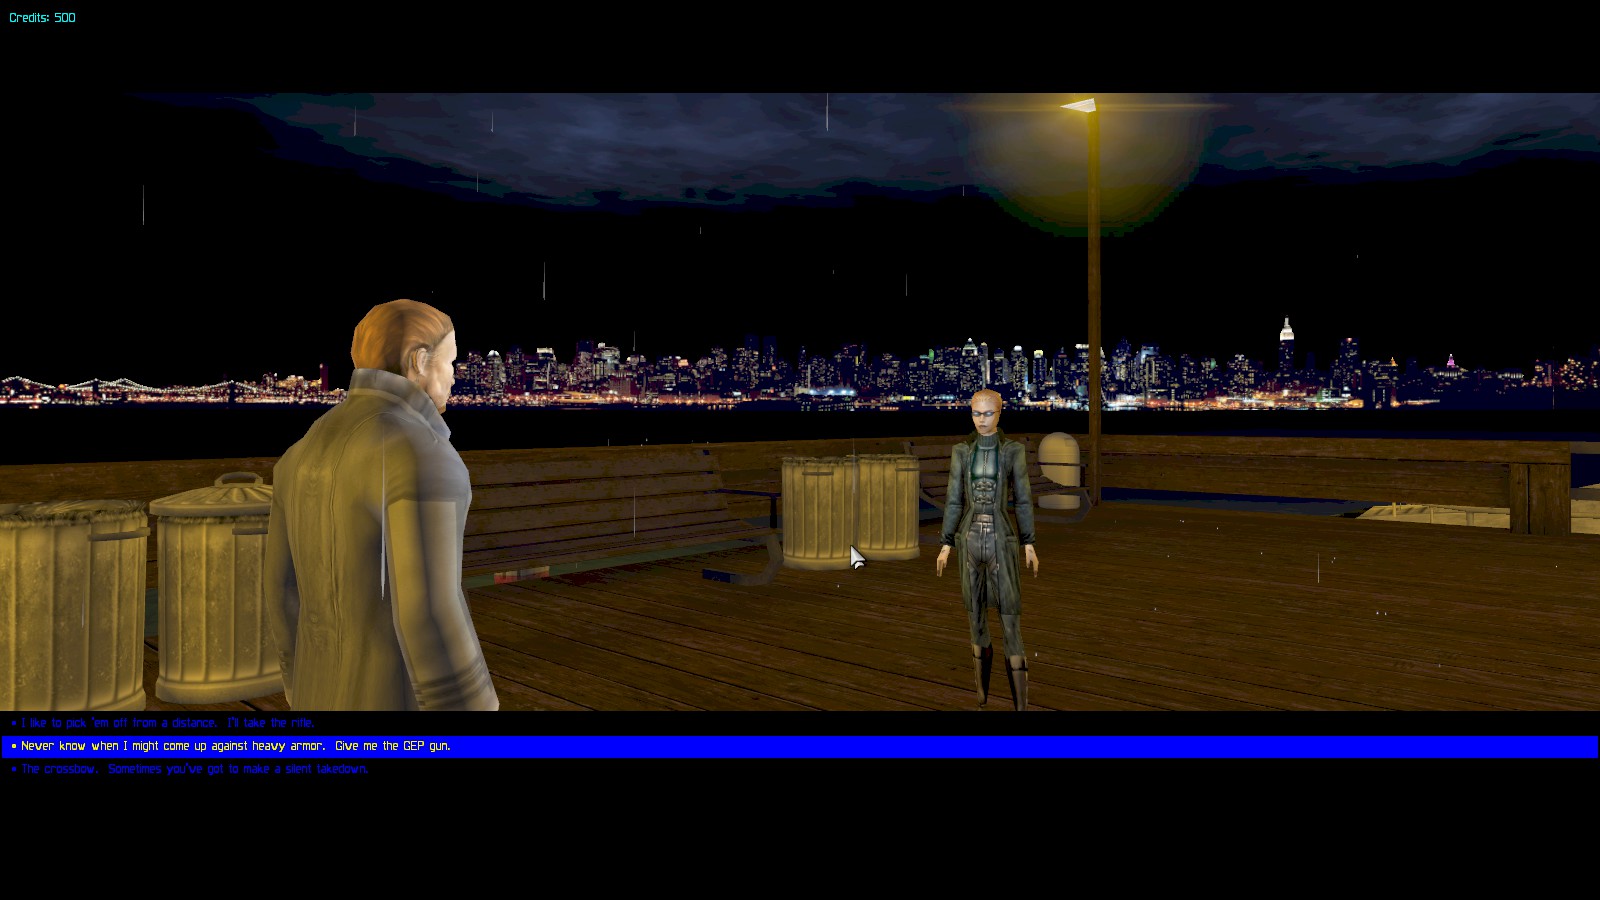
At one point in the conversation Paul offers you a weapon. Of the 3 on offer, the Guided Exposive Projectile (GEP) gun is the only one that can’t be found until much later in the game. It’s a rocket launcher, and while not entirely stealthy (!) it turns out to have some uses for pacifist players, such as blowing up robots and destroying locked doors.
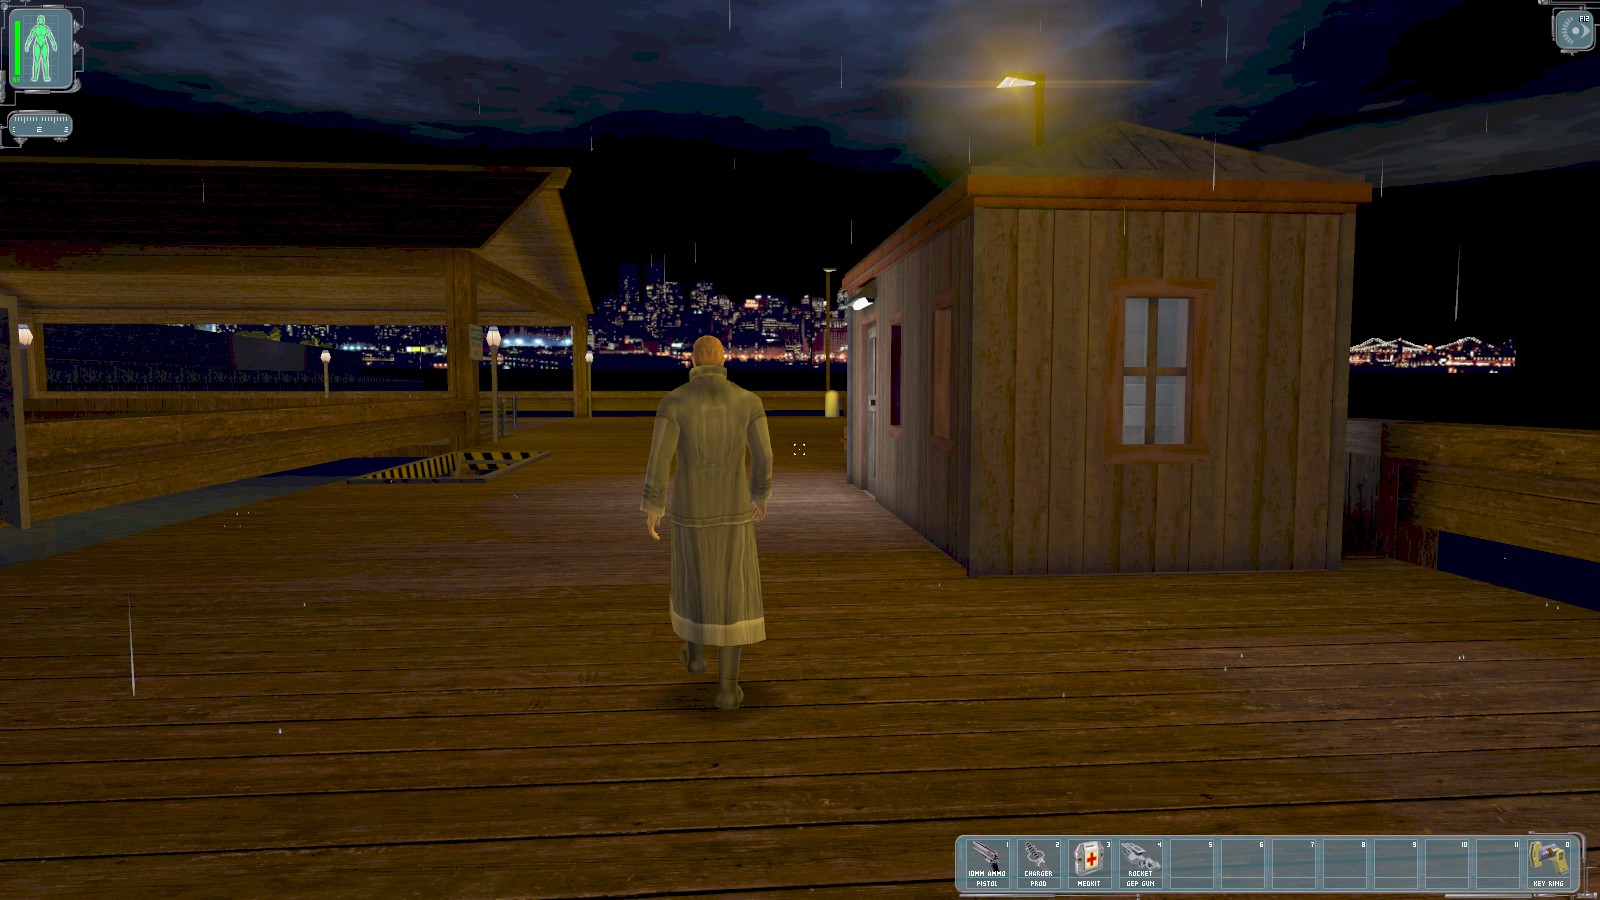
Speak repeatedly to Paul after he turns away to get some more background, then enter the shed on the right of this shot.
|
|
|
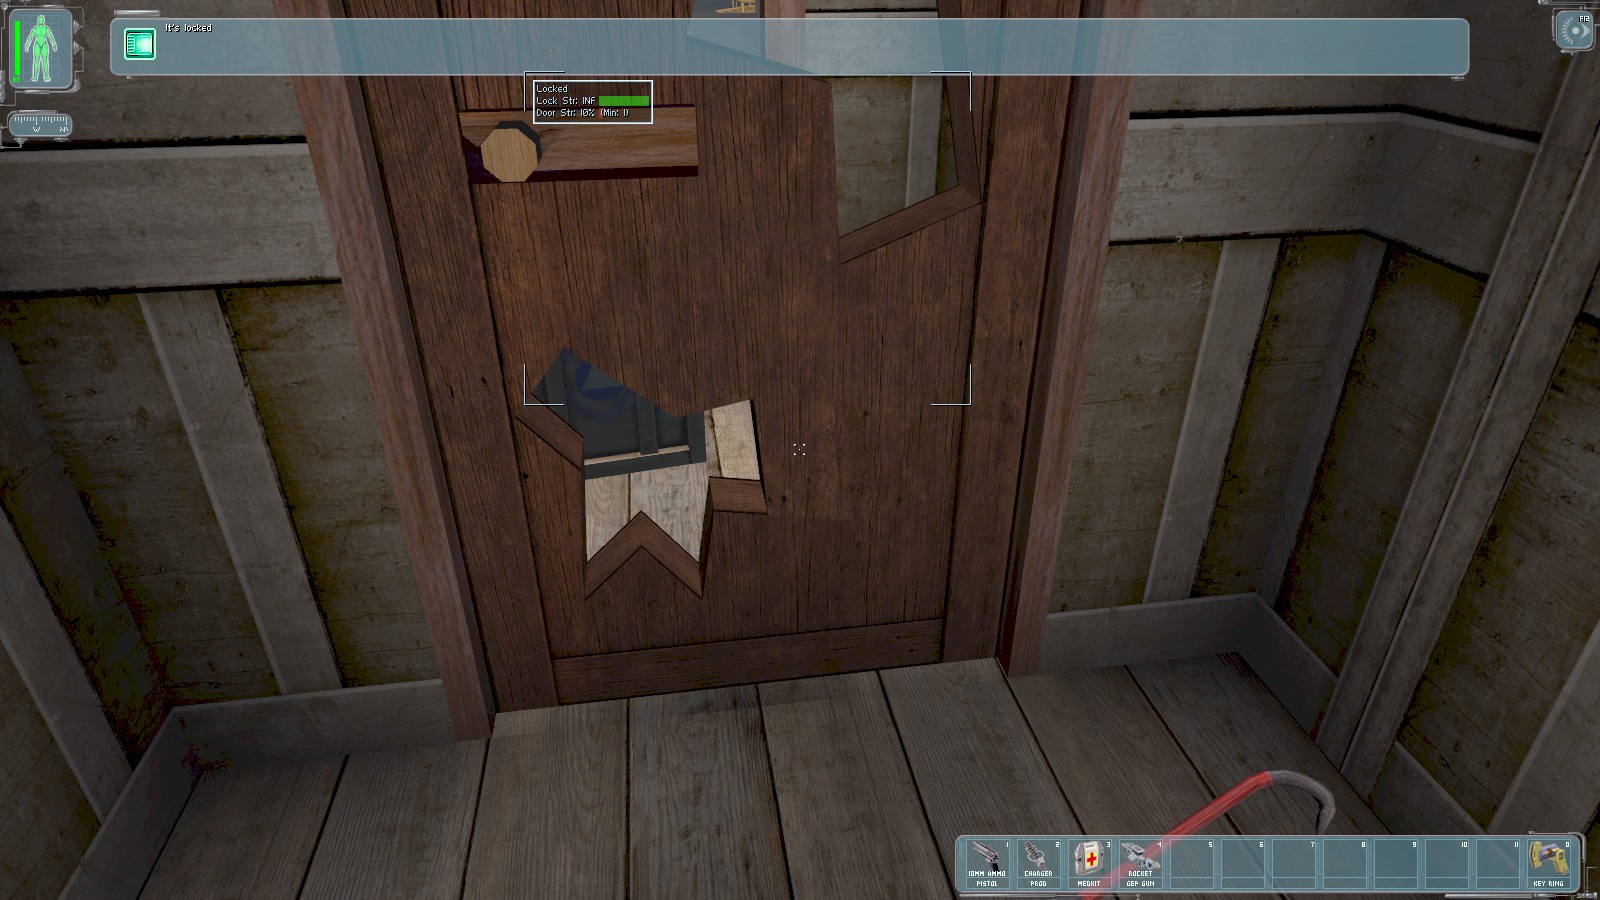
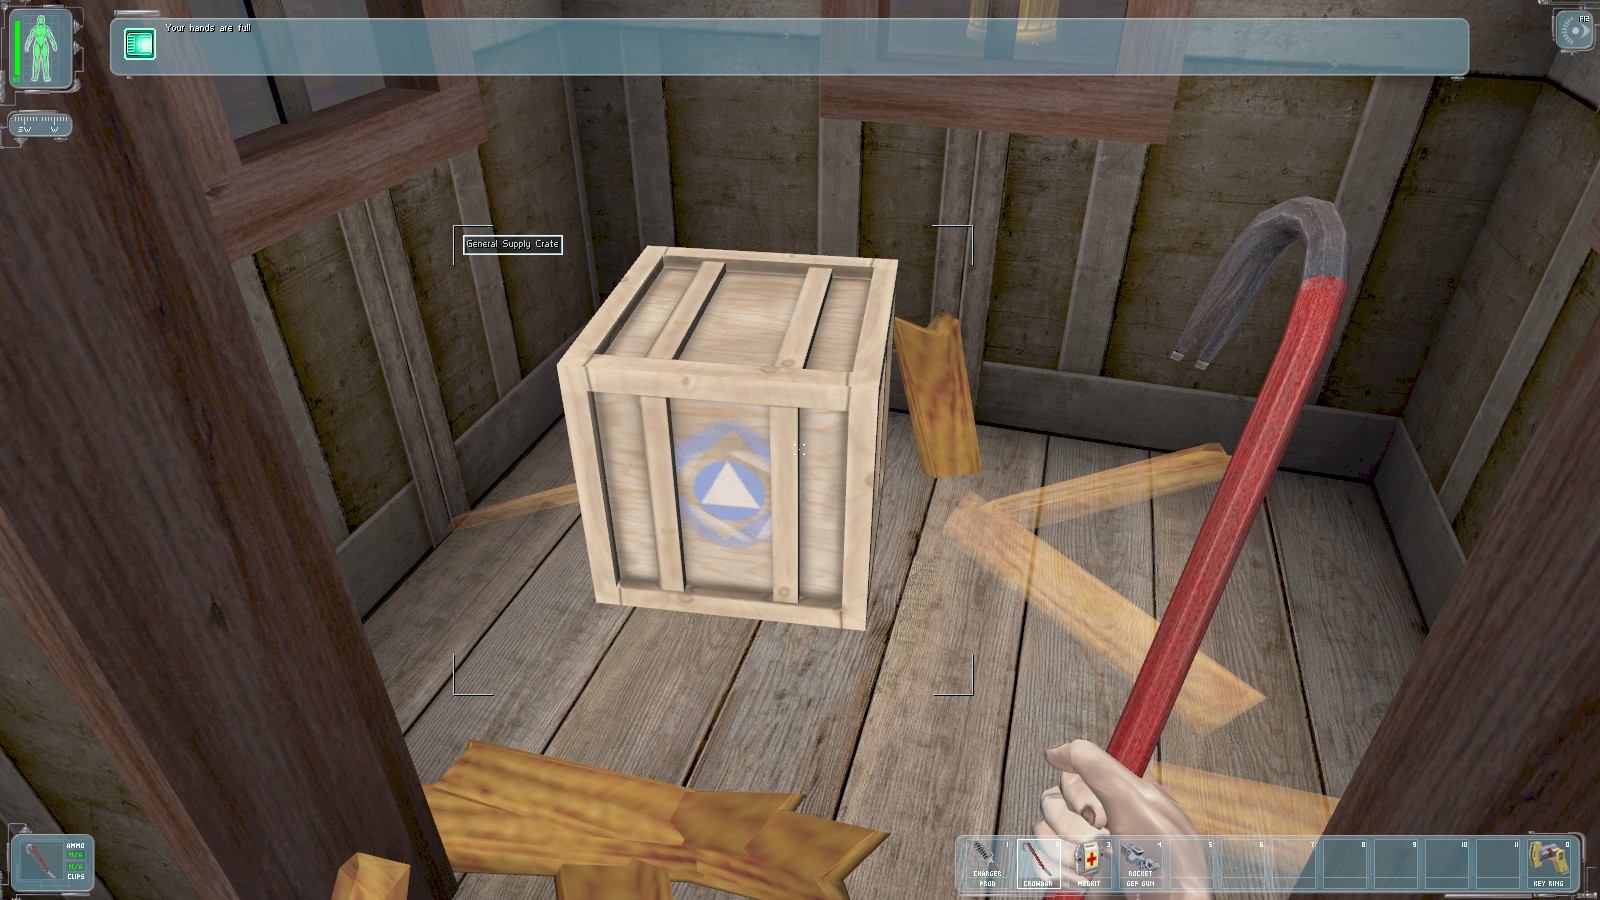
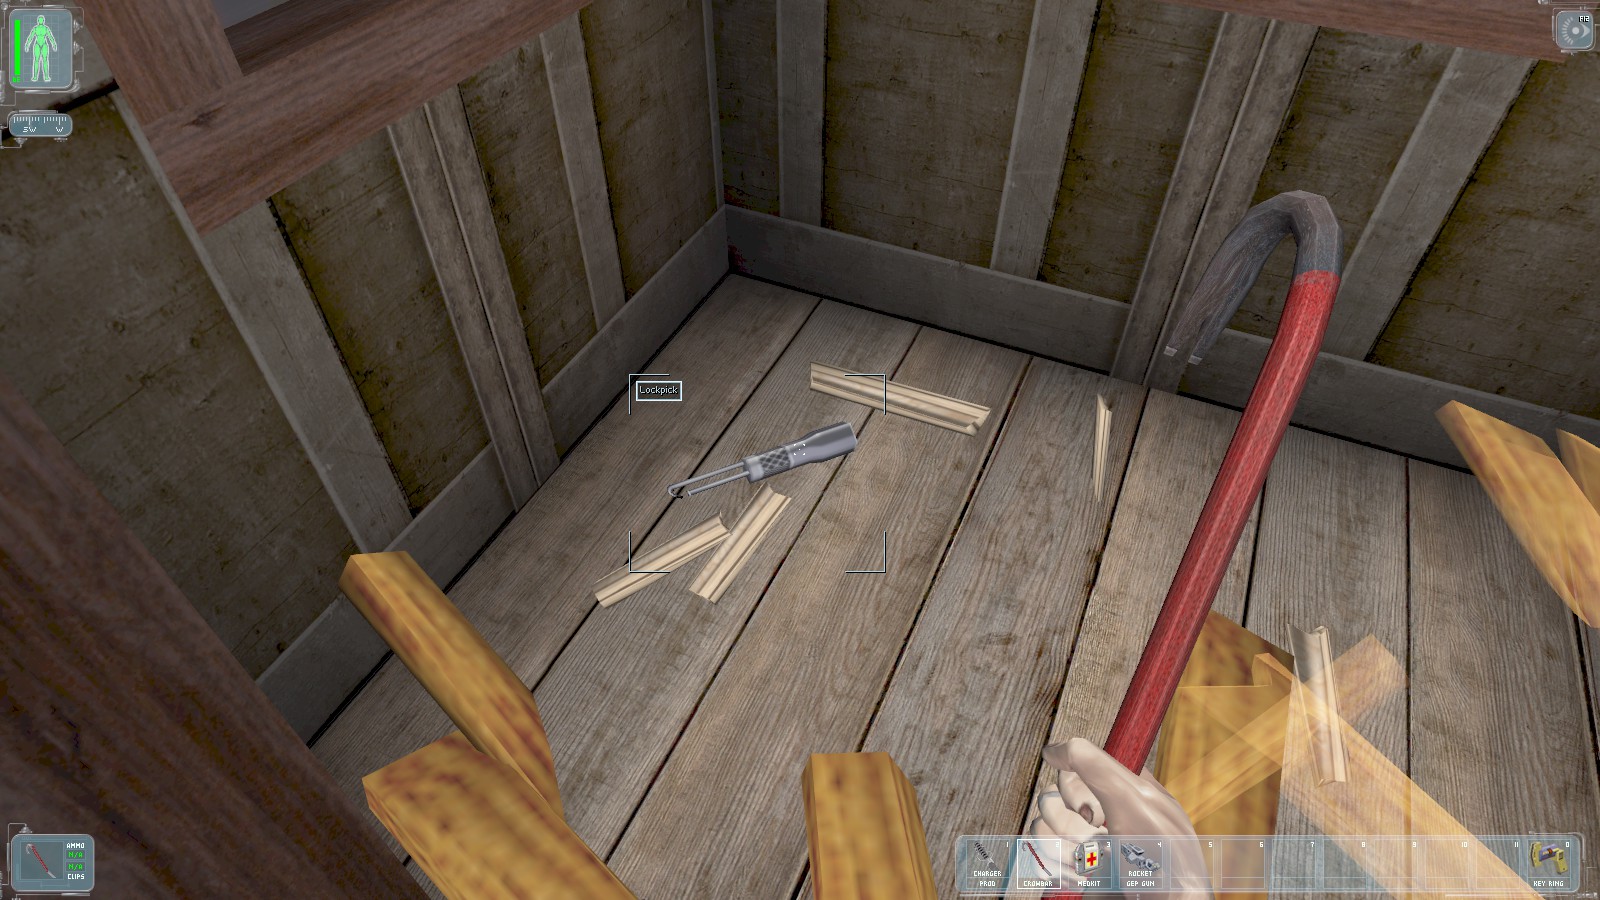
Inside is a supply crate just visible behind a locked door, along with a handy crow bar. Grab the crow bar and smash the door in… …then smash the crate inside… …to find a lock pick. These are essential for finding the stealthiest routes, as well as for finding various useful stuff. They’re also fairly scarce, so stay on the lookout for them.
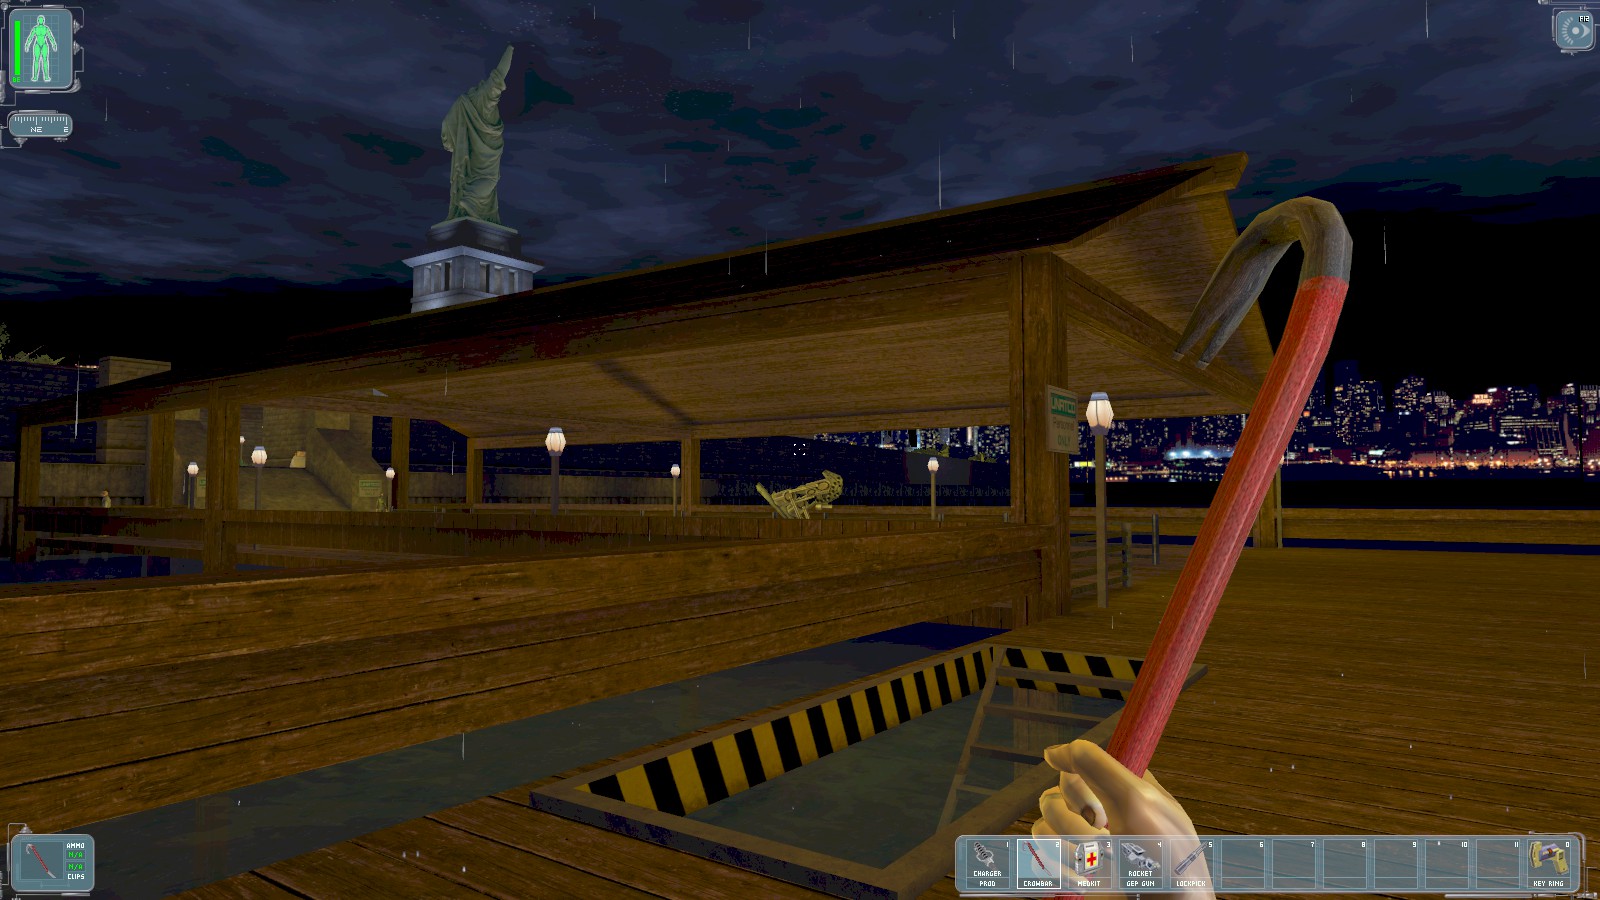
Outside the shed go down a few steps into the water to find another supply crate.
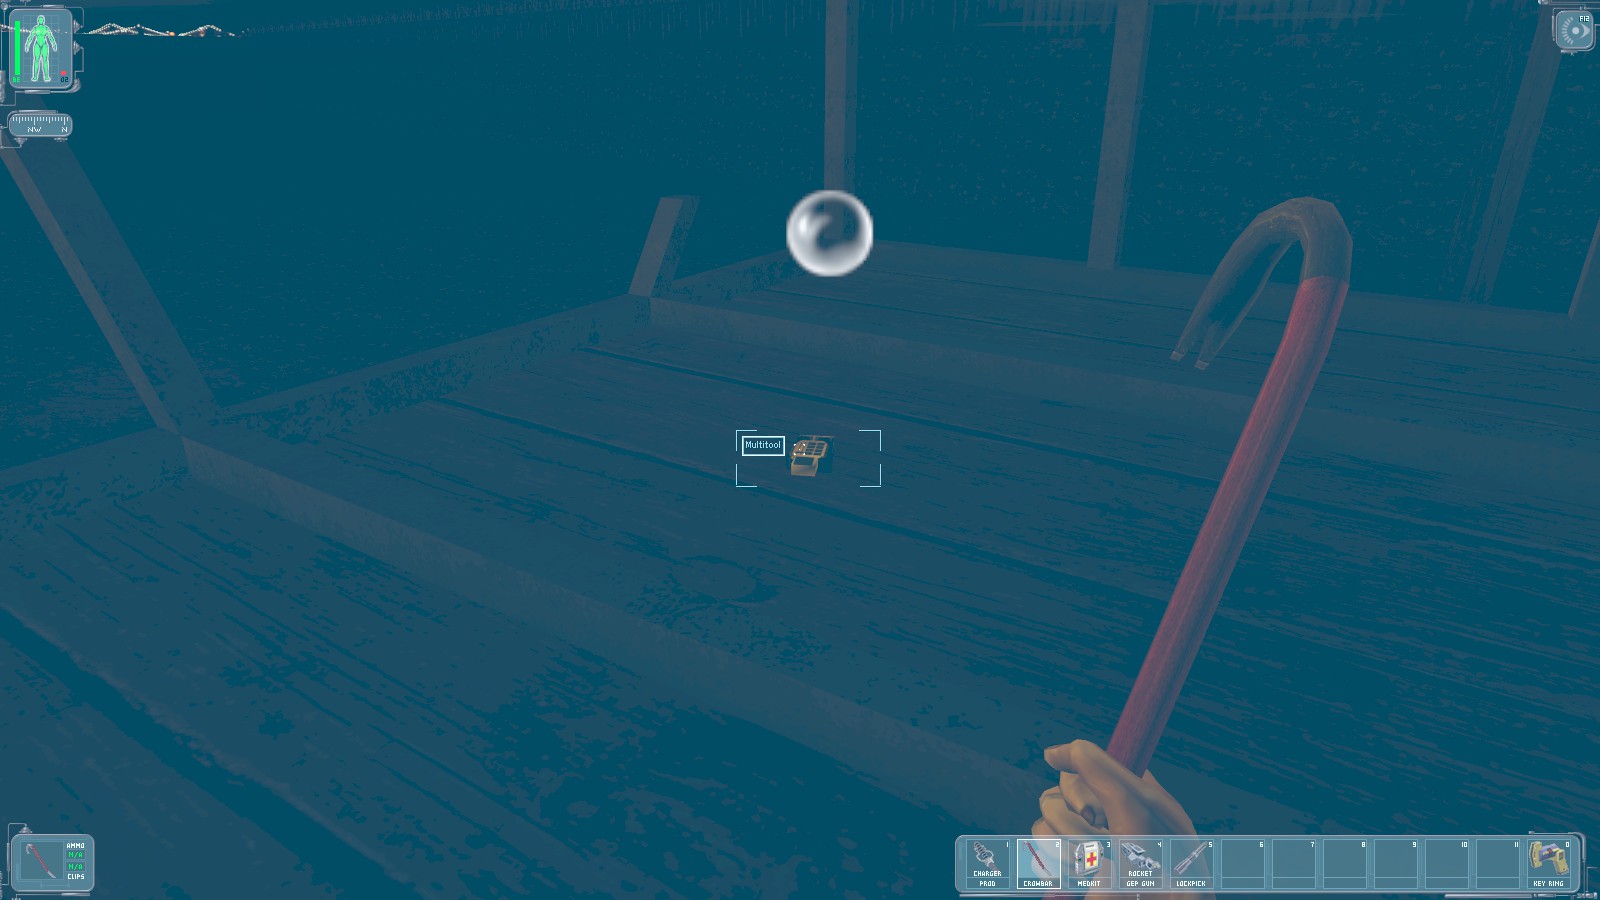
This one contains a multi-tool, useful for bypassing security systems such as laser grids. Not quite as scarce as lock picks, they’re still handy to have.
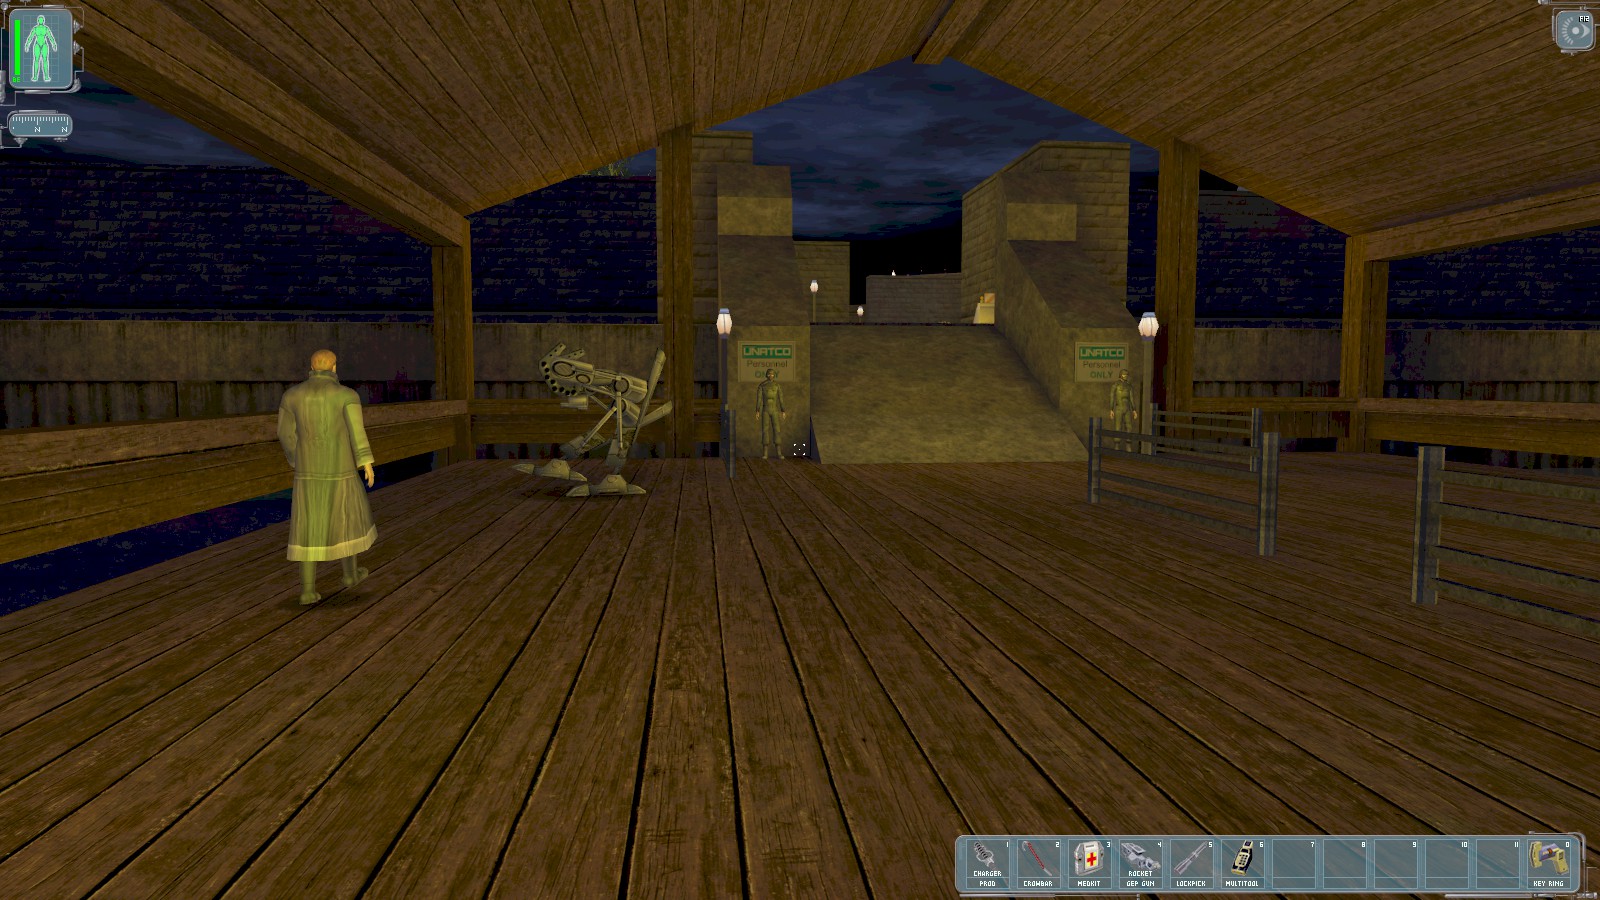
Follow Paul around the dock; speak with either of the guards for a little more background before heading up the ramp.
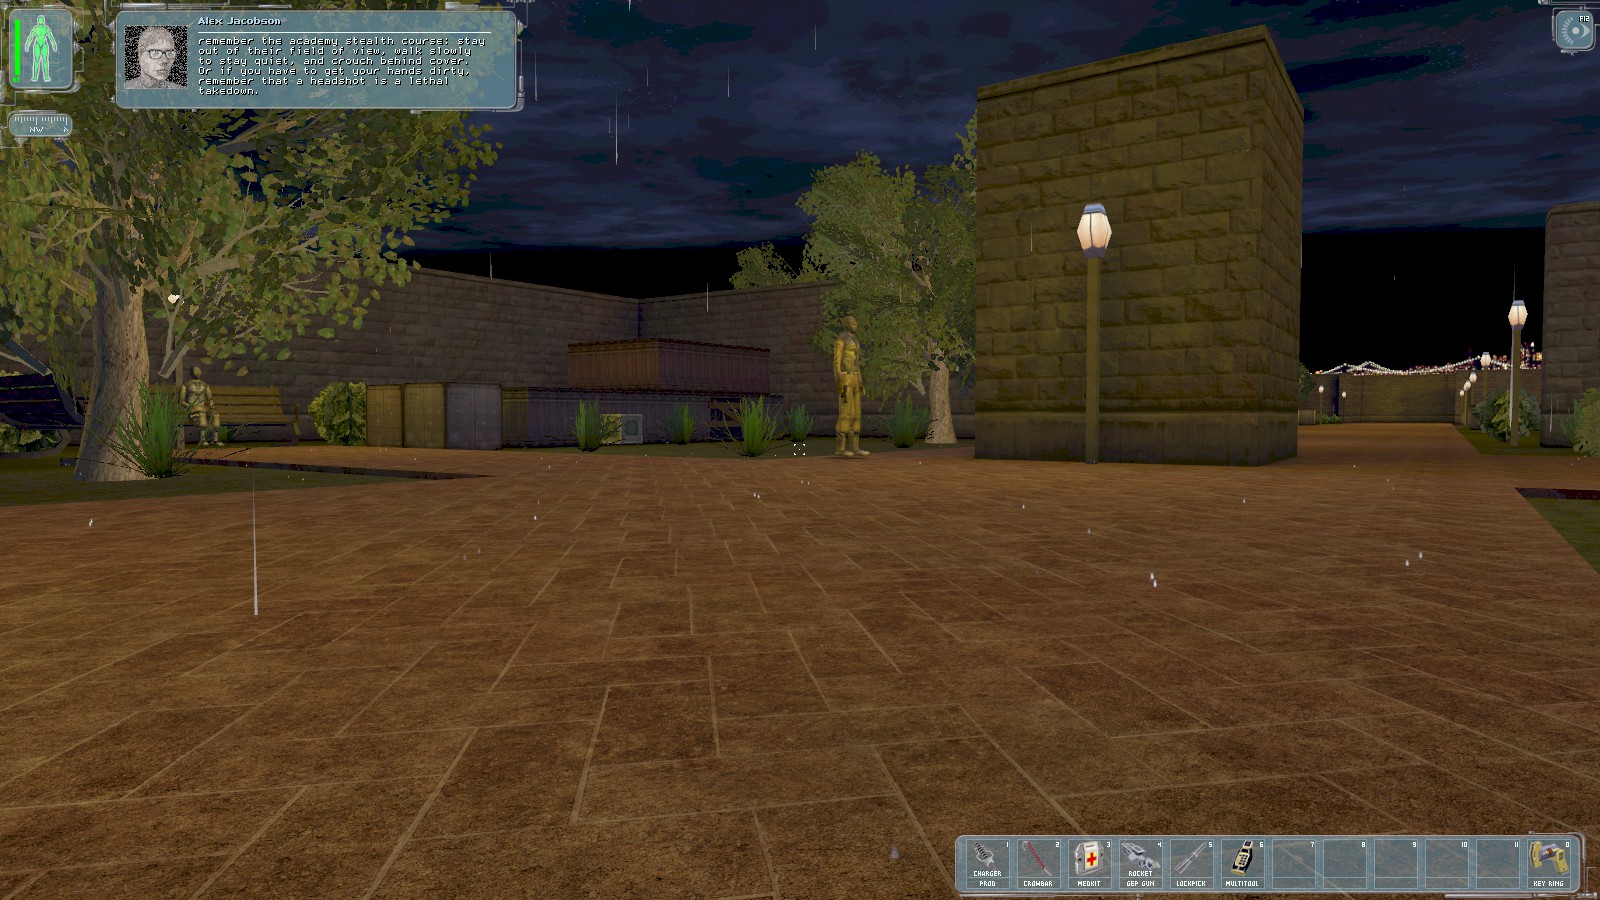
At the top of the ramp Alex pops up again with some stealth and combat tips. The area is patrolled by a number of terrorists who’ll shoot on sight. Best to stay out of sight then, as per Alex’s instructions. Note the seated guy just visible on the left here—he’s also a foe. Avoid him by heading East (right in this shot) a little way to find the shadows, before turning back North to follow the guard in the middle of this shot (your compass is in the top-left of the display).

Here he is. For reference, the dock and seated terrorist are to your left in this shot. When the patrolling guard has passed head over through the gate to the UNATCO compound—your place of work.
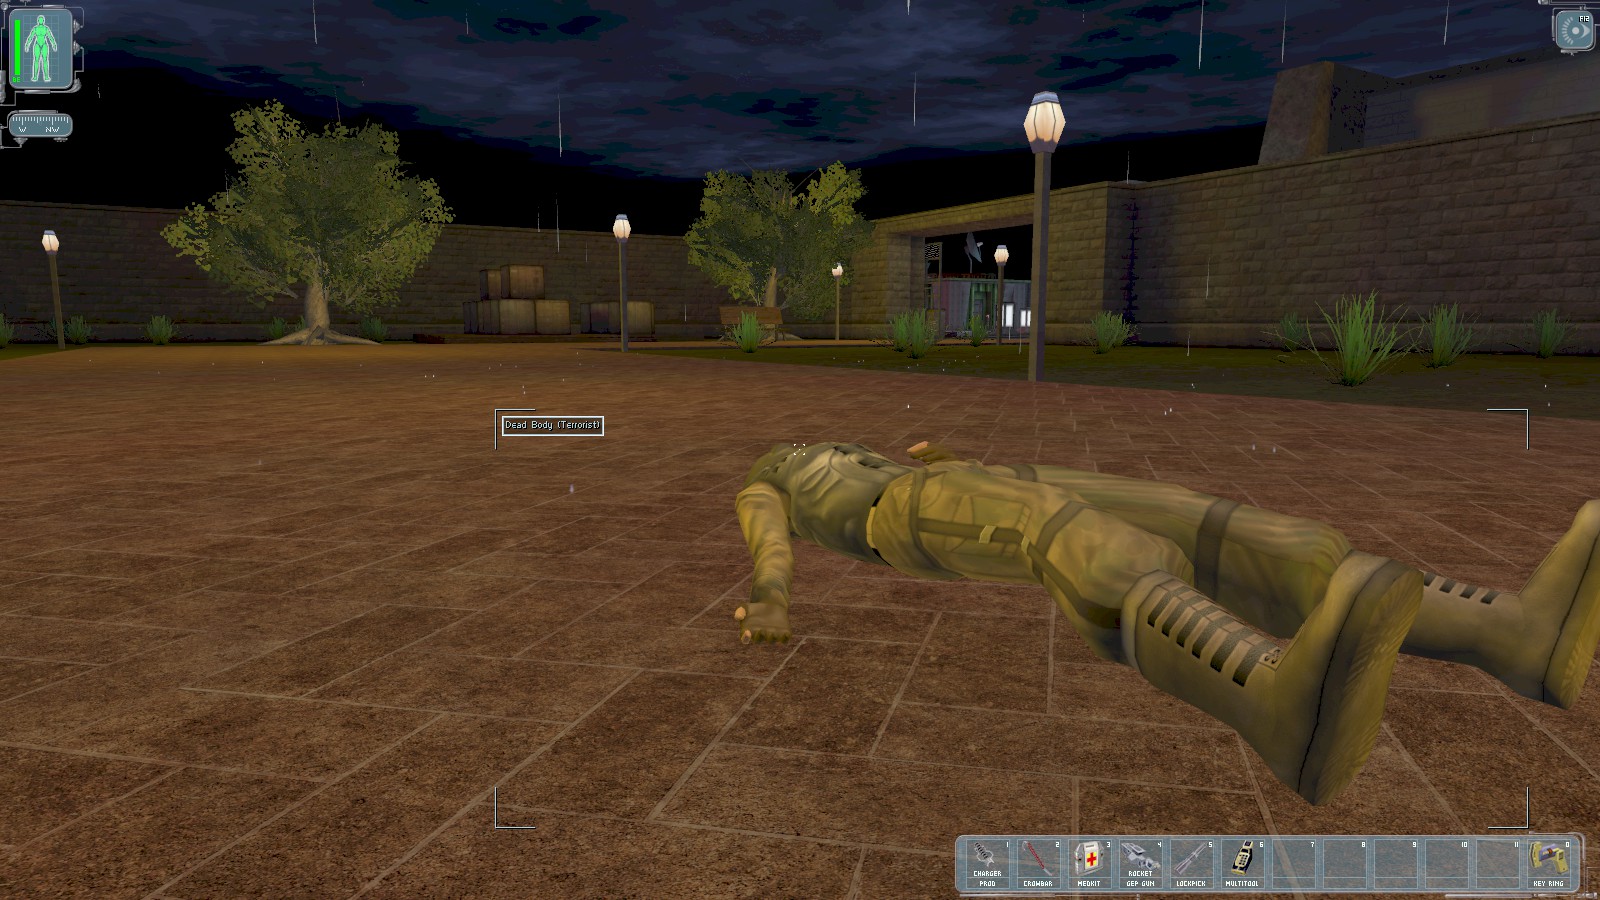
Search bodies for useful loot. This one has a mini-crossbow and a couple of tranquilizer darts—another essential item for pacifist play. If you search the boxes at the far end you’ll find an accuracy mod for it.
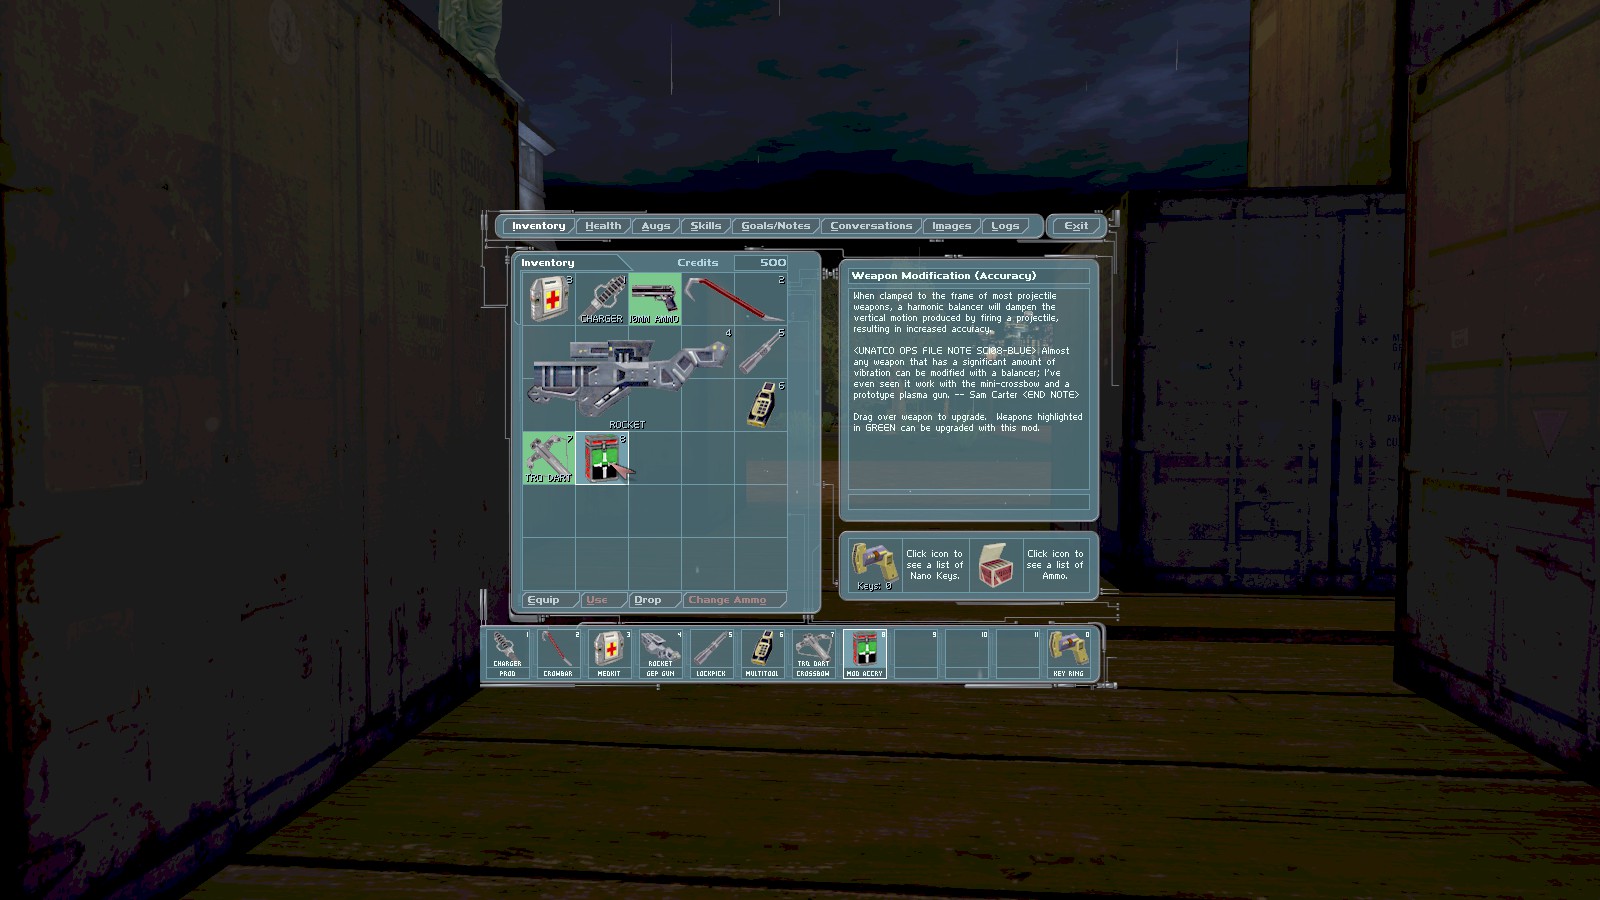
Go into your inventory and select the collected mod. The items to which it can be applied are highlighted for you. I choose to upgrade the mini-crossbow.
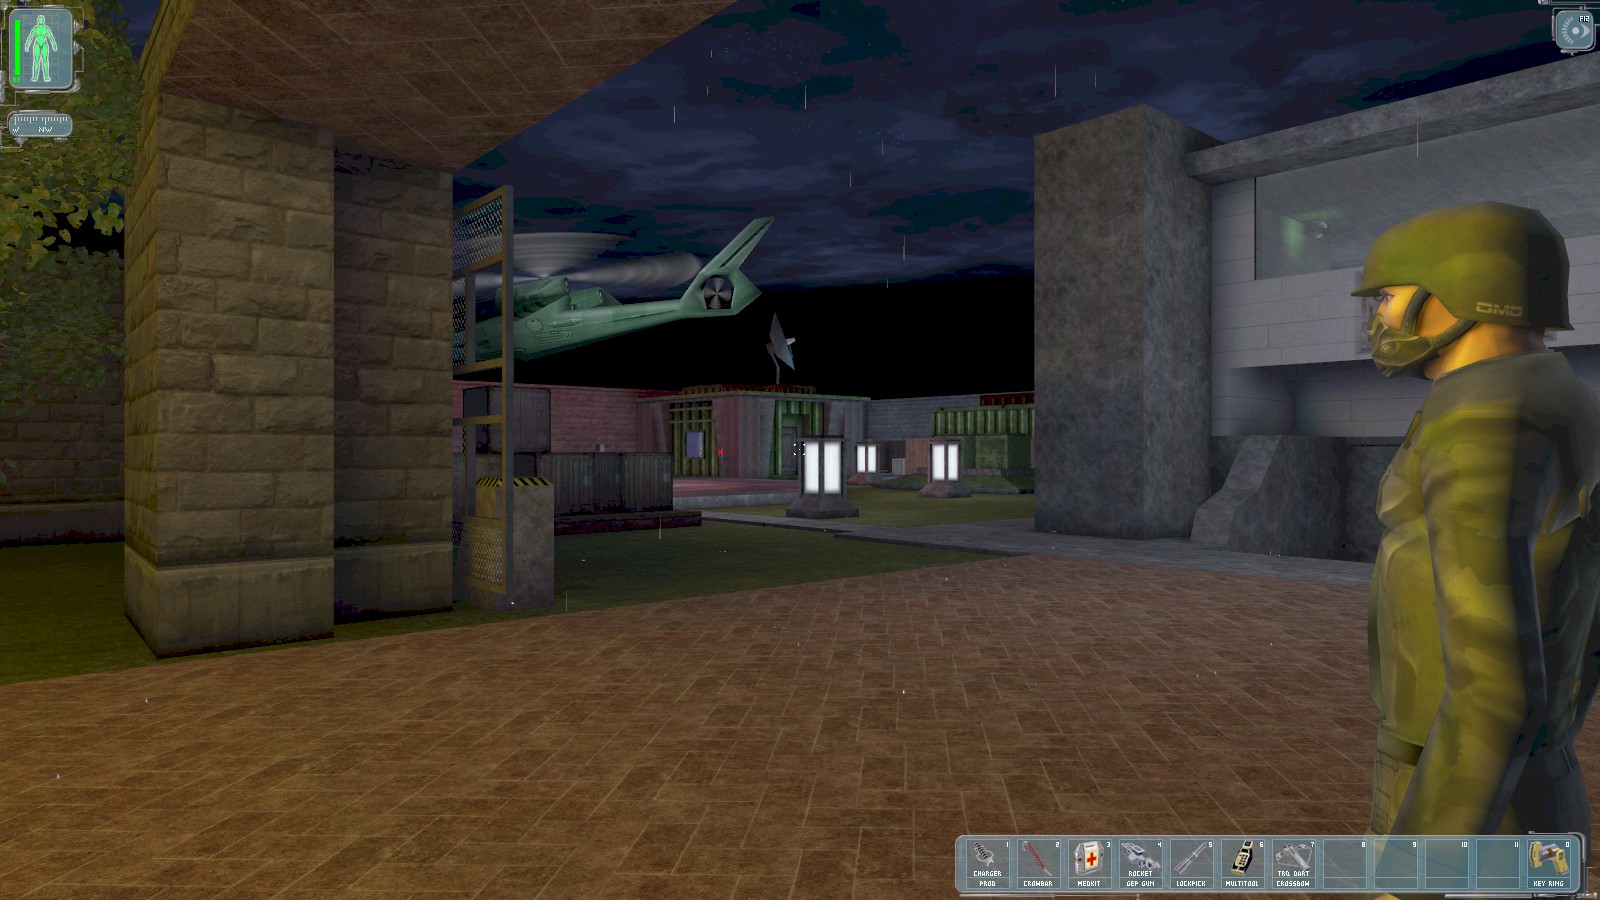
As you enter the compound itself, a helicopter departs. The guards here are friends. The UNATCO building on the right here is closed, but head to the rear of the compound to find a guard hut.
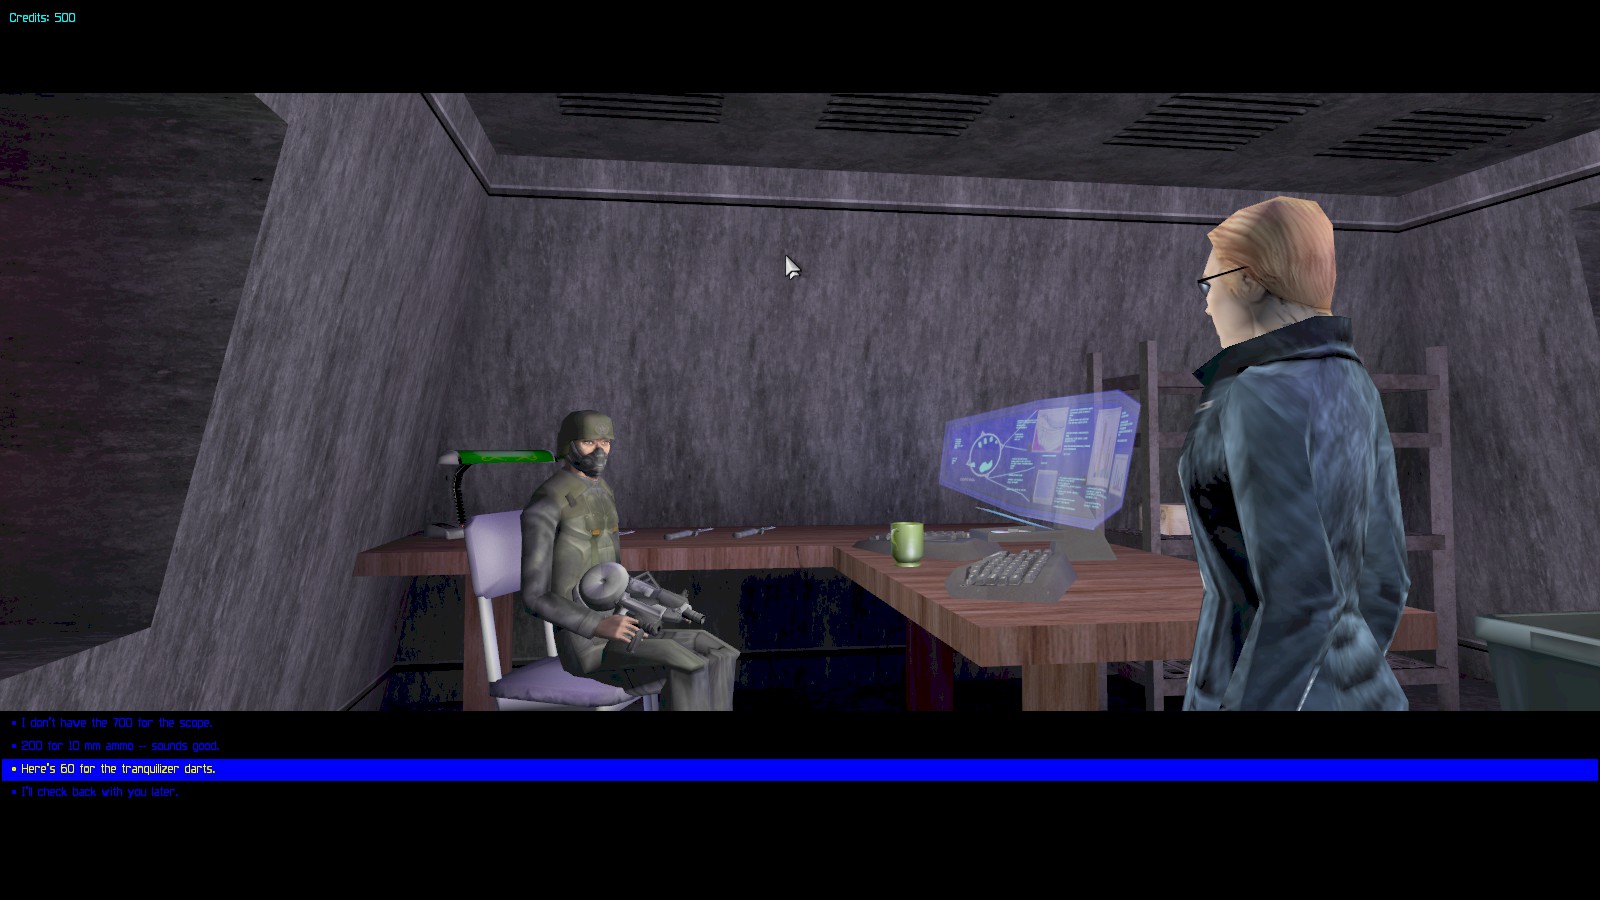
Speak to the guard in the hut. He’ll approve if you say you’re going to clear the place out and give you the code 0451 to a supply bunker. Whichever response you give he’ll offer to sell you some gear. Despite taking a hard line I take the tranquilizer darts. You can hack the PC but there’s nothing on it.
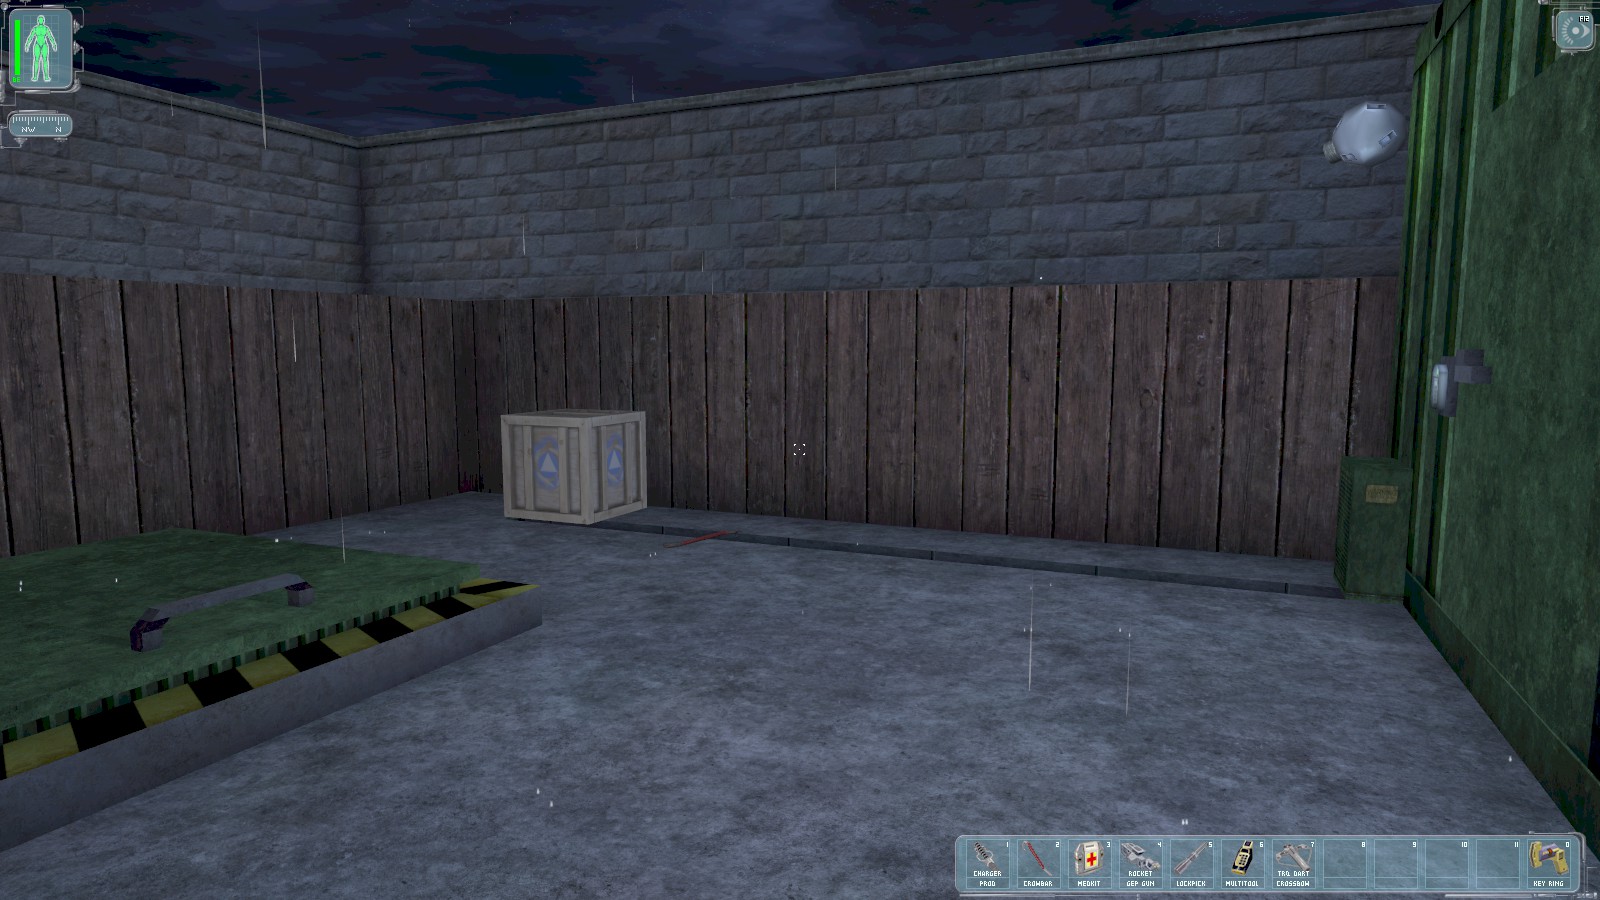
Behind the hut is the bunker on the right, a supply crate containing another multi tool, and a locked floor hatch on the left. Save your lock pick, and use the code 0451 on the keypad to the bunker.
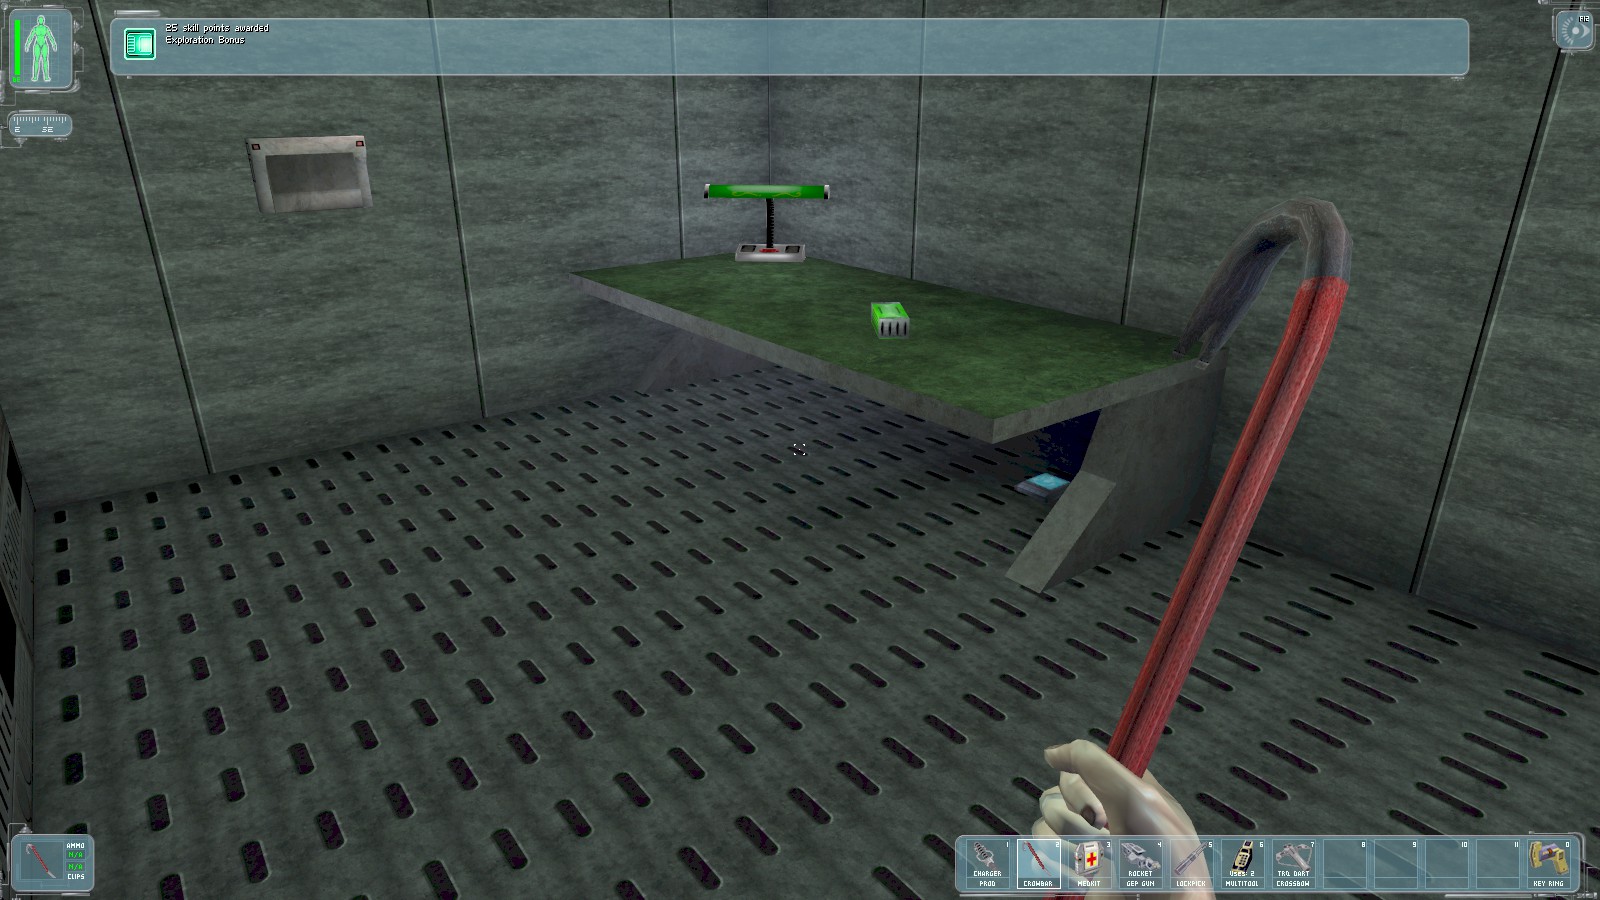
Go in for a 25 point exploration bonus. These points are used to upgrade skills like lock-picking,
athleticism, and hacking. Swipe more tranq darts from the table, then interact with the data cube
under the table for the credentials SATCOM/UNATCO_001. It’s often wise to hunt around for these
data cubes which frequently contain useful information like passwords and door codes.
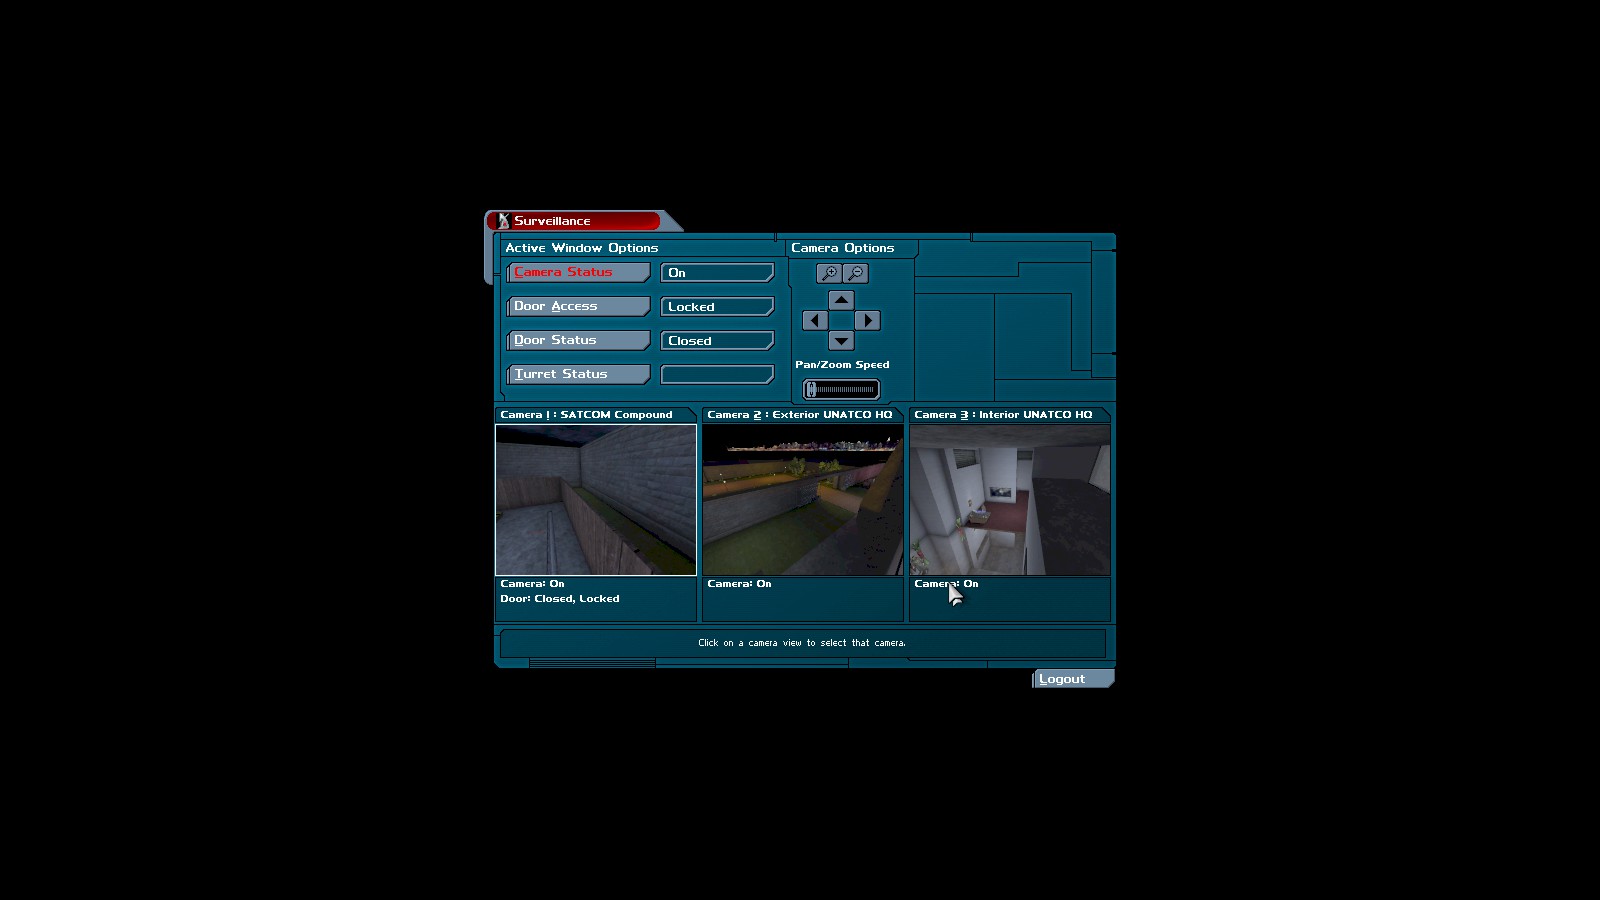
Use the credentials to access the security panel. Note that things requiring login credentials are not case-sensitive. From here you can control 3 cameras (no point here—you’ve already been seen!), and open one "door" which is the locked floor hatch outside.
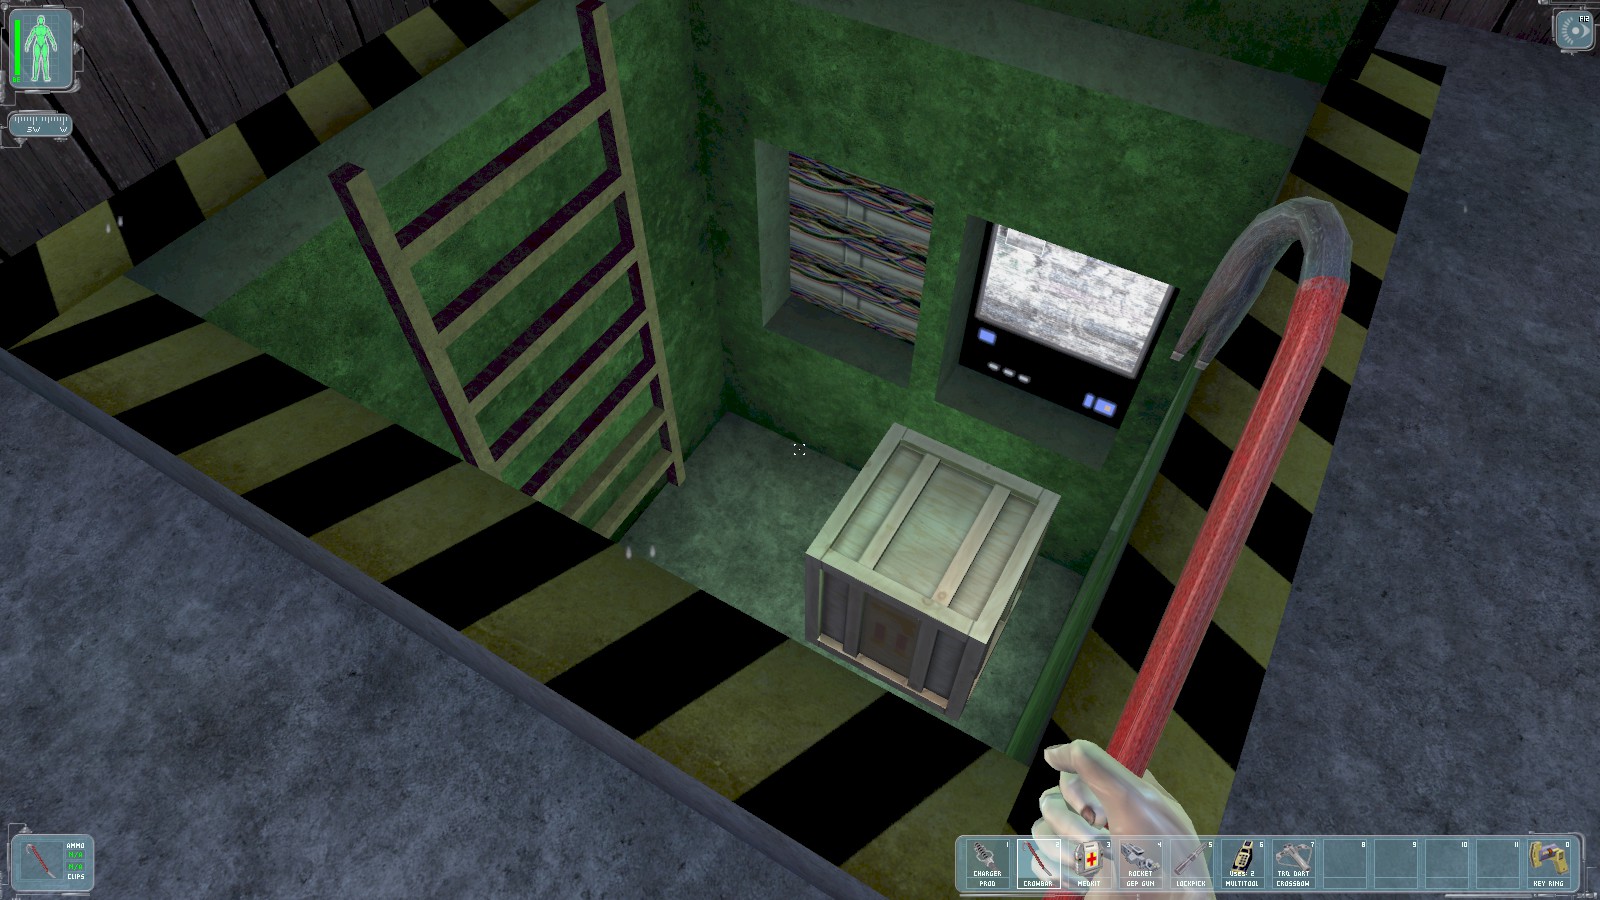
Jump in for a 50 point exploration bonus and an electromagnetic pulse (EMP) grenade in the crate. These grenades are useful for disabling robots, laser tripwires, and turret guns.
|
|

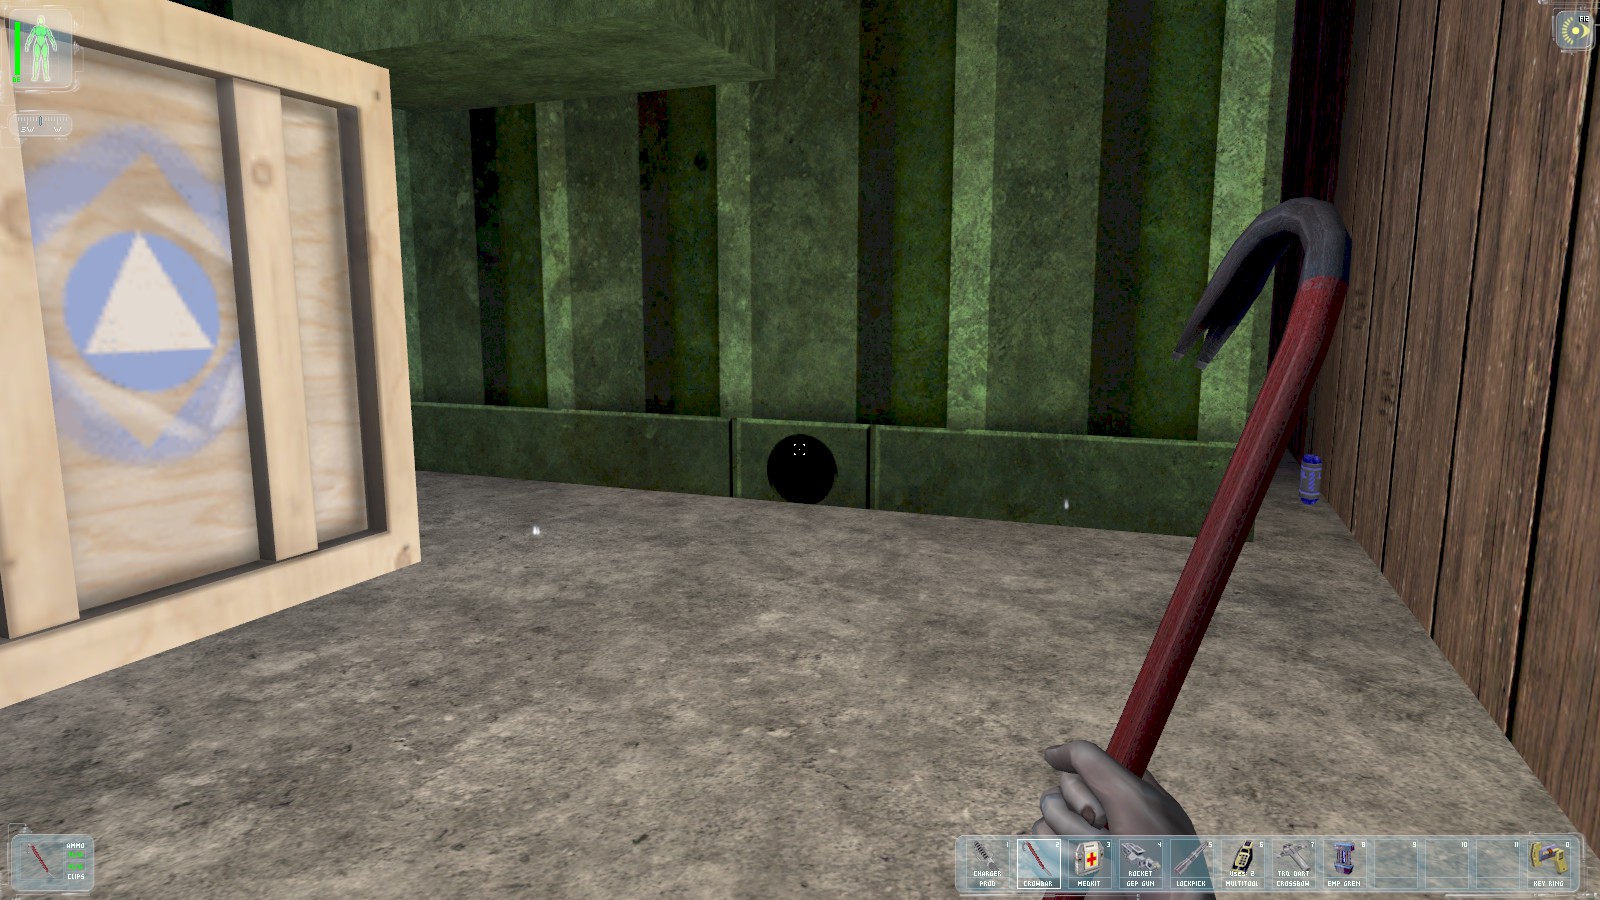
Back outside, head behind the bunker to find a supply crate containing another lock pick and a nano key tucked almost out of sight on the right. This one would open the floor hatch had we not already done so.
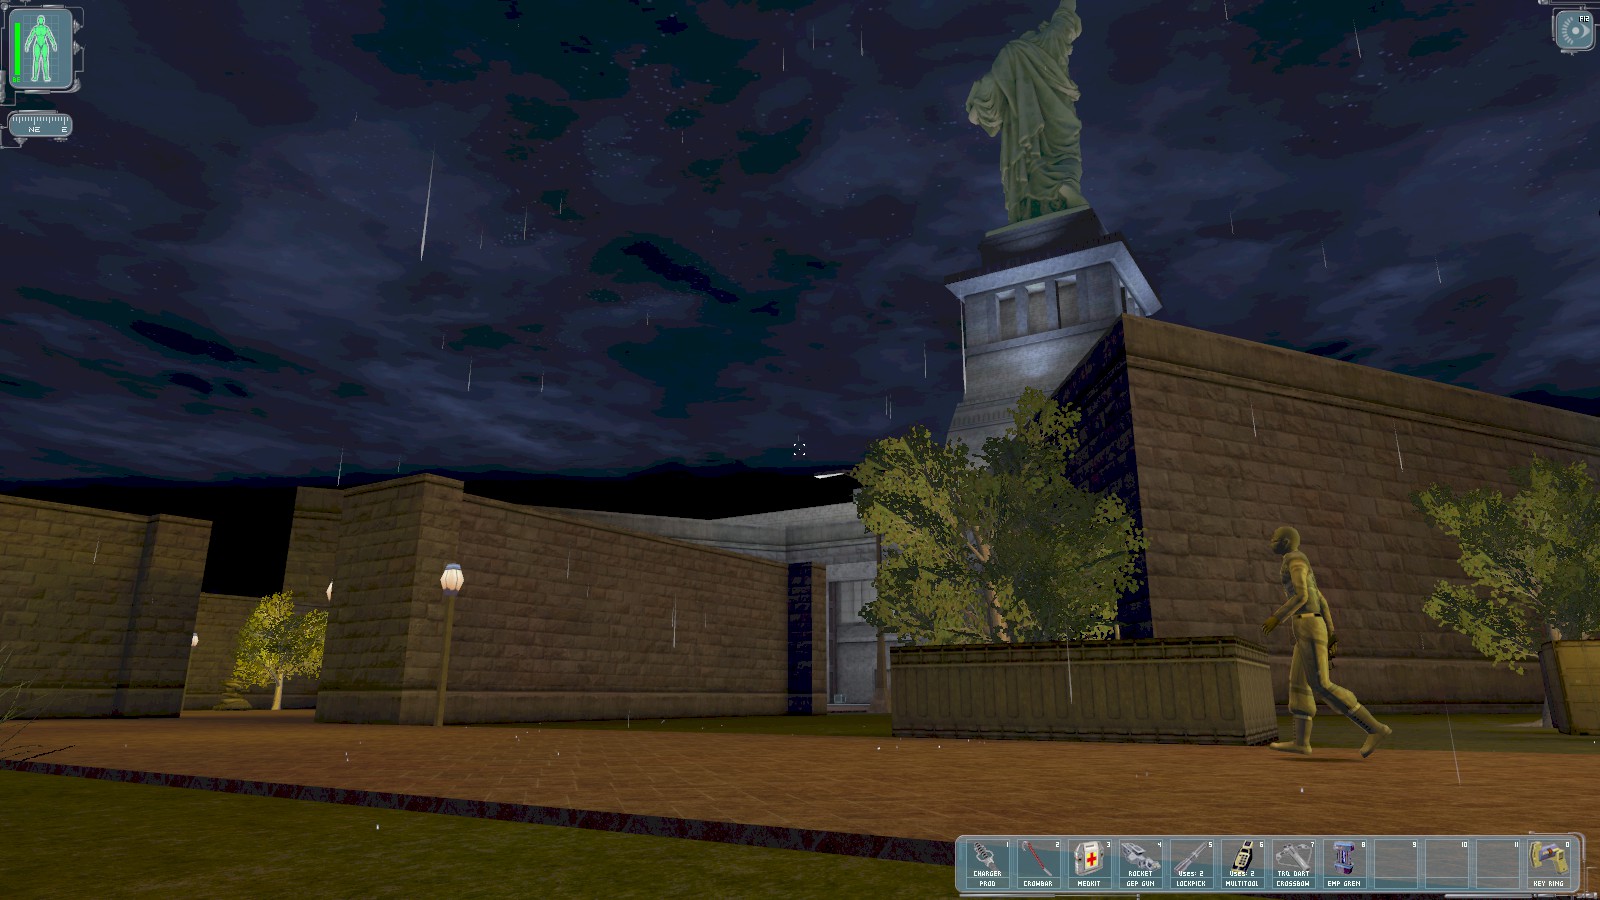
Back outside the compound, carefully avoiding the patrols, head North. Use the statue for reference to this point. Our destination is the shipping container near where the guard is patrolling here. Alex radios in to warn about patchwork security—the sharp-eyed among you will notice the patrolling armed robot on the left. Carefully approach the container…
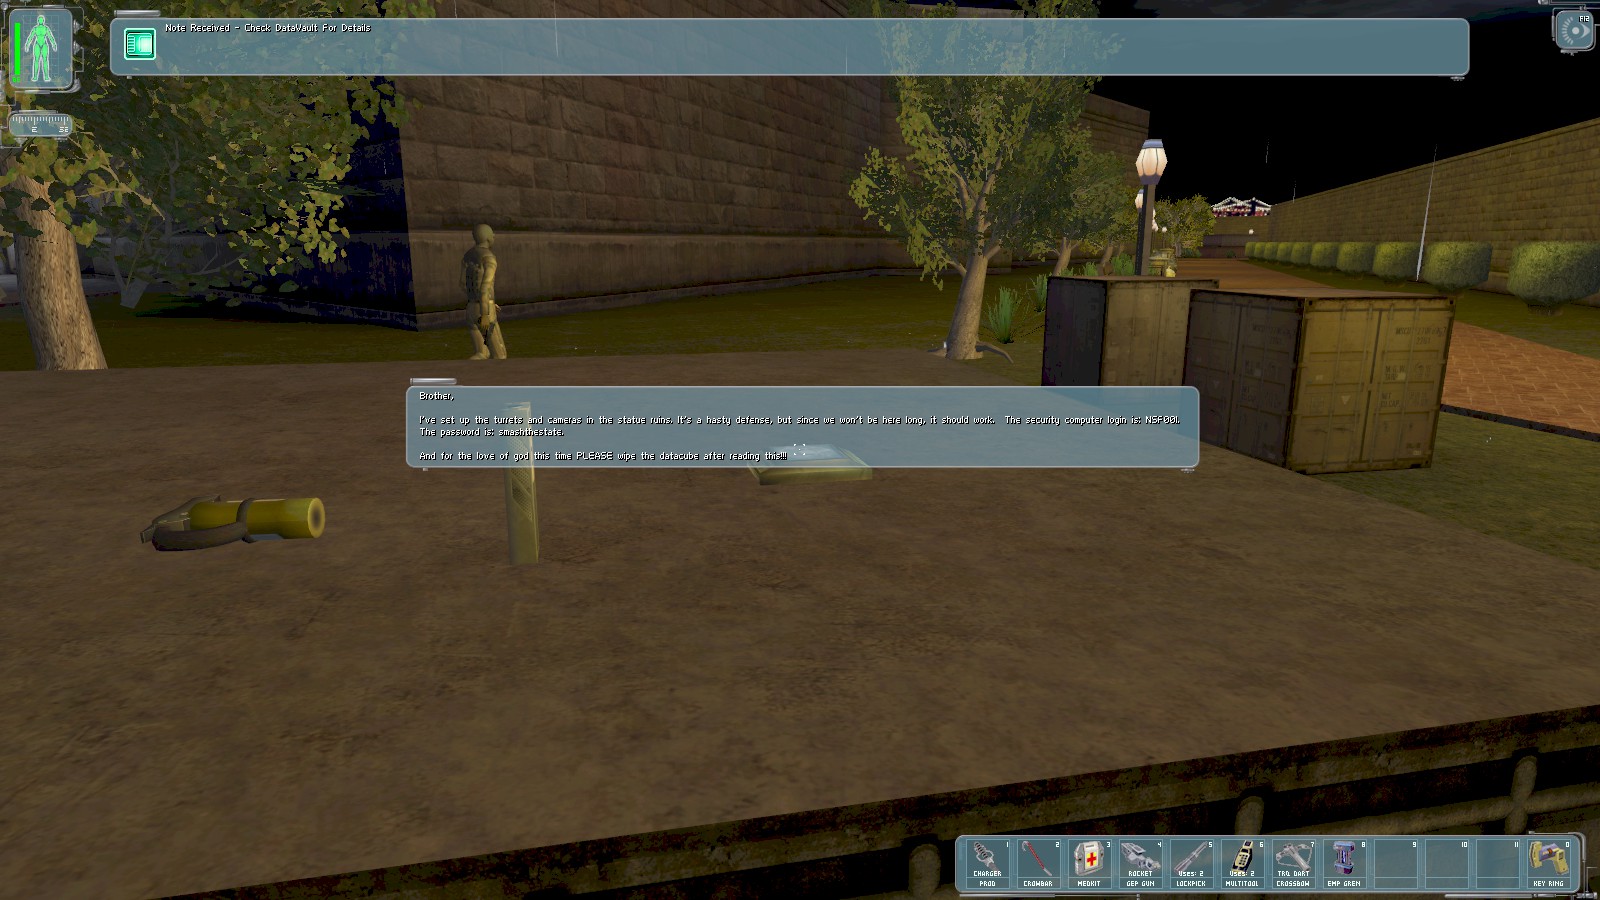
…for a datacube with the credentials NSF001/smashthestate, along with ammo for your riot prod
and a pepper spray (surprisingly useful for stunning an enemy while you ready your prod).
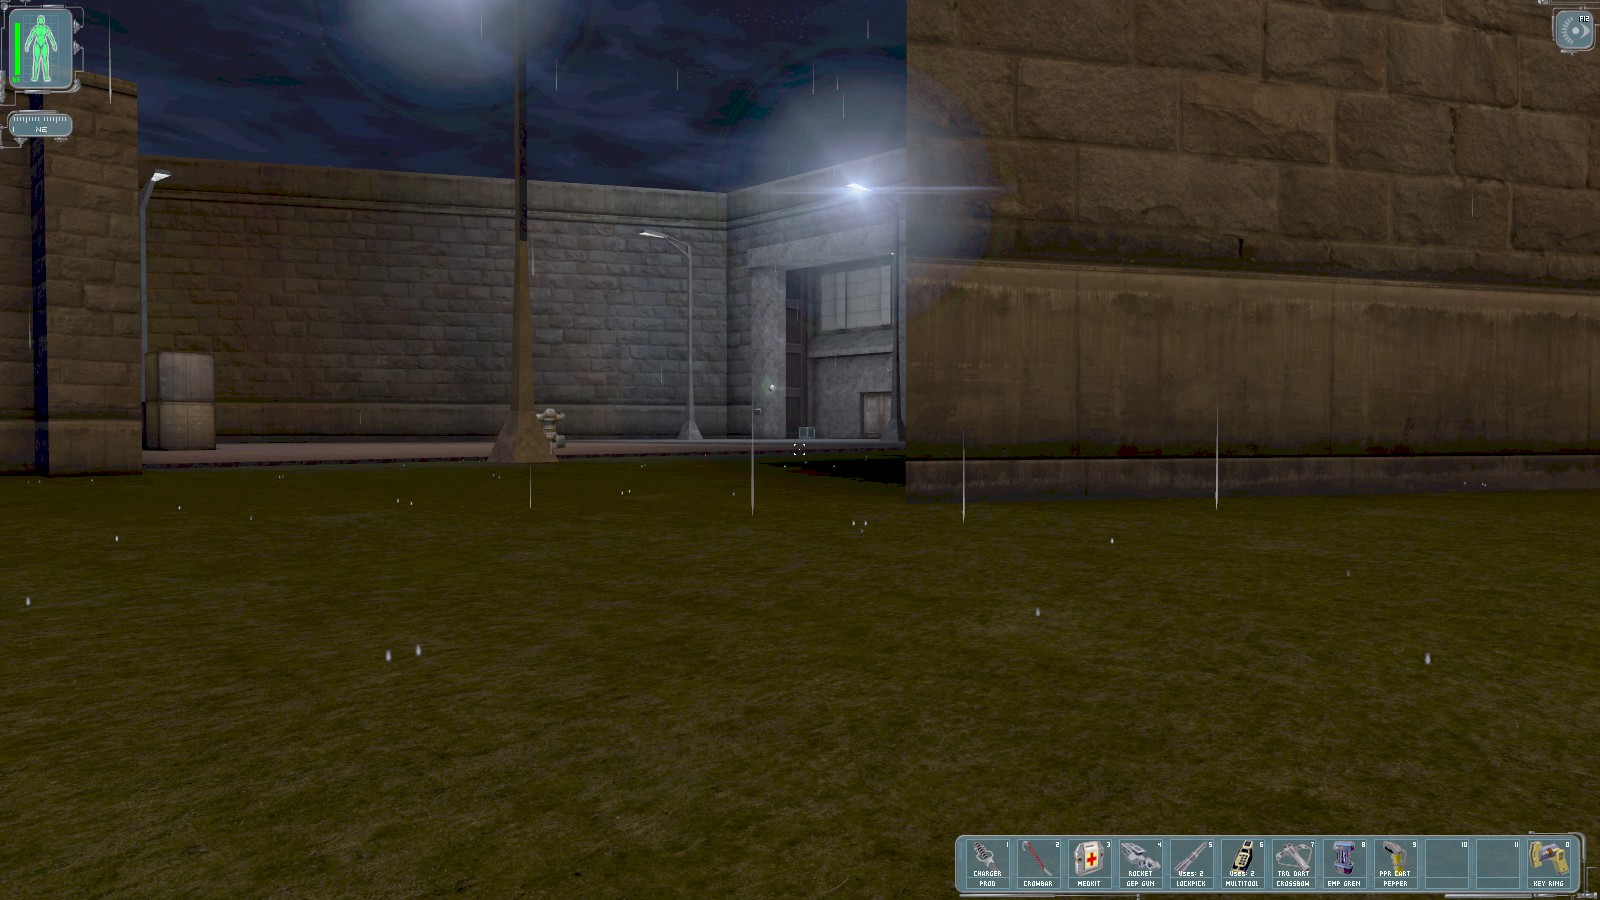
To the left (North) of the container is one entrance to the statue, patrolled by that pesky robot as well as CCTV and a number of guards. Instead head carefully South-East along the path with lots of bushes and trees.
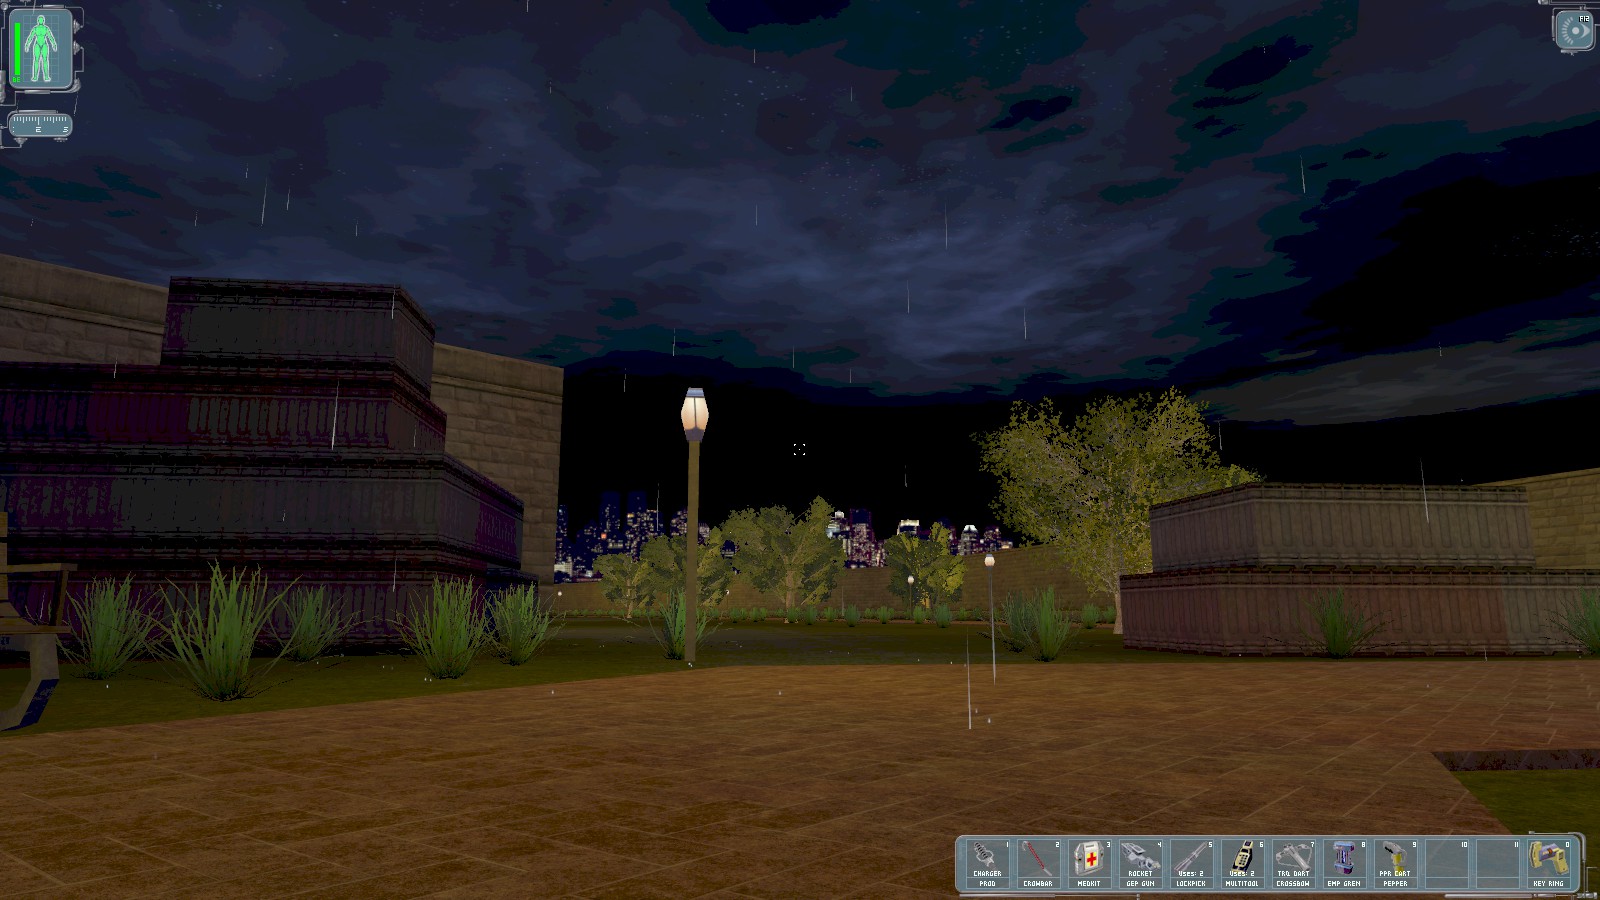
It brings you to this point. A guard is hidden in the pile of containers in shadow on the left, so head behind it and hug the wall to avoid being seen. Head North toward the North docks and the rendezvous with Harley Filben who can provide a key to the statue itself for the primary objective.
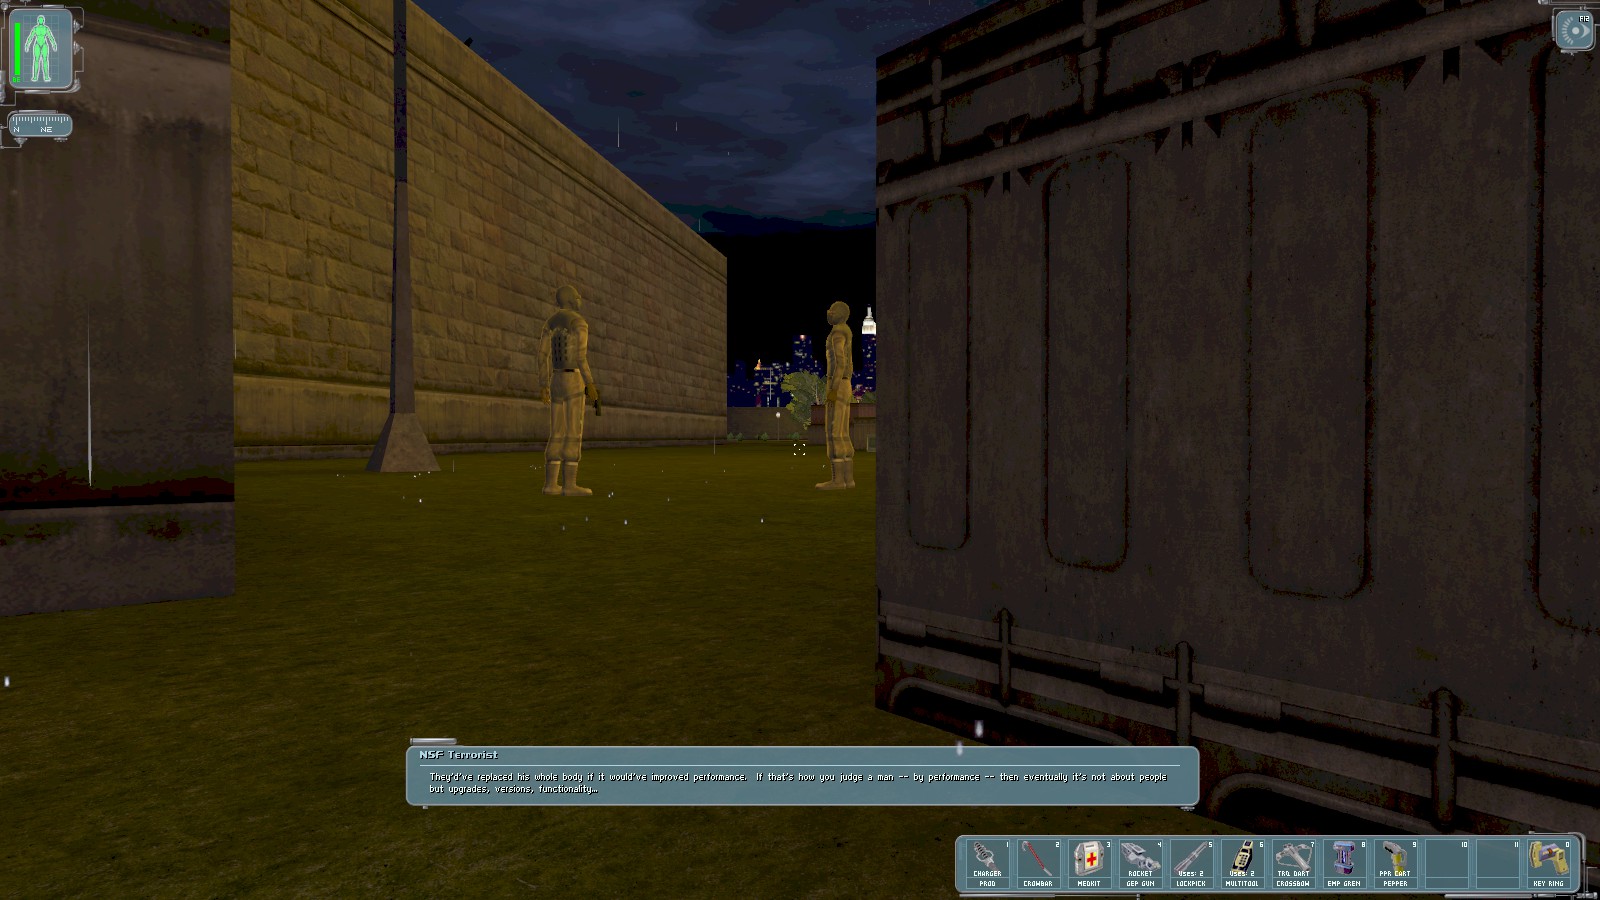
Give these two terrorists a wide berth while they talk about Agent Hermann, the UNATCO hostage.
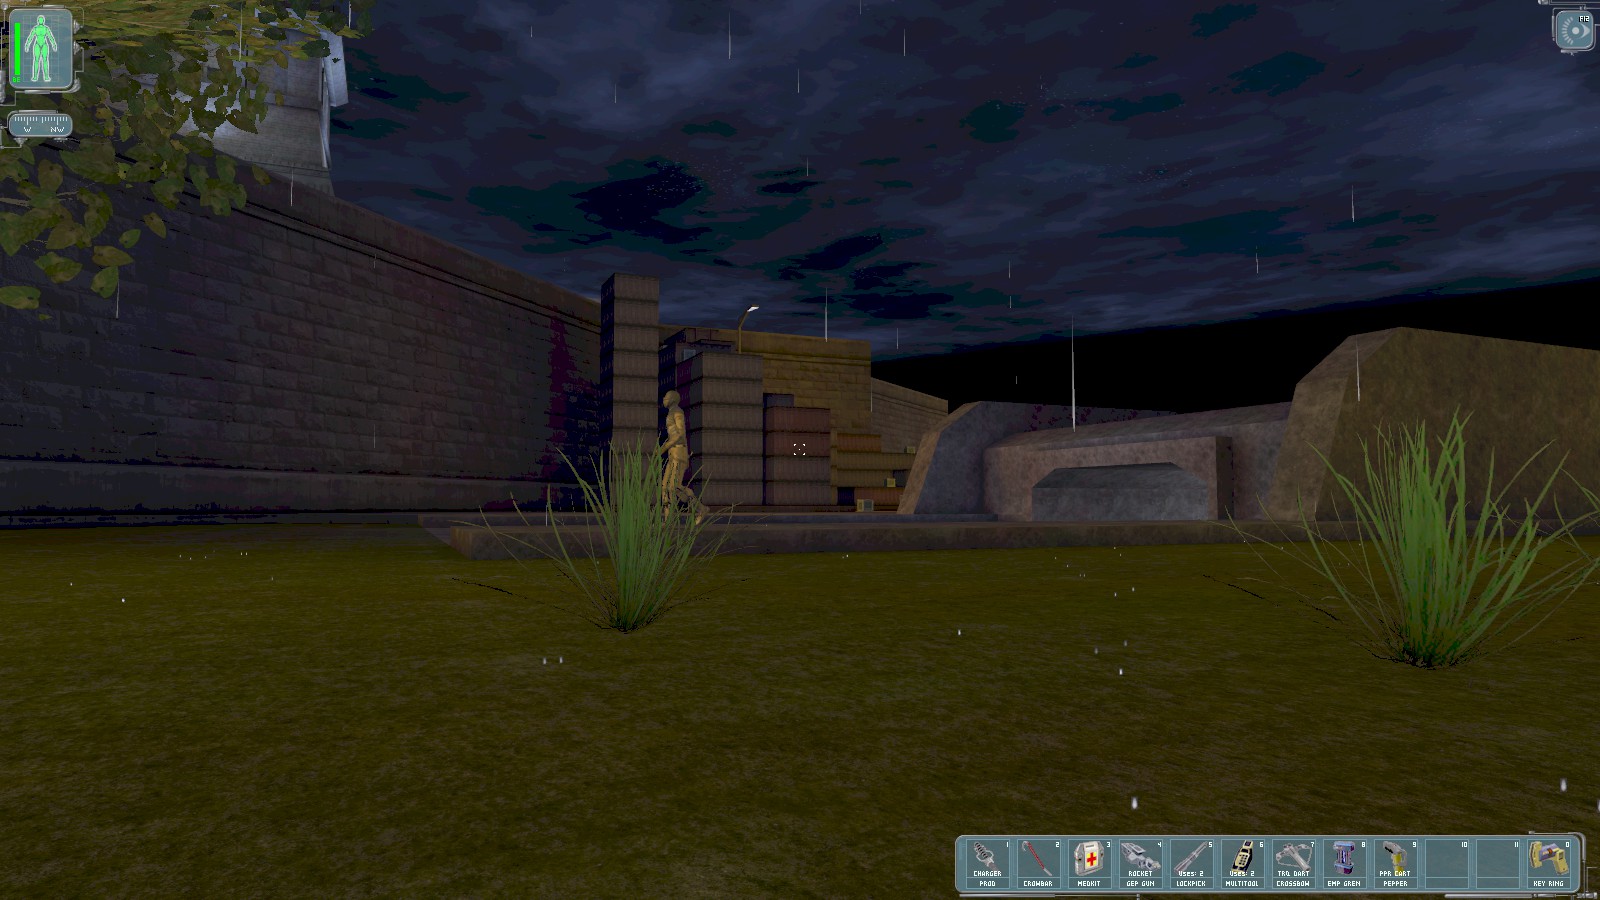
You’ll eventually reach this bunker. Taking care of the circling patrol, head down the ramp.
|
|
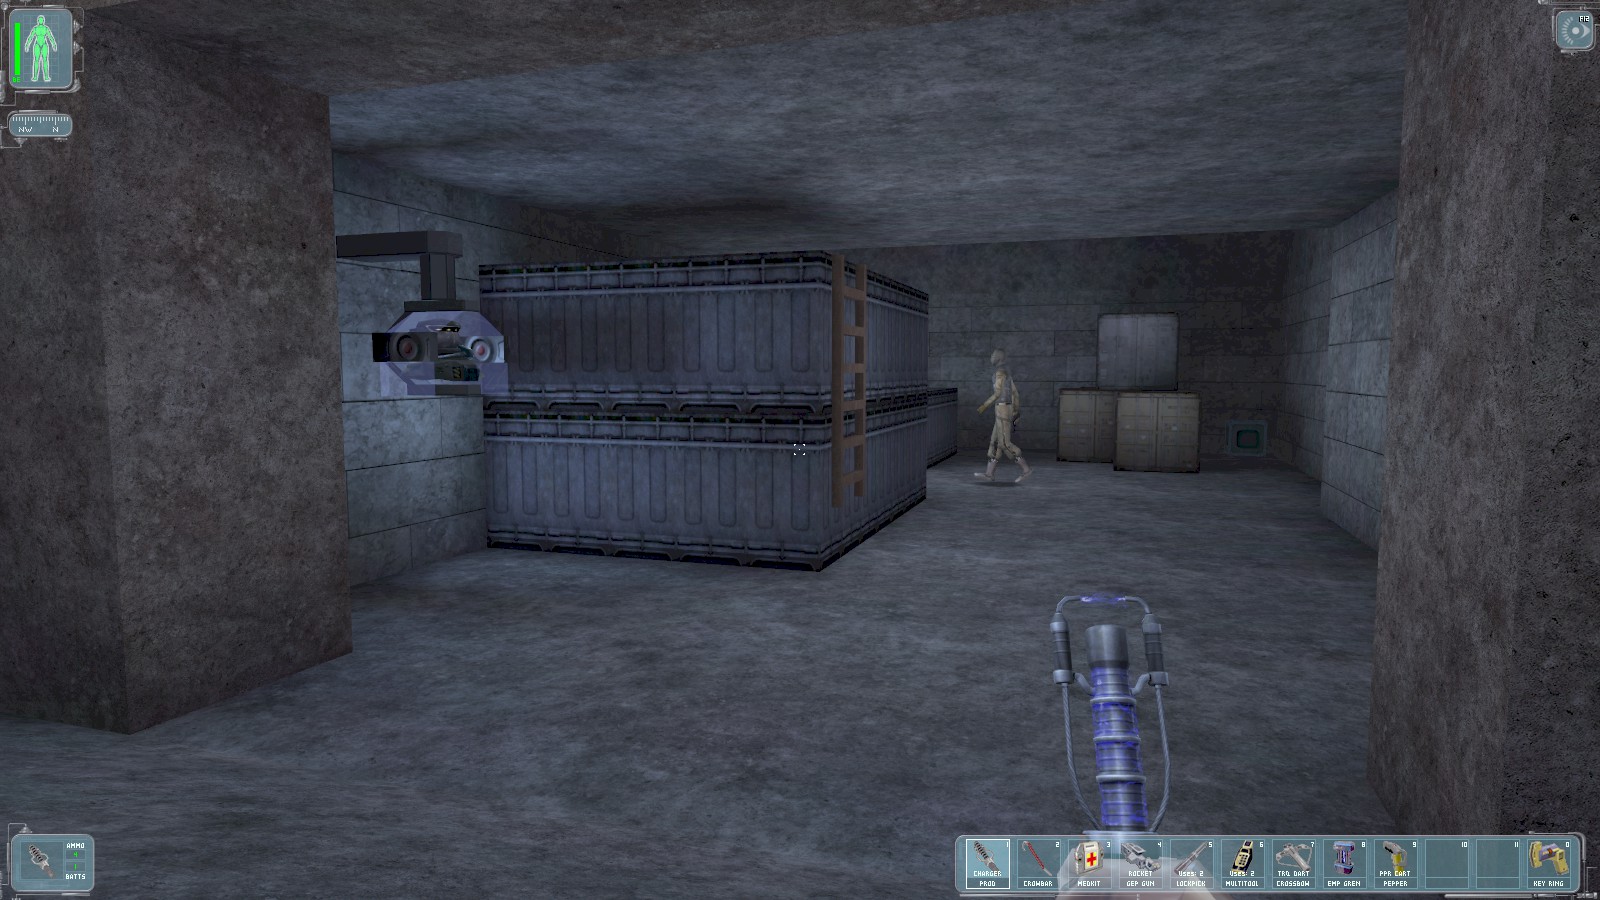
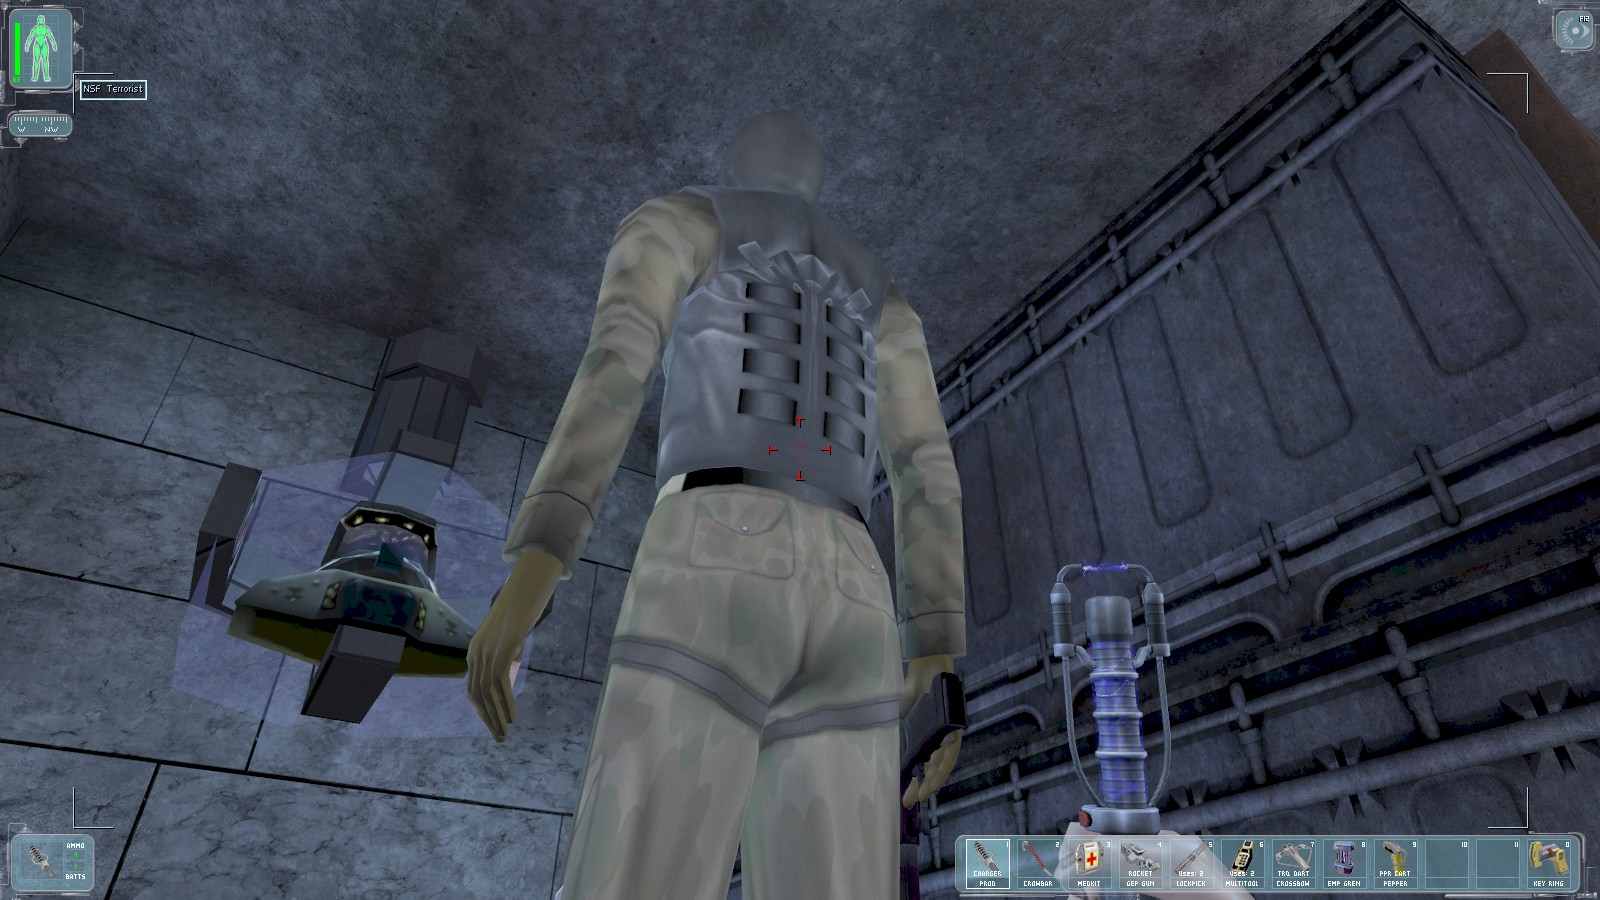
Ready your riot prod. It’s useful for knocking adversaries out quickly and silently without raising any alarms. Take out the guard from behind. Aim for the small of the back and wait as long as you dare for the cross-hair to narrow for a one-strike takedown. He carries ammo and a knife. You can also take the hazmat suit in front of him if you’ve the space in your inventory. You may wish to hide the body of the guard round the corner to prevent him being spotted by the patrolling guard outside.
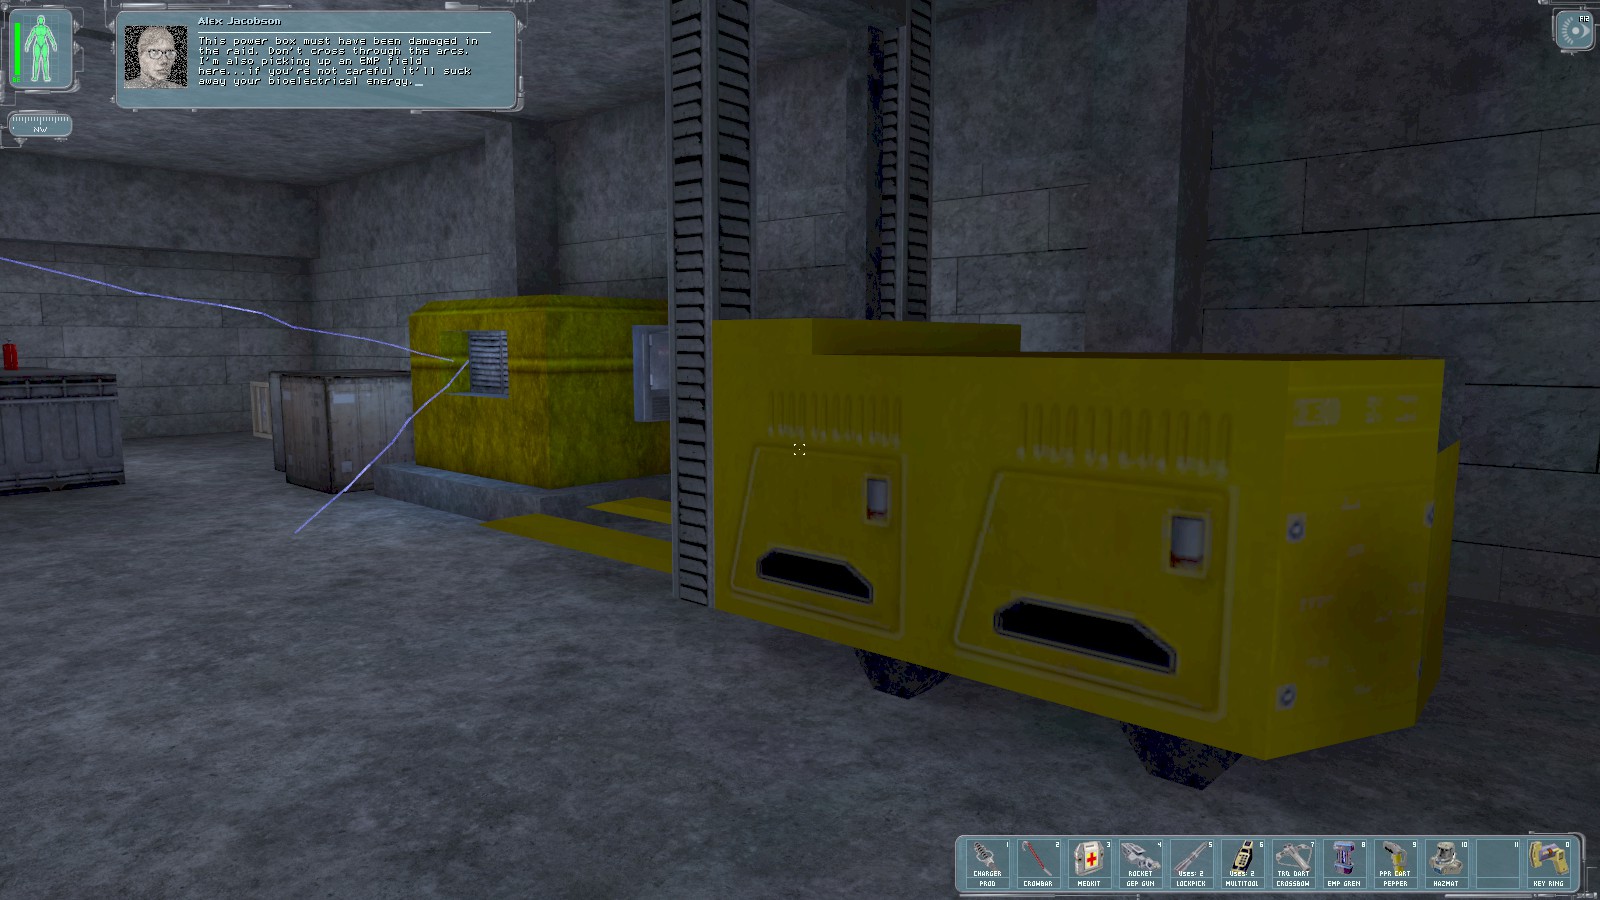
Alex radios in to warn you about taking care of your bioeletrical energy. A nearby data cube has a reminder of the NSF’s login. You can use a multi tool to disable the electrics, or grab a nearby metal crate to allow you to climb onto the forklift truck. The button at the rear of the truck raises the forks allowing you to just jump over the hazard to reach the supply crates beyond, and a 250 point exploration bonus. Nice! The crates contain a bioelectric cell and a laser weapon modification. When you’re done looting, use another crate to climb back over the boxes.
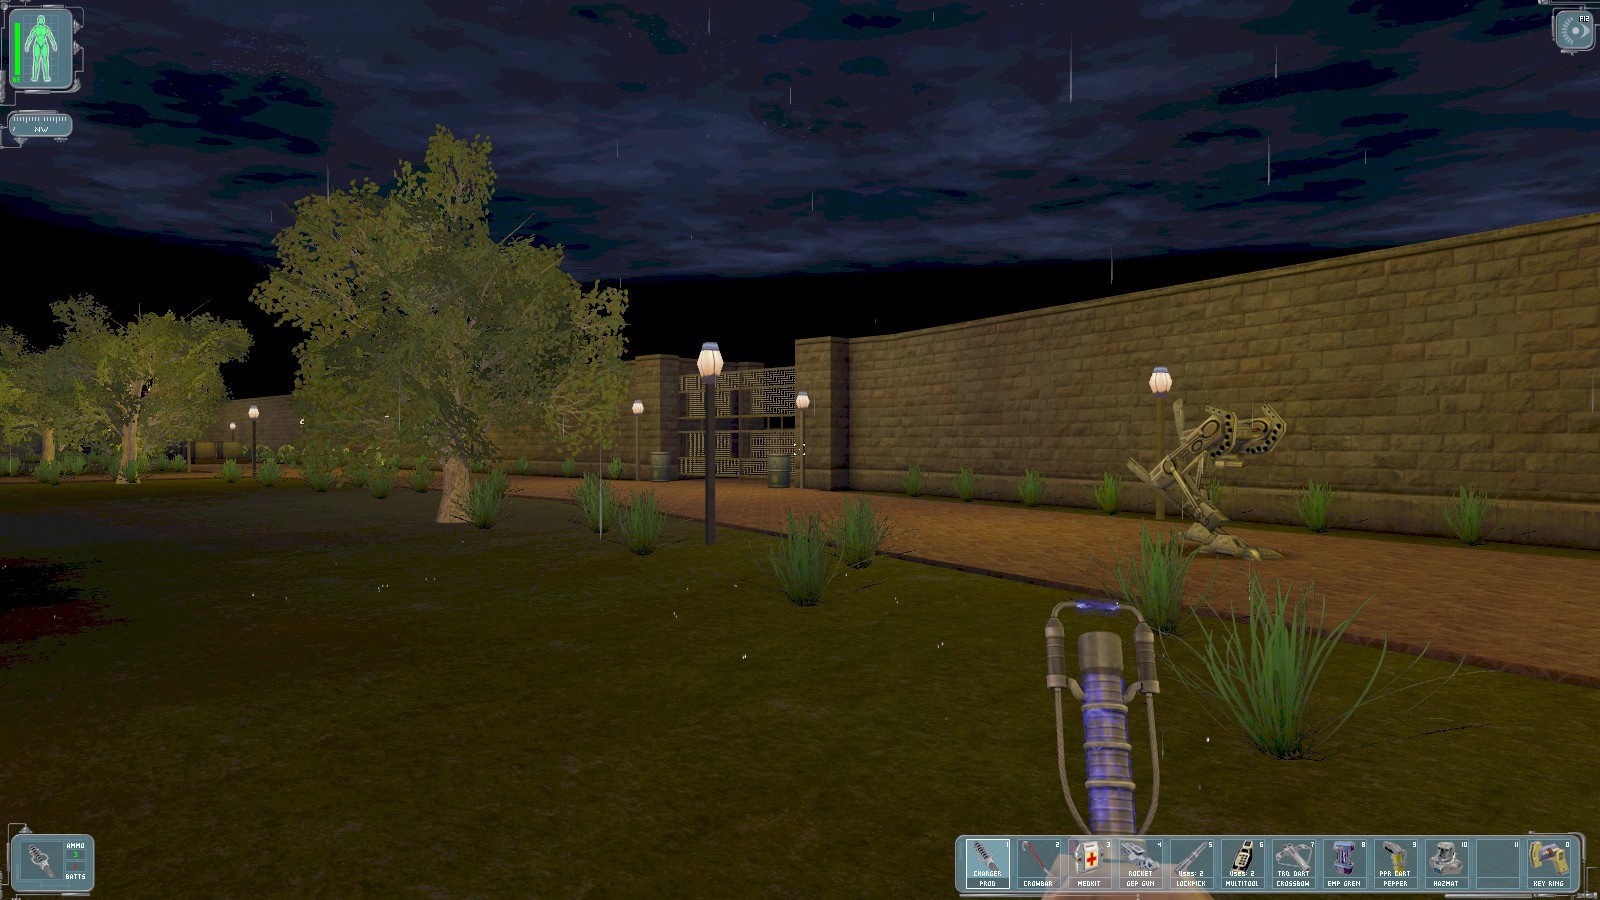
Careful to avoid the patrol outside, head North then West to the entrance to North Dock. The patrolling large security bot is on your side.
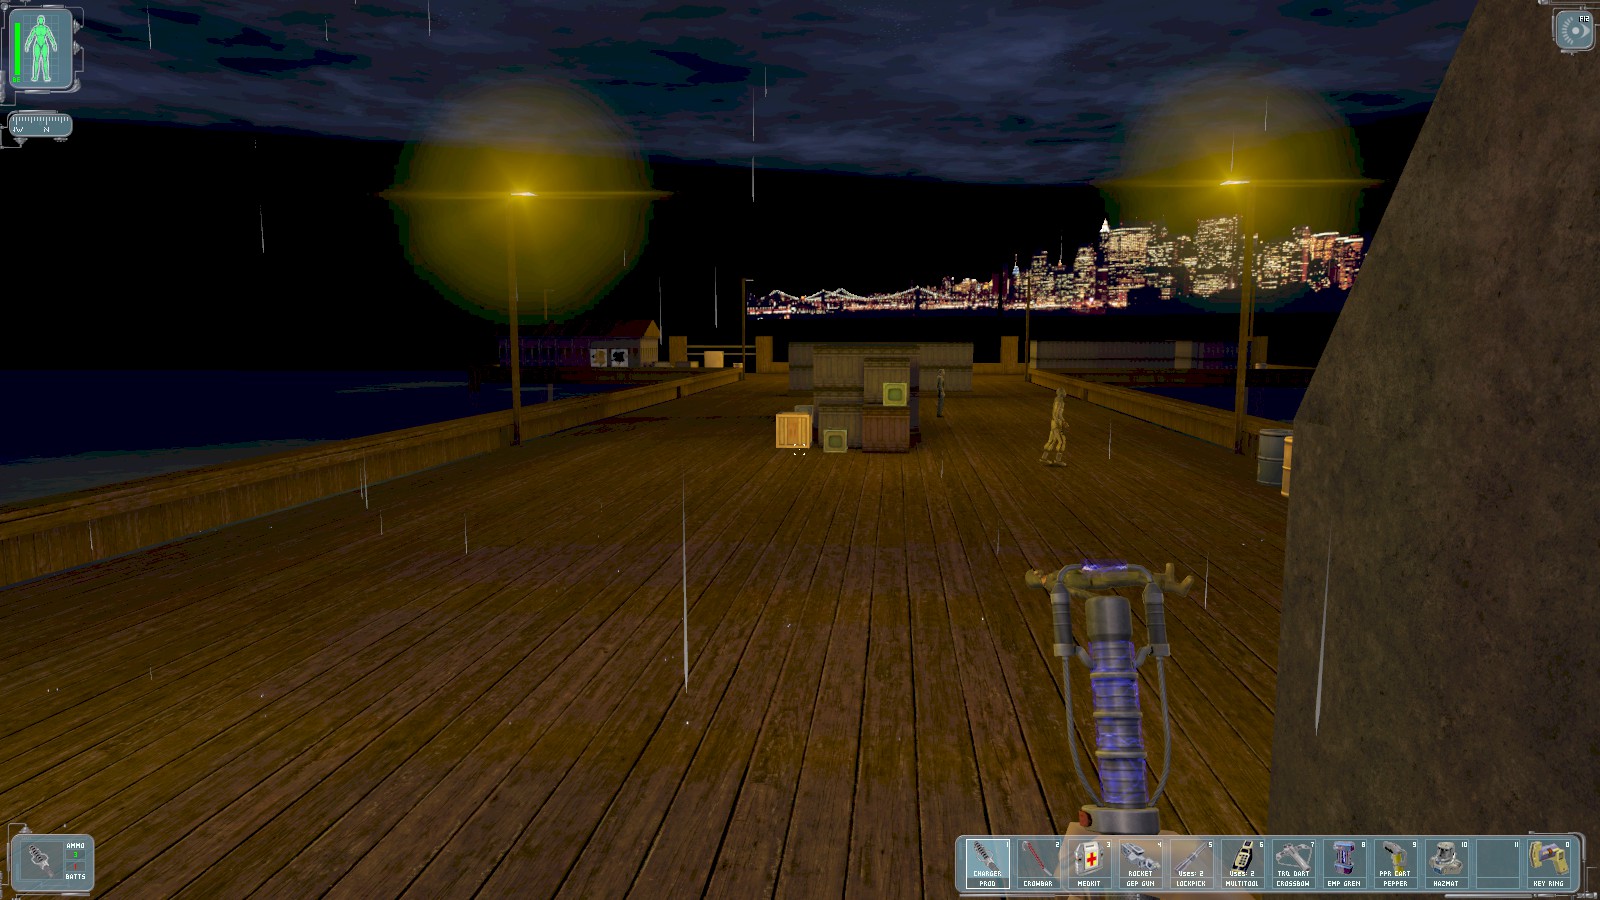
The gate is unlocked. Note the two guards—one patrolling, the other stationary. The body on the floor has nothing interesting. You need to slip up the left-hand side to avoid the patrol and get to the shack at the far end on the left. There’s just time to do it in crouch-mode (and therefore silently) if you time it right.
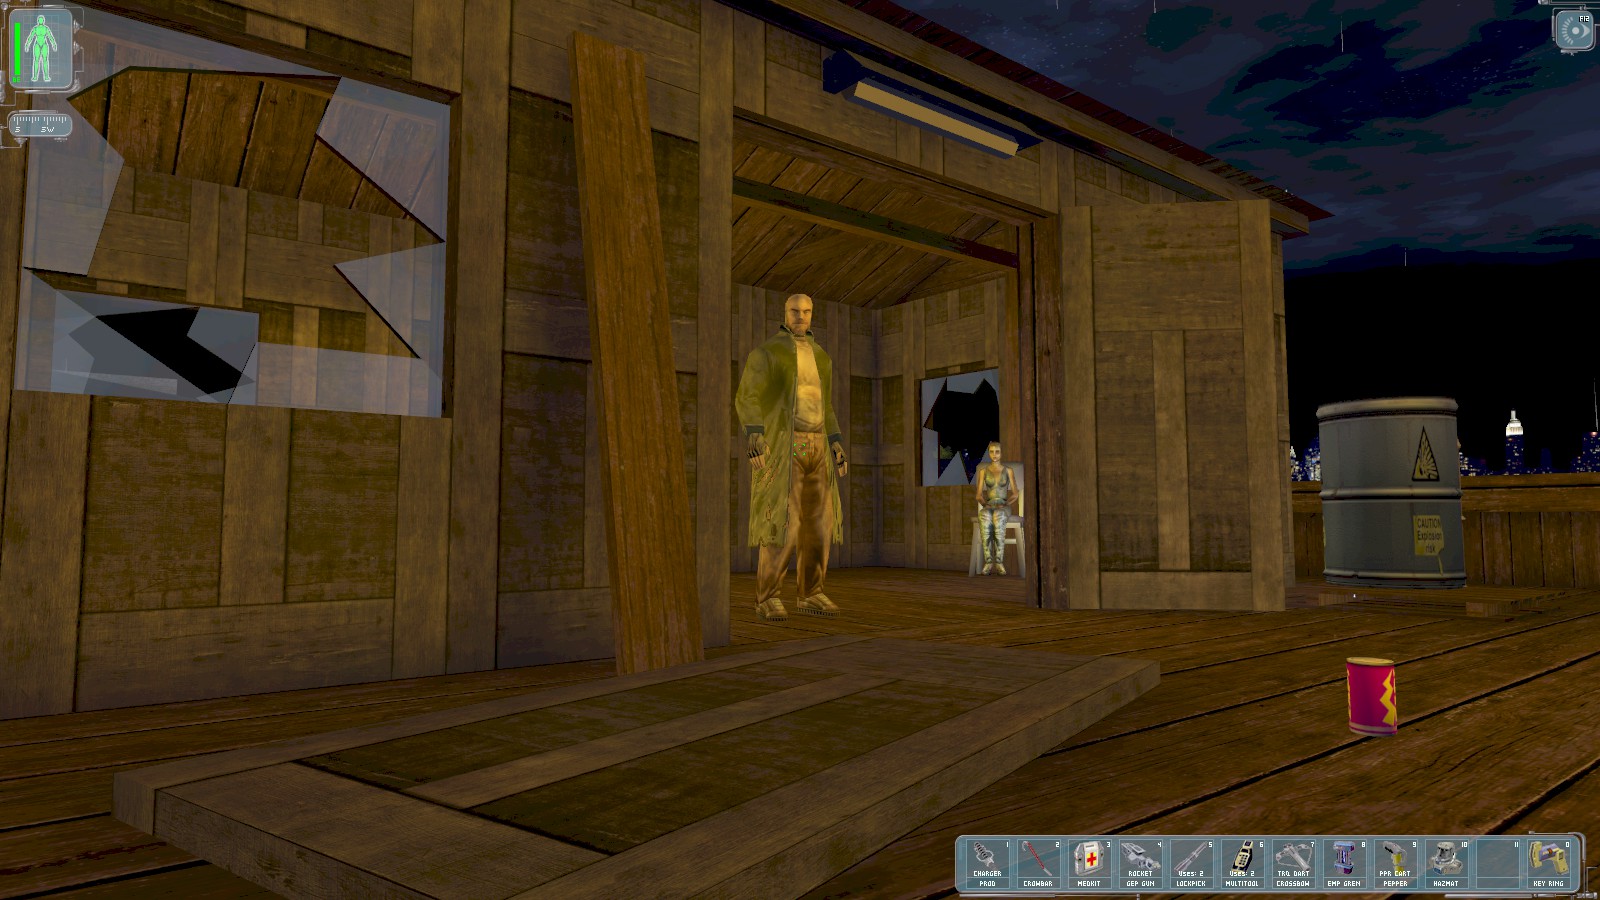
Harley is in the shack with a girl who’ll sell you ammo (don’t waste your money). Speak to him and tell him you can be trusted to keep the NSF commander alive. You receive the key to the statue’s rear entrance and a picture of the man you need to interrogate. You also get 150 skill points as a reward for completing one of the secondary objectives.
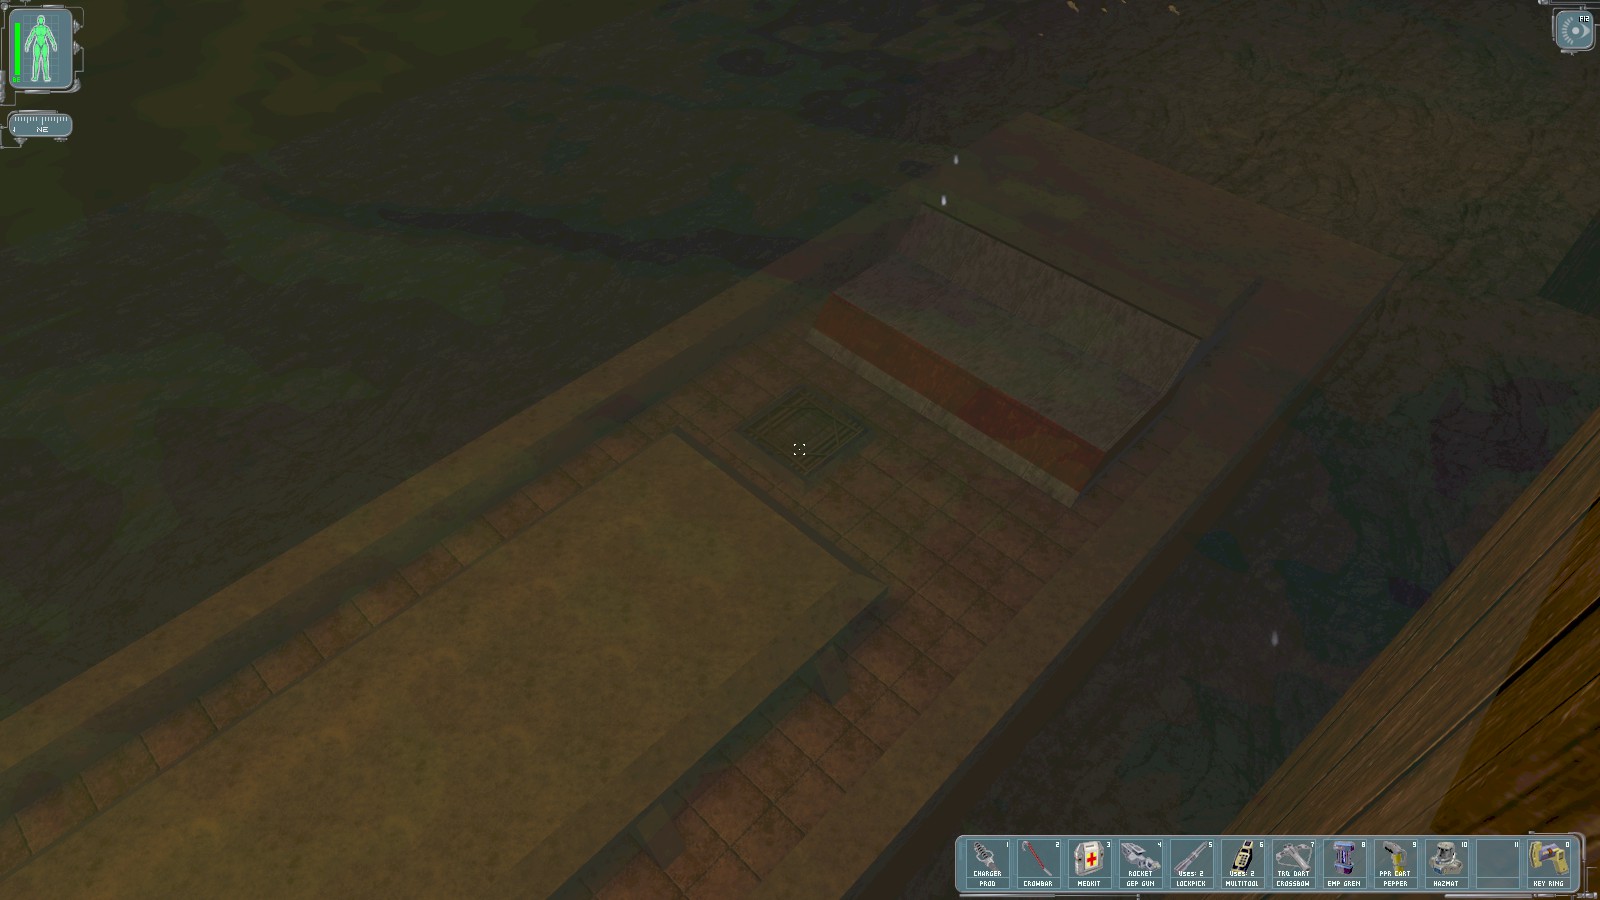
About-face and look over the dock entrance to find this sunken barge. You could blow the hatch open with the GEP gun, but that risks alerting the nearby patrols. Instead ready a lock pick and take a dive.
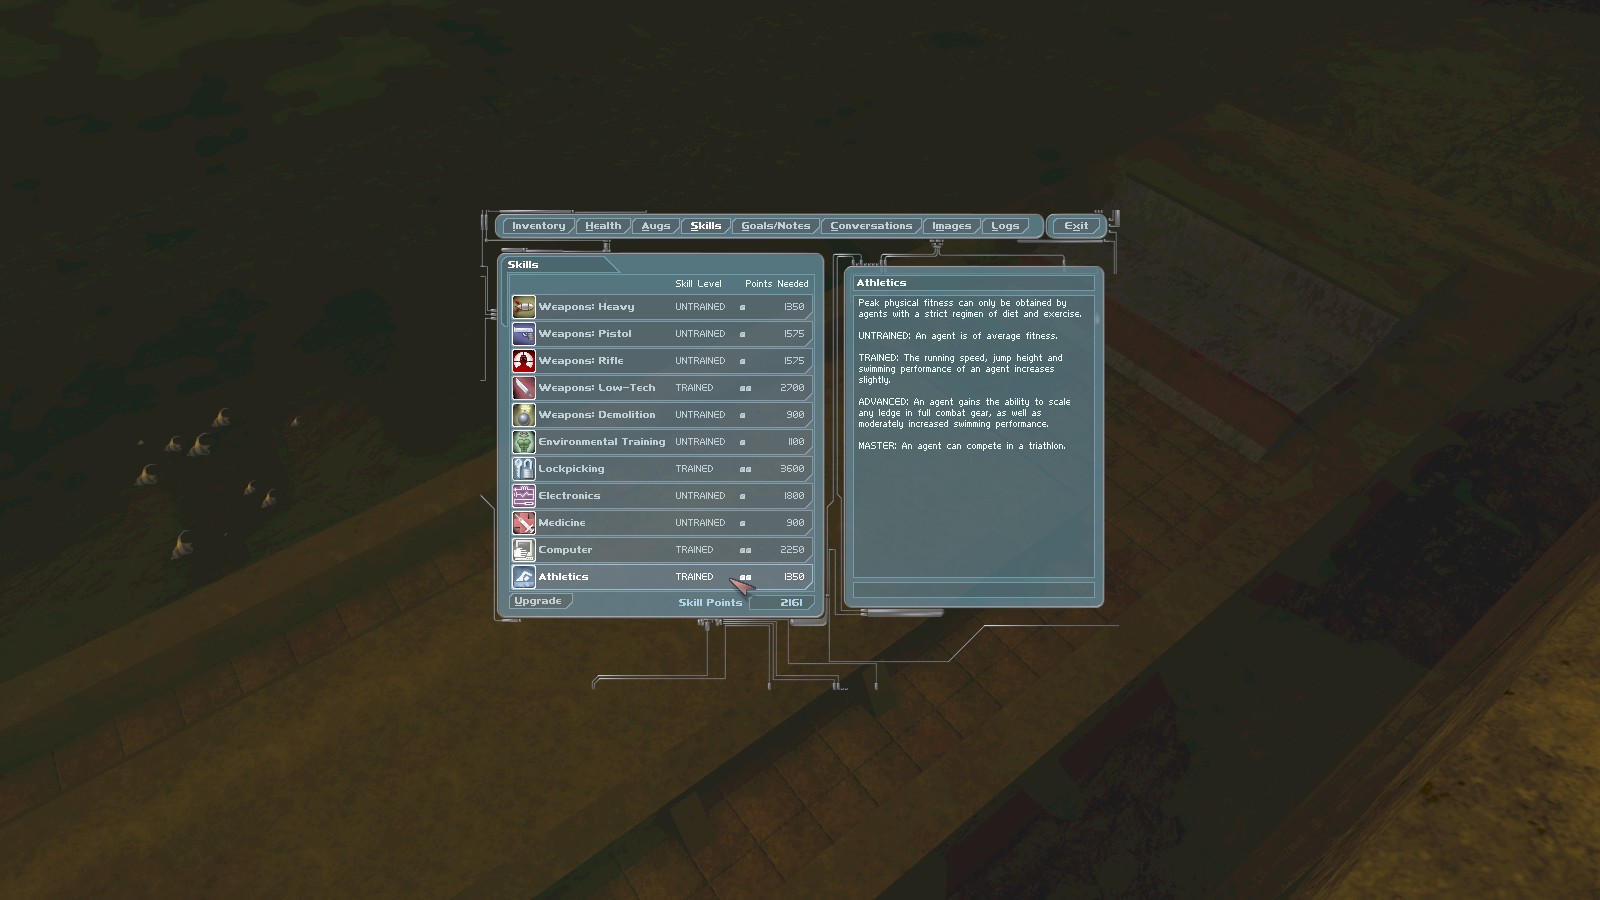
After picking the lock I have to resurface for air, so I upgrade my Athletics skill allowing me to remain submerged for longer. I dive back down through the hatch, and am rewarded with Reload speed and Accuracy weapon mods, a sawn-off shotgun, and 50 exploration points. Worth the lock pick.
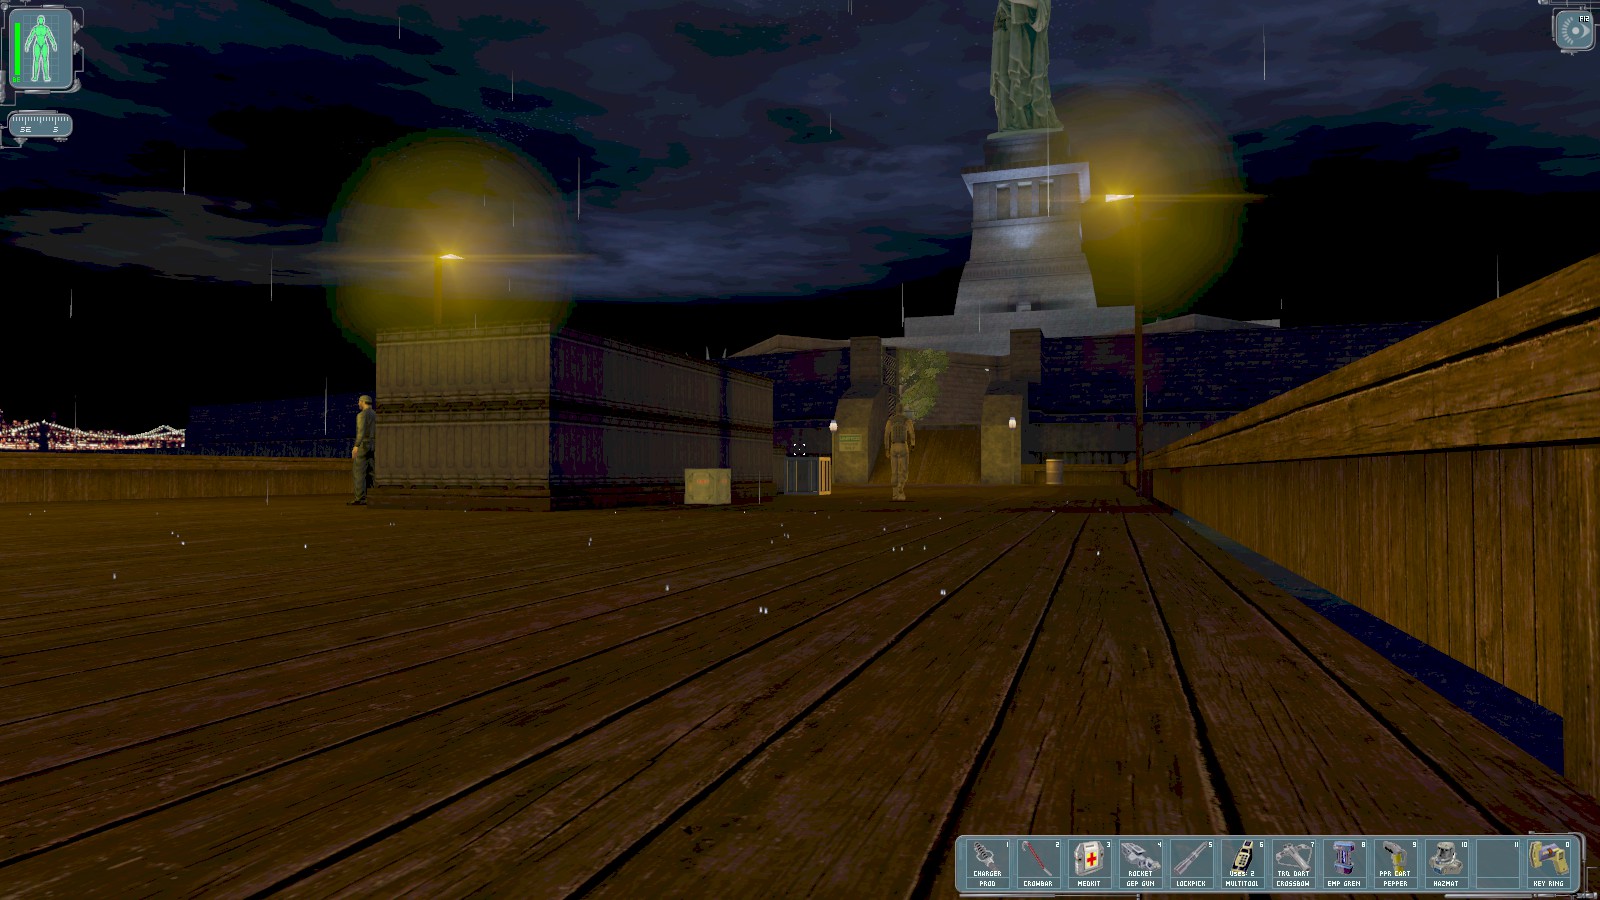
Shadow the patrol to exit the dock then head East back toward the bunker with the electrical hazard.
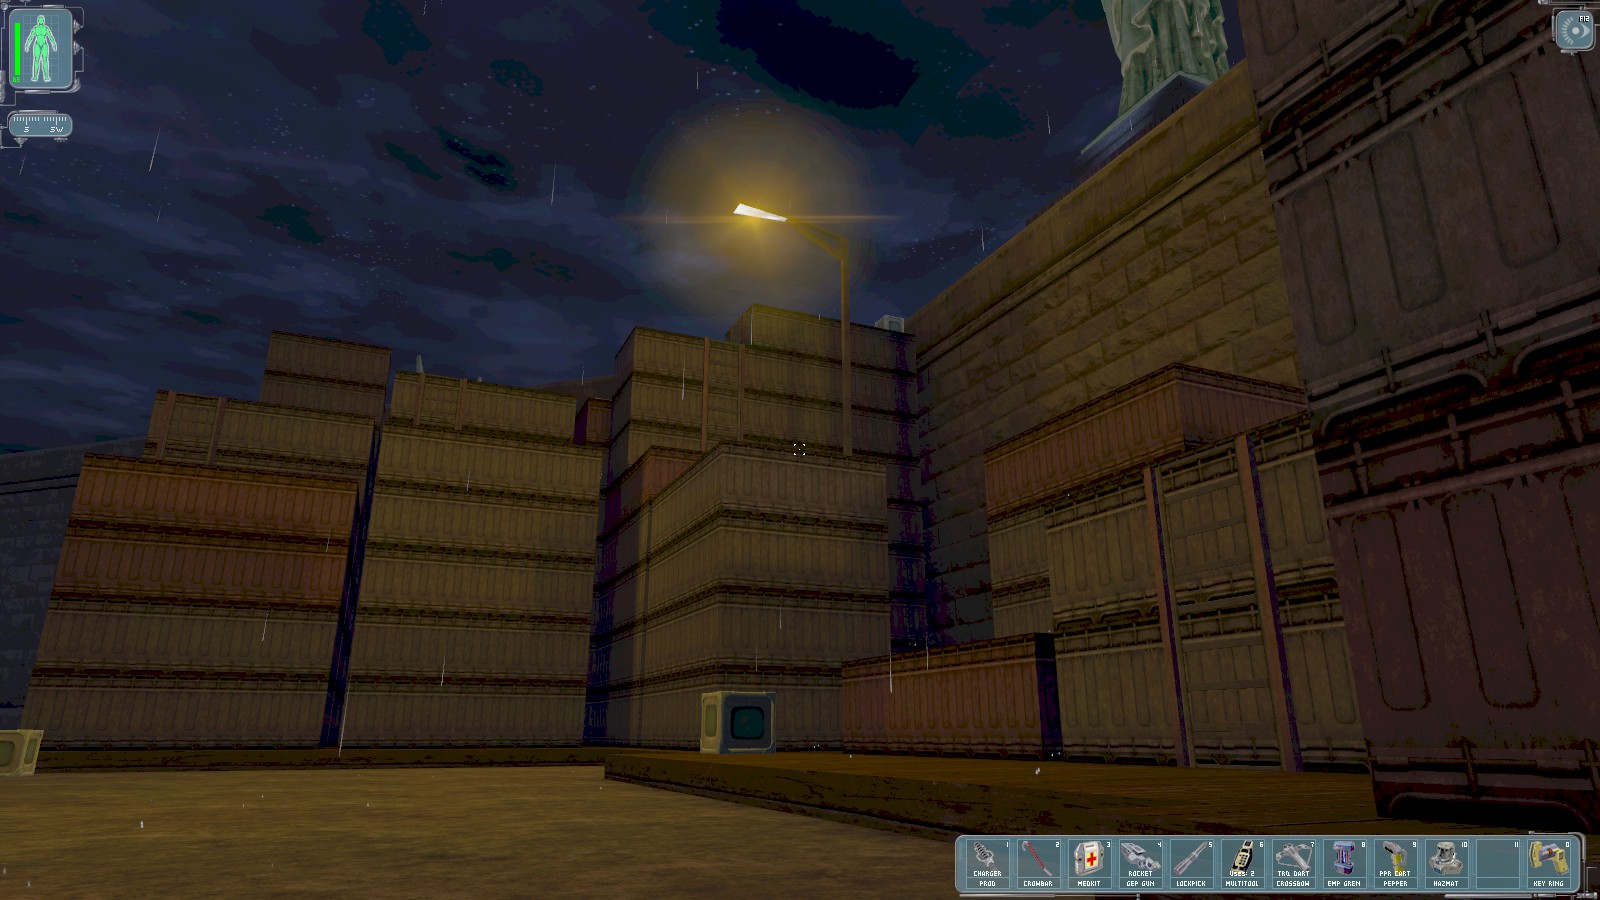
Getting the key from Harley Filben earned you 150 skill points, but we’re not going to use it. Instead—mindful still of the patrolling guard—climb the container mountain next to the bunker using the ladders provided to the first elevation of the statue.