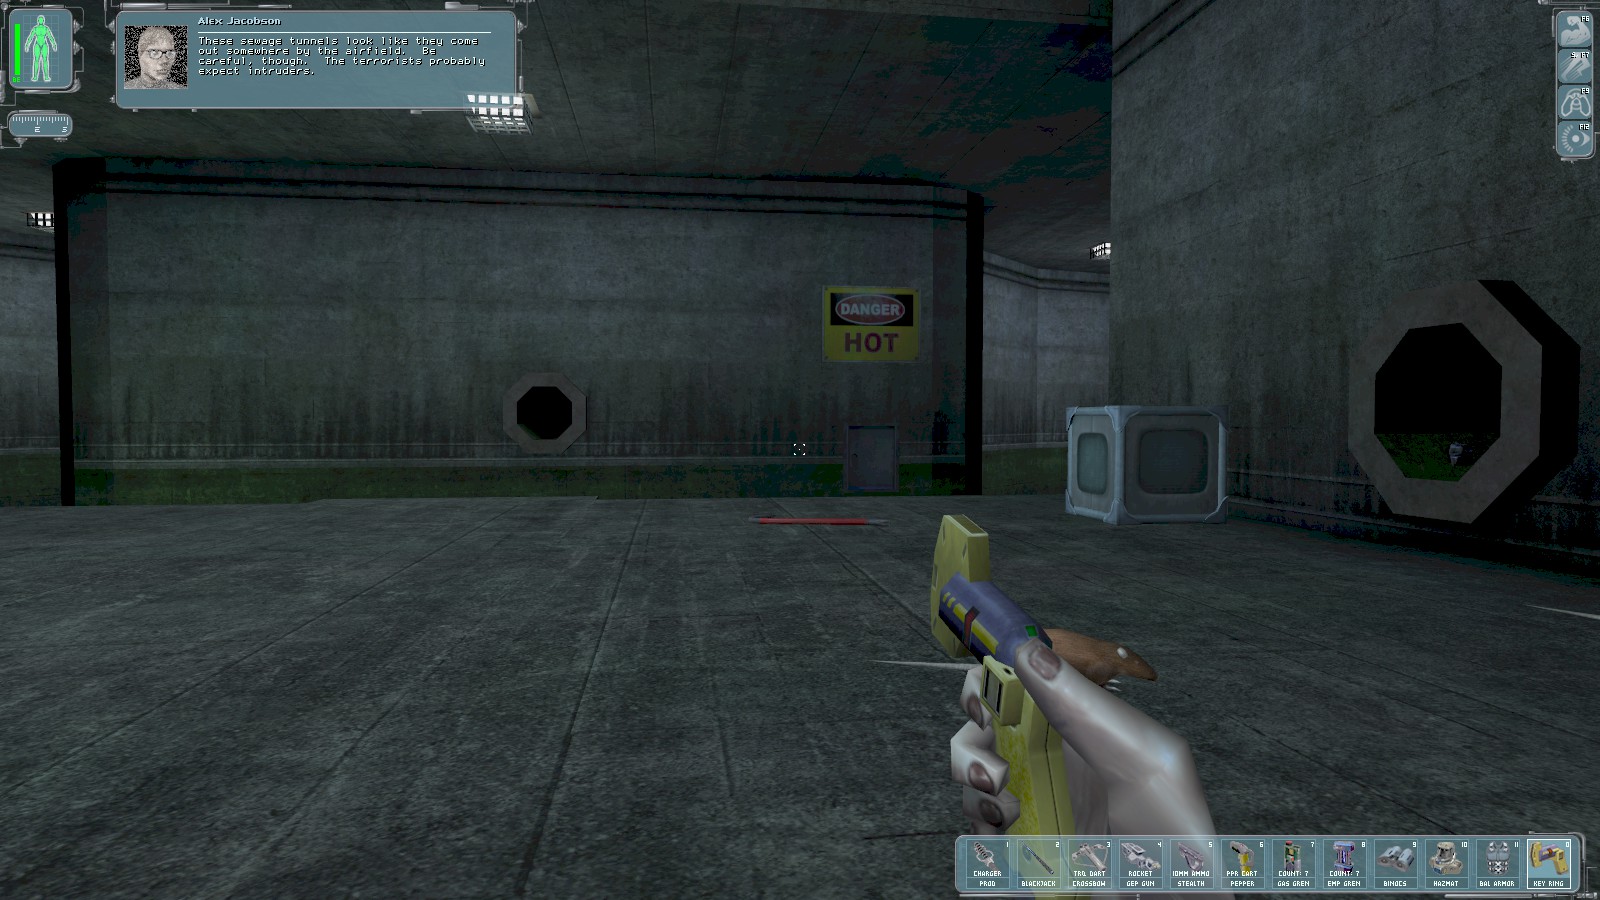
Alex radios in to reinforce the warning about booby traps. There’s an EMP grenade in the pipe to the right. The steam pipes round the corner to the right are insta-kill on Realistic, so I head left.

The way is blocked by lasers and turrets. The lasers can be disabled with multitools on a control panel near the entrance to this section, but a carefully placed metal box plus the speed enhancement makes jumping over them easy enough.
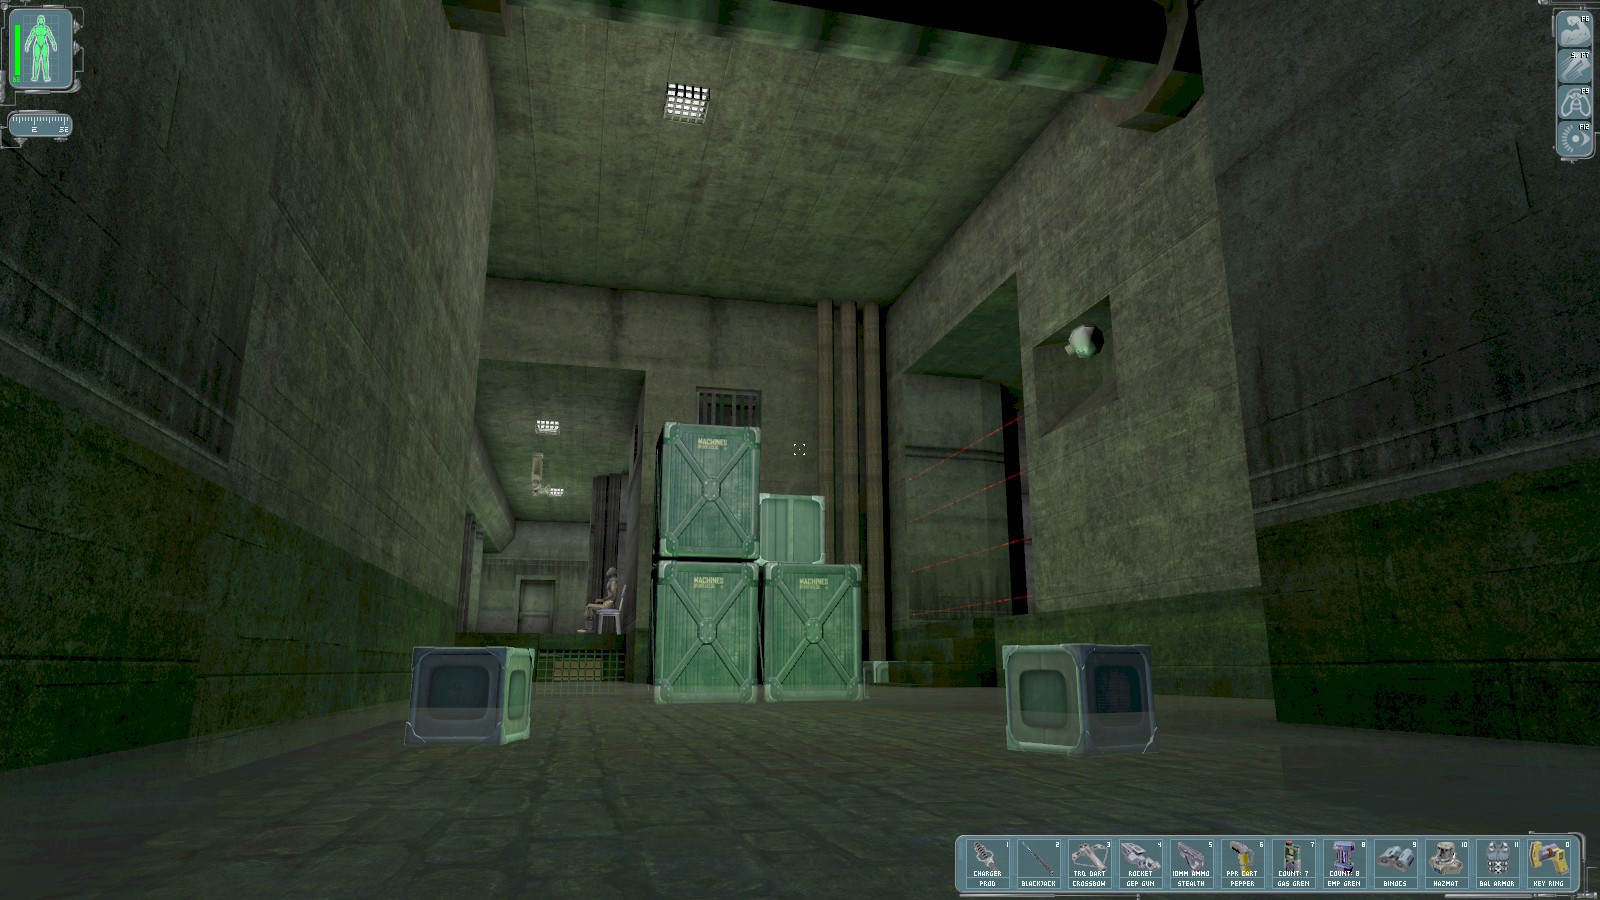
Beyond you come to here. Note the seated guard, plus the camera next to a laser grid on the right. There’s also a patrolling gun robot. Then notice a grate above those stacked crates. Sneak over to beneath the camera. Your speed enhanced legs will allow you to crouch-jump onto the crates and into the crate without alerting anyone or anything.
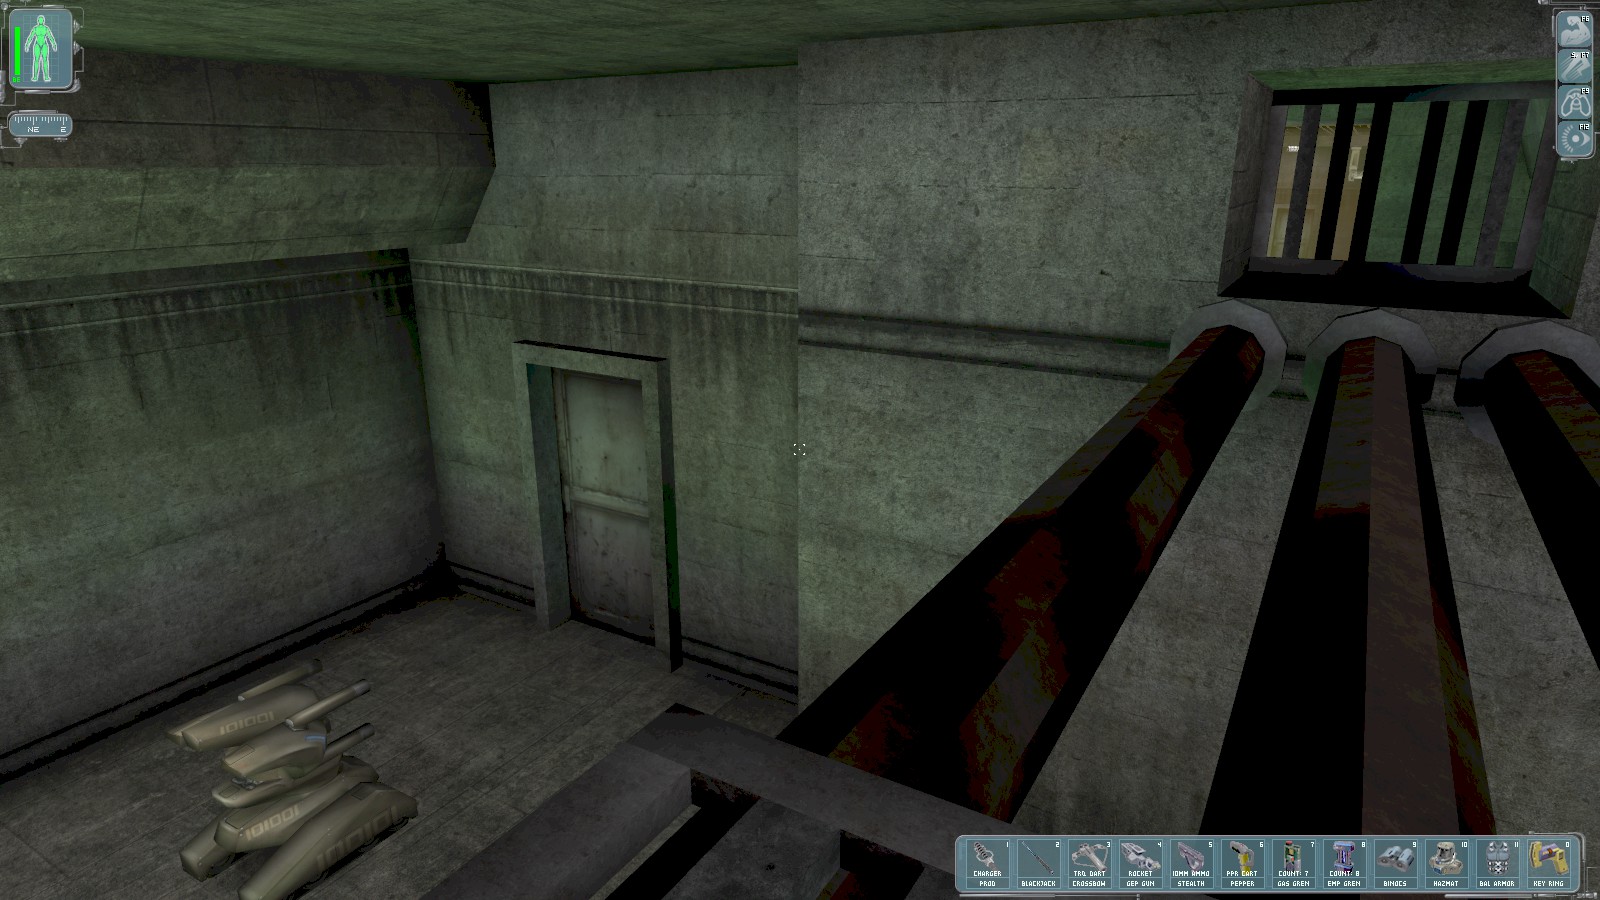
Follow the ceiling pipes here, and through the last grate.
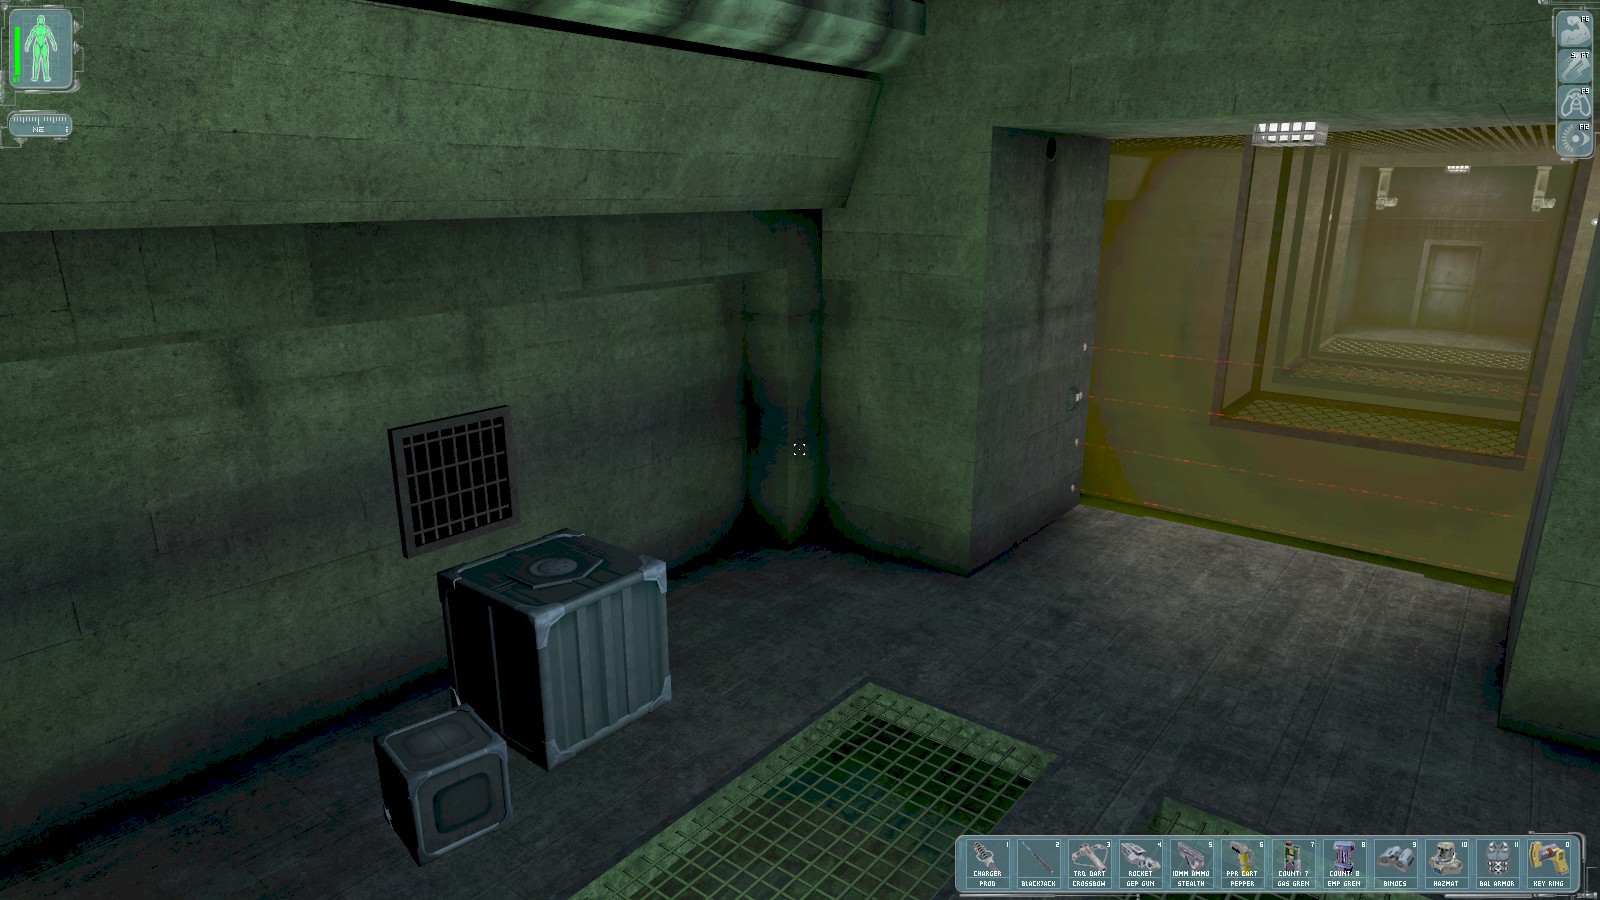
Ignore the lasers and climb the boxes to another grate on the left.
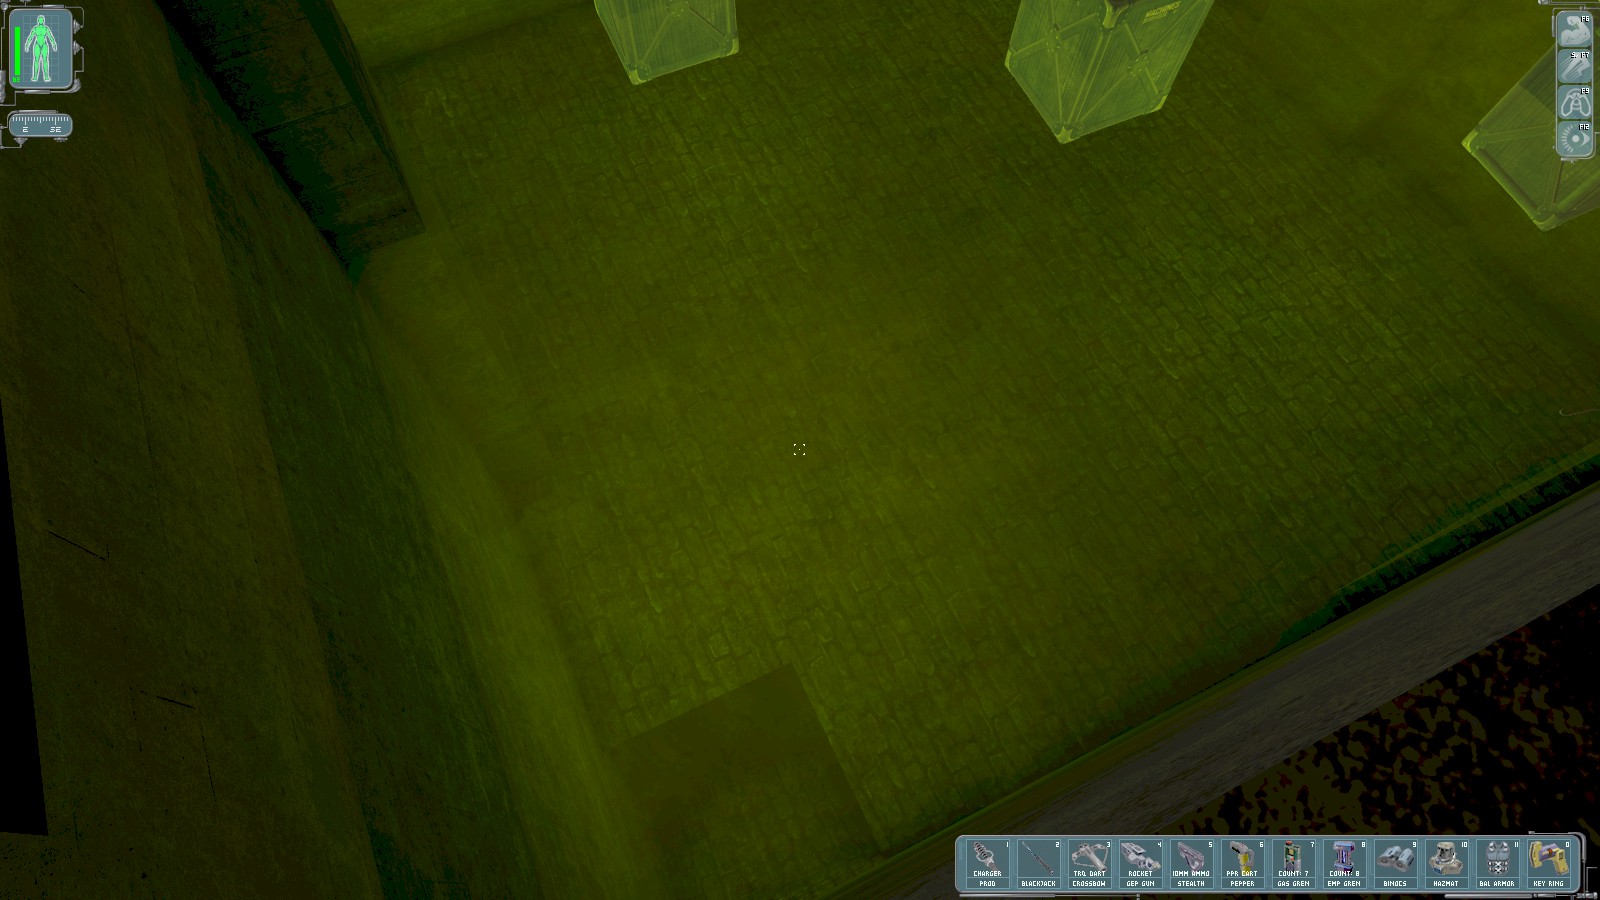
It takes you beyond the lasers to the deep pool beyond. There’s a rebreather in one of the pipes, but I’ve no idea how you’re supposed to get it! Take a dive through the submerged passageway shown at the bottom of this shot.
|
|
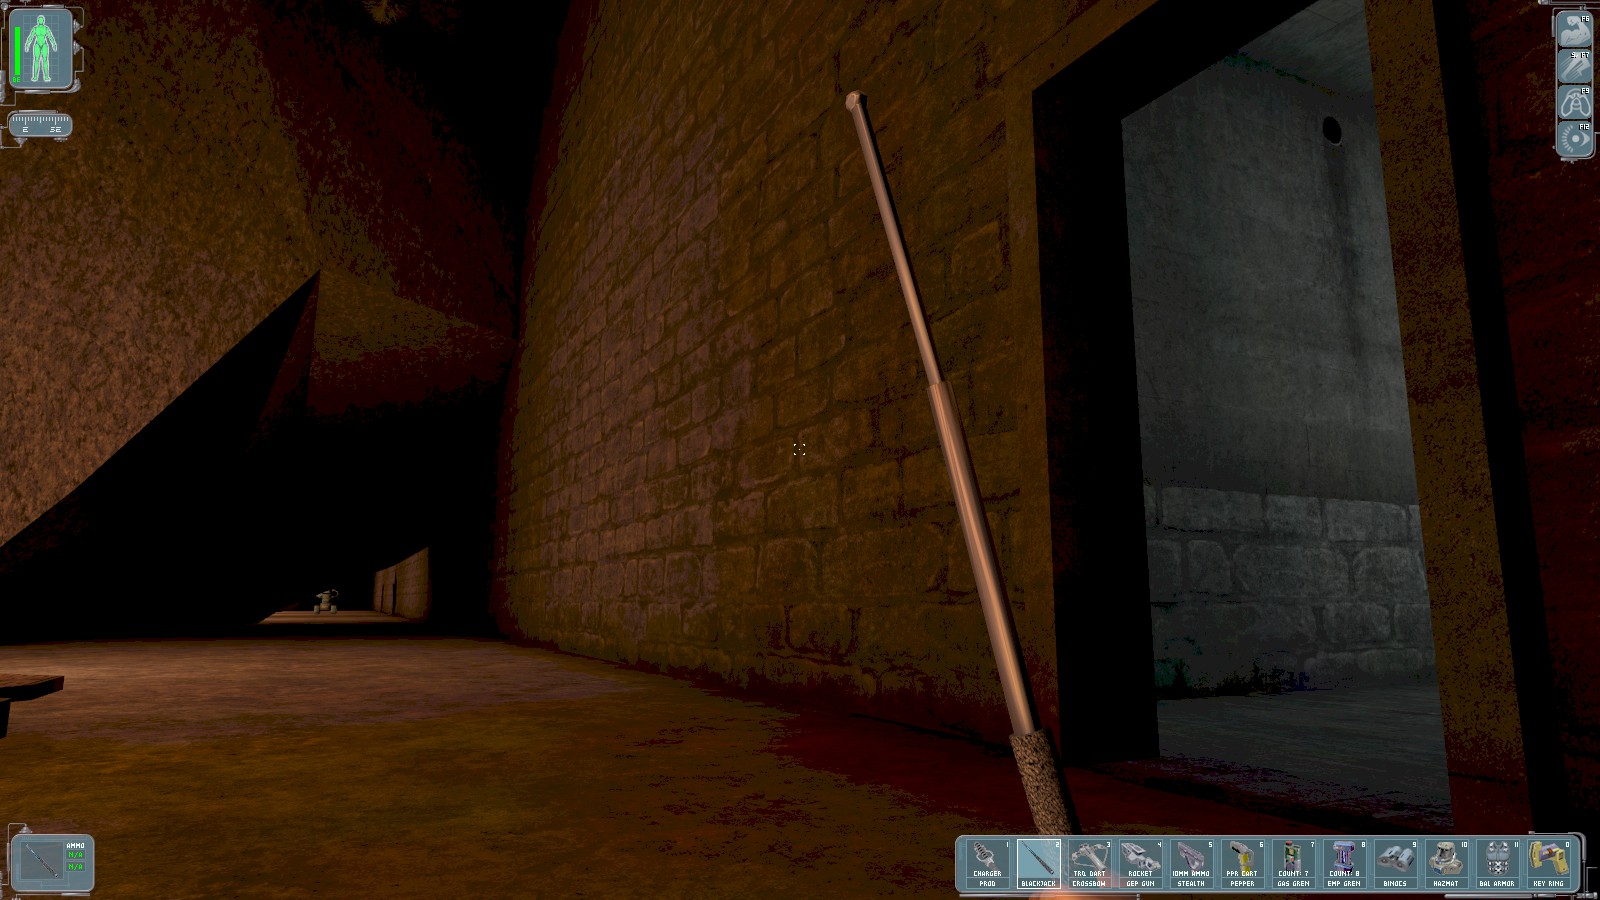
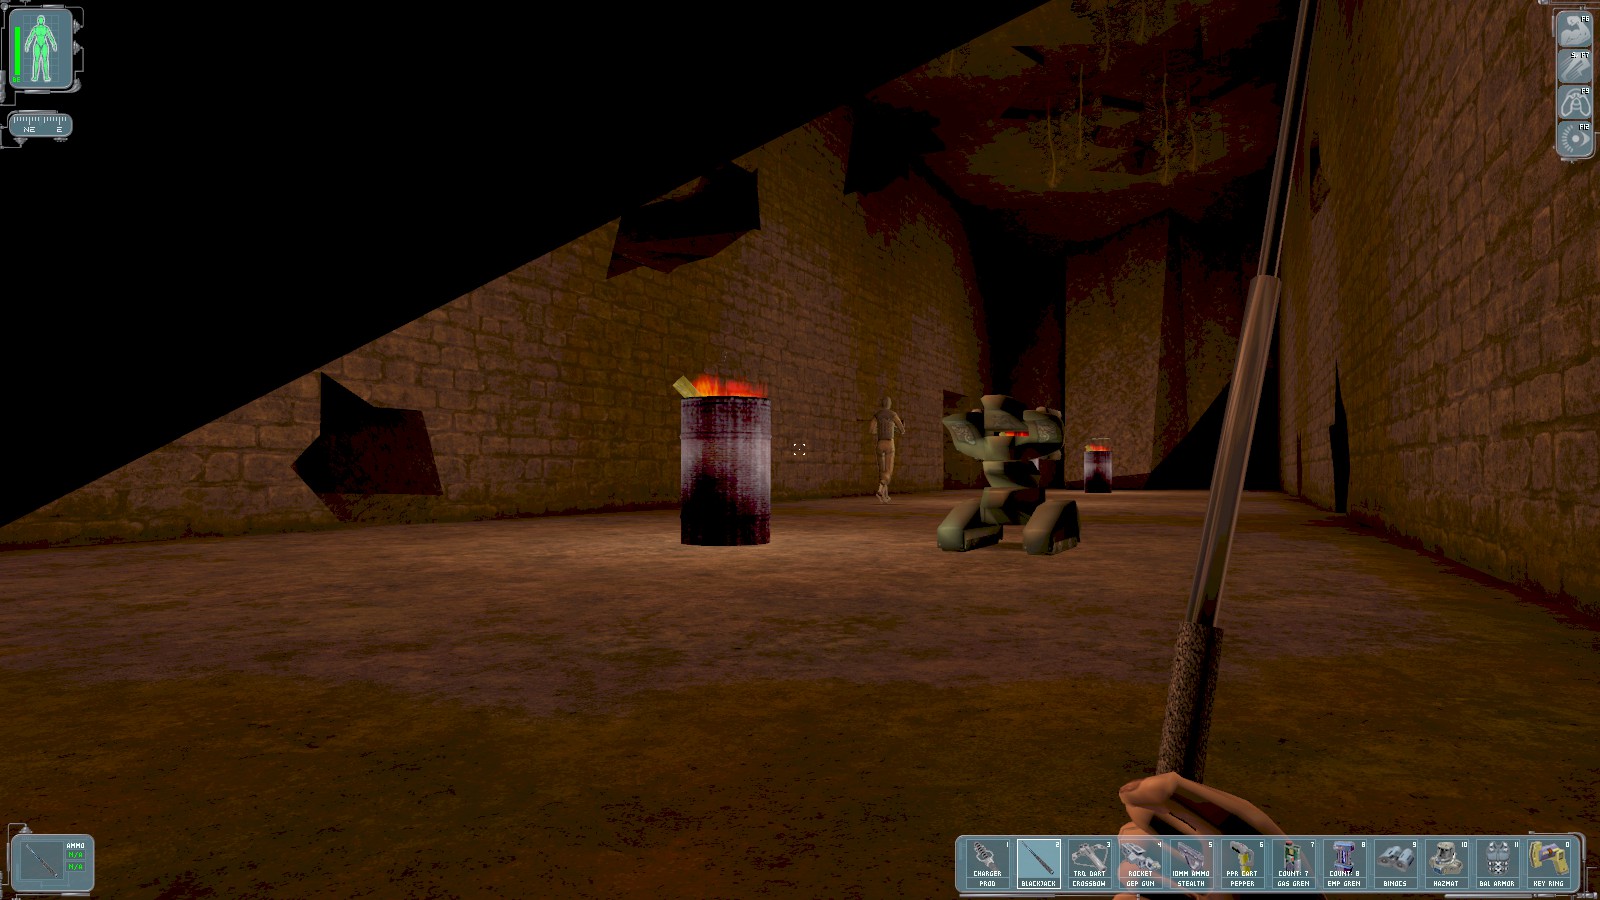
Your Athletics skill should mean you have no difficulty making it to the end. Climb a ladder and open a hatch to emerge here. The door on the right leads to the far side of the pool, and is protected by an EMP grenade. My capacity for them is full, so I don’t bother. The area beyond the collapsed roof is patrolled by a gunbot and a human guard. When they’re both heading away from you, sneak to a hole in the wall just visible here on the right.

A tiny passage comes out here. Again, time your escape to sneak behind the patrols to the passage opposite (speed enhancement can help here).
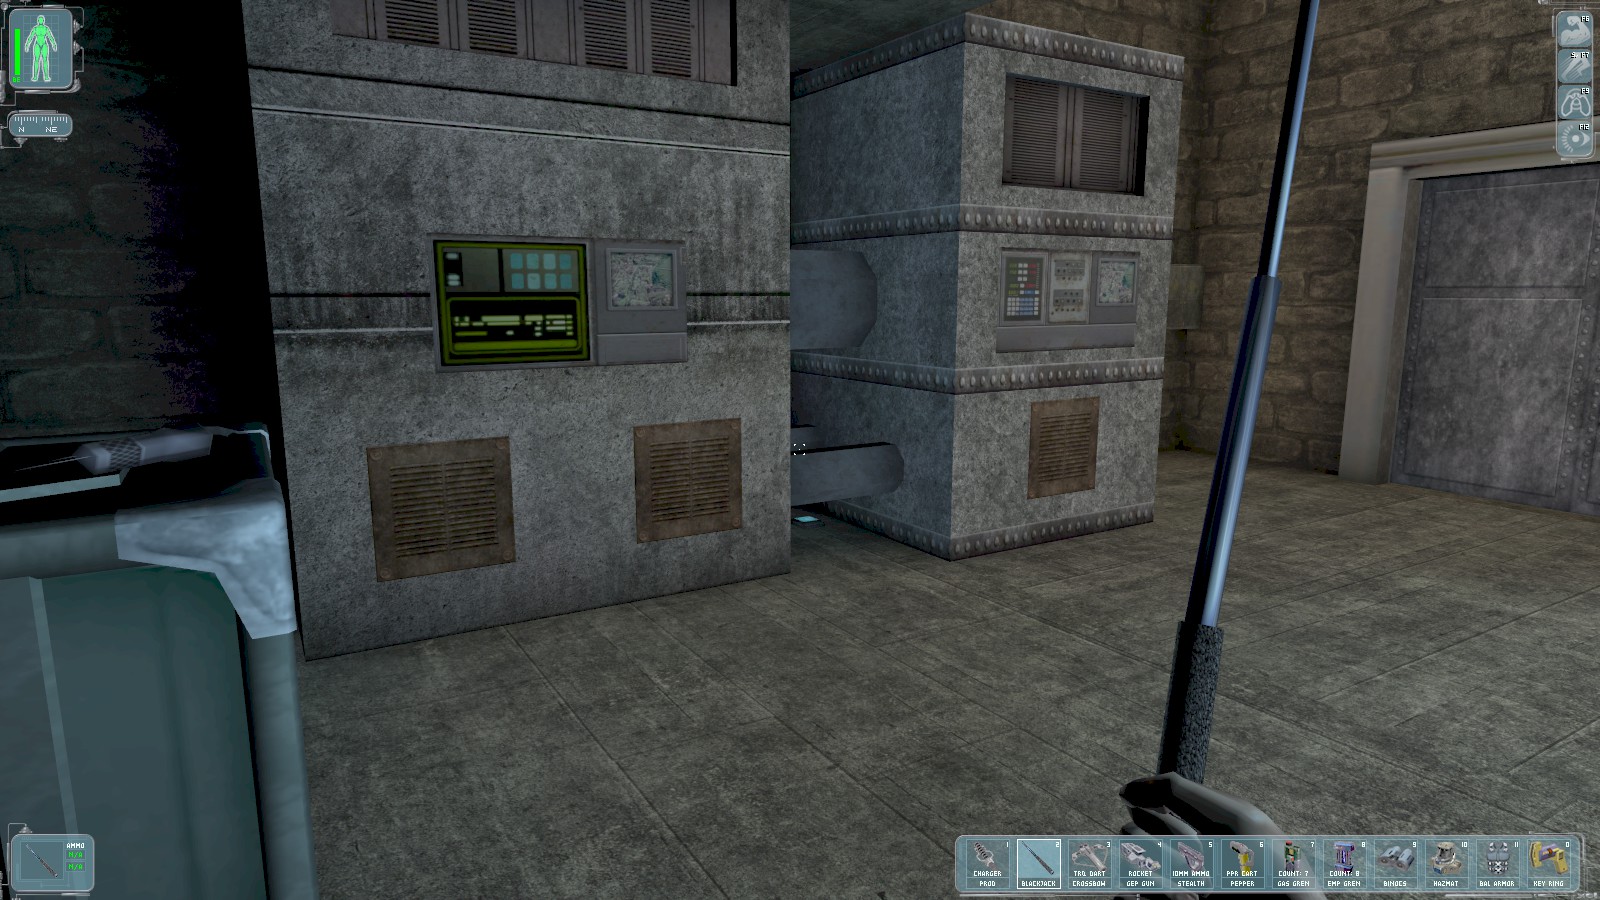
Swipe a lockpick from the crate, and note the datacube under the machine pipes before heading through the door on the right.

The datacube has the login etodd/saintmary. You get 50 skill points for making it this far. Alex
radios in to tell you you’re in a private section of La Guardia airport, and to choose between an
elevator to the East and a sewer drain to the North-West. Head through the door.
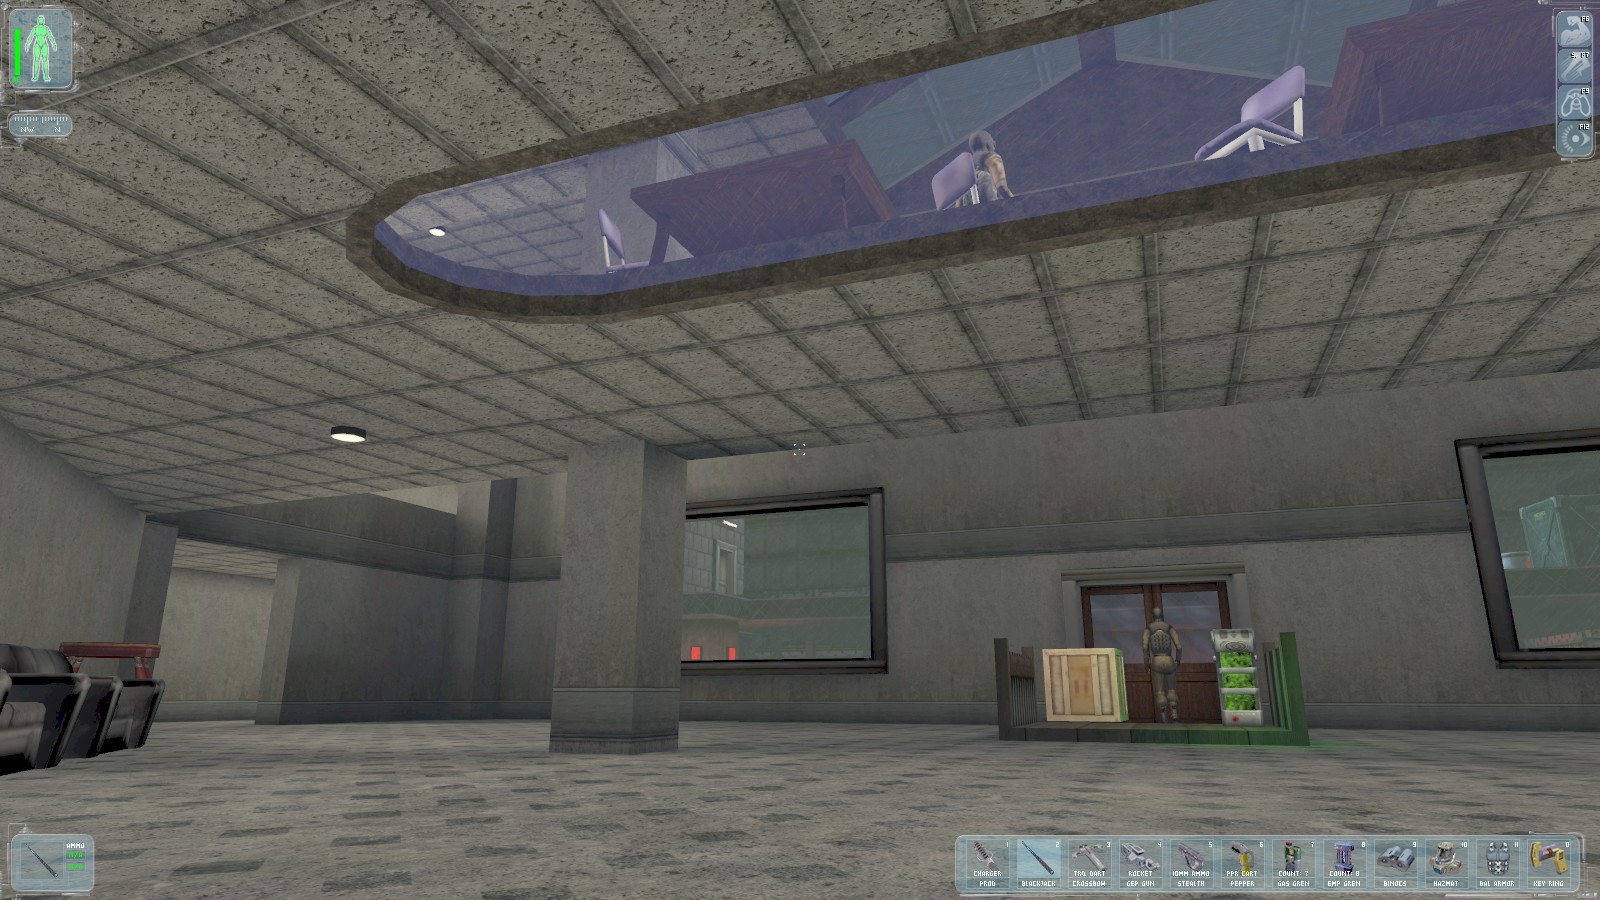
Approach the barrel of Ambrosia and Alex tells you you’ve found one of three missing barrels. You get 100 skill points. The crate contains flare darts.

Hang back a moment, and wait for another guard to patrol from the offices on the left. When he’s passed, go through the door he just came through.
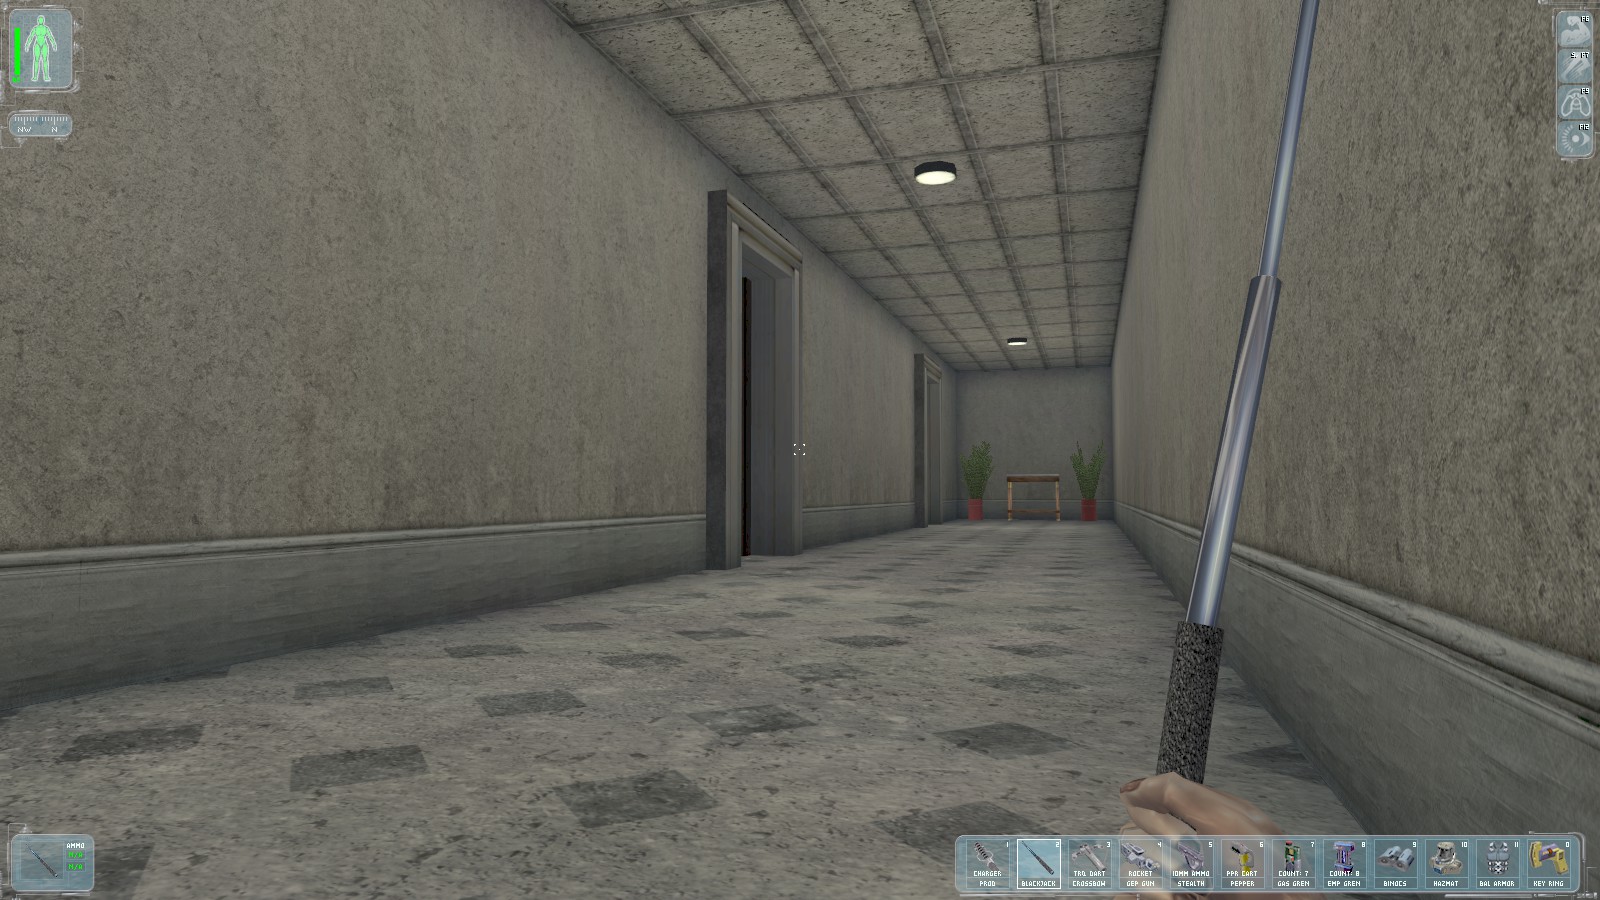
There are two offices on the left, so duck into the nearest one. The patrolling guard will take a few minutes to return.

While you’re waiting, use the login etodd/saintmary on the PC for a weird VOIP command
code (make a note of it—it was 6586715 on my playthrough) and this email giving the code 9905
for a suspension crate containing a "canister". Use the VOIP code 6586715 on the nearby phone for
a mysterious message.

Wait by the door until the guard returns, then whack him as he passes.
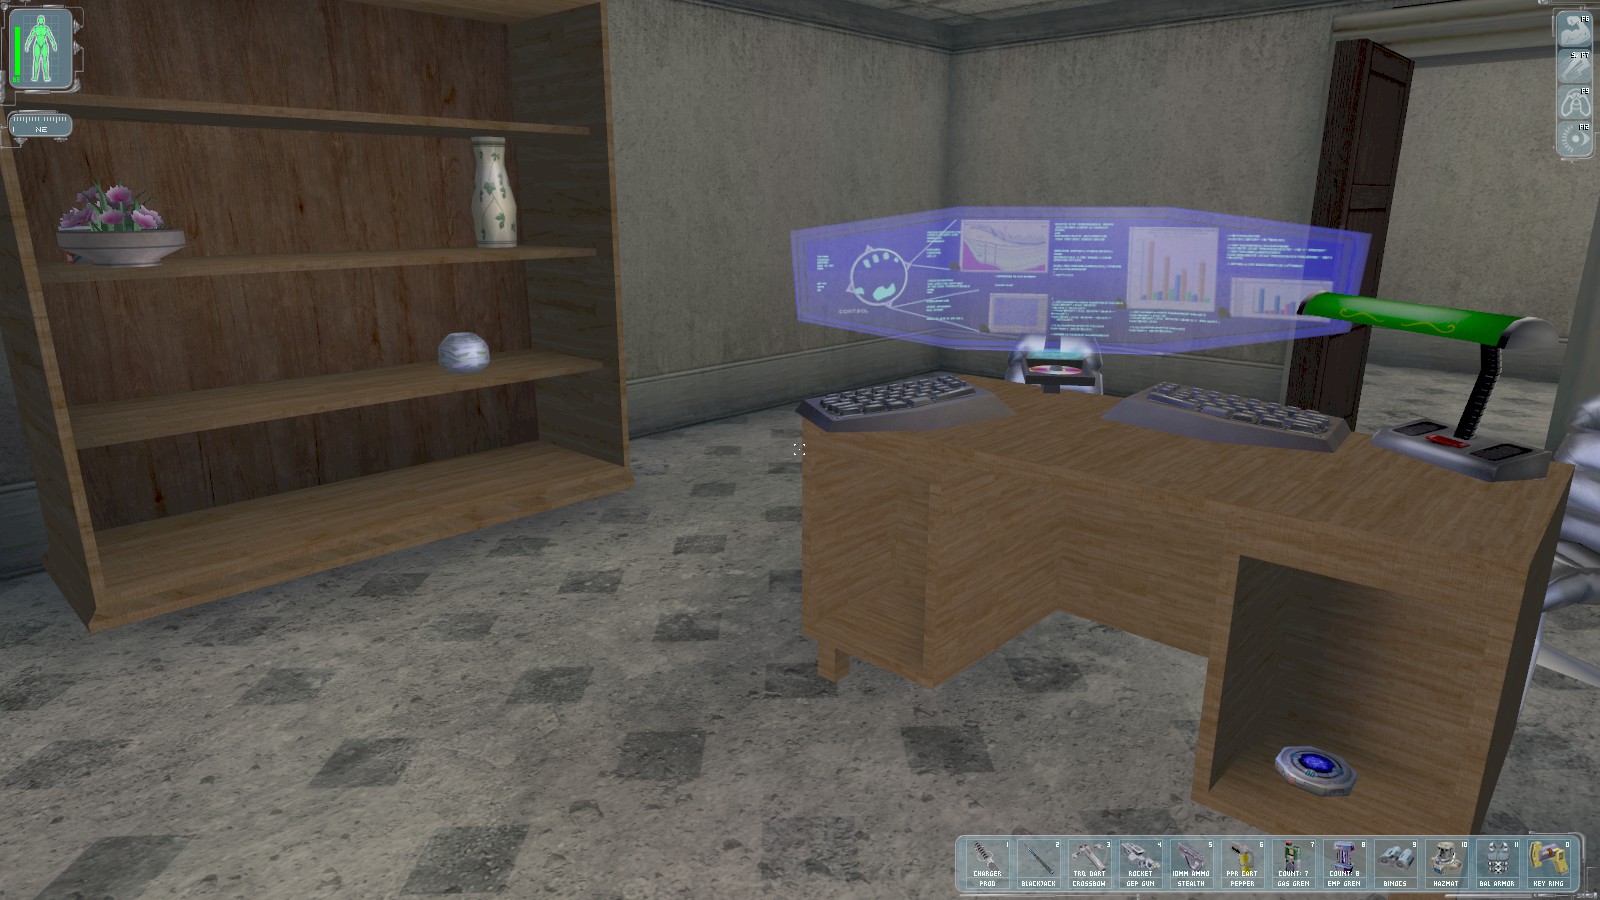
The PC in the second office contains nothing, but there is a biocell, and pistol ammo on the shelves.
|
|

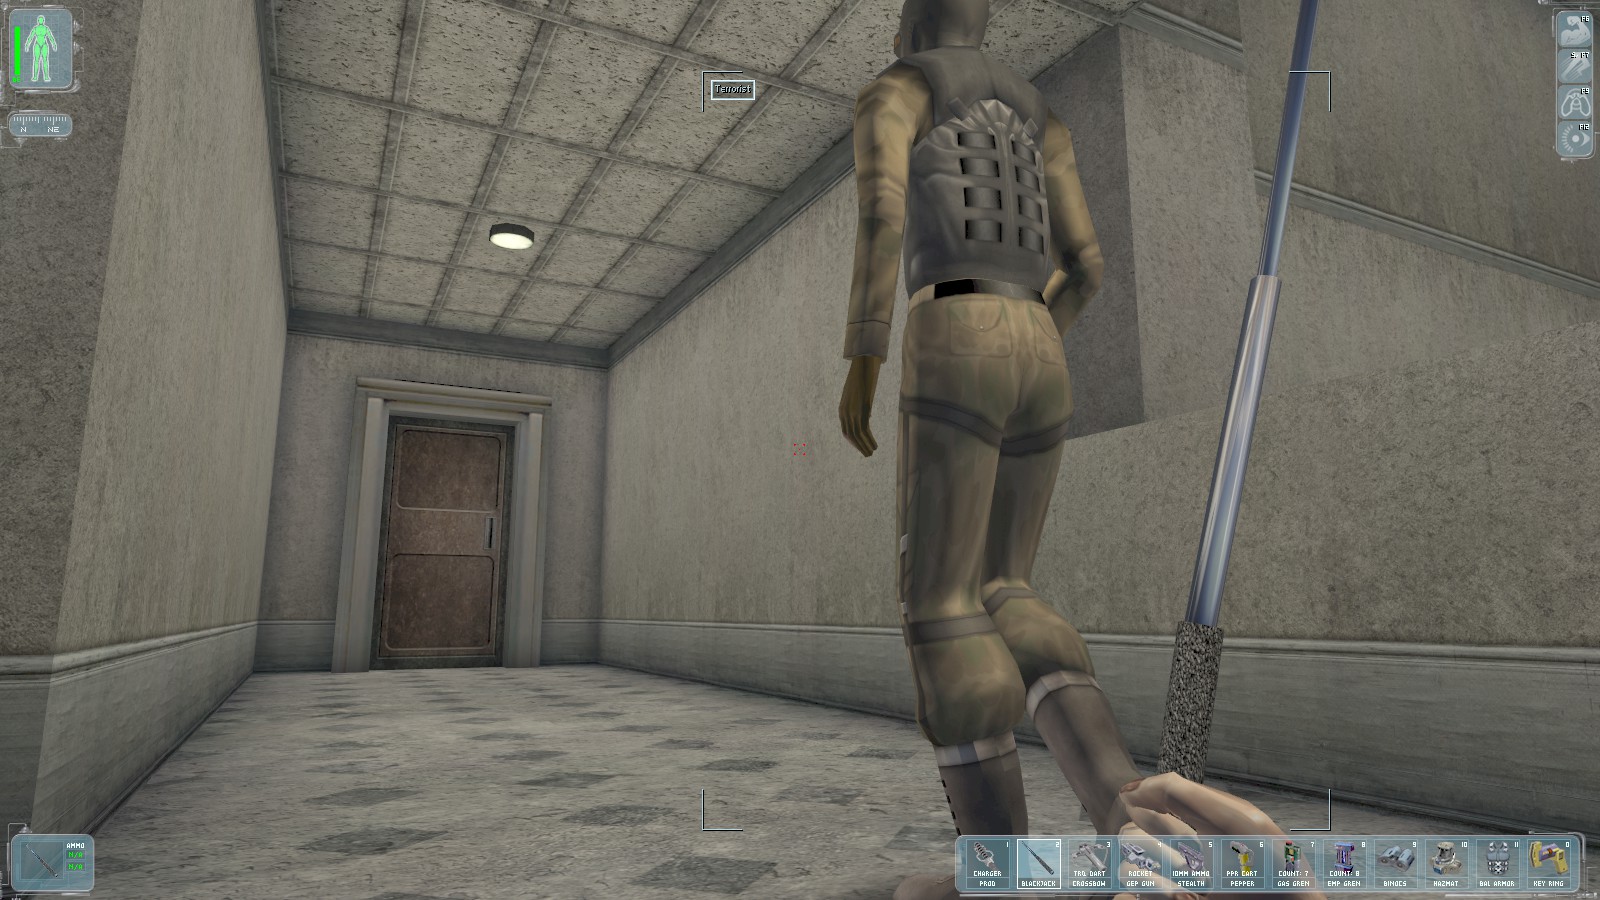
Head quietly up the nearby stairs. At the top is a 2-lockpick door, which you can safely ignore. Wait for the patrolling guard, then whack him around the corner, then pick the lock (2 lockpicks) of the door at the end.

Creep inside and take out another guard before hacking the security console on the right. Disable all the cameras and open a door.
|
|
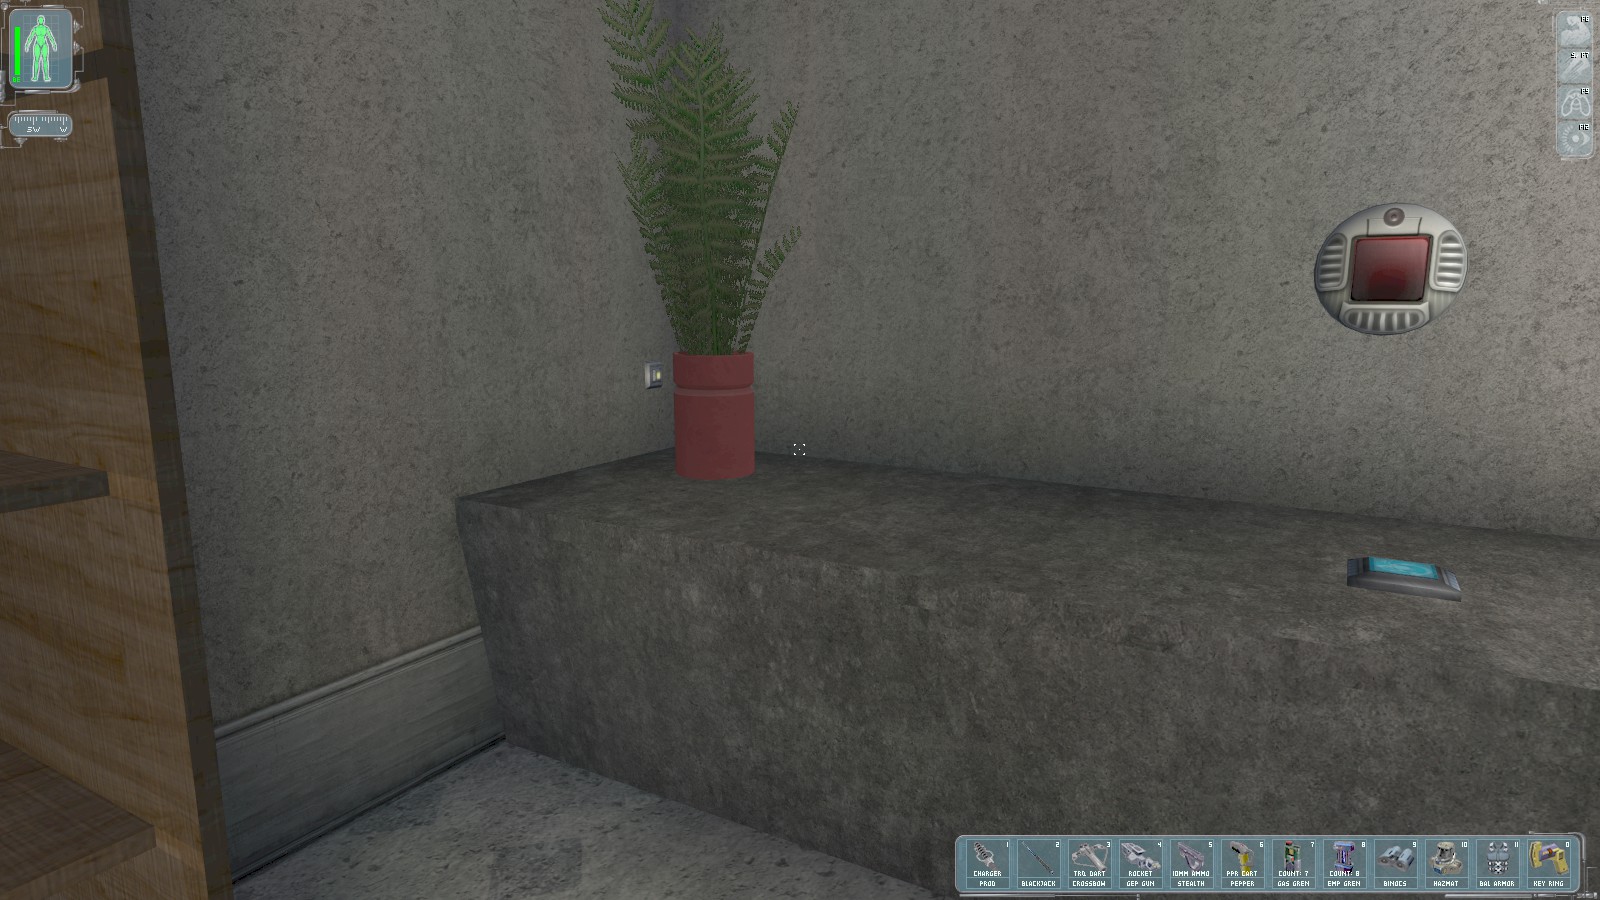
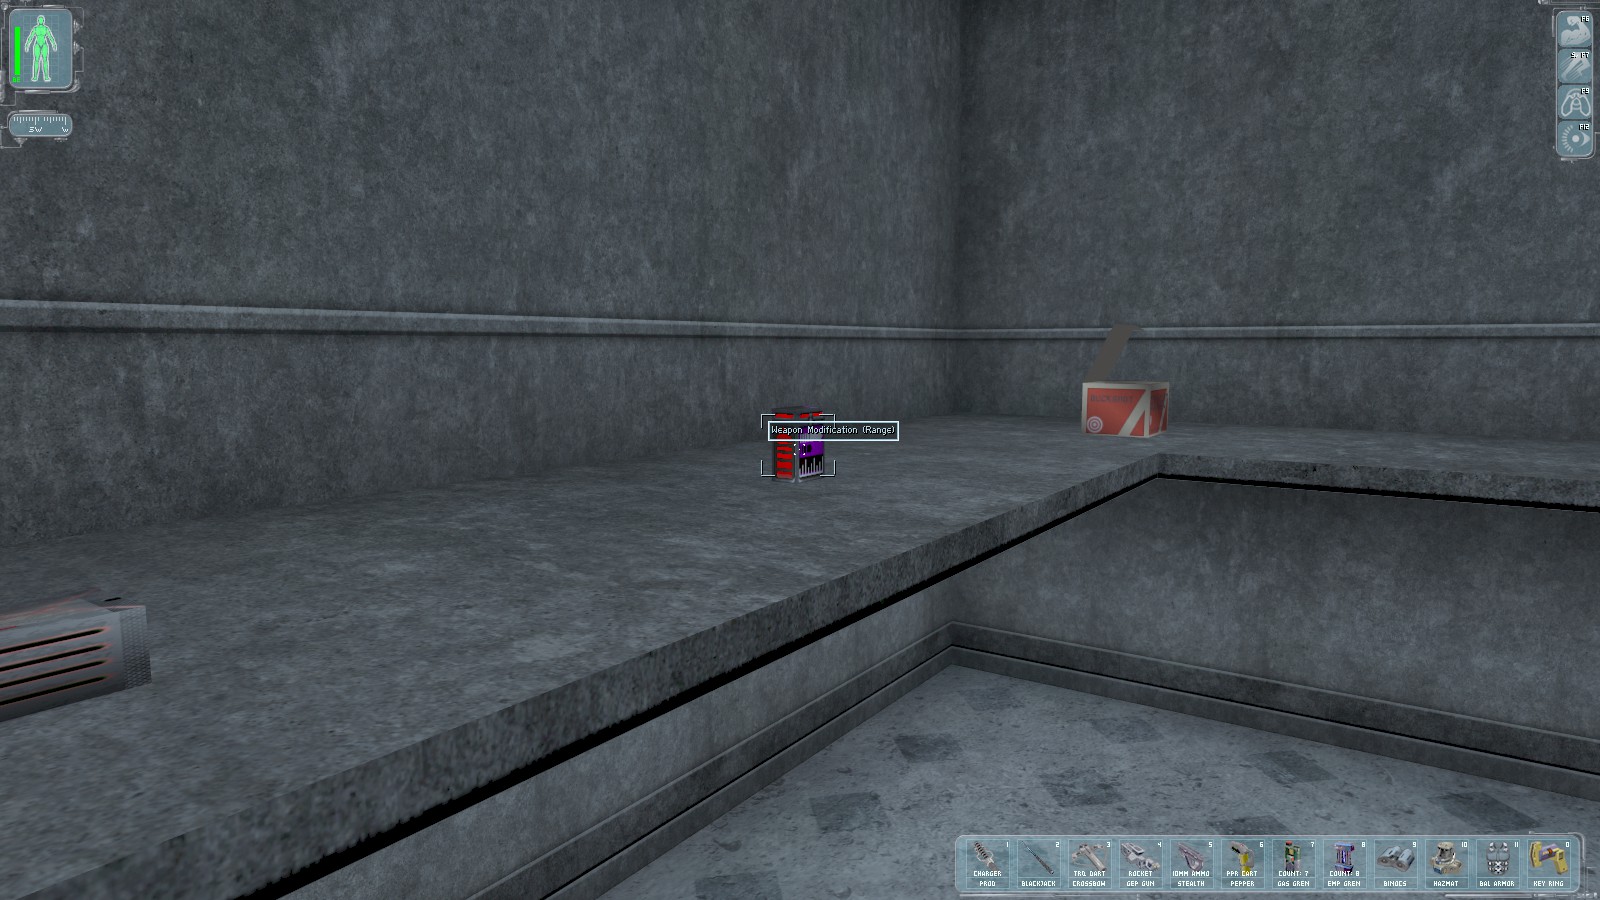
On the bench nearby is a datacube explaining what’s happening with the Ambrosa. Almost hidden behind the potted plant is a switch. You know what to do…
The shelving opens to reveal a secret compartment with this accuracy mod (for the crossbow—as you’ve no doubt gathered by now!) and a prod.
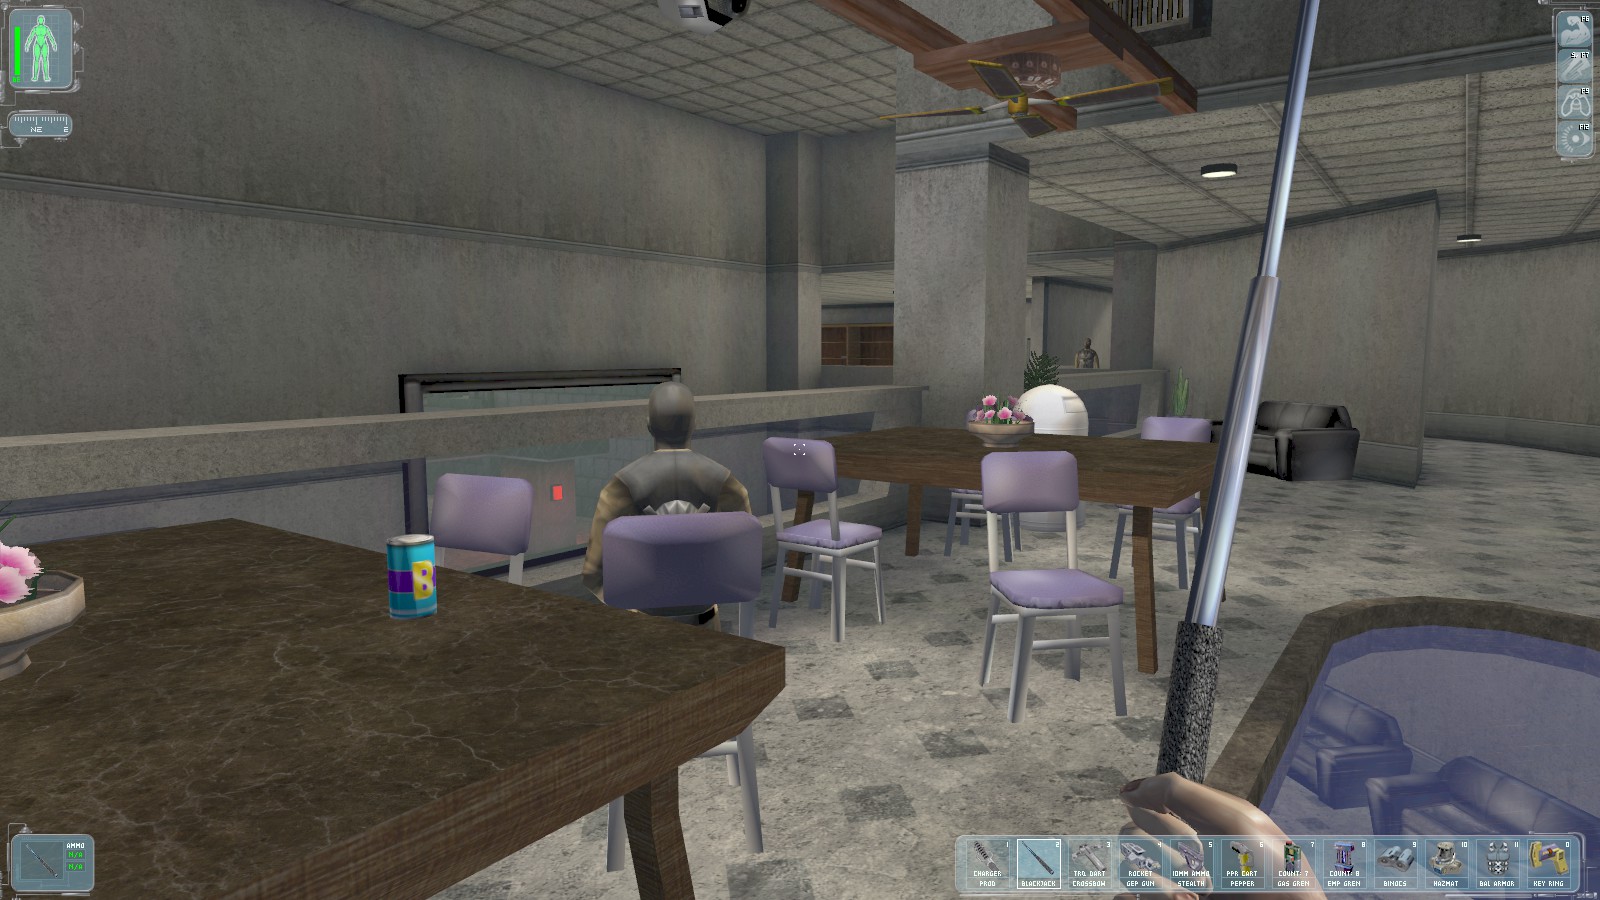
Ignore the other locked door in here too. Instead, head back towards the break-out area to the South. Knock out the seated guard when the more distant guard isn’t watching.
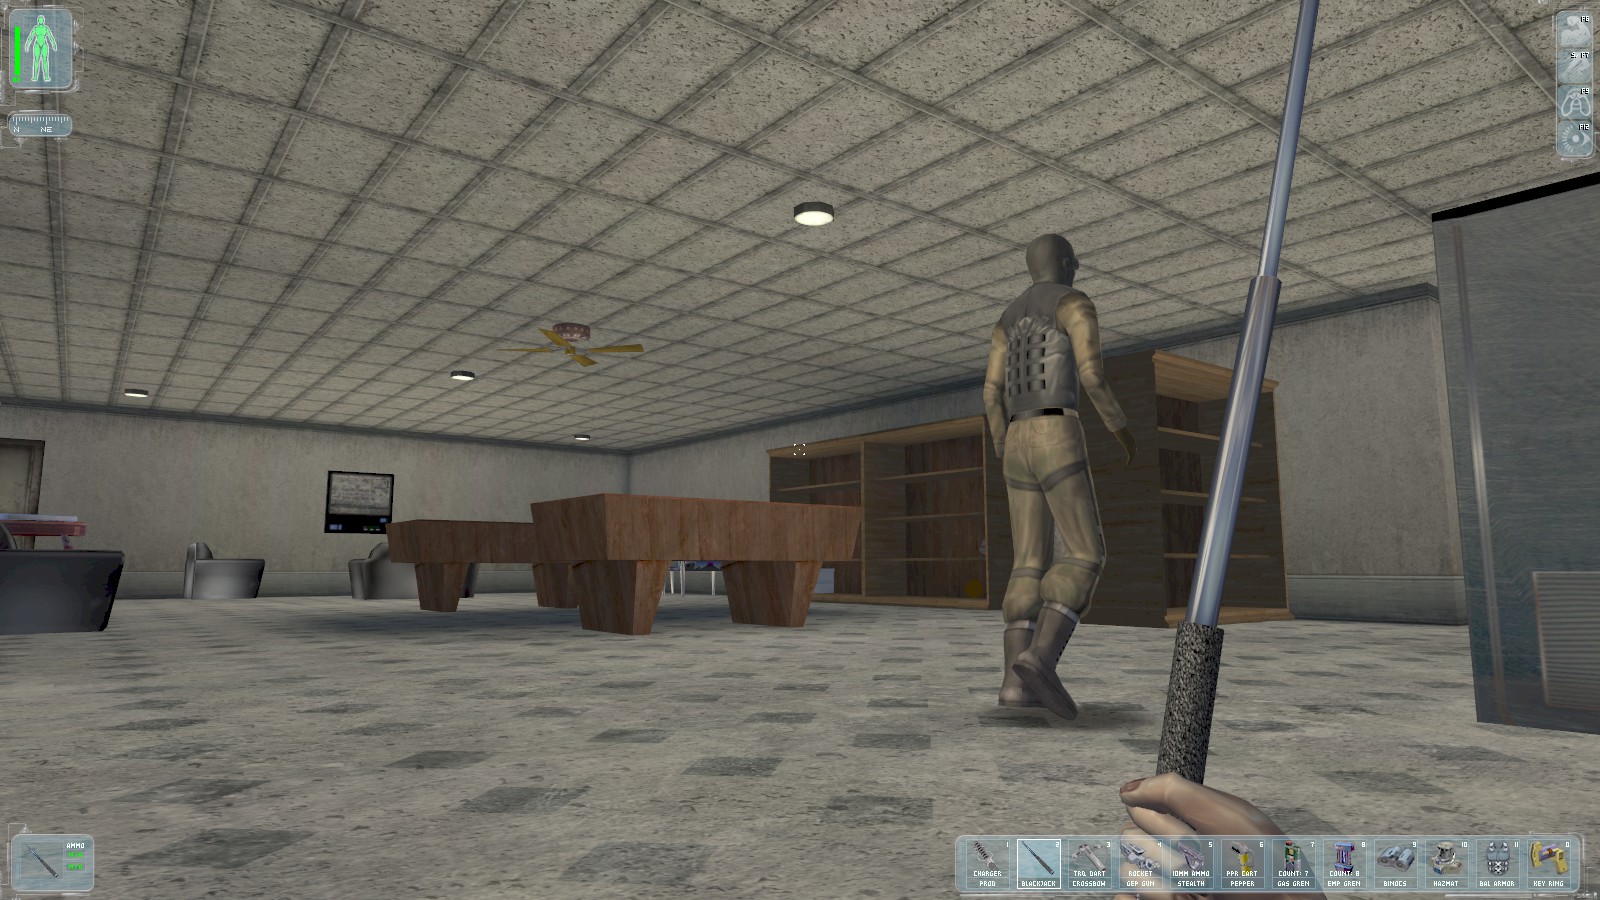
Carry on round to take out the other guard. Just beyond him here is the door you opened; it contains a supply crate with ballistic armour, and you get 50 skill points for going in. Hack a nearby ATM for 375c.
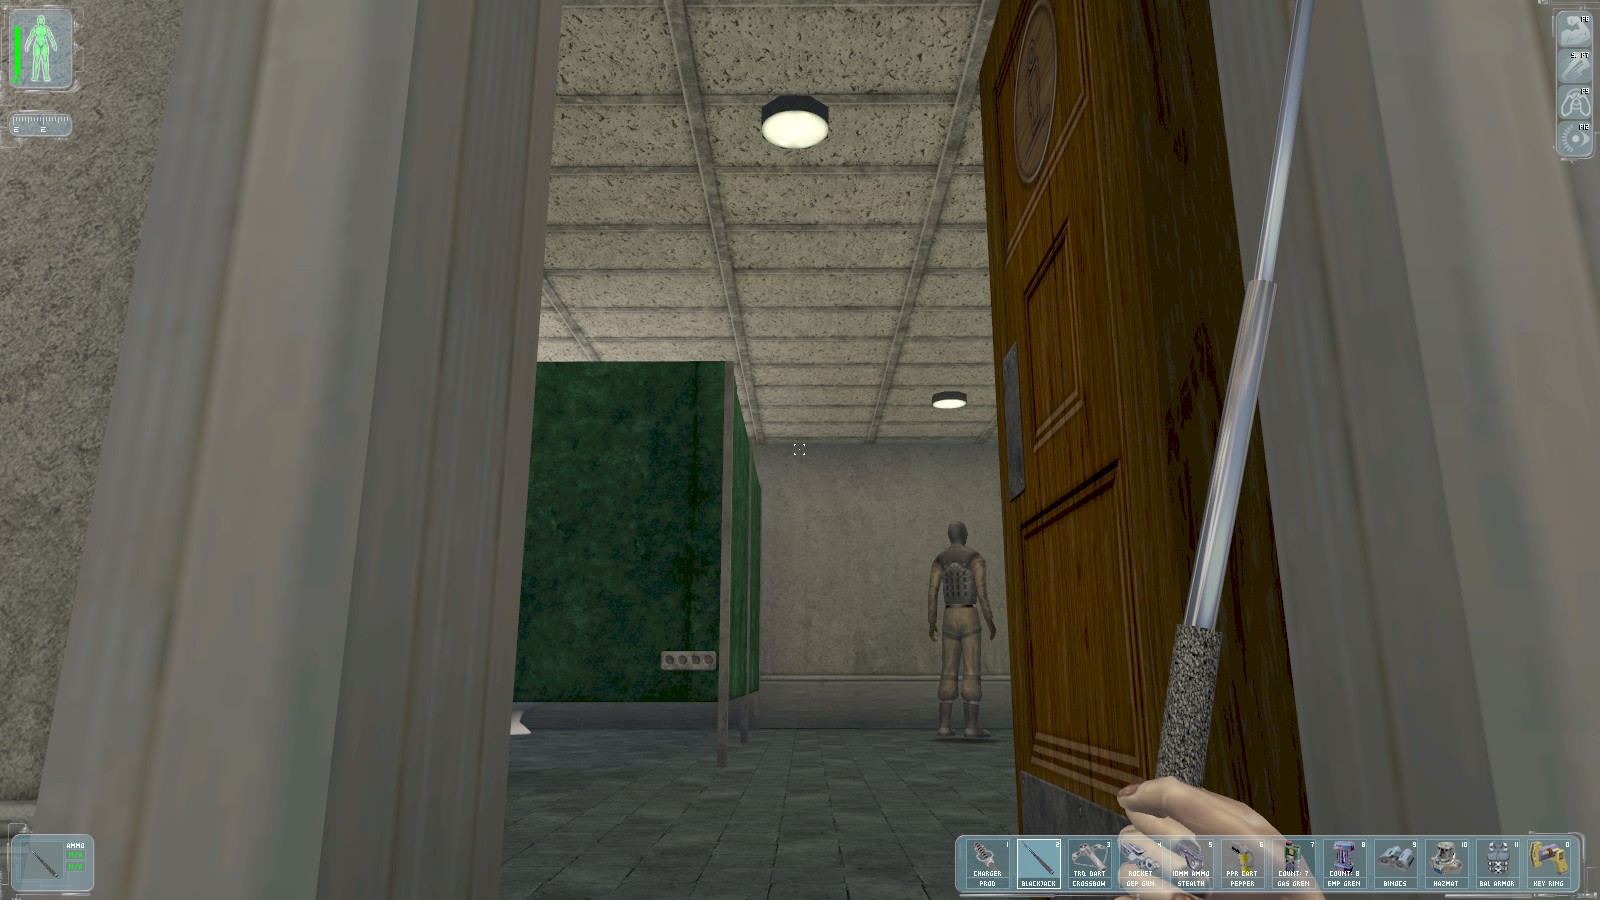
Head downstairs to the mens' room to find this guard. Whack him and search him for a key to the unlocked doors on the upper level…whcih we’re not going to use.
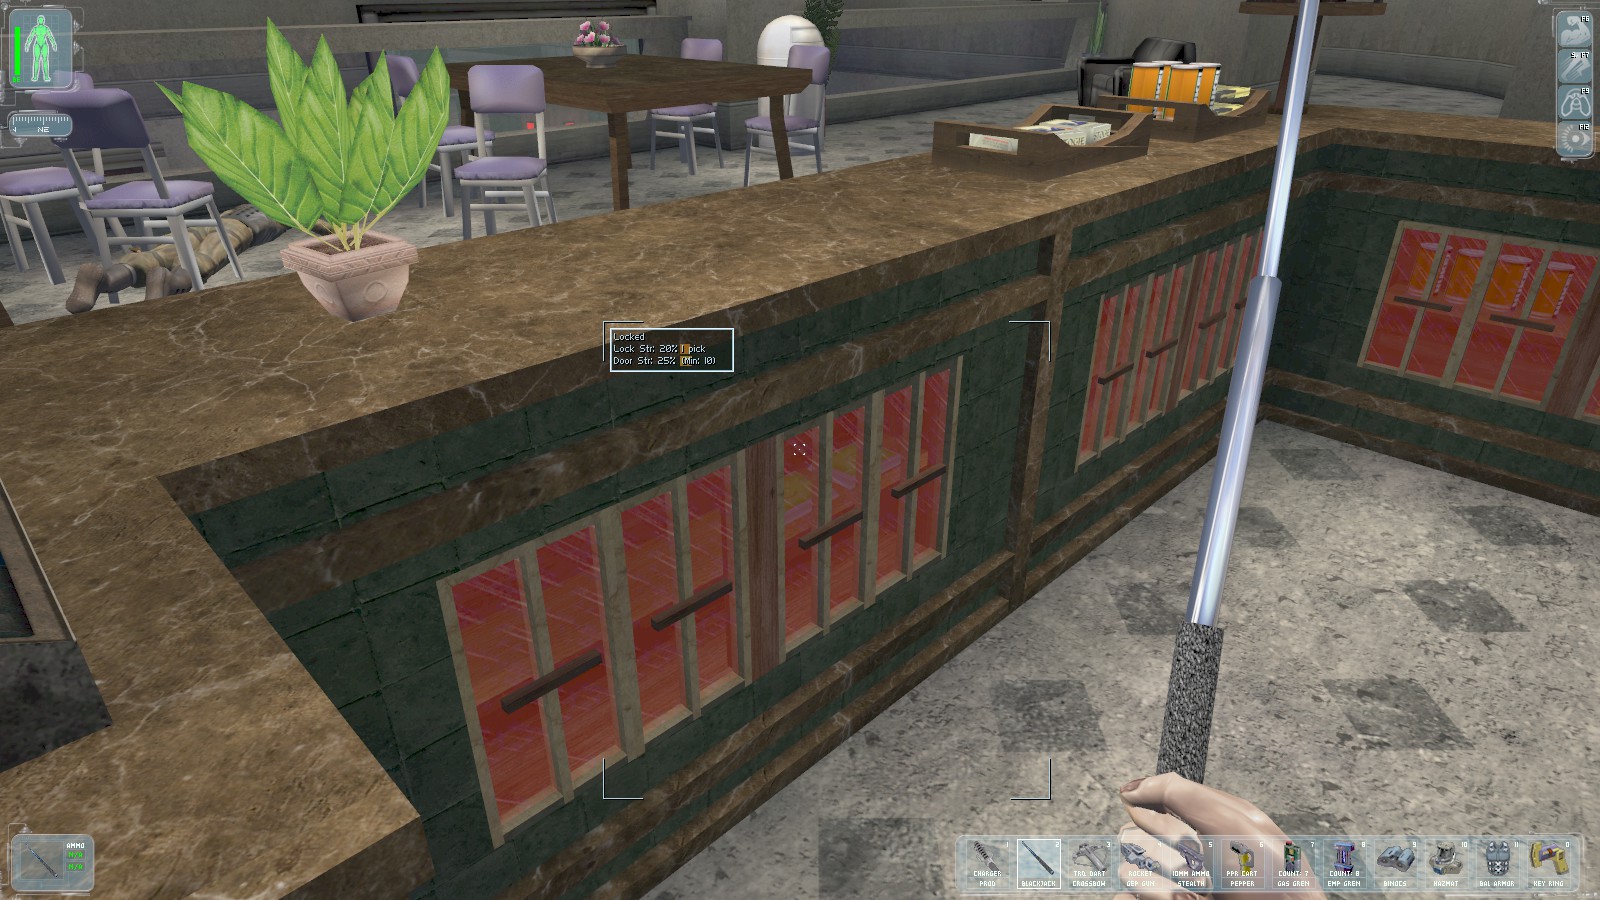
Return to the kitchen area upstairs. With no-one to hear you break the locked cabinet with your baton you’re free to steal the 75c inside.
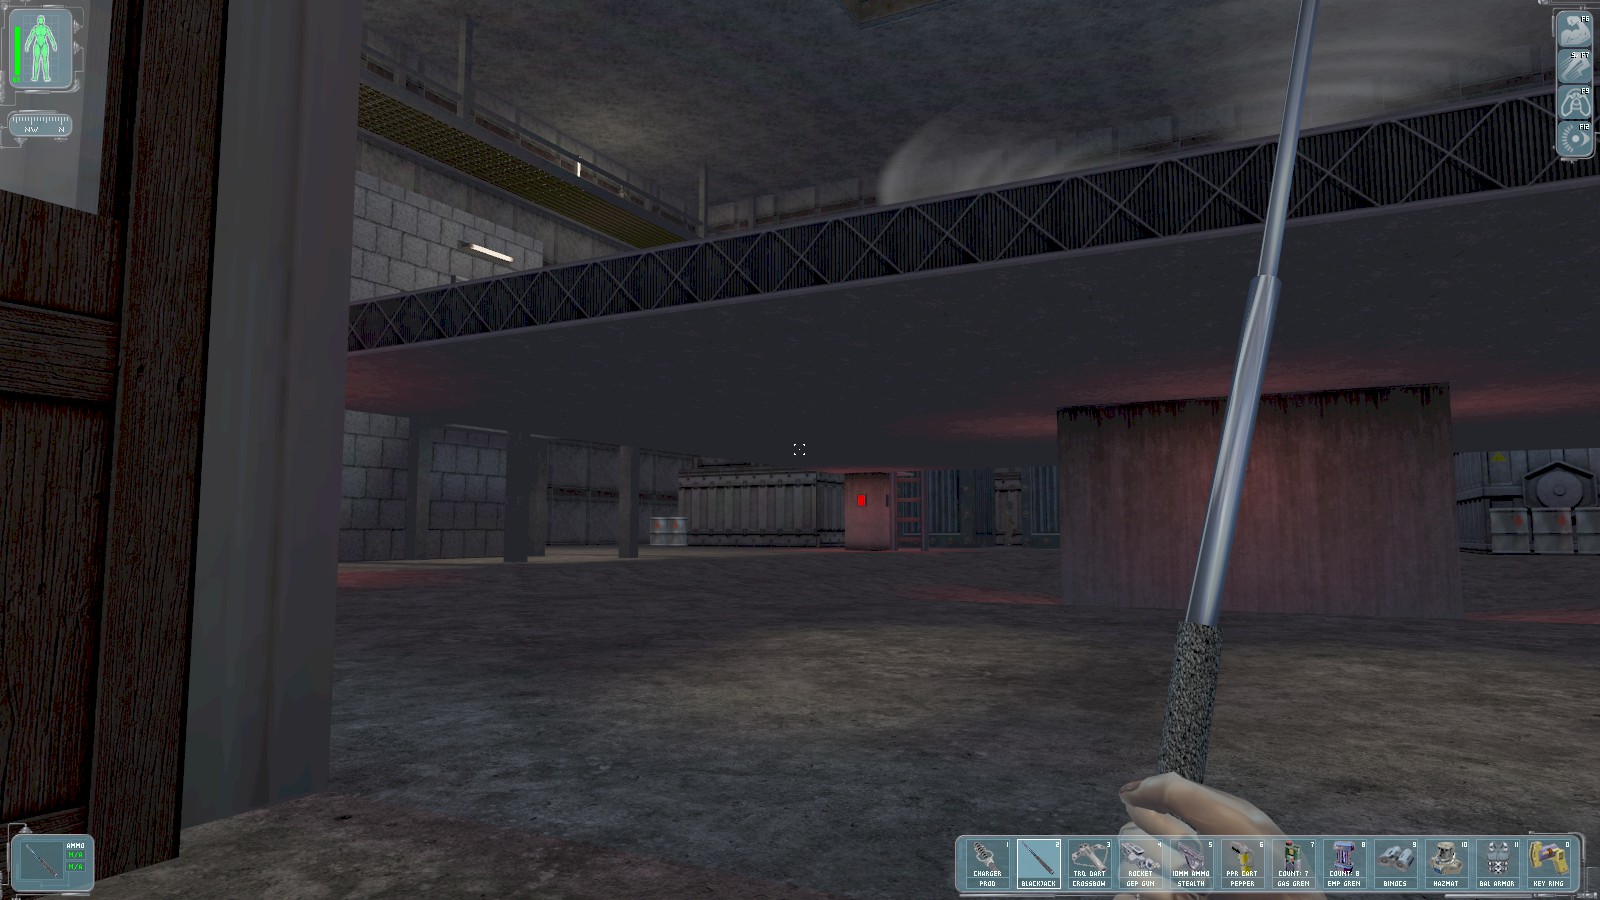
Go back downstairs to the main doors. Alex told you earlier about a sewer entrance to the NW of the compound. Keep to the shadows and evade the patrols to head into the NW corner.
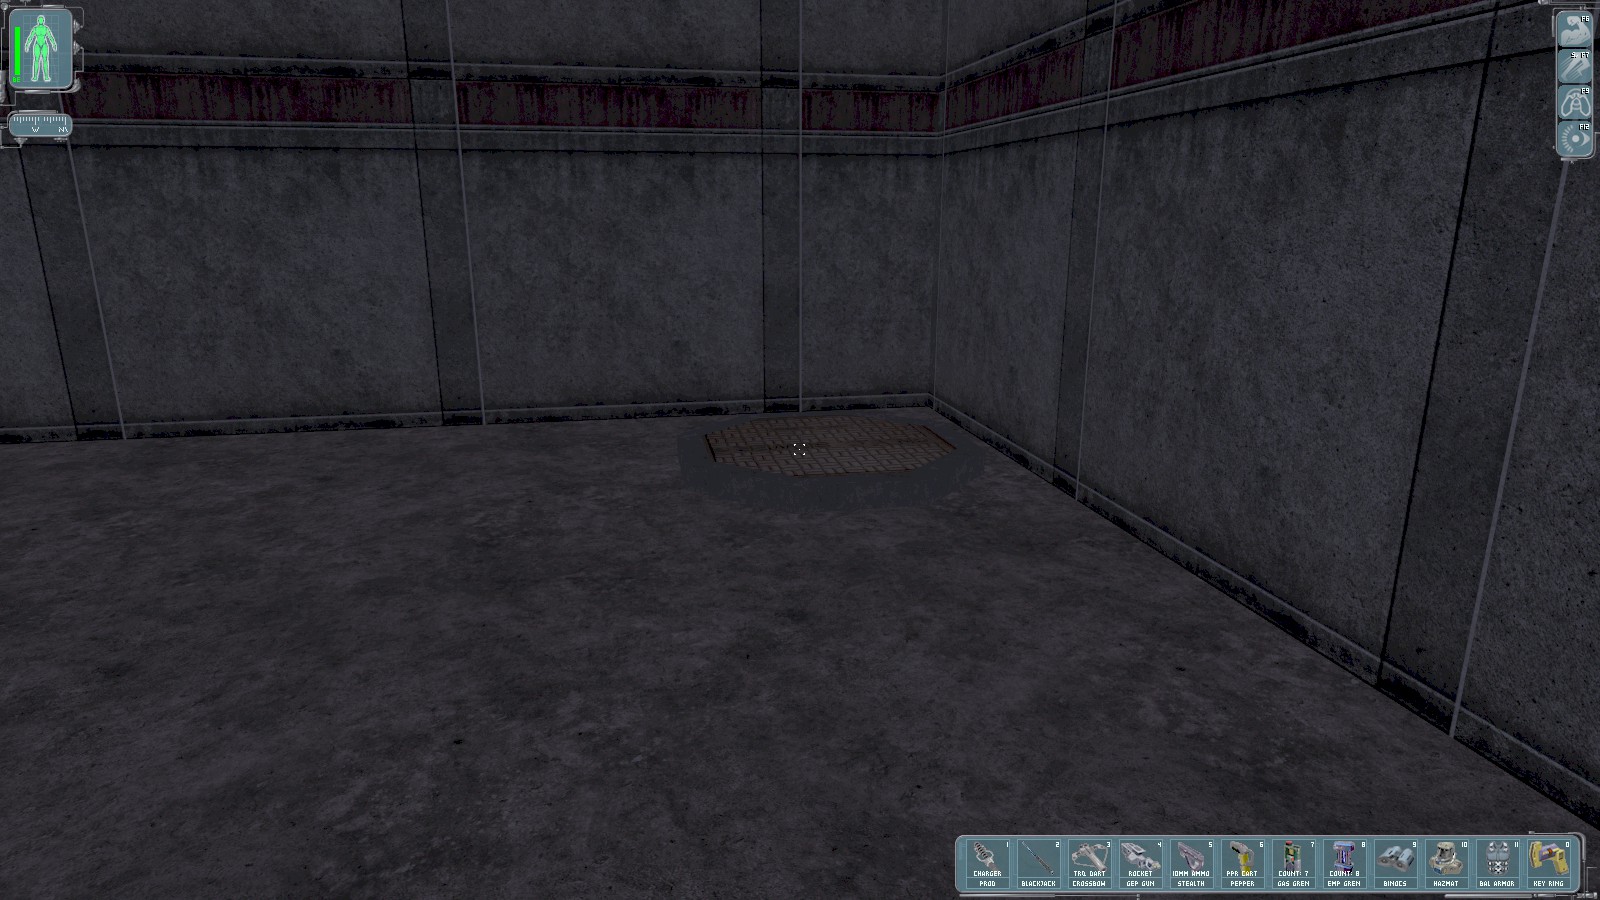
Here’s the grate. Open it, being careful of the guards, and drop inside to a pool of water.
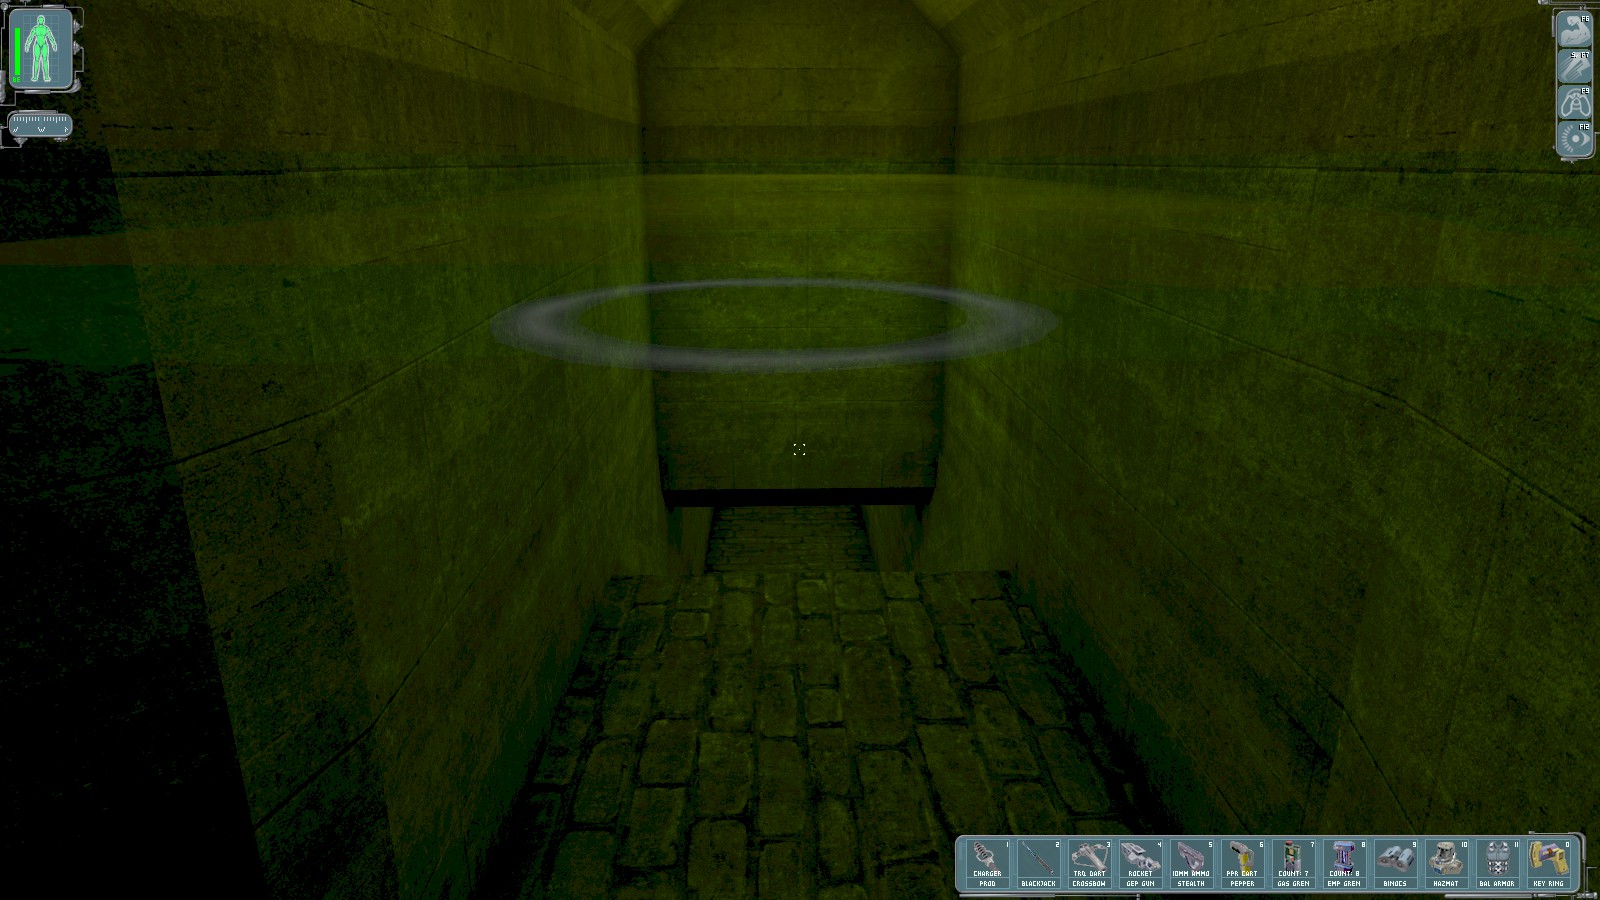
Time for another short dip into the sewers.
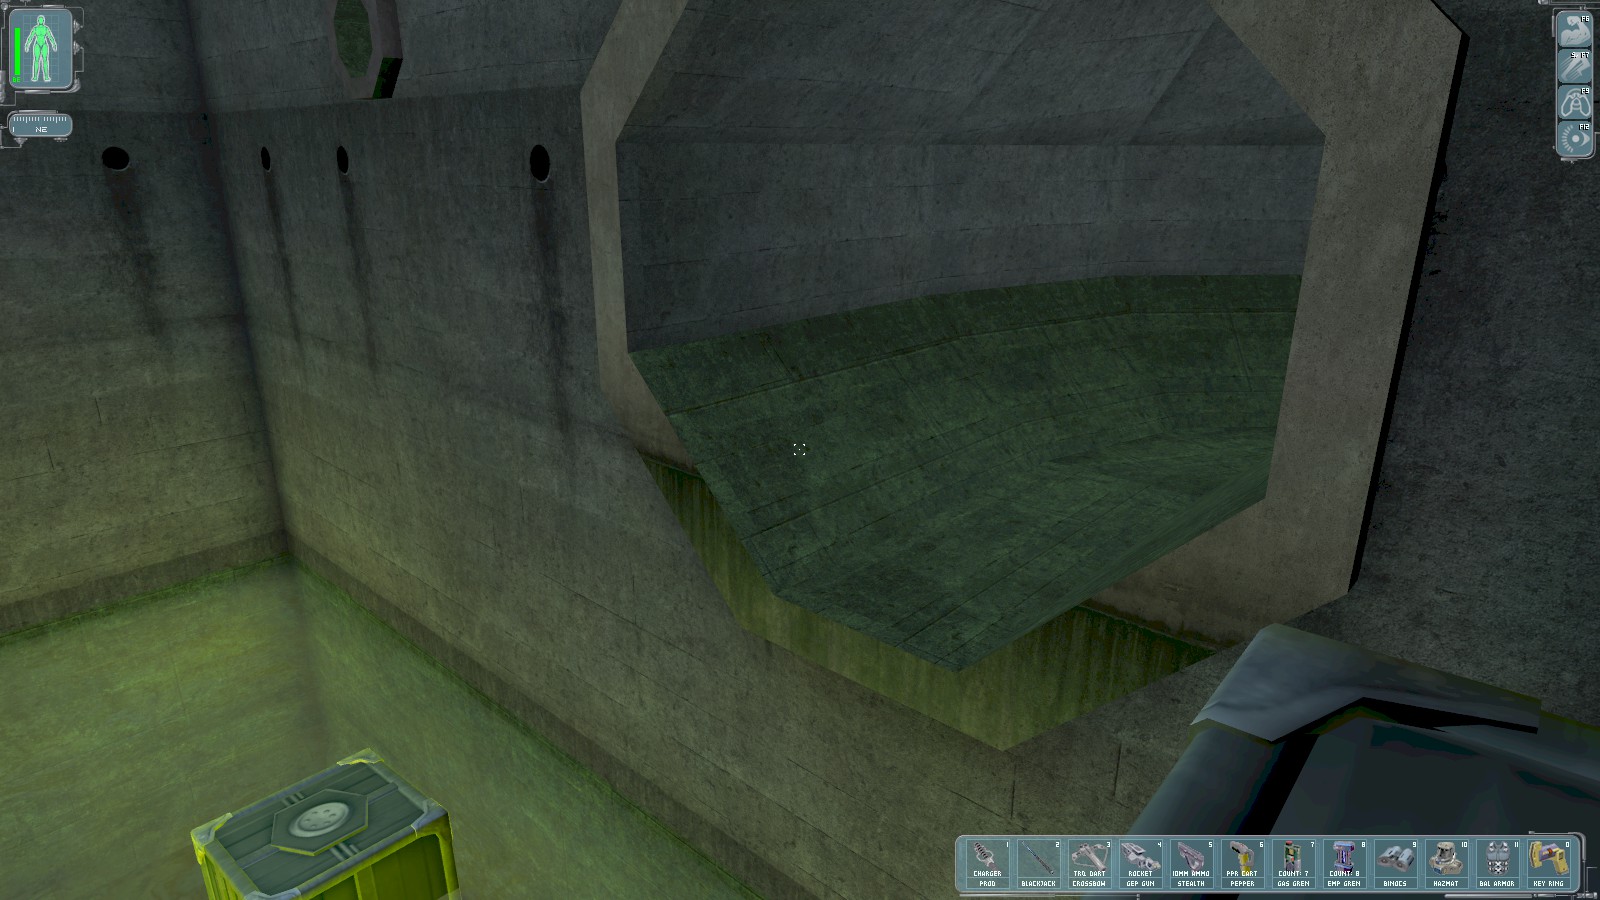
At the other end climb out of the water using a handy ladder, and jump across to the open pipe.
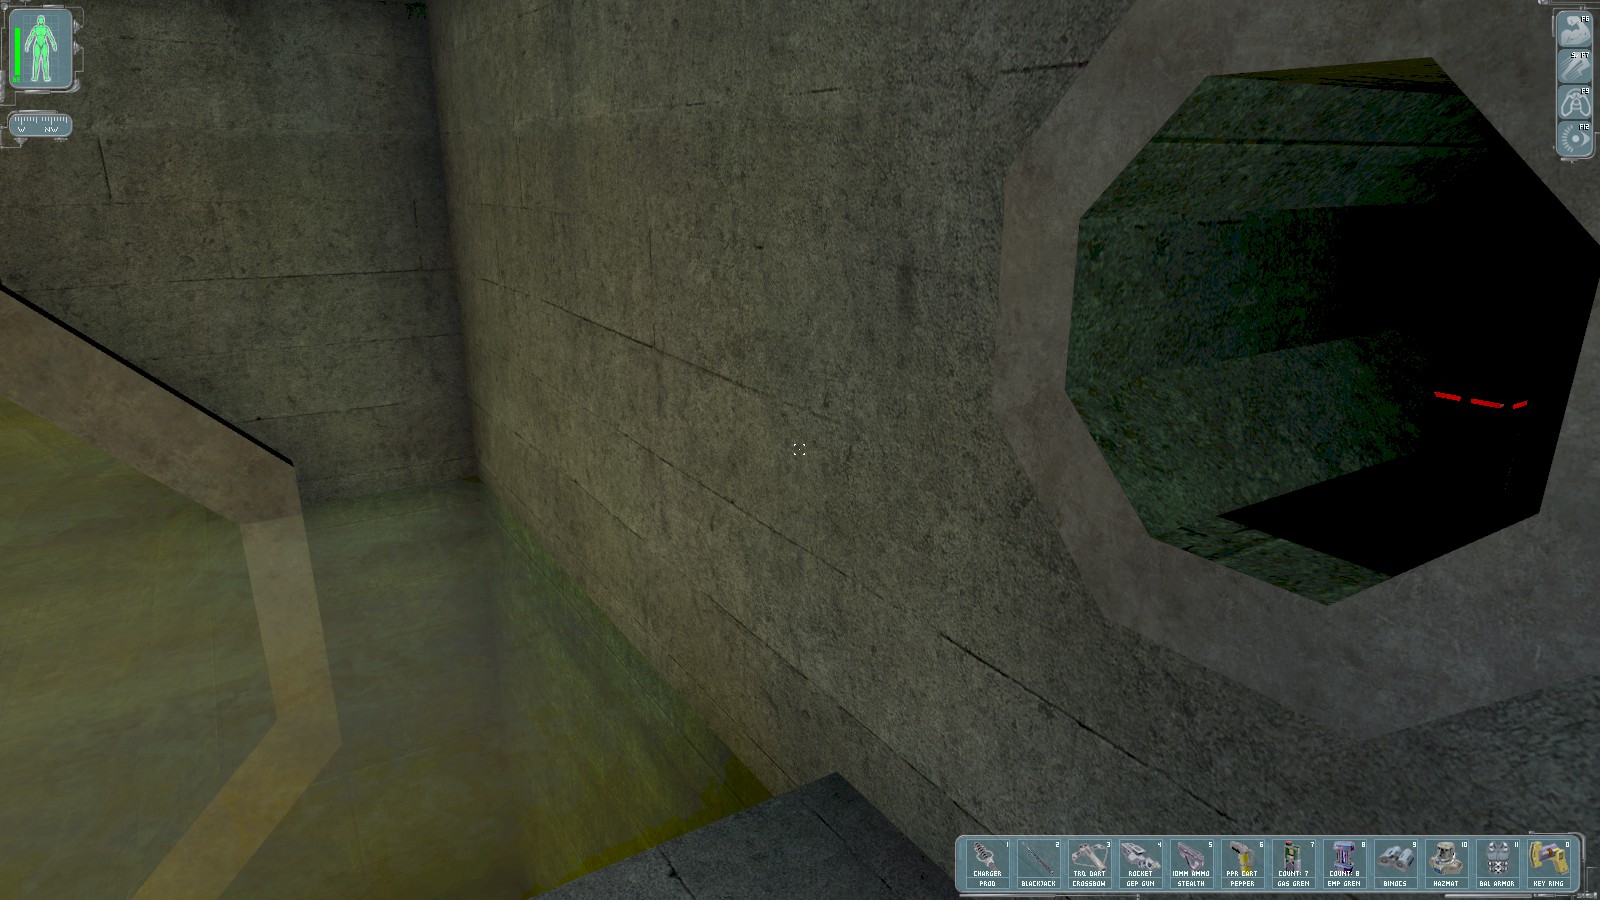
After another short underwater swim you emerge here. Swipe the reload mod from the pipe, and then back in the water through the final pipe.
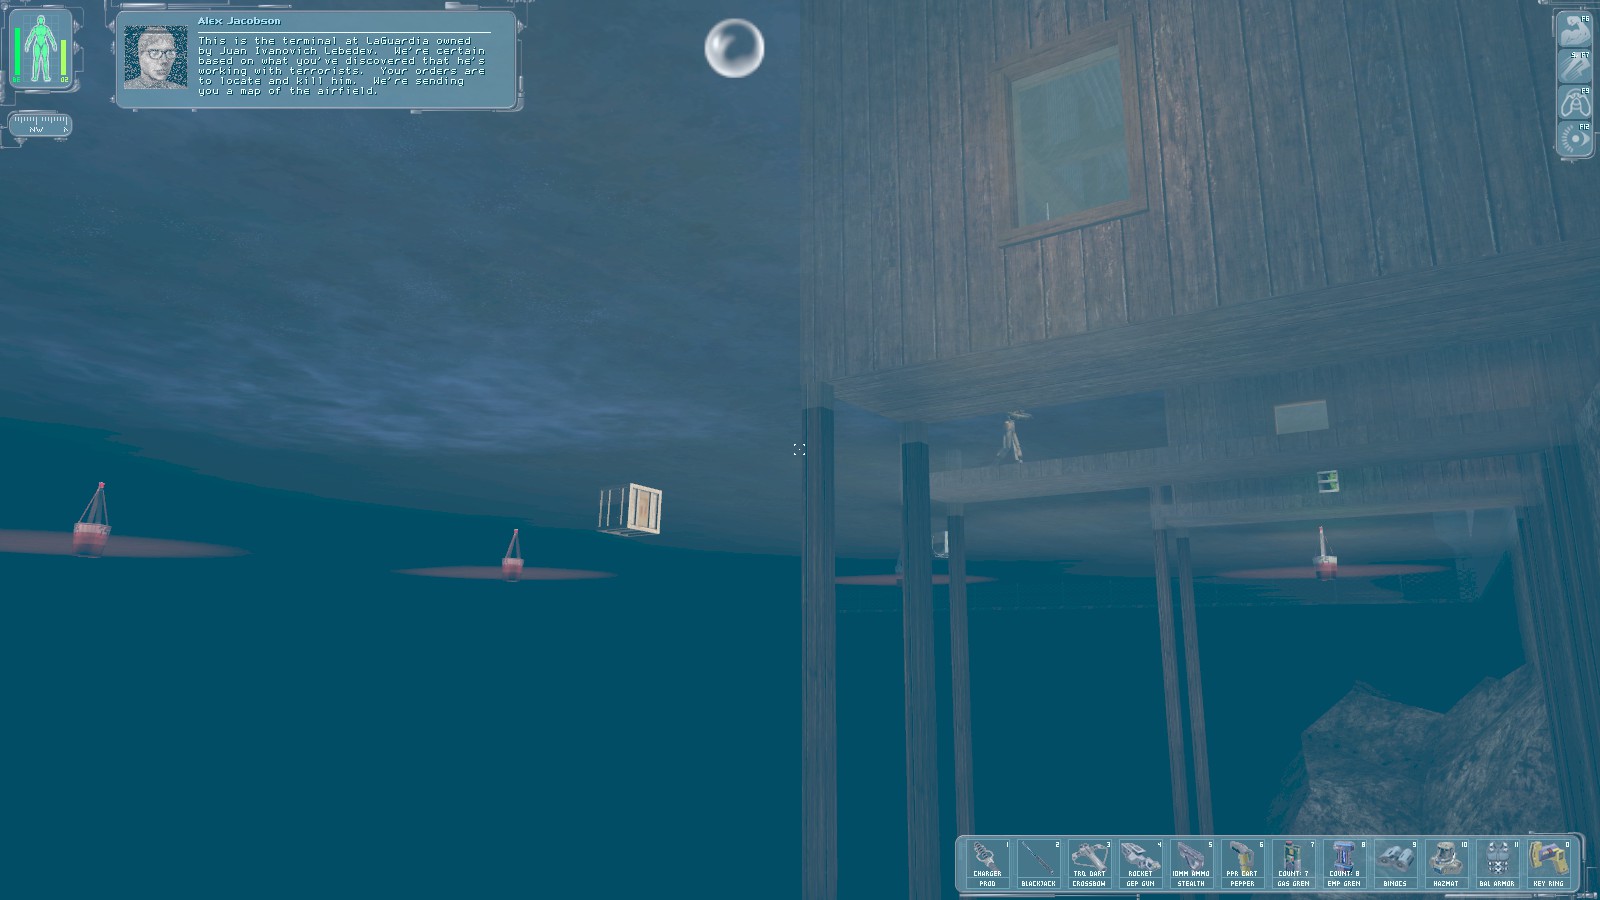
You emerge here. Alex radios to give you the order to kill Juan Lebedev who owns this part of La Guardia, and you get 100 skill points. Note the guard patrolling the dock, and the floating supply crates.
|
|
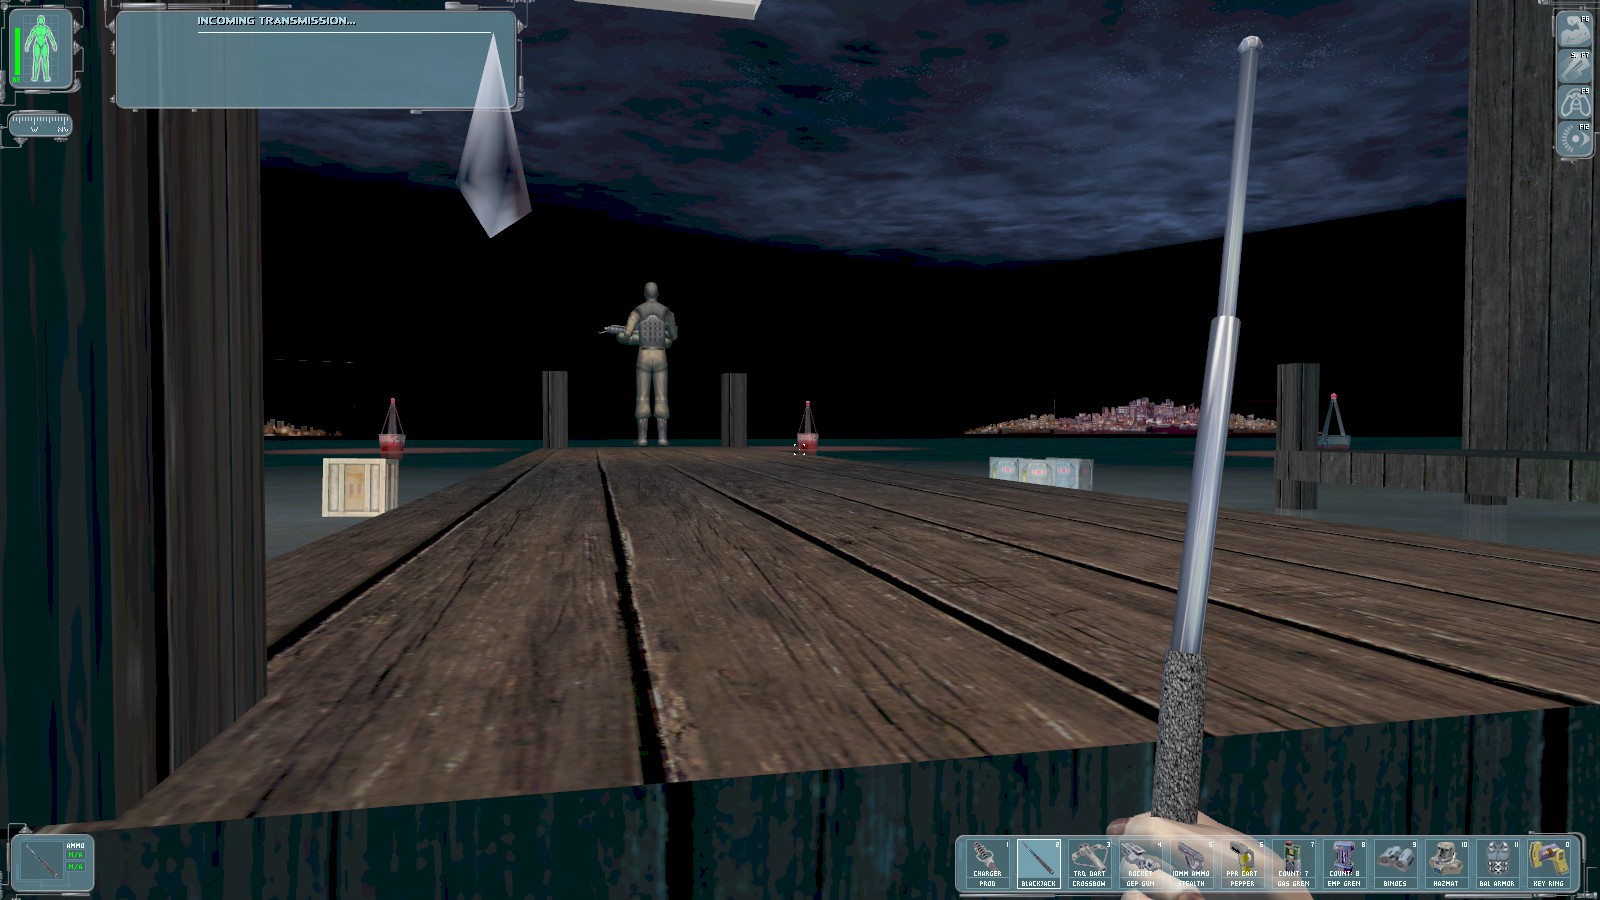
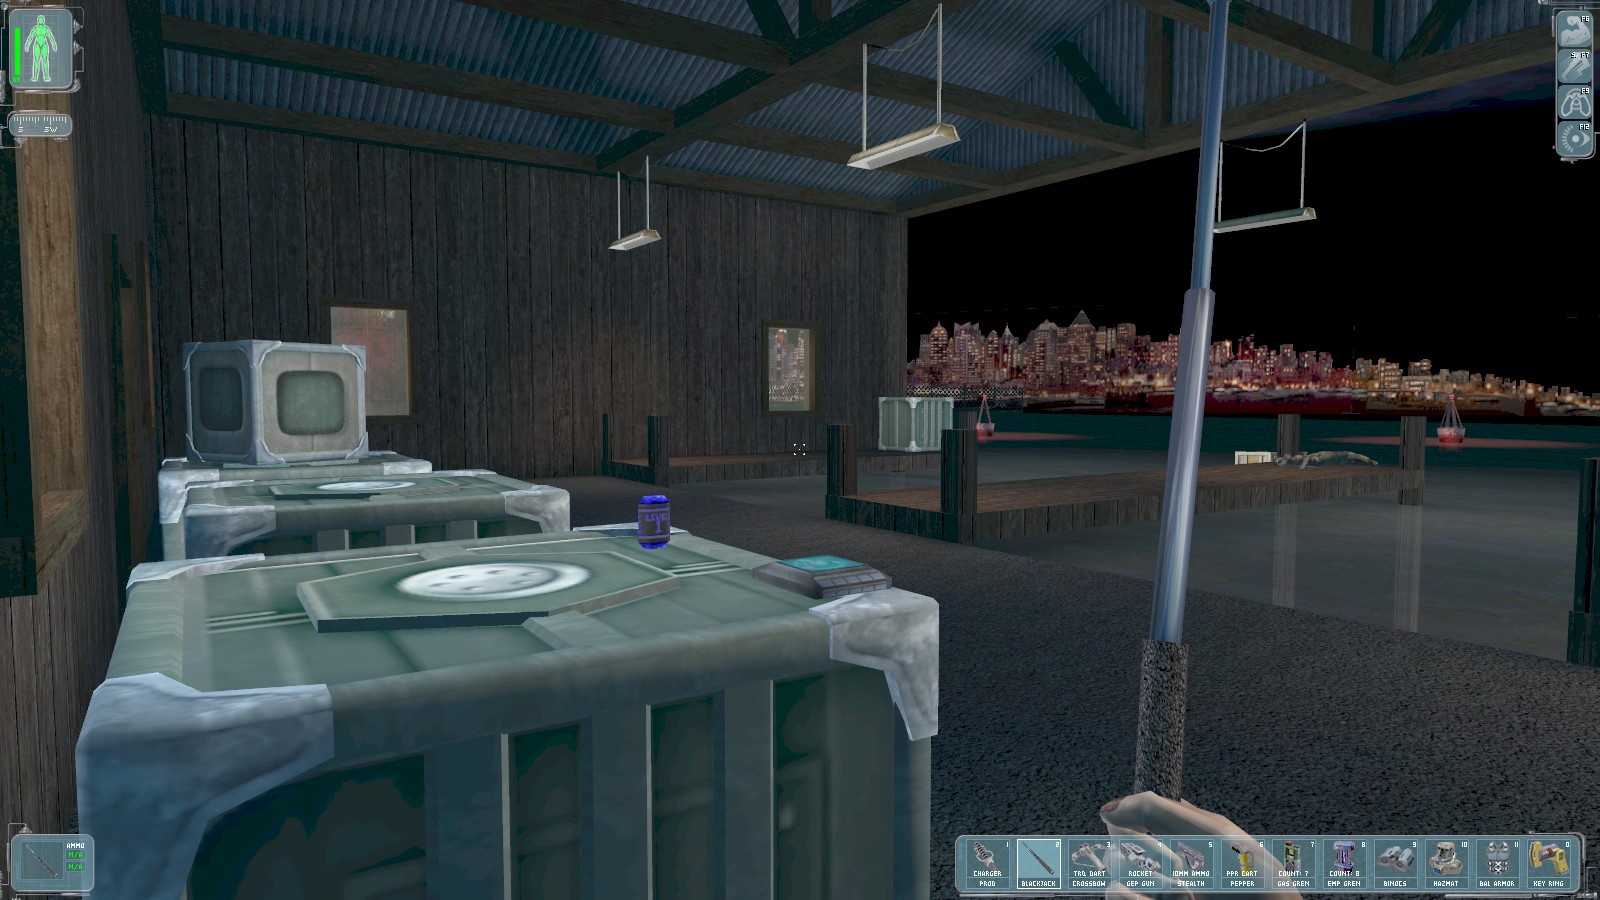
Surface quietly and knock him out. You also discover another Ambrosia shipment, and get another 100 skill points. Alex radios to say the 3rd and final one maybe on Lebedev’s jet. Search the body for the East Gate key. Remember you can still be seen through the windows. The East Gate key is also on top of the crates. Carefully sneak through the door.
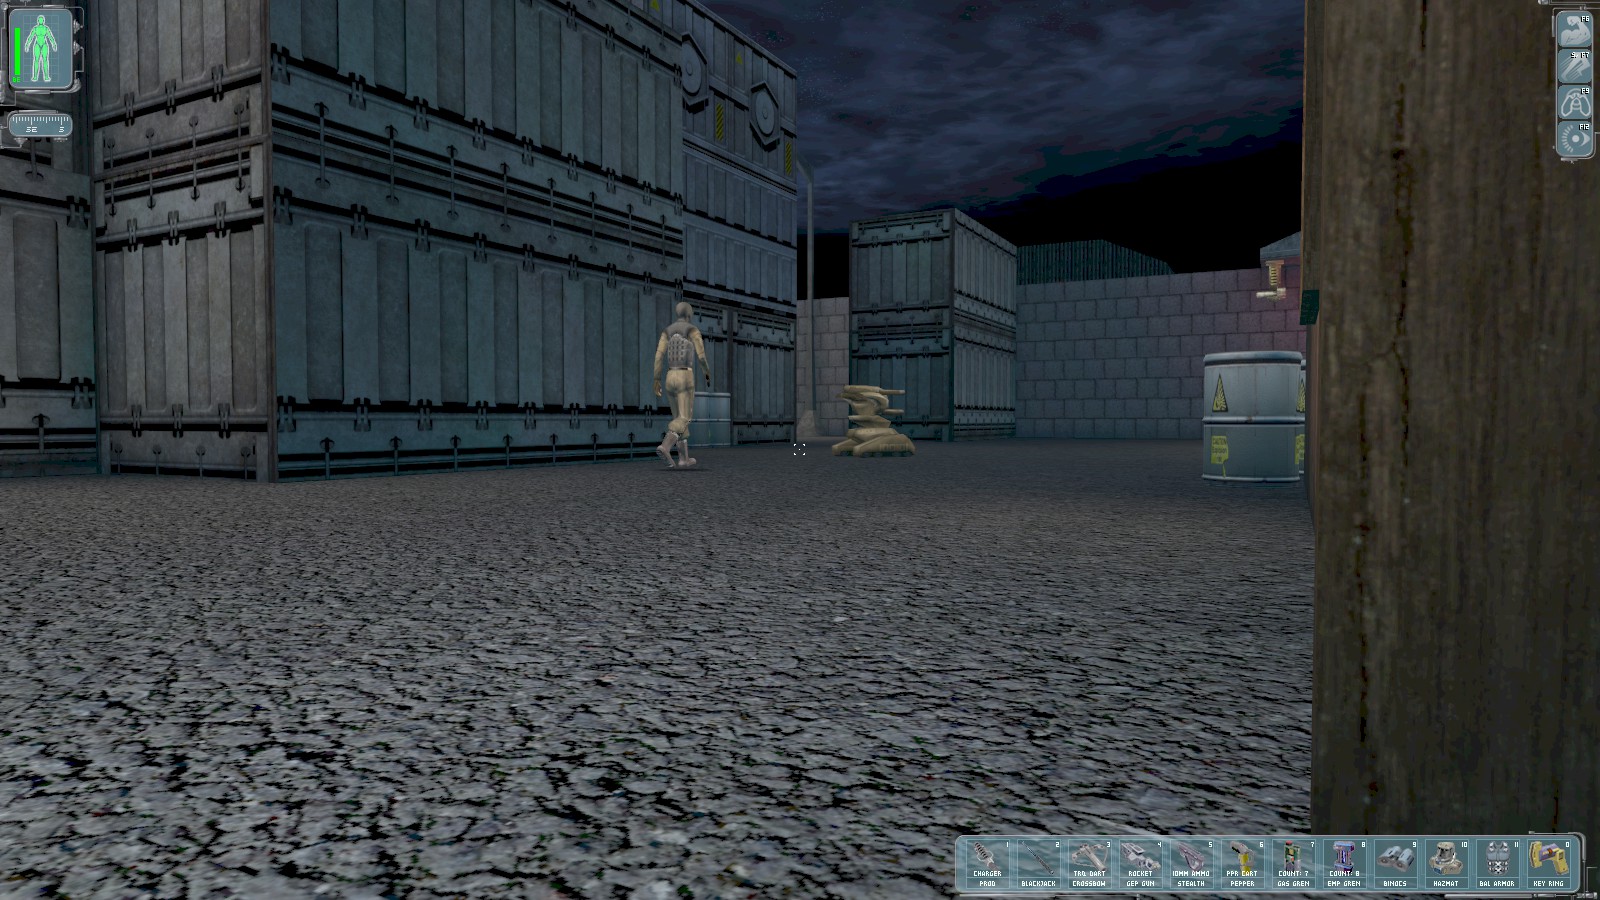
Take care to evade the patrols and gunbots, head East, keeping to shadows if you can.
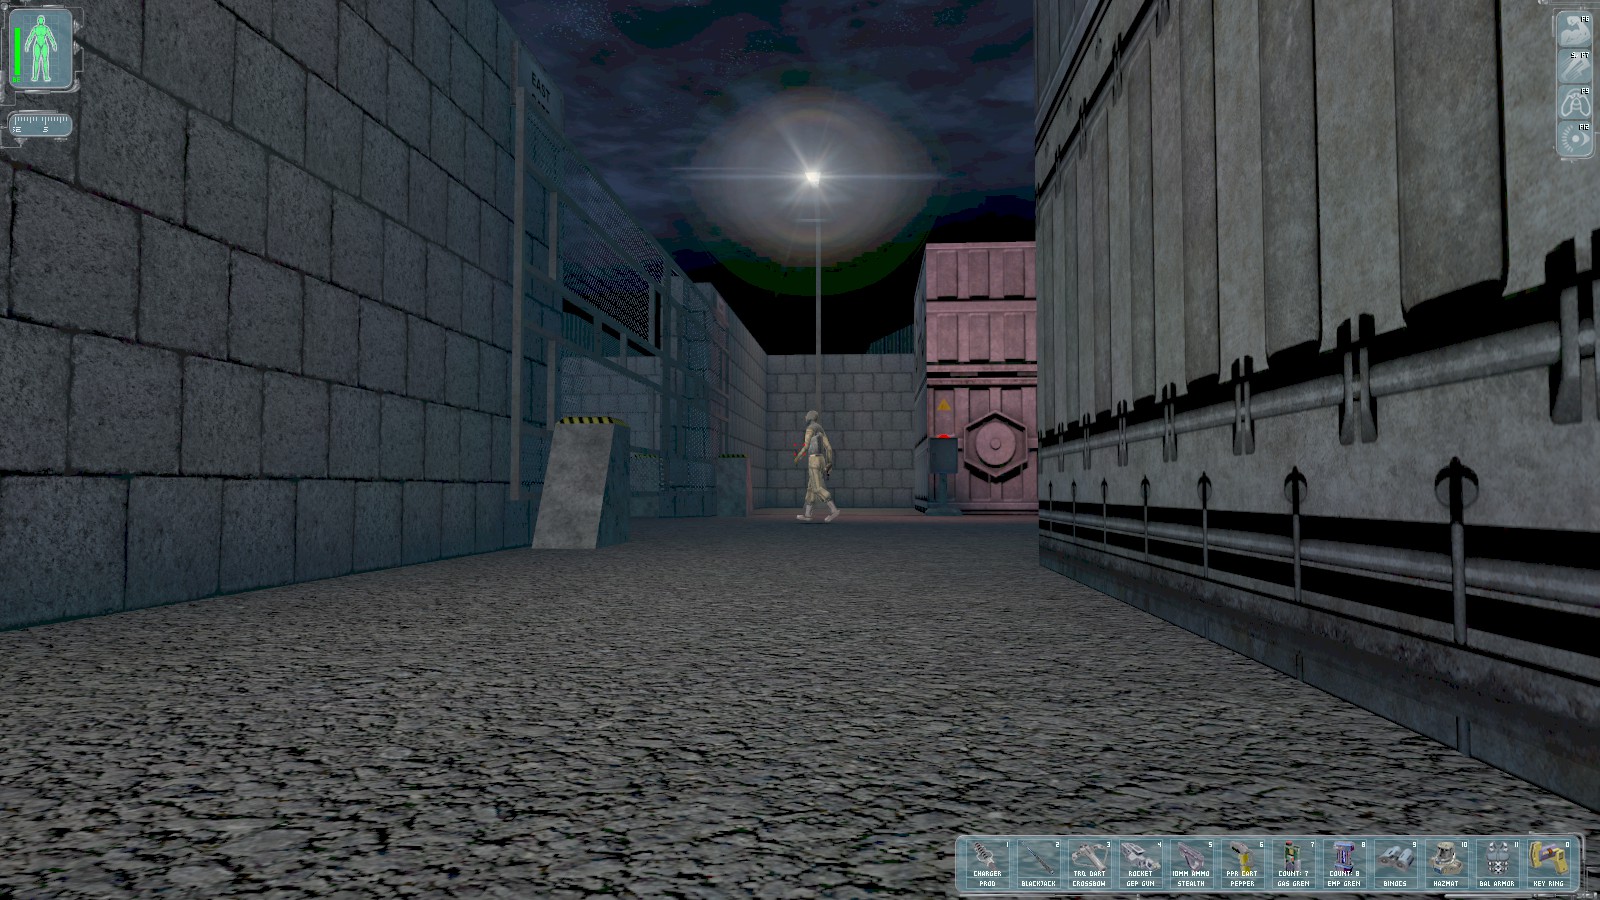
Your goal is this gate. Near the patrol in this shot is the control for the gate. It’s locked, but you have a key. Find an opportune moment to knock out that guard and search him for the security tower key.
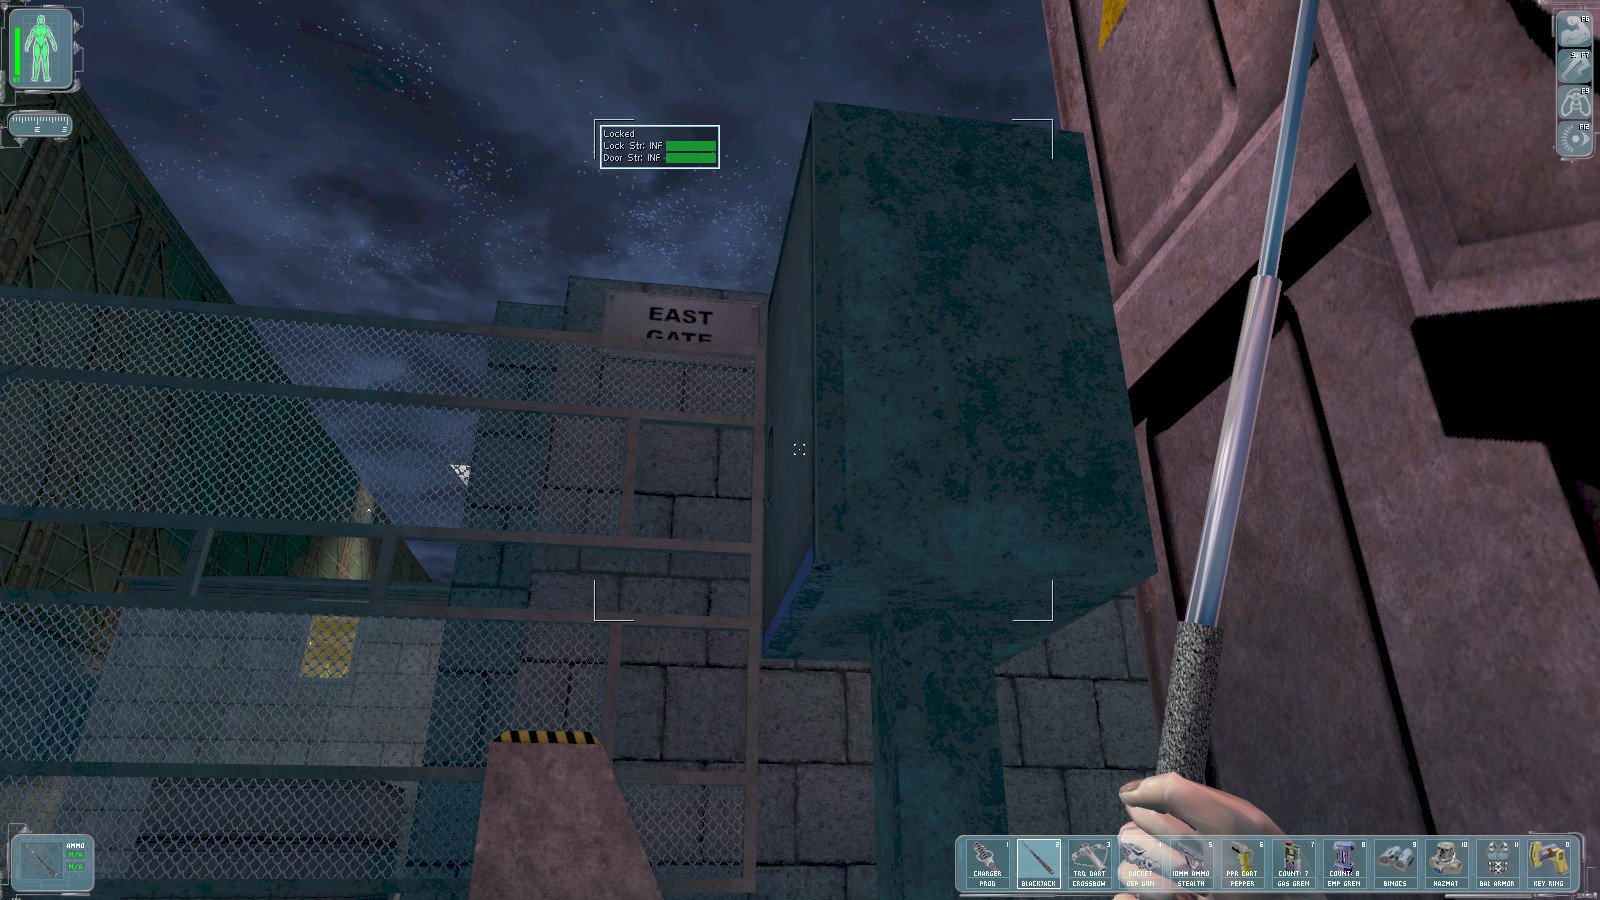
Use your key to open the control box, and press the button inside.
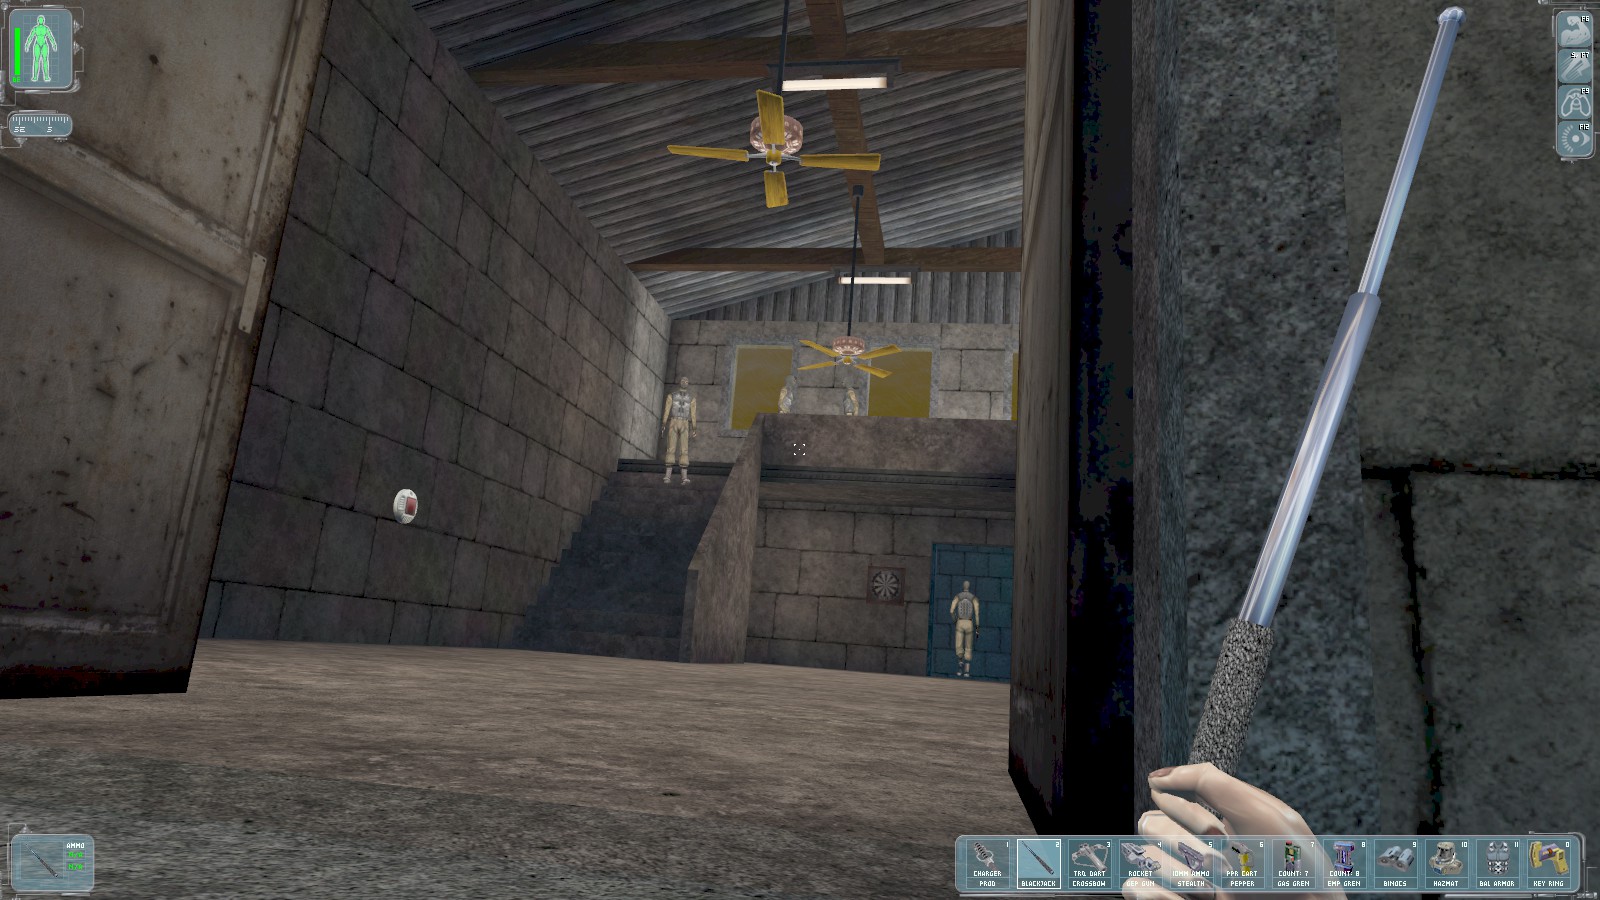
The gate opens. Slip around to the left of the building, and open the door. For a while it looks quiet enough, but a little patience is rewarded—the interior is crawling with armed NSF! Another way in seems indicated…
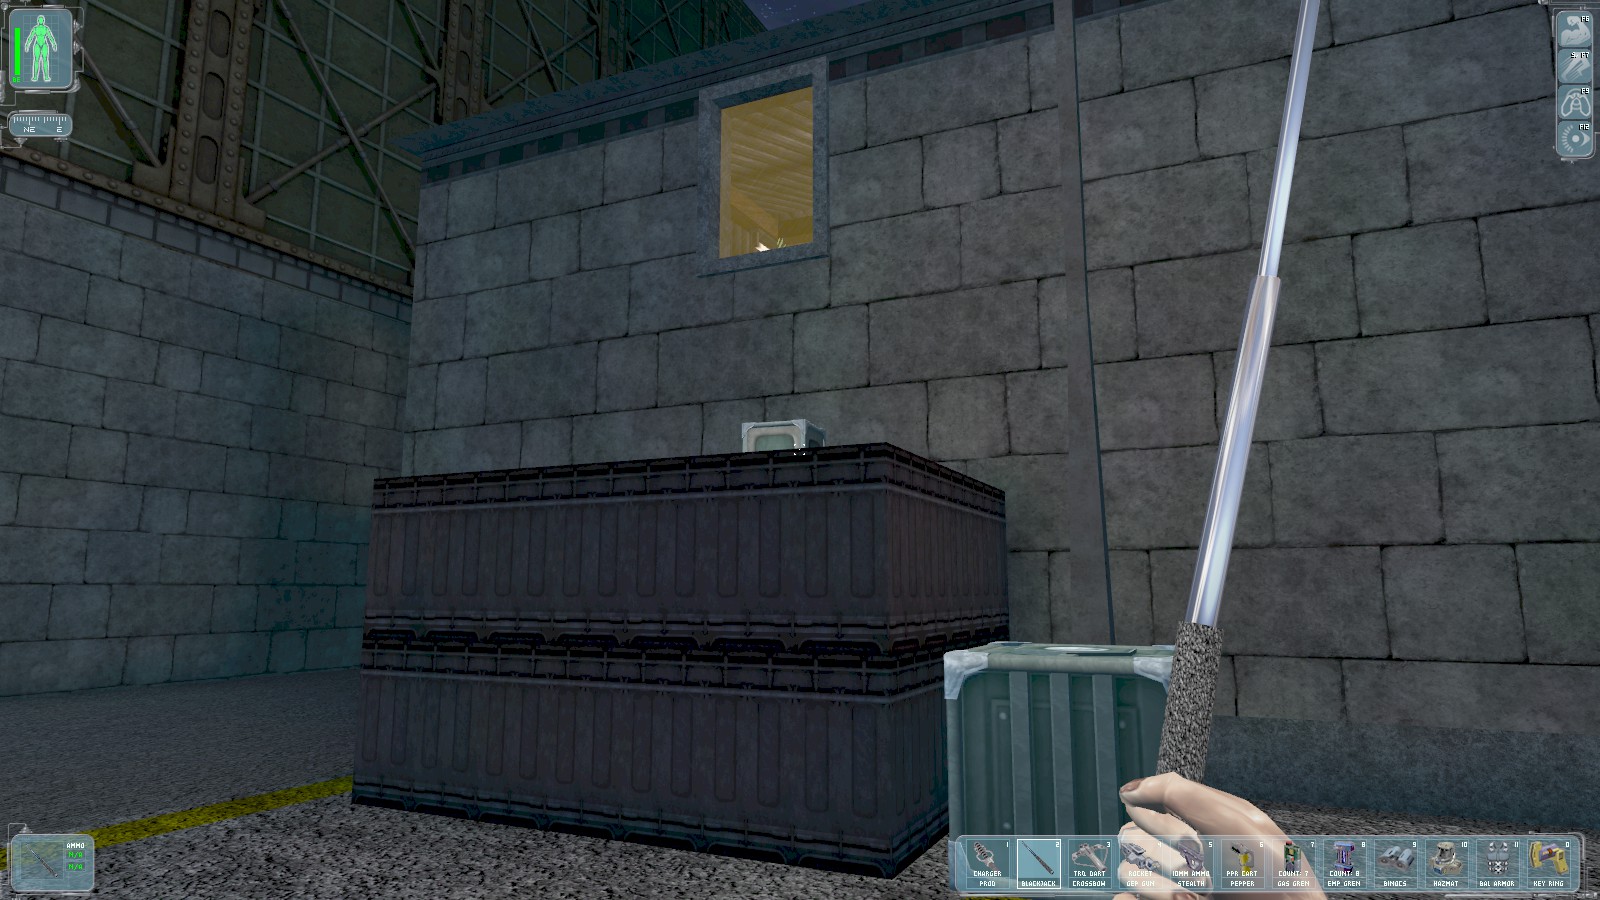
The rear of the building is protected by more guards and cameras. Back at the front just inside the gate the upper window looks tempting. The Microfibral Muscle augmentation enabled me to get the crates to this position. Speed Enhancement might work to reach to window..

There is 1 unlocked box in here (furthest right). Ignore the locked ones—some darts, a biocell, and a LAM are not a good exchange for the lockpicks.
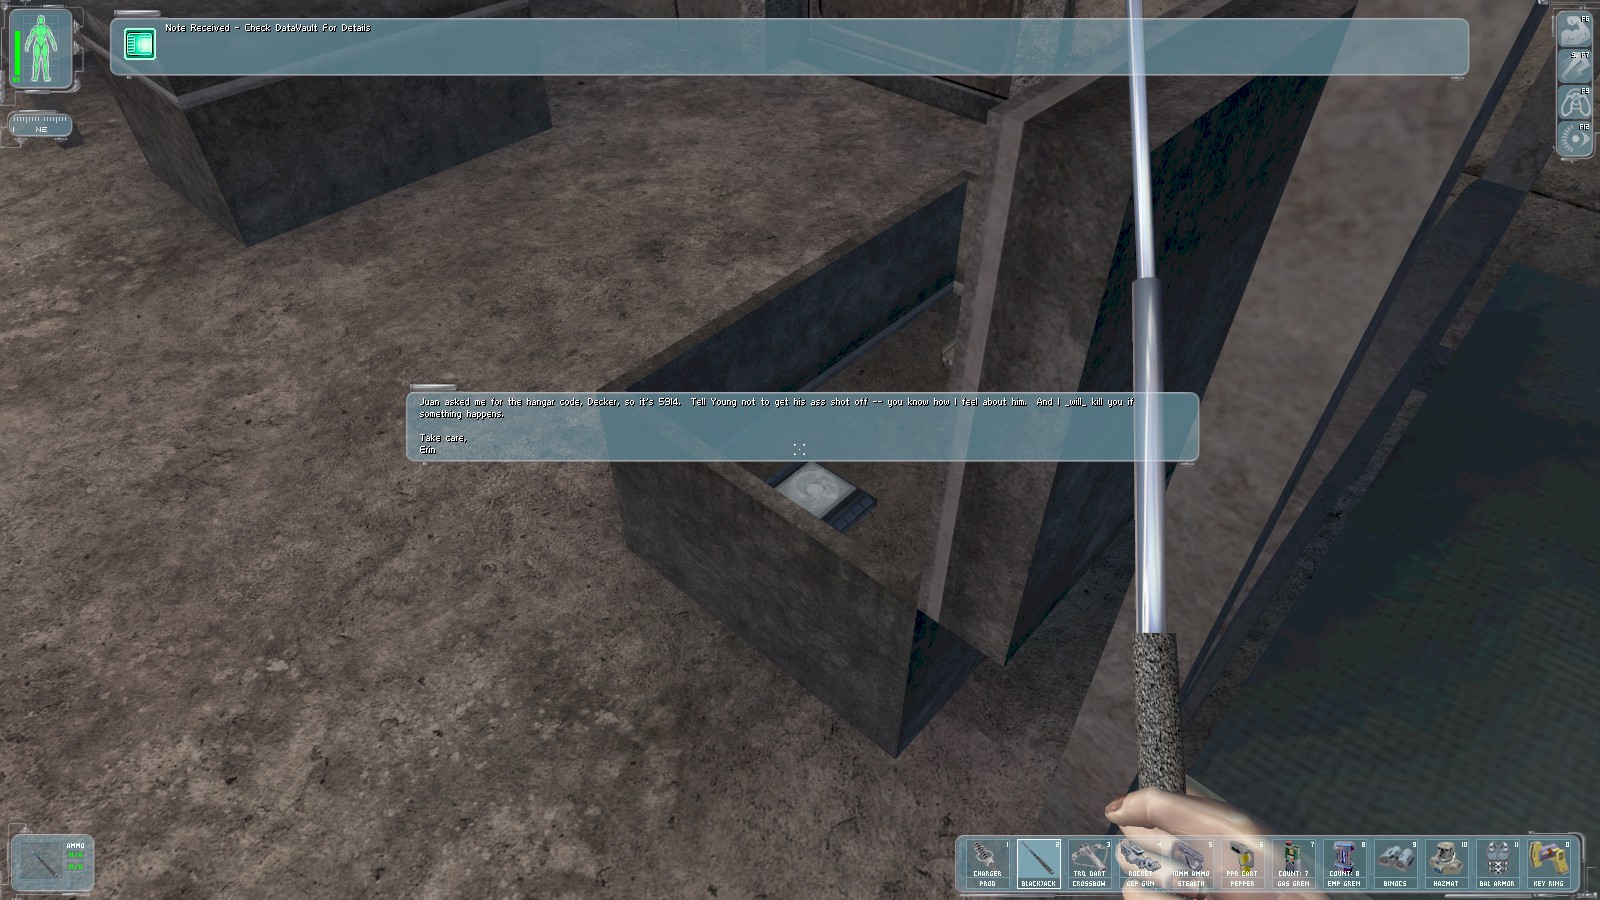
The unlocked box contains a datacube with the code 5914. Use one of the beds nearest the window to
clamber up to the roof supports.
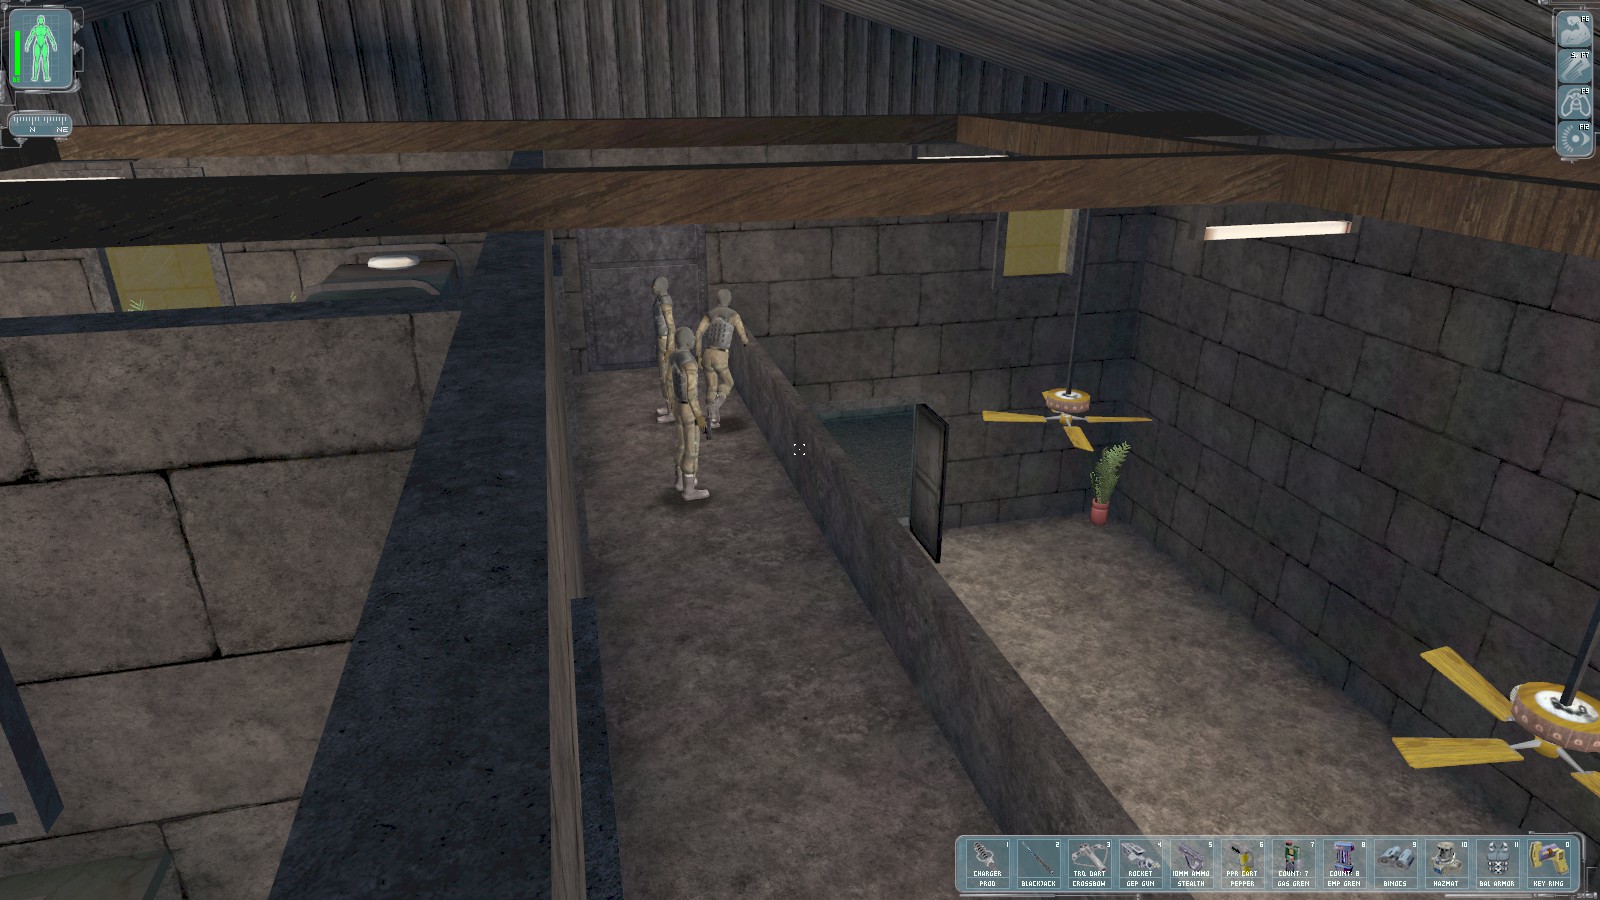
The problem remains of several armed NSF patrolling the corridor outside.
|
|
|
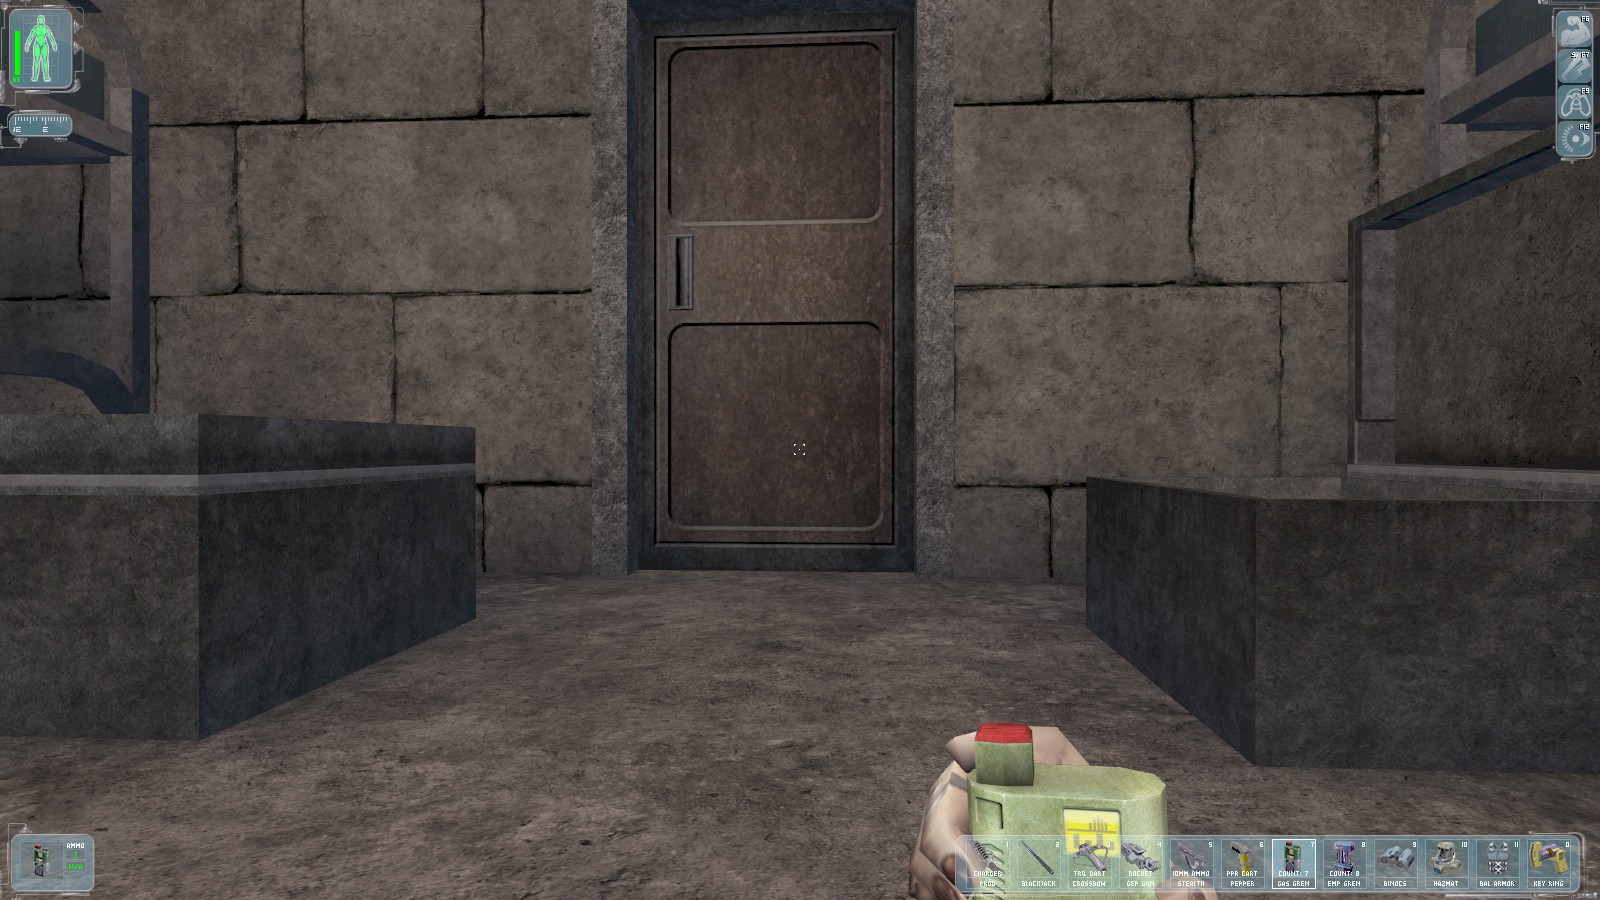

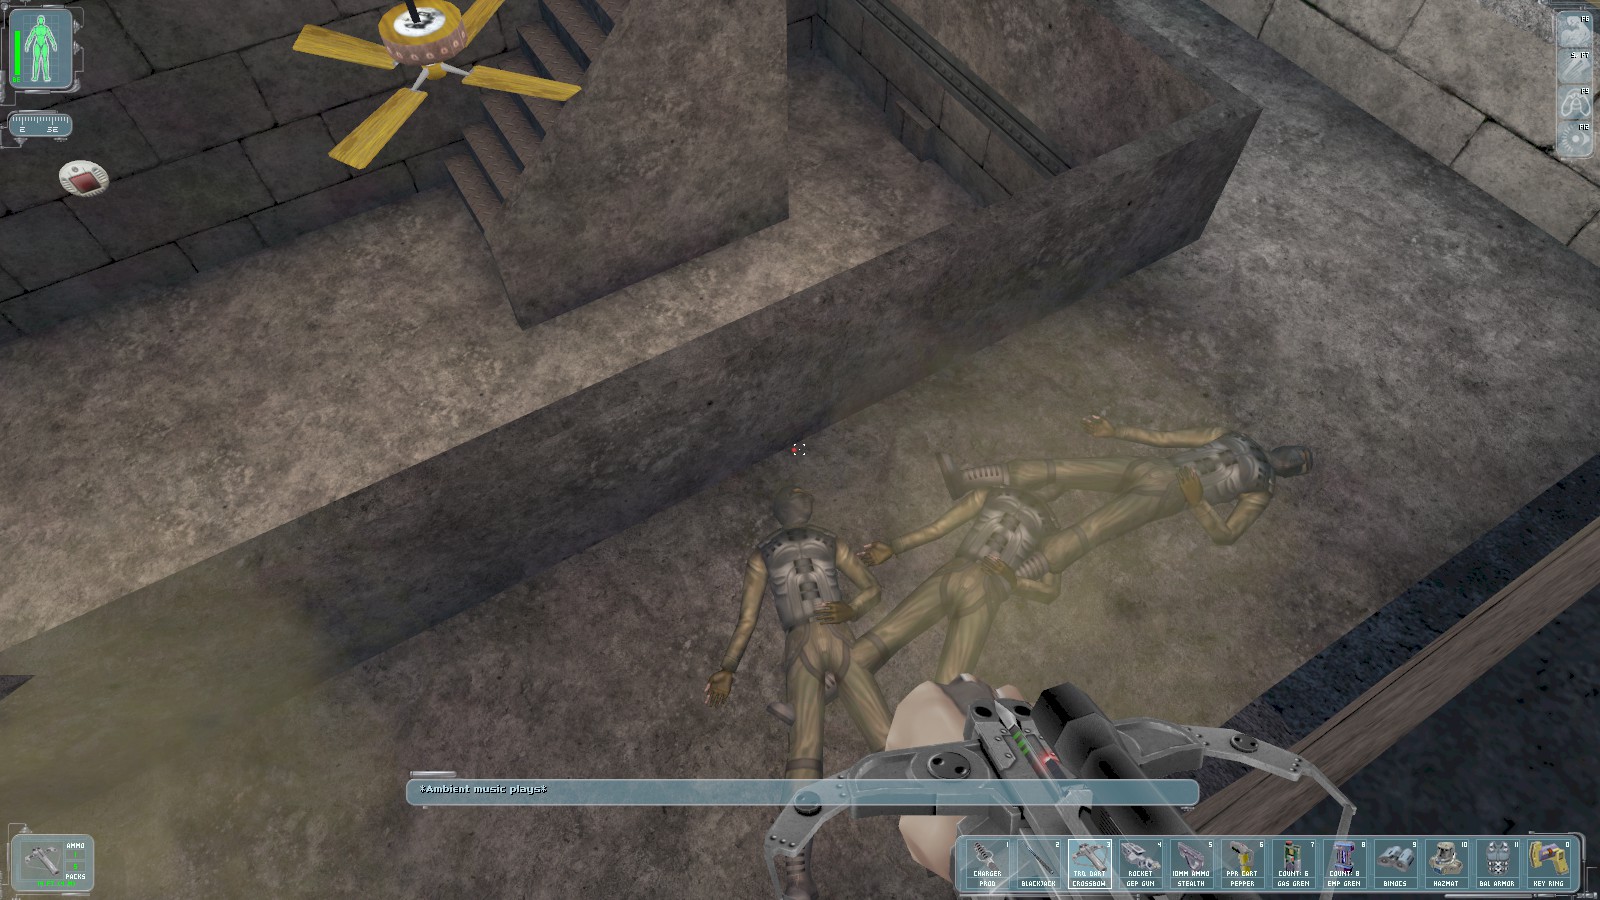
I resort to laying a gas grenade trap just inside the door, and then climbing back up to the girders and making some noise to trip it. Once stunned by the gas, the patrols are easily knocked out with tranquilizer darts from the awesomely upgraded mini crossbow. I knew all those weapon mods would be worth it!
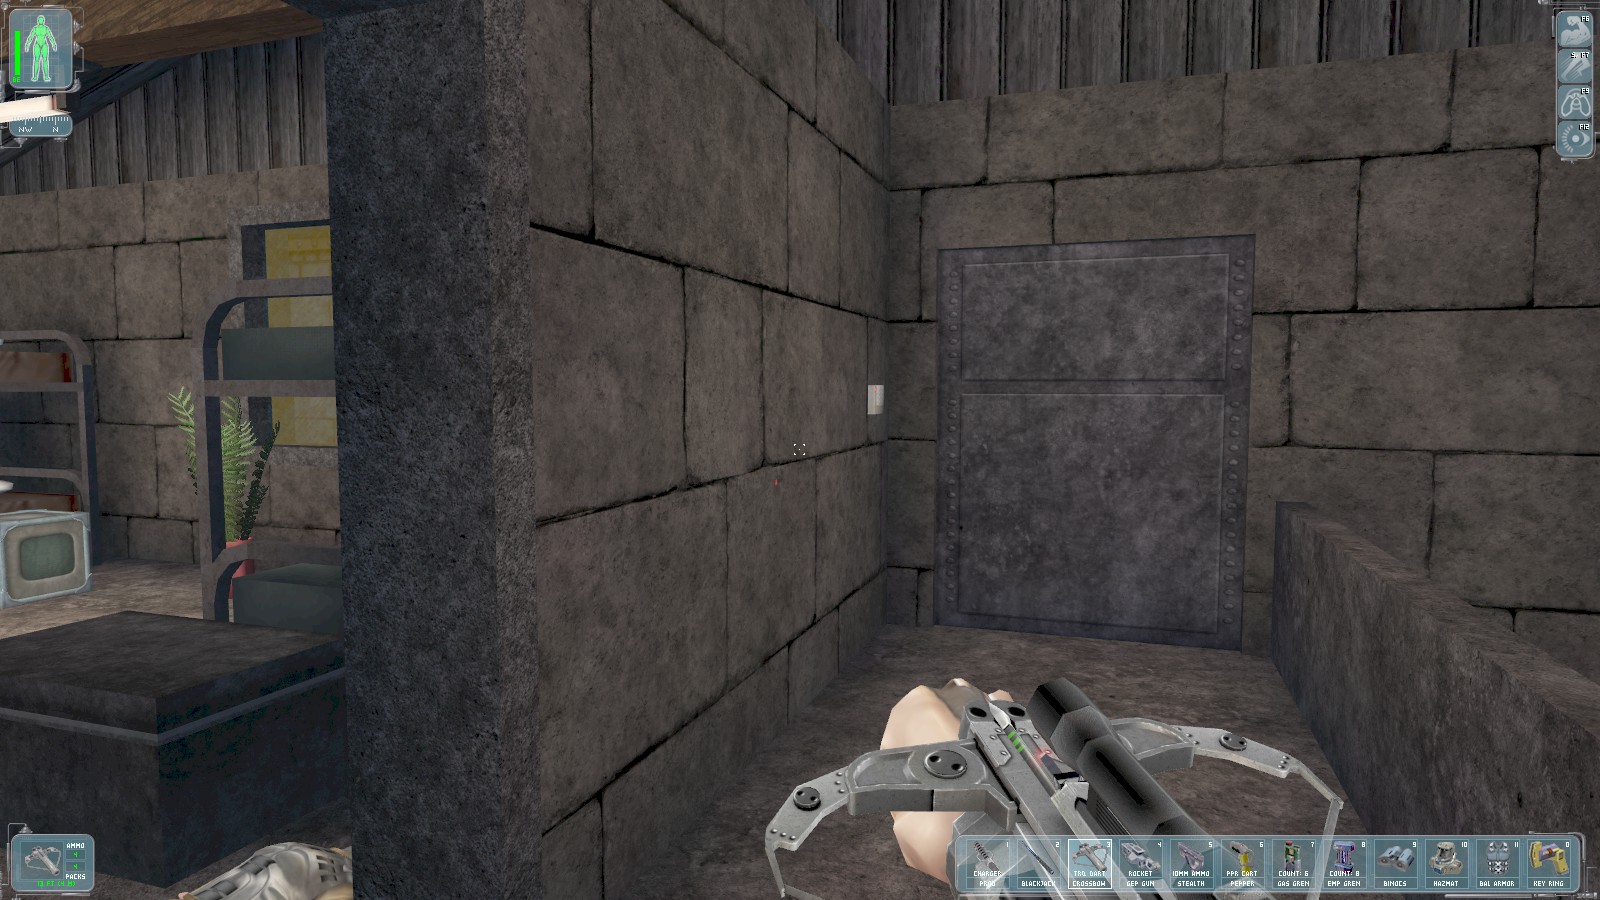
Use the code 5914 to open the door to the private hangar.
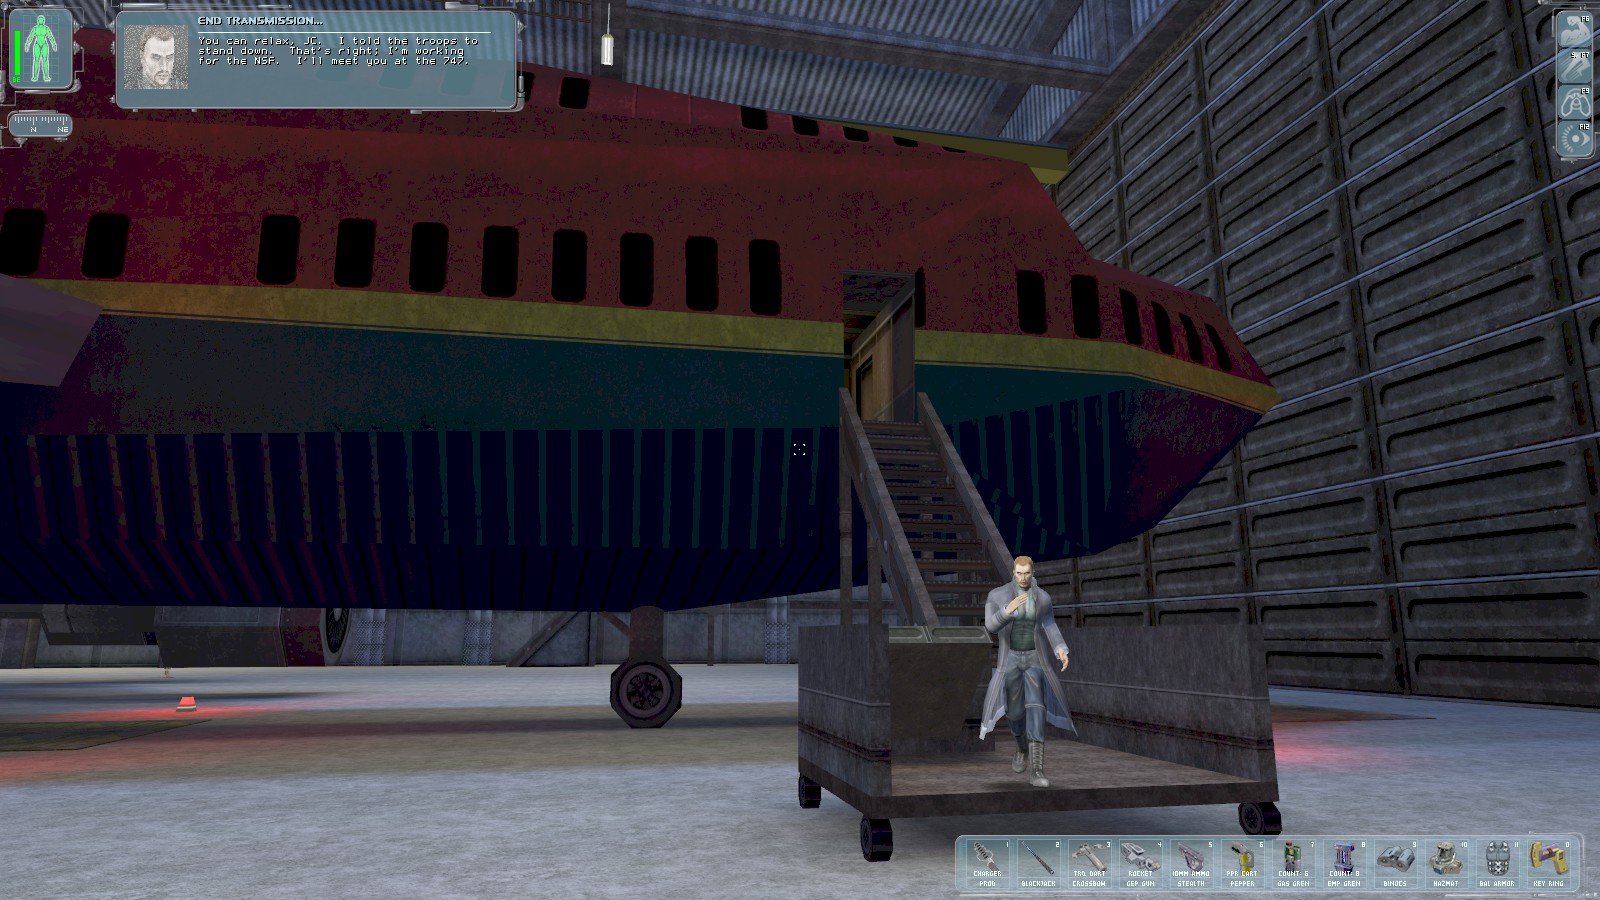
As you step through the second door, Paul contacts your infolink to tell you that he’s working for the NSF and has told their soldiers to stand down. Descend the stairs and he comes to you for a conversation where he suggests you might want to listen to Lebedev rather than kill him as ordered.

Board the plane and head to the rear to find the private quarters locked. A quick search turns up the key on the upper level.
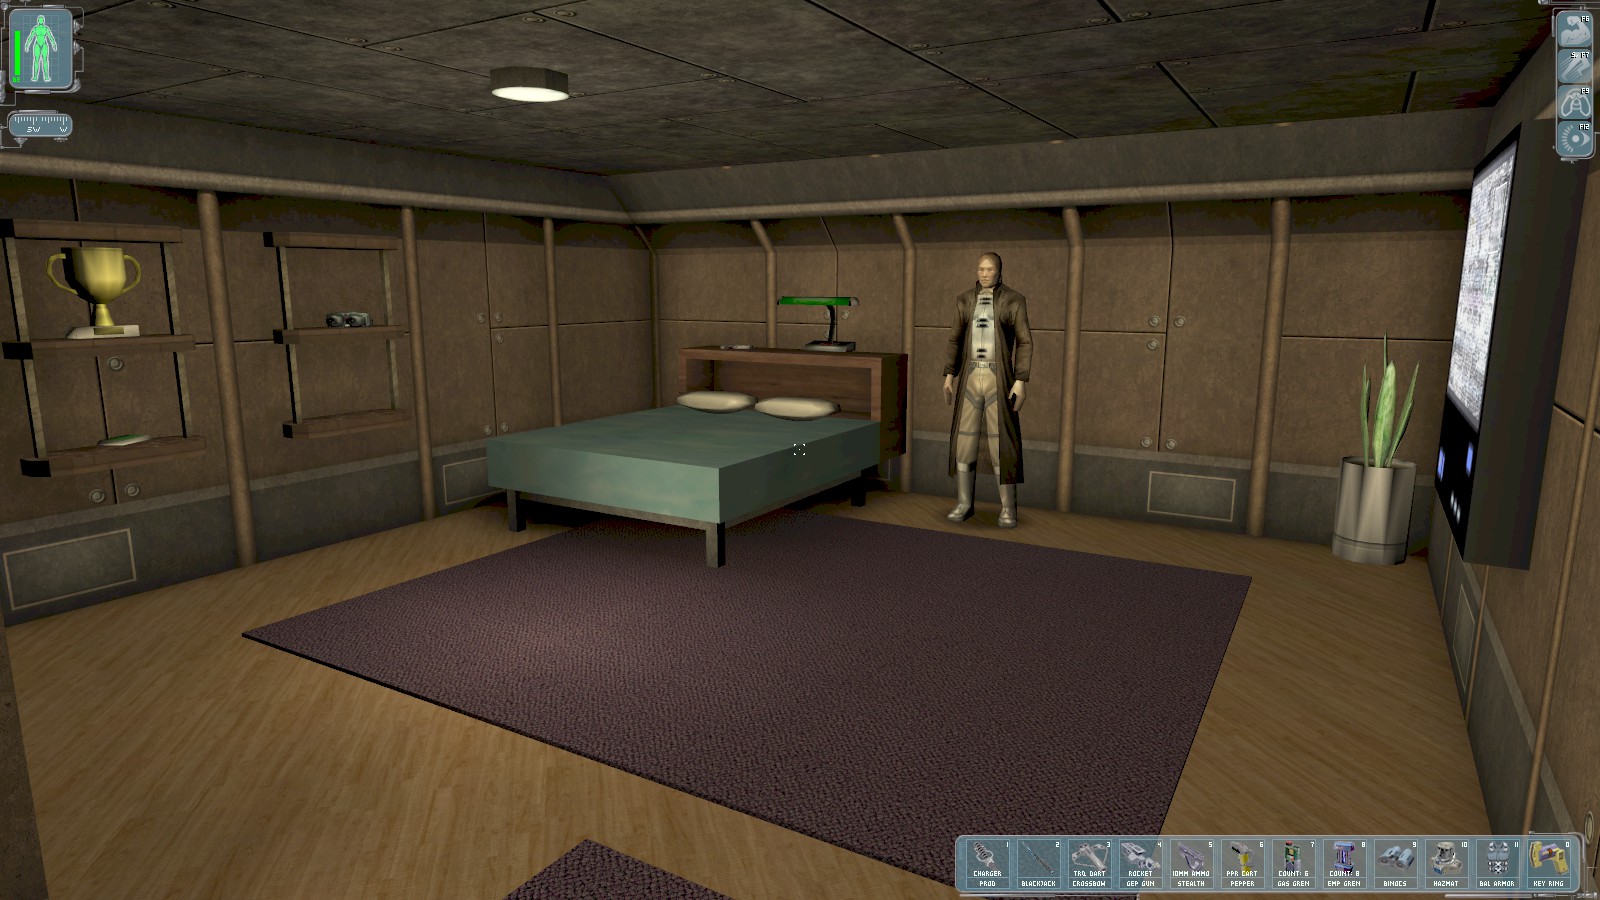
Unlock the door to find Lebedev at the rear. Approach him for a conversation, after which Anna Navarre appears and orders you to "finish the job". Speak with Lebedev once more.
|
|
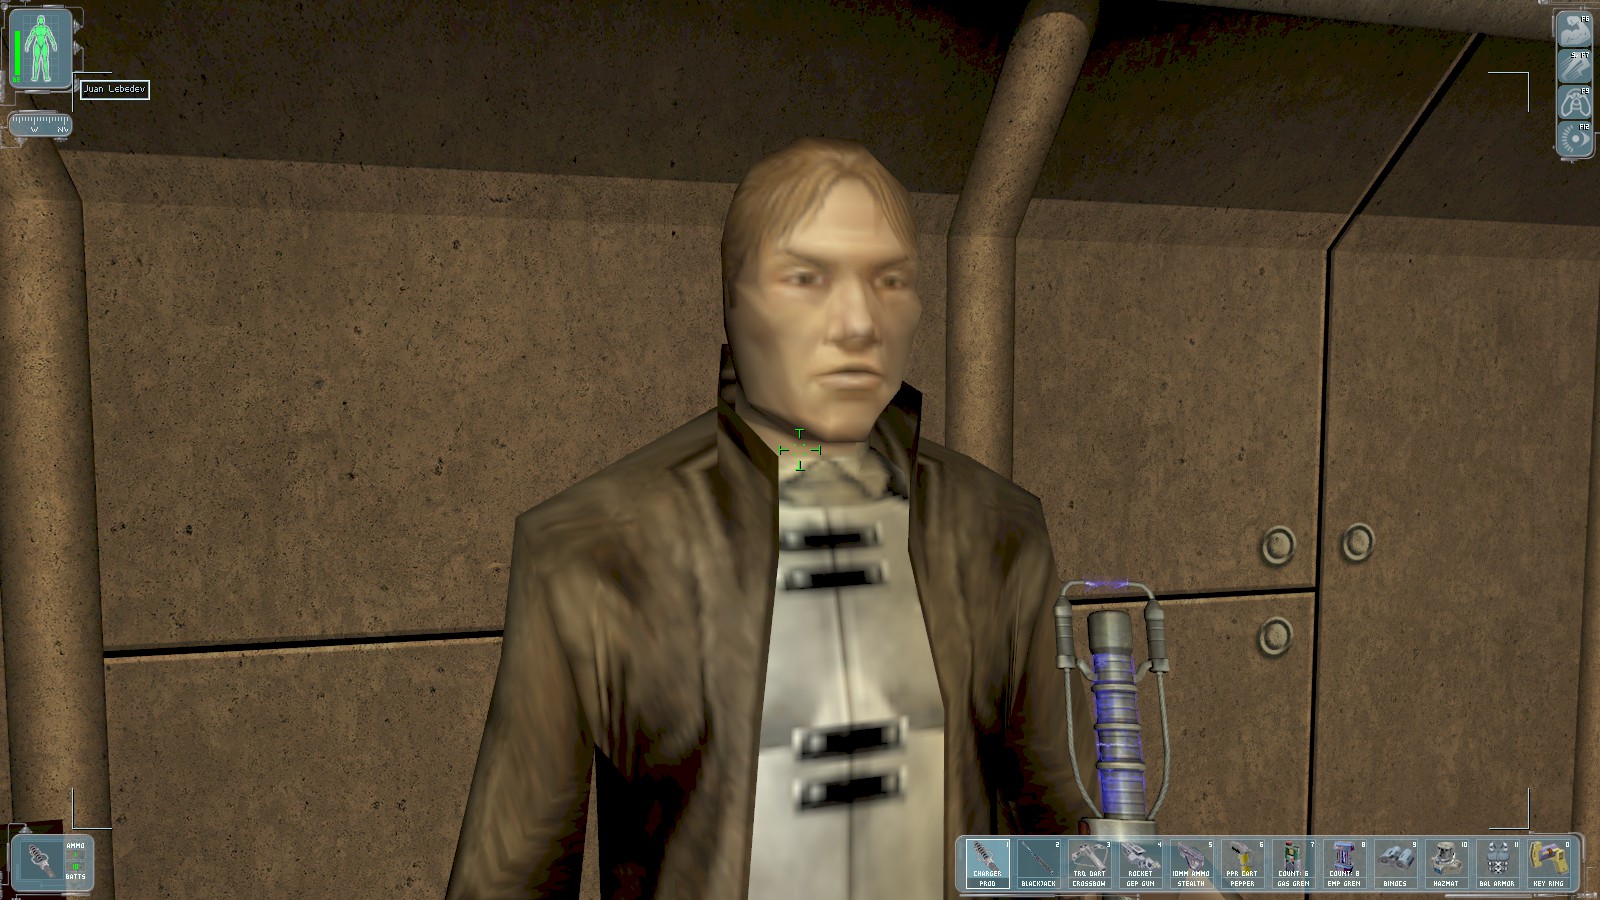

Anna starts getting impatient. Before speaking to Lebedev for a 3rd time, ready your prod and position yourself between him and Anna—it’s pretty clear she’ll kill him if you don’t. Knocking him out instead of killing him is hard (takes 2 goes of the prod, with a pretty long reload time) but it’s do-able. Search him for a medikit and rockets. You can make this easier by, for example, blocking the entrance to the private quarters with a heavy crate from outside the plane to prevent Anna from entering quarters. You can even kill Anna instead here, enabling further conversations with Lebedev regarding your parentage.
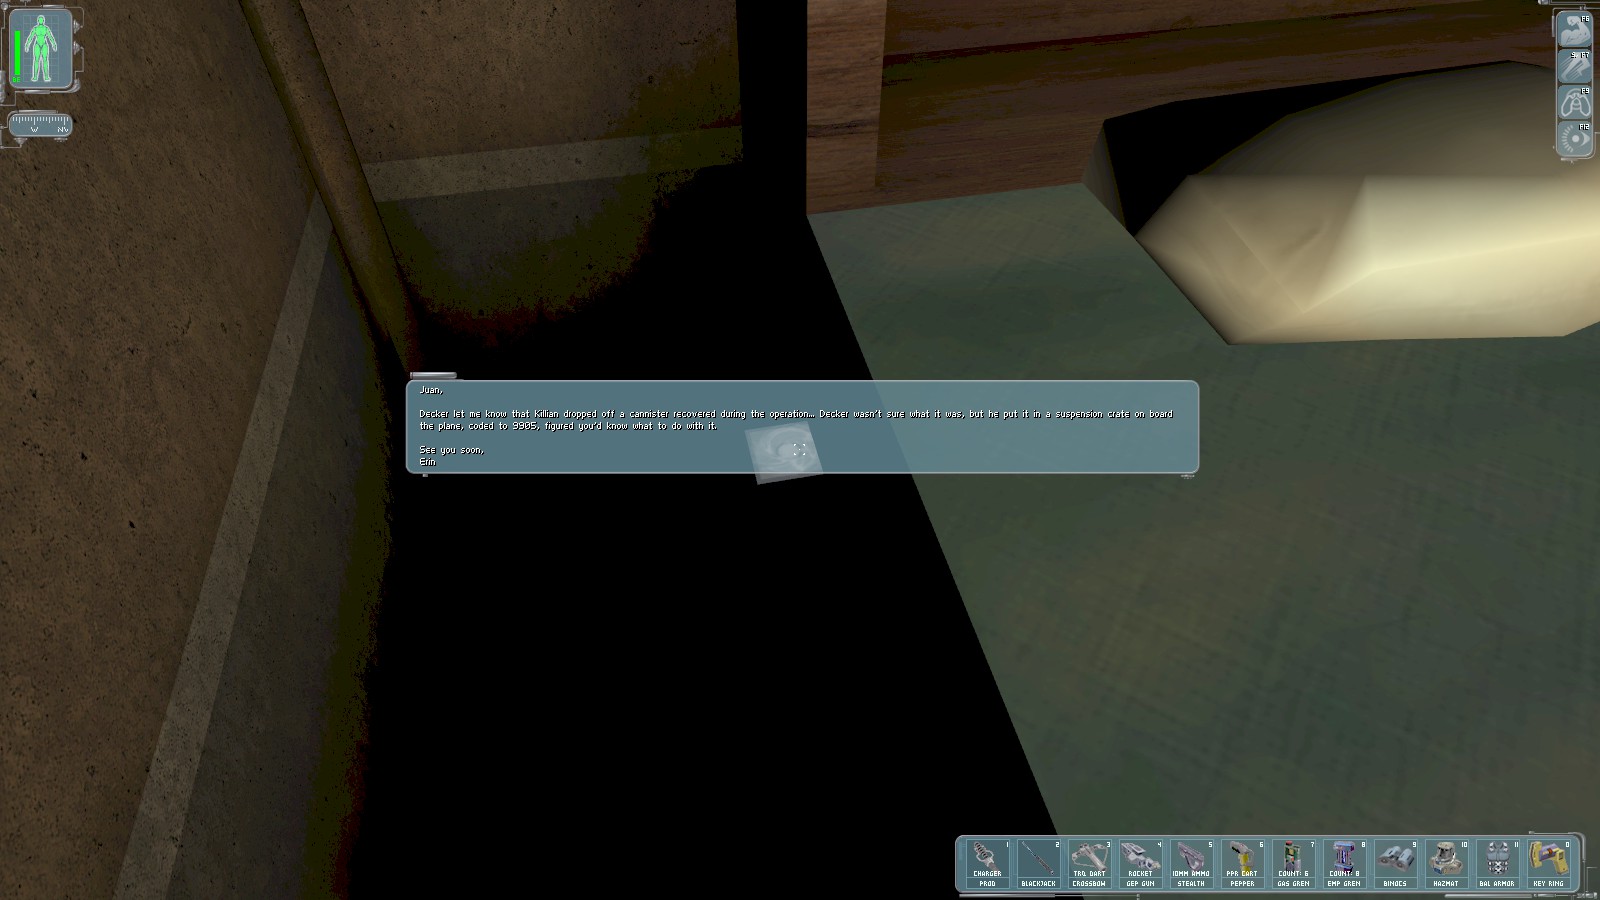
There’s a 25c chit nearby, and a datacube beside the bed with the code 9905, but you already
found that elsewhere.
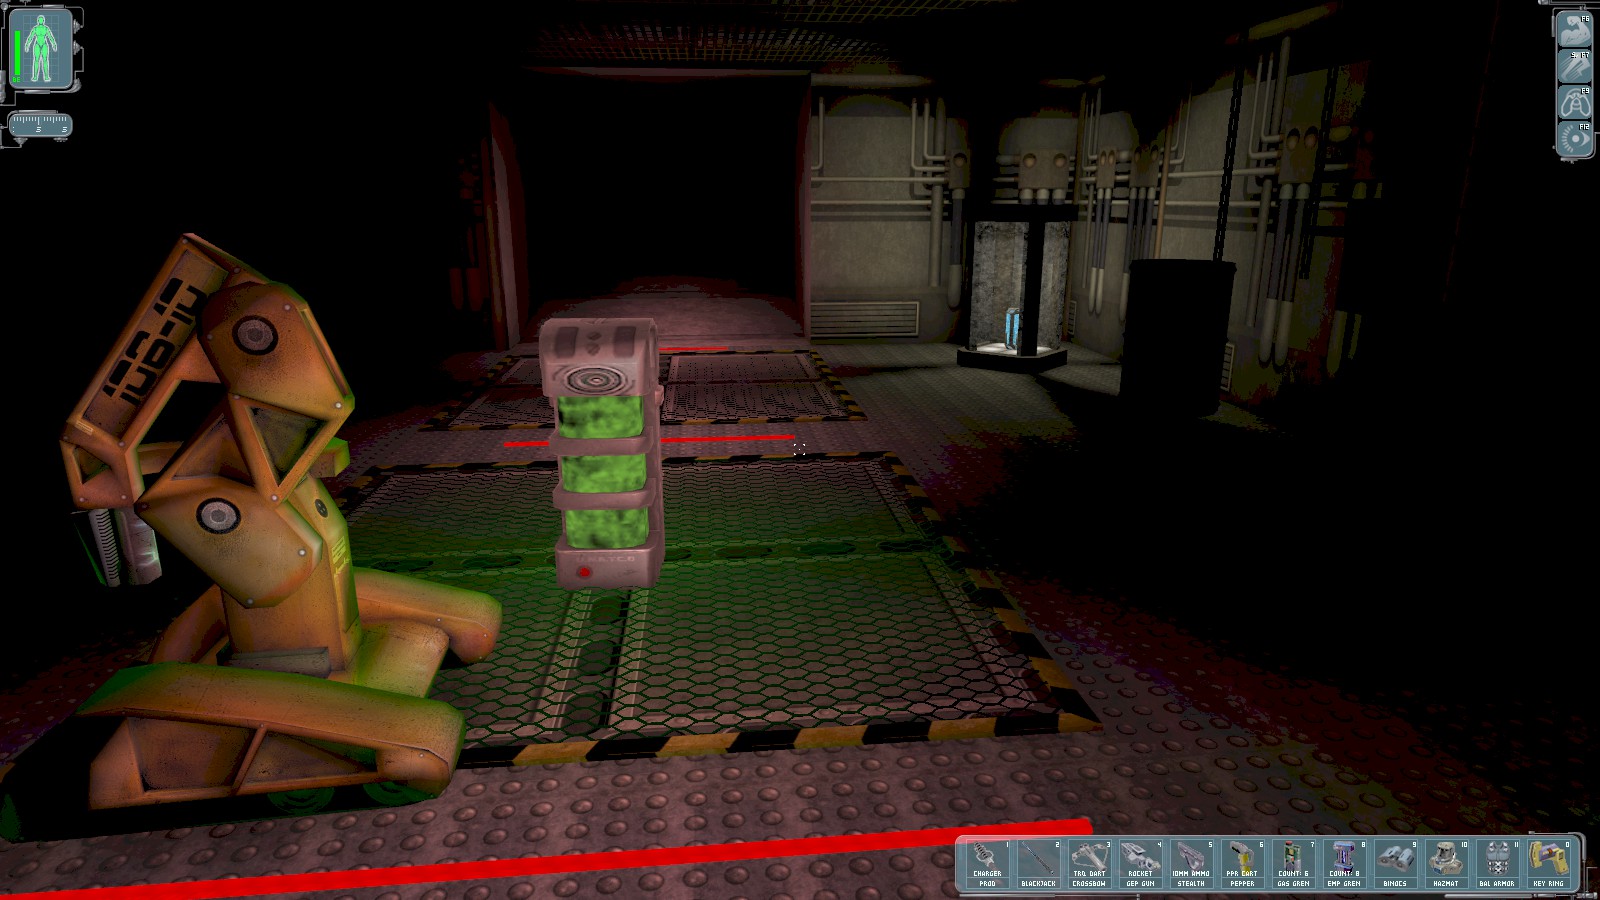
Head to the lower deck to find the final Ambrosia shipment—earning you 100 skill points—a repair
bot, and an augmentation canister. Use the code 9905 to open the container and get an
EMP Shield/Ballistic Protection canister. Find a multitool hidden behind some nearby boxes before
leaving the plane.
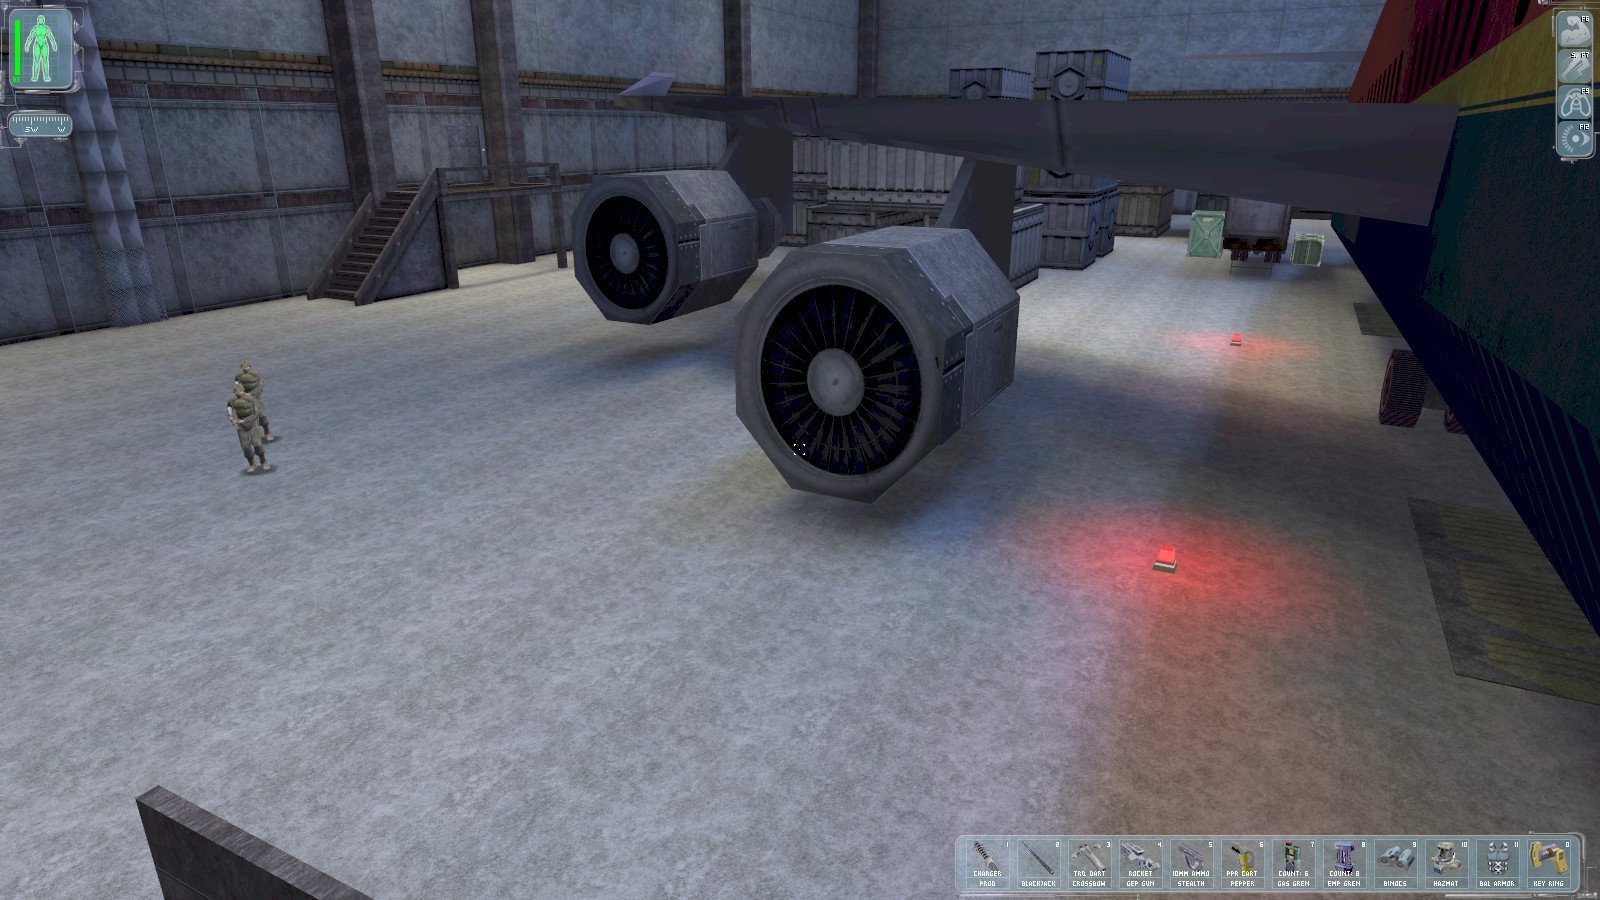
As you depart Gunther contacts you to order you to the helipad, and UNATCO troops arrive to secure the plane. With the area now secure you’re free to explore a little. Head to the rear of the plane.
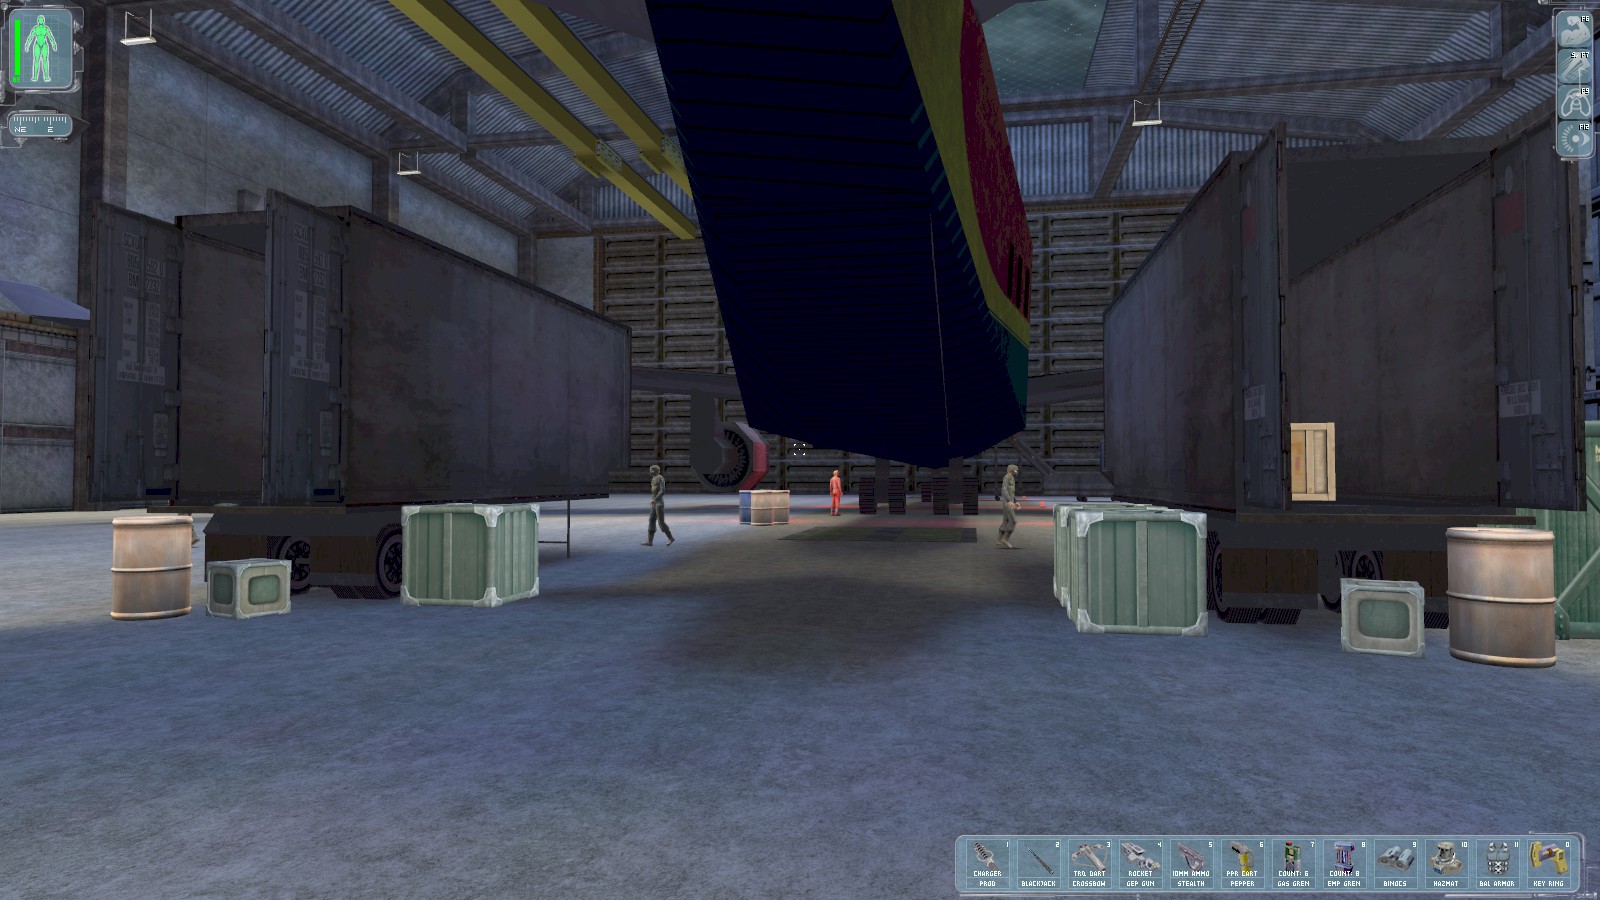
The right hand container truck contains an accuracy mod and some ammo. The left one has a scramble grenade. The guy in orange visible here will sell you stuff for inflated prices. You can use Speed Enhancement to jump up to ammo crates and a medikit on the nearby containers, too. A crane near the exit staircase has another medikit. Head back to the barracks.
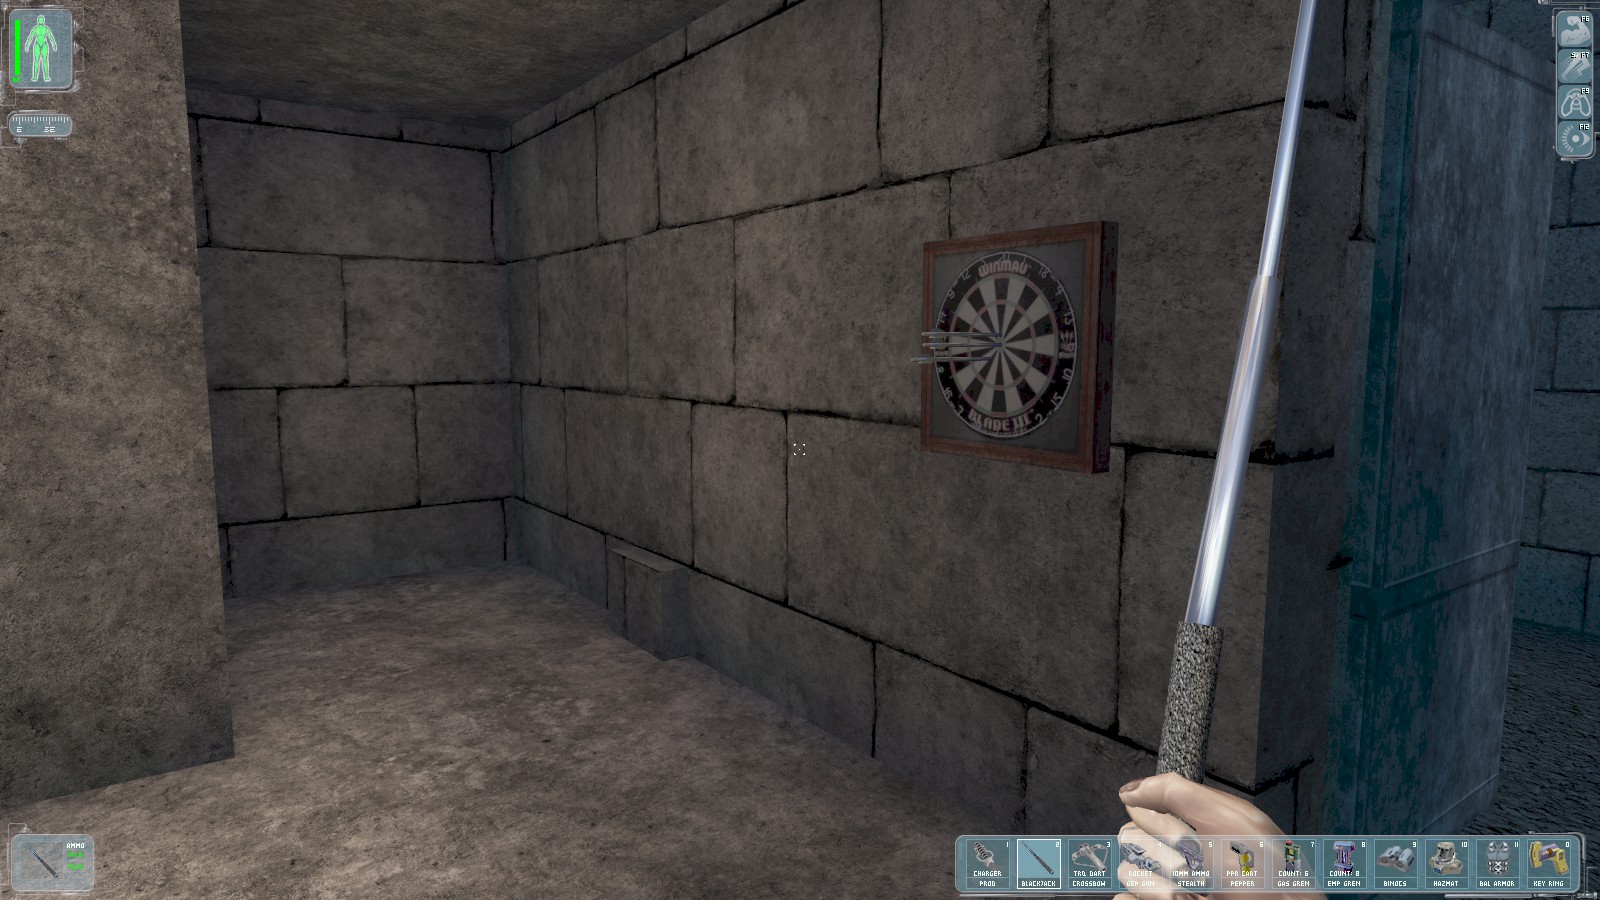
On the lower floor near the South door is a suspiciously protruding brick…
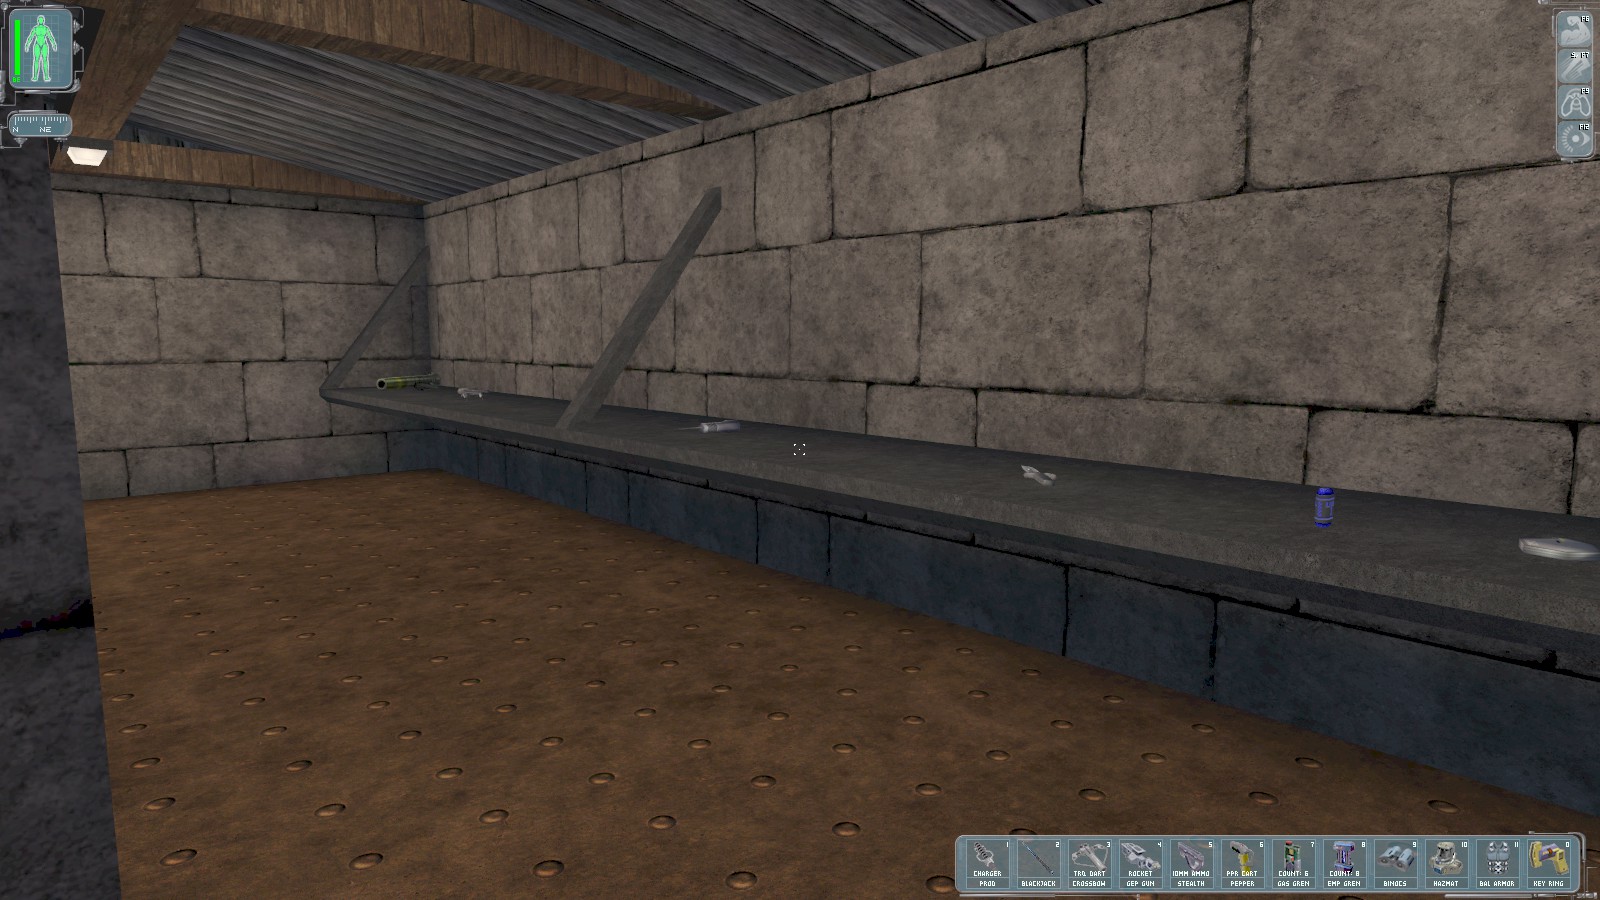
Interacting with it opens a secret compartment containing the key for the barracks upstairs and a lockpick. You get 25 skill points for going in.

With the compound under UNATCO control the cameras and turrets are all disabled. You can search the security towers using the security tower key for supplies. This one near the barracks has a multitool and binocs.
|
|
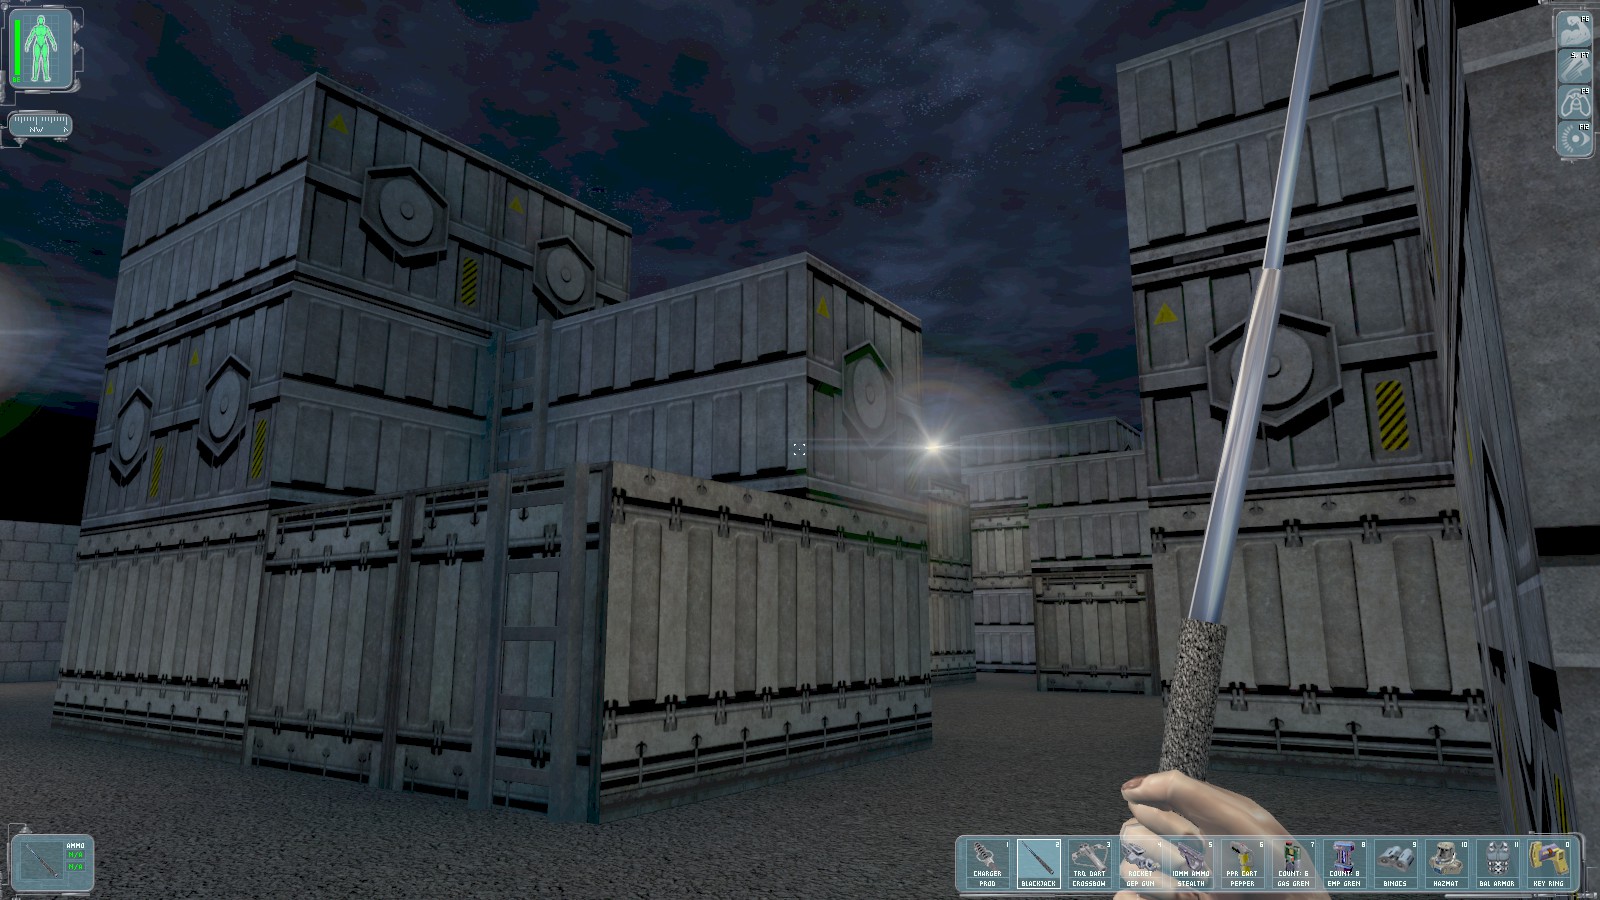
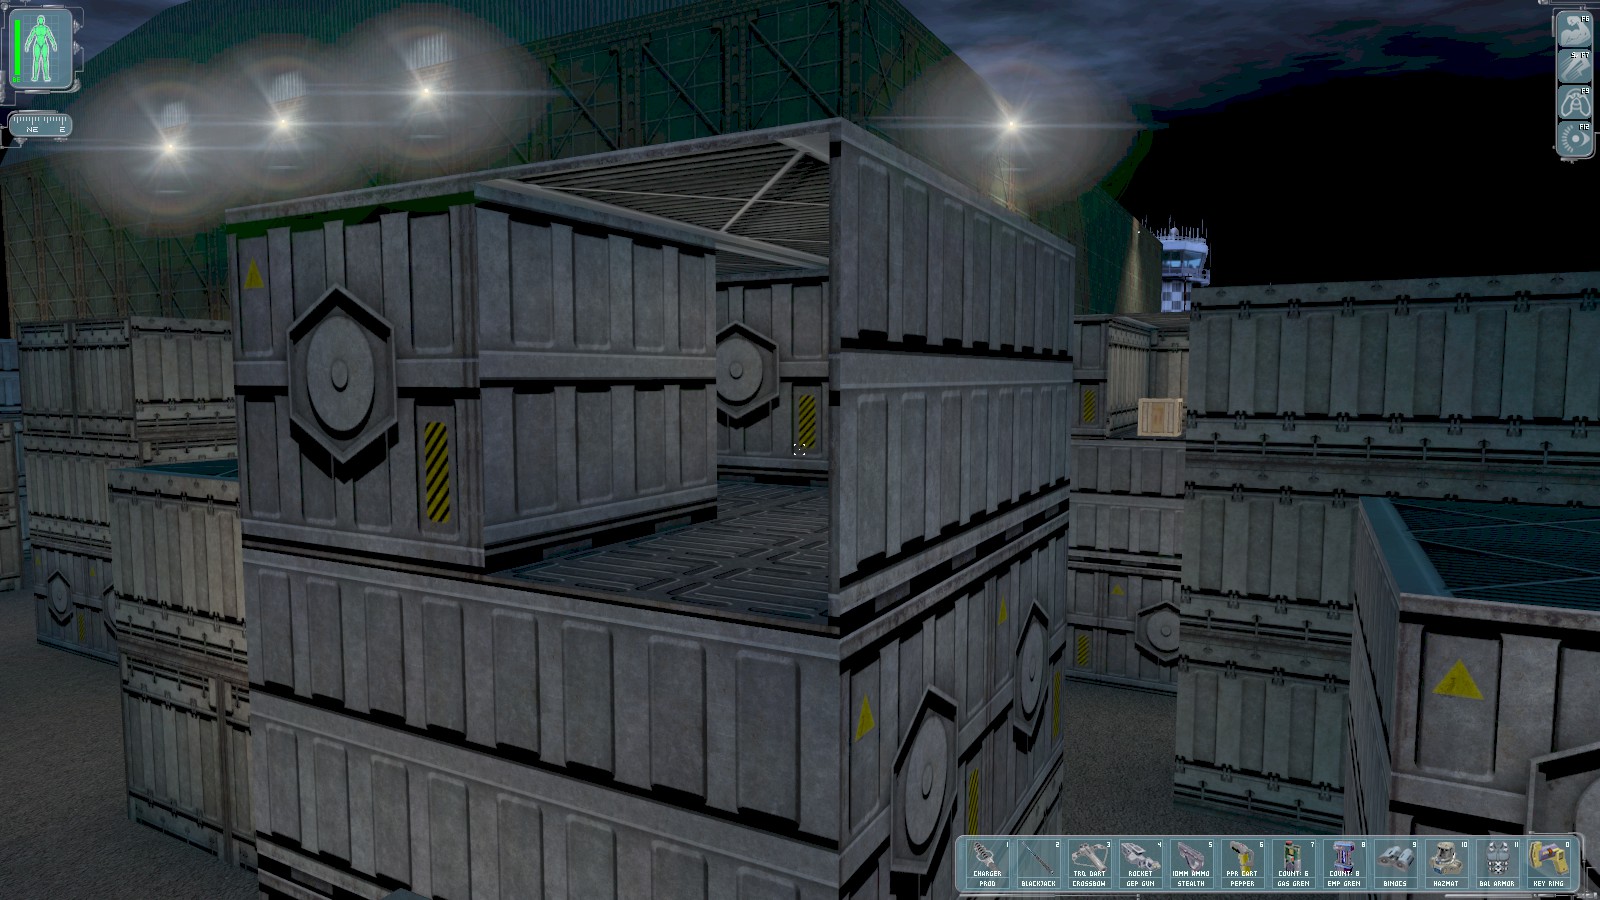
Back through the gate into the area containing storage containers head SW. Just past the South Gate climb the ladders to the top of the containers. You can jump unassisted across the containers to reach the crate visible here to find an accuracy mod (my mini crossbow is now fully upgraded, so I use it on the stealth pistol). On the way, two more crates containing a multitool and lockpick are tucked away too.
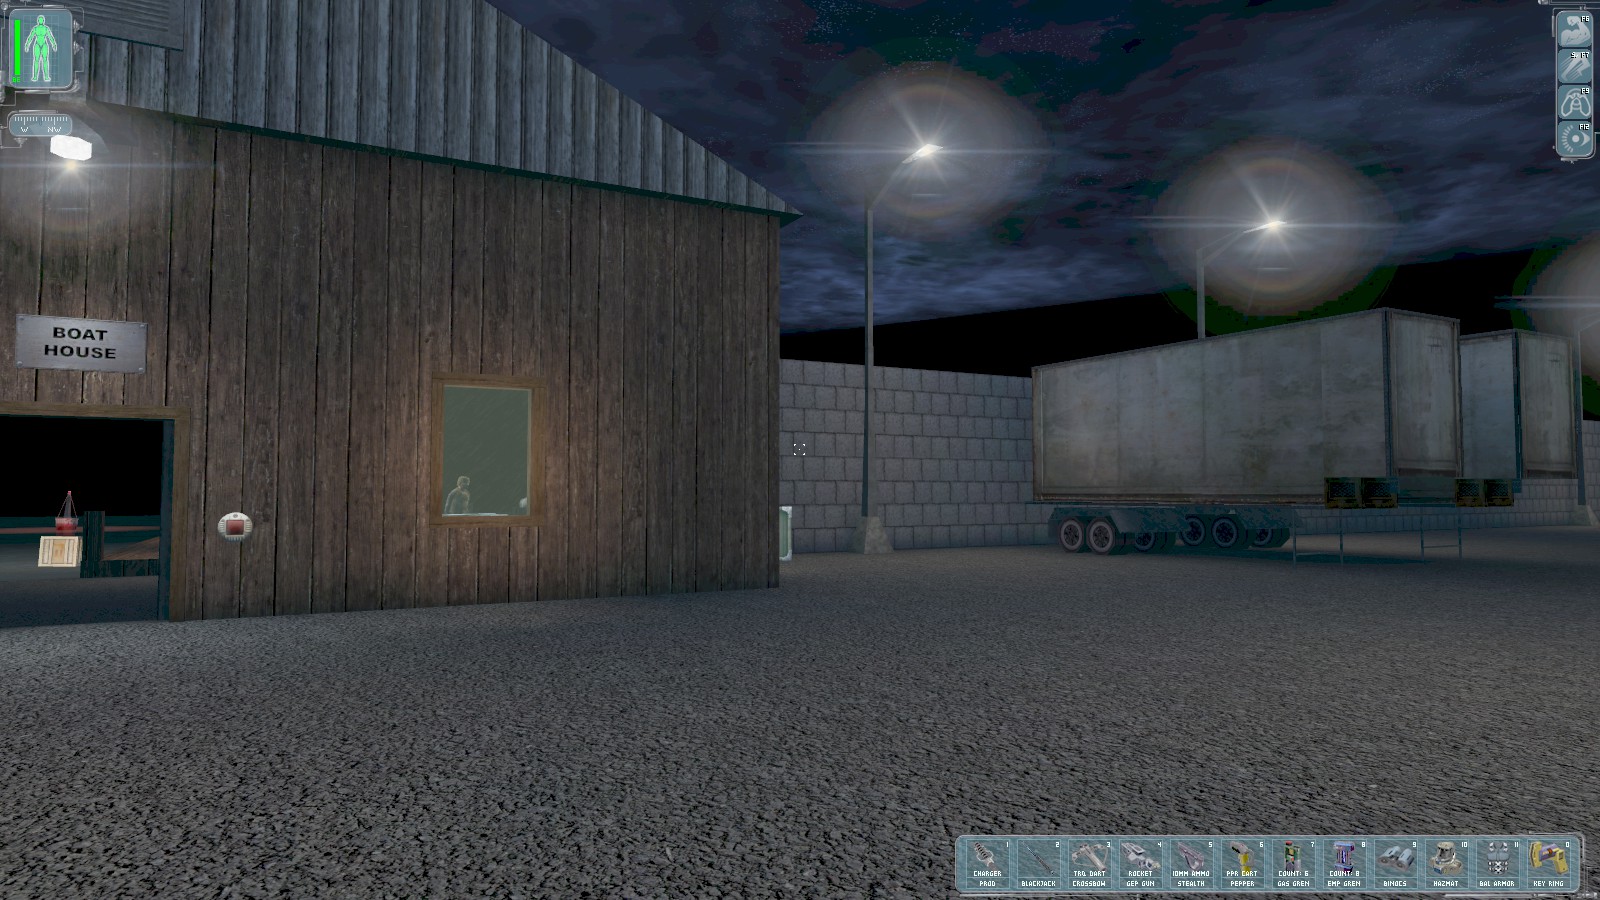
Now head NW. Just next to the boathouse where you first entered are two container trucks. The one on the left contains tranq darts—very useful—the one on the right just some shotgun shells (save you lockpick).
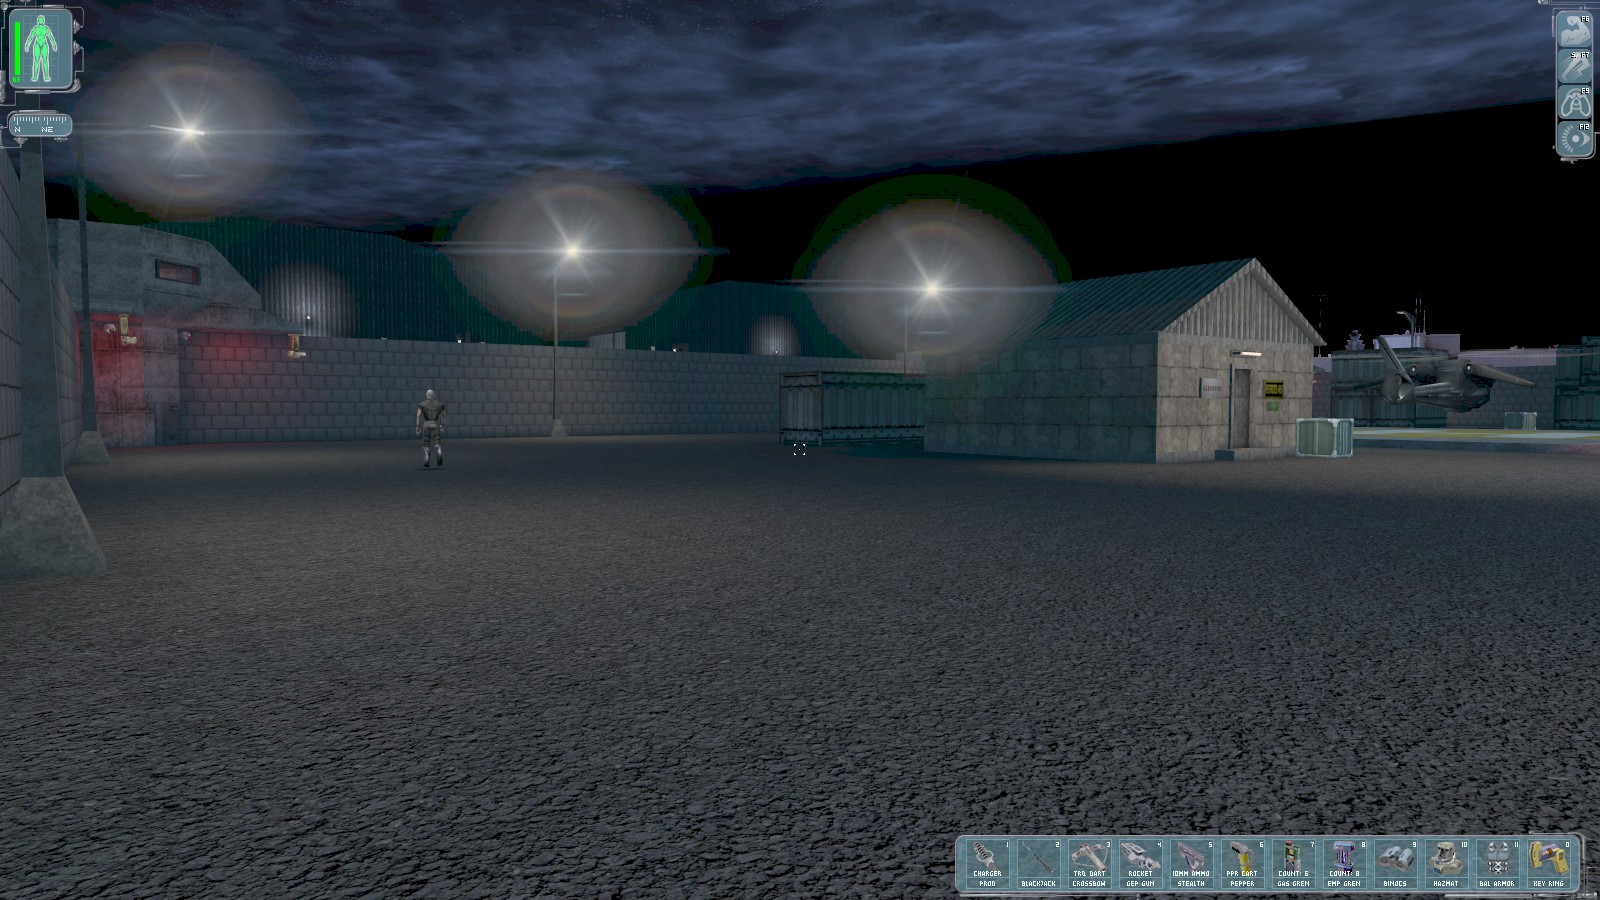
Keep heading North and then East to find the chopper, and Gunther pacing up and down. Talk to him and he’ll congratulate you on "taking out" Lebedev. The hut on the right leads back to the Helicopter terminal, now also under UNATCO control.
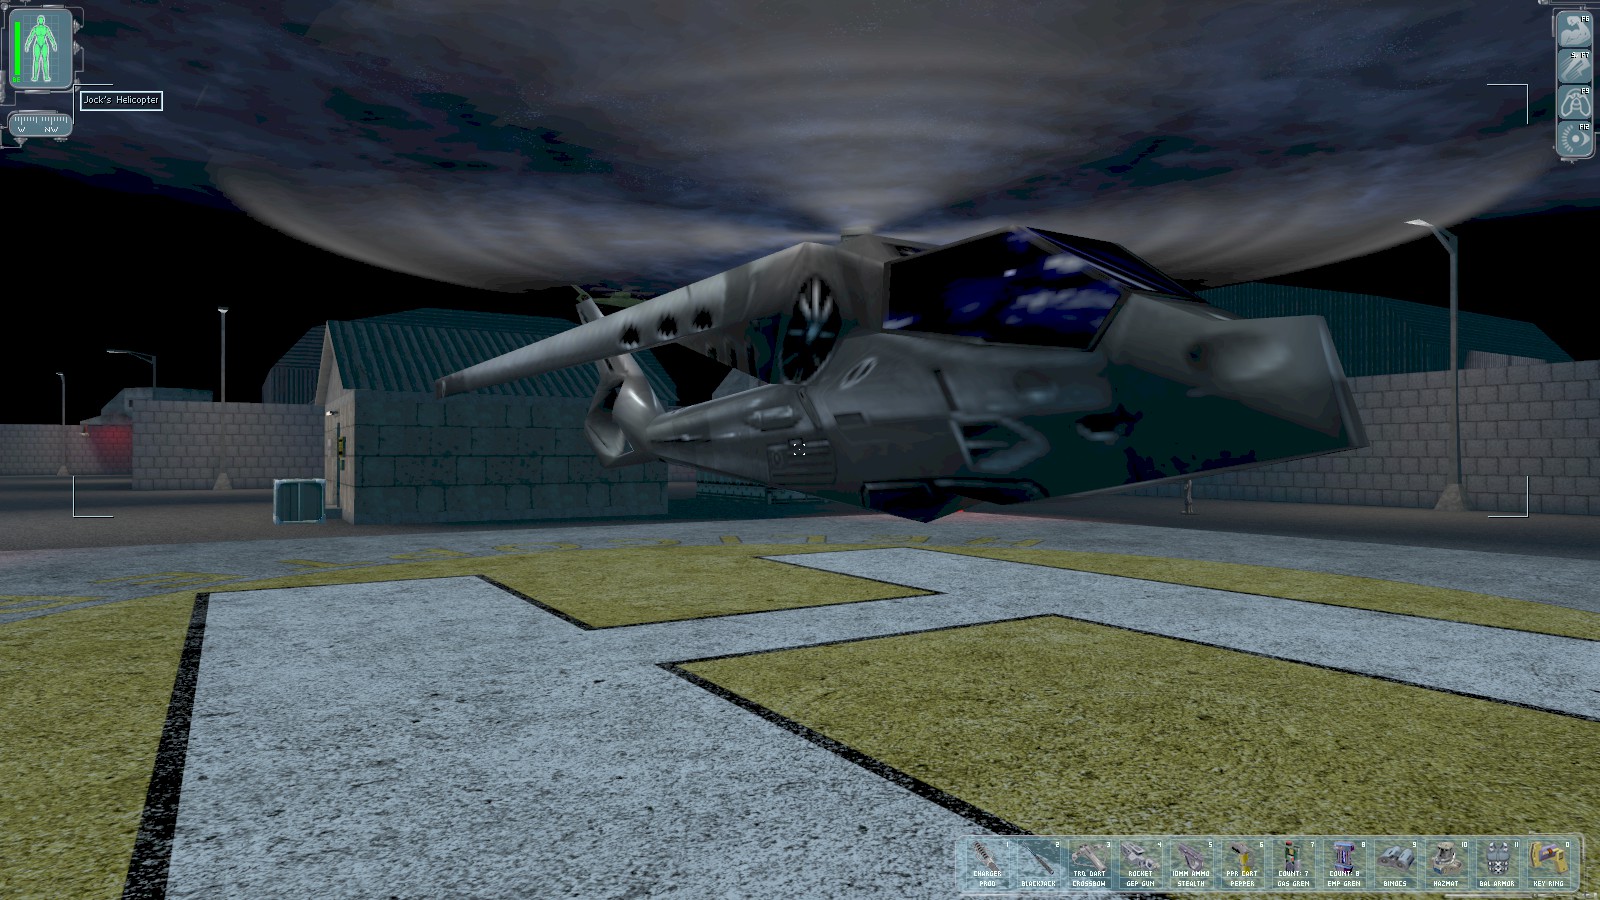
When you’re done exploring interact with the chopper to head back to UNATCO HQ.