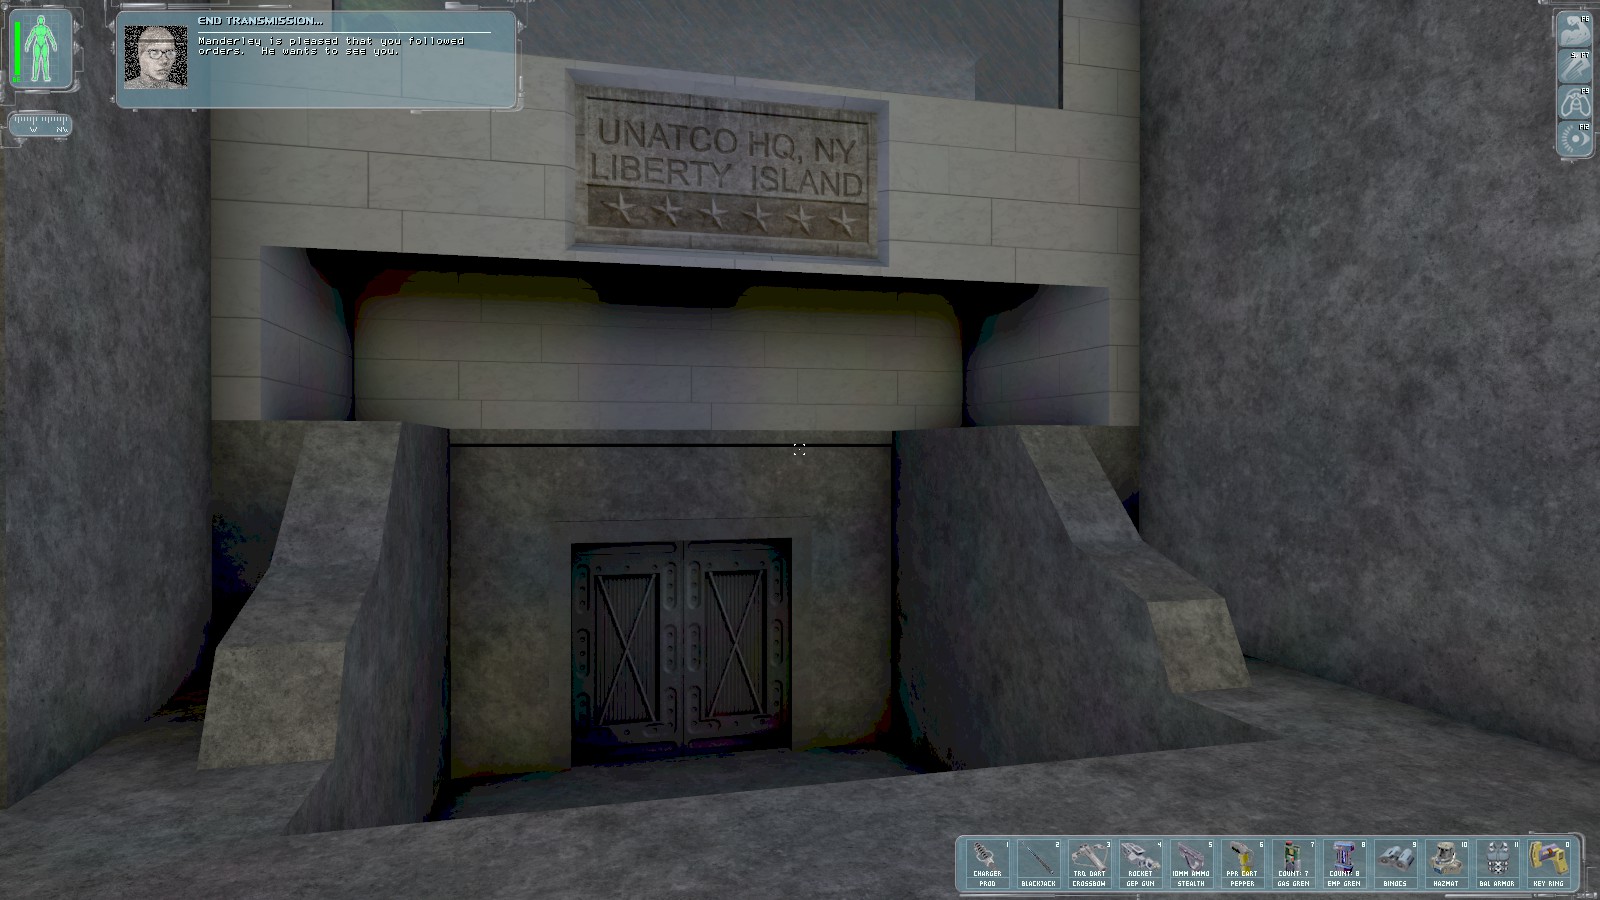
Upon landing you’re awarded a 225 skill point bonus for mission completion. Alex radios in—it appears that despite the fact you left Lebedev alive, if unconscious, everyone is giving you credit for taking him out. Head inside to see Manderley.
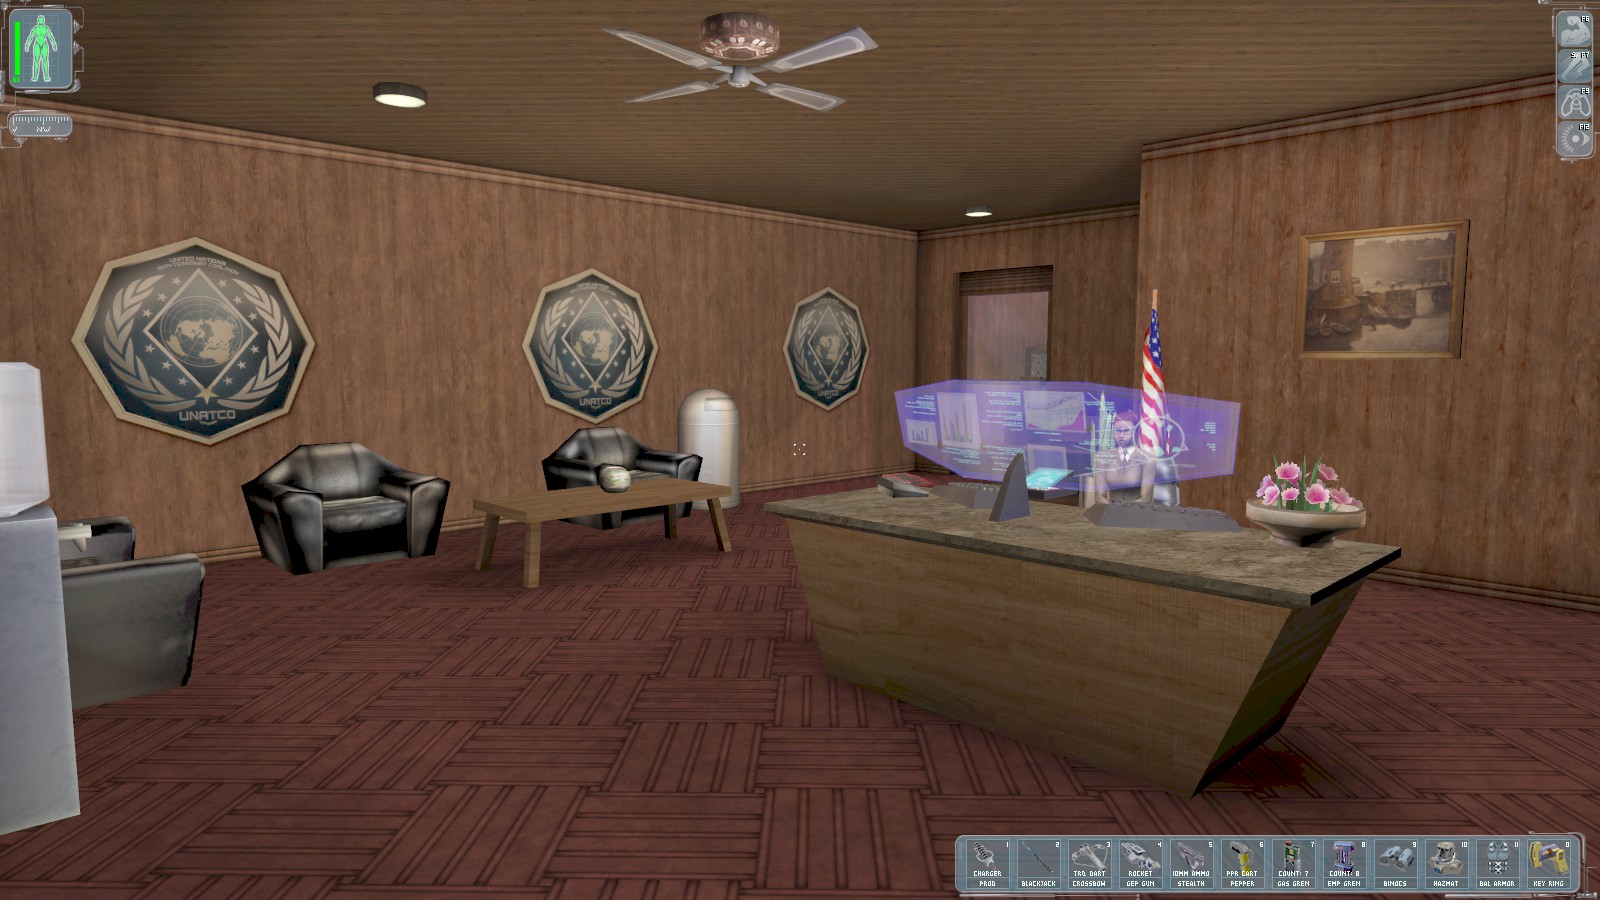
On your way, Janice Reed the secretary gives you a secondary objective—find Jaime Reyes (UNATCO’s physician) to inform him that Walton Simons is looking for him. She suggests you try the break room upstairs.

Manderley pays you 1000c fee, and informs you that the Coalition has activated Paul’s killswitch…implying that you too have such a thing. He sends you off to Hong Kong to track down and kill someone named Tracer Tong. The middle drawer of Manderley’s desk has the office closet key, but you already have it.
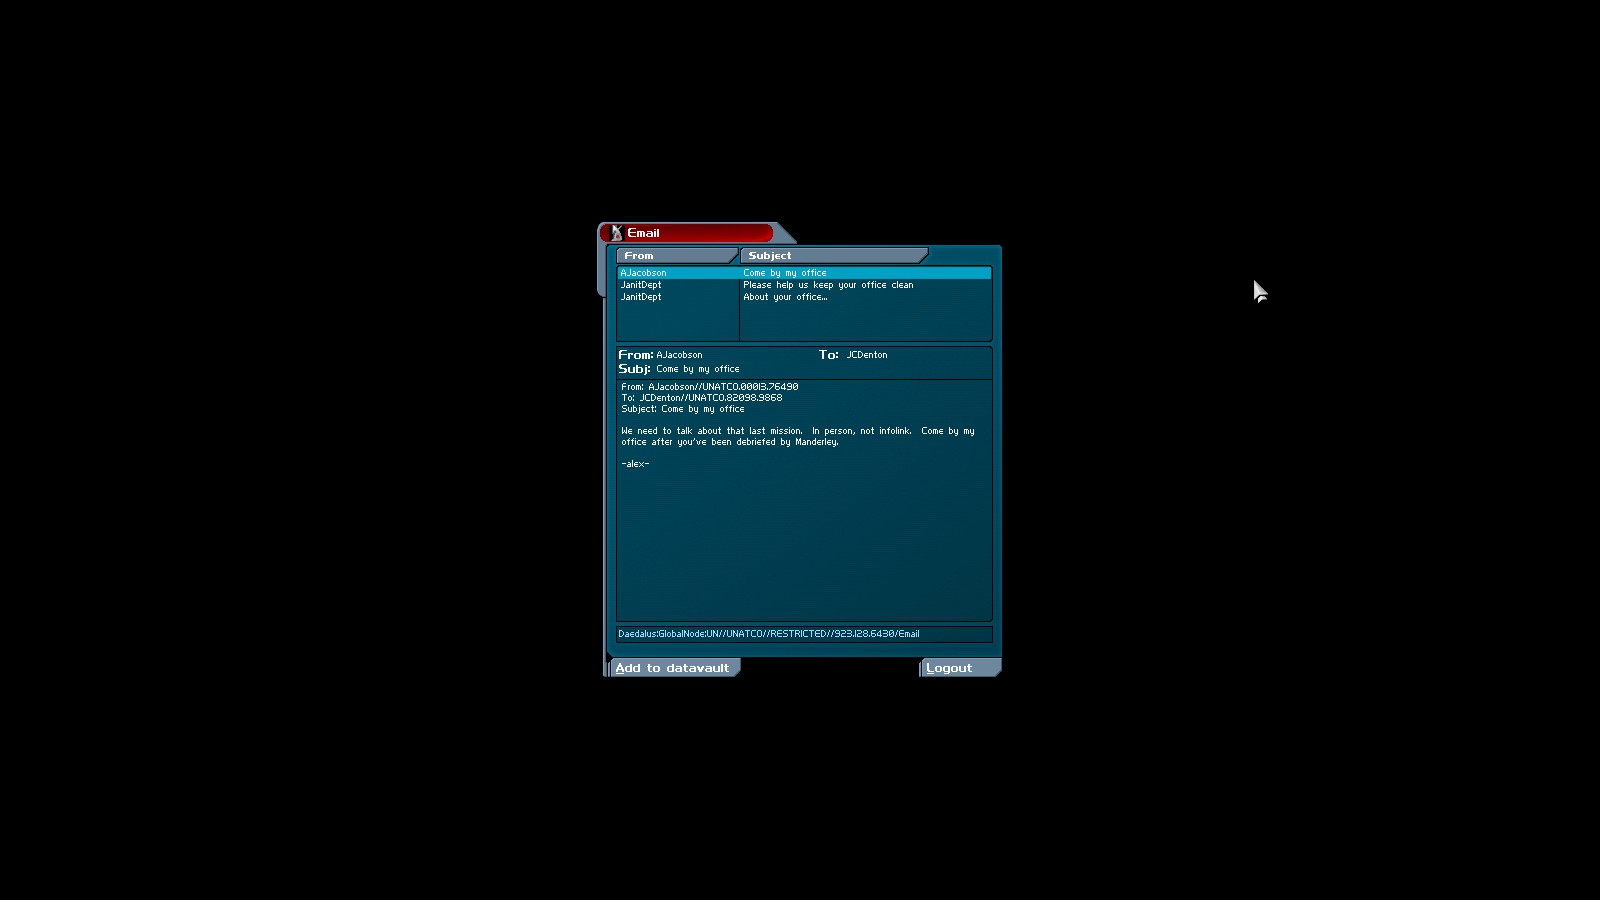
Head to your own office next door, and find supplies in the cabinet. Use your
login jcd/bionicman on the PC and see an email from Alex Jacobson saying he
wants to speak in person.

Head back upstairs to the rest room to find that Simons has already found Jaime Reyes. Hack the ATM for 375c and then head to listen in on their conversation before speaking with Jaime.
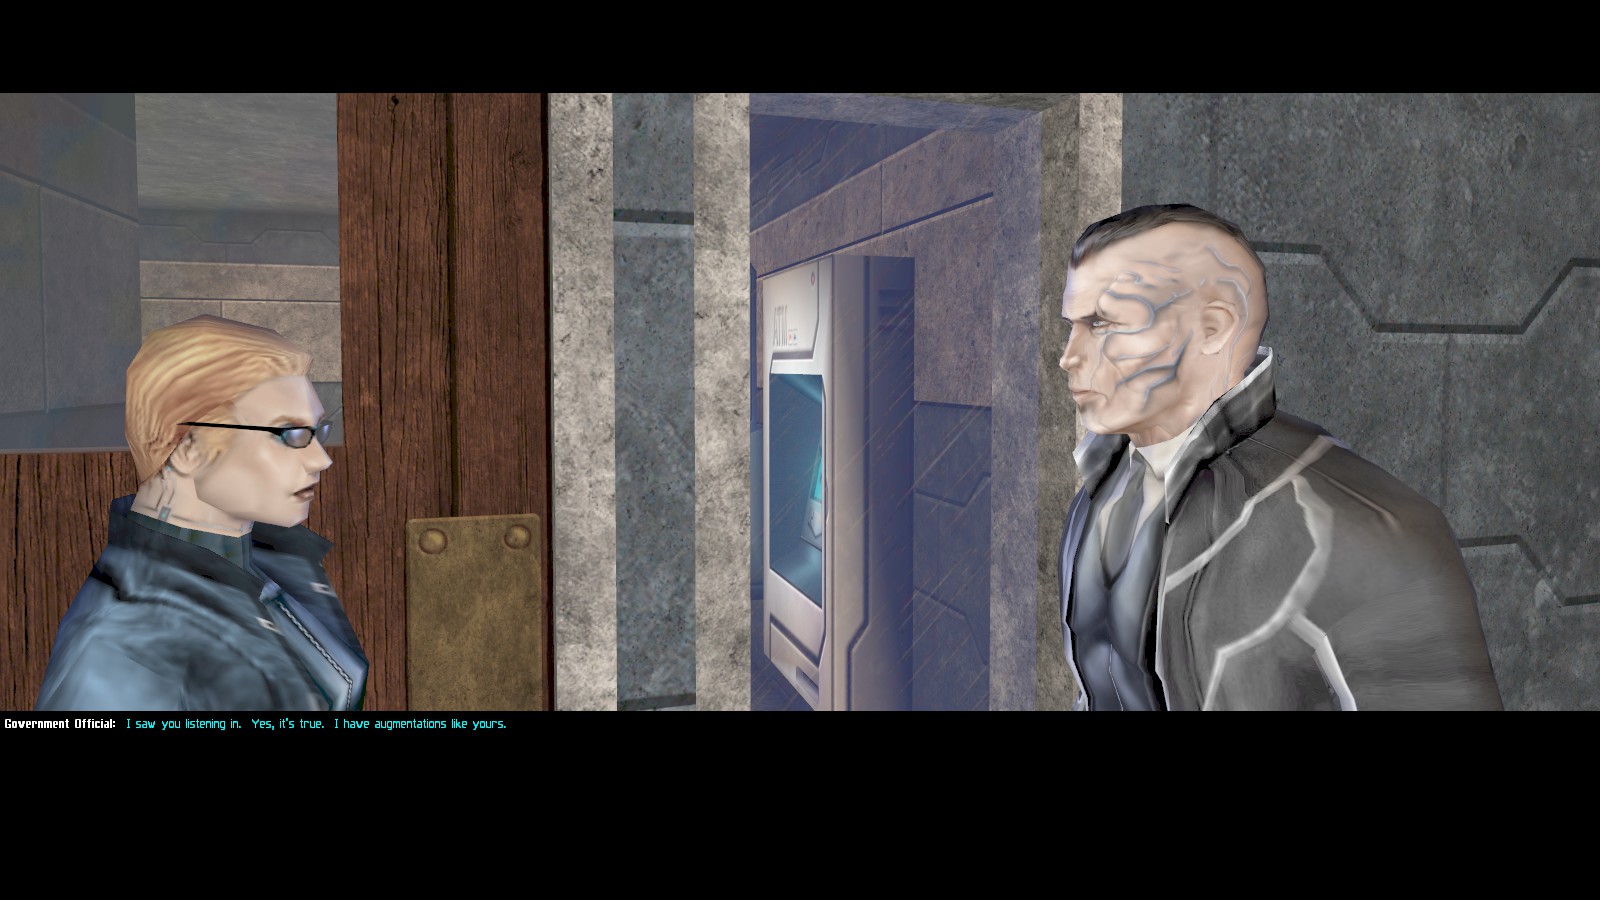
Speak with Simons repeatedly before he leaves to learn more about his role in the Coalition. Speak with Jaime again when Simons has gone.
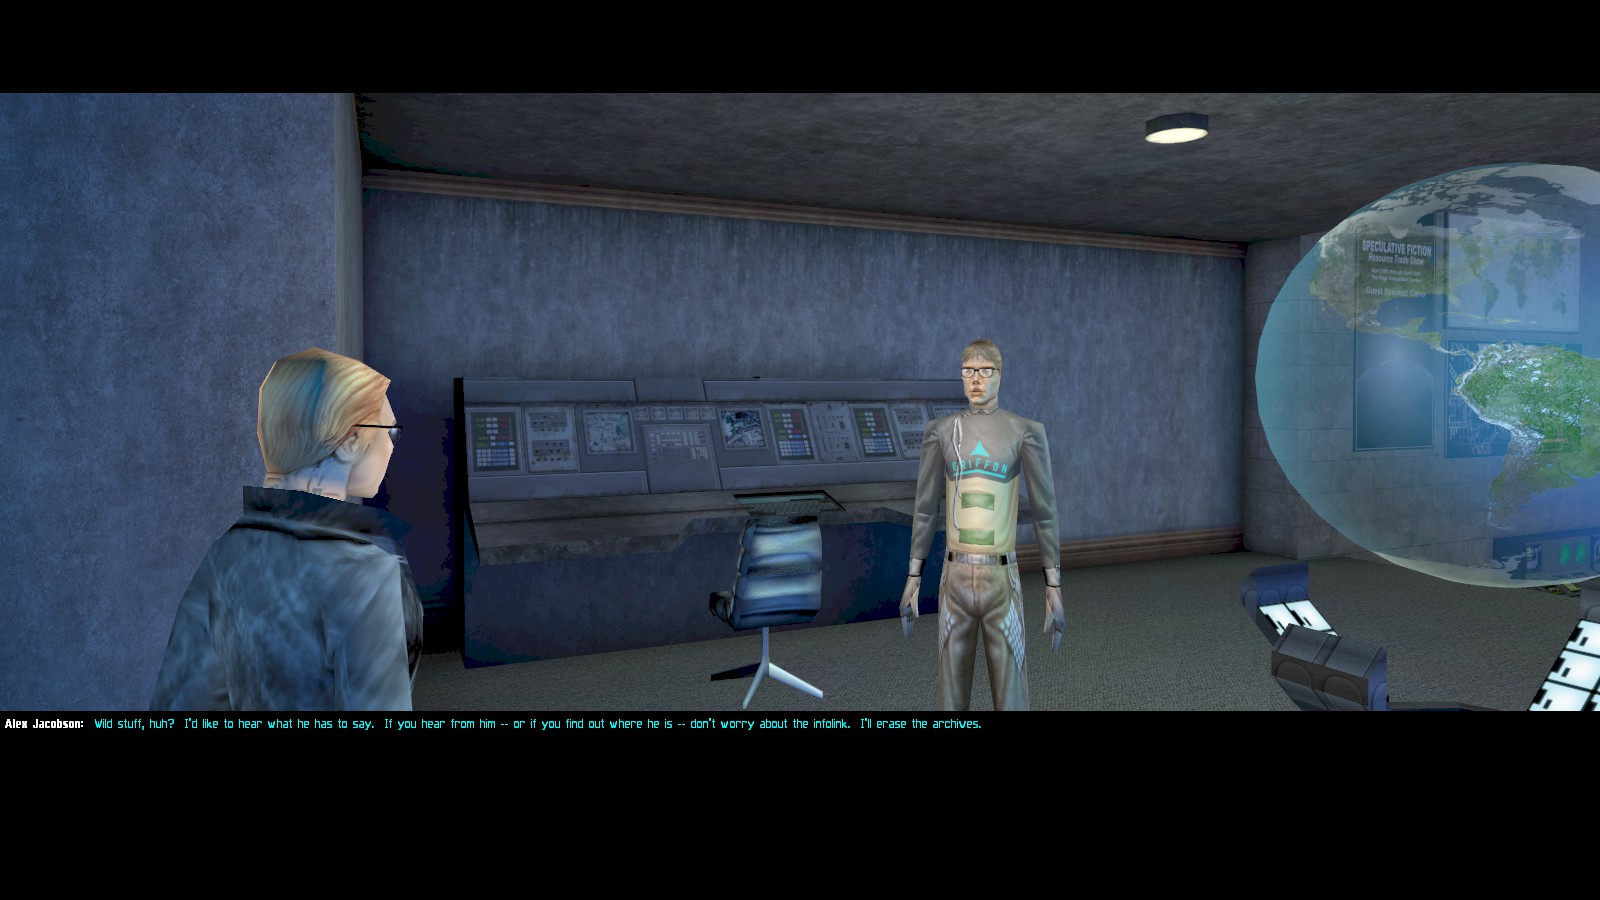
Next up is Alex down on Level 2. He sounds…less than entirely surprised at the news about Paul.
Use the code 737837 on the server room door to recharge at the repair
bot. There are no emails on the PC, and nothing under the floor this time. The cabinet door still
has the code 2001 and contains a lockpick.
Head next door to the medical centre and read some emails on Jaime’s PC using the
login jreyes/amigo. One of them indicates an augmentation canister has
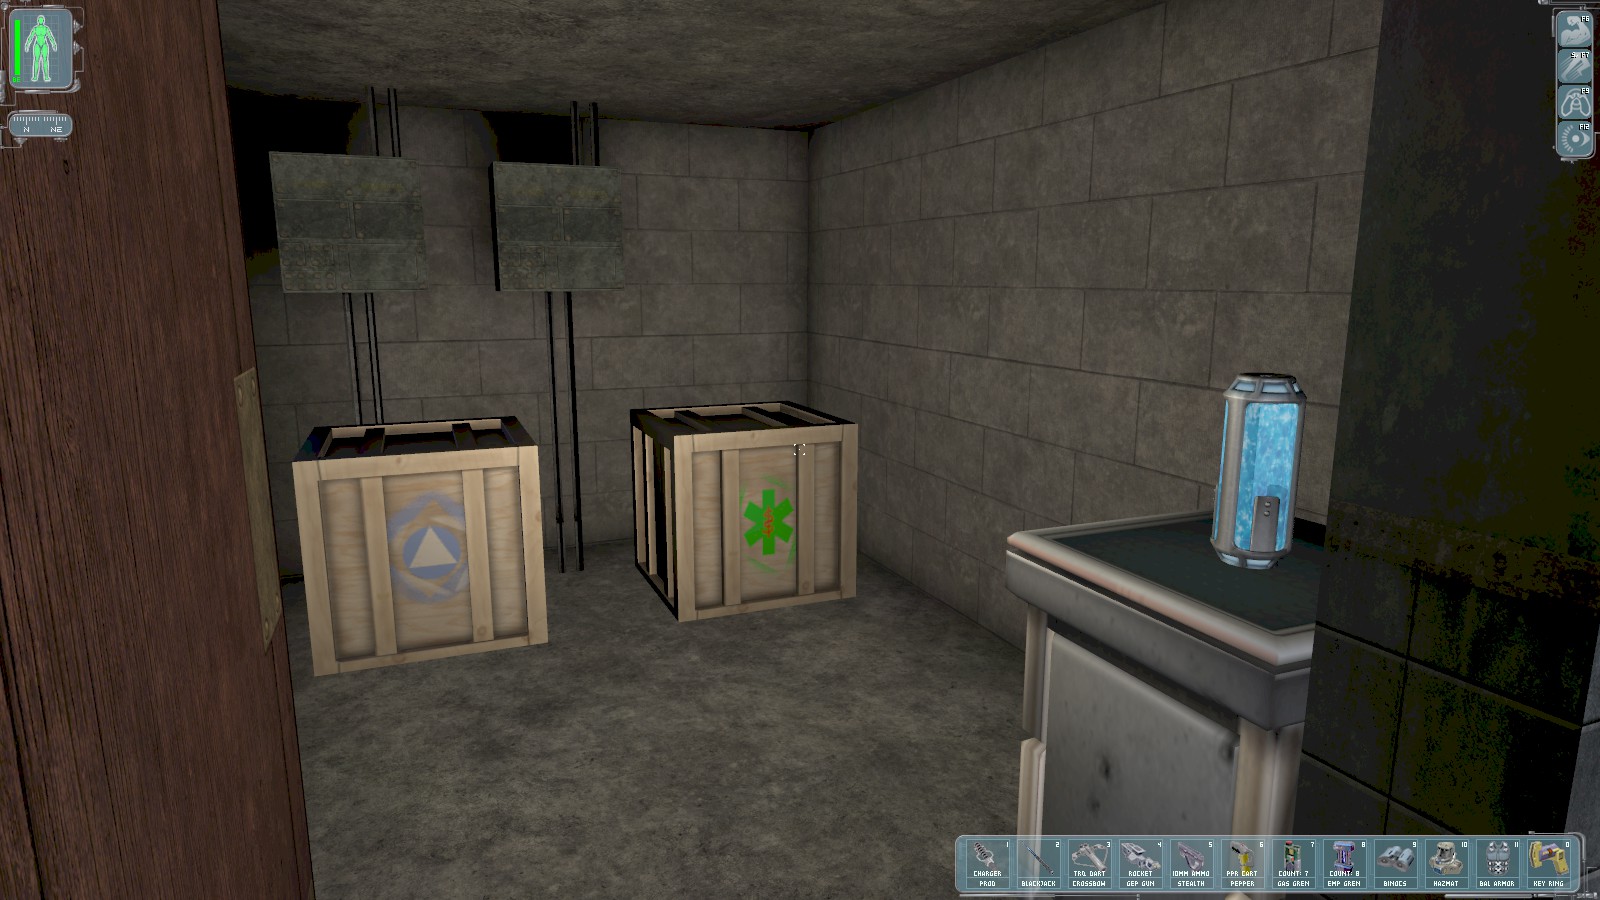
been delivered. It’s in the supply closet, which opens to your key. This is a Run Silent/Speed
Enhancement canister and you can use it to alter the augmentation in that slot or upgrade the one
you have. The crates contain a medikit and a biocell.

A nearby medical bot will help with installing the augmentations. I install the EMP shield (picked up here) and upgrade Speed Enhancement to Tech 4.
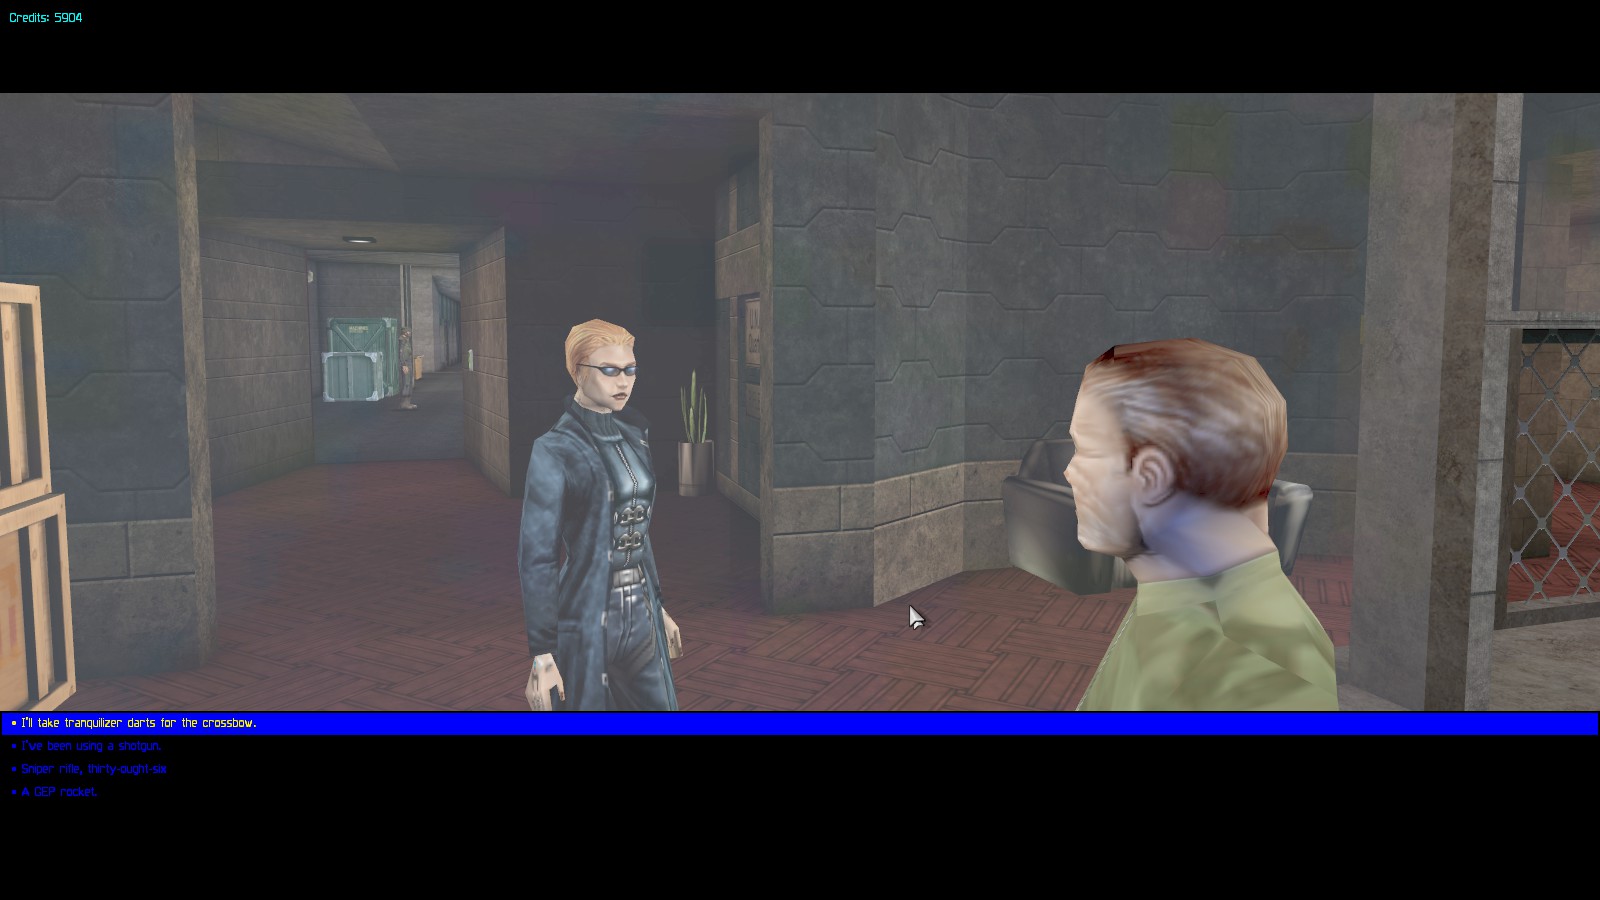
Head to the armoury and speak to Sam Carter, who’s sympathetic about your orders to kill an unarmed man. When he offers, I take tranquilizer darts, and Sam approves. The crates contain some ammo. I head down to the rifle range and pick up a pistol there before heading out.
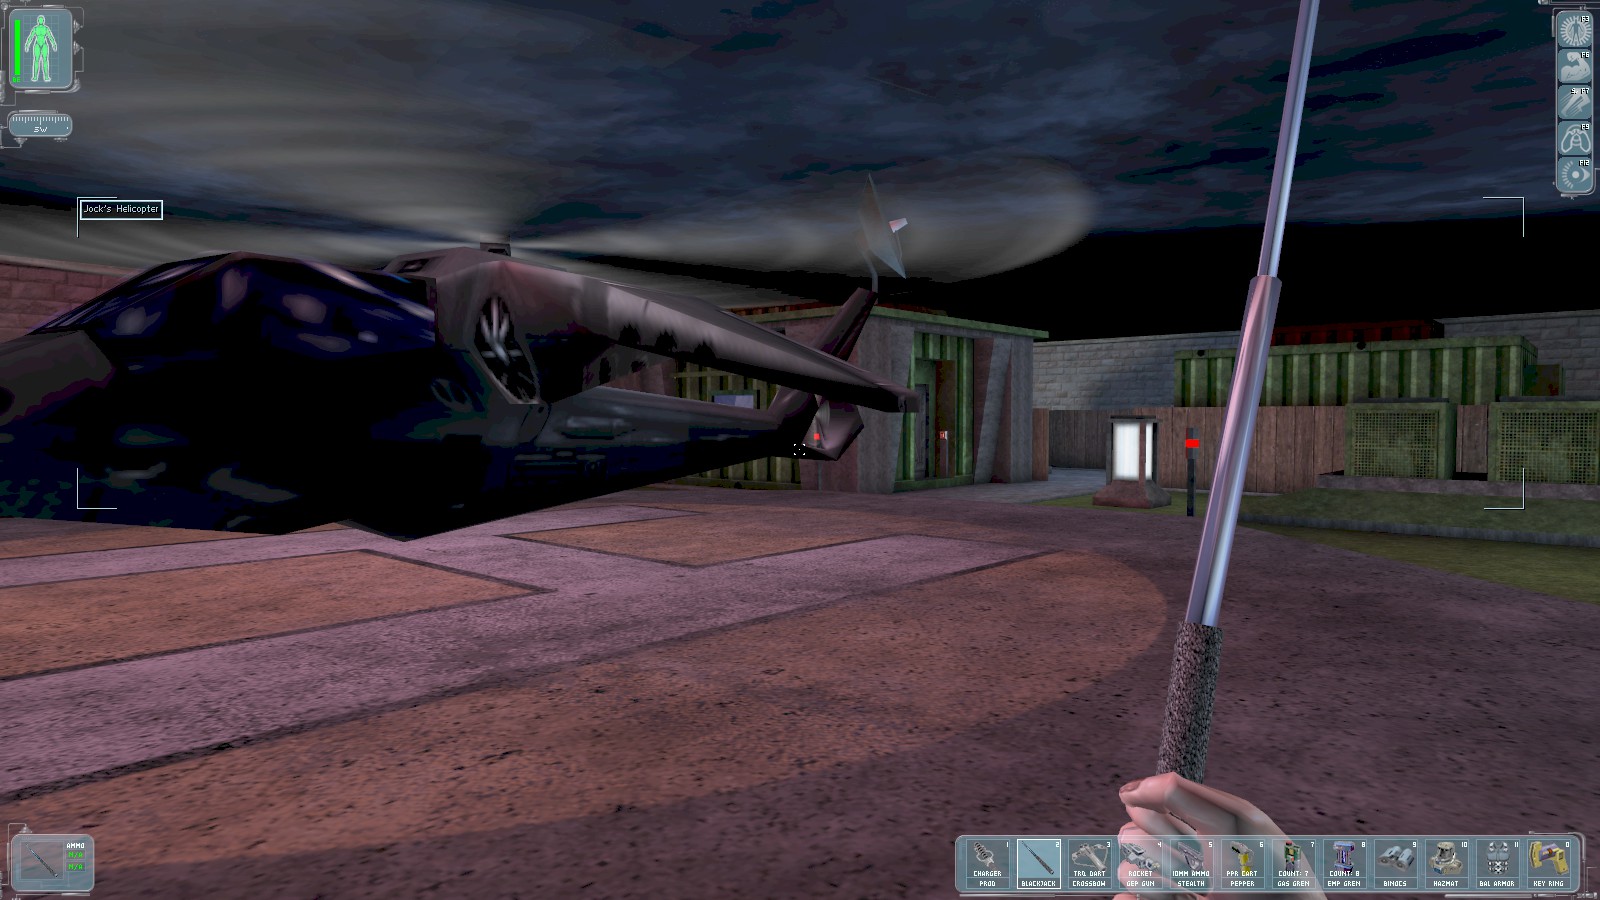
Pick up a lockpick beneath the floor hatch next to the bunker in the corner, then interact with the chopper. Jock says he’s taking you back to New York to meet your brother, Paul, instead of Hong Kong.
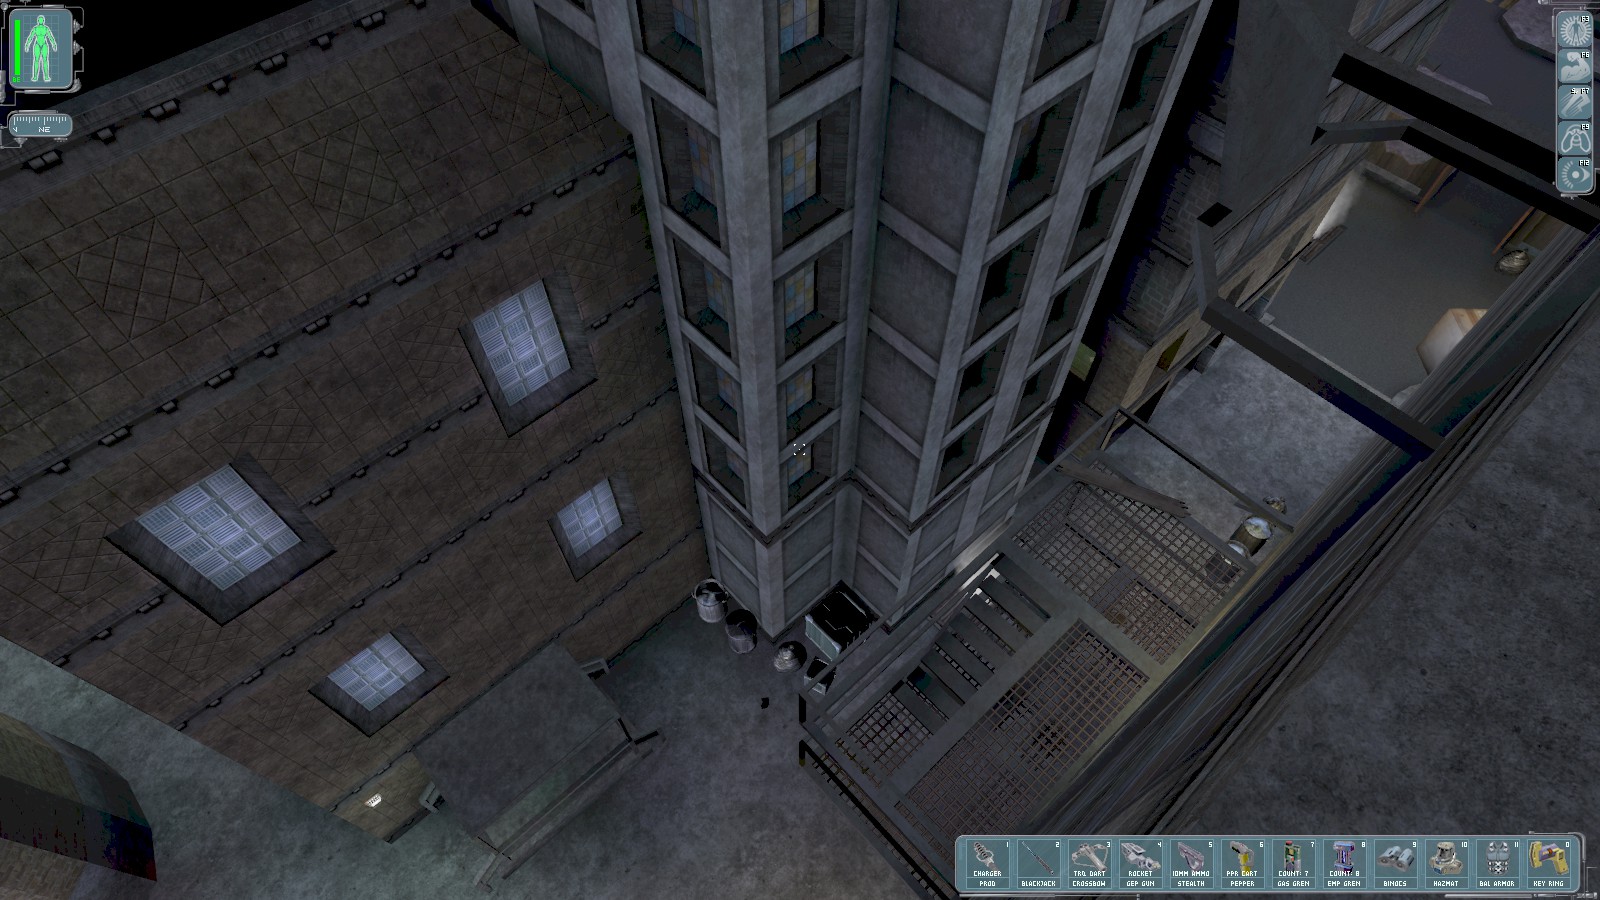
Jock drops you off on the roof of the 'Ton hotel and tells you Paul is in the apartment. Drop down the fire escape and go in through the window.
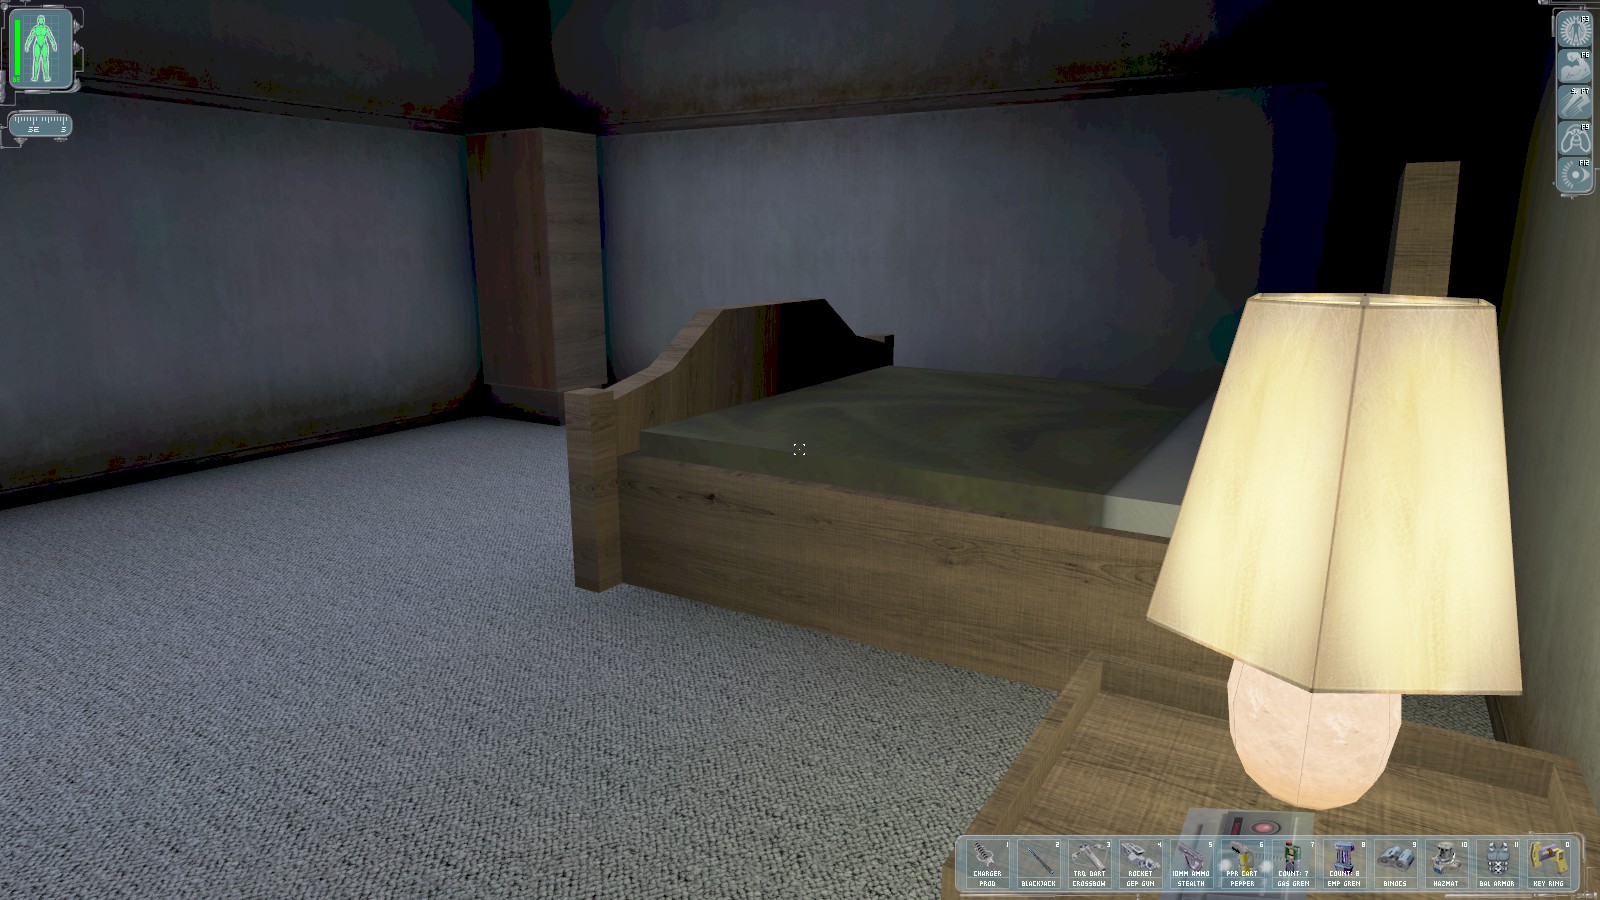
Grab the augmentation upgrade from the closet in the corner of the bedroom before heading to the lounge to see Paul.
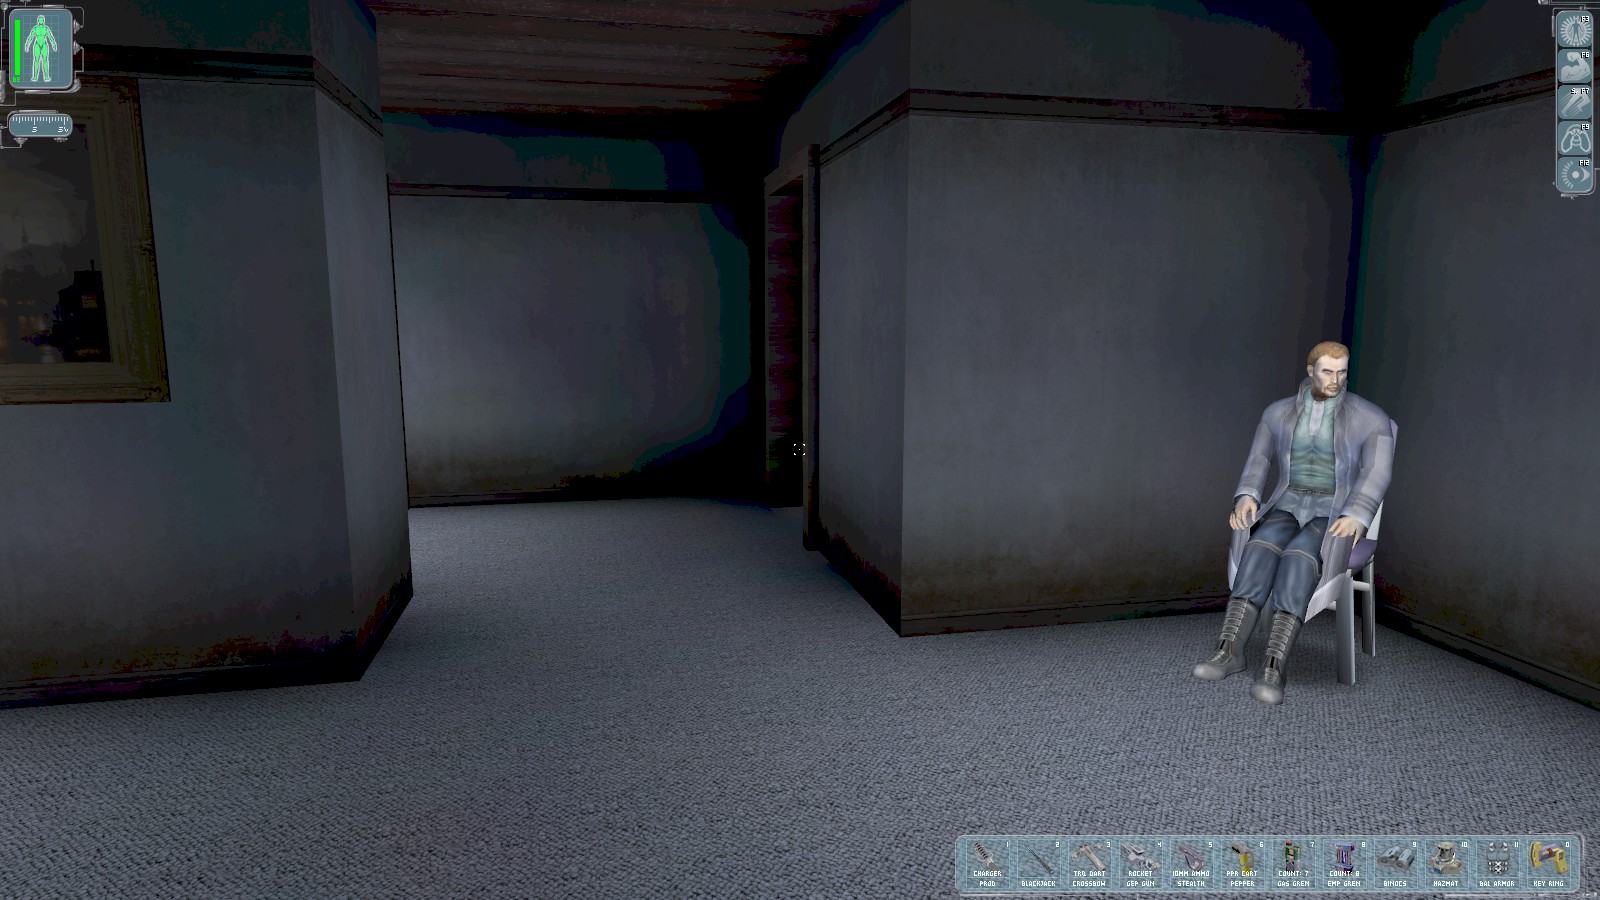
Paul elaborates on the killswitch and wants you to get in touch with Lebedev’s allied resistance groups, such as Silhouette by using a comms facility UNATCO have set up in the NSF headquarters nearby. He tells you about a datacube in the basement that is proof that UNATCO is part of a conspiracy. Talk to him again for on the killswitch and your parents.
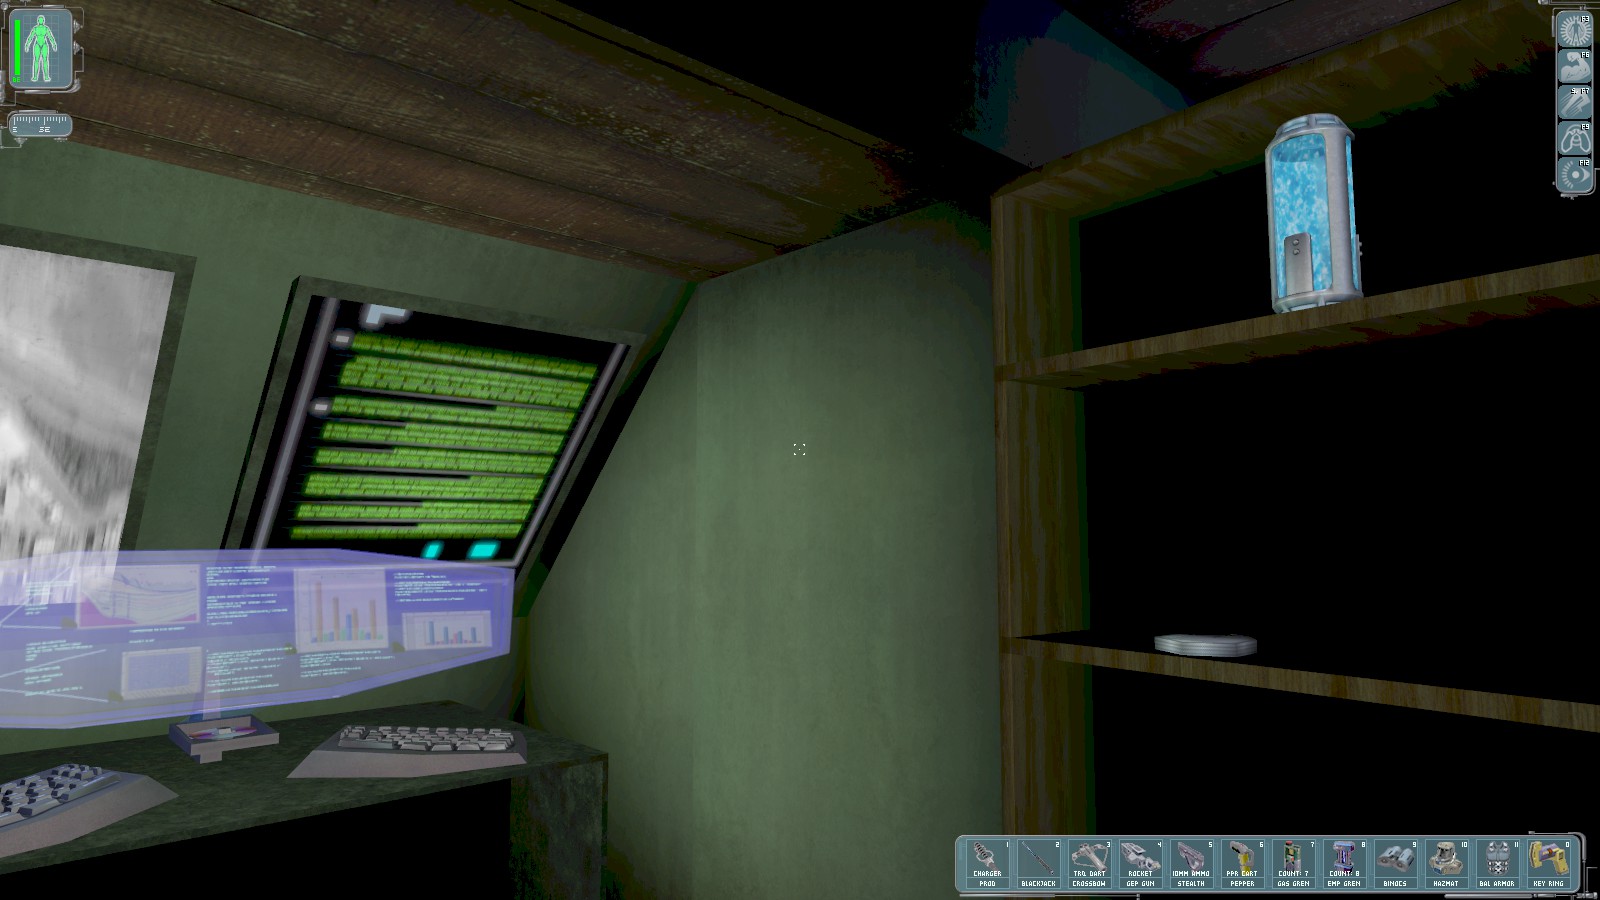
Interact with the painting on the wall and use the code 4321 on the keypad
to open the secret compartment. Inside is a Microfibral Muscle/Electrostatic Discharge augmentation
canister.
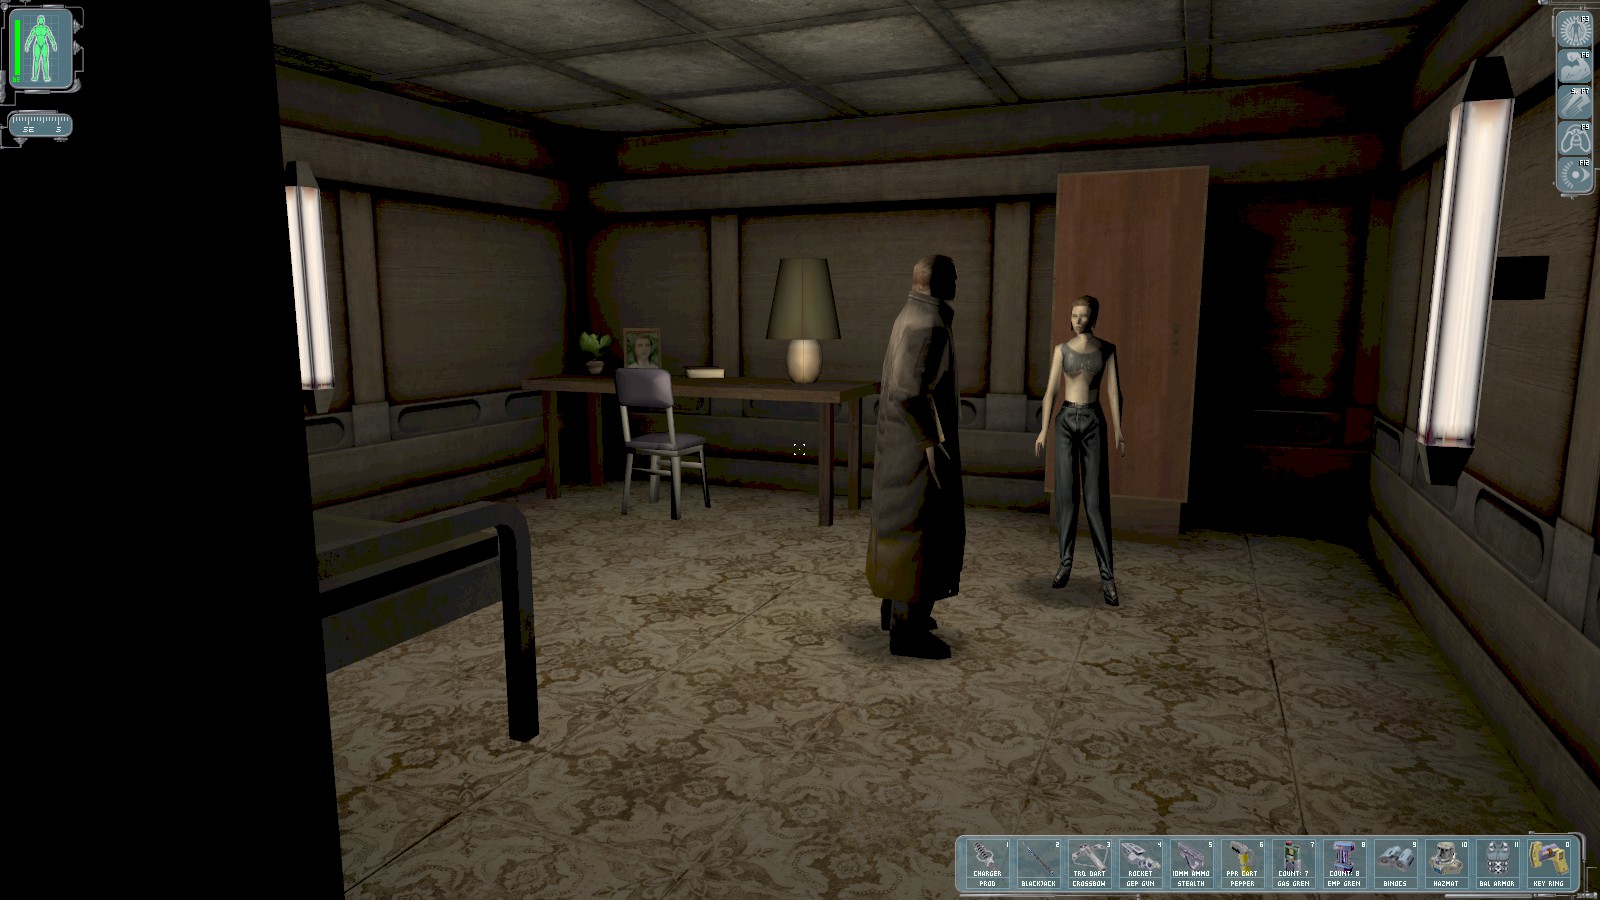
Head downstairs to find Gilbert Renton and his daughter Sandra in heated discussion about the gangster JoJo. . Speak to Gilbert Renton who requests a weapon to help deal with him. JoJo is no friend, so I hand over the pistol I collected earlier instead of one of the other (heavily modified) weapons I have.
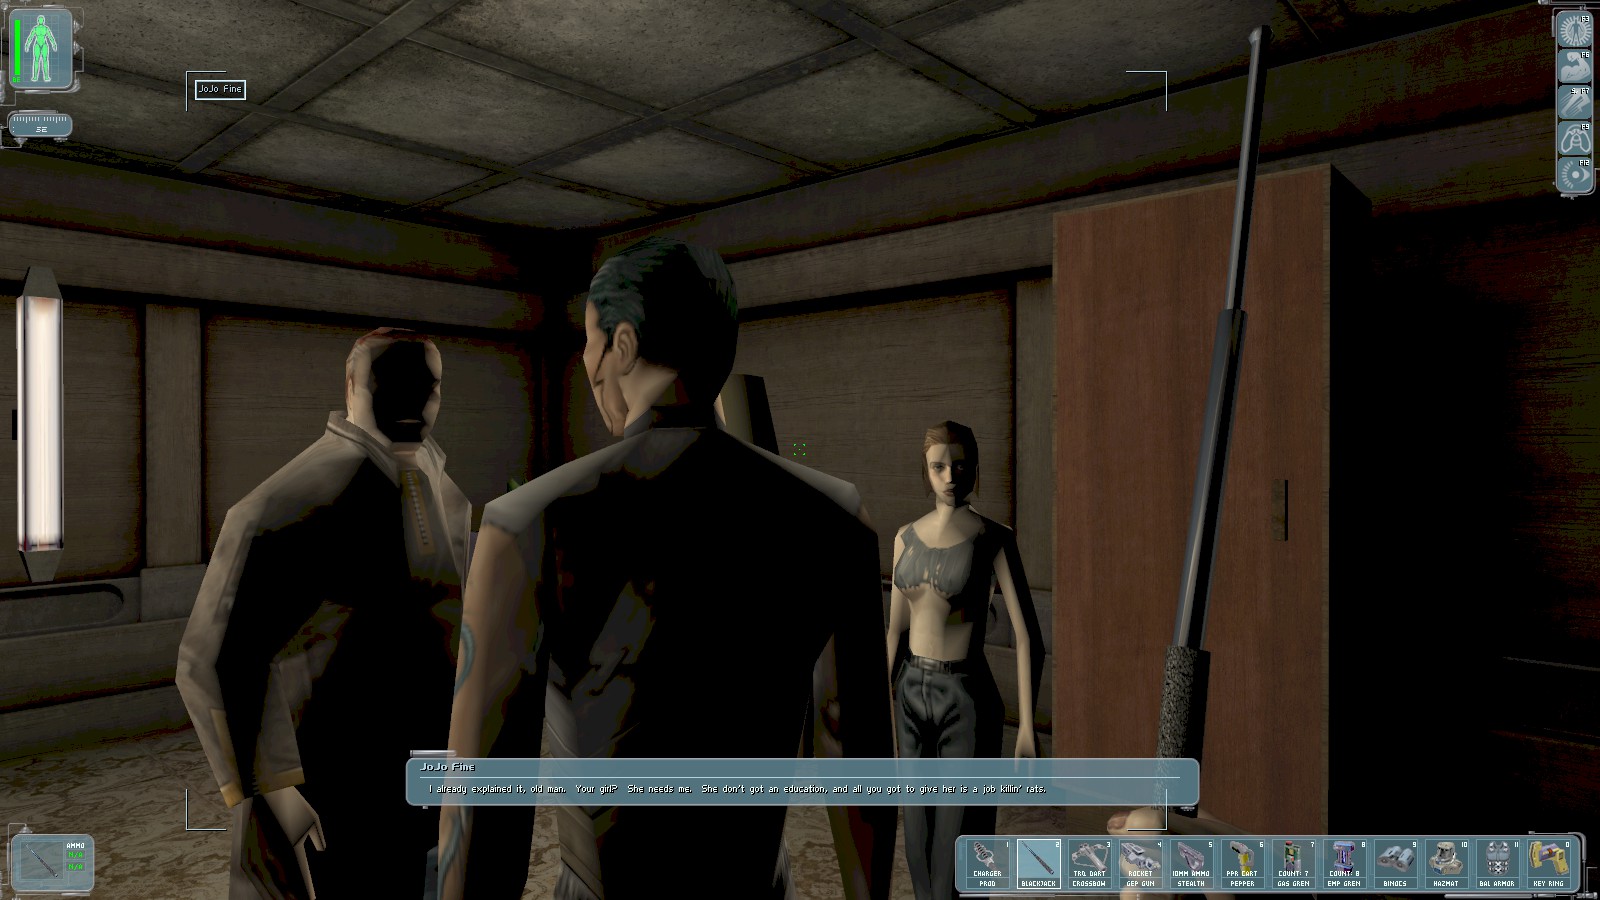
Stick around, because JoJo himself comes down the stairs a few moments later. Wait for Gilbert to fire the first shot, then whack JoJo. If you whack him before Gilbert shoots, Sandra leaves town leaving Gilbert on his own. If Gilbert inflicts damage first, Sandra will stay—for a while at least. Time to go. Hack the ATM for 200c on your way out.
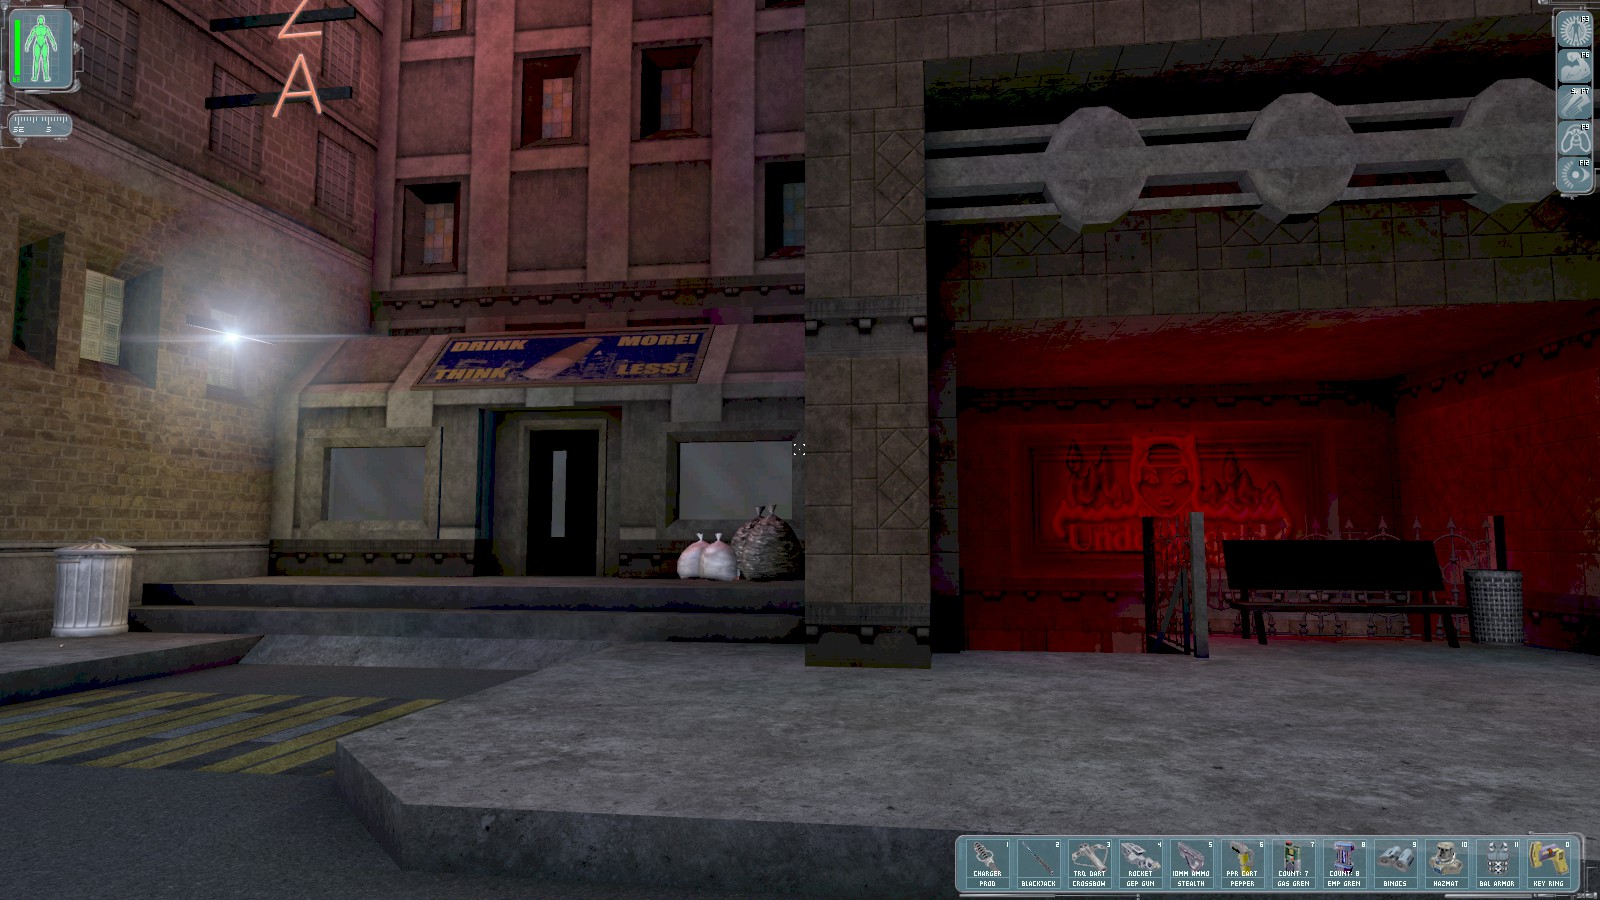
Break into the shop next to the Underworld and pick the safe’s lock for a reload weapon mod. Head into the Underworld tavern.

The datacube shows that UNATCO are preparing a raid of Hell’s Kitchen. Speak with Jordan the bartender repeatedly and she’ll reveal that she knows who—and presumably what—you are, and warns you to leave the city. Hack the ATMs for a total of 282c and leave by the back door.
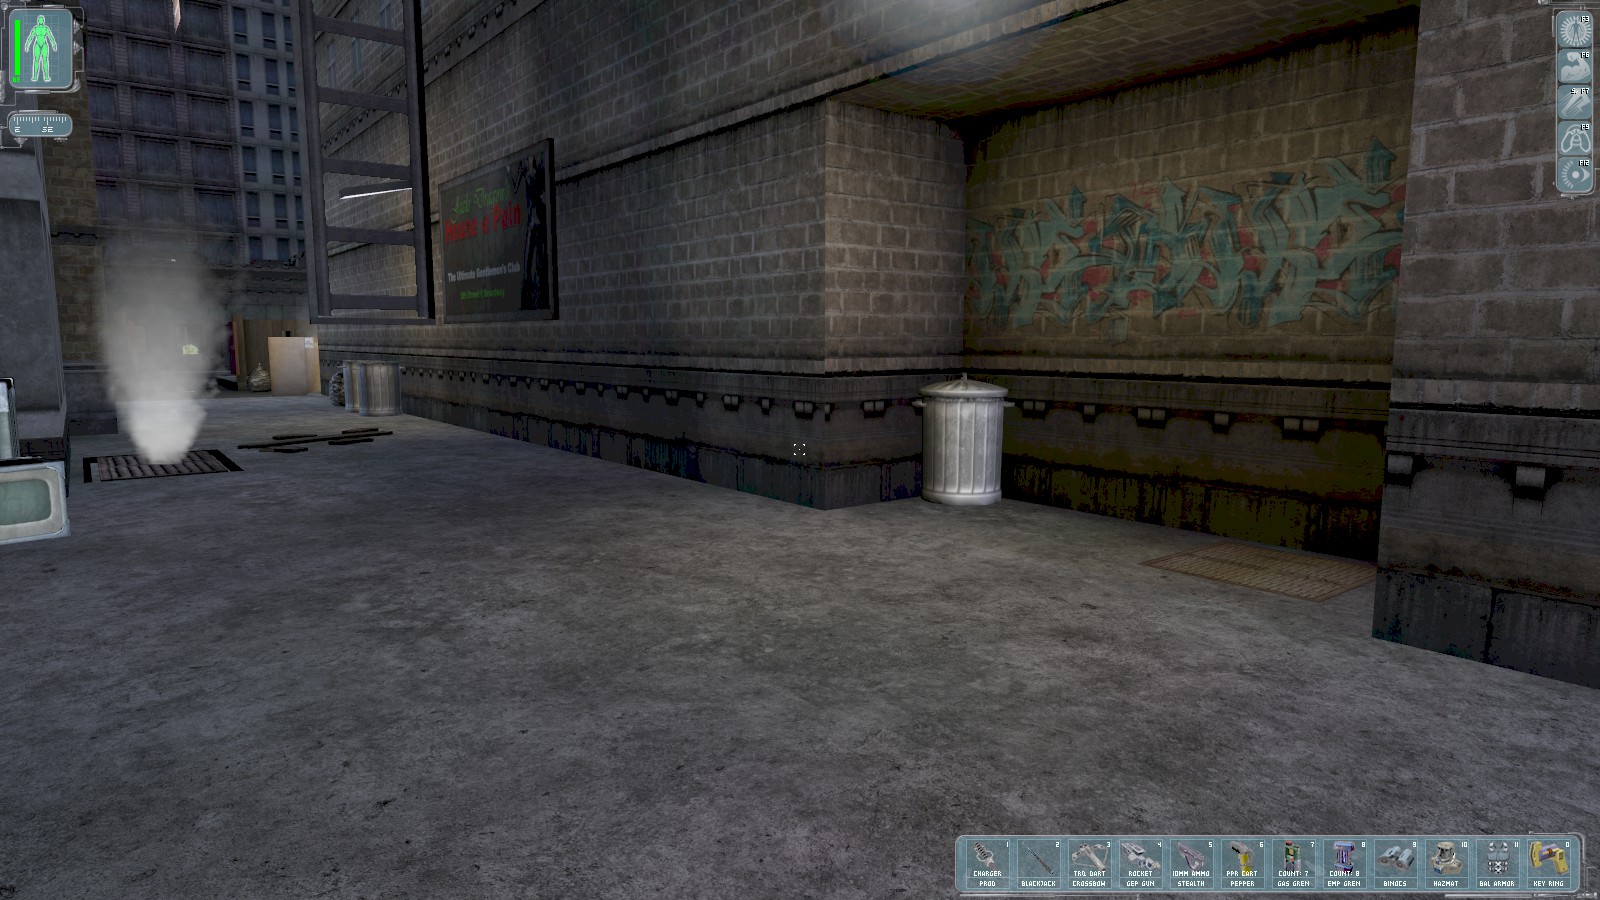
A grate near the tavern’s rear entrance opens with the key given you earlier by Smuggler.
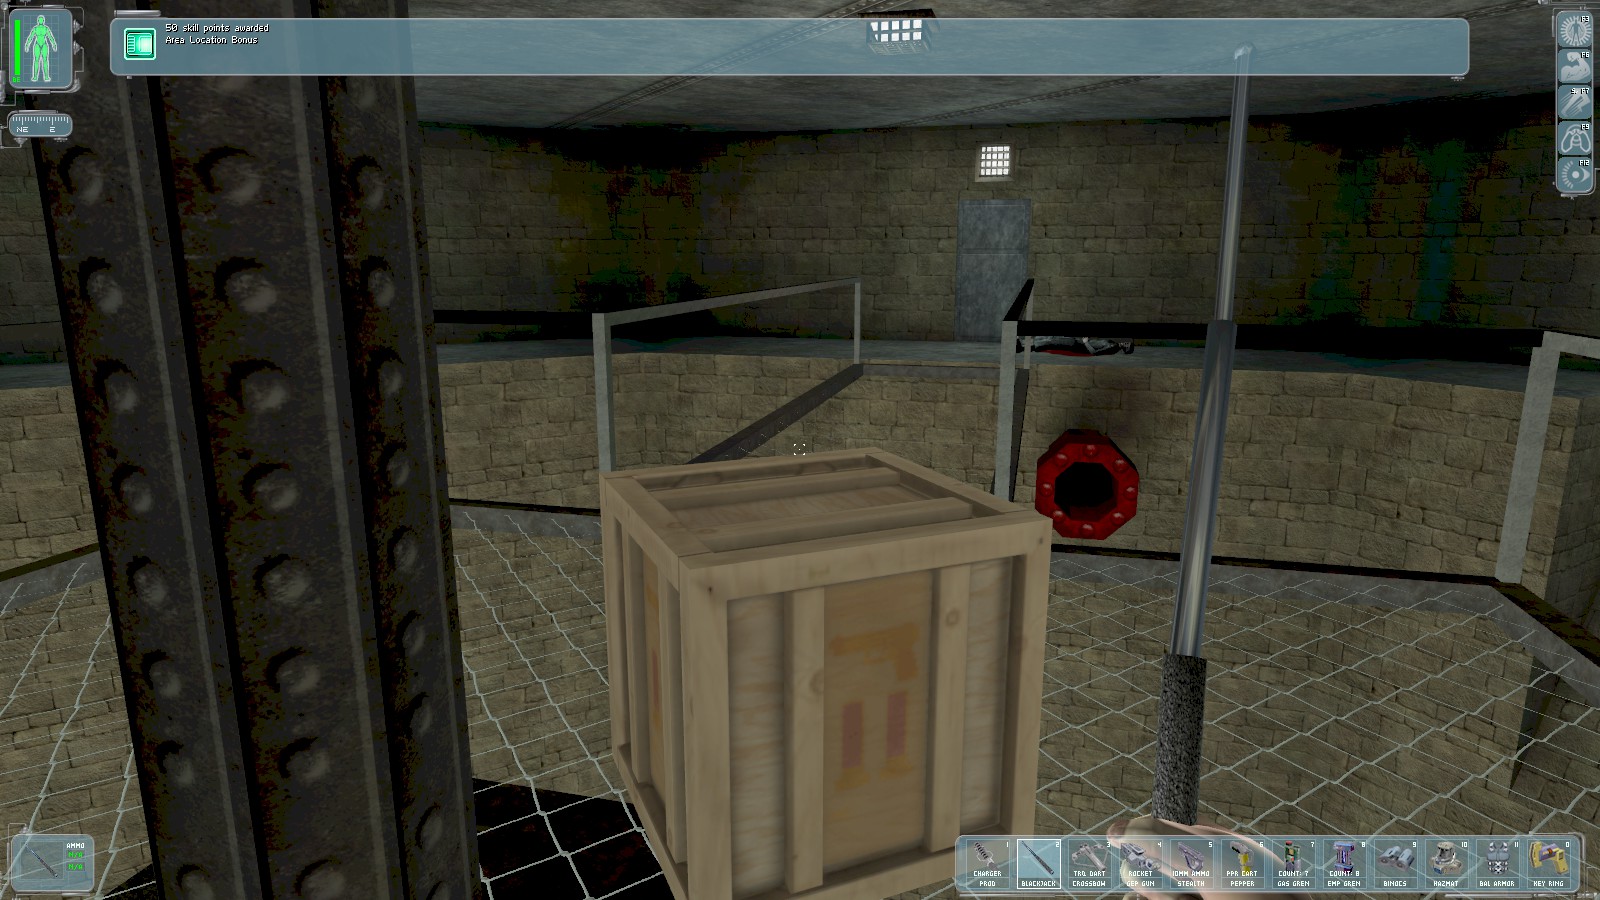
You get 50 skill points for crossing the bridge. The crate contains thermoptic camo, and you’ll find
a biocell in the guard room ahead. The credentials MJ12/coupdetat still work
on the security console to rotate the bridge, but the lab where you found Ford
Schick isn’t accessible. There’s nothing else here except some bodies. Head back the way you came.
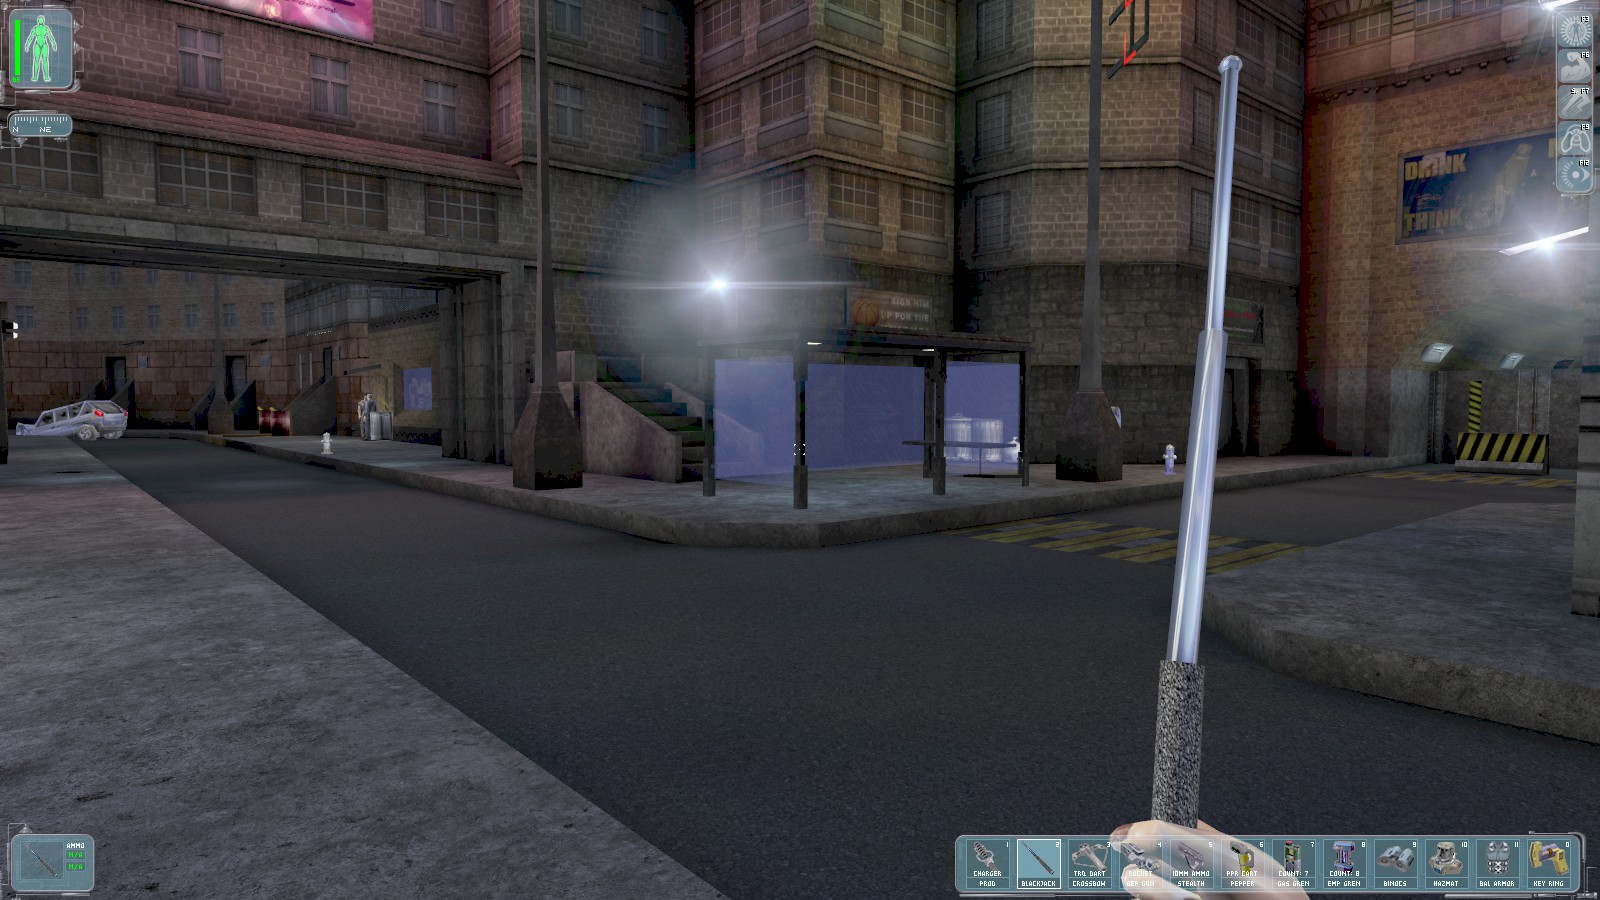
Head East through a tunnel towards Smuggler’s place. A gang of thugs is outside who’ll start shooting if you get too close. They can be lured away, but I decide to use the rear entrance, round to the right.
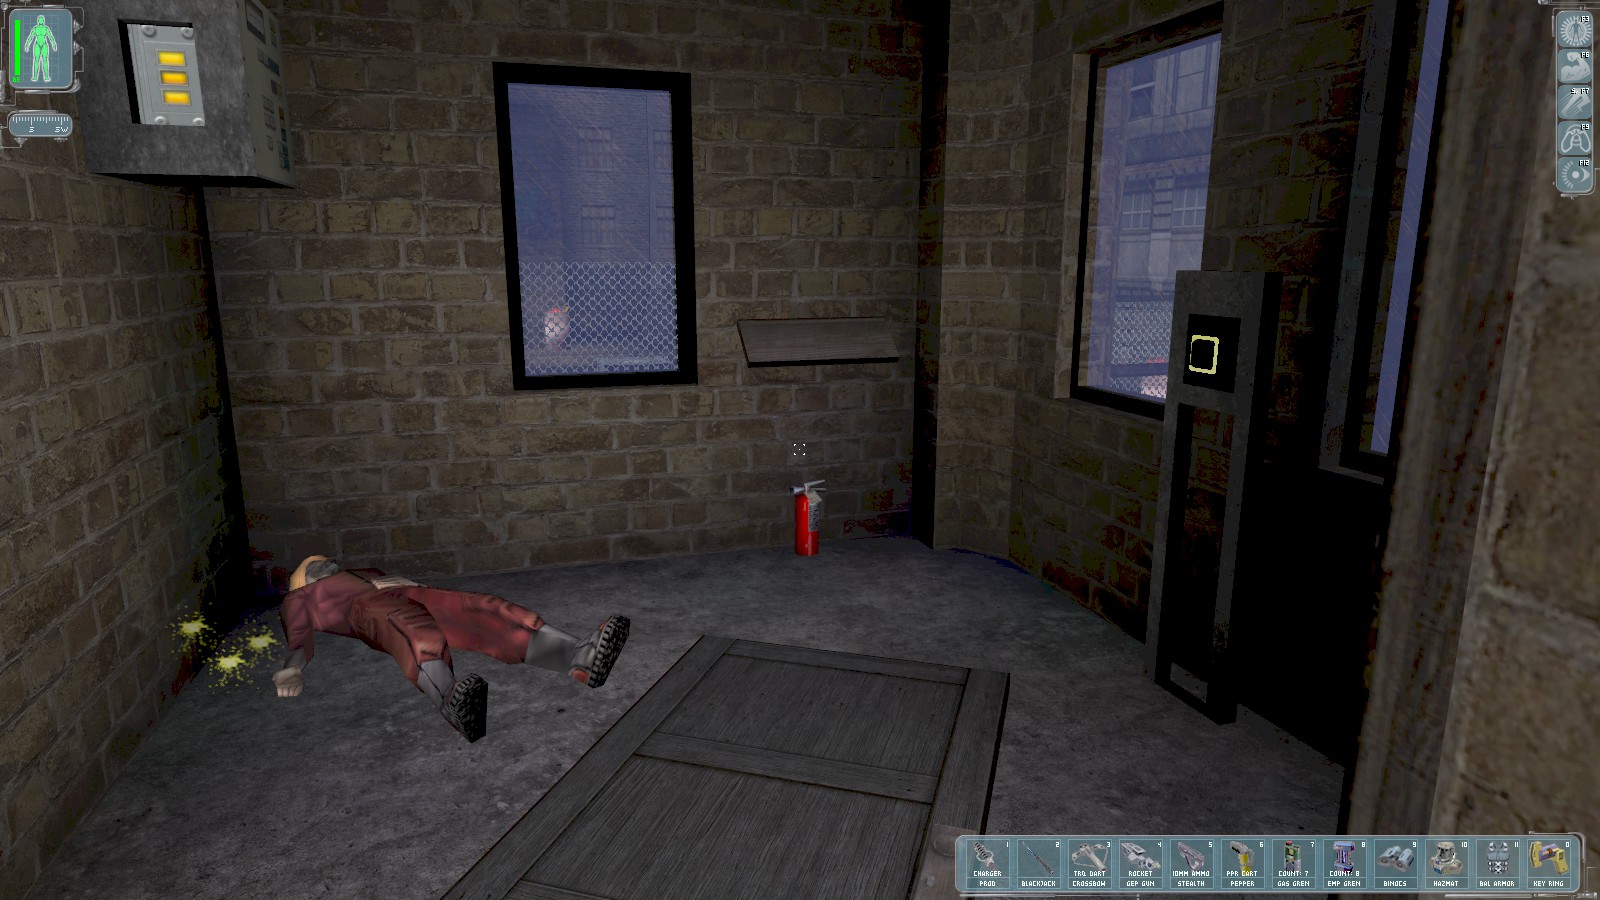
The gates are closed, but the button in the nearby gate house opens them. Raid the body of the unfortunate electrician (can’t have been a very good one!) for a multitool.
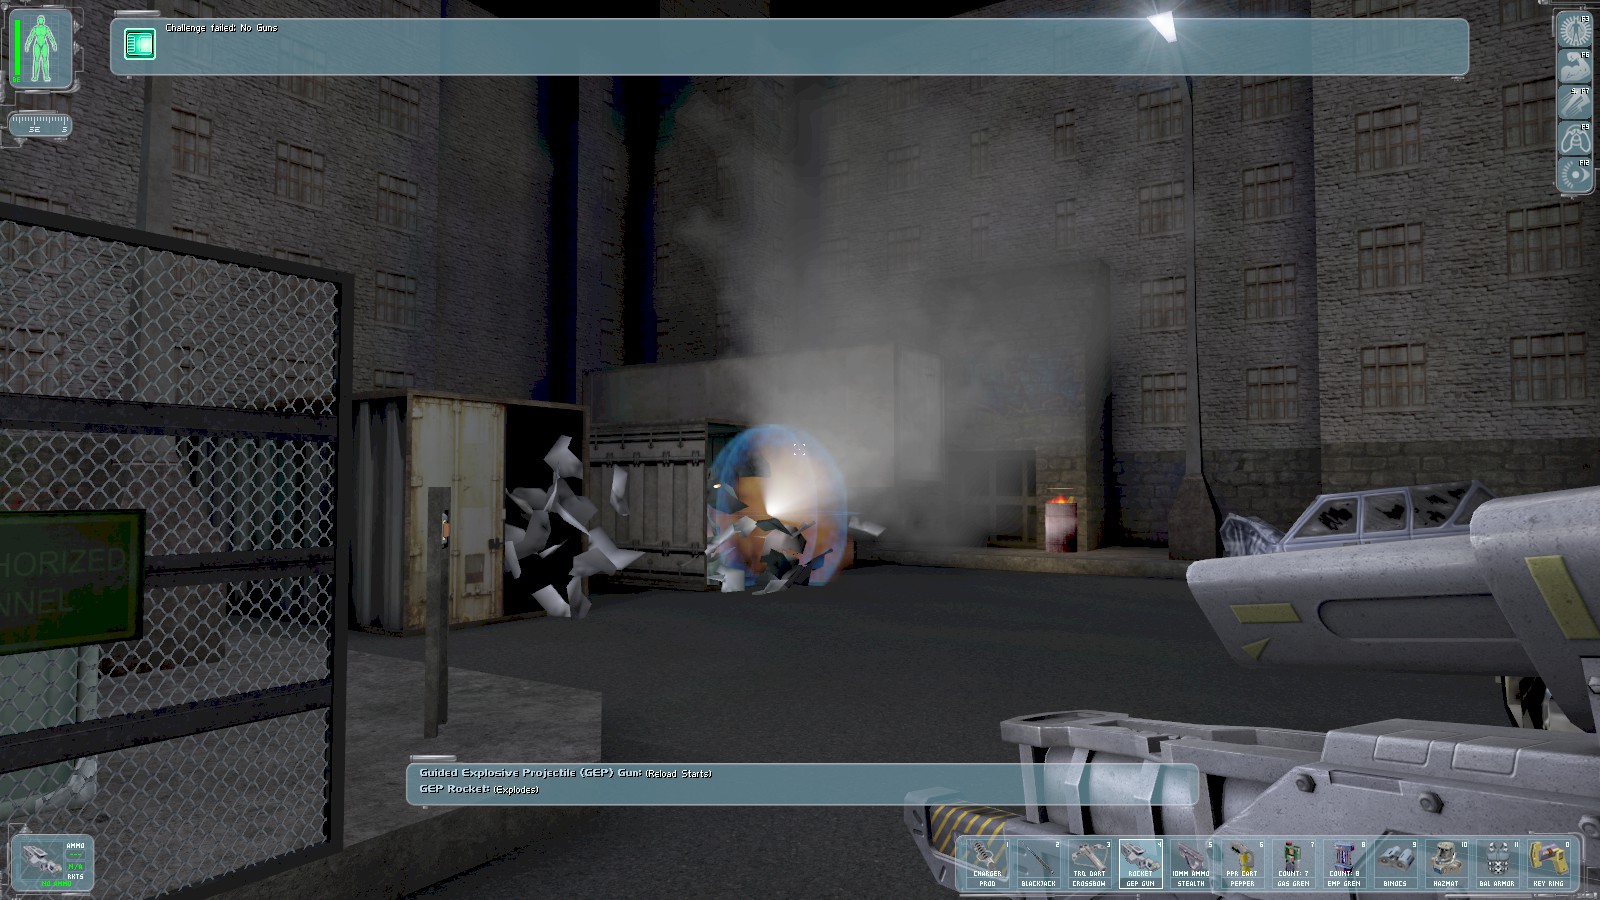
You get to blow the bloody door off the container from the outside this time. Head into the middle one for 50 skill points, and head down.
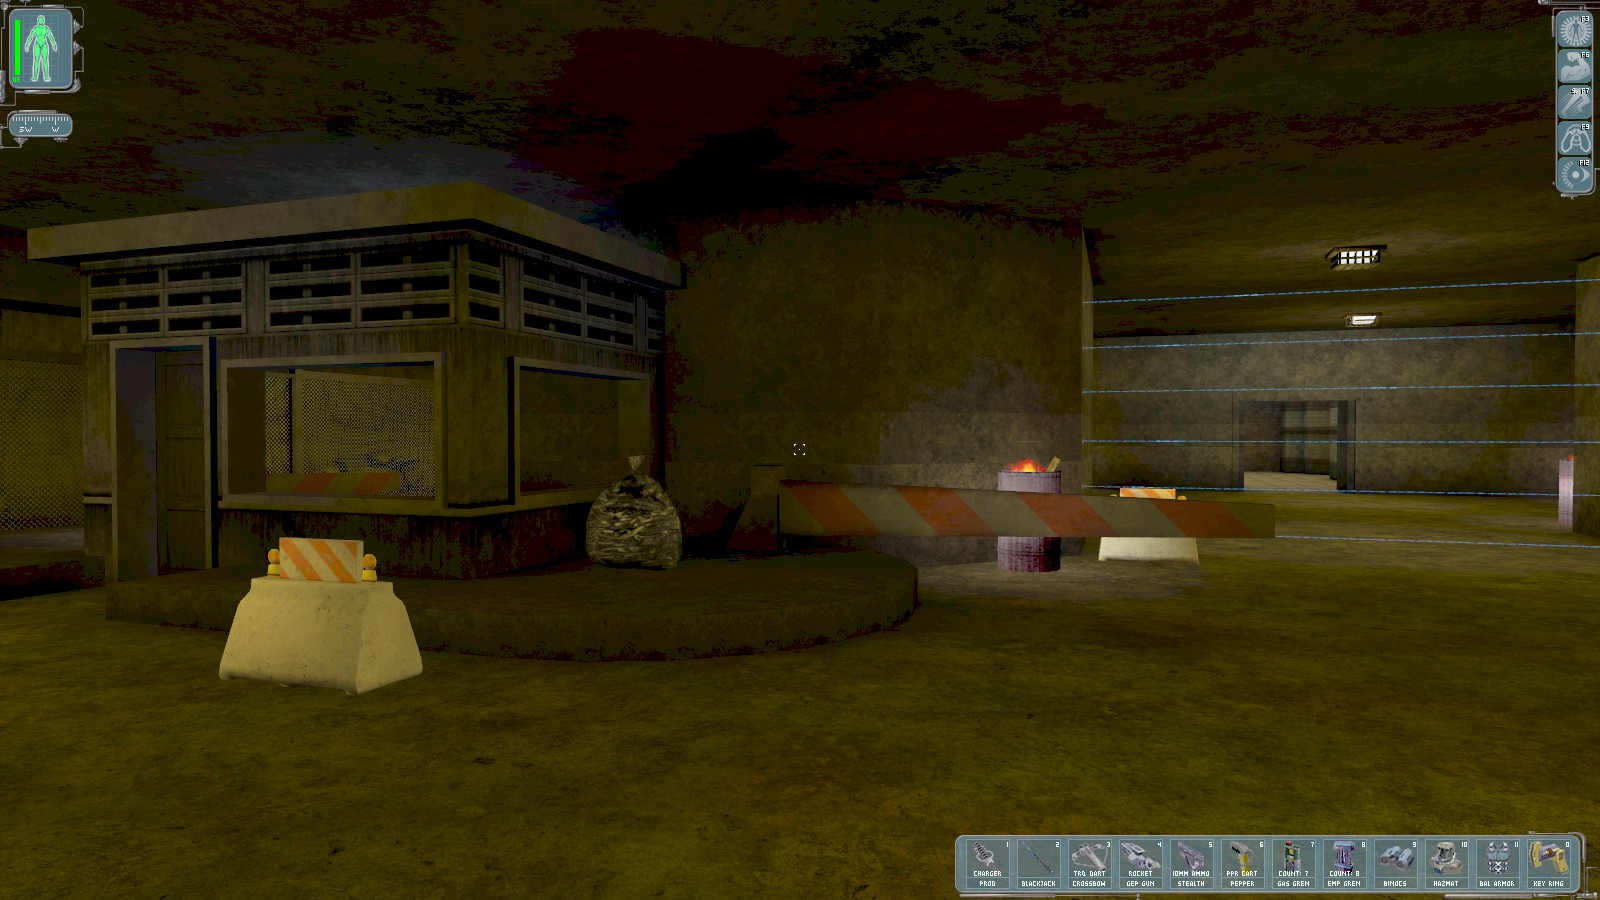
The laser grid is back up so it’ll cost you a lockpick and multitool to get in. At least there aren’t any mines this time.
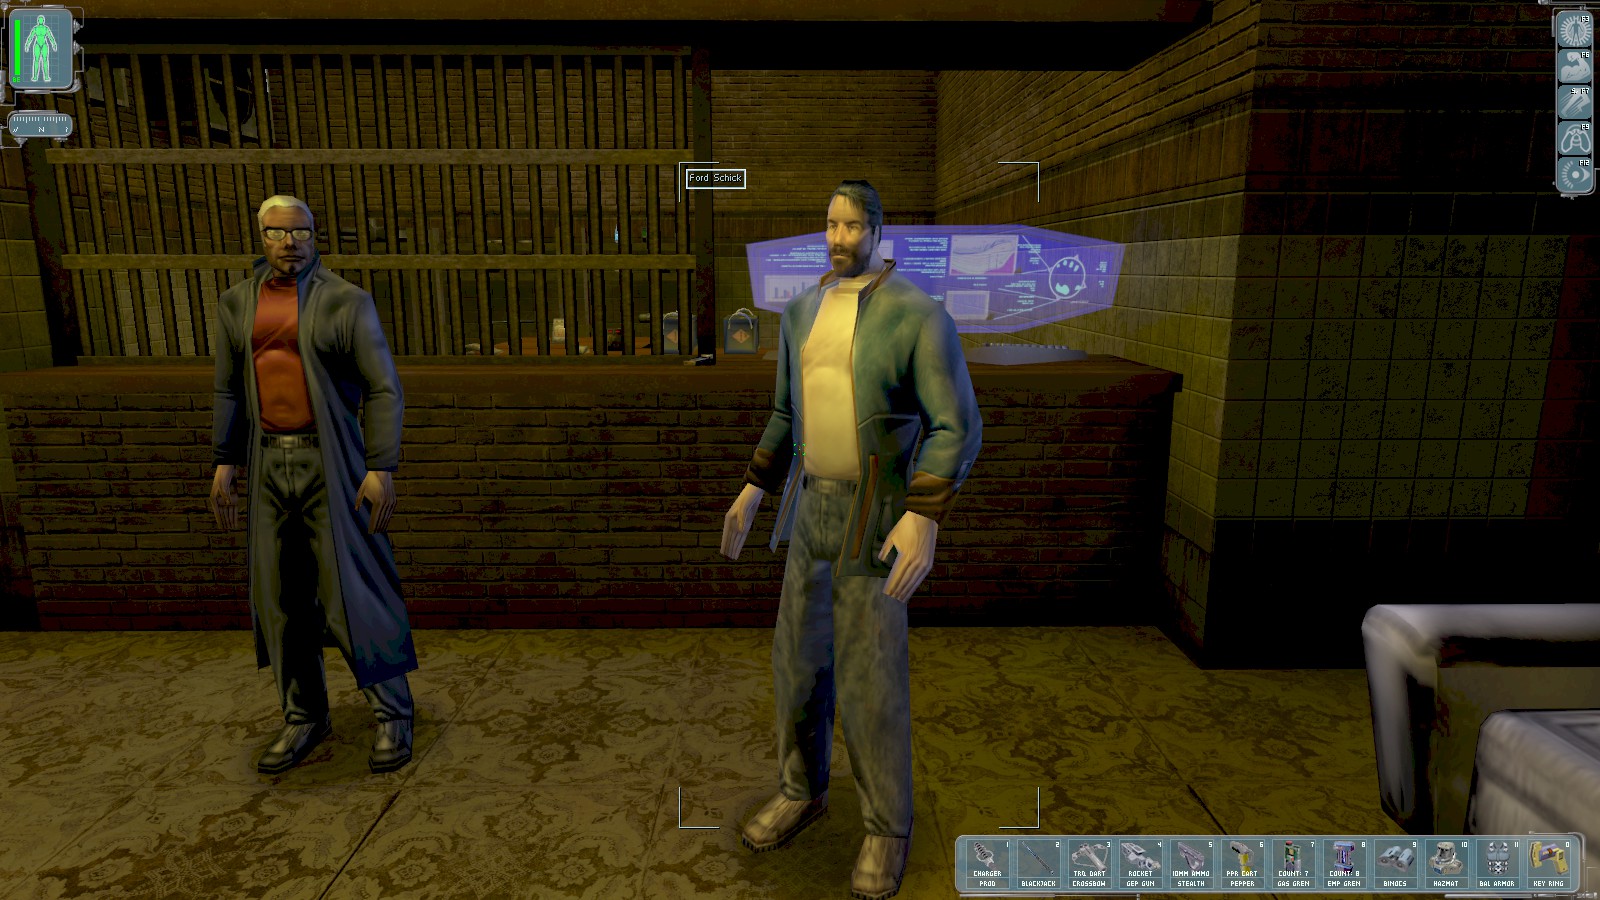
You get another 20 skill points for visiting. Smuggler warns you and Paul to keep out of UNATCO’s
way. Ford Schick’s here too. Speak to him to learn he’s finding new ways to make
medical research pay. Head upstairs and use the keypad (code 432) to find some
weapon mods.
Leave the way you came in. Back outside you can visit the basketball court for a lockpick before getting on with the job. Head to the NW to find one of the tunnels is now open, leading to the captured NSF base and the satellite transmitter.
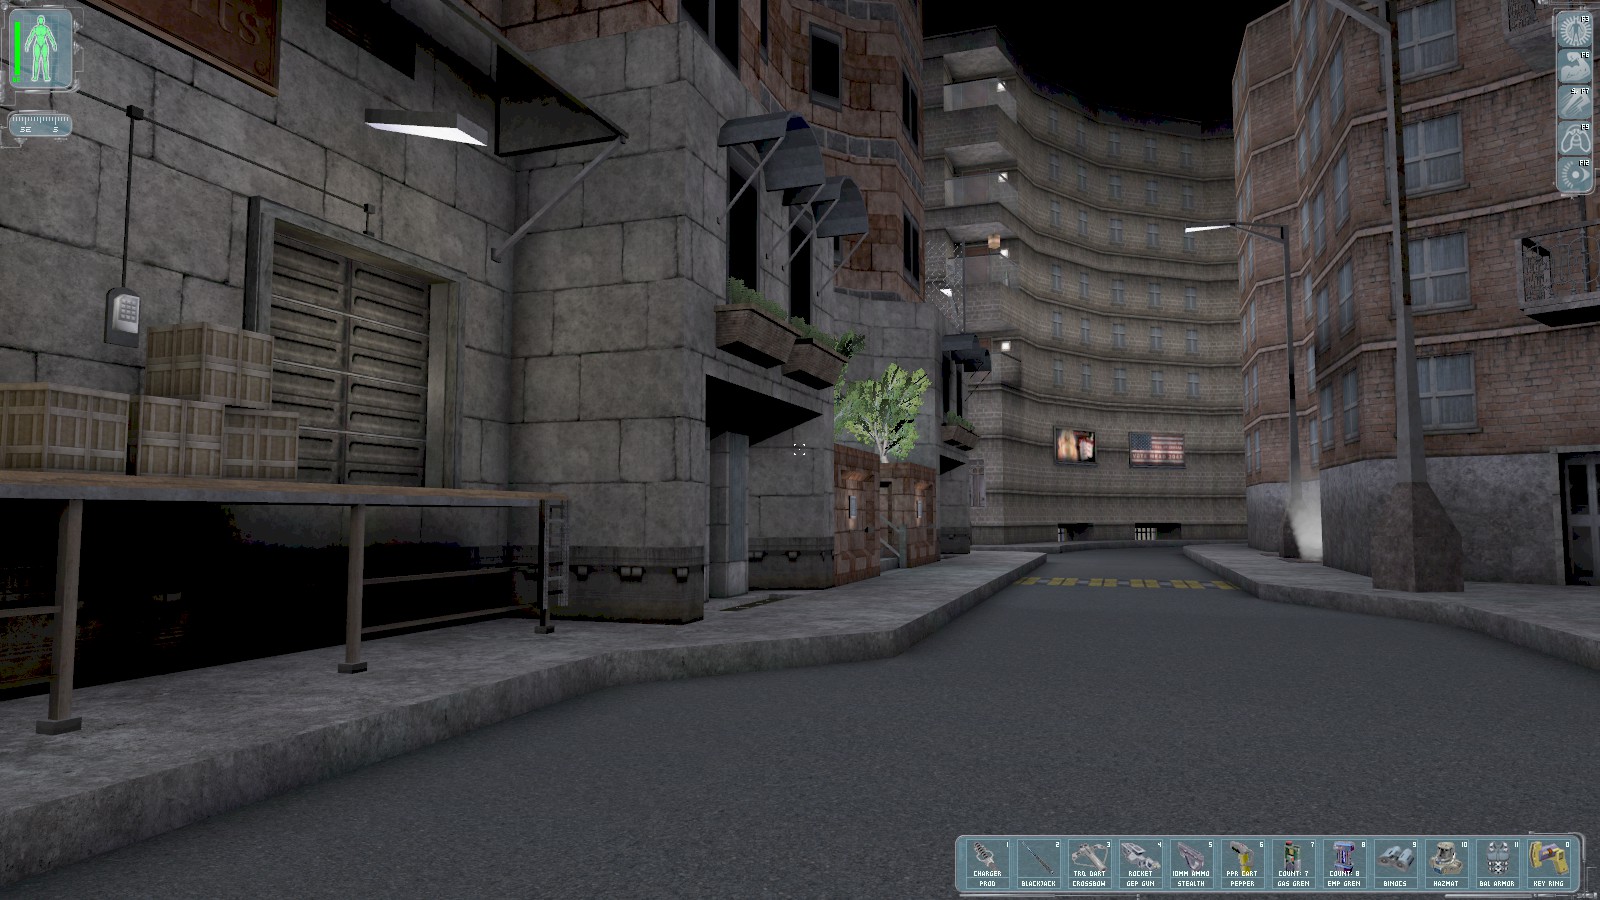
Note the locked storage unit on the left and keep heading South. Talk to the UNATCO troops to learn they’re securing the area after taking over from the NSF.
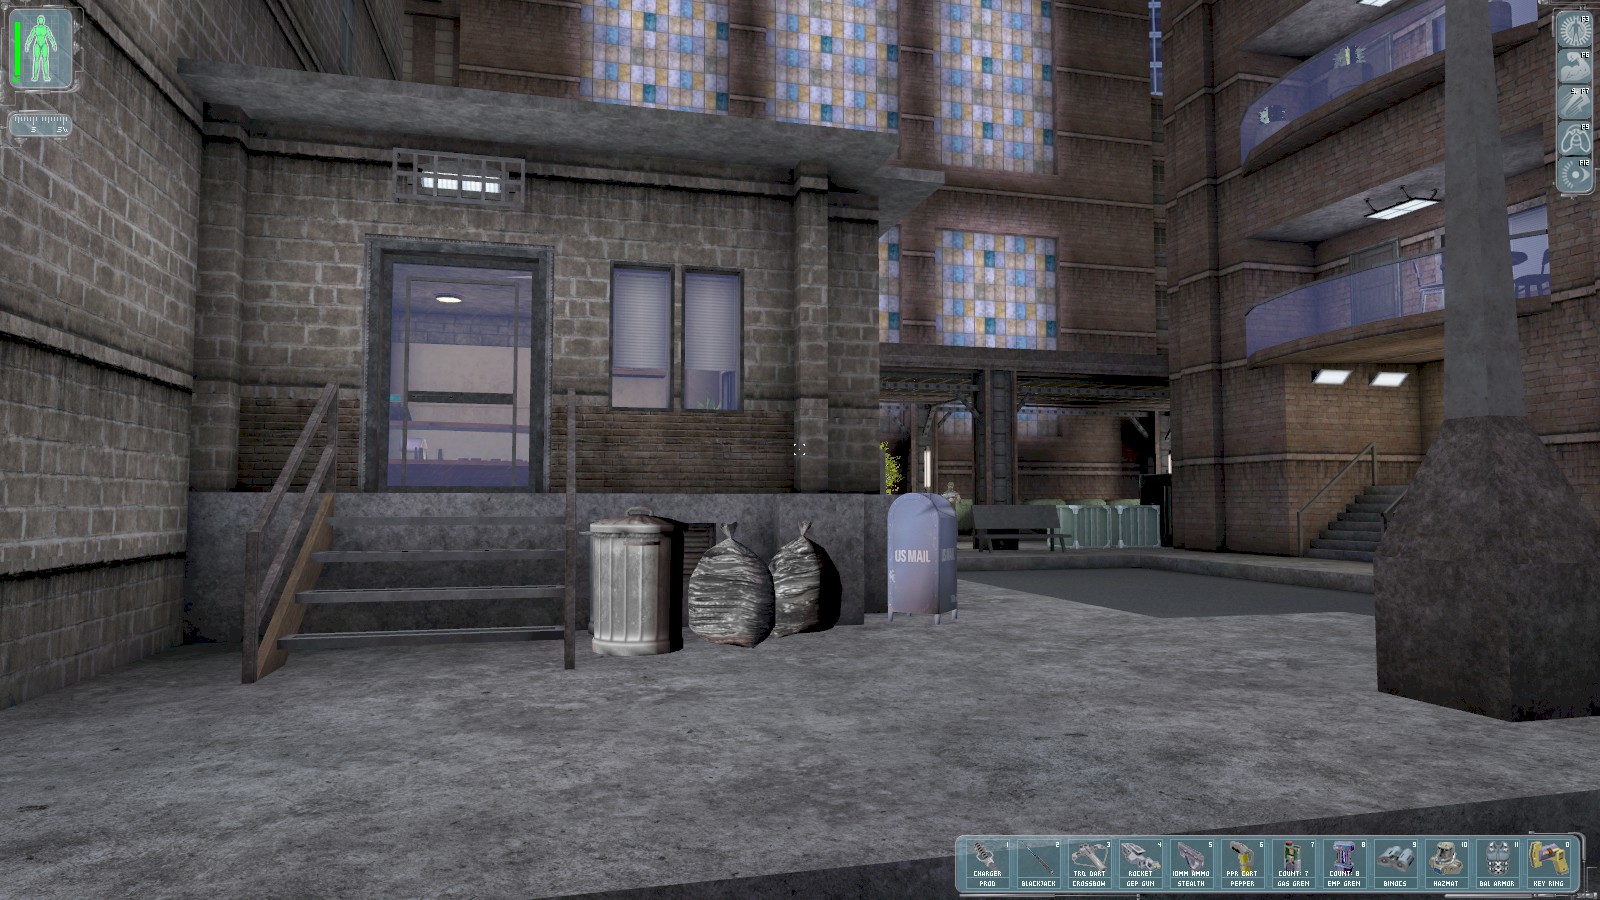
A little further round you can break into the shop on the left for 25c.

Head to the alley behind the shop to find a datacube on the bench with the code 237615
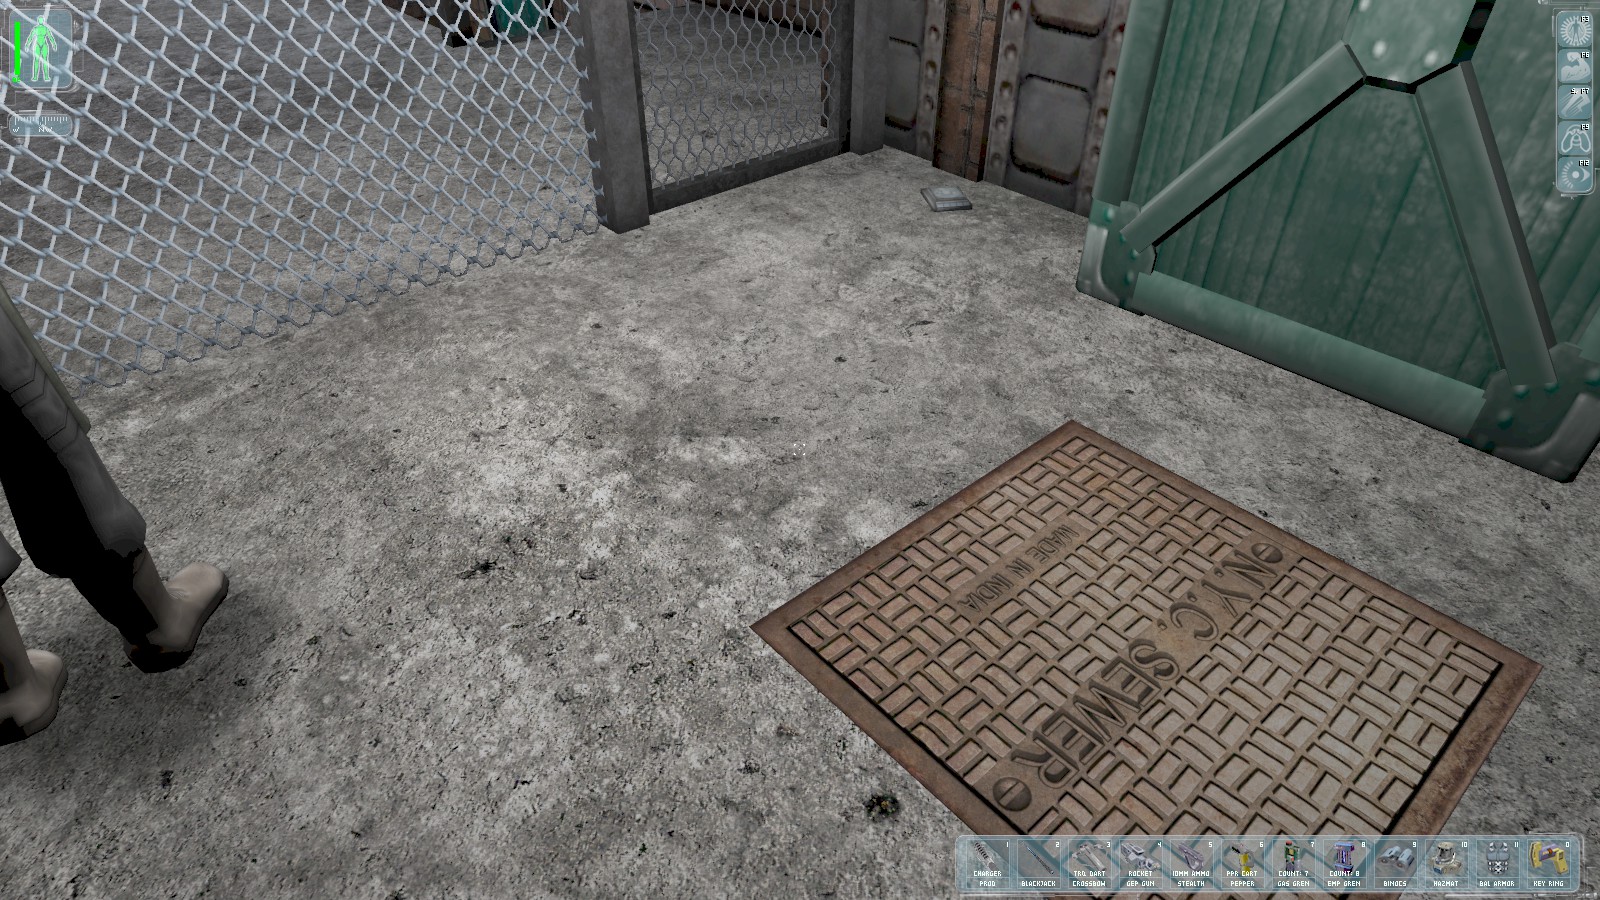
Further round to the right is another datacube with the code 11011. Note the locked grate.

Head back to the locked unit and use the code 11011 on the keypad. Inside, the
visible crate contains tech goggles. Climb the boxes on the right to find 2 more crates for a
lockpick and a recoil weapon mod. A medikit is hidden in the dark behind the boxes on the floor.
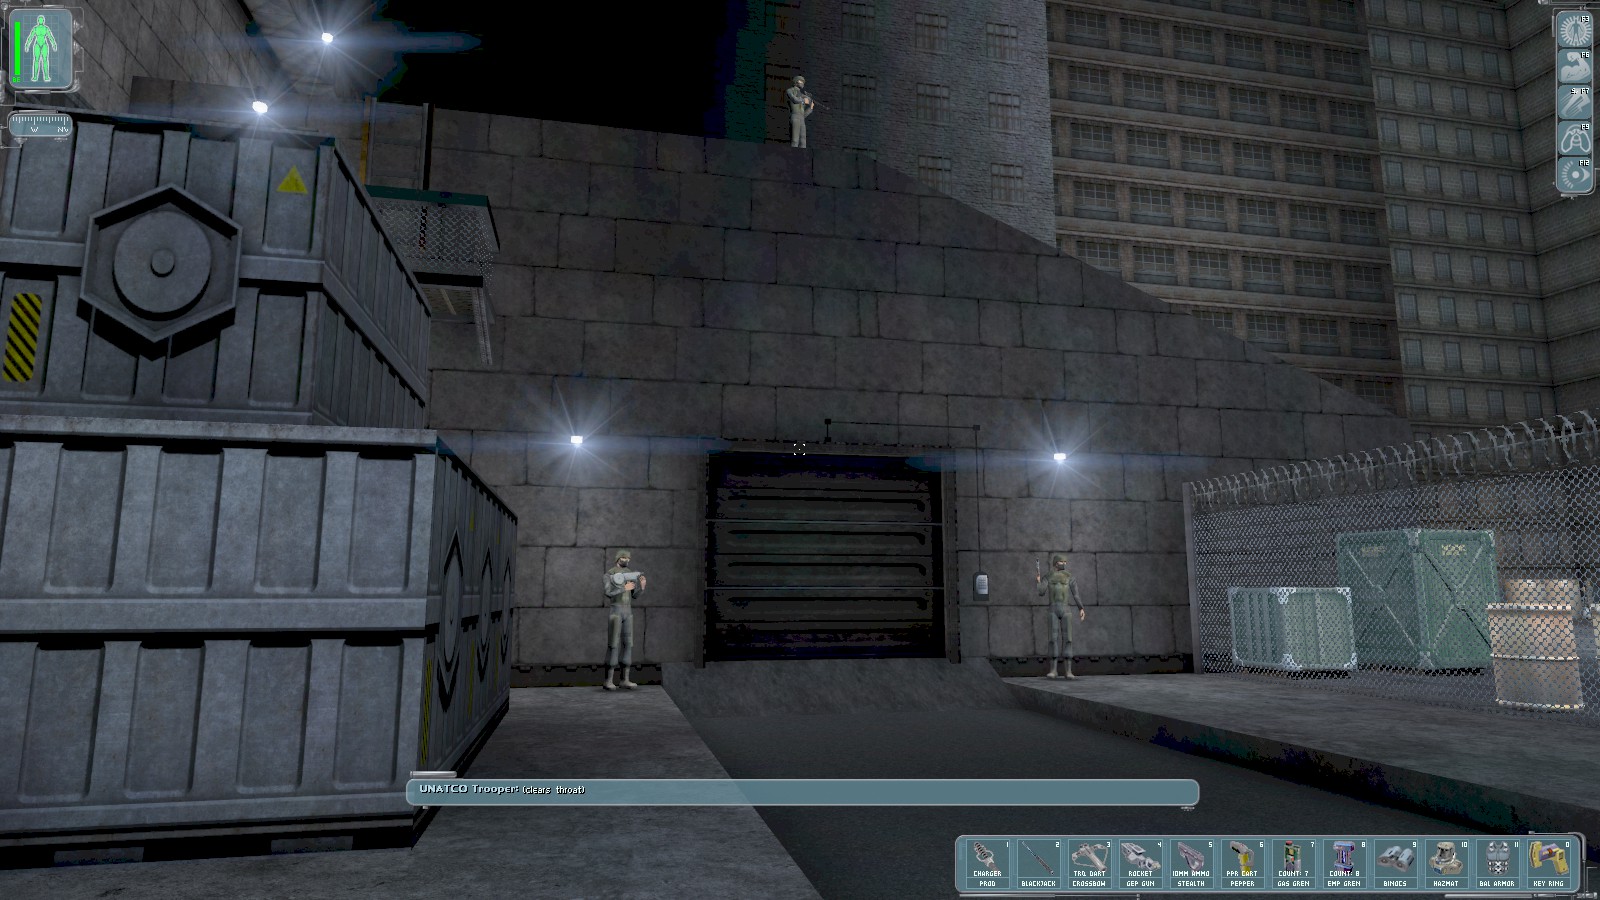
Head all the way to the end of the street to find the entrance to the compound. The code
237615 opens the door. Paul radios in to tell you to find a datacube in the basement. There’s a
secret floor hatch near some boxes which can be opened using a computer on the 3rd floor.

Just behind some containers inside is a ladder. Go up and through a door to find a break room and a biocell in the cabinets.
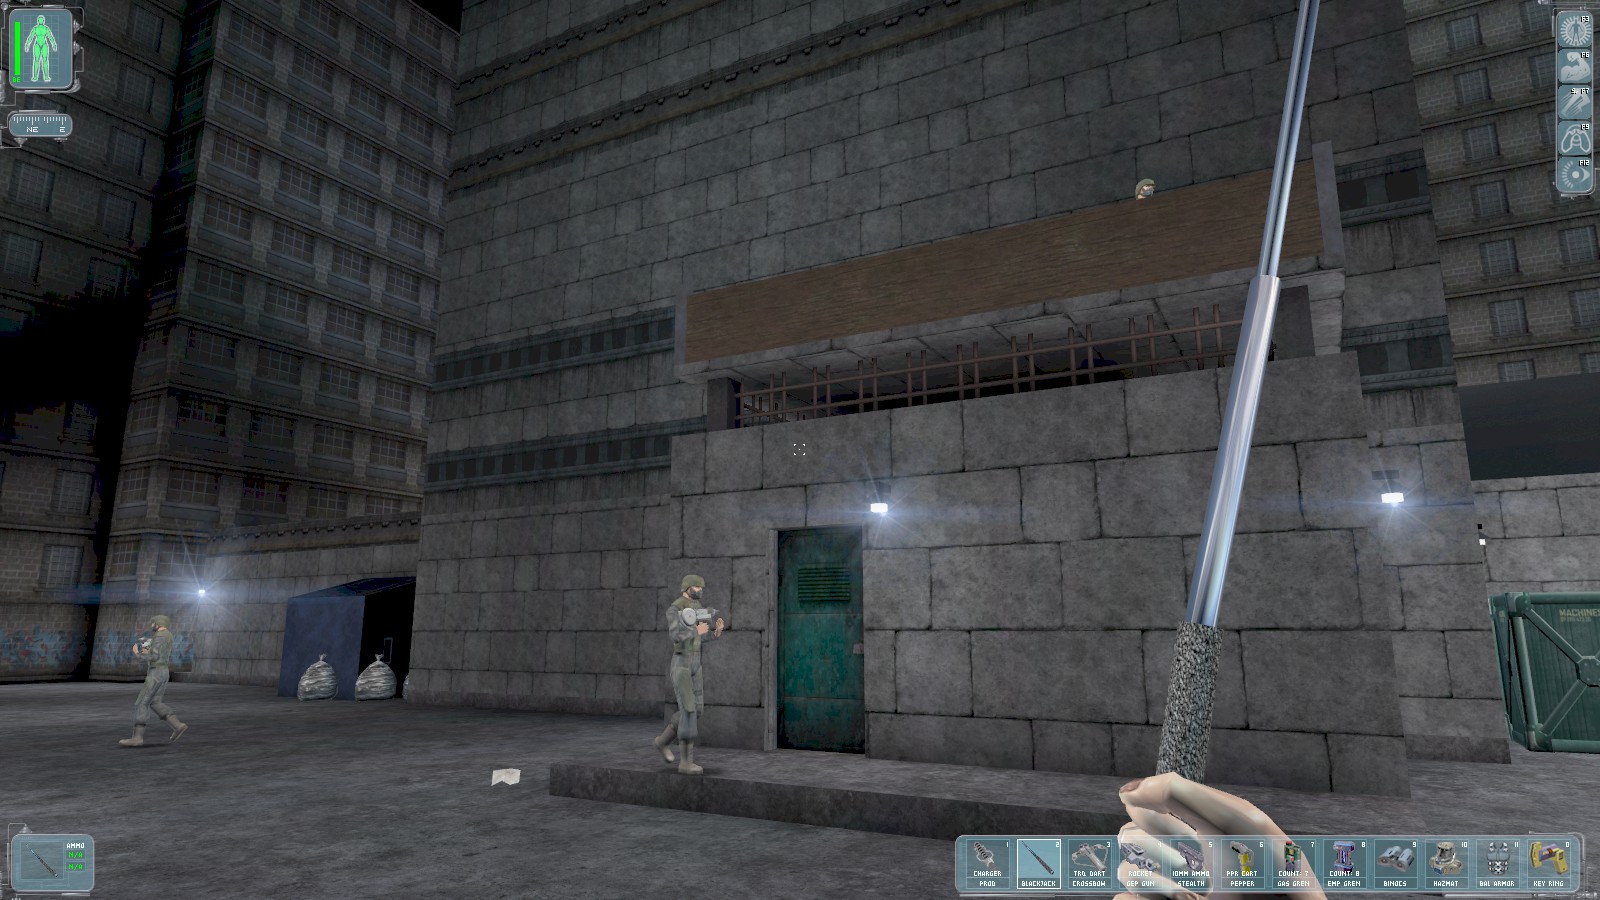
Back on ground floor, enter the main building.
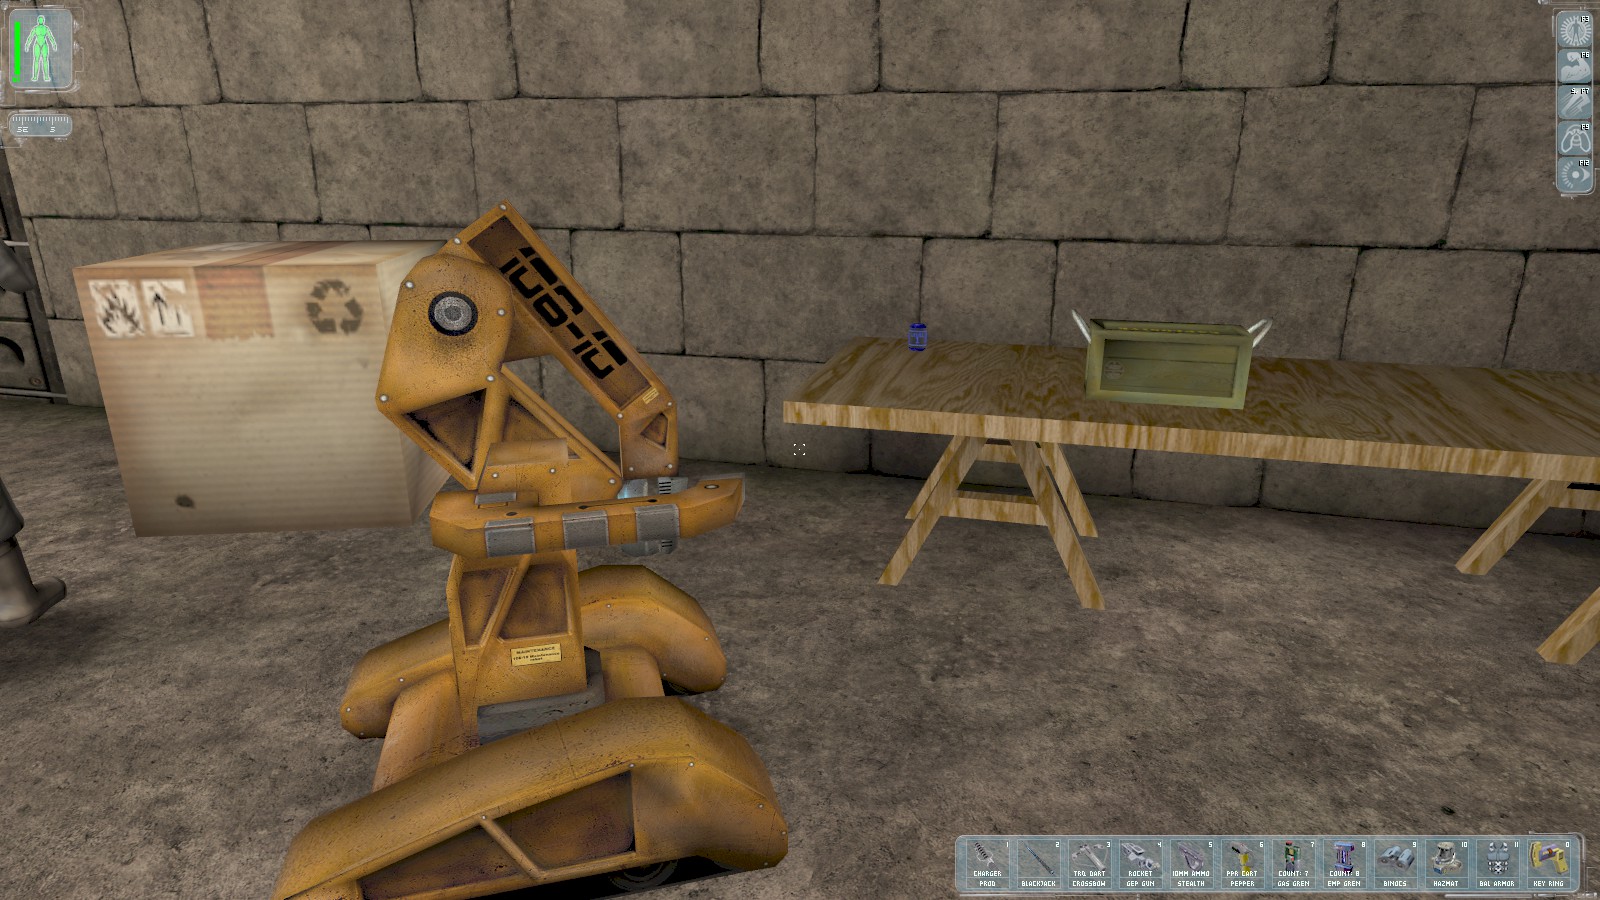
The secret hatch is by the boxes on the left of this pic. The nanokey on the table unlocks the sewer grates on the street. Recharge using the handy repair bot, and find a supply crate with a hazmat suit (grab that if you don’t have one) before heading upstairs to level 2.
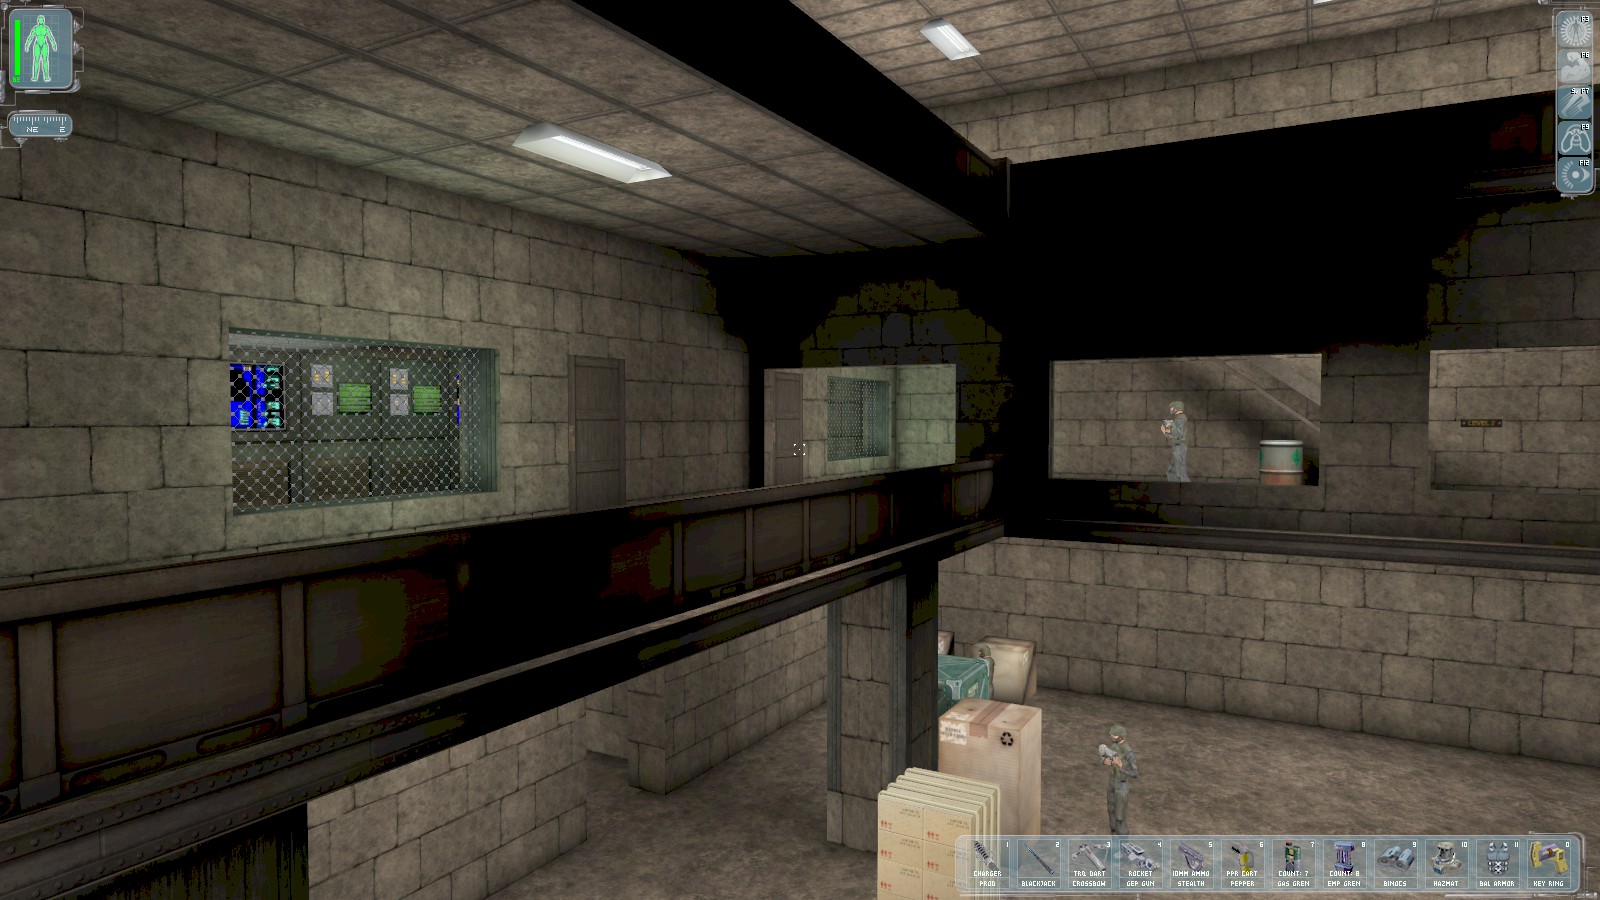
You’re free to roam levels 1 and 2. The locked door on the left can be broken with your baton.
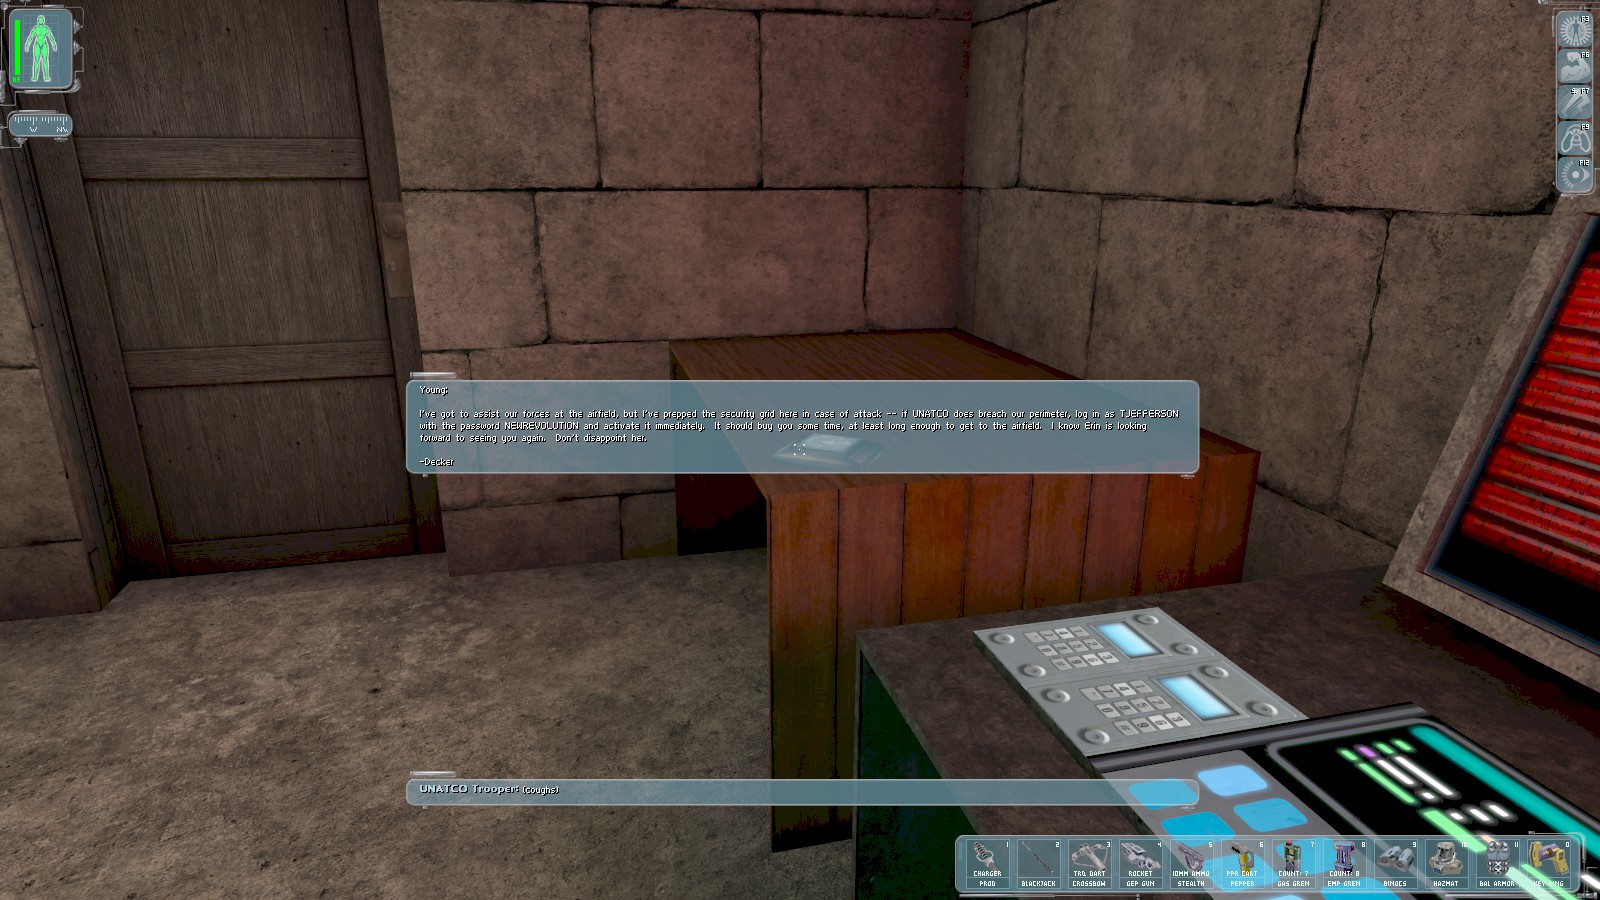
Inside is this datacube with the login tjefferson/newrevolution. A supply crate beyond this door
contains tranq darts.
1 |
2 |
|
|
|
|
3 |
4 |

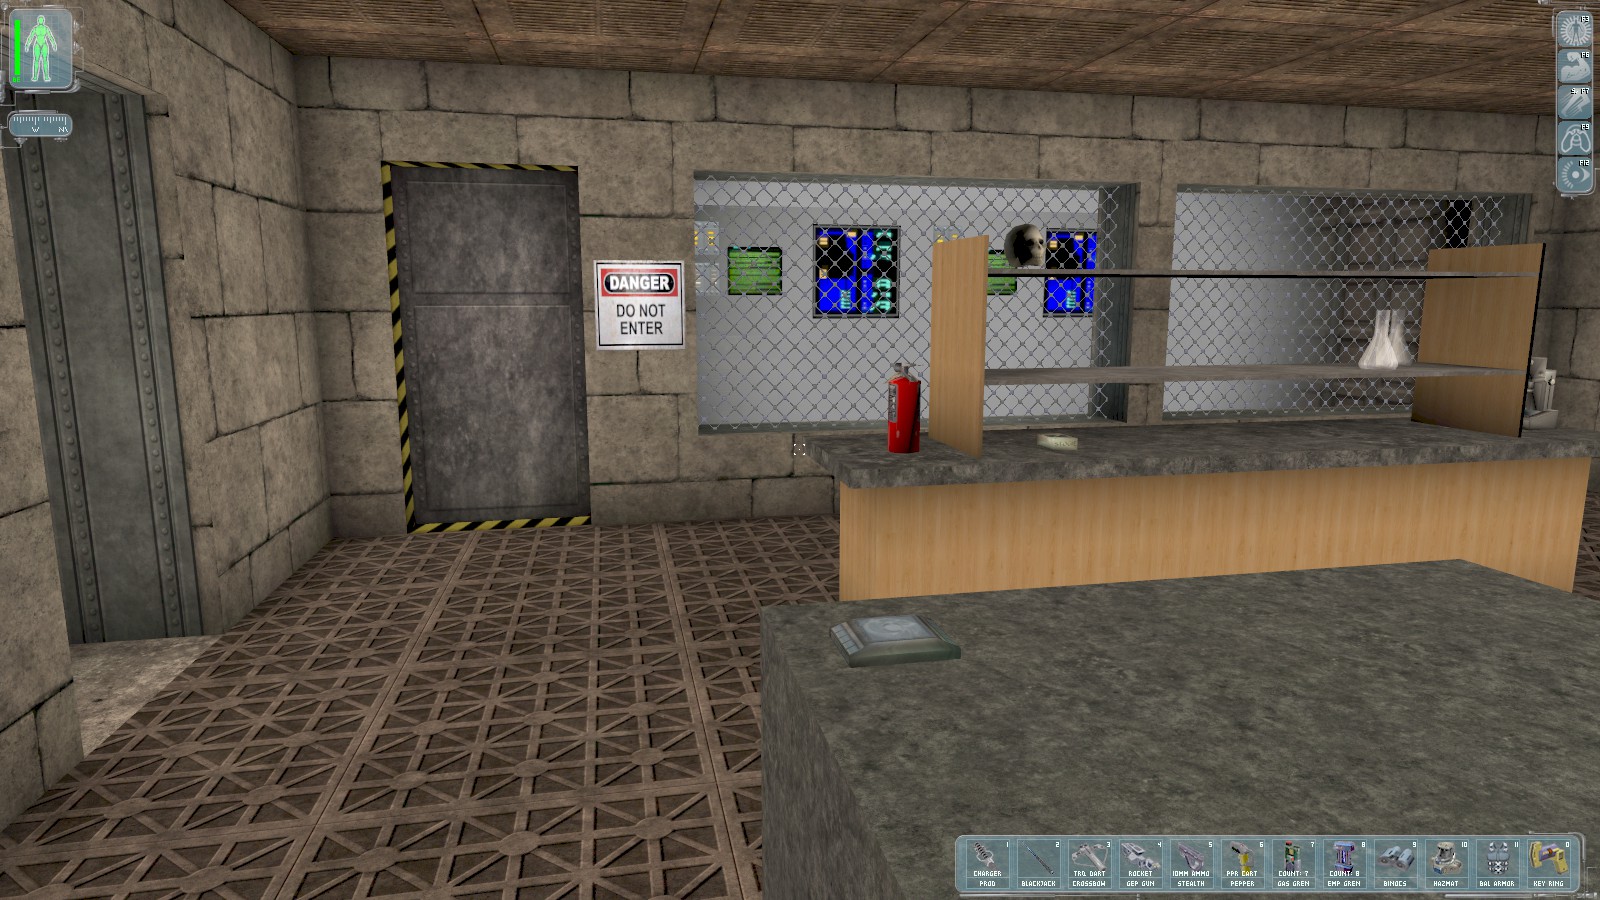
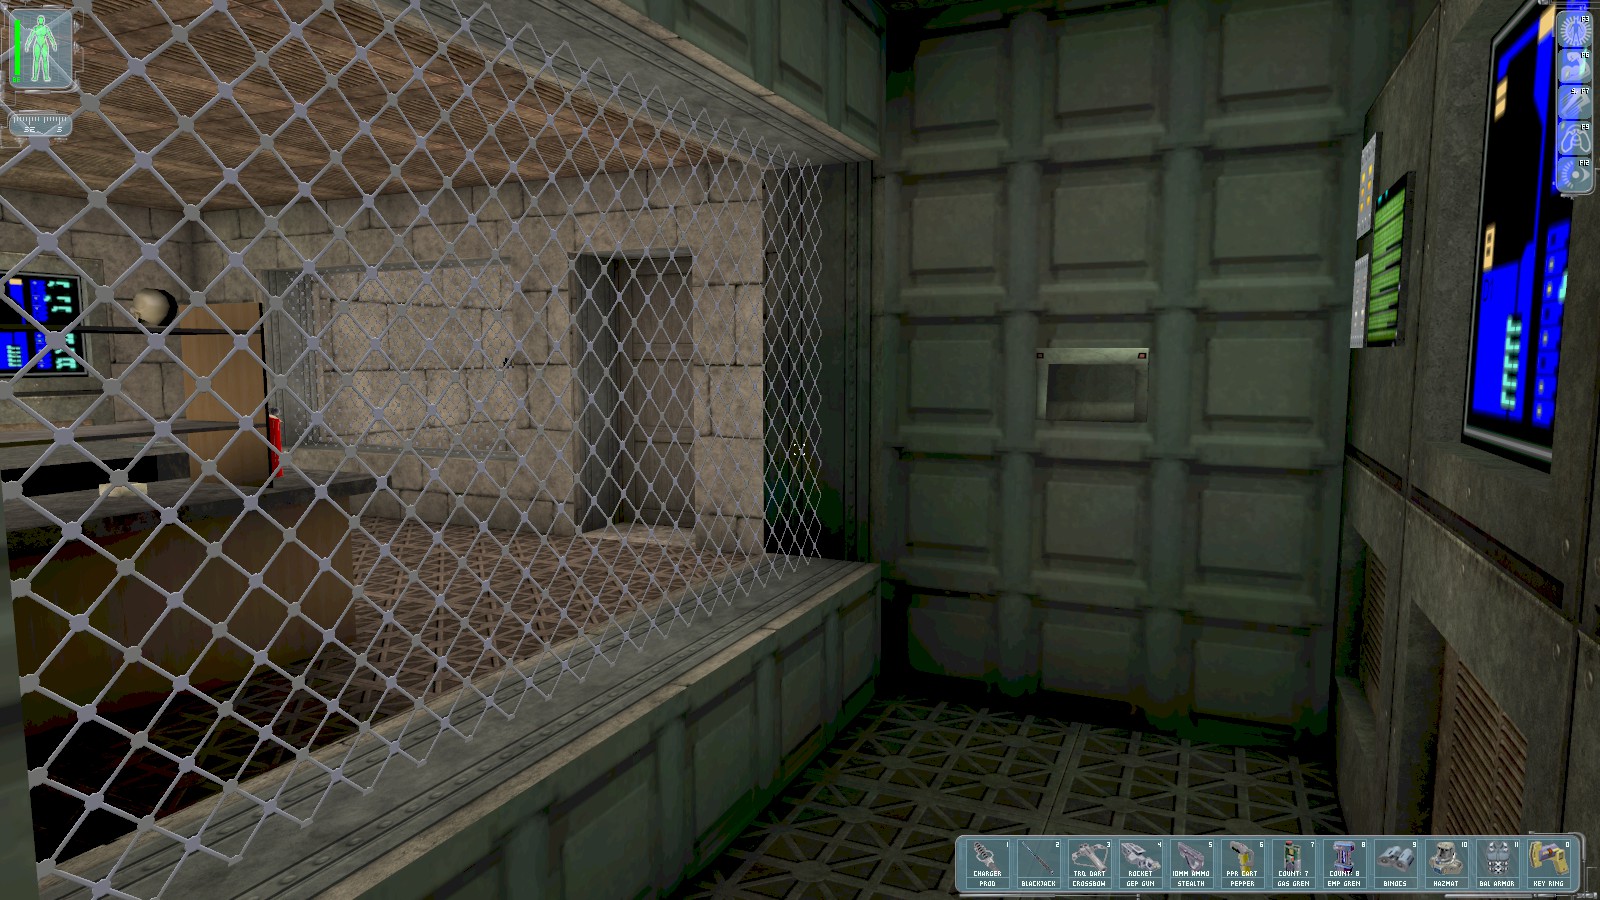
The guards on level 3 will warn you that you’re unwelcome, and the intrusion will be reported to
Walton Simons. Head into the open room. The datacube informs you that the server room is full of
gas. Luckily it can be vented—the button is next to a medical bot in the corner. I’m guessing the
server room contains the computer that Paul referred to. I take advantage of the droid to
upgrade my Microfibral Muscle augmentation, then enter the server room (I’ve still got one
augmentation upgrade canister which I’m saving for later). Inside the server room you
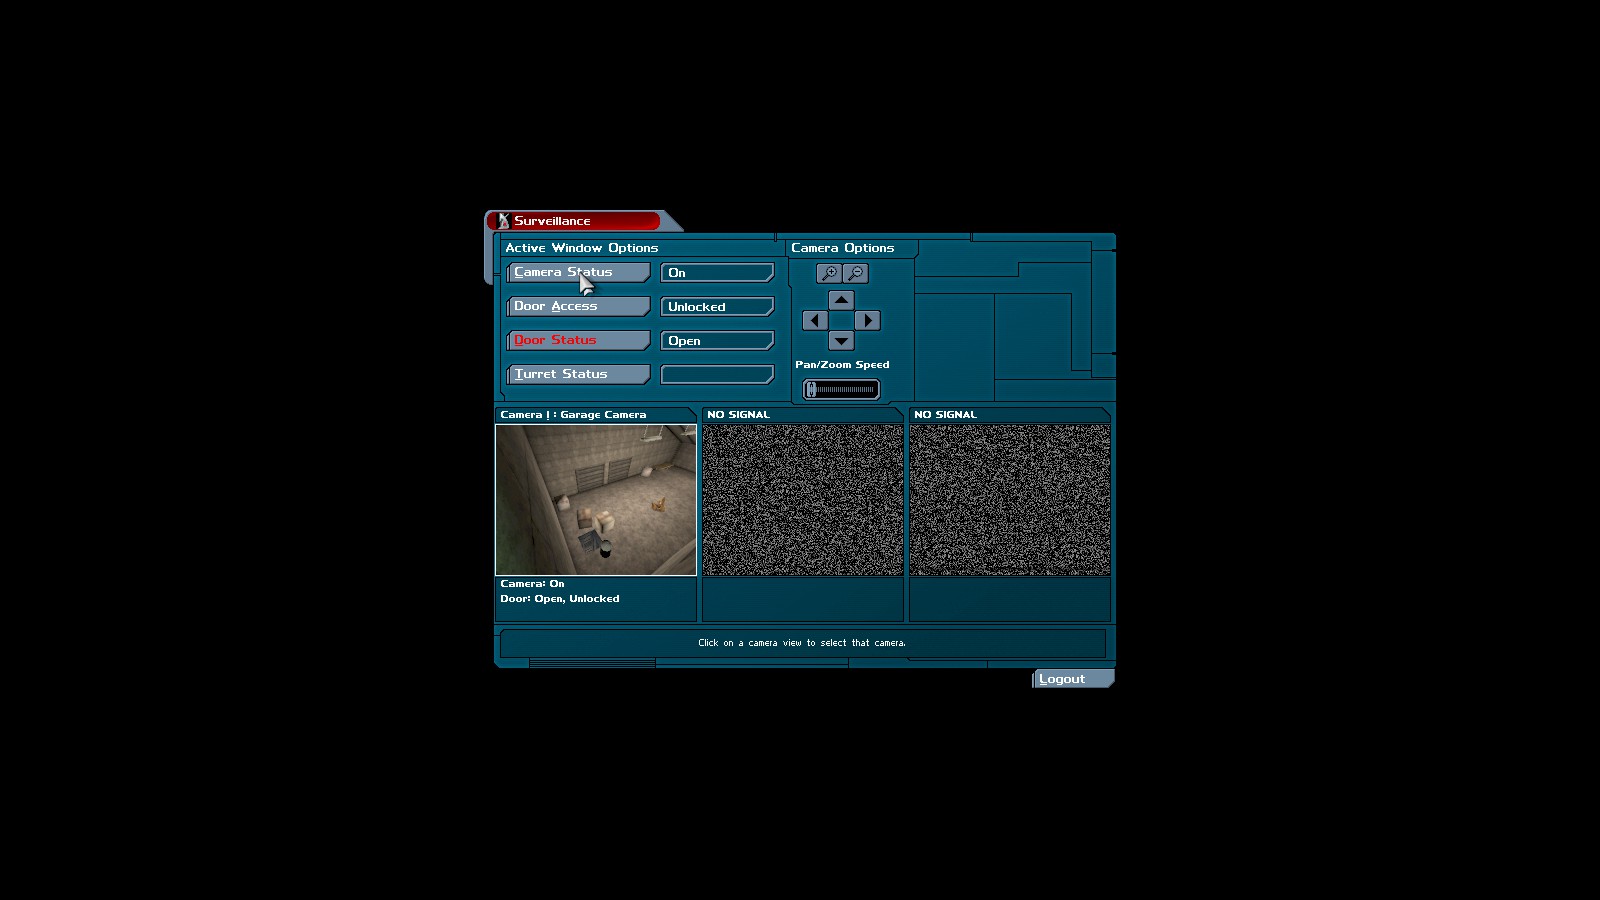
get 30 skill points for lcoating the security console. Log in with the credentials
tjefferson/newrevolution. Open the hatch and disable the camera, then head back down to level 1
and through the hatch.
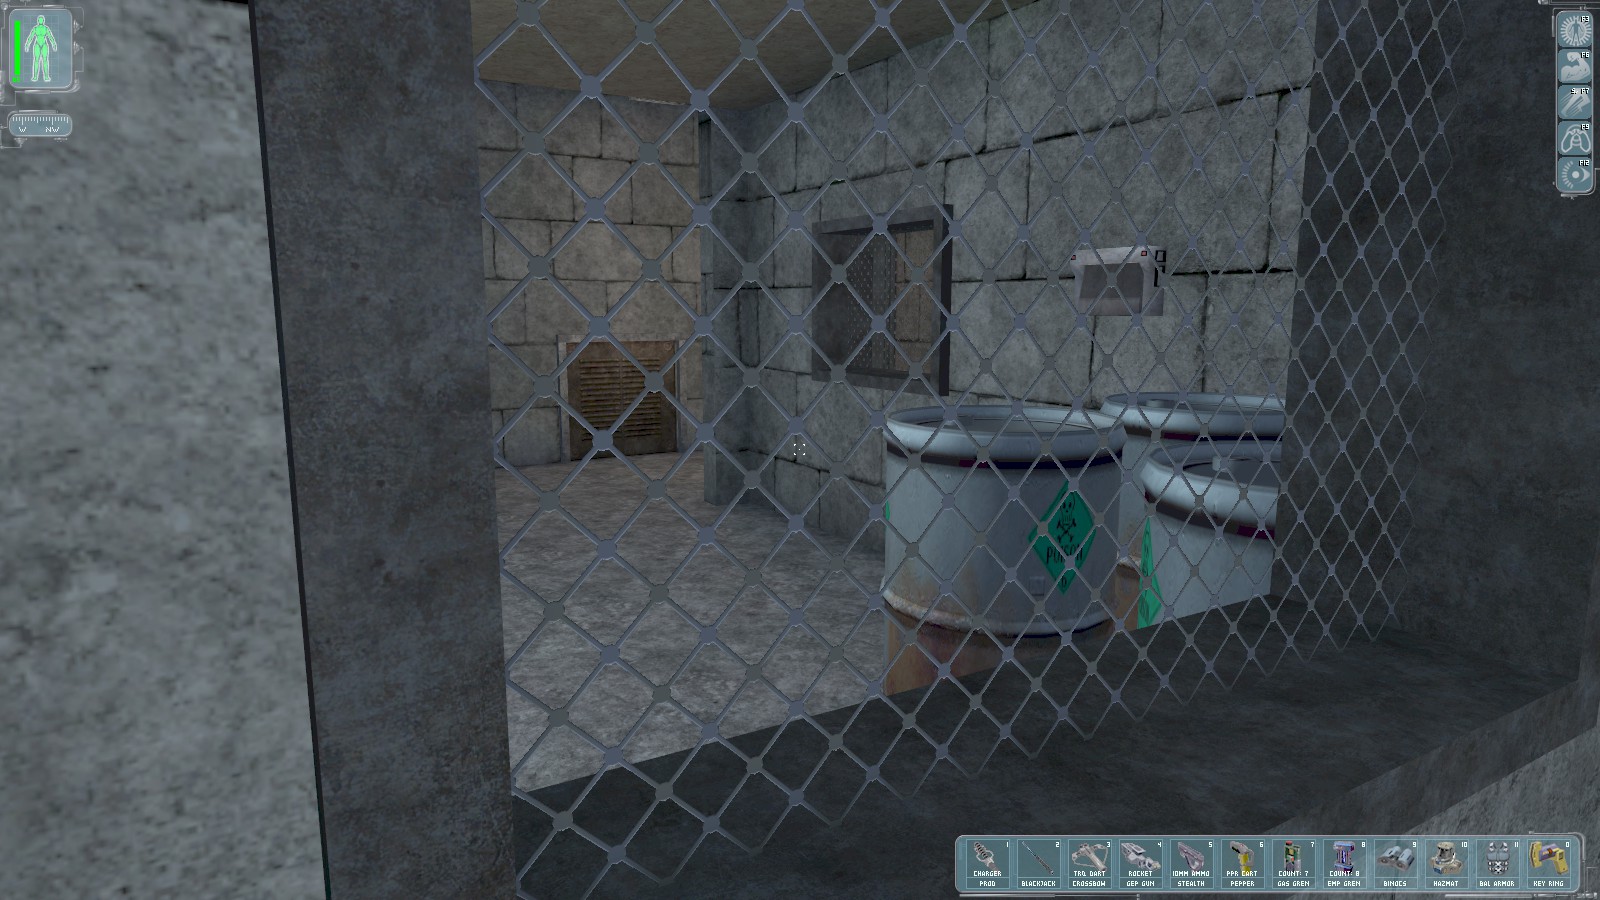
In the first room there is an open door leading to a passageway guarded by turrets and lasers.
Beyond the locked door I spy a security console. The door needs 2 lockpicks, but if I upgrade my
lockpicking skill to Advanced, that reduces to 1 lockpick. Go through and use the creedentials tjefferson/newrevolution again to open 3 doors and disable 3 cameras.
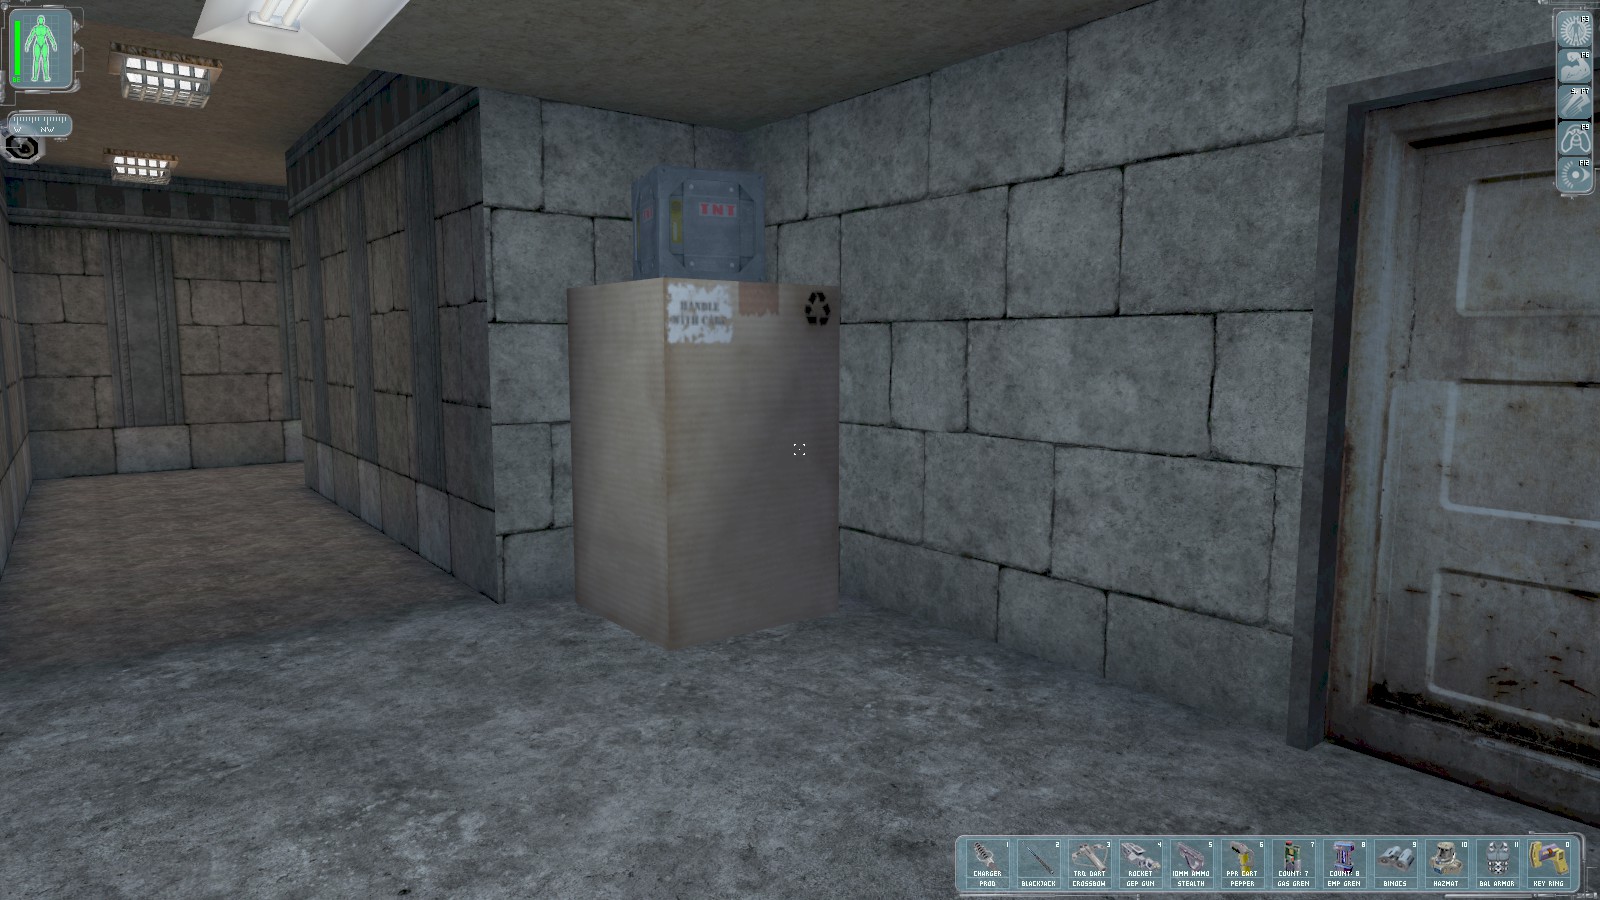
Head further round the corrior until you reach a room with 2 unlocked doors and an open passageway. Go along the passage—the doors both lead to corridors protected by lasers and turrets.
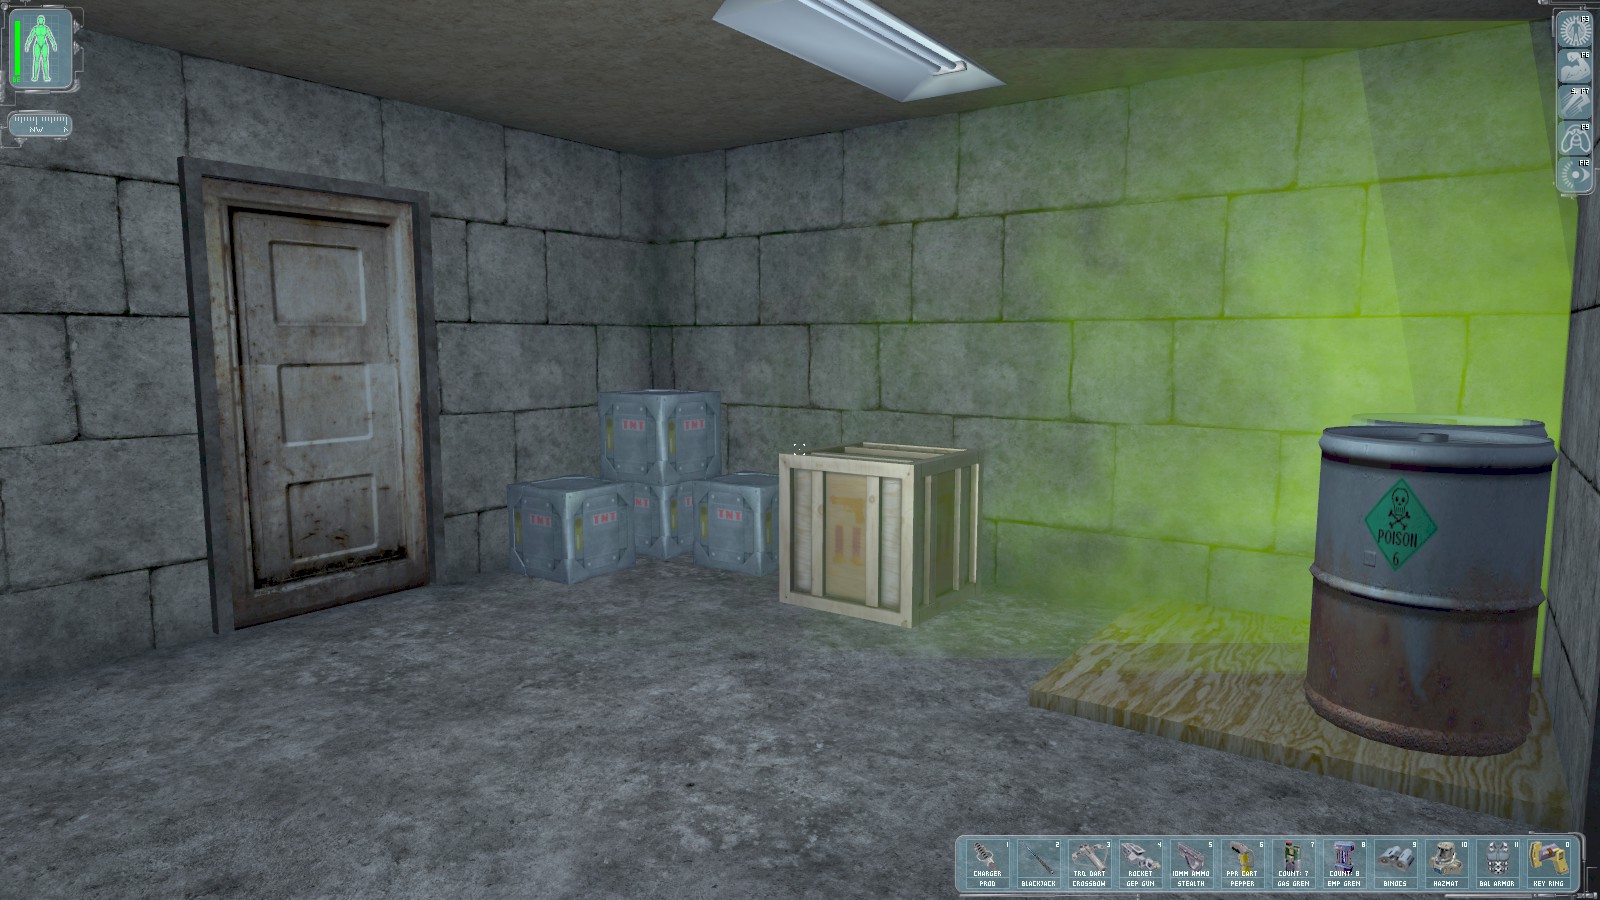
Further along is this room with 2 locked doors, and this unlocked door next to the crates of TNT. Go through the unlocked door, then keep left.
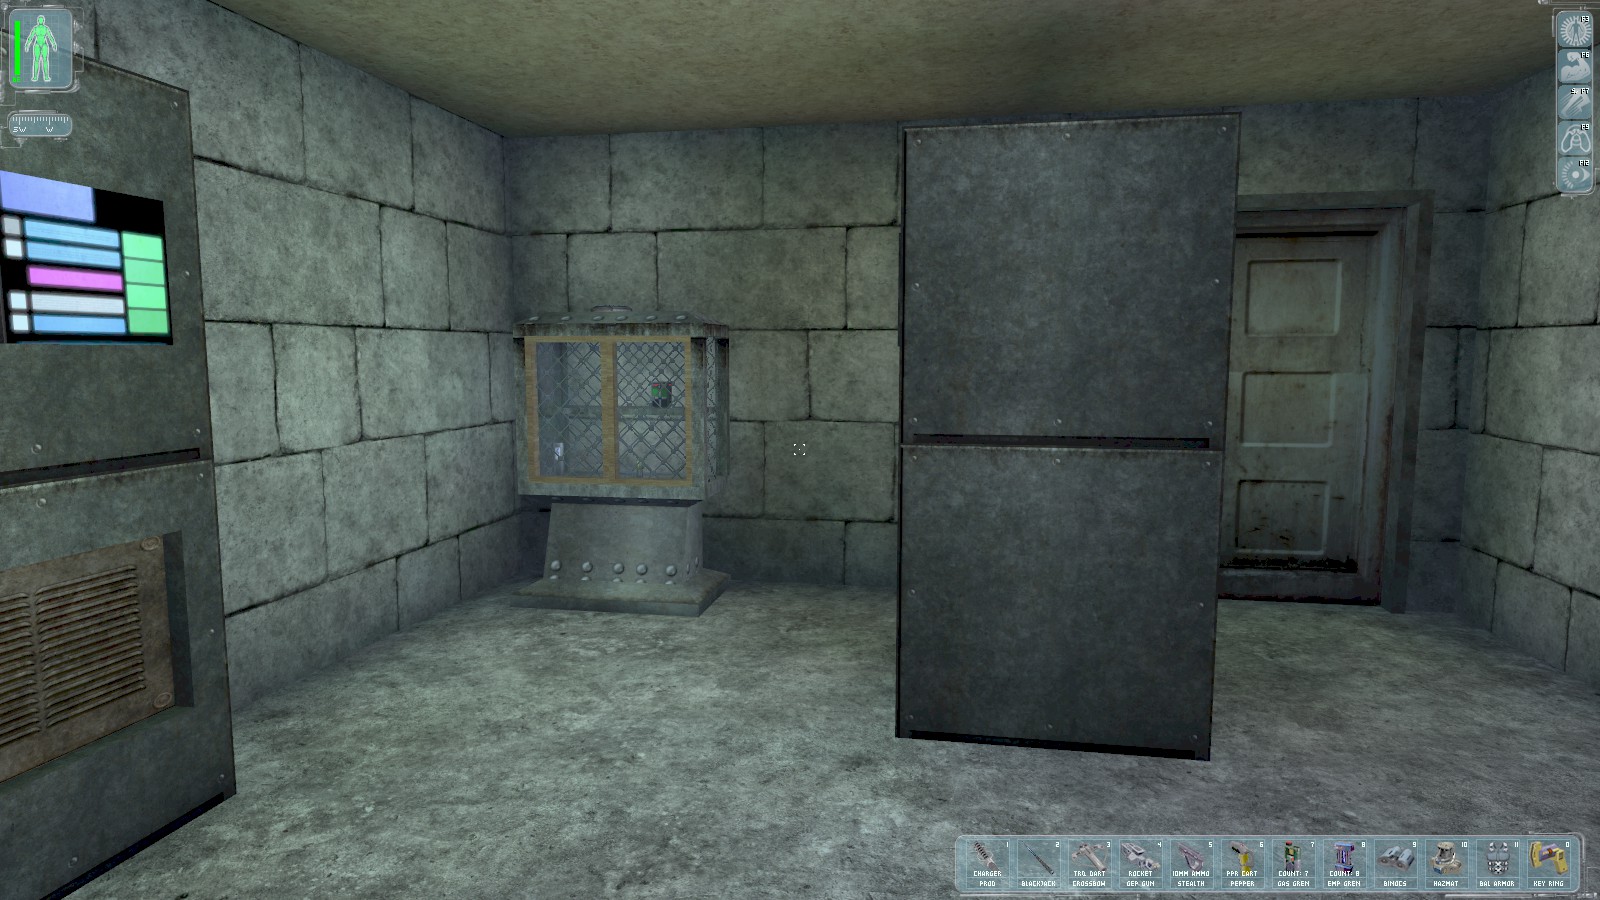
You should come to here. You’re awarded 50 skill points. Atop the cabinet on the left is a datacube
containing two logins: mcollins/revolution and napoleon/revolution. Paul contacts you and
suggests you search the rest of the room for more evidence before heading to the roof to send the
distress signal.
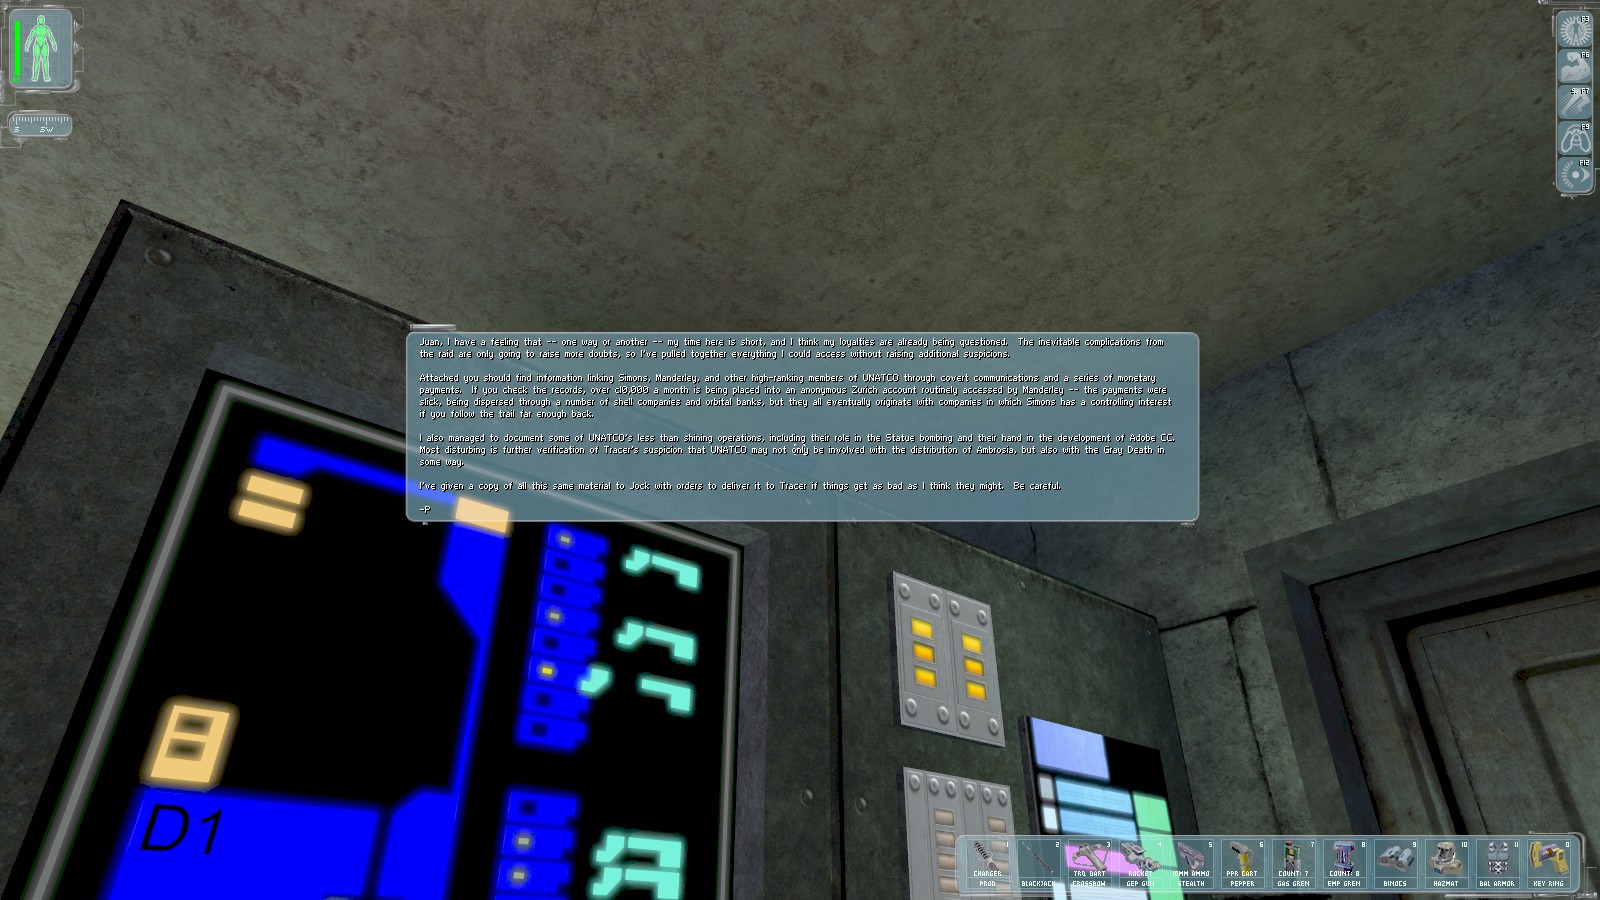
The evidence is another datacube on top of the server stack next to the door. UNATCO’s leaders are corrupt and probably involved in not only distributing the Ambrosia vaccine, but the Gray Death infection itself. There is no choice but to do as Paul asks and send the distress signal from the roof.