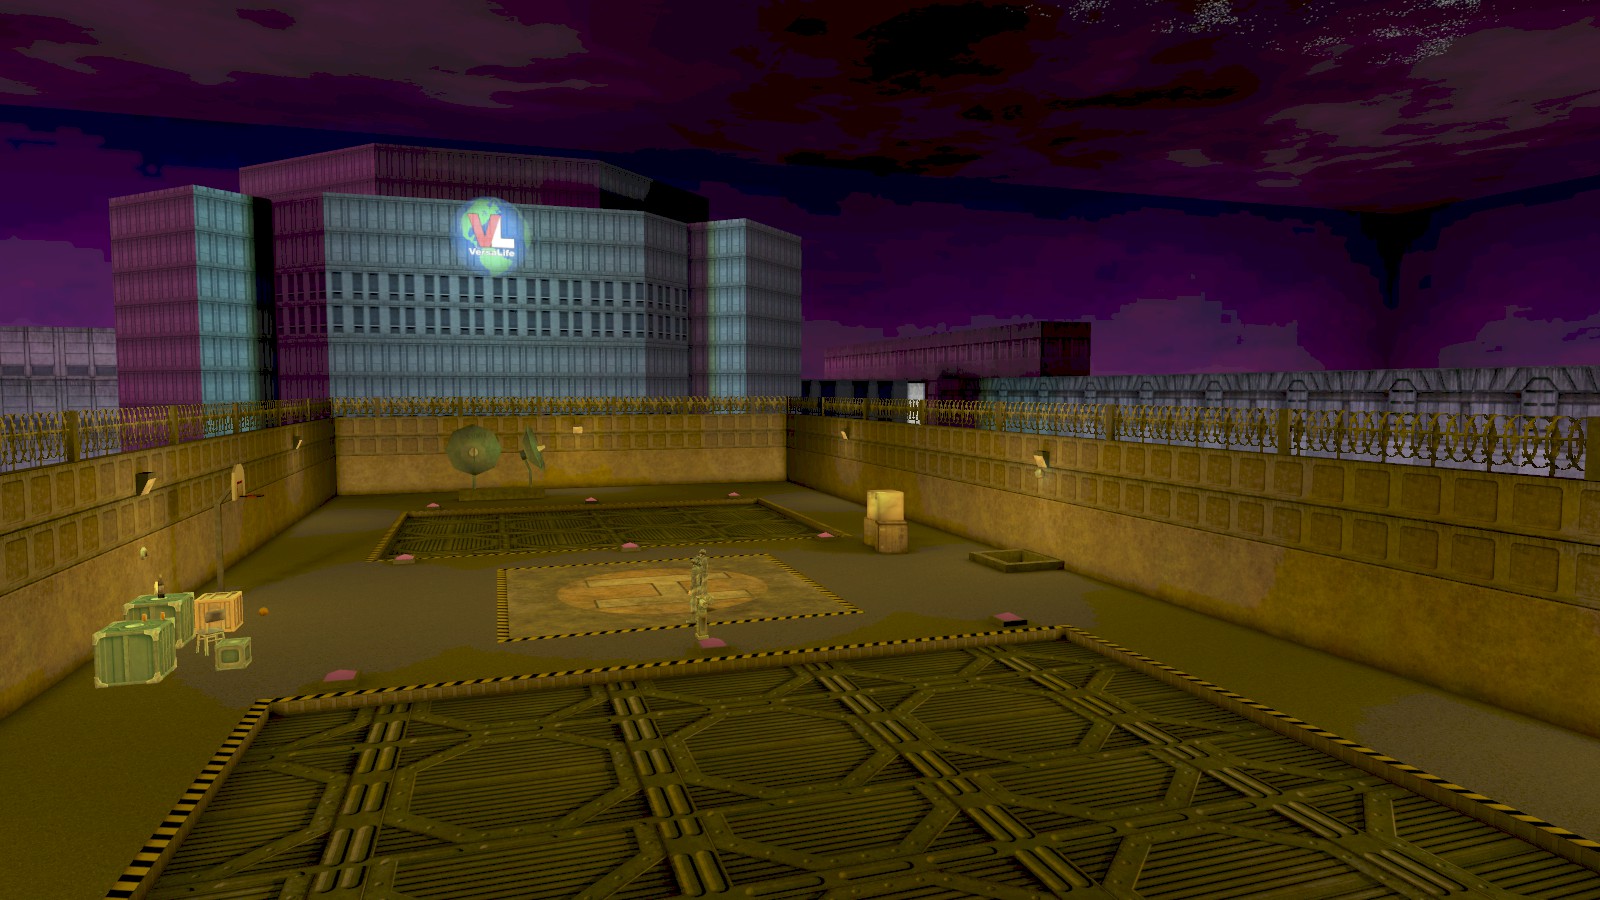
You arrive in Hong Kong, but something’s not right…
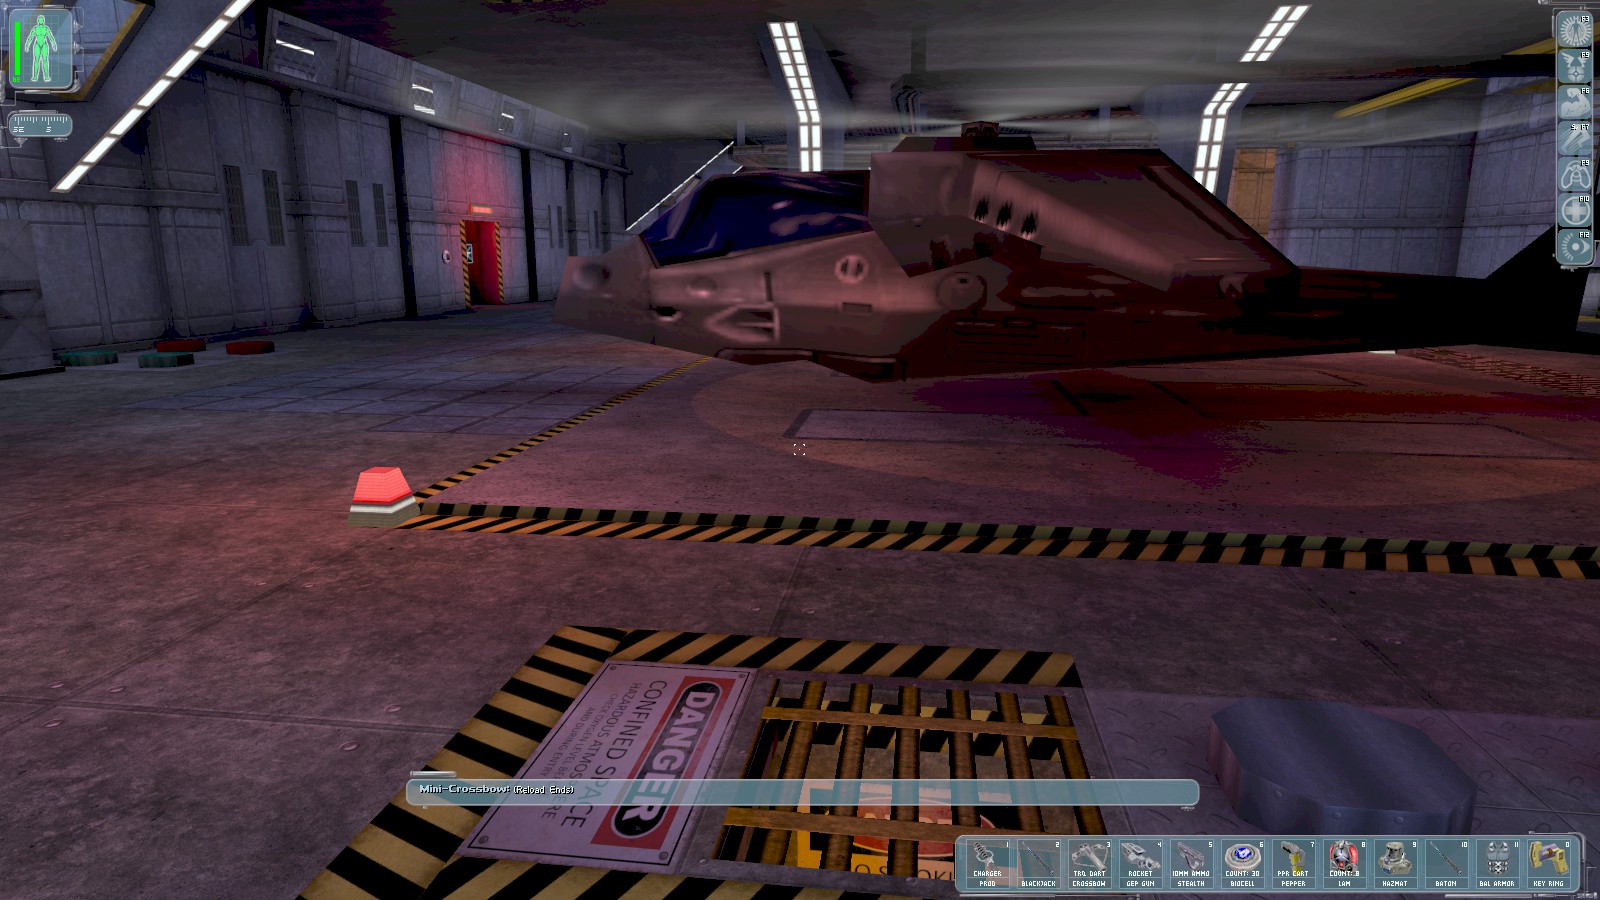
MJ12 have hacked the chopper’s nav computer and forced you to land at a secret MJ12 base on top of the Versalife building. Jock tells you to release the weapons lock in Flight Control Deck 1. His plan is blow away the blast doors. The alarm sounds, so immediately slip down the grate here before MJ12 troops arrive.
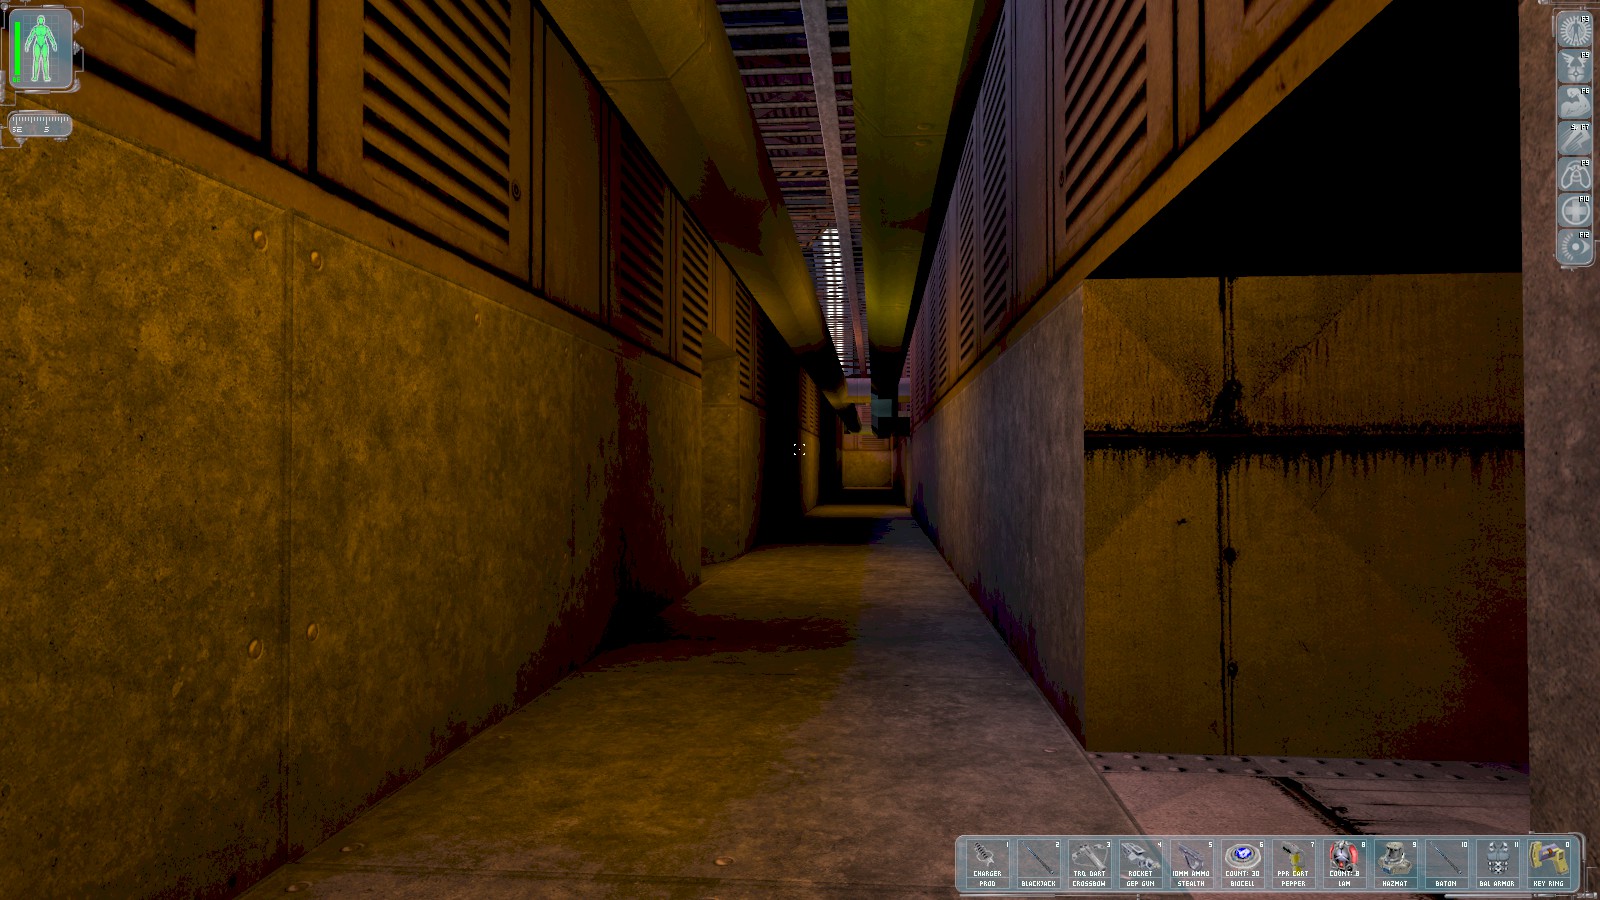
Follow the ducting round a bend to this point, and head into the first alcove on the left.
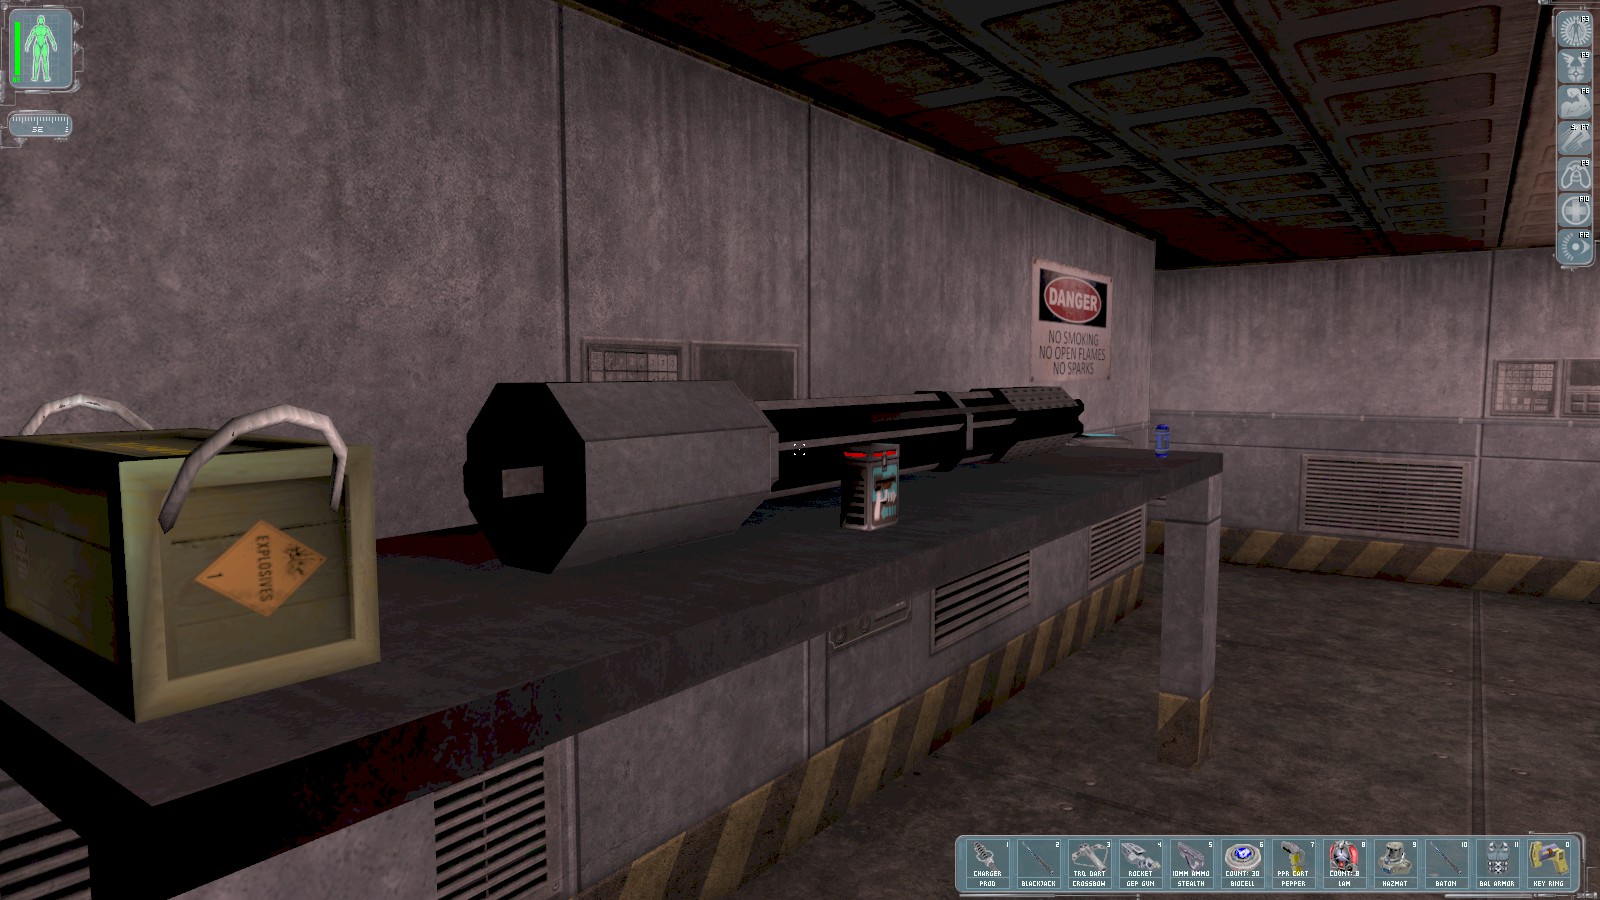
Be careful as several MJ12 troops patrol the floor above and your footsteps will alert them. Stay
crouched. On this bench is a key to the door (round a corner to the left here) and a datacube with
the code 99871. Return to the vent, and turn left, then right.
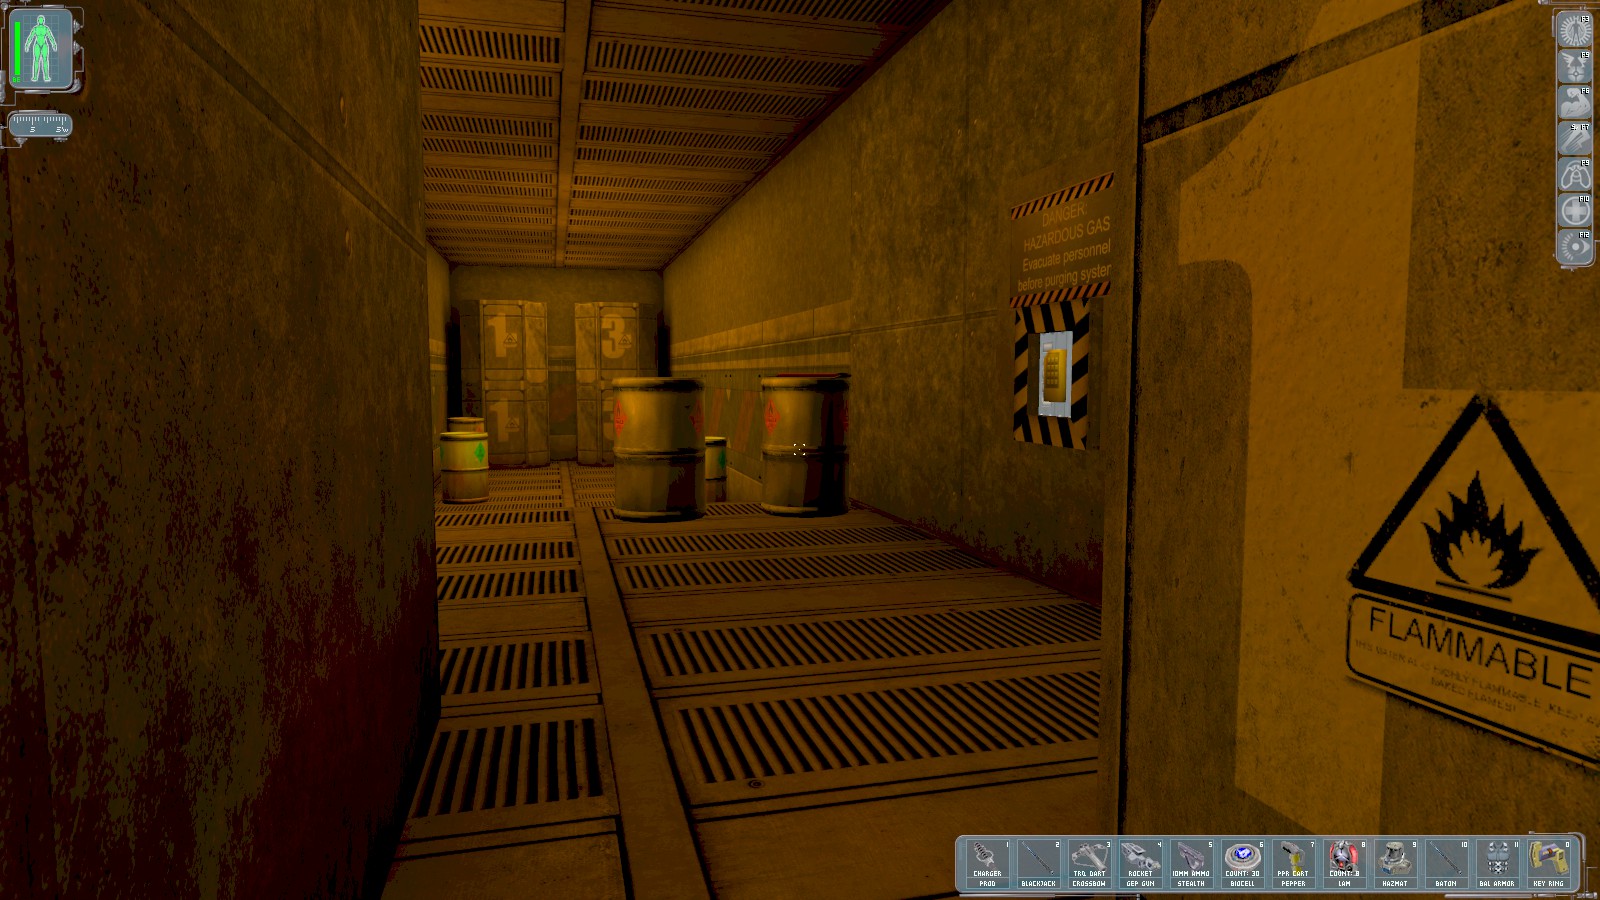
Left at a junction brings you to the poisonous gas referred to by the datacube in the munitions
room. You can vent the gas using the code 99871 on the keypad to eliminate all the
troops on the lower levels by releasing the gas (at the cost of a hazmat suit), but I choose to
leave them alone and go in the opposite direction.

When you reach this point, keep right, then go right again and up a ladder.
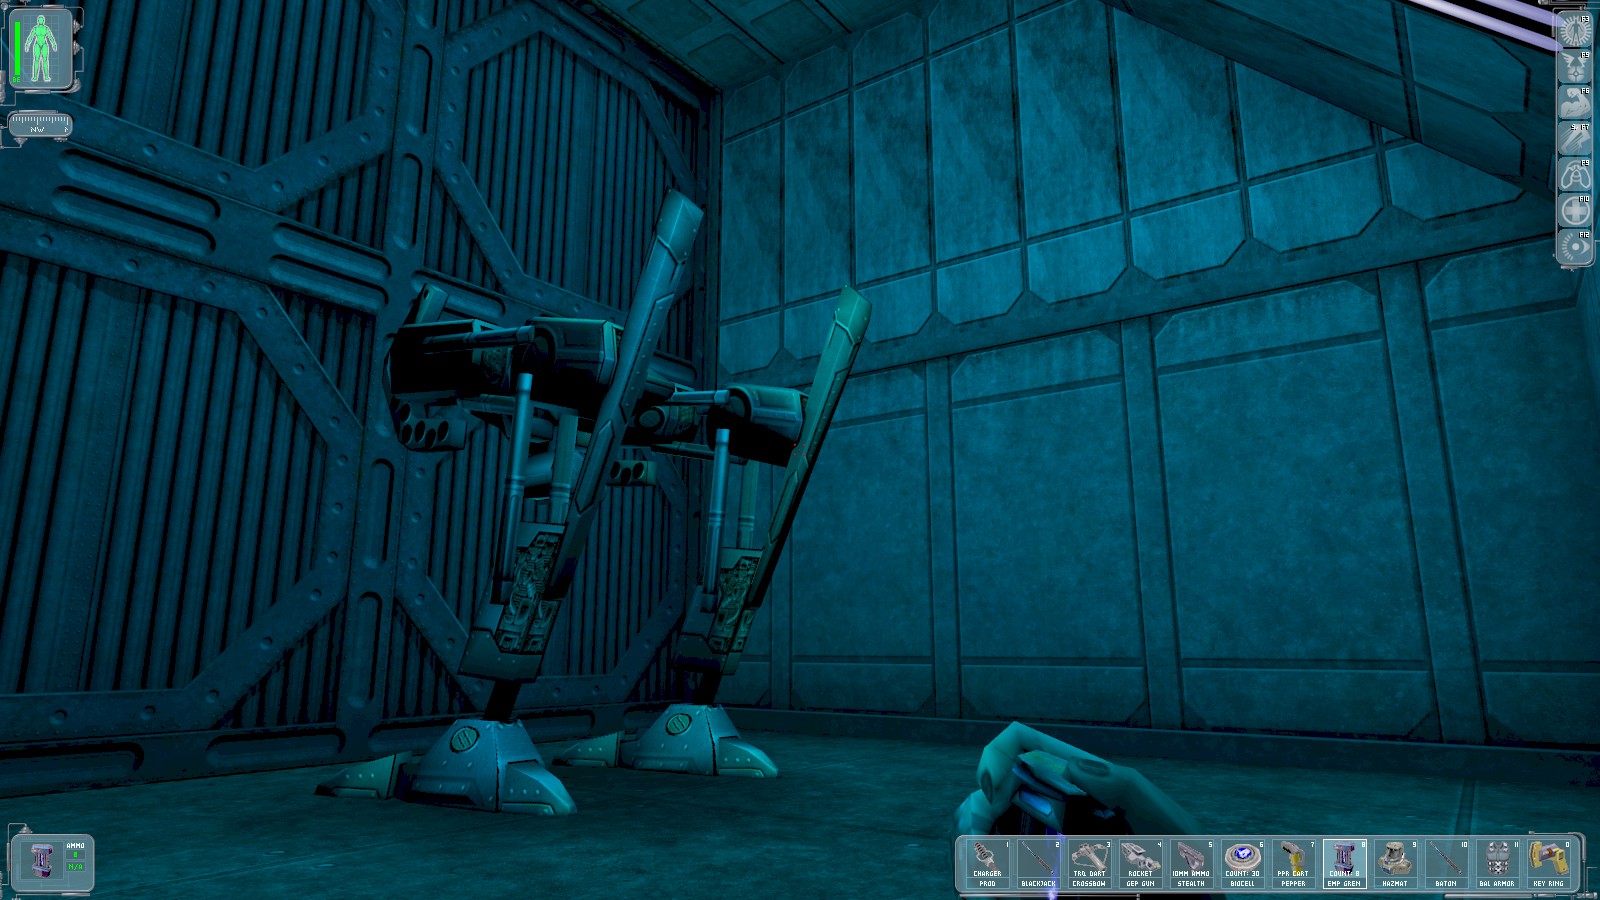
At the end is this military bot. An EMP grenade will silently disable it (earning you 25 skill points) and prevent it from attacking when you disable Jock’s weapons.
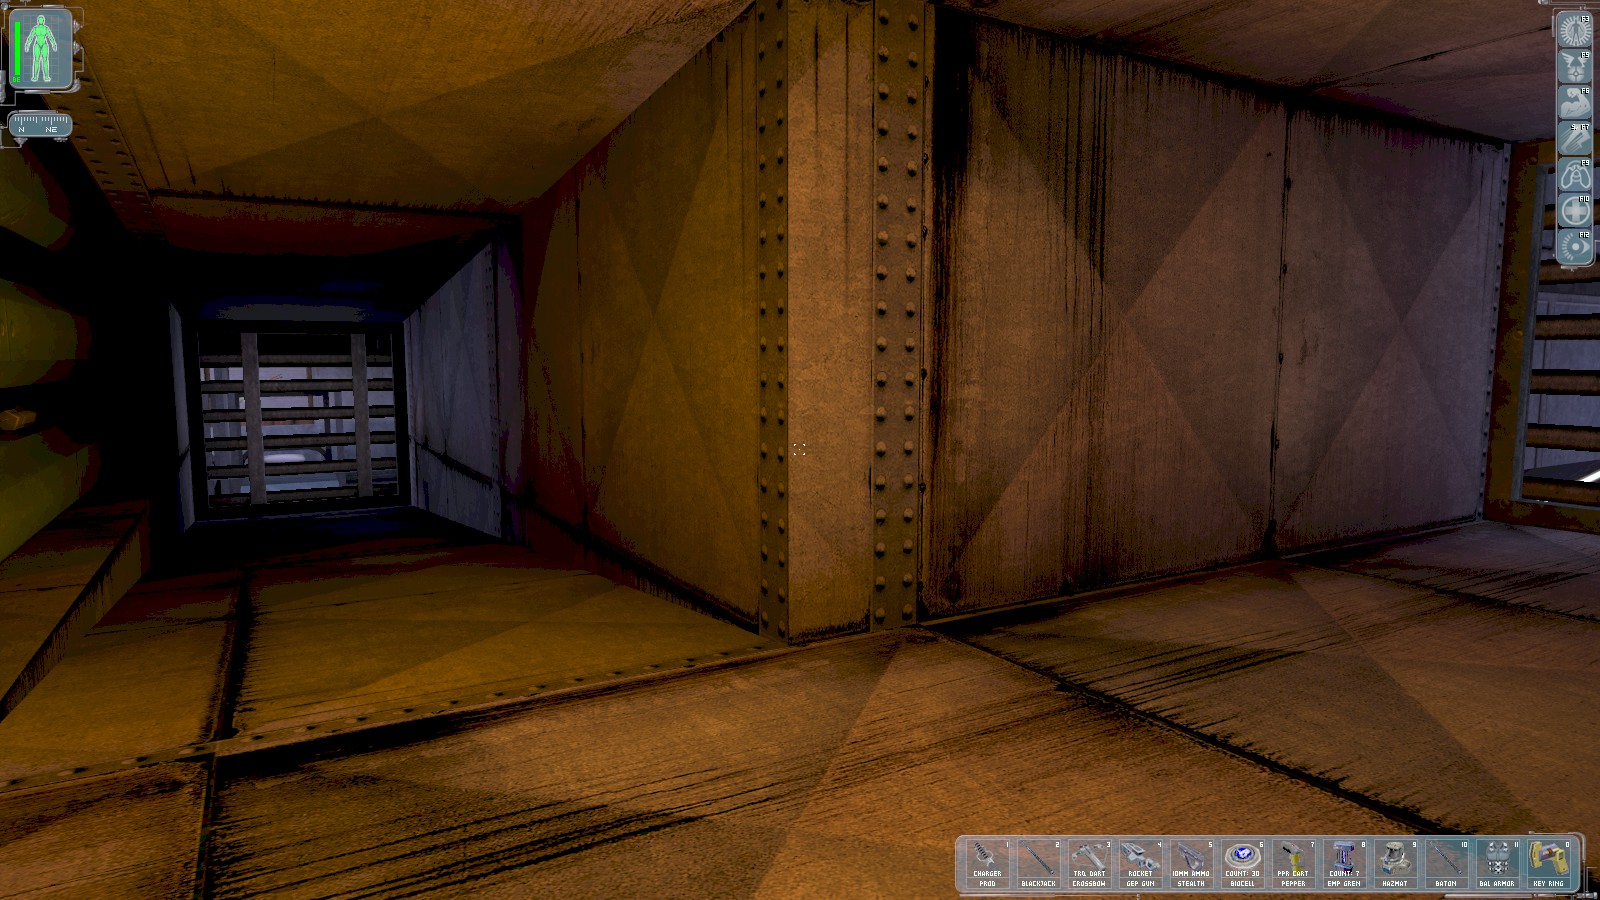
Return back down the ladder. At the foot of the ladder, swipe the lockpick from the pipes on the left, then go through the grate on the right.

You come out in a stairwell. Head cautiously to the top.
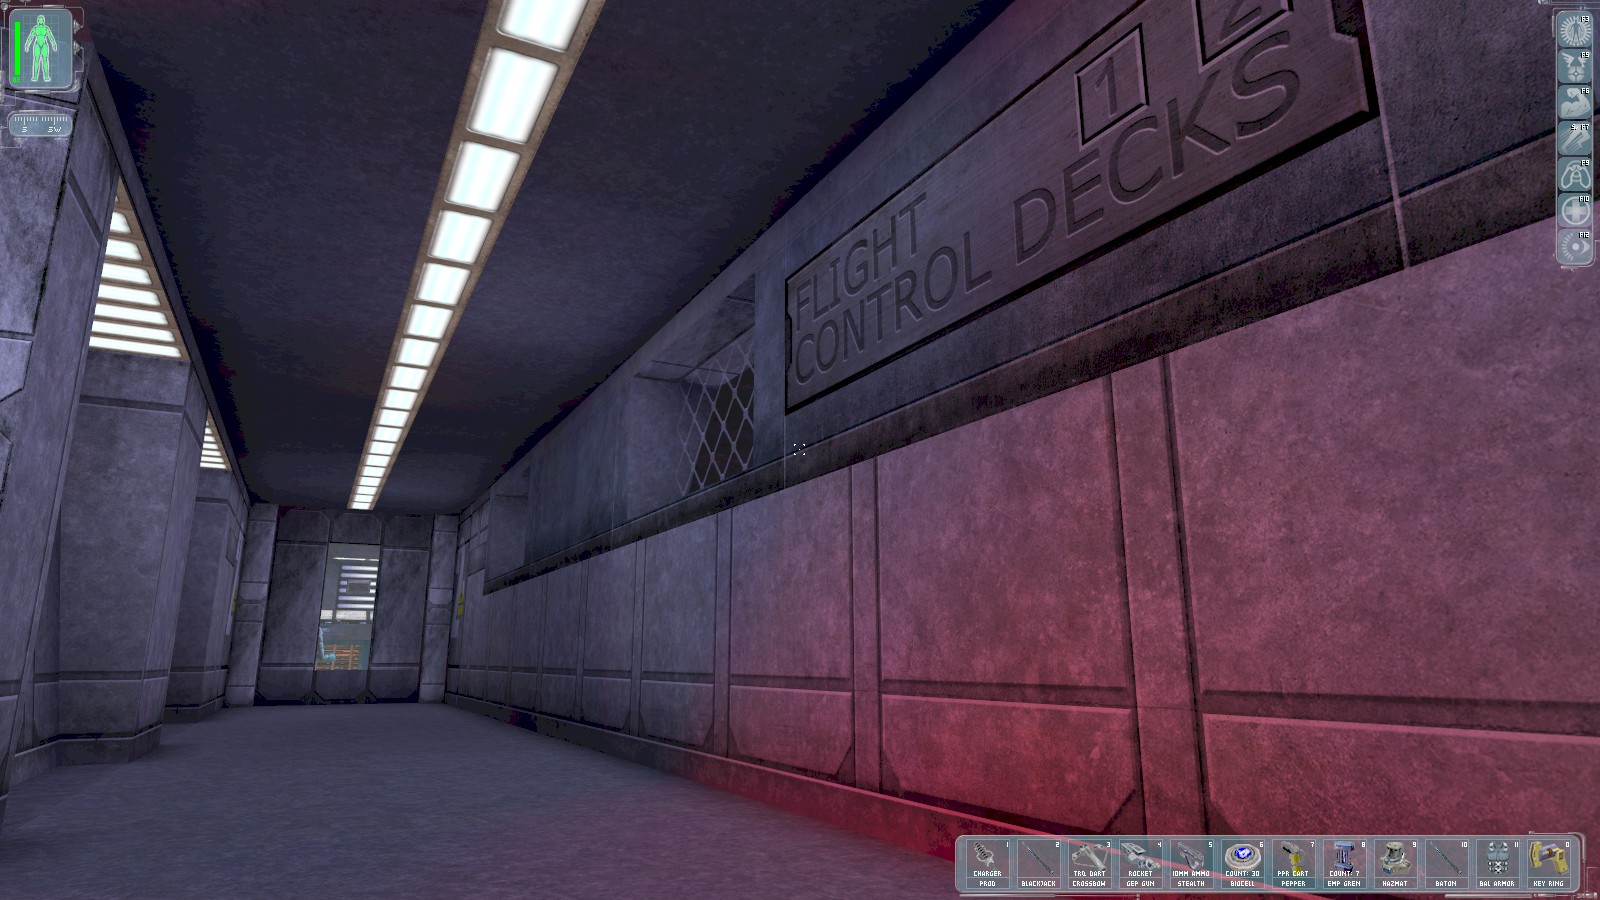
At the top head right to Flight Control for Deck 1 to discover the door locked and requires a key. Head instead of Deck 2 control along the corridor, which is open.

Inside, close the door behind you and break (or pick the lock) of the hidden panel as shown. Inside
is a key to the barracks lockers and a datacube with the login credentials TALON/SKYEYE.
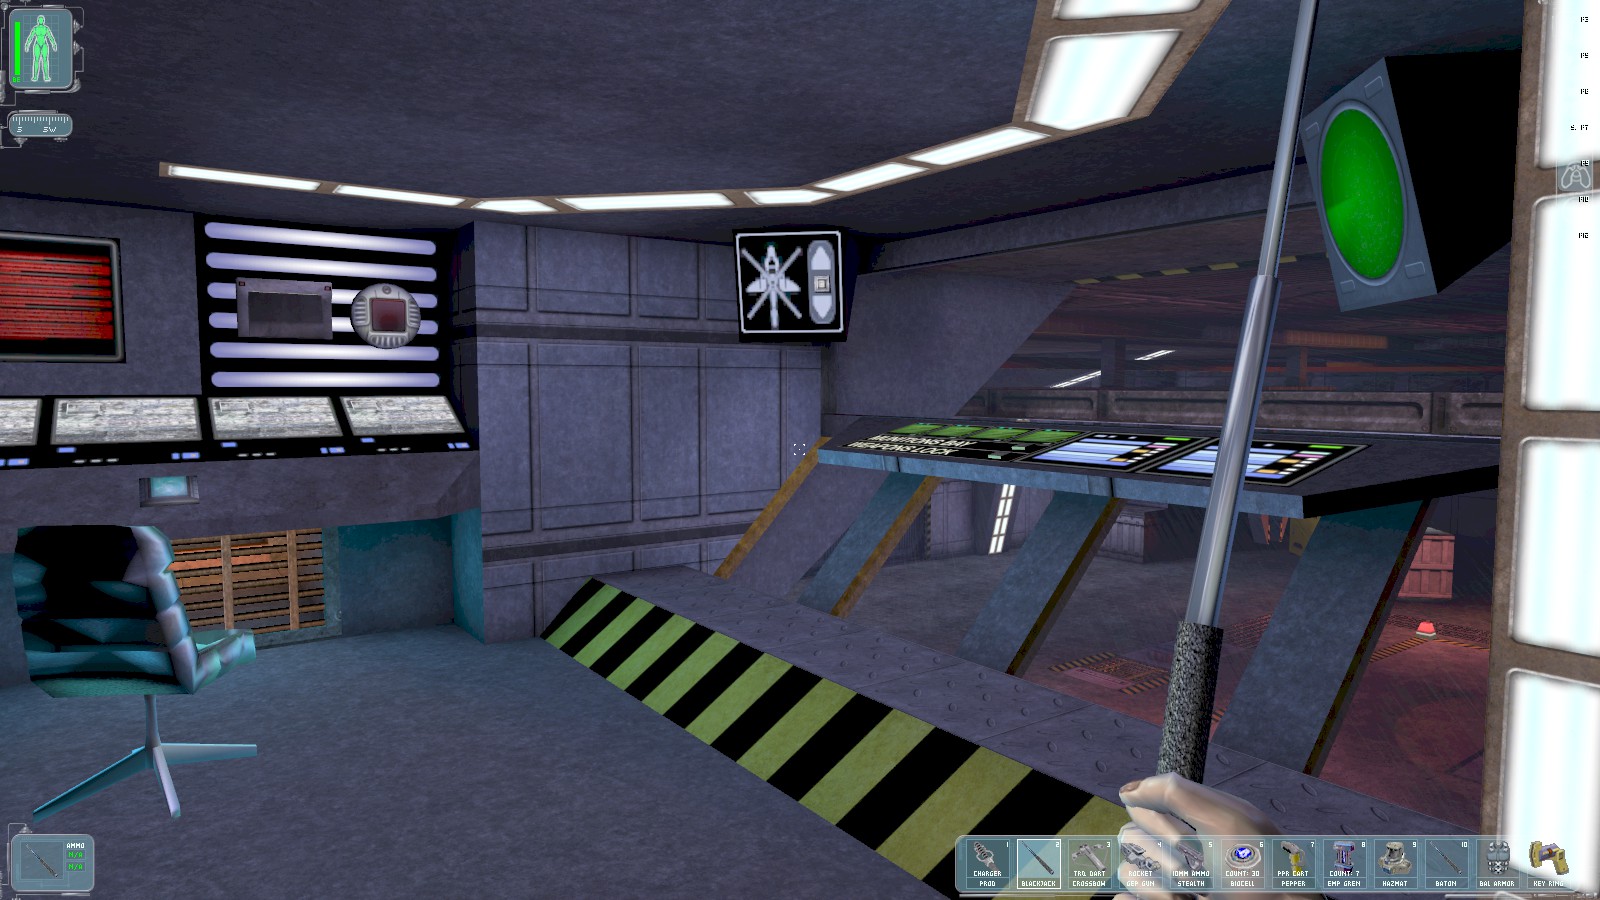
The buttons on the console overlooking the flight deck can be used to raise or lower the chopper (best left where it is), and open the munitions bay, which (we already visited). The weapons lock here is disabled. A datacube beneath the security console explains why Flight Control for Deck 1 is sealed, and suggests the key is available from Tech Sergeant McKinney.
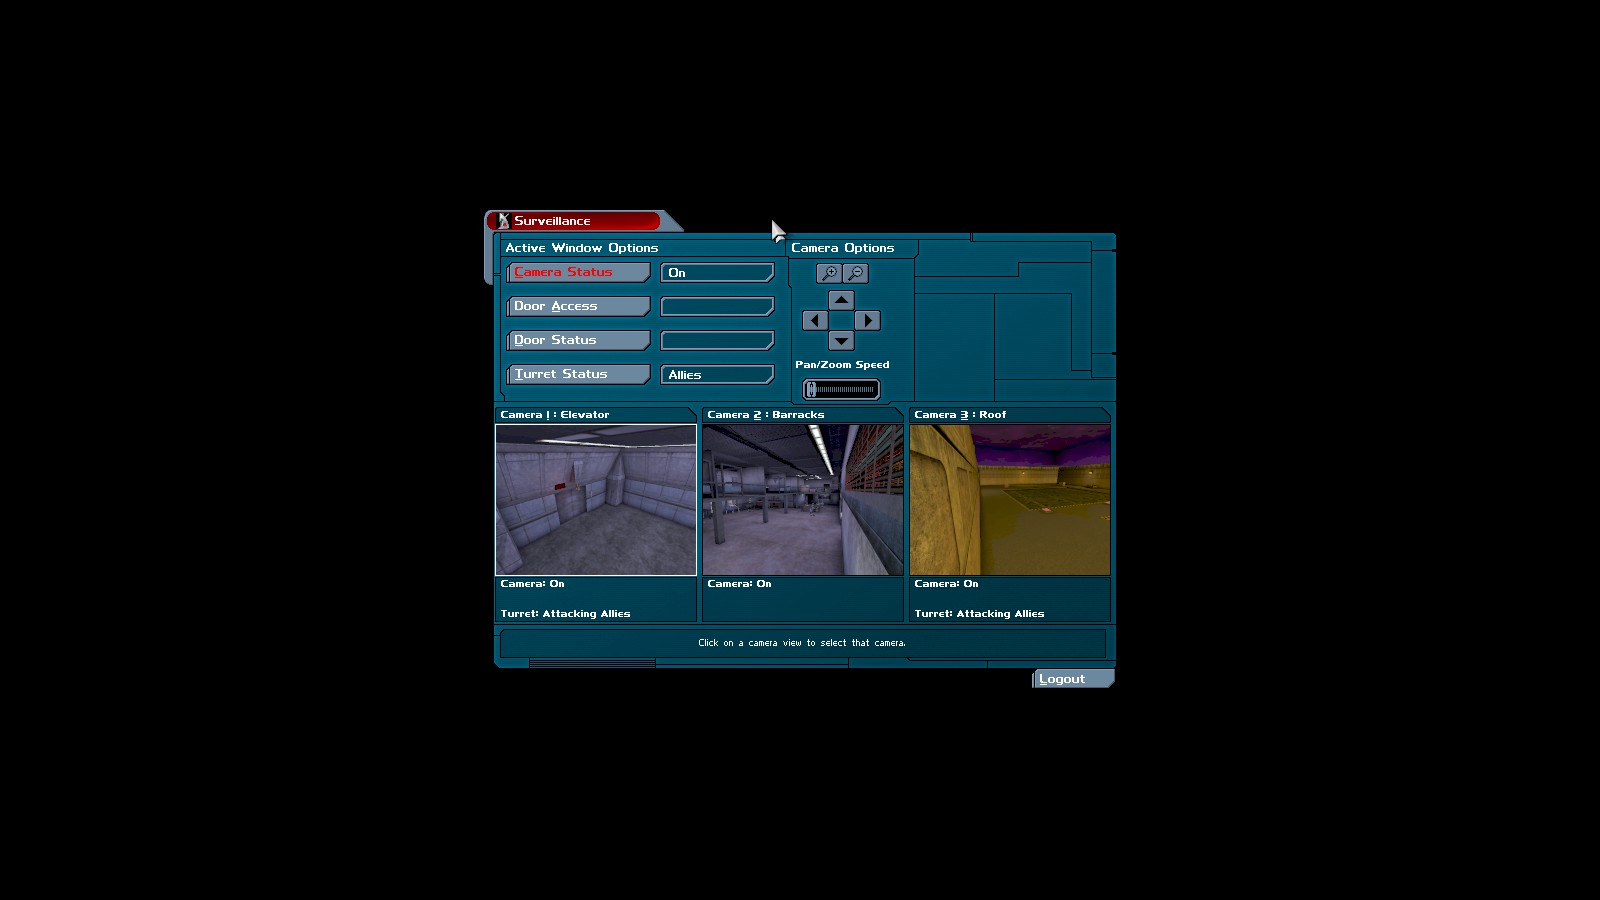
Use the login TALON/SKYEYE on the security console and disable the cameras before
heading through the vent below it.
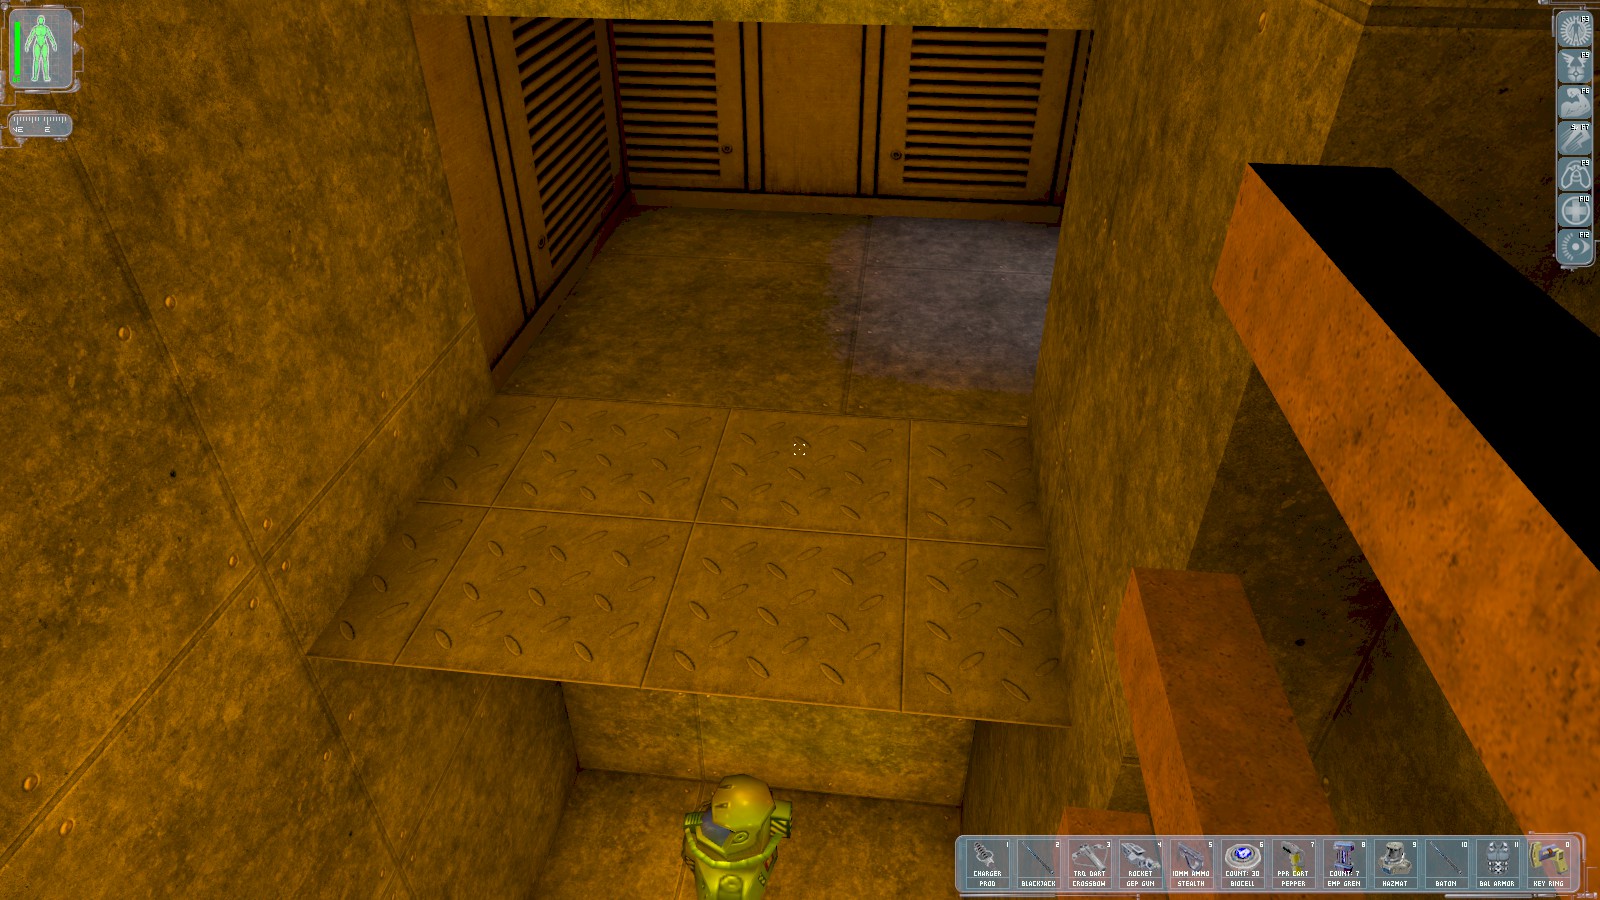
Near the foot of the ladder drop onto the shelf above the hazmat suit and follow it round to disable another military bot. Drop to the bottom, collect the hazmat suit, then follow the lower vent back towards the munitions room.

Turn left to find the area with the poisonous gas, and take the right hand passage as you did earlier.
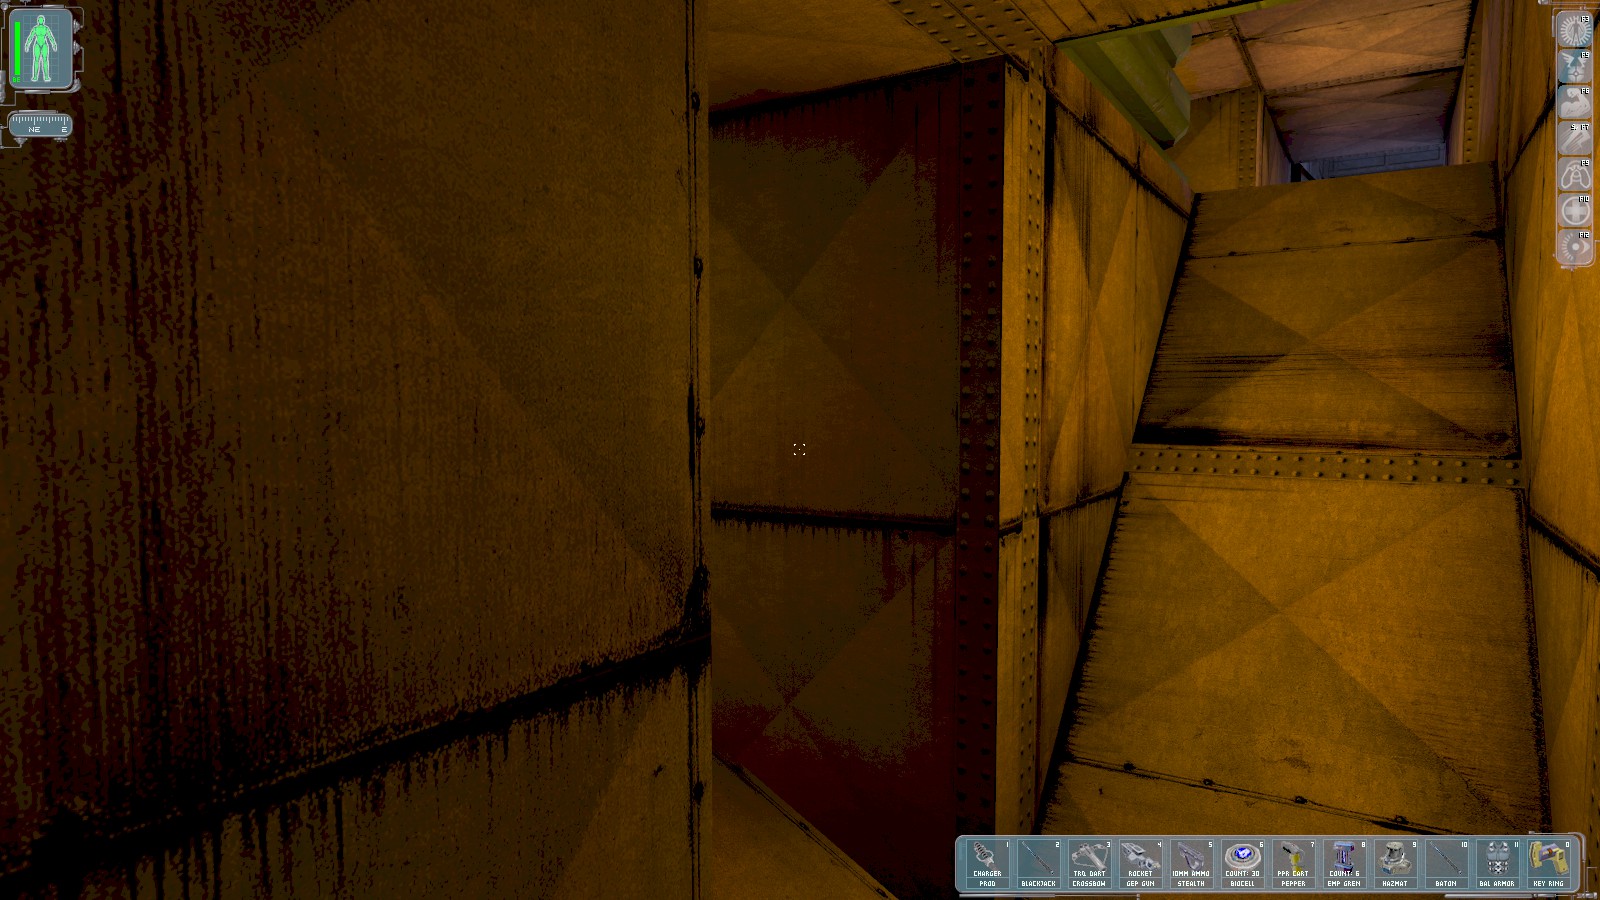
At this point, turn left and follow the (dark) passageway all the way to the end.
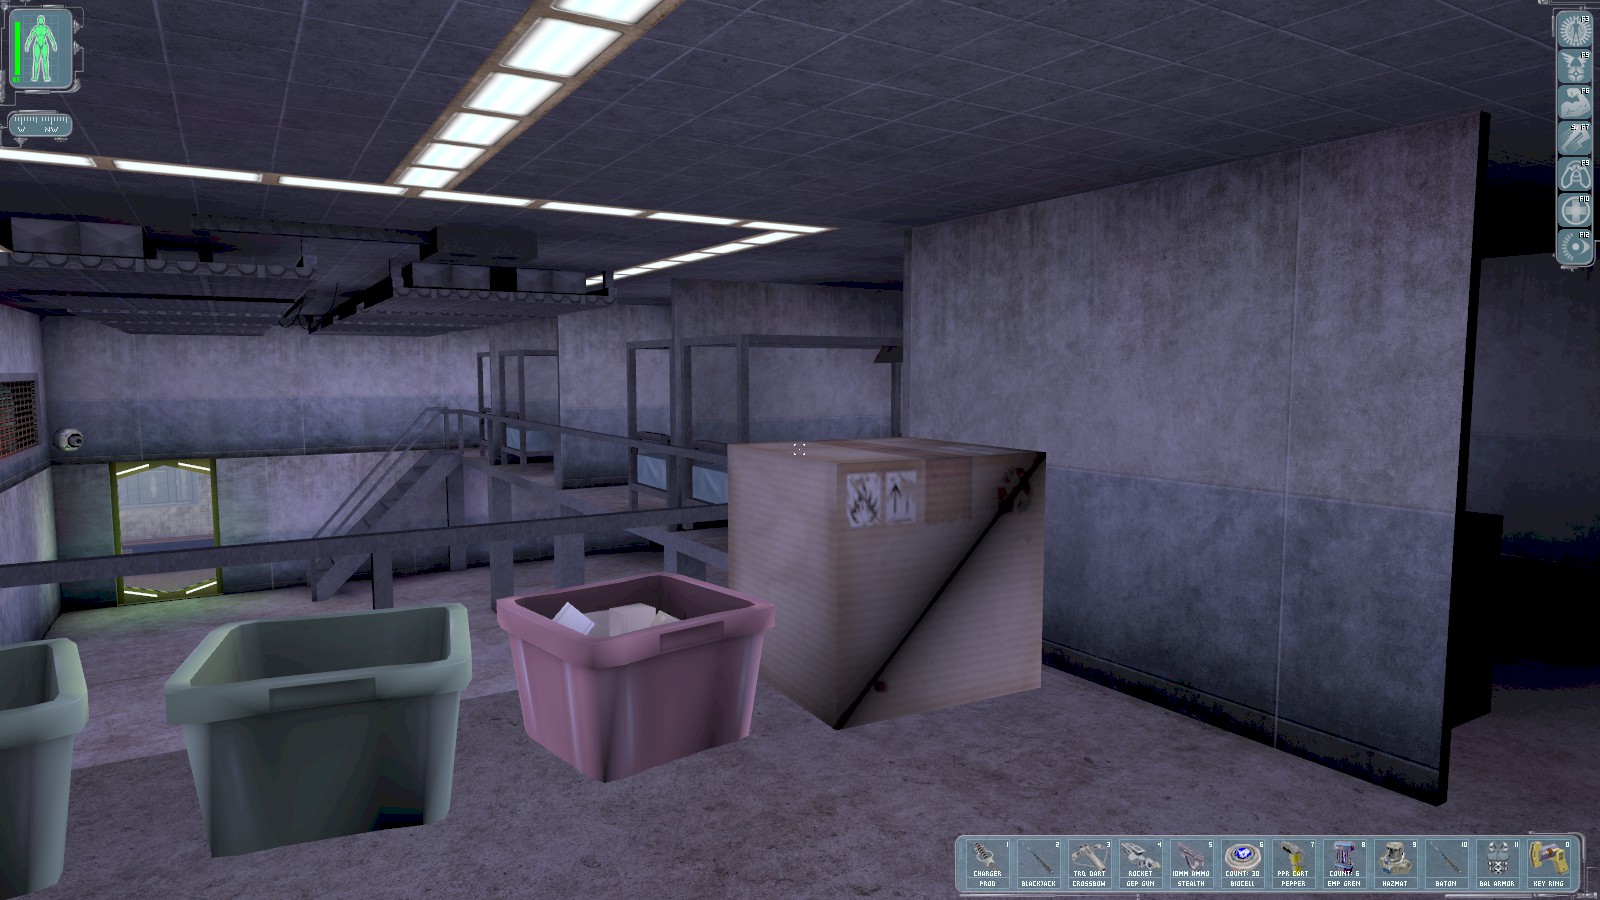
You’ll emerge here. Keep quiet as there are MJ12 troops below, and one patrols back and forth into the bathrooms through the door beneath the (now disabled camera. Head right, crouched.
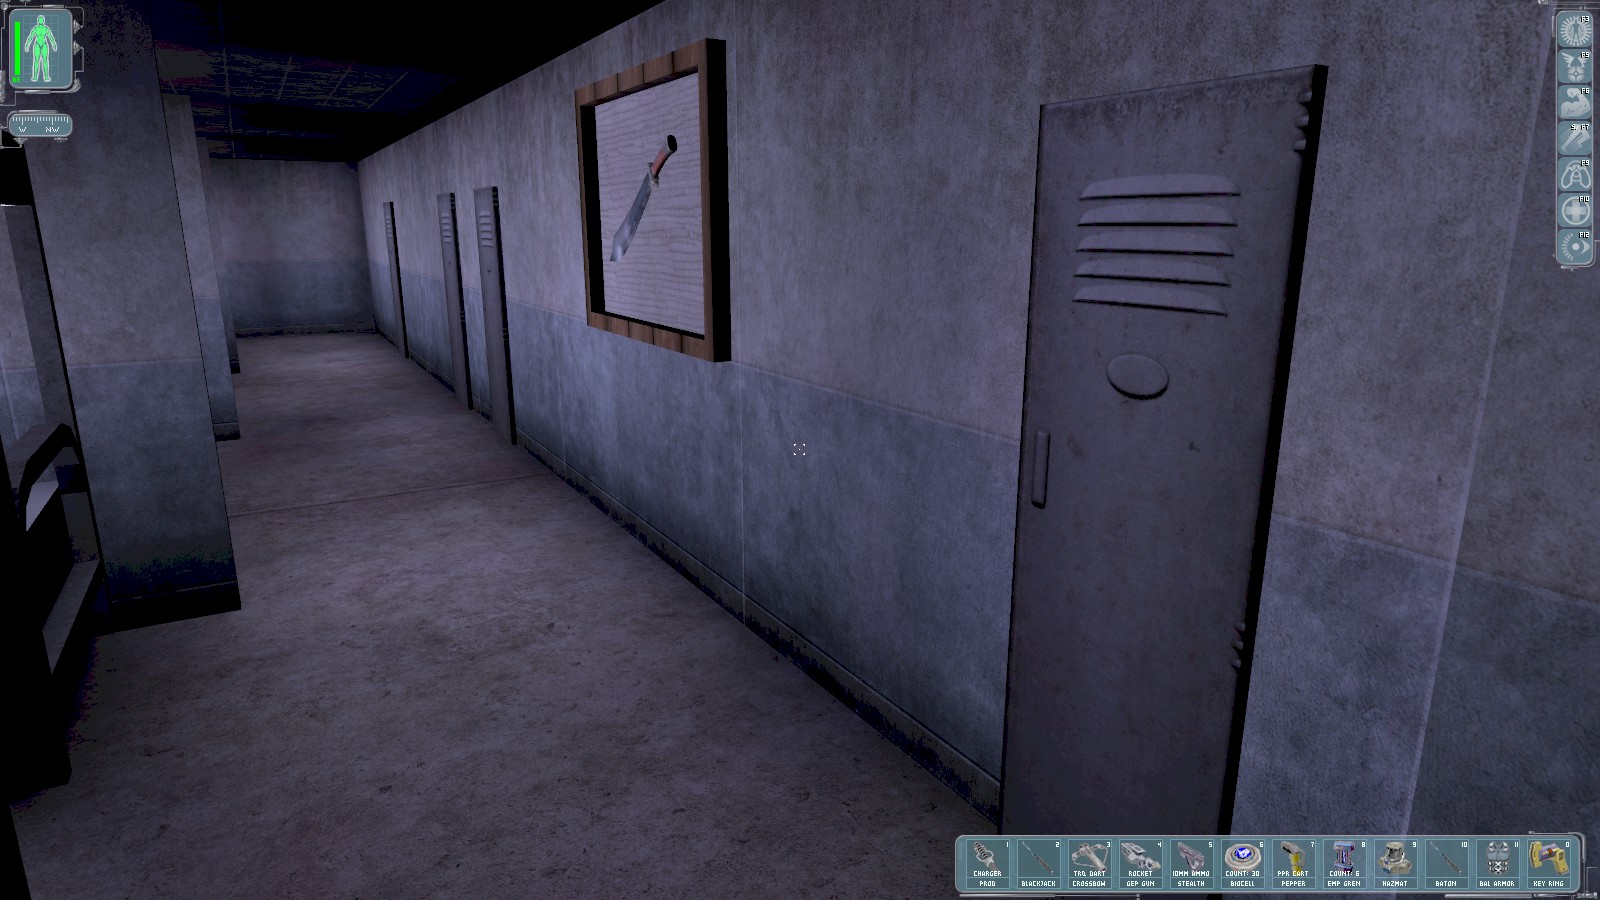
The nearest locker contains a multitool and WP grenade. Next along is McKinney’s
locker and contains the key to Flight Control Deck 1 along with a datacube providing the code for
the exit elevator: 989. Third contains ammo, and the last one has ballistic armour and ammo for
the pepper gun.

Just beyond the final locker is this vent. Getting in would be much harder with the camera working! Head left and left again to return upstairs to the Flight Control rooms.
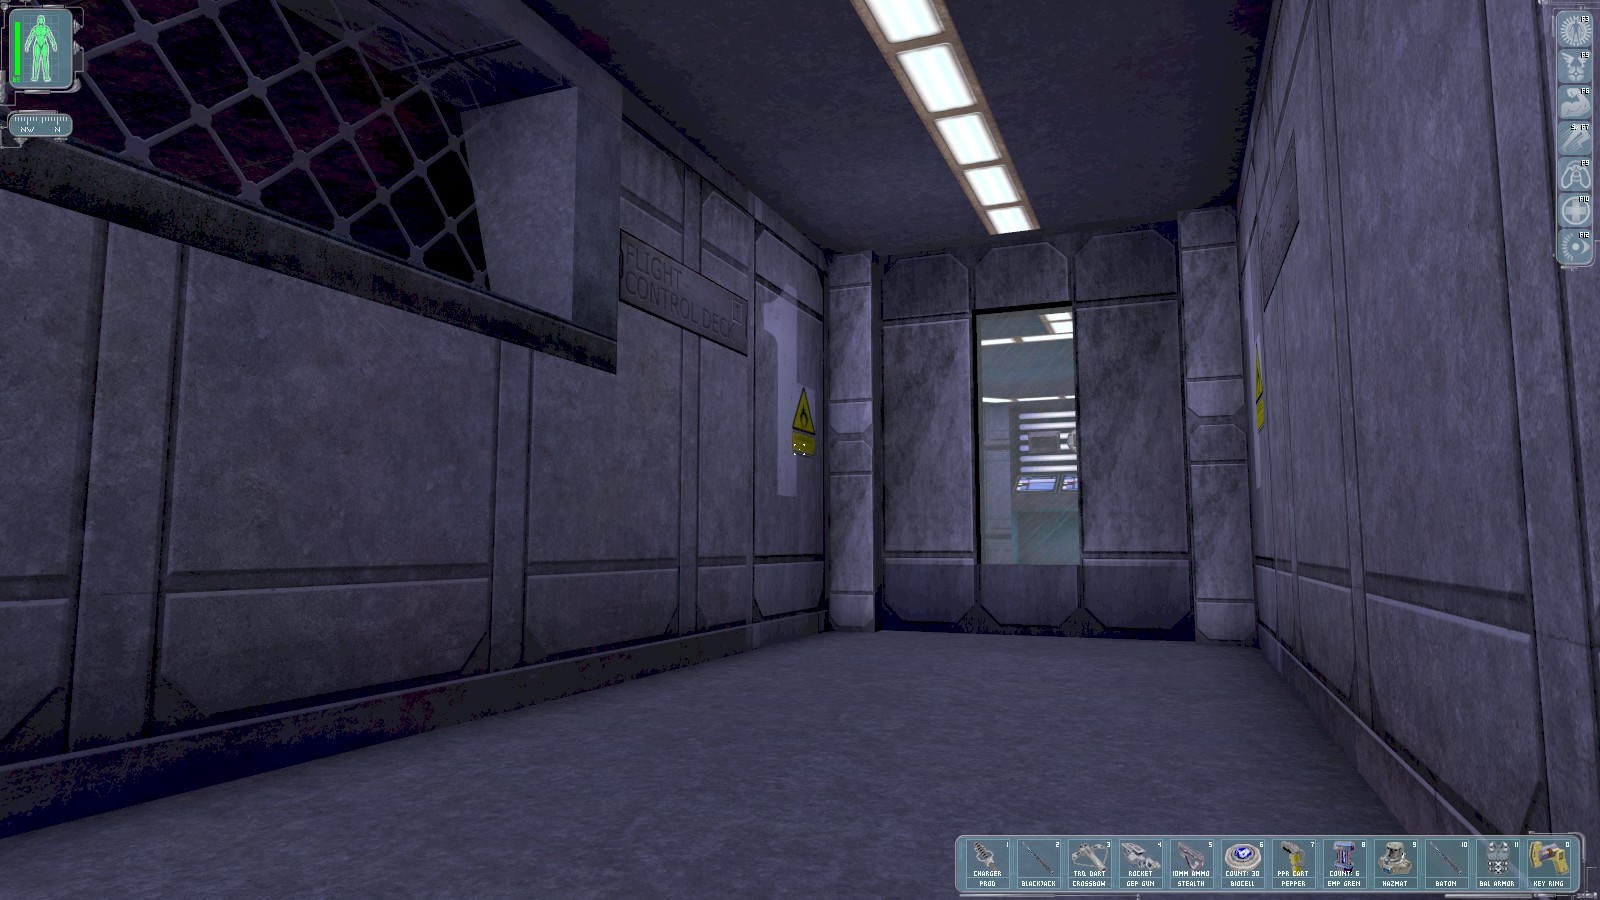
You now have a key to Flight Control Deck 1 on the right at the top of the stairs.
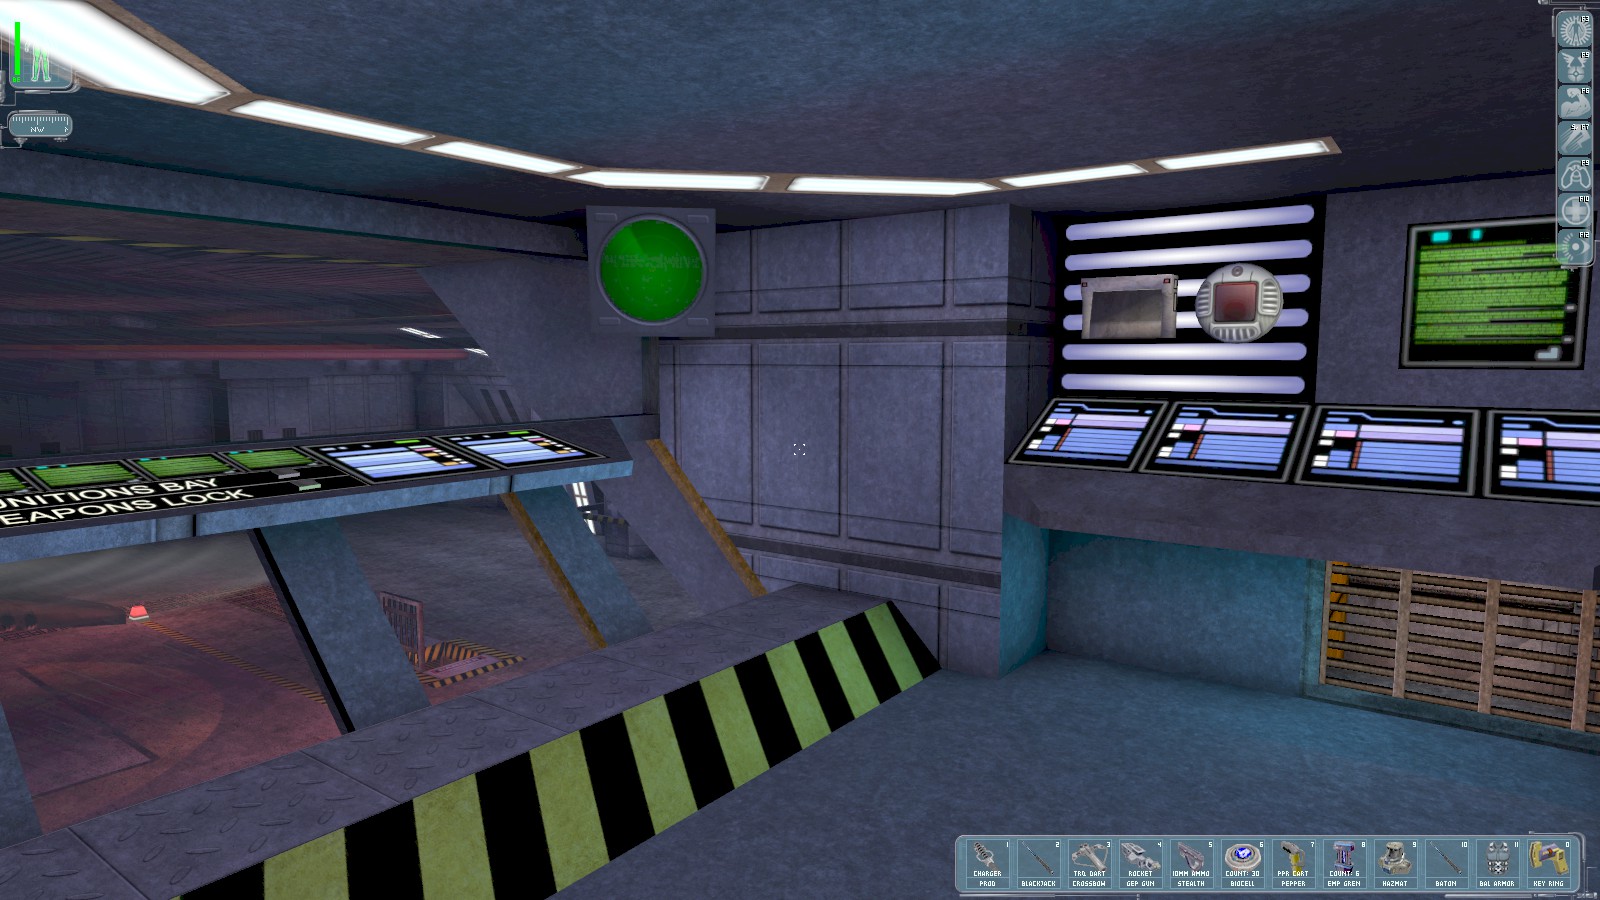
The login TALON/SKYEYE works in here too, but the cameras are all disabled anyway.
Another breakable panel on the right contains 2 biocells. Hit the button on the left here labelled
"Weapons Lock". Jock radios in to say he plans to fire a missile at the blast doors downstairs. The
troops patrolling the flight deck will now converge on your current position, so head (quietly so as
to avoid the guards coming back to the deck) into the vent and head South then West for the munitions room. You have a key to the door in there for a safe exit up to the deck beside Jock’s
chopper.
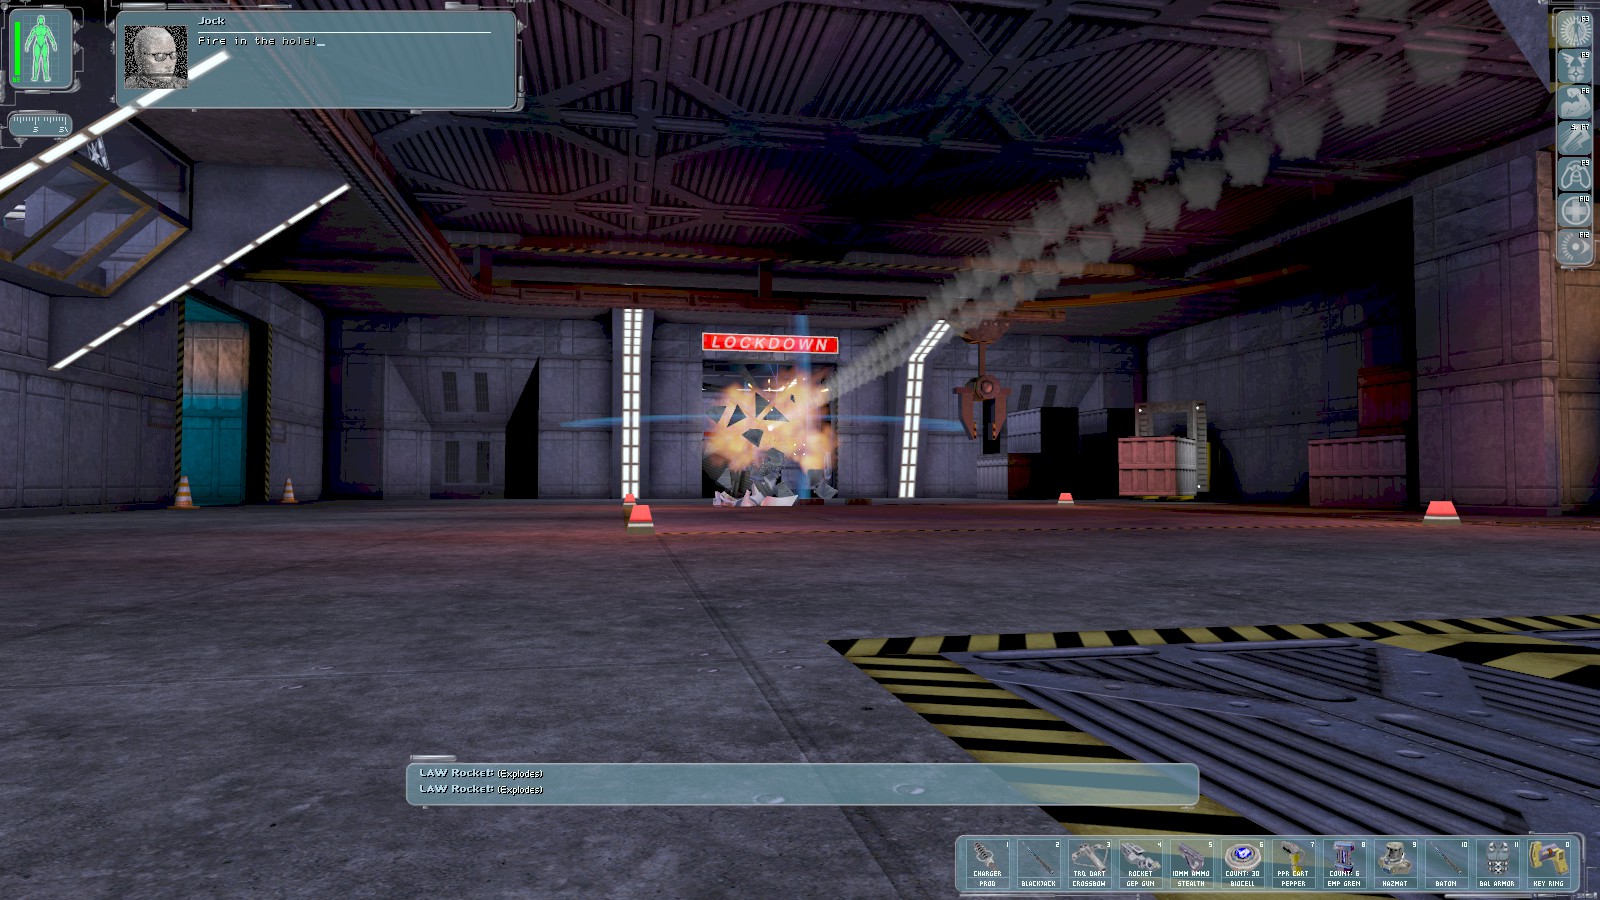
This time it’s Jock’s turn to blow the bloody doors off. With luck the repair bot will be out of the way, so recharge before heading through the doors. You can disable the electrical sparking with multitools or take your chances. Enter the elevator beyond and go down to street level.