
At the foot of the stairs you’re met with a locked gate and not much else. A quick search shows there is a lever near the burning bin. Activate it to open a section of the wall ahead.
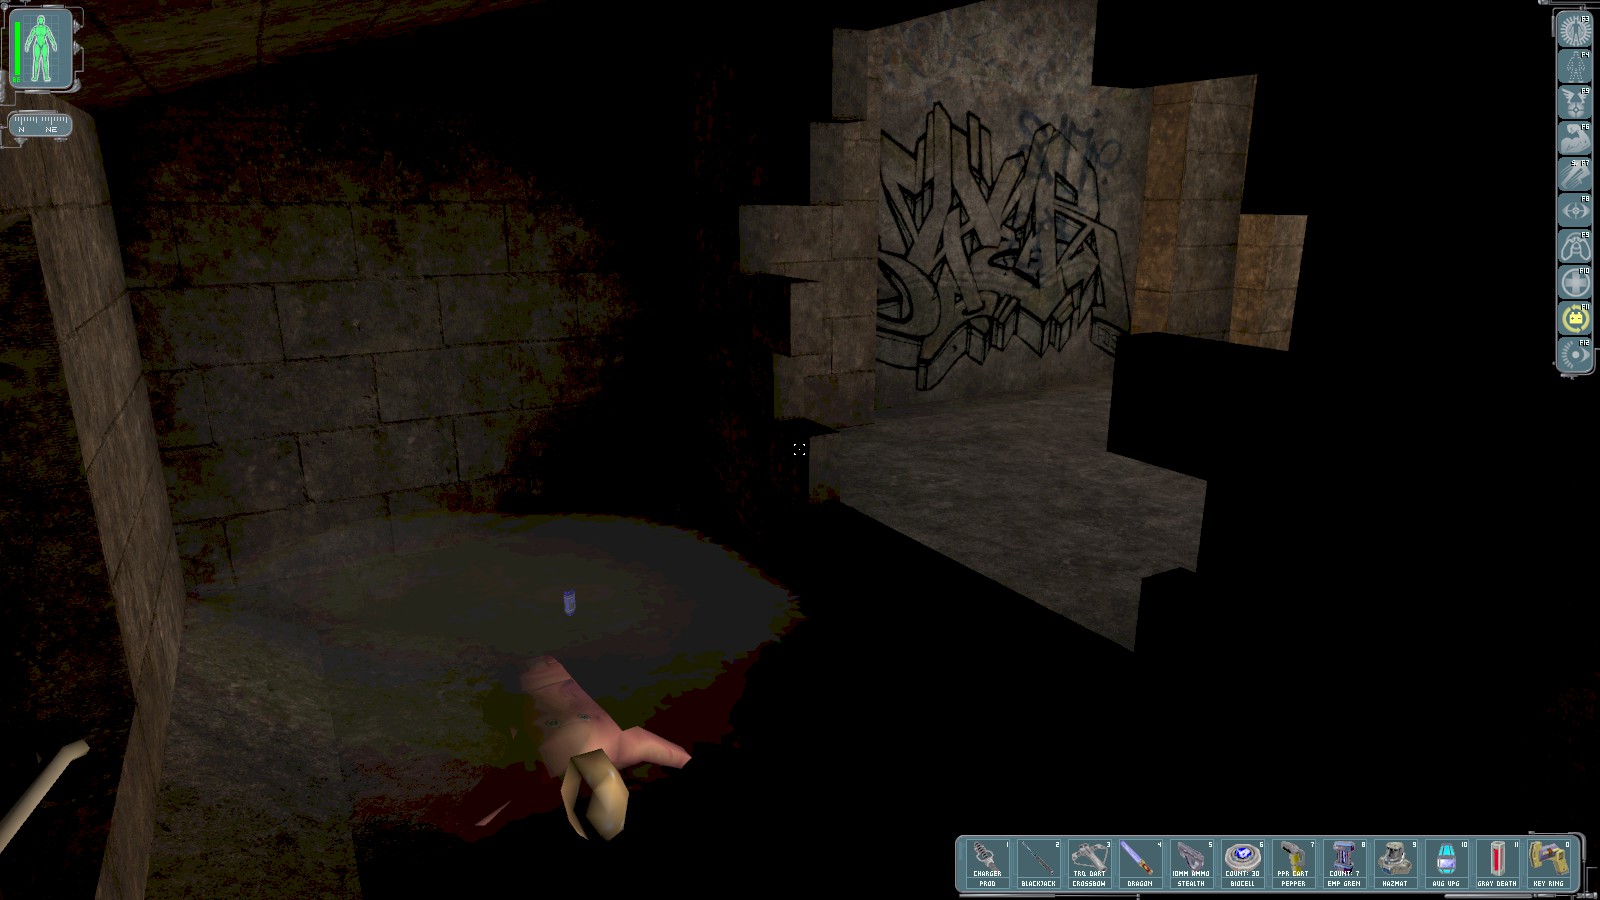
Inside is a key to the gate.
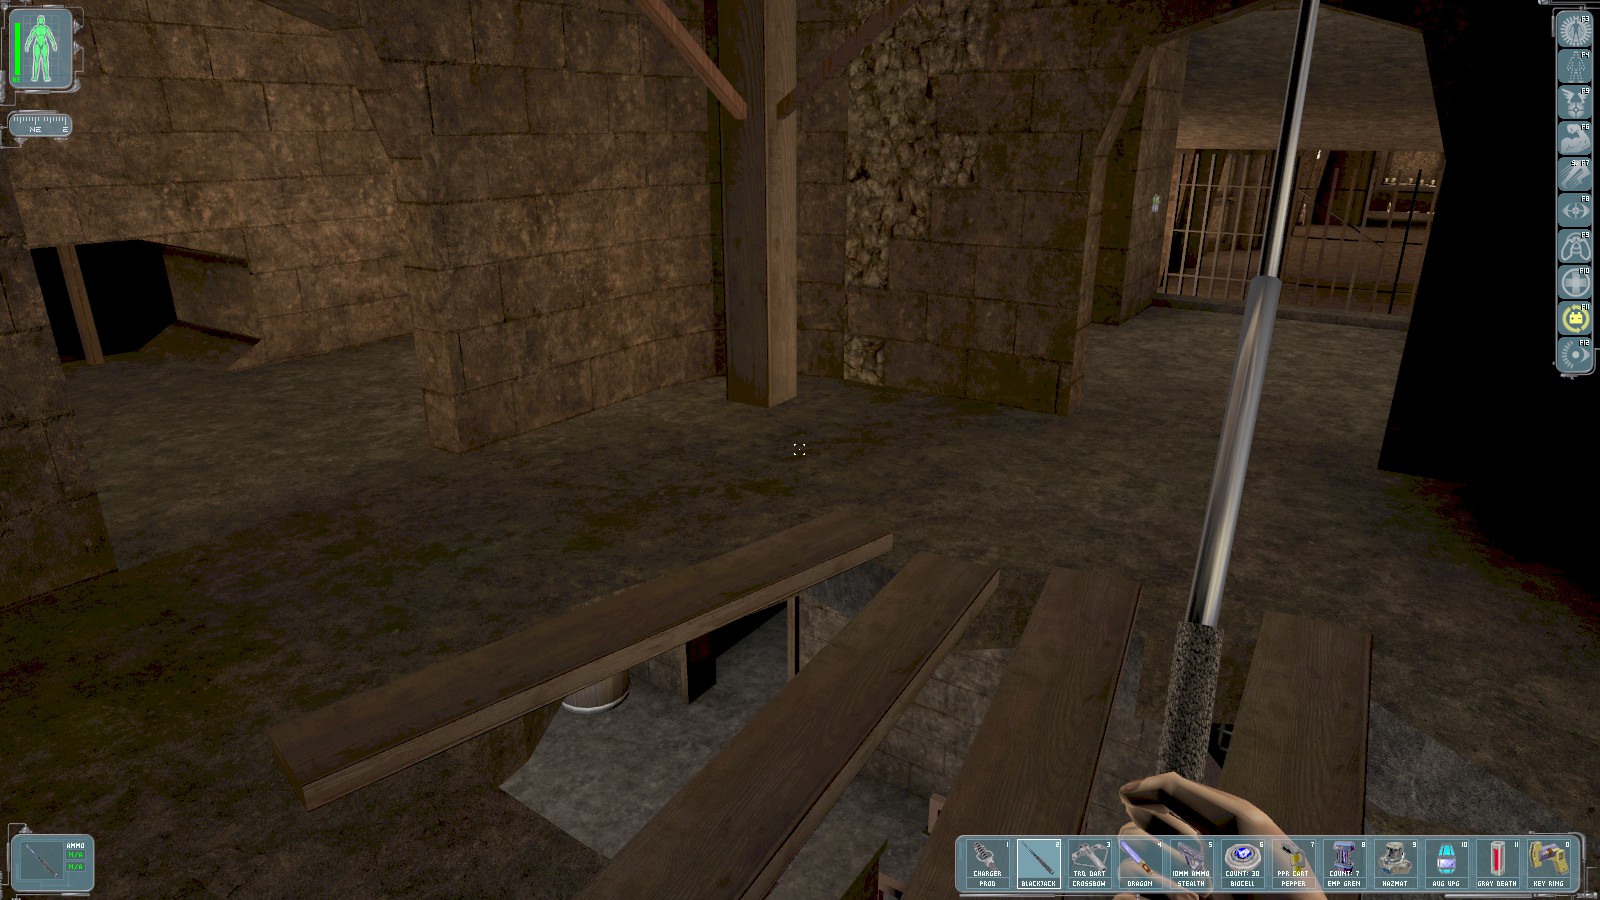
Down more steps, and Tong radios in to say that MJ12 are trying to flush Silhouette out. A room to the West of here contains a locked box with darts. Grab the gas grenade from the wall ahead (and make note to self to watch for more booby traps) then break the planks and drop through the floor.

Follow your nose to come out here. Enhanced Vision shows there are 2 guards—you’re going to use Enhanced Vision a lot down here. Pepper spray with blackjack follow-up works well here. The exit from this room returns to beyond the gate where you dropped through the floor planks. You can open the gate from this side.

Head in the opposite direction (East) and follow the tunnels. Knock out or evade any guards.

Eventually you reach a hall of pillars patrolled by two Commandos. Head East from here and get 50 skill points. Tong radios to say you’re near Silhouette’s bunker. The leader is Chad.
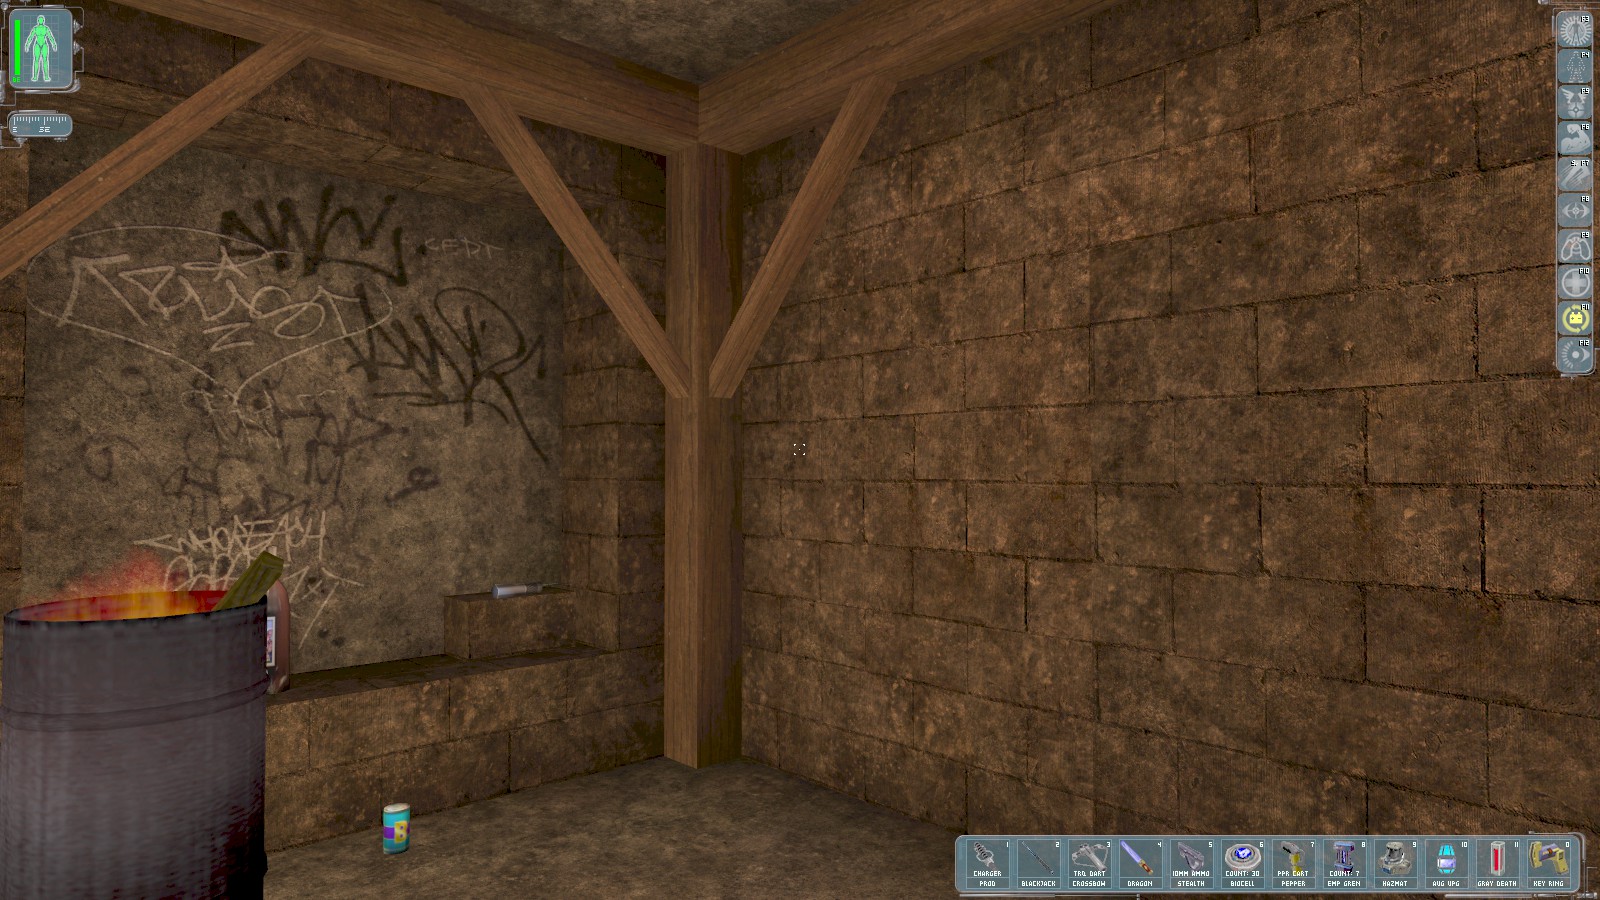
The brick beneath the lockpick turns out to be another hidden door switch which opens the section of wall to the South. Head in for 150 skill points.
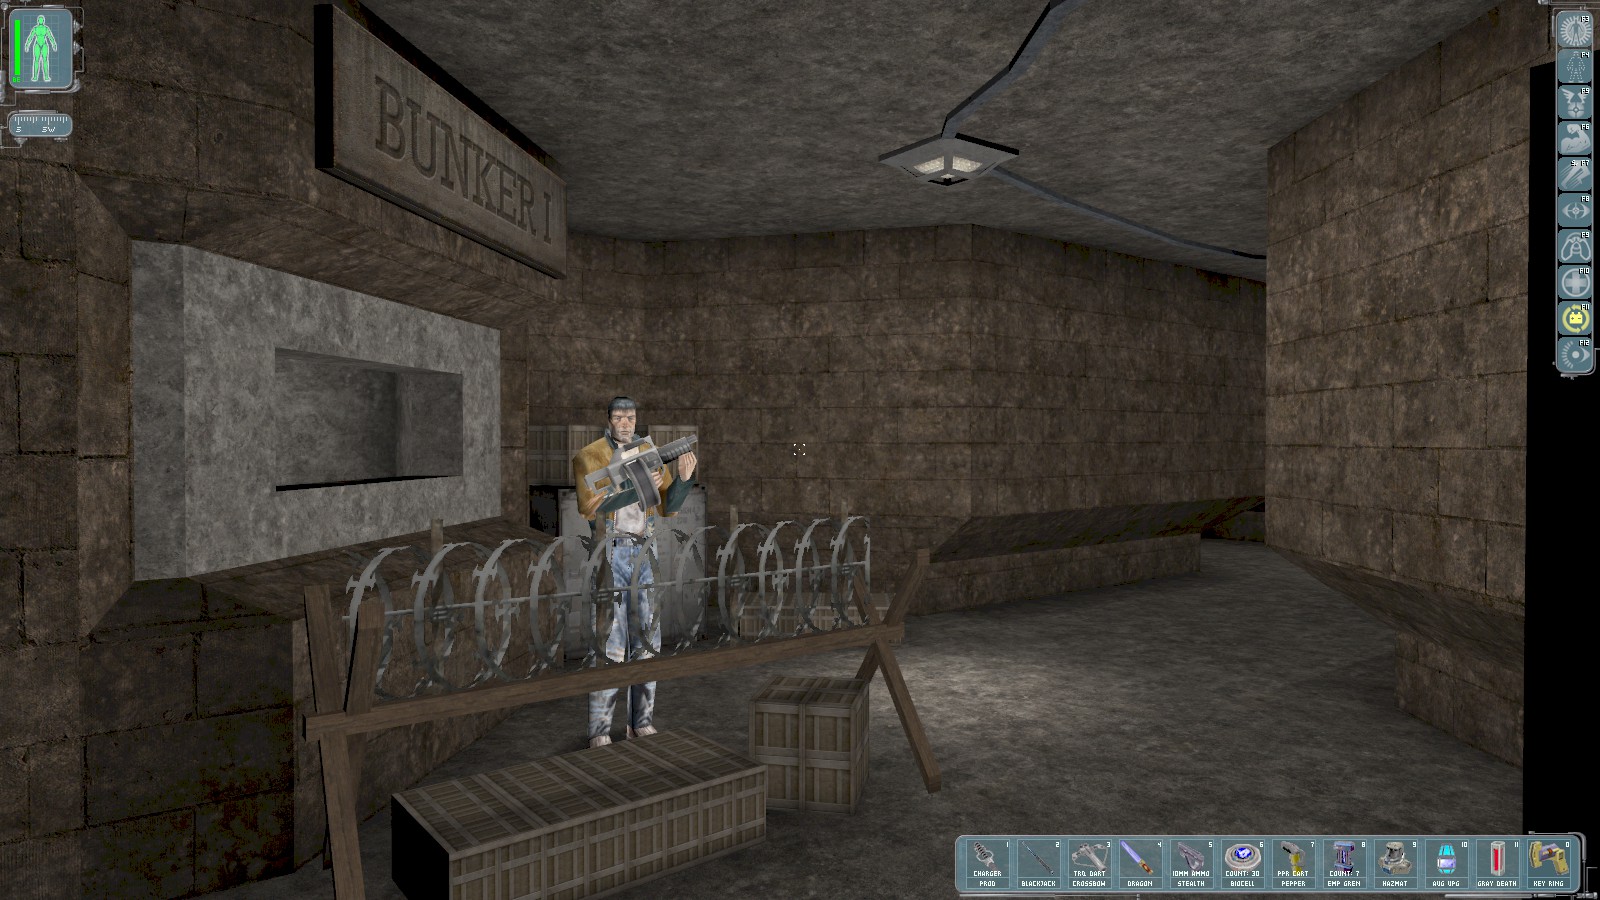
You’ve found Silhouette, who look well fortified. Follow the bunker’s tunnels.

Speak to this boy to learn that Majestic-12 have taken his mother prisoner. She’s being held in Bunker 3, and Chad has a key.
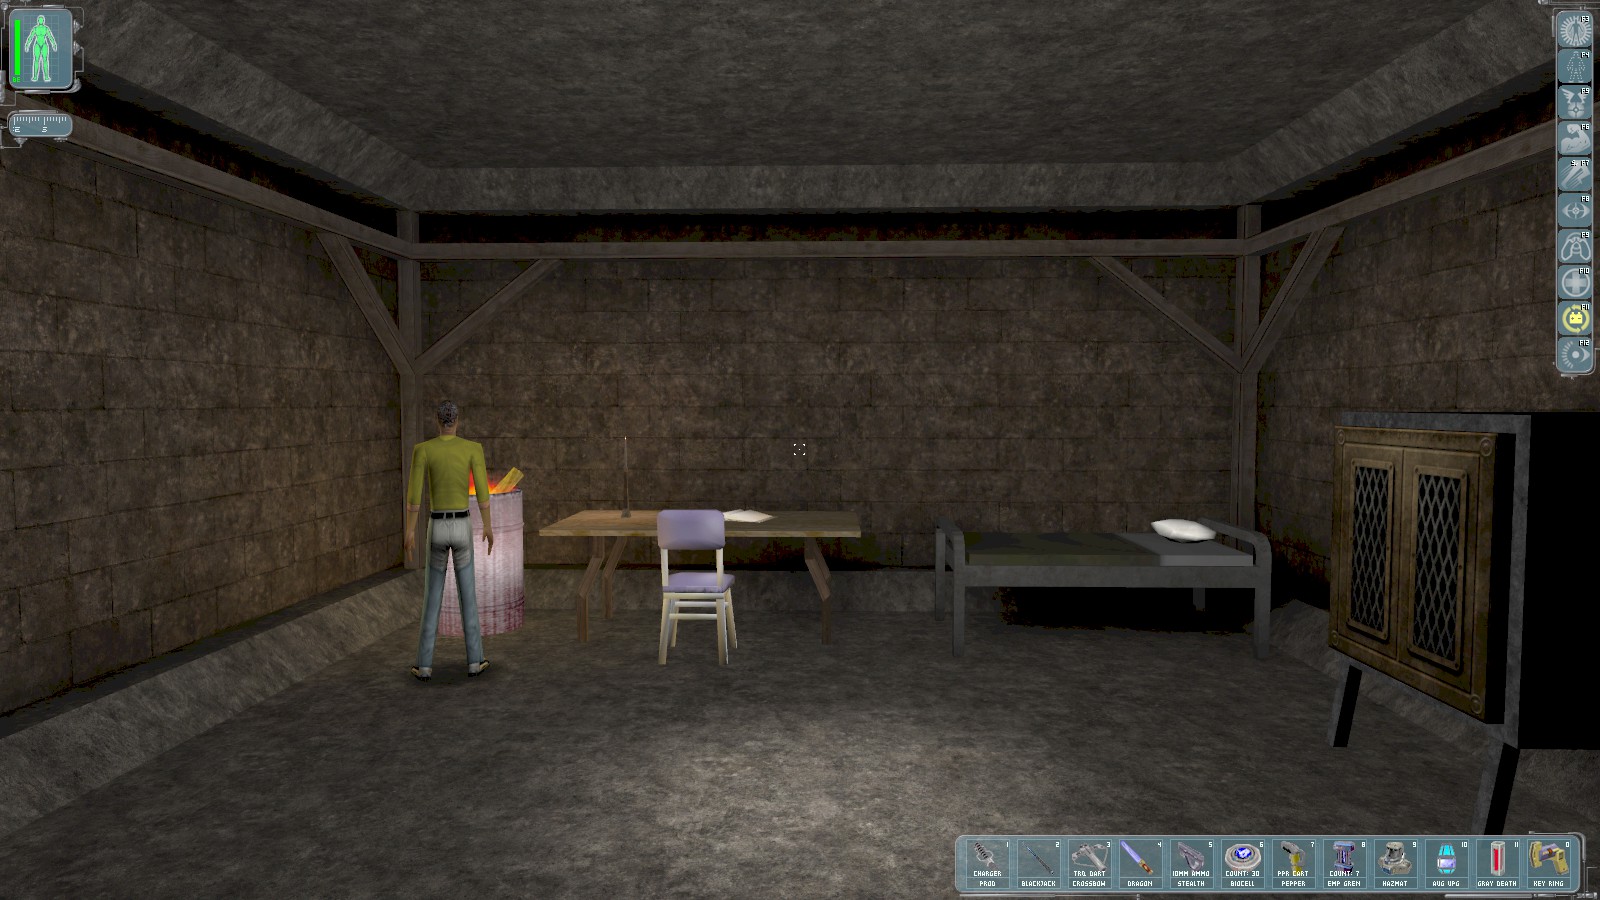
Chad is in a room in the South. Speak to him to learn that two of his party are being held in Bunker 3 by MJ12 troops. He will put you in touch with Nicolette DuClare if you help rescue the hostages.
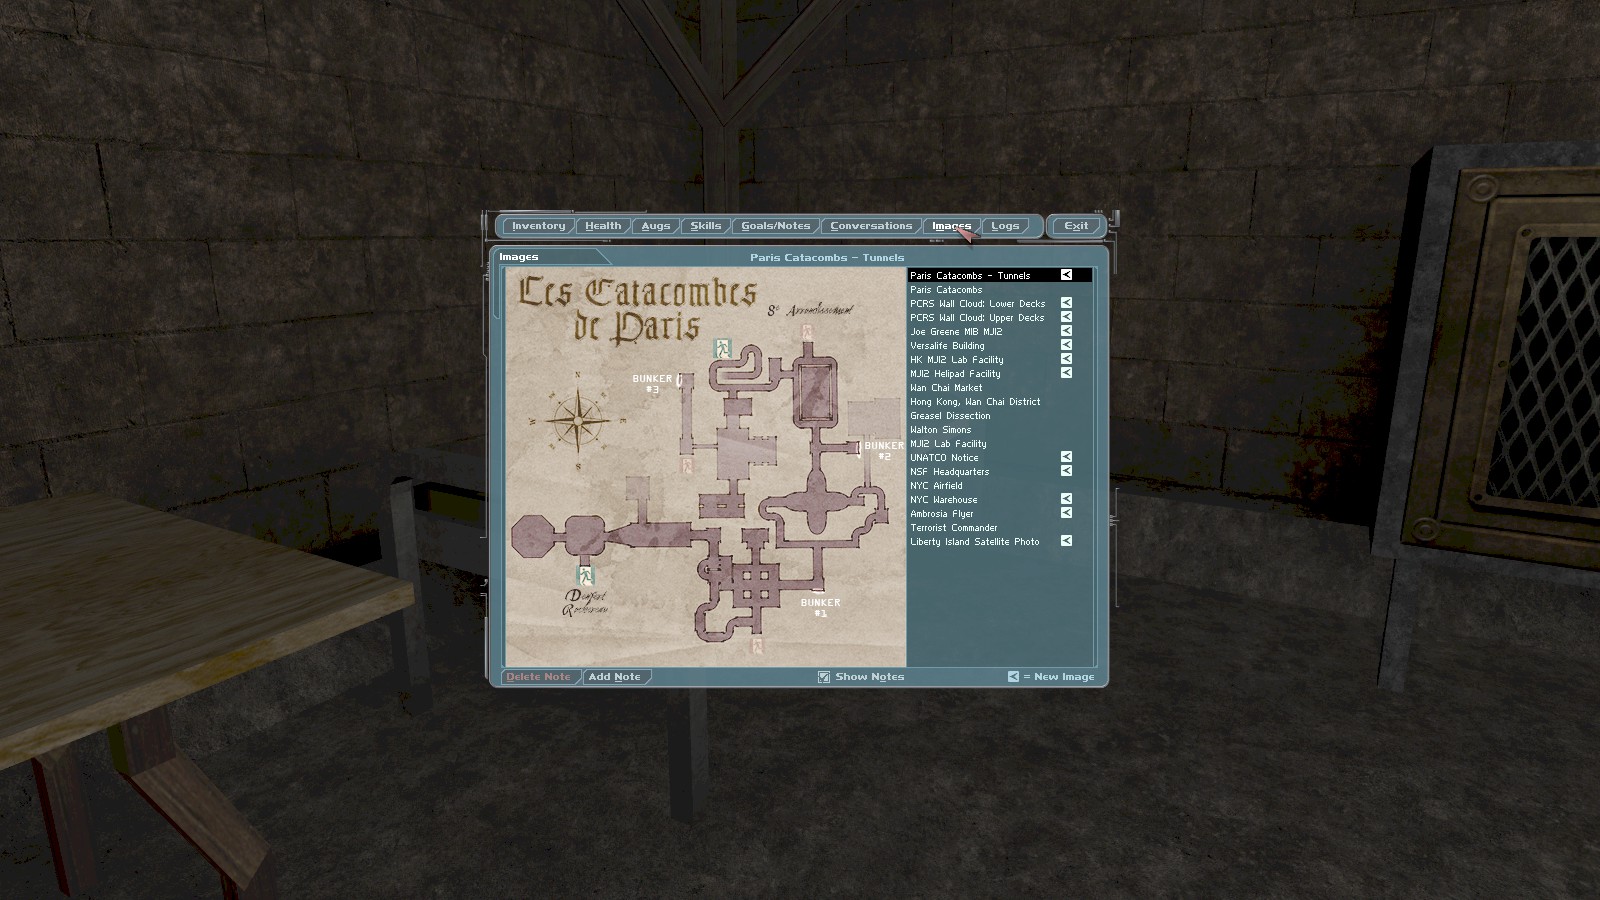
He gives you a key to the blast door outside along with another really useful map. Find a medikit on top of a locked cabinet in the room. The cabinet itself only contains another identical key for the blast doors, and an excerpt from Shakespeare’s Richard II. Head back out.

The blast door leading to Bunker 3 is directly opposite Bunker 1’s exit.
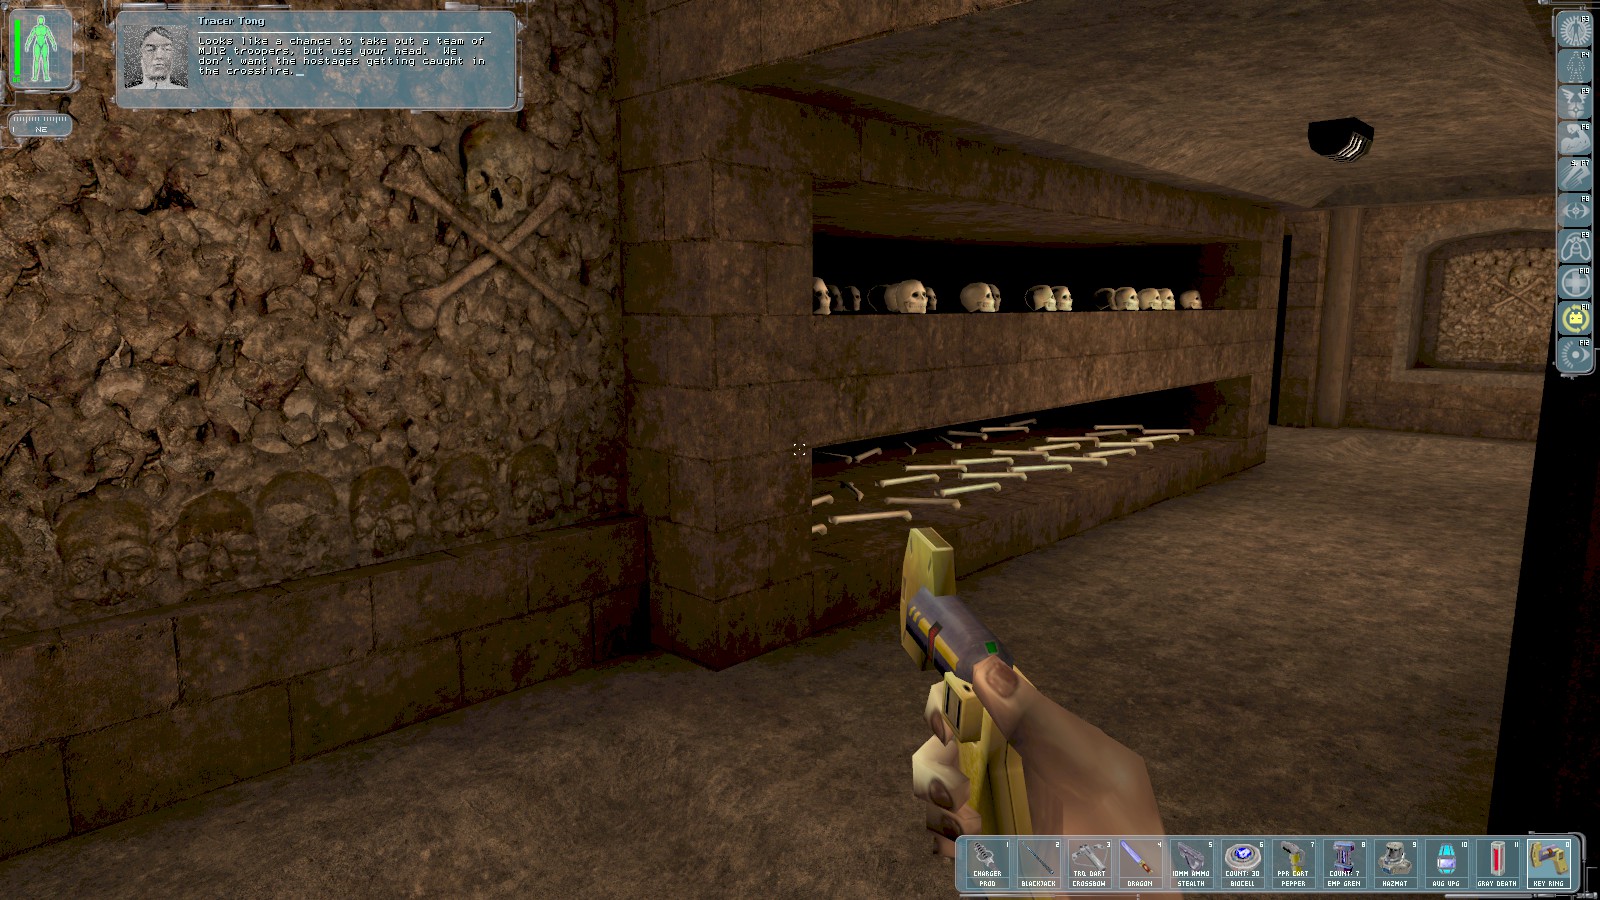
Head in for 150 skill points. Tong pops up to remind you that it would be bad for rescued hostages to get caught up in any cross-fire. From this point, knock out every enemy you encounter, so when the hostages are freed they have a clear run back to Bunker 1. Head right (East) at the junction.
|
|
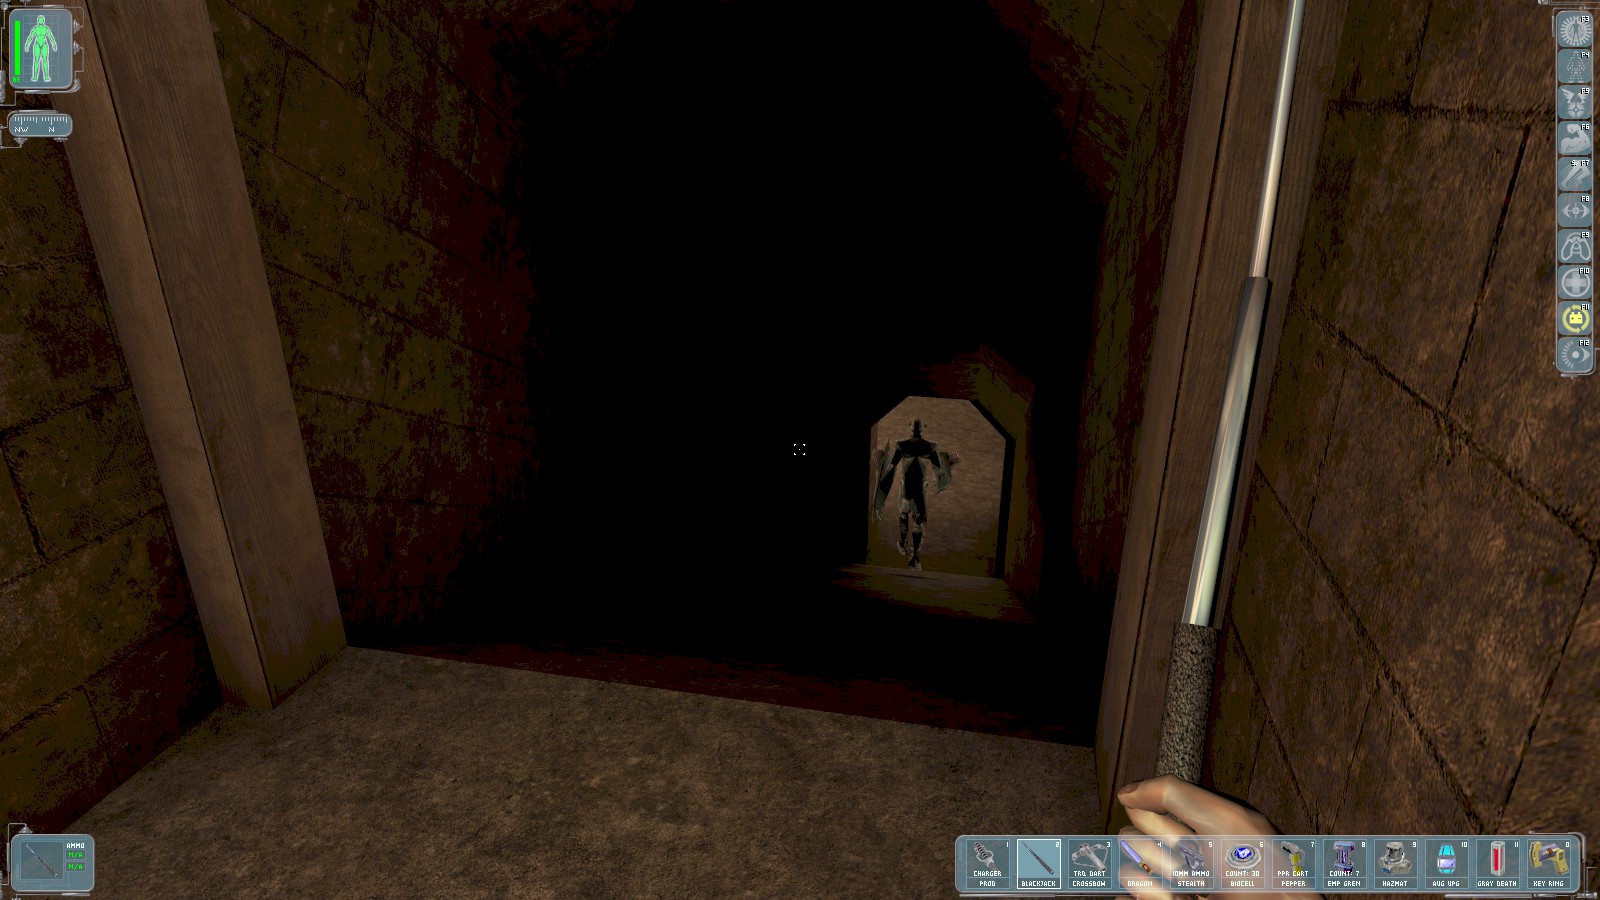
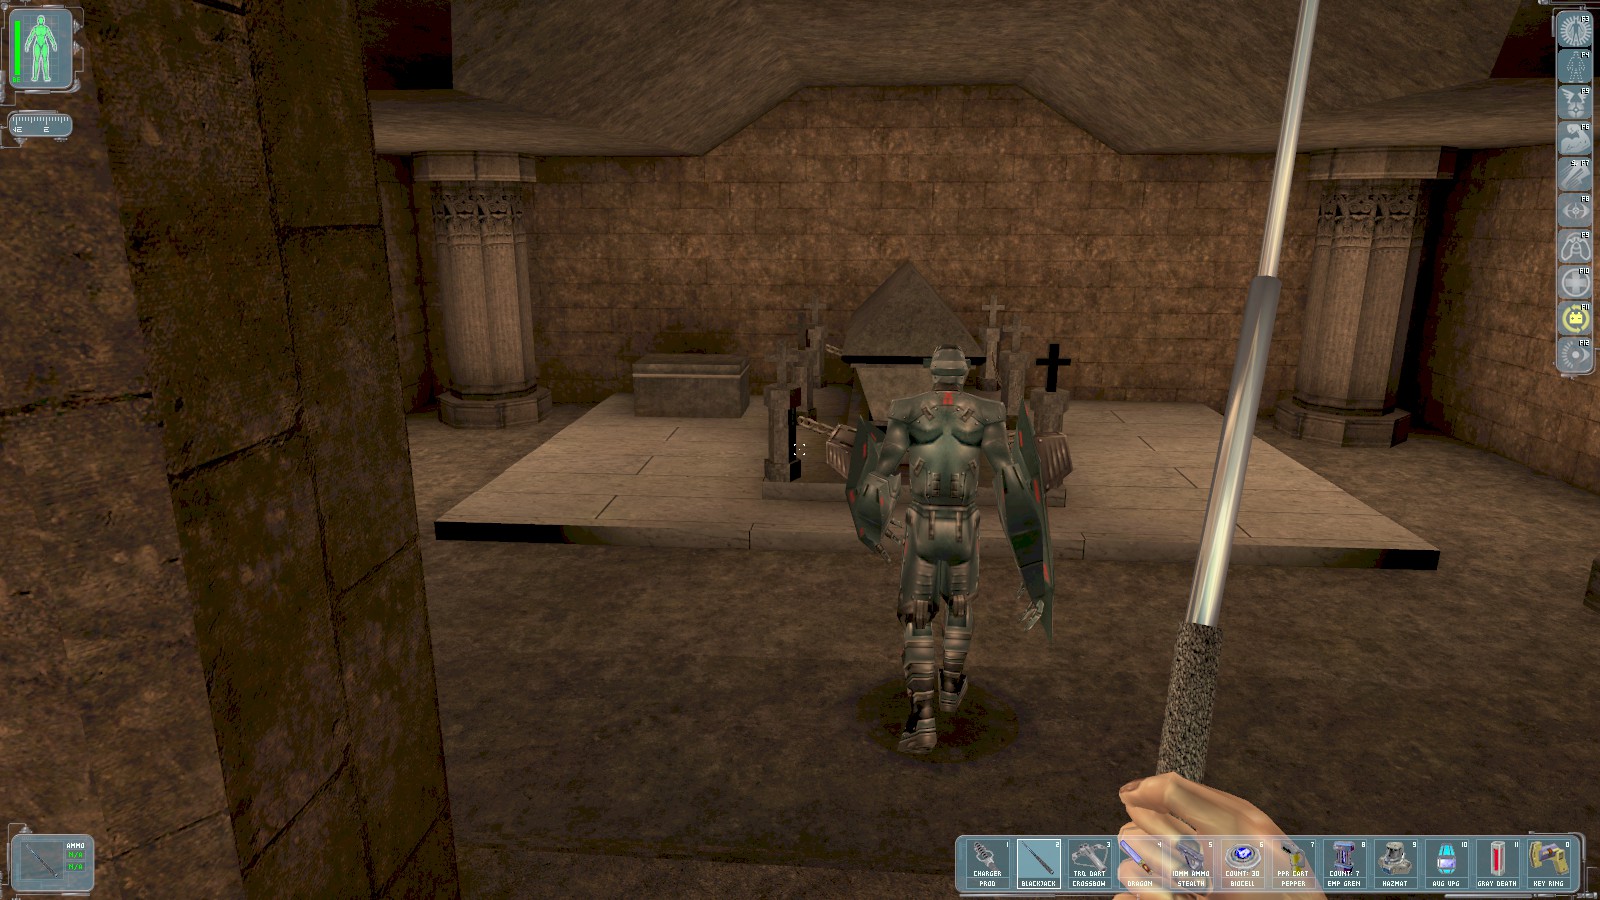
Just around the corner is our first catch of the day.
The commando patrols to here. Knock him out then break into the box for a prod charger and a
datacube with the credentials Hela/Ragnarok for the catacombs' security systems.
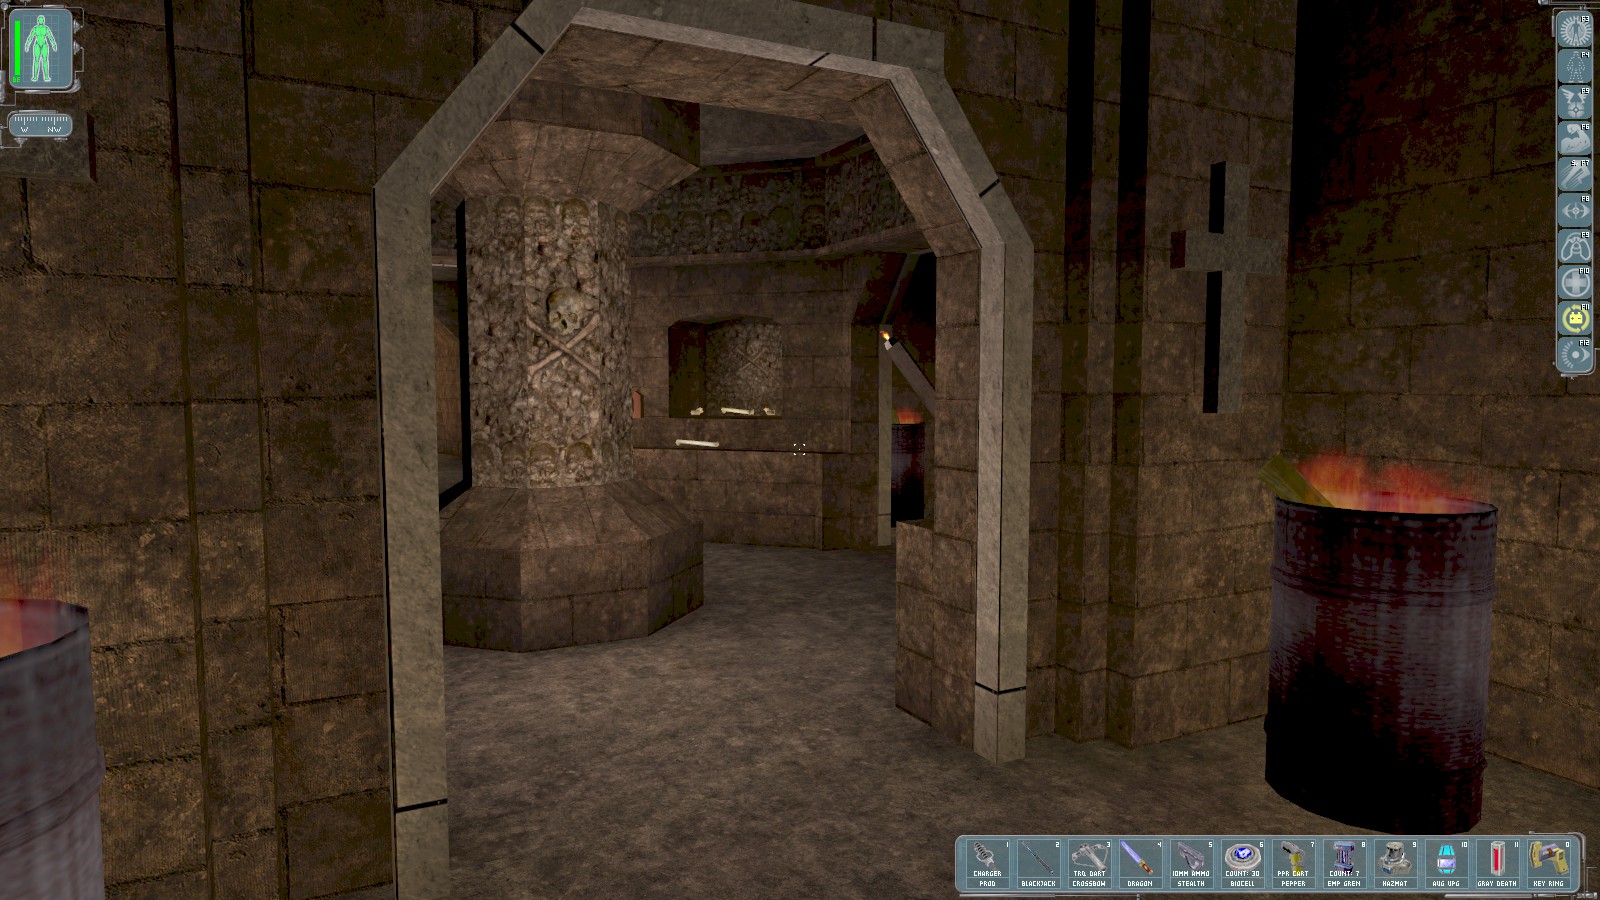
Continue round until you reach this room. Use the exit to the North.
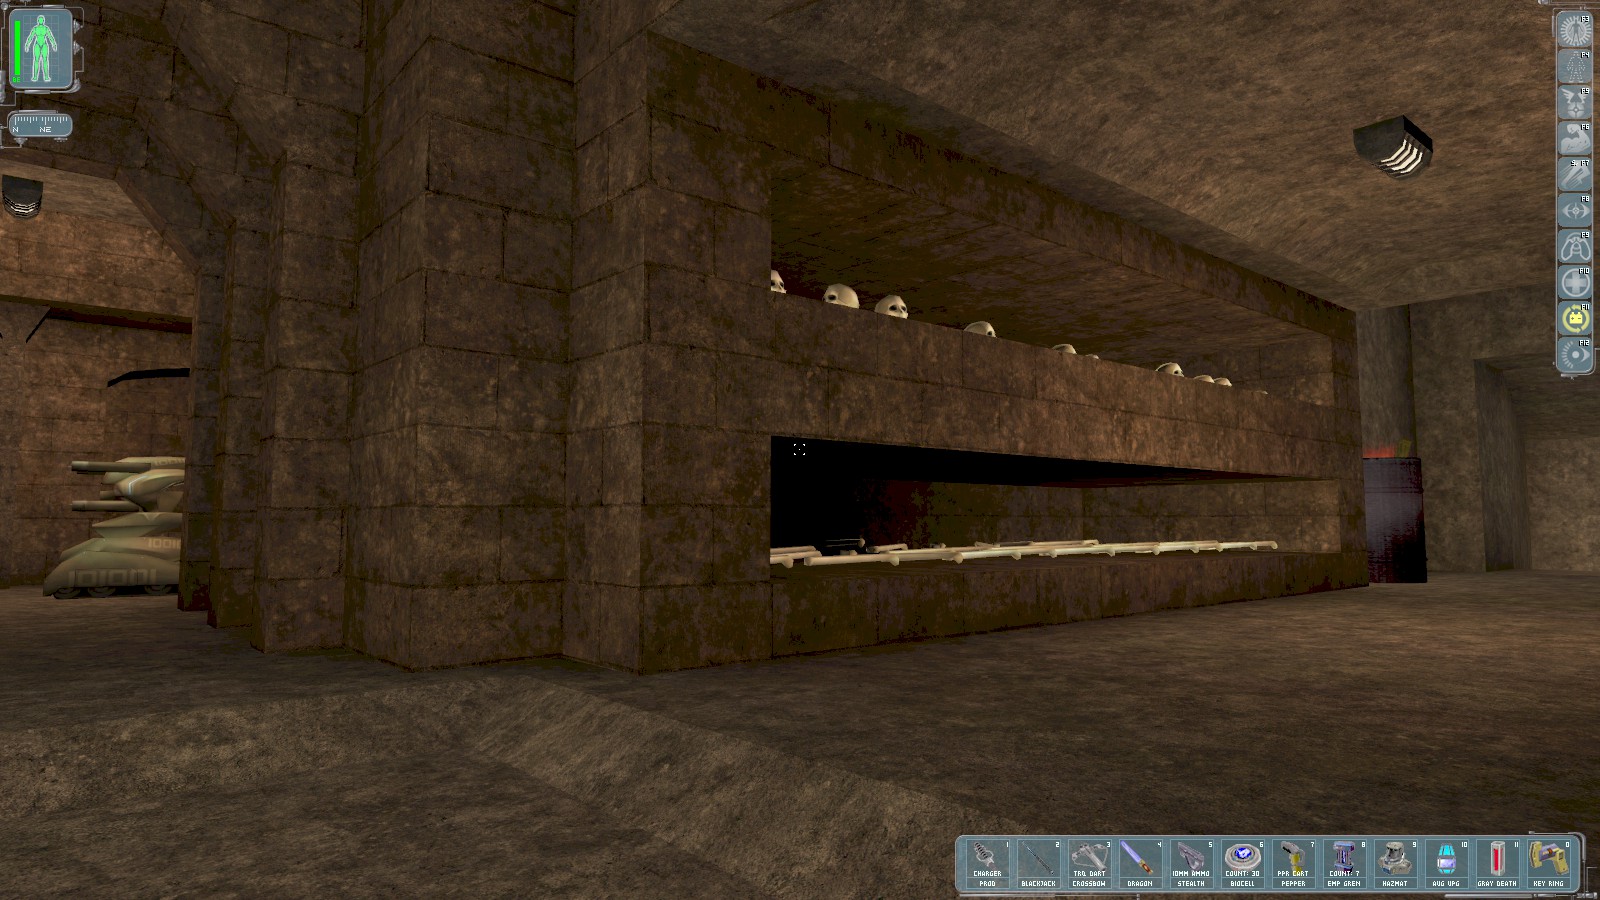
Down the passage to the right here is Bunker 2 which is almost deserted apart from one guy who will sell you medkits and tranq darts. Return here, disable the bot with an EMP grenade—it just does clockwise circuits around a central area. Go through the door by the bot and go right.
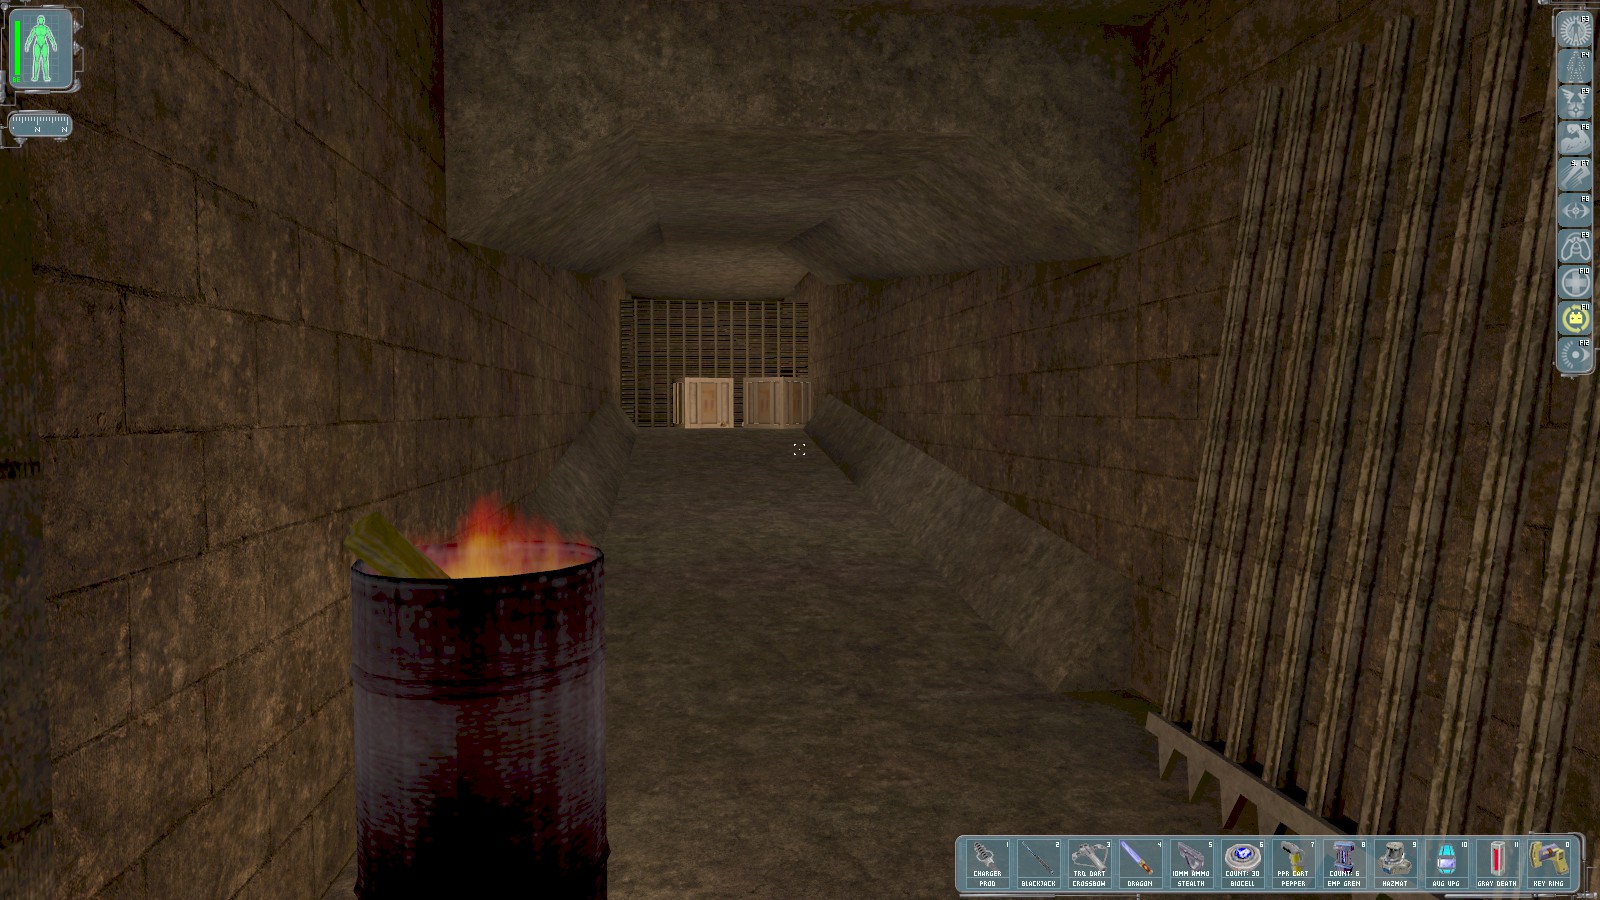
The two crates up here just contain ammo and are protected by a LAM behind the crates. Shoot the crate on the right with a regular dart or your stealth pistol so you can disable the LAM.
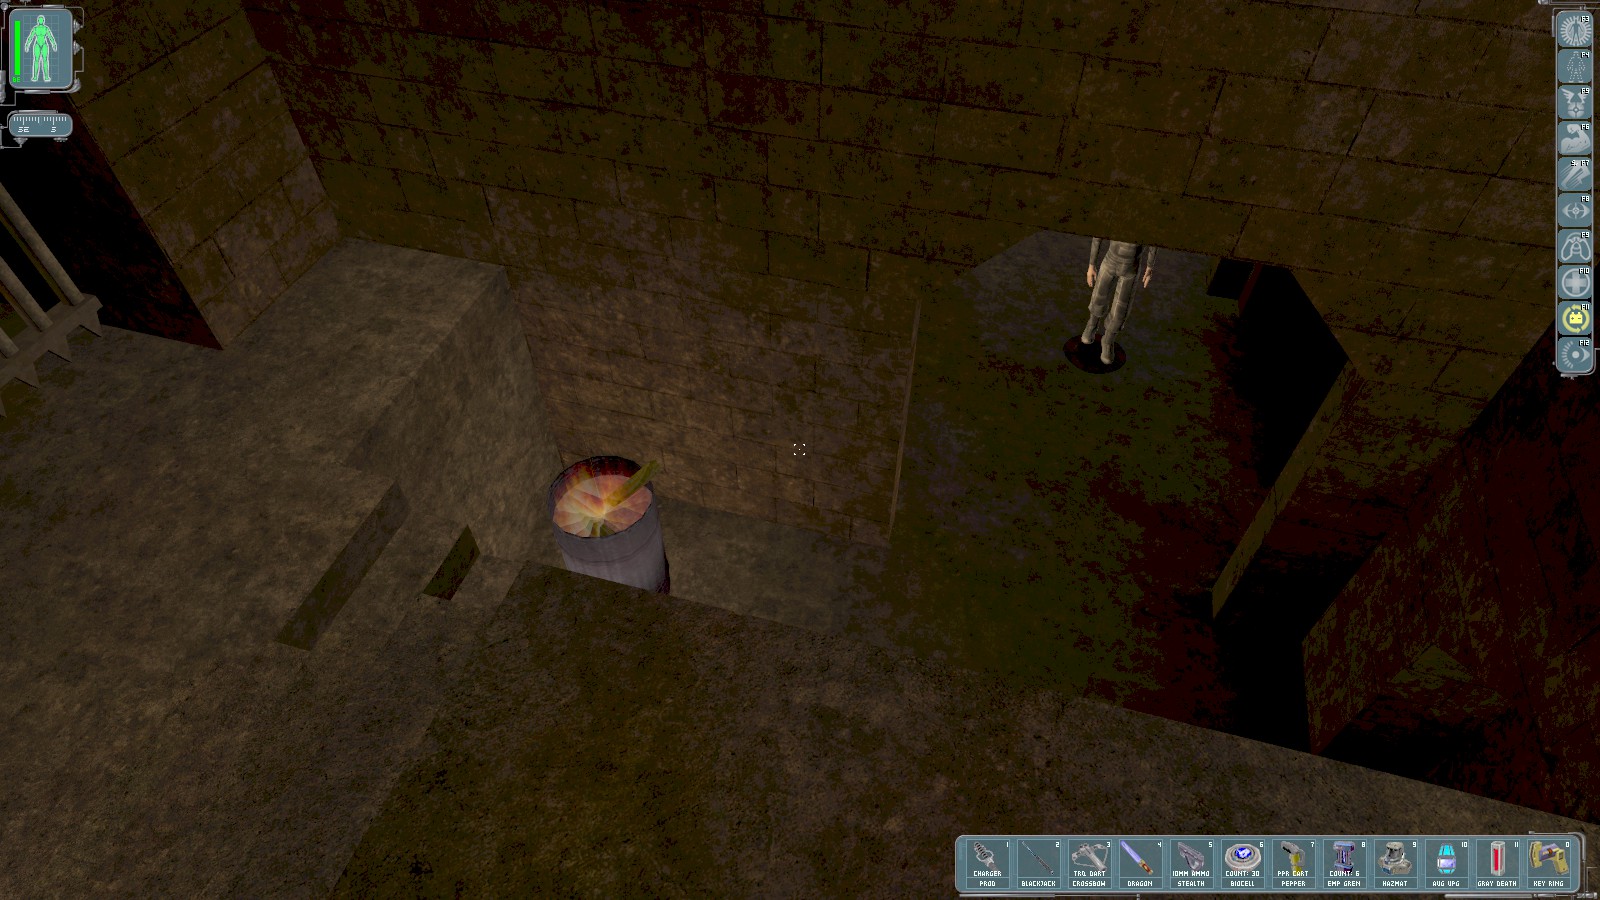
Continue West to this stairwell. Tong warns that Jock has detected heat signatures: this must be the entrance to the MJ12 base.
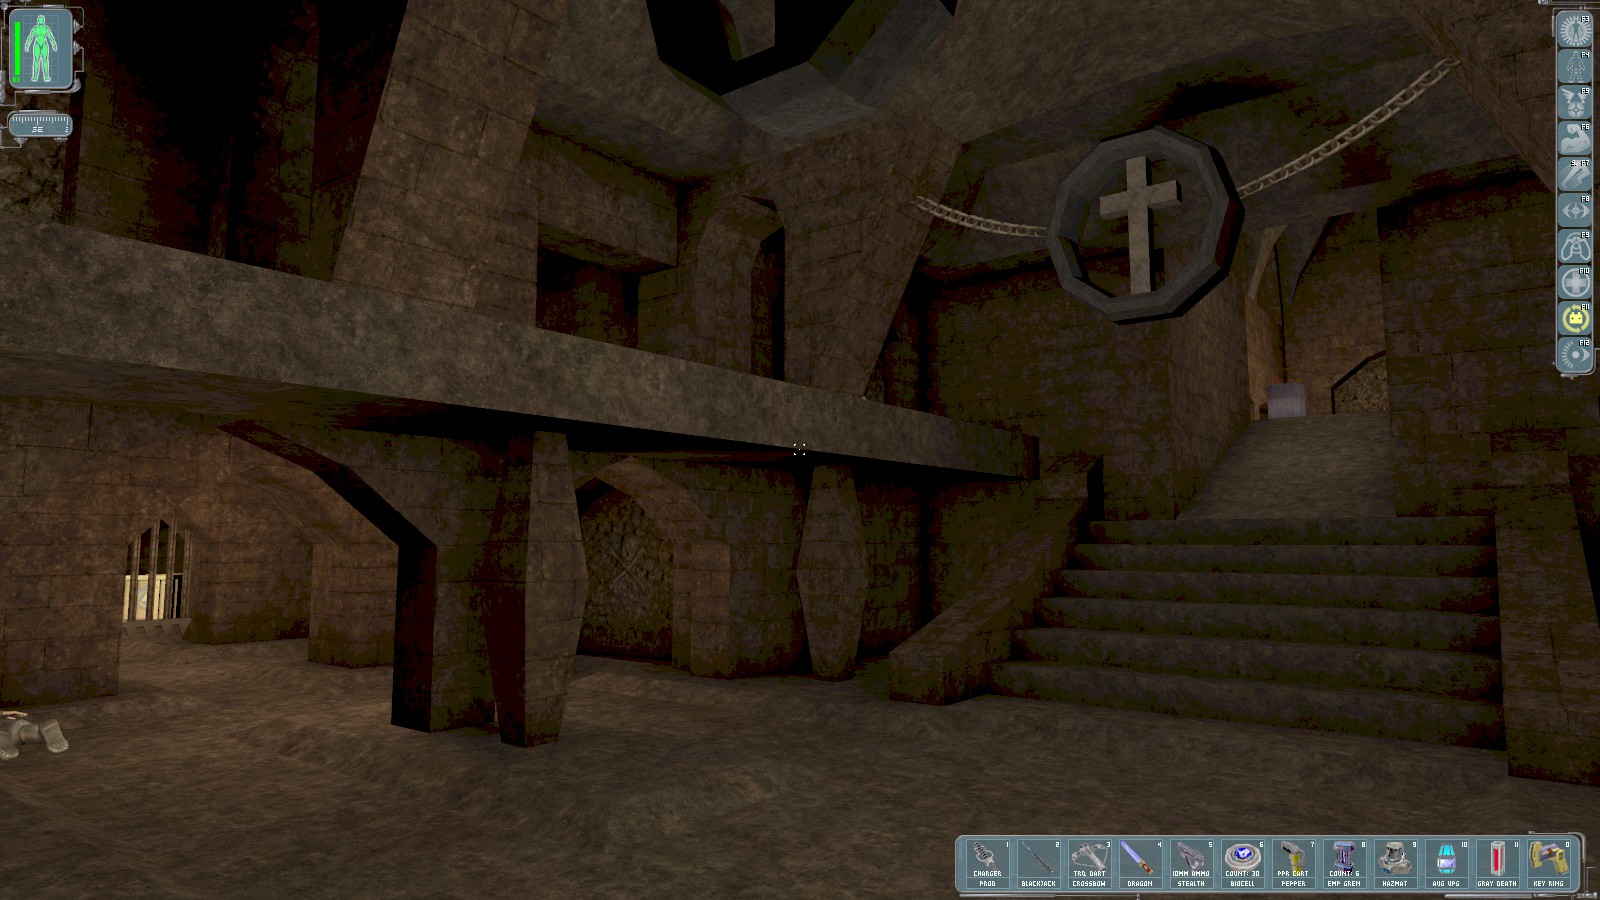
The guard patrols into this room, but beware another guard that patrols beyond a gate to the right
of this shot when knocking him out. You can climb to the roof girders on the left for a reminder of
the credentials Hela/Ragnarok, and access to the otherwise unreachable supply crates there for 2
lockpicks. If you still have the Dragon’s Tooth sword and are fine with a bit of B&E, proceed up the
steps ahead. Otherwise, skip ahead.
|
|
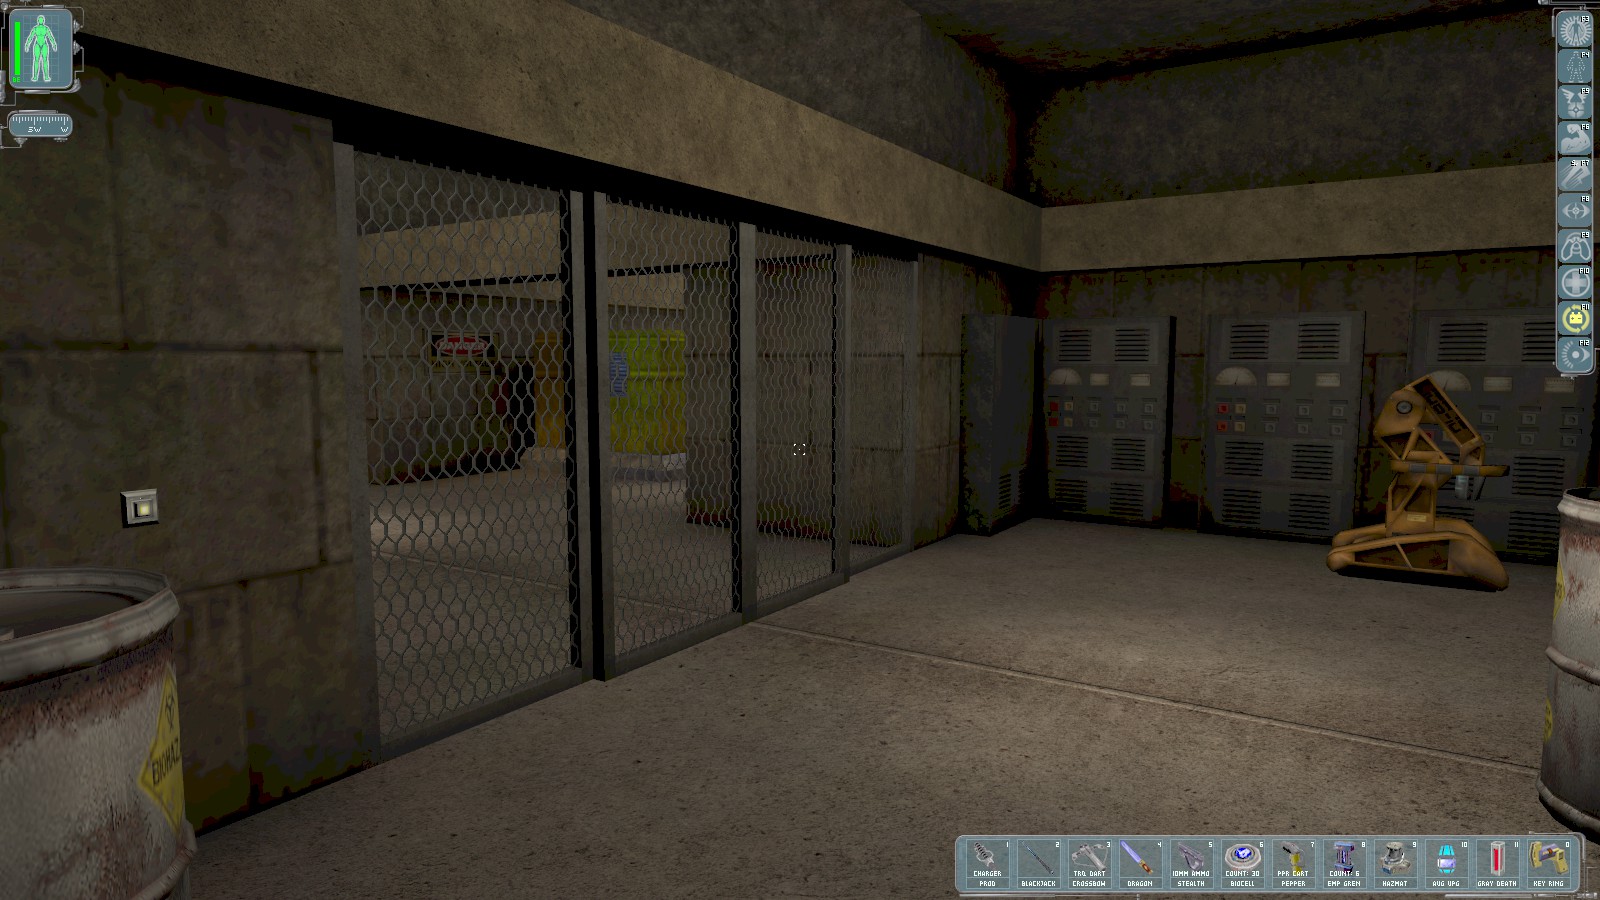
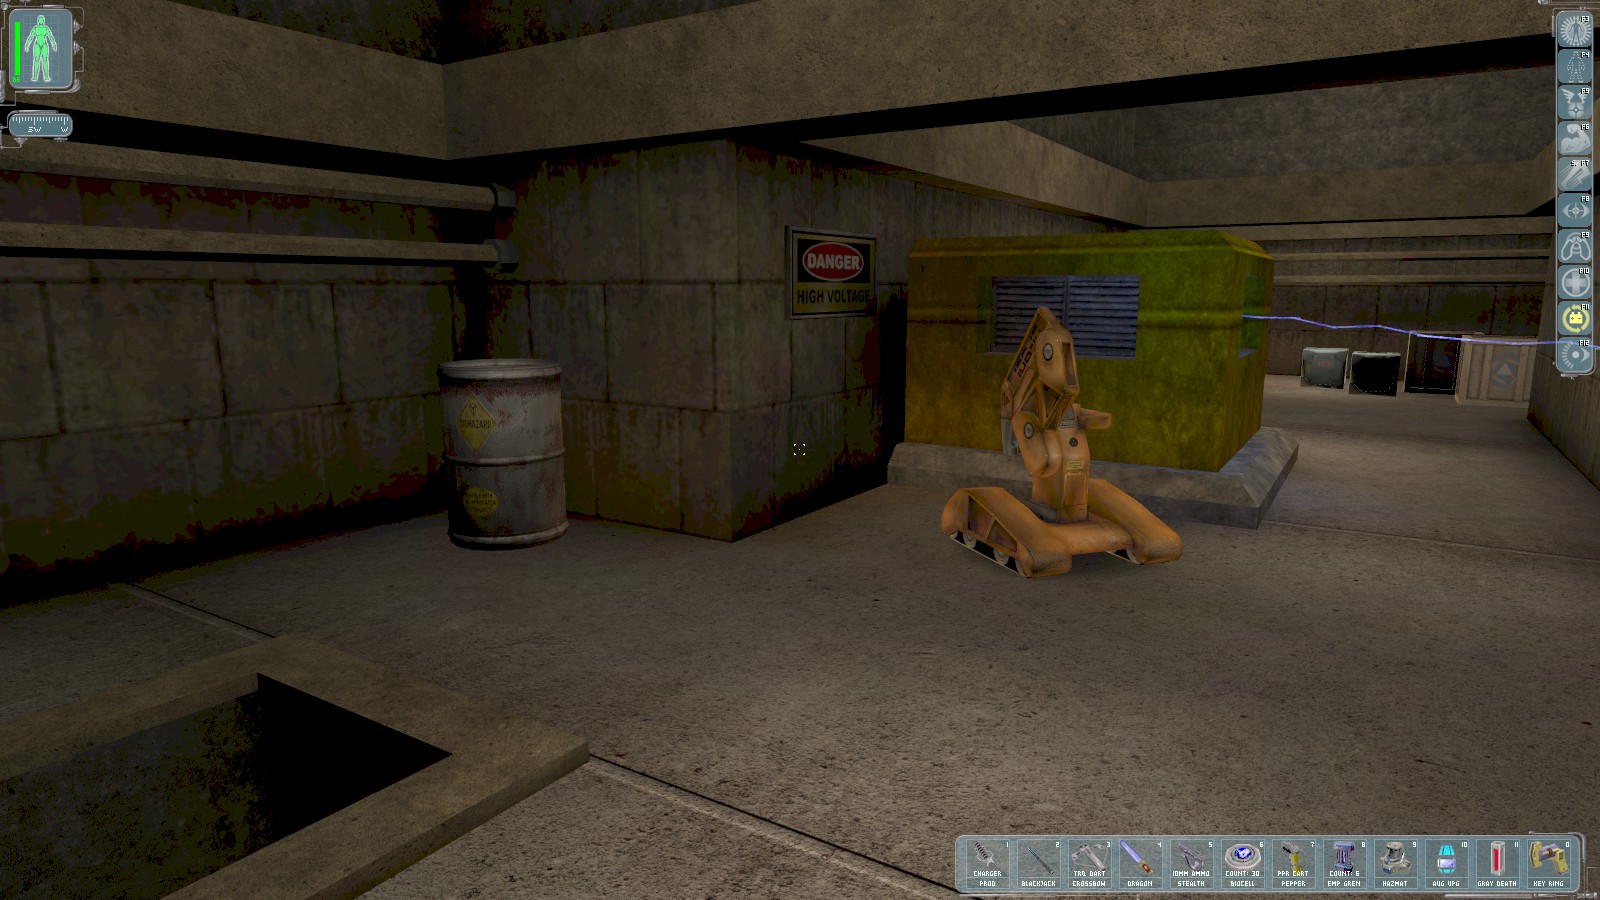
Go up another ramp and break through the door to reach here. Open the gate on the left with the button, allowing the repair bot through to fix the electrical hazard. The crates beyond the hazard contain tech goggles and a multitool. There’s a ladder down to another guard patrolling below. If you came that way, climb onto the generator and from there to the shelf around the ceiling to reach the repair bot and the button to open the door.
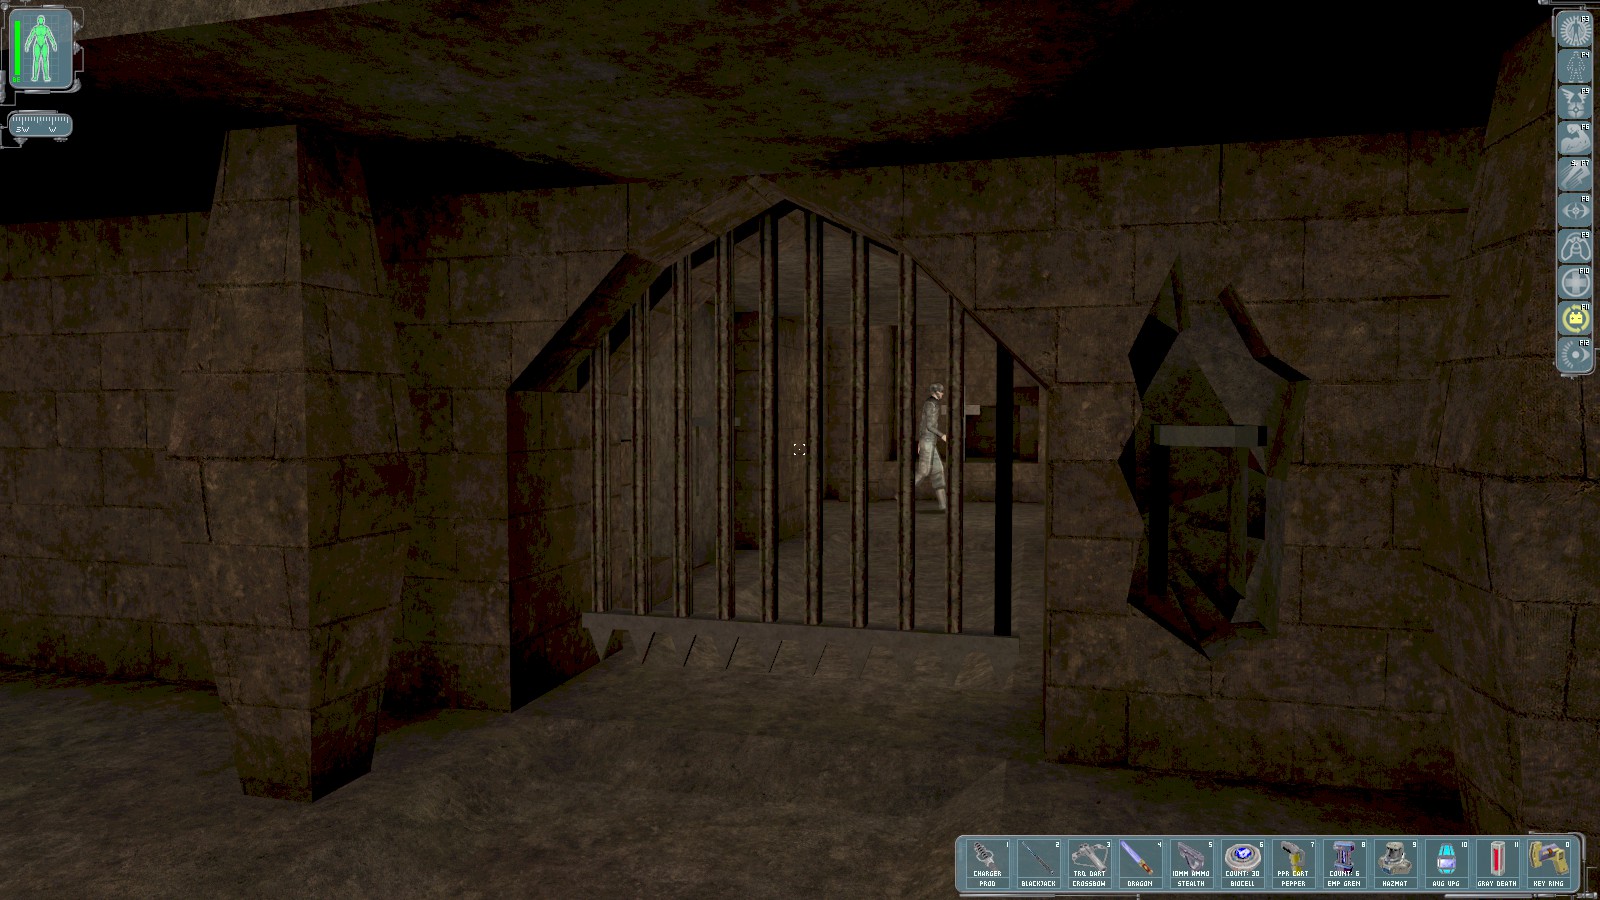
Open the gate by using the handle/level to the right of the doorway, and knock out the guard patrolling. Go left to find a ladder up to the repair bot.

Go carefully to the laser grid (beware a camera beyond it) and disable the control box with 2 multitools, then return to here and climb to a small gap behind this crucifix on the left.
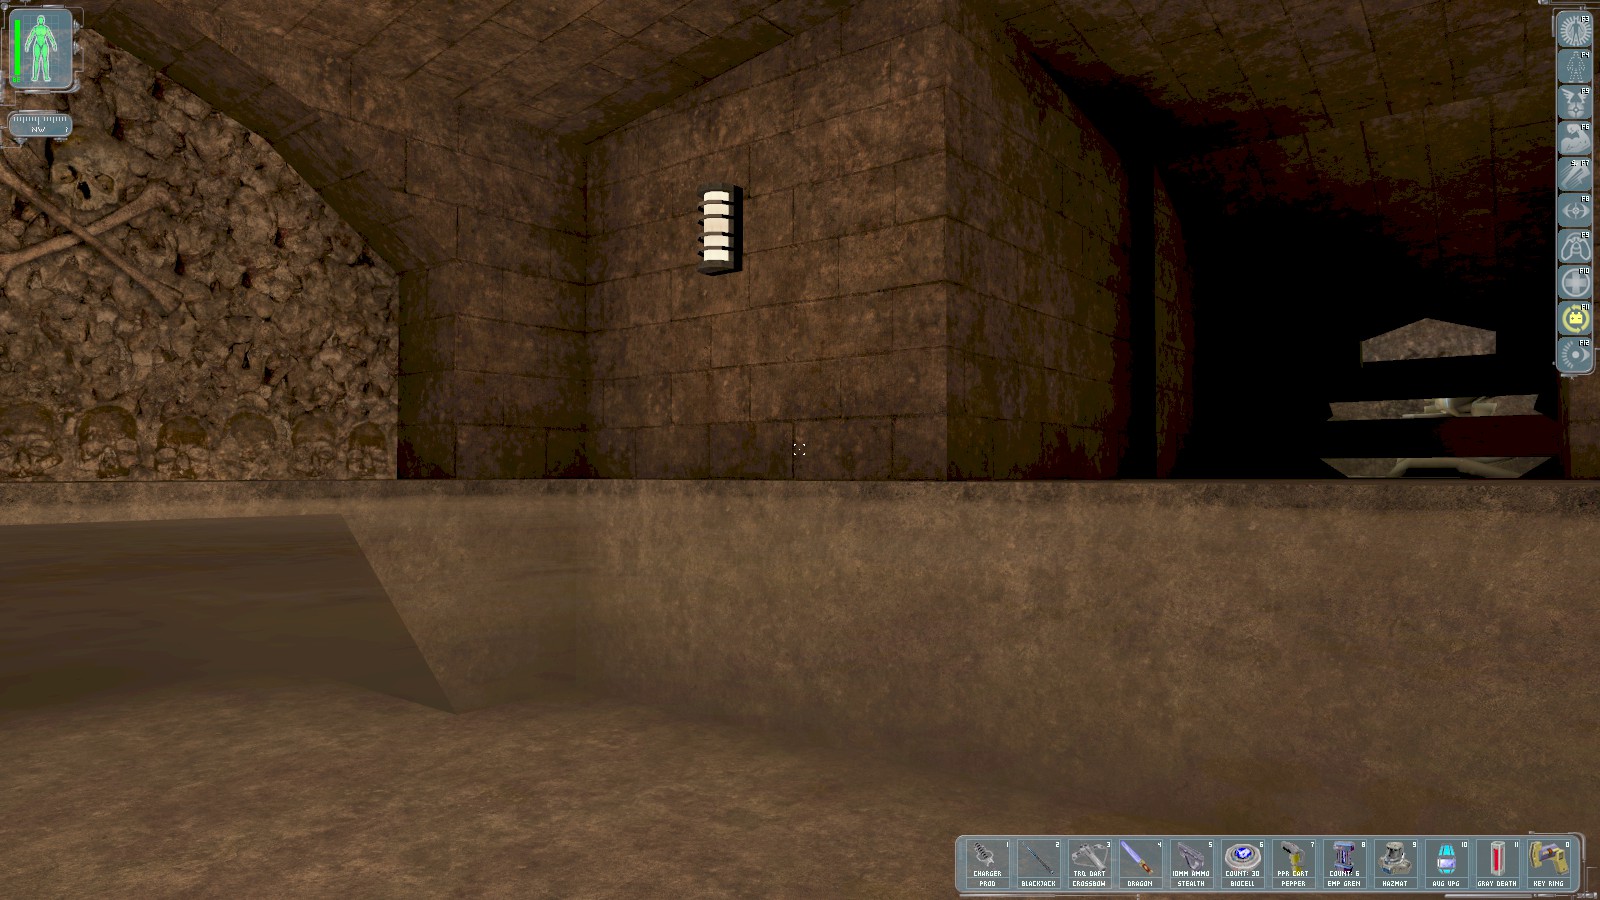
You emerge above this pool. Ignore the tunnel on the left and carefully (a machine gun bot patrols beyond) break through the planks covering a gap in the wall on the right.

A guard paces back and forward in a small room to the left of the doorway just beyond the bot here. When the bot has passed and the guard’s back is turned, sneak over and knock him out. You get 50 skill points. There’s a control box in there that can disable a laser trap further round, but you can save your multitools.
|
|
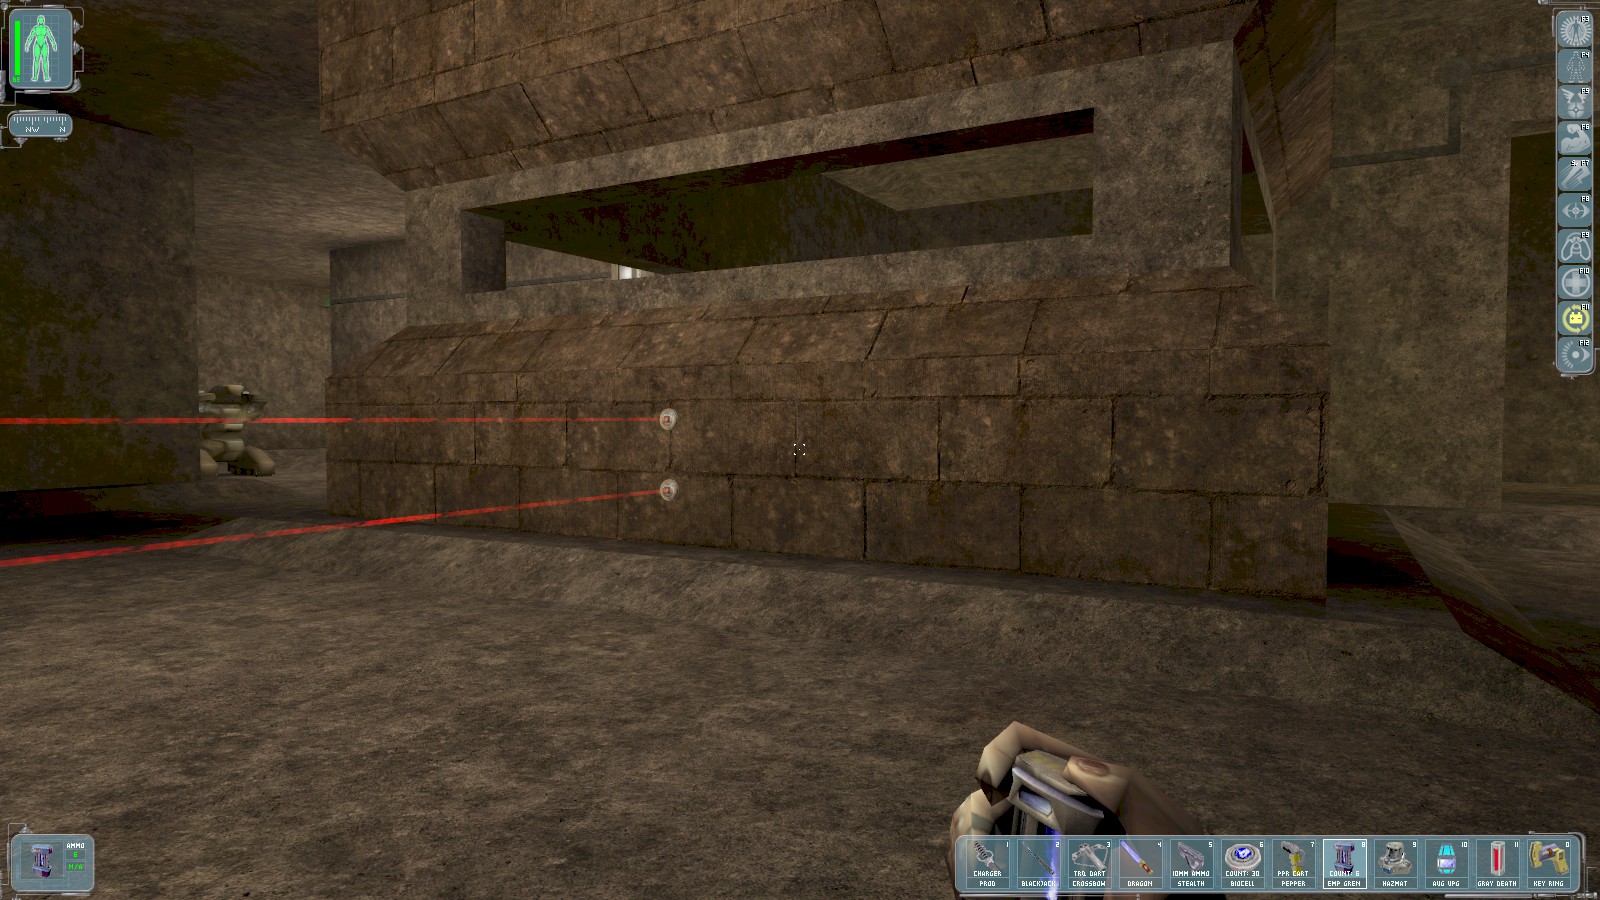

Place an EMP grenade near the lasers, and wait for the bot to come back round. If you placed the grenade just right, the disabled bot blocks the lasers. Head for the doorway next to the turret, and find supply crates with a medikit, a lockpick, and some ammo.
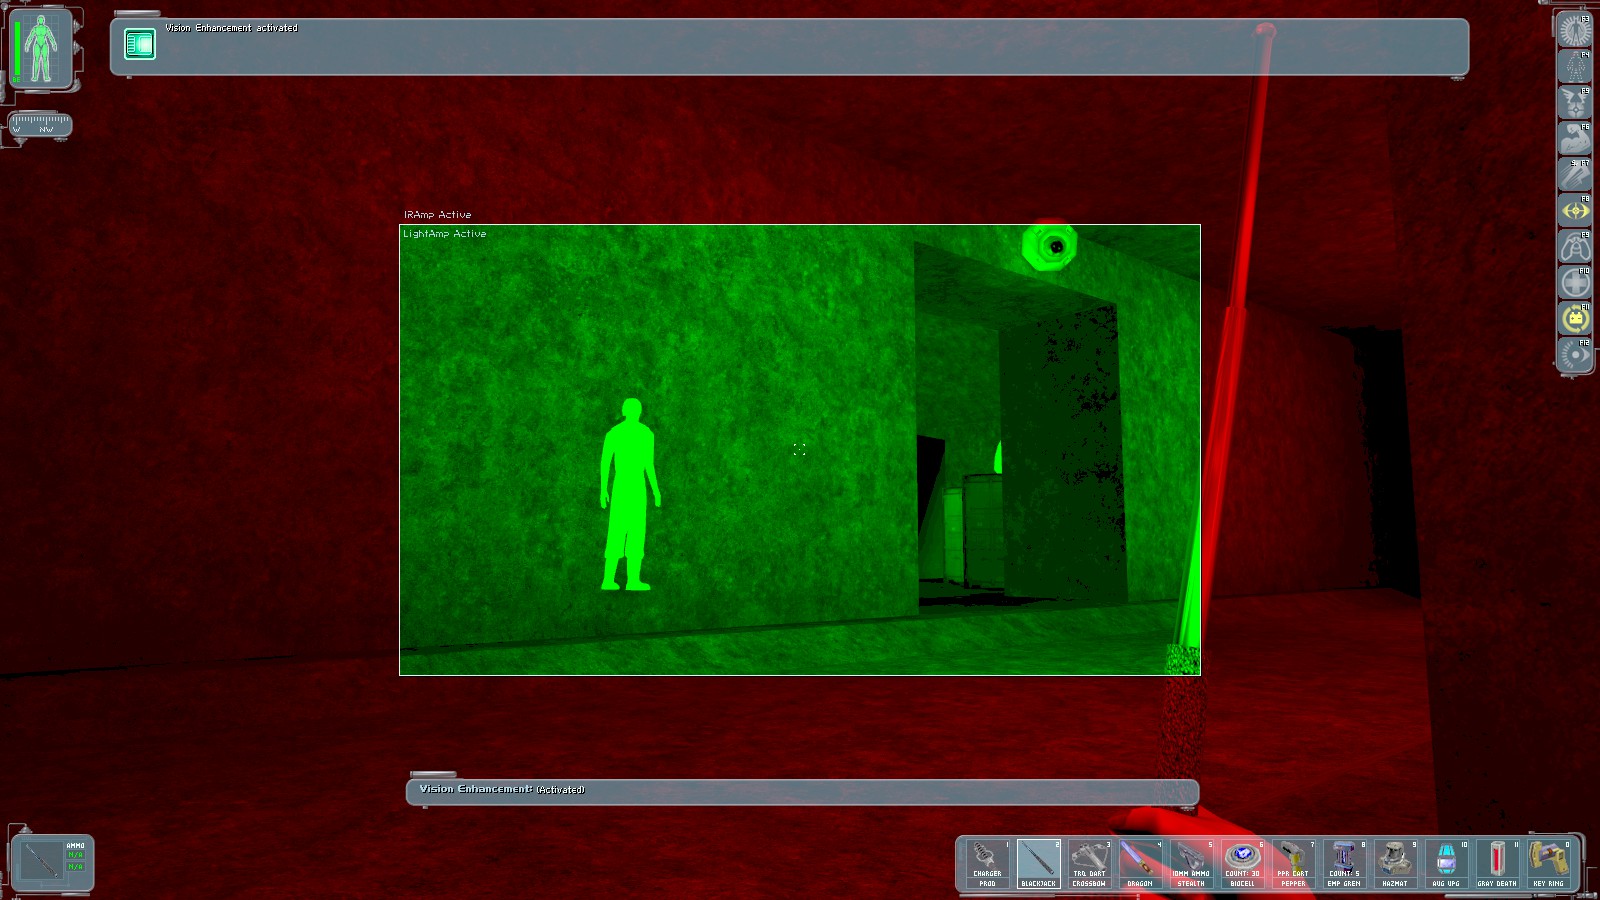
Out the other side and further round is another doorway protected by a camera. Duck under the camera and knock out the single guard inside. The door opposite that room contains the hostages, but we can’t go there yet—there are still more MJ12 to incapacitate. Carry on round to the North.

You’ll soon encounter another laser trap (just visible here through the gap in the wall of the adjoining room). This one needs to be disabled so that the hostages can make their escape. The control box is in this room. The crate contains a lockpick. Continue East and follow the corridor.
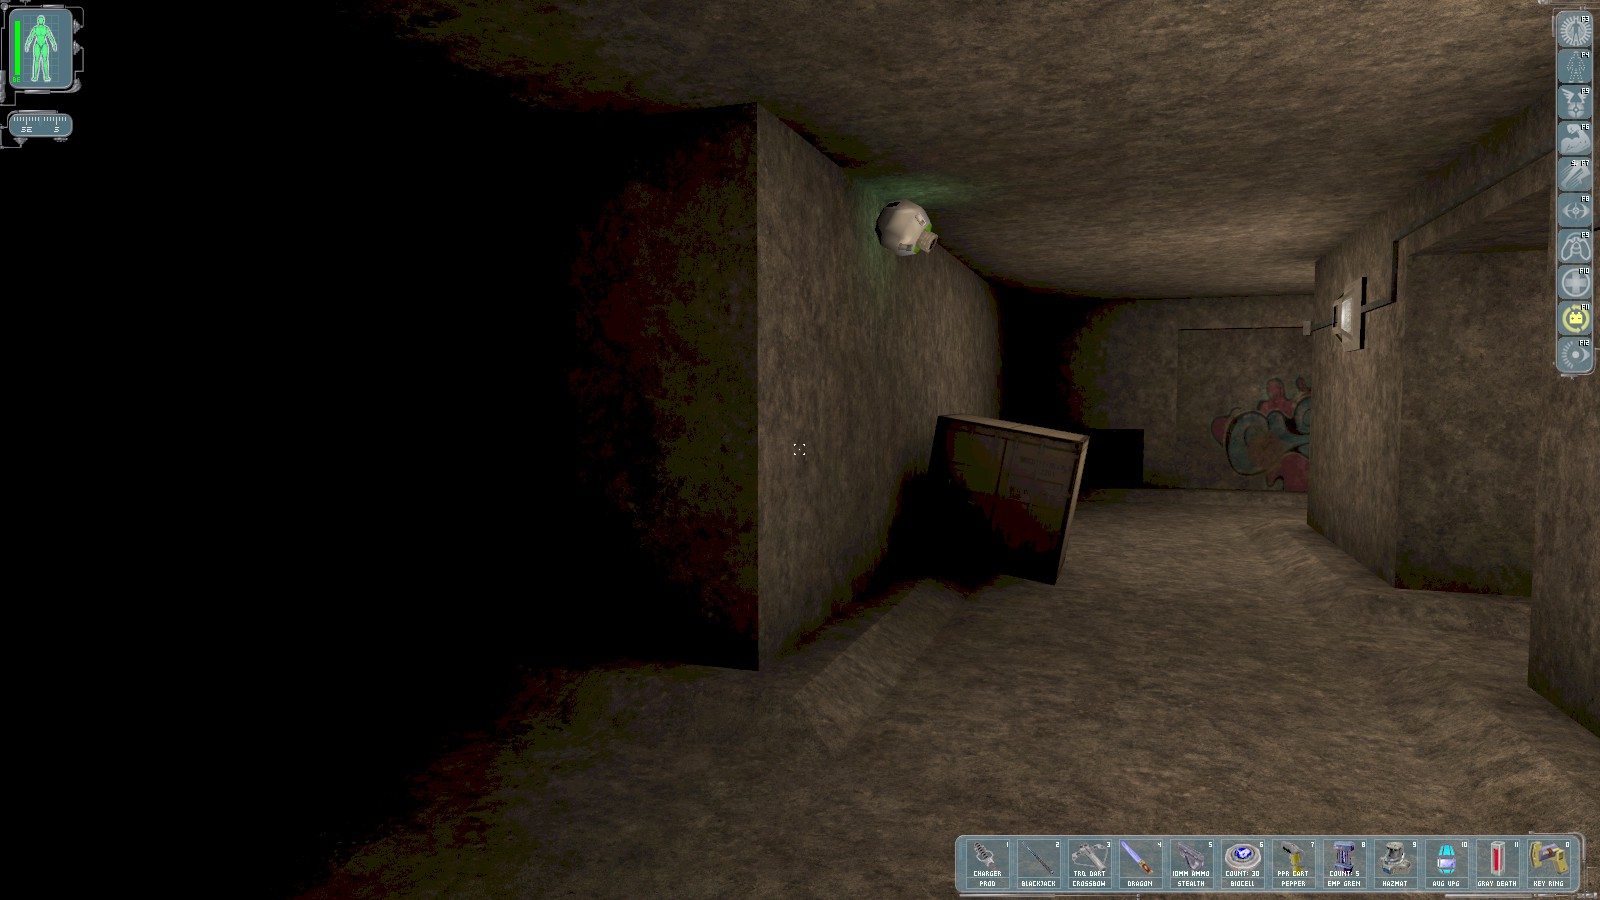
The dark space on the left conceals a doorway—your exit. The doorway opposite the camera leads to the last remaining MJ12.
|
|
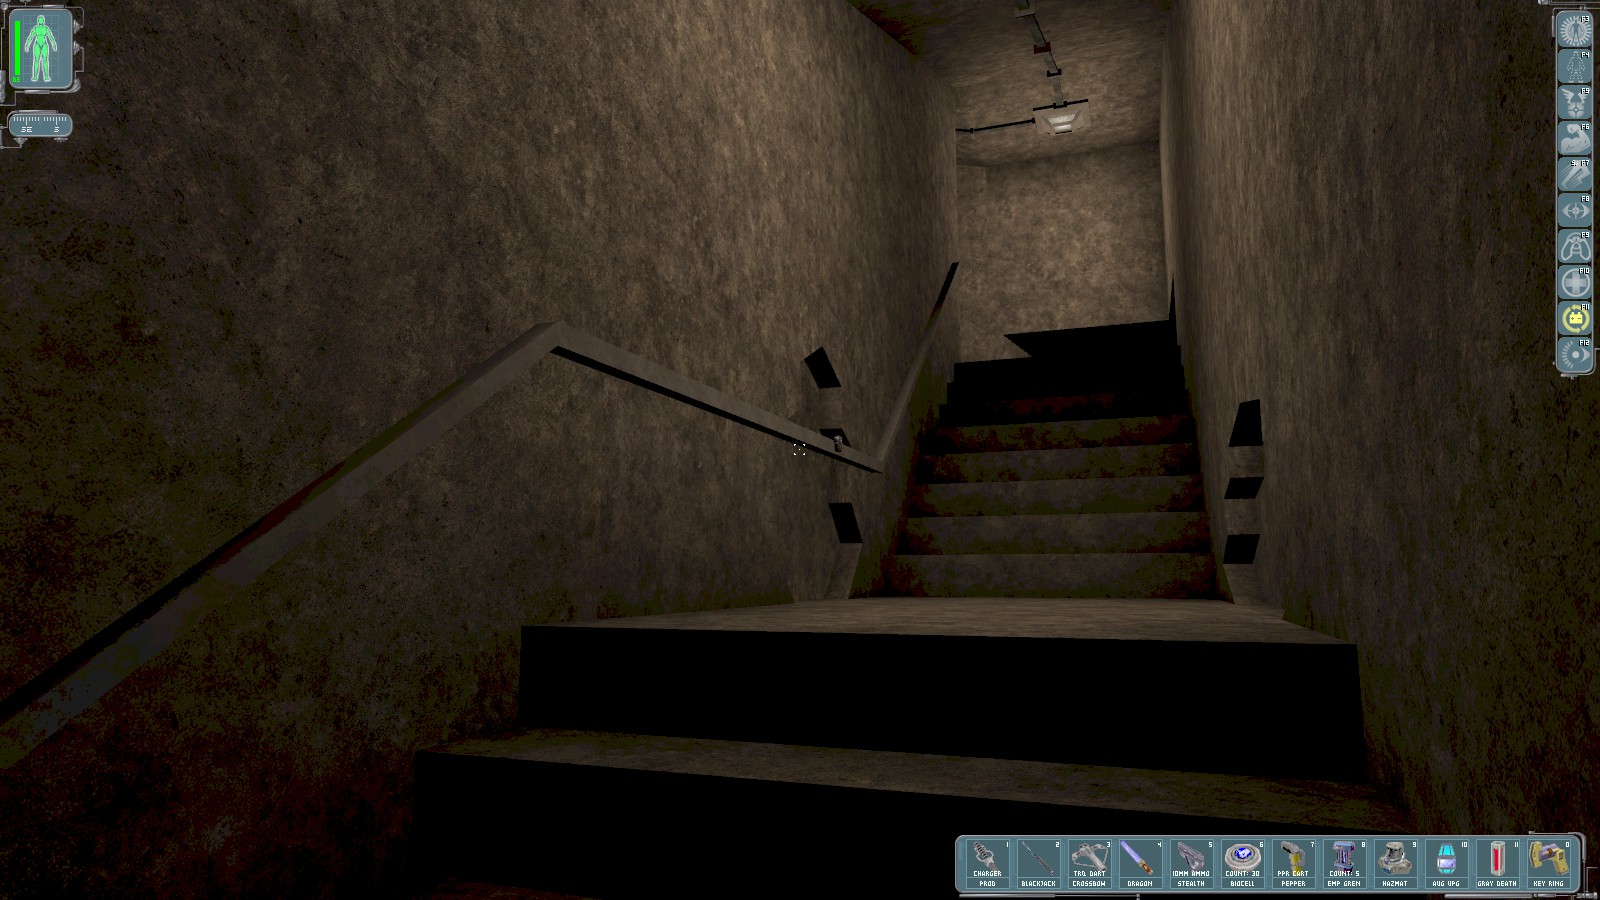
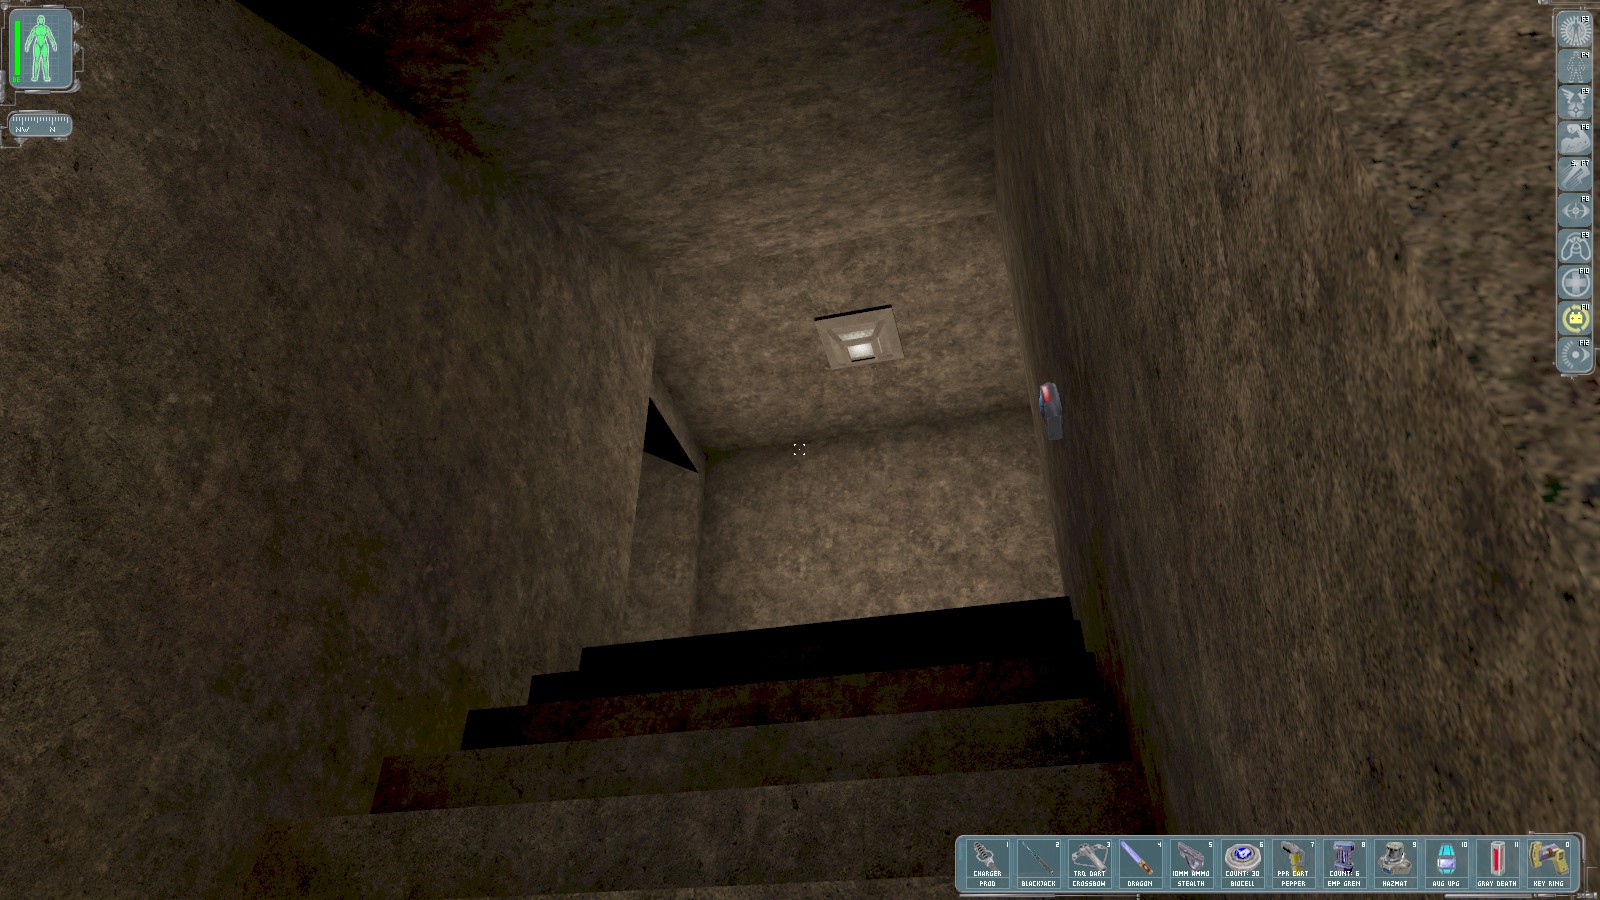
The passage on the left is your exit, and is protected by an EMP mine on the handrail. Disable the mine, then return to the camera. Duck into the other passage, and disable the LAM on the right hand wall. This time continue up the stairs.
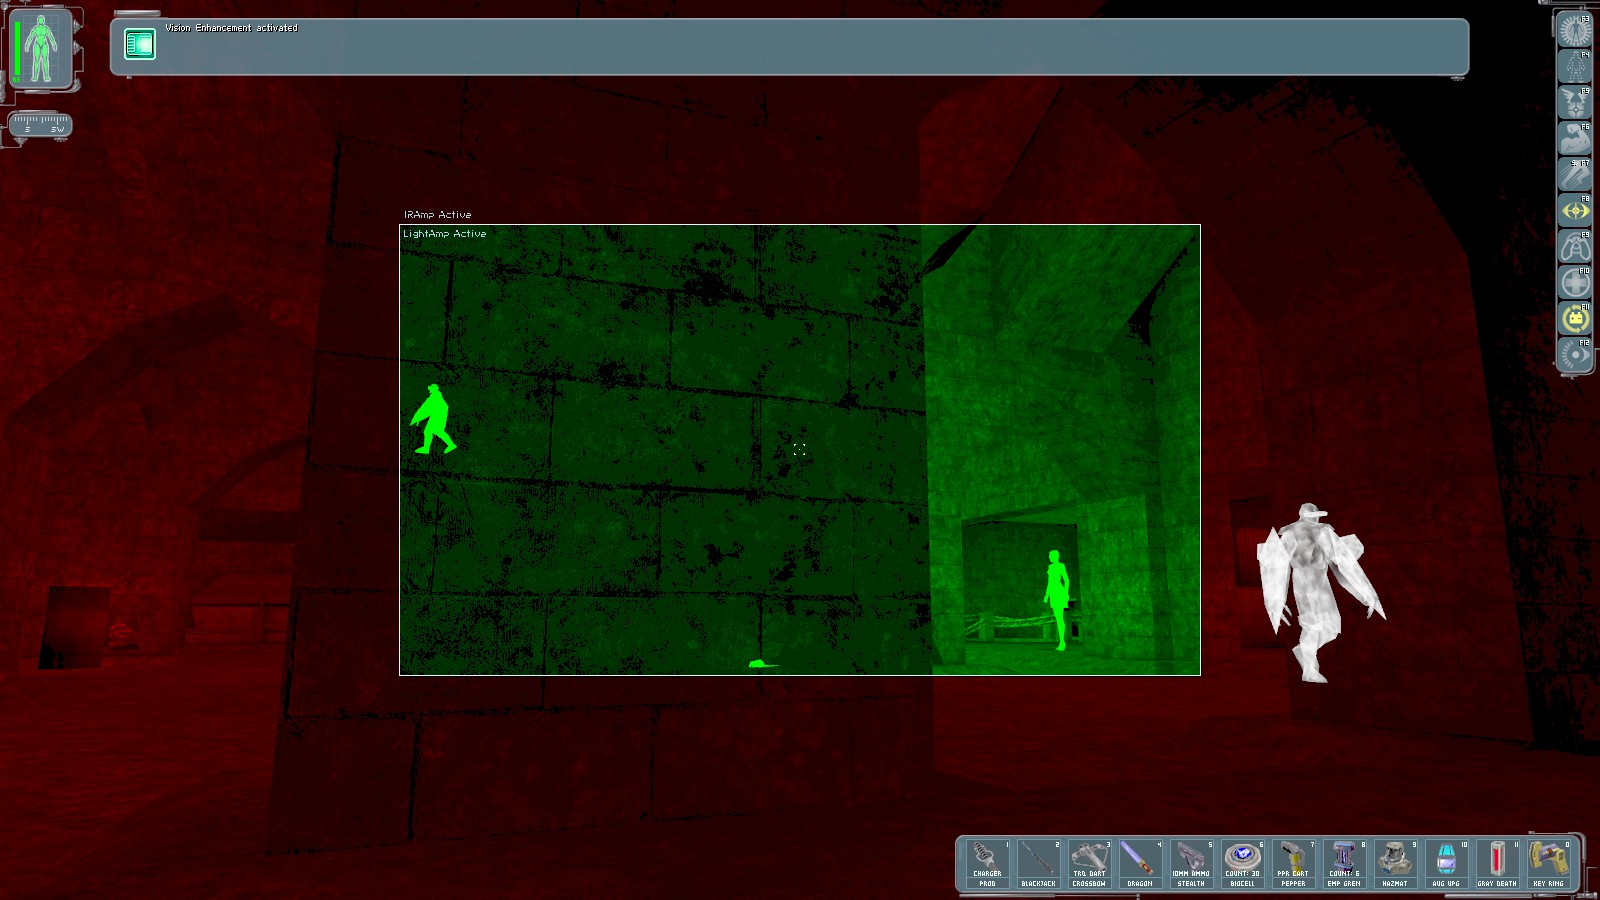
At the top, 2 commandos and a WIB patrol. Time your knock-outs carefully. Note that one of the MJ12 commandos is on a higher ledge accessed via a ladder—best left for last. Enhanced Vision works well for timing the climb safely.
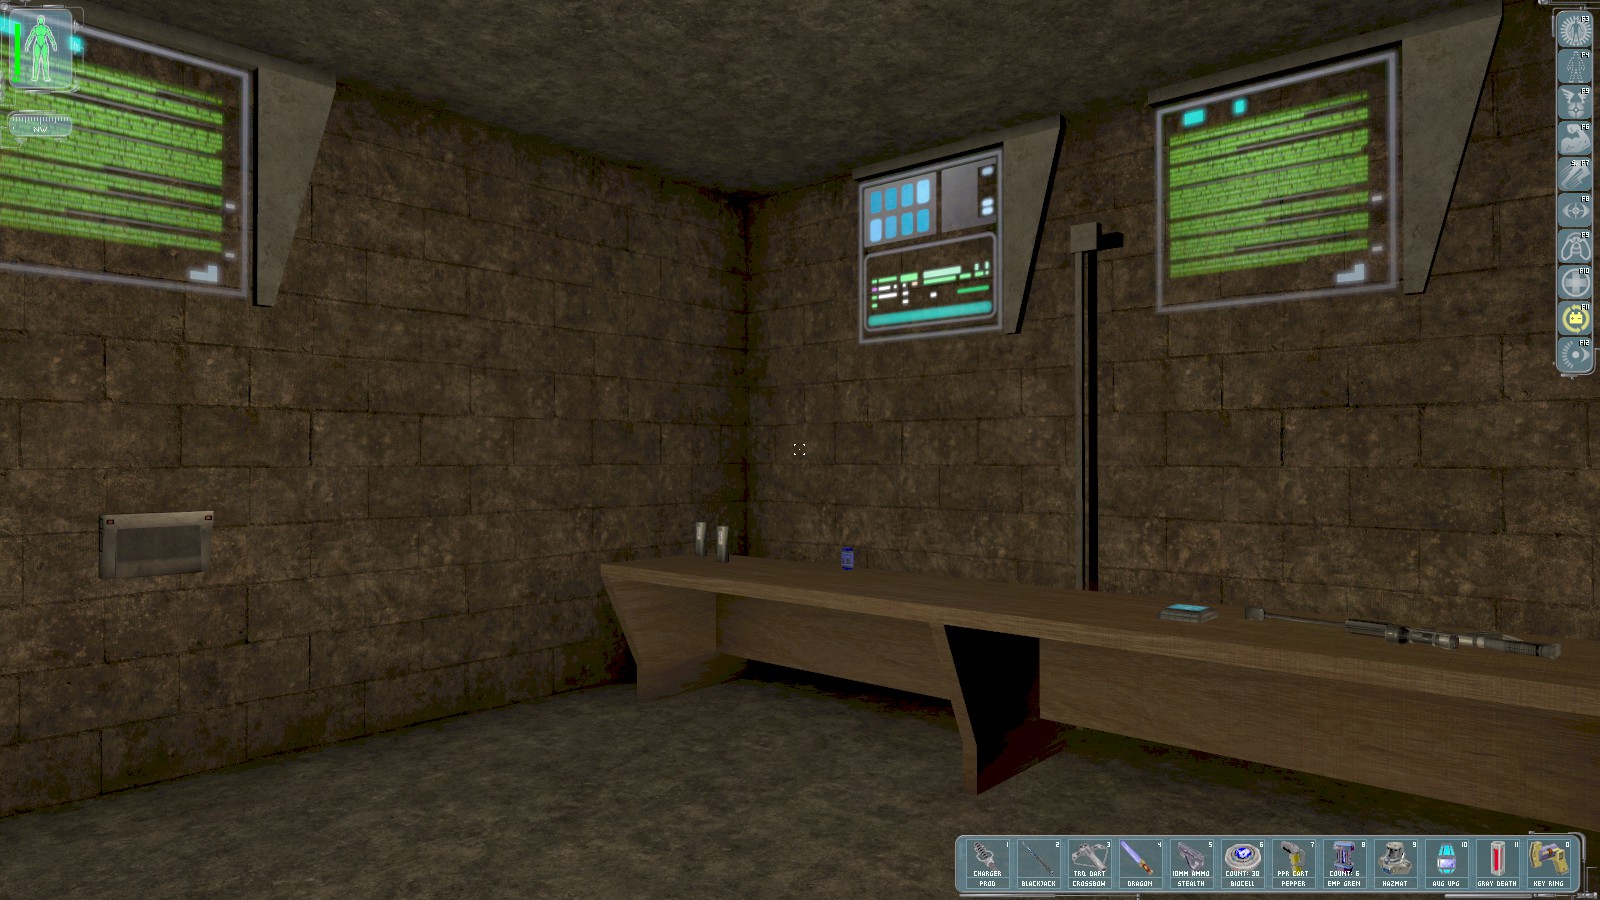
It turns out the WIB is Agent Hela. Use the credentials Hela/Ragnarok on the security
console in the corner to disable 3 cameras. Don’t forget to grab the nanokey for the sewers on the
table. That’s the whole MJ12 security apparatus disarmed. Time to rescue the hostages. Go back down
the stairs and turn right (North).
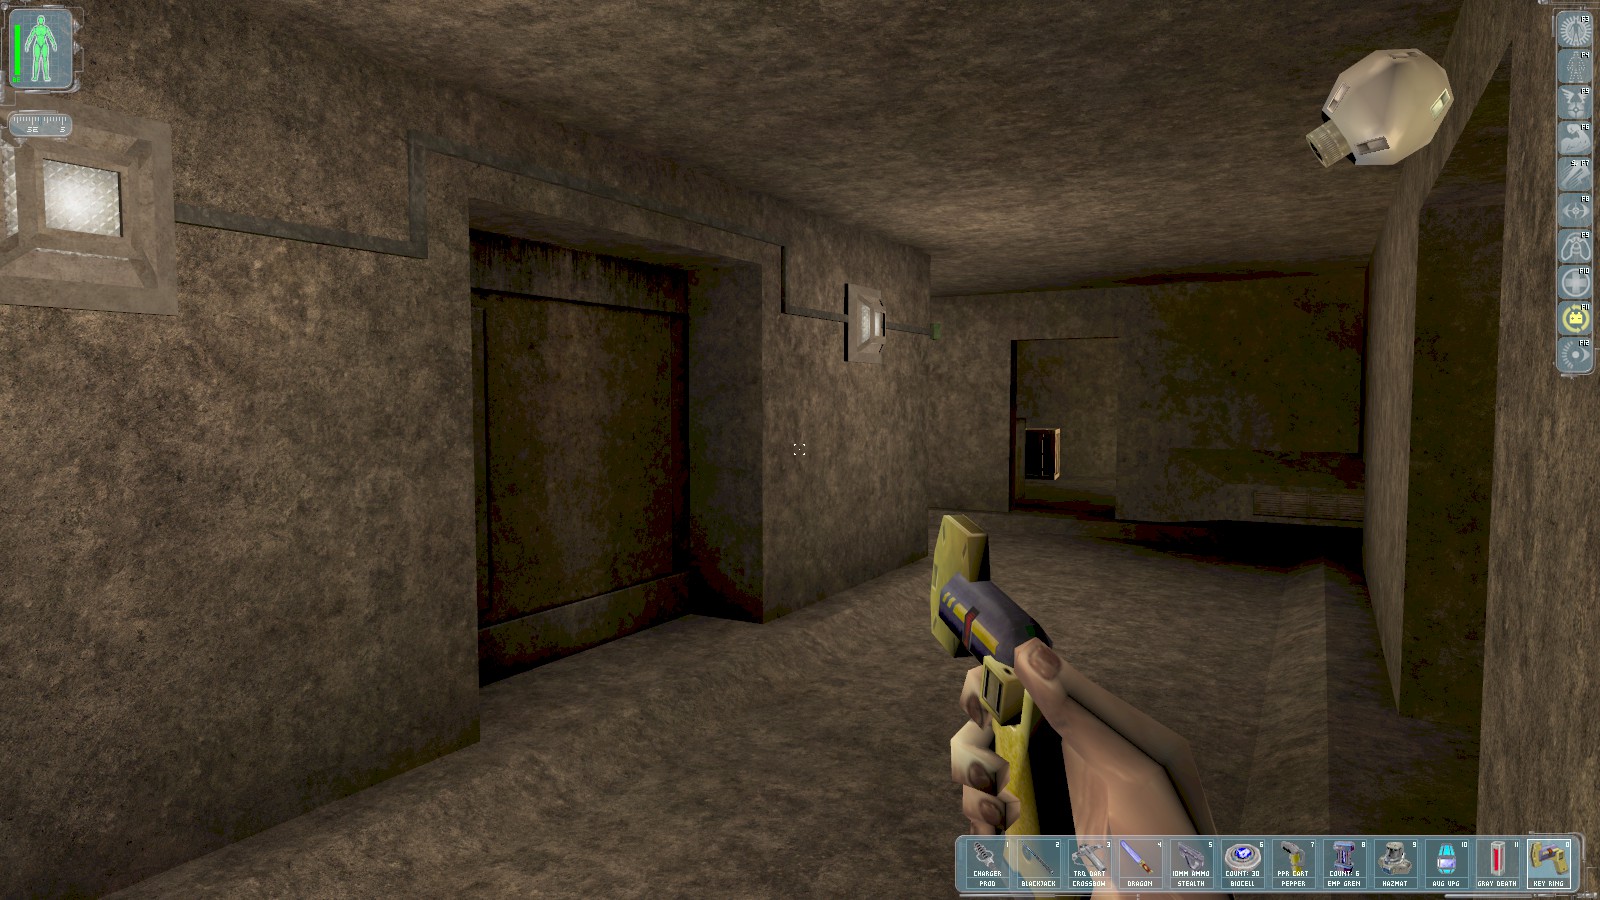
Back at this door, the camera now disabled, it opens with your key. Go down the steps a little way for 250 skill points.
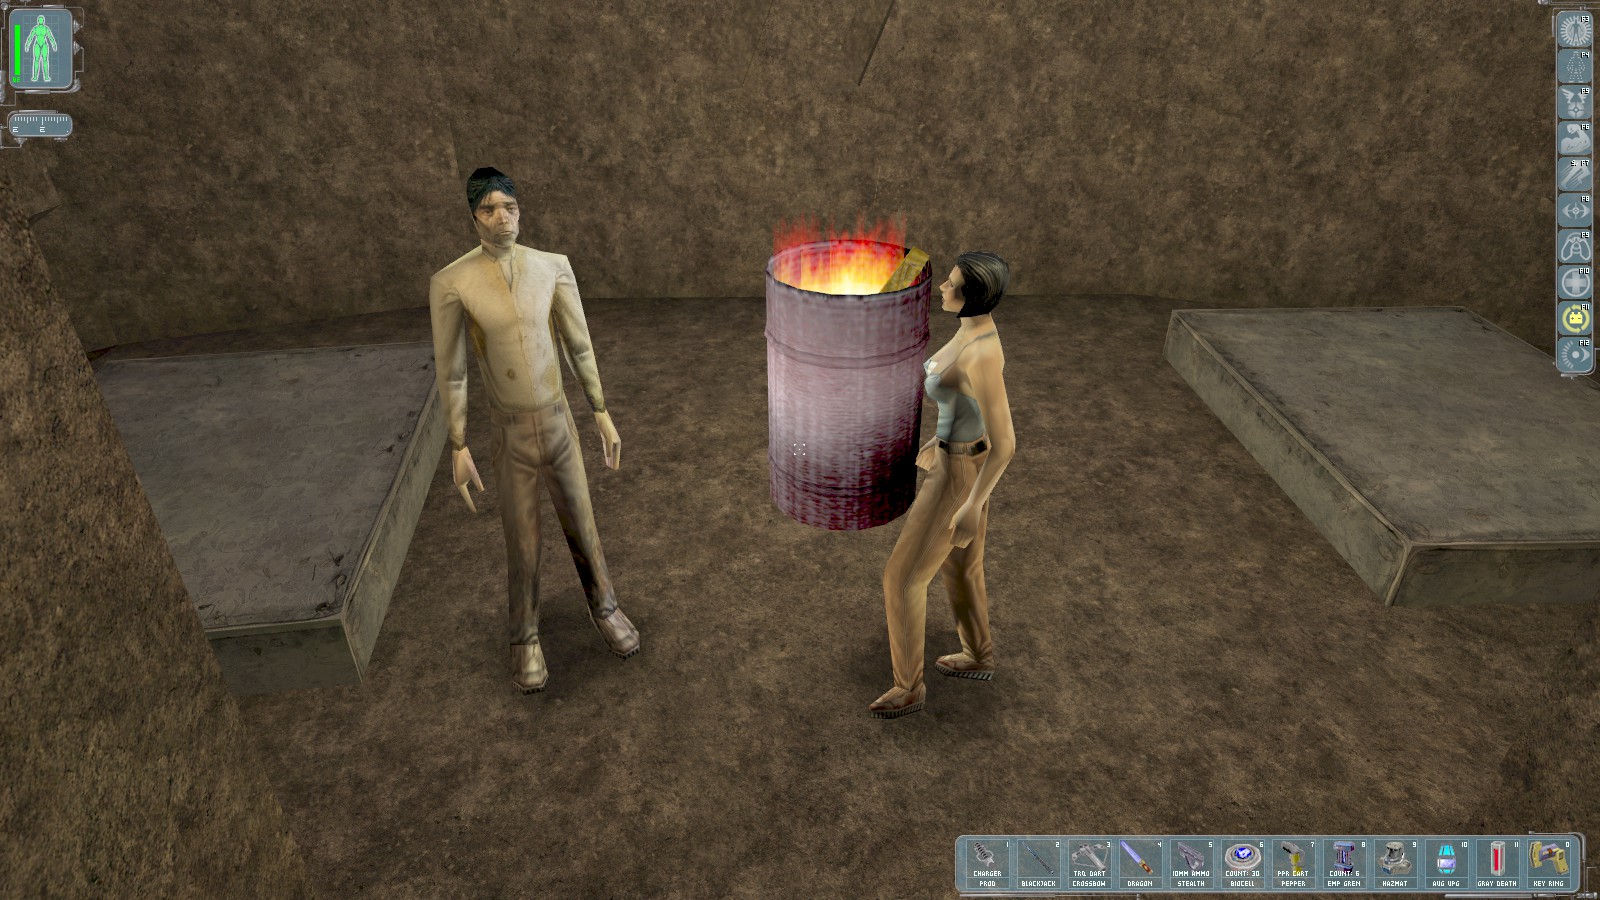
The two hostages will follow you as long as you don’t go too far. The easiest way to keep them on track is to stay in their line of sight. Turn right (North again) out of the door and return to the exit door. With all the MJ12 patrols out cold we have a clear run back to Bunker 1.
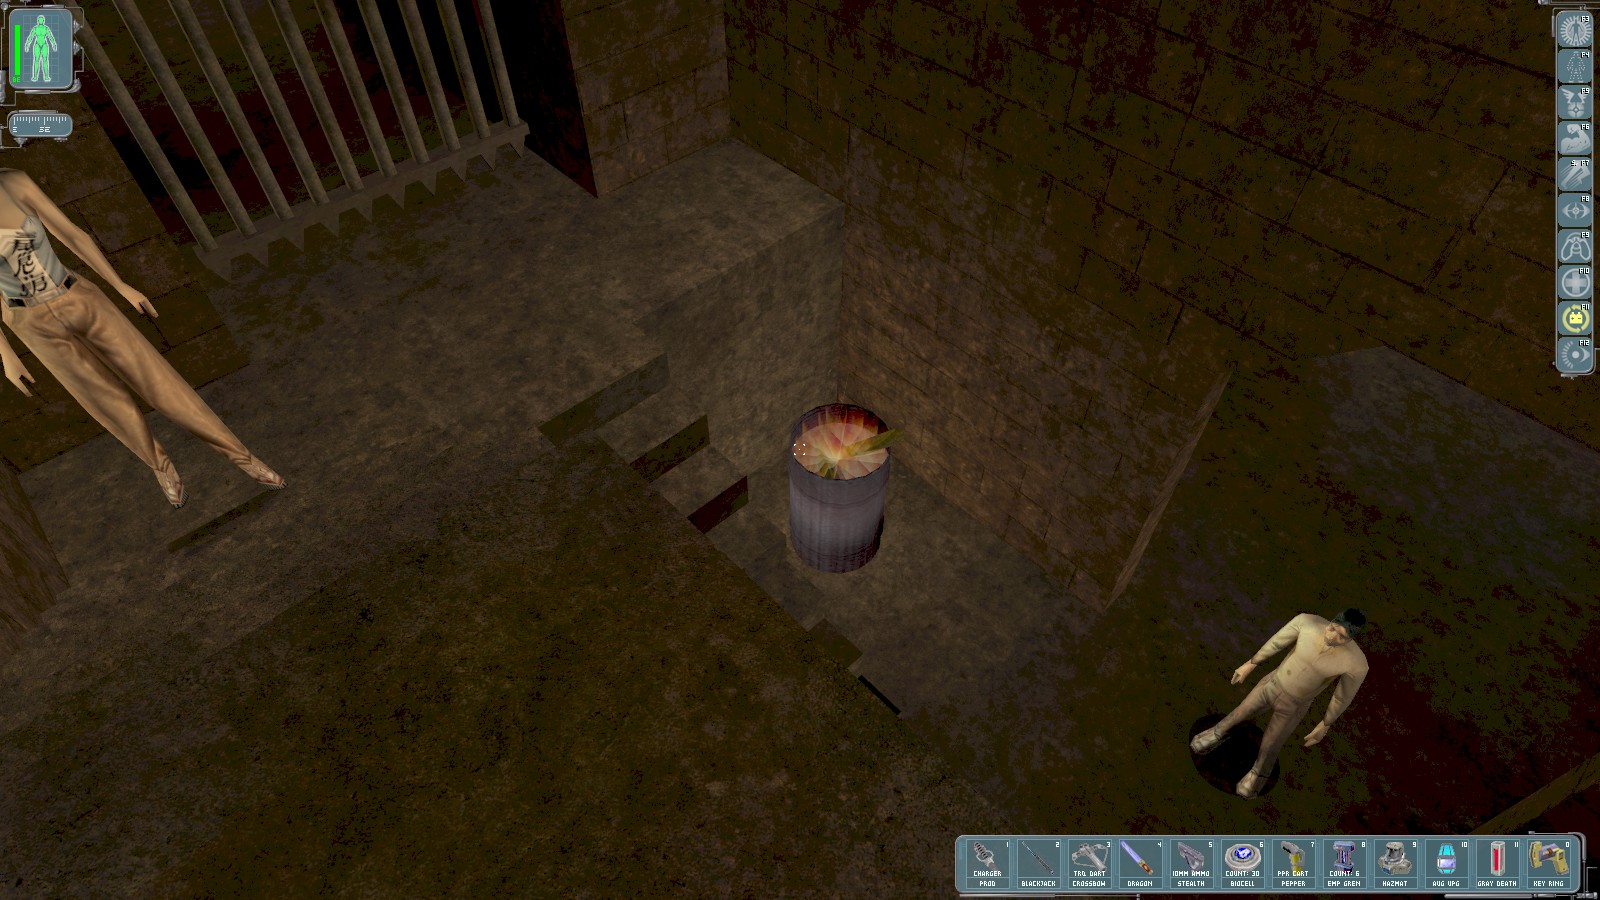
Head up the stairs to another door that is unlocked with your key. Head East, then North. I had some difficulty persuading both to climb the steps to the top, but they eventually got the idea.
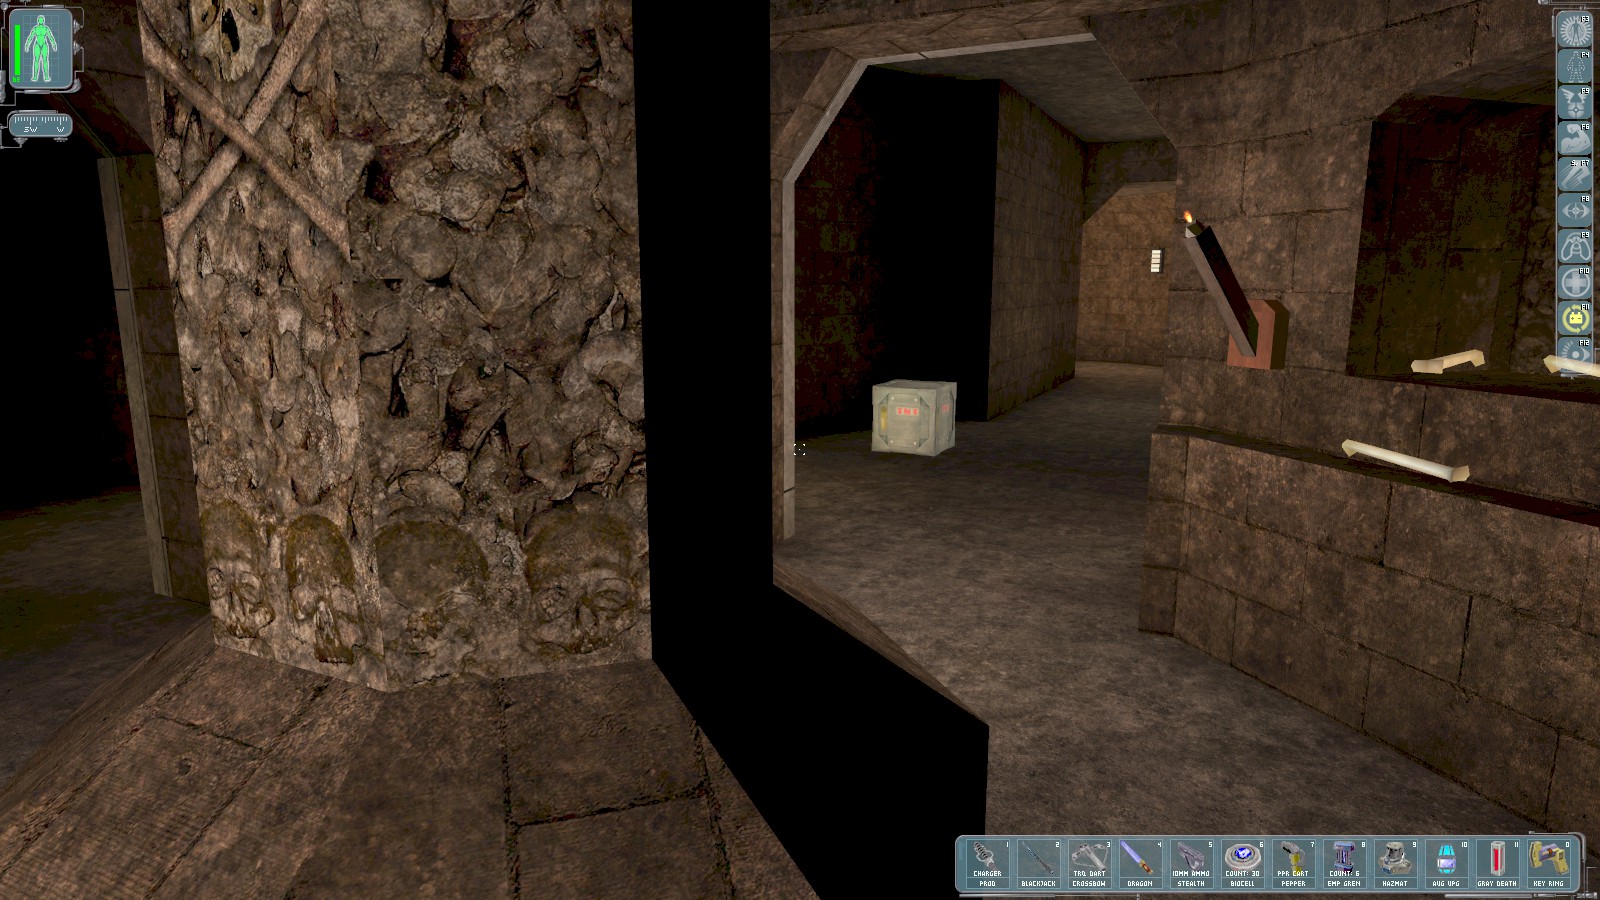
At the top of the stairs, keep going right. You know you’re on the right track when you pass this crate of TNT (near where you disabled the machine gun bot earlier.

Here’s the exit on the left, with the entrance to Silhouette’s Bunker 1 right opposite.
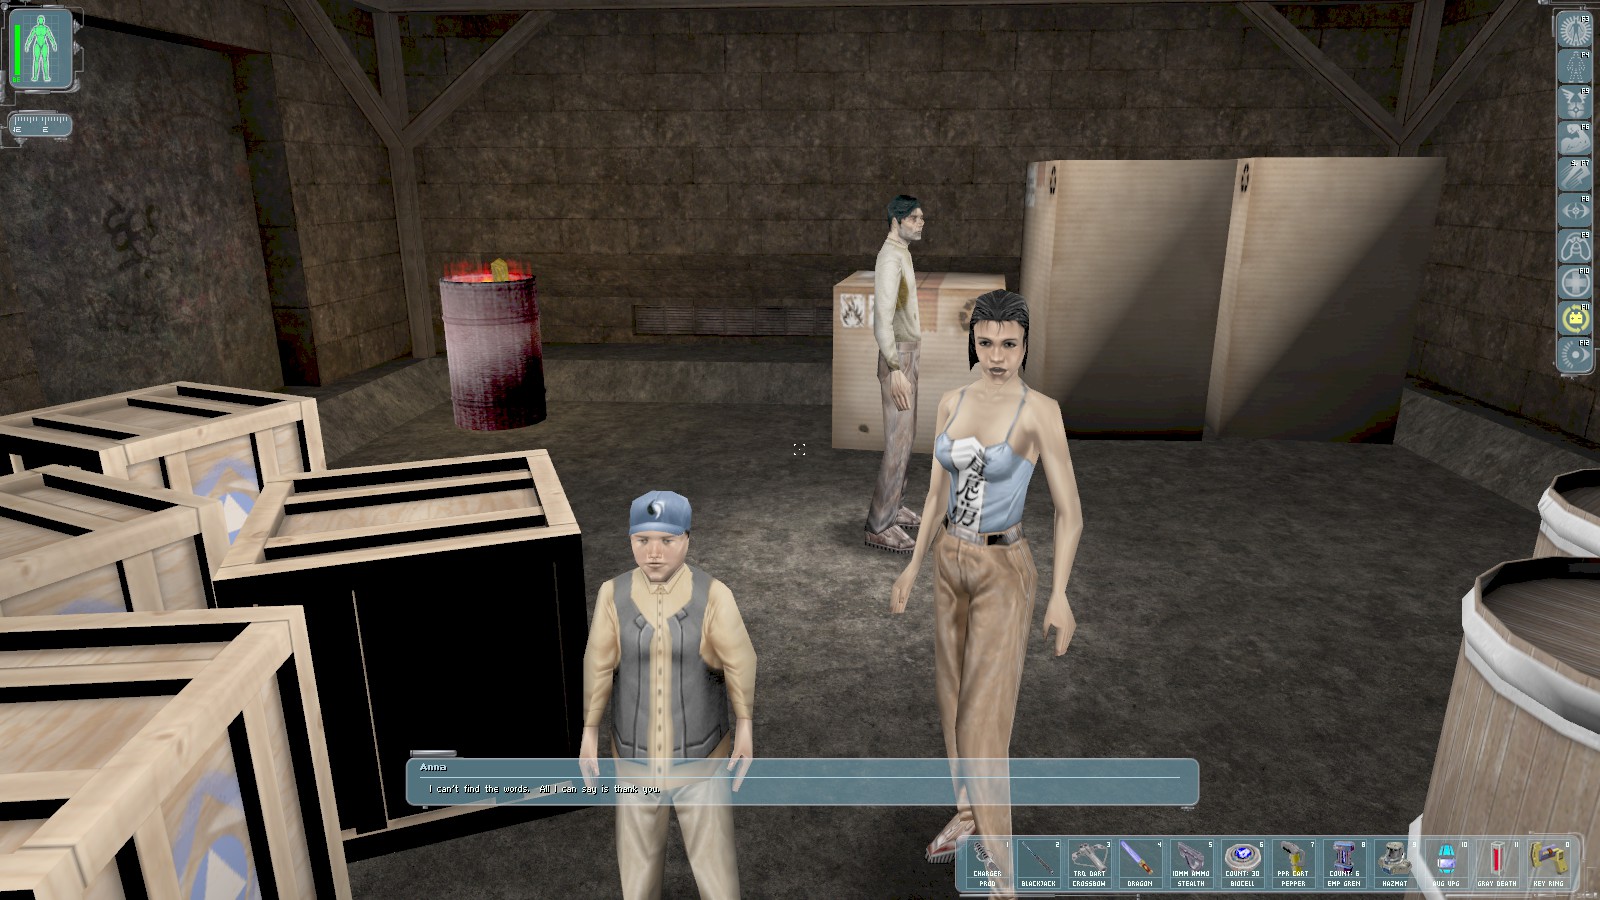
Open the door to Bunker 1, and the hostages will follow you inside. Here’s the whole reunited family. Time to go and see Chad in the room to the South.
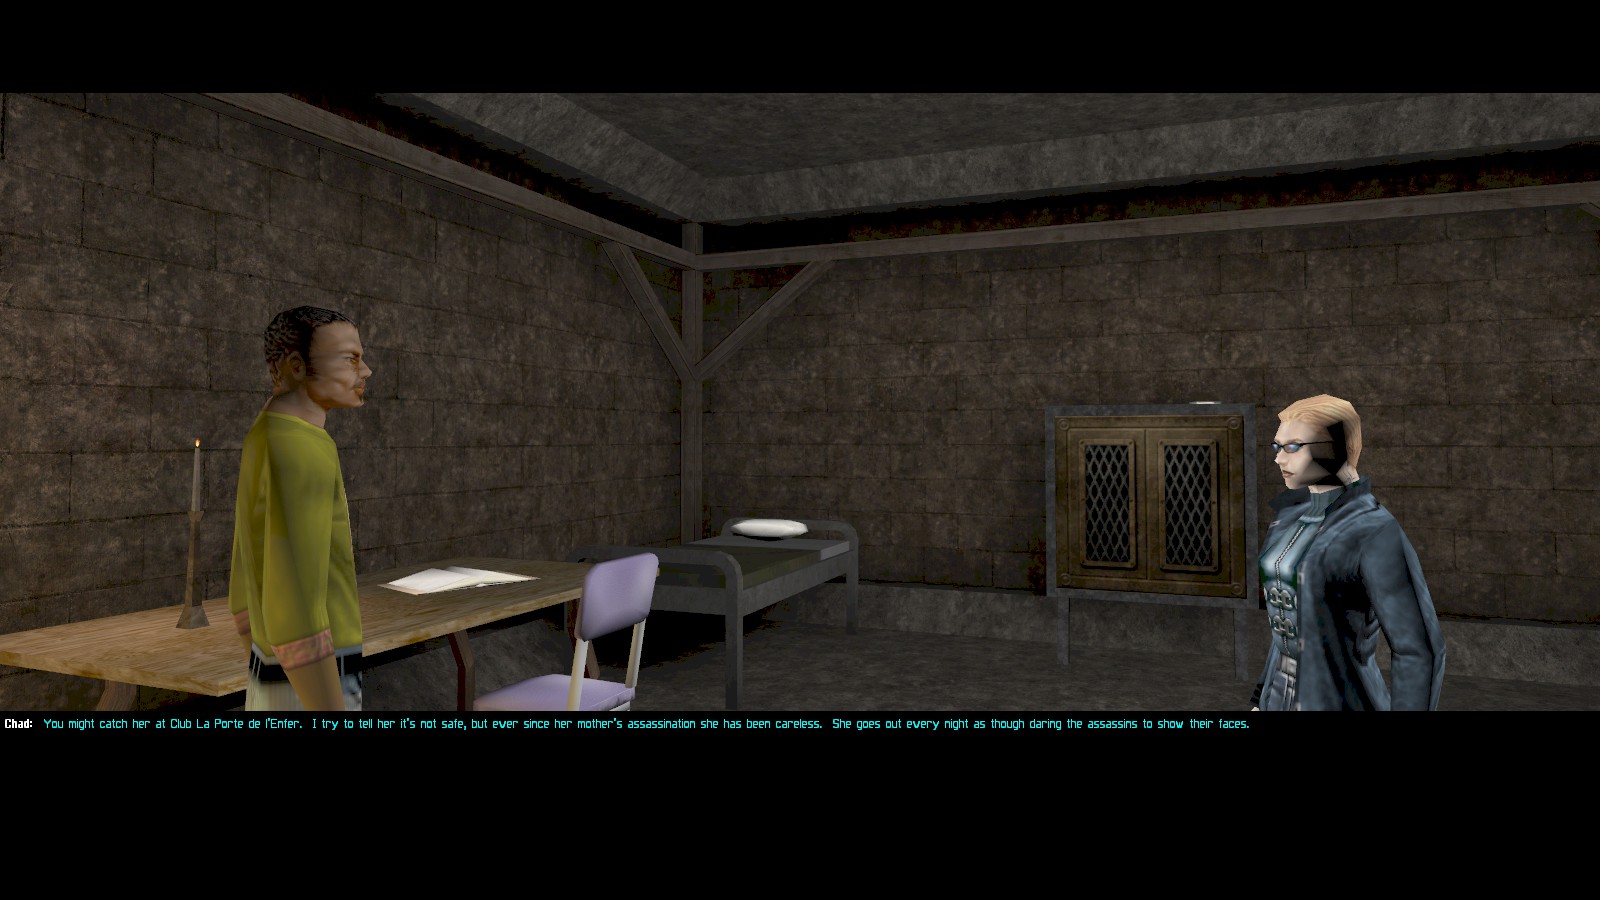
Speak to Chad who tells you that Nicolette DuClare often visits the Club de la Porte de l’Enfer. It’s accessible through the sewers via the rear blast door. You get 500 skill points. Speak to him repeatedly for information about the DuClares and their motiviations, and some political philosophy.

Head back towards Bunker 3—essentially once past the blast door opposite the Silhouette hideout, keep left. The opening on the left here leads to the steps where I had trouble keeping the hostages on track (now is a good time to recharge at the repair bot). You can follow the tunnel to the right and climb over some debris, or smash a broken piece of wall nearby.

Either way you choose, Tong radios in to say you’ve found the door to the sewers. Your key opens the door. Head on in for 50 skill points.
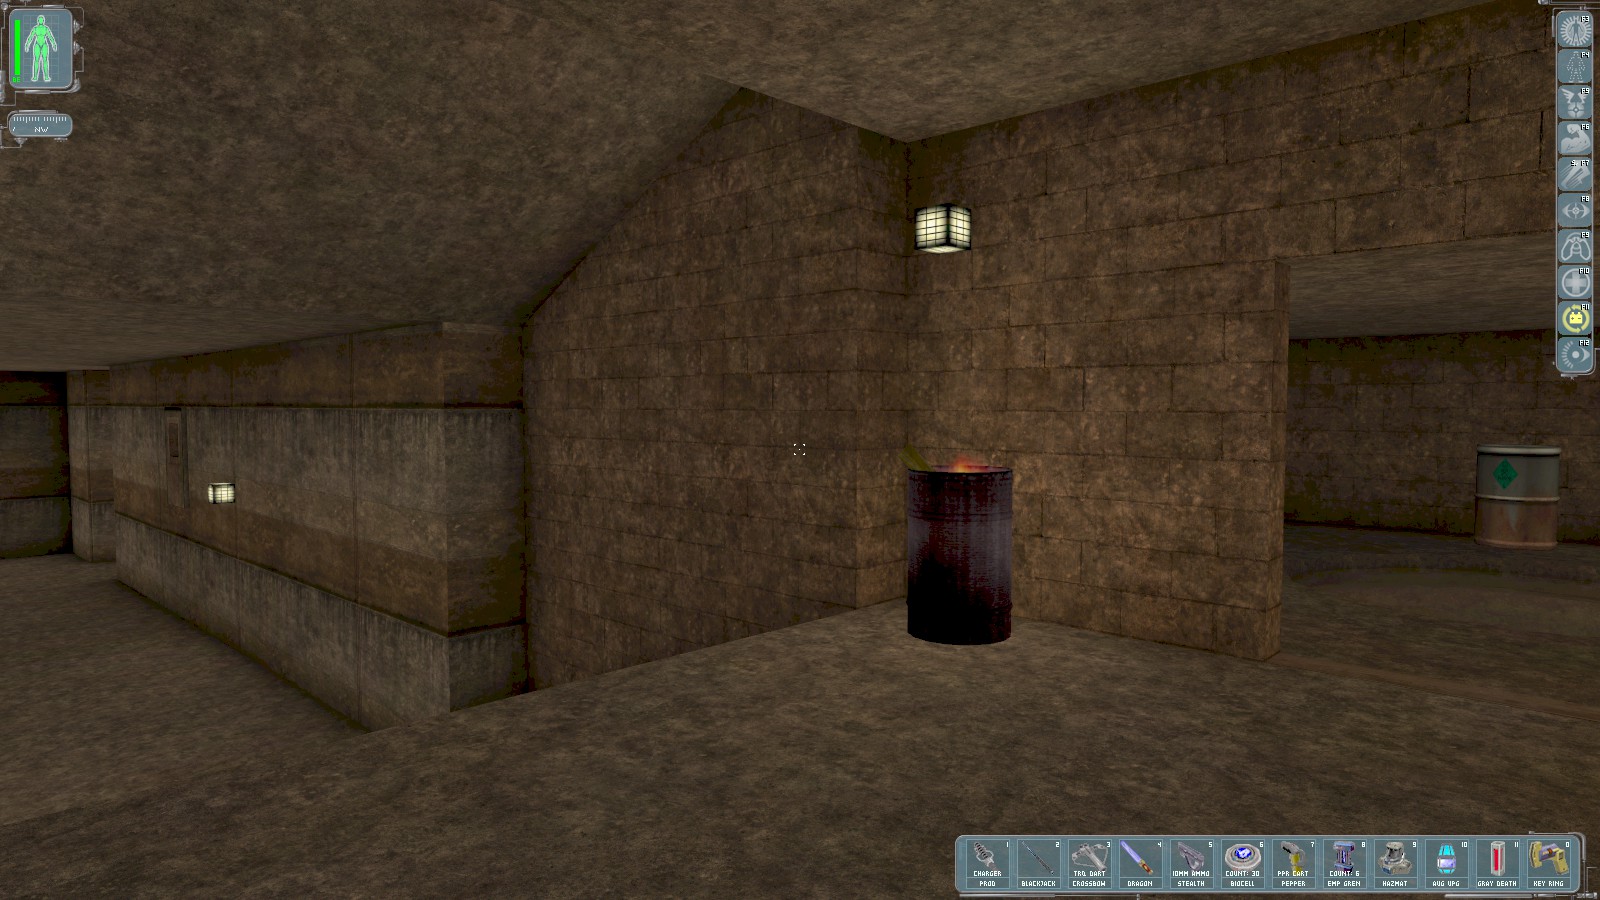
There are no alternative routes down here, just follow your nose. At this point there is a lockpick in the pool in the room on the left. Tong radios to say you’re going the right way.
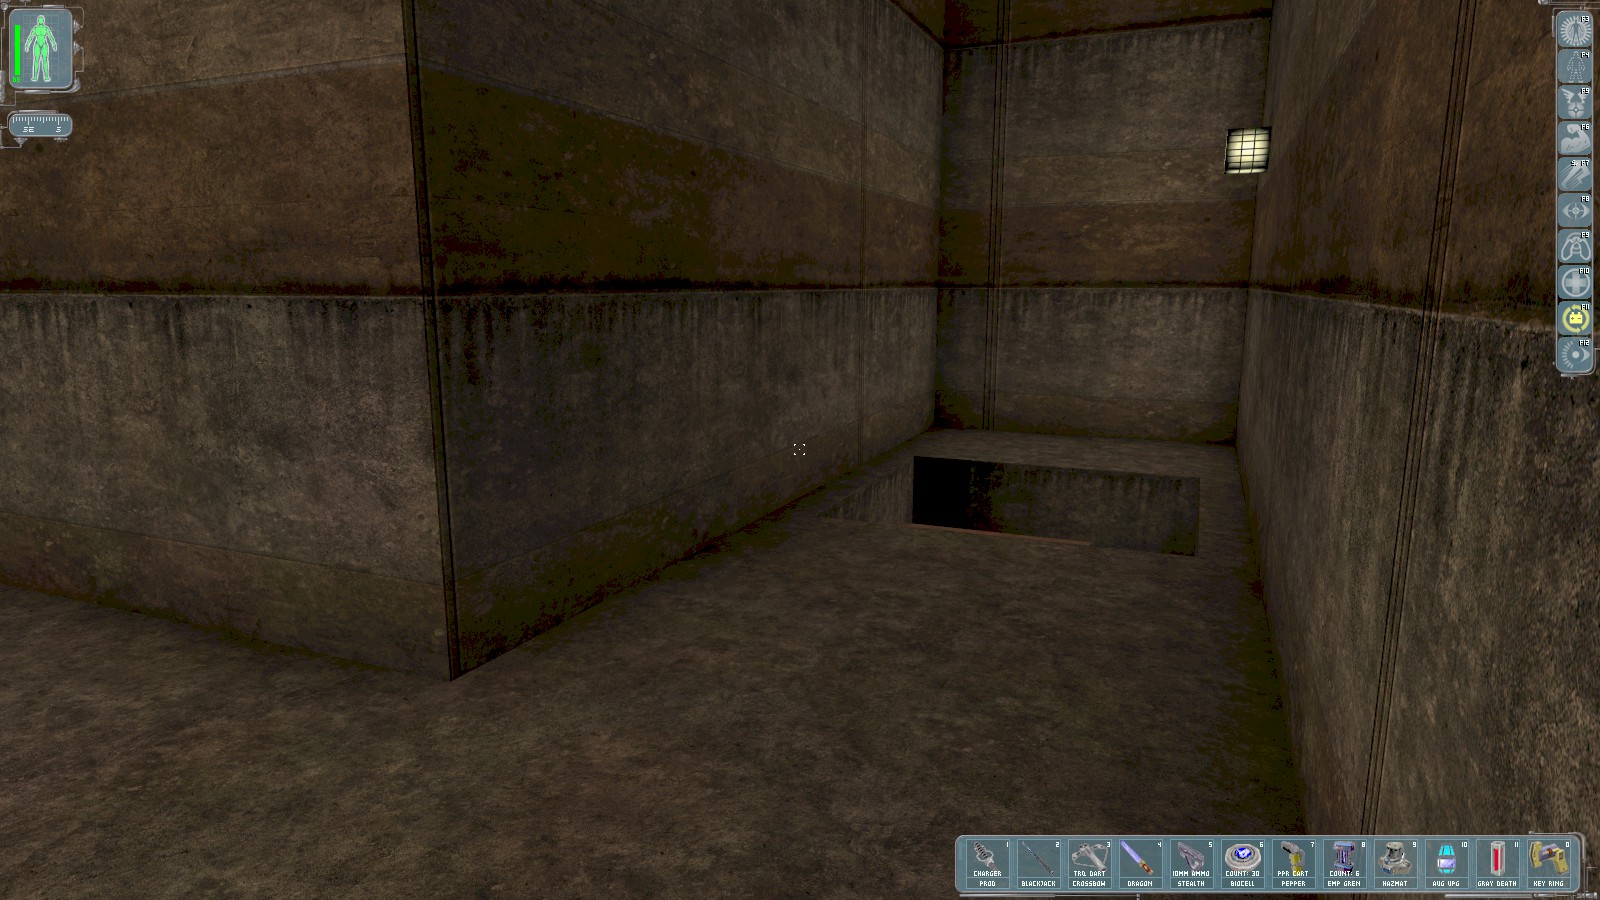
Eventually you reach the exit from the catacombs and entrance to the sewers. No option but to go down.