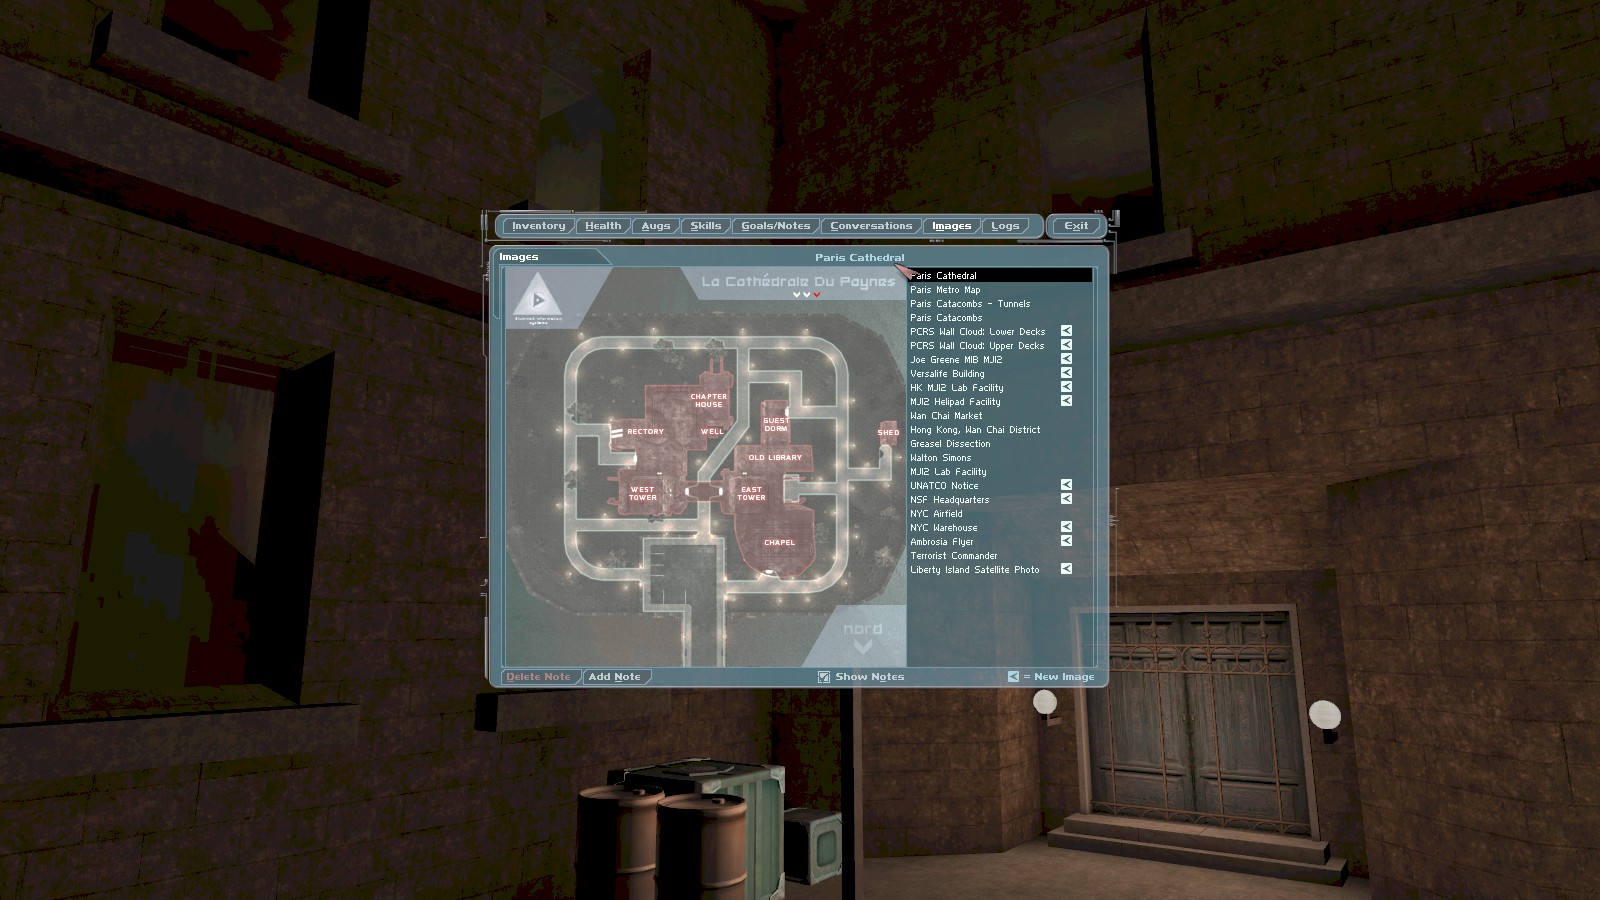
As you progress through the sewers Everett radios in helpfully to tell you you’re going the right way and transmits this not completely incomprehensible map of the cathedral. He also informs you that he’s interested in some gold that’s stored in the cathedral—his motives start to look less honourable. Around to the right of here is a locked gate. Instead of losing a lockpick, climb onto the barrels and smash the window ahead. Inside it’s very dark and easy to miss the 100c inside. Climb a fallen girder to reach the upper level.
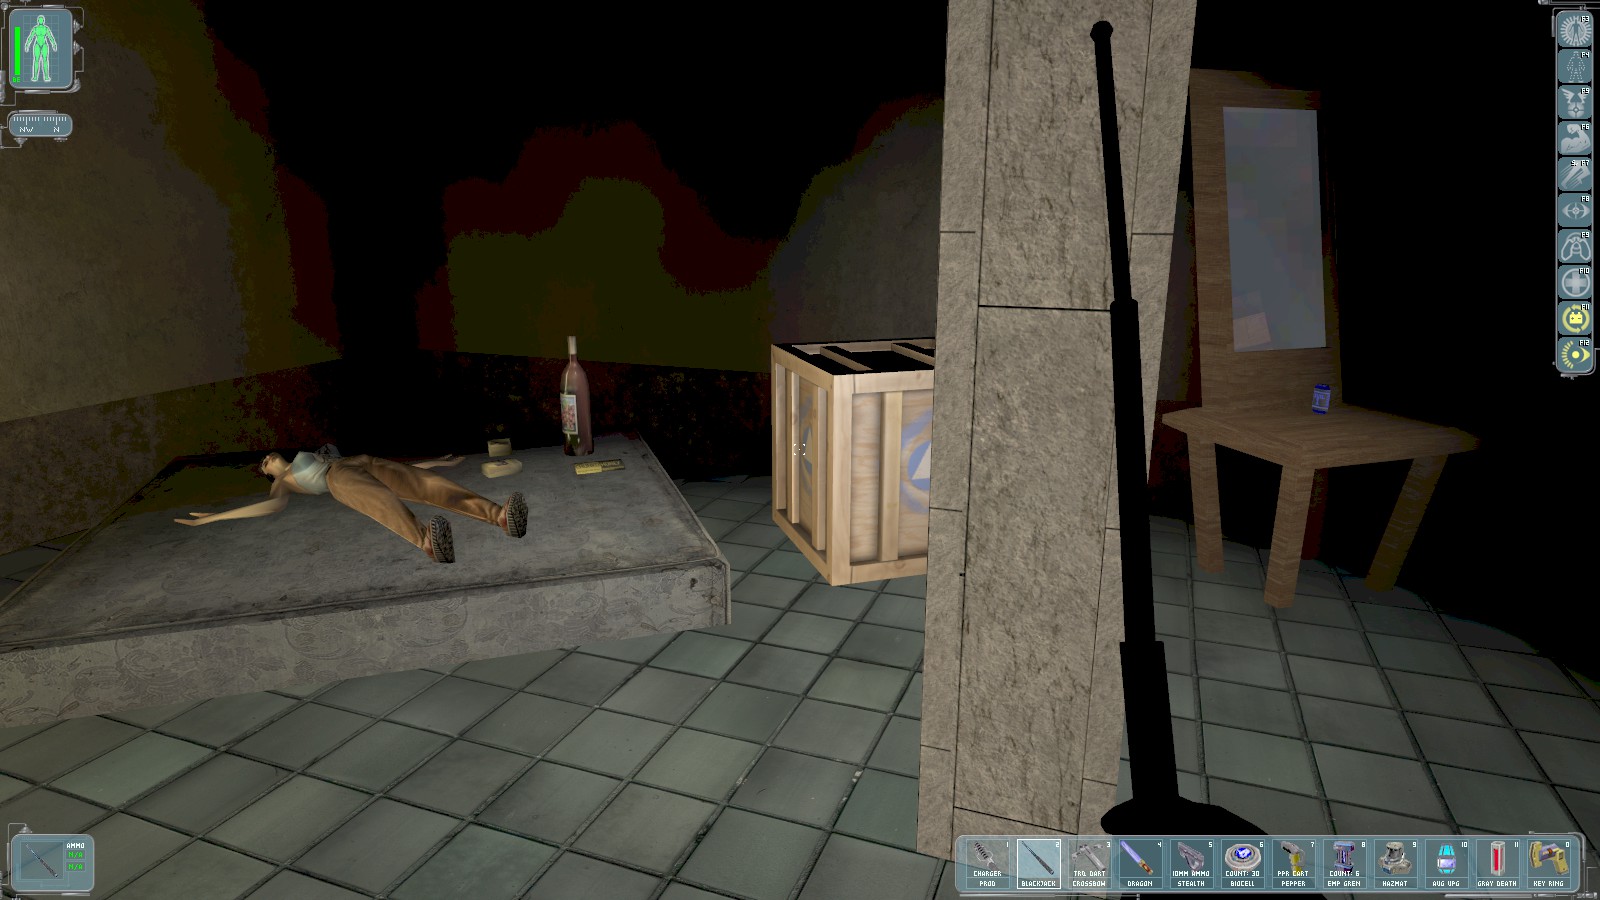
Follow the rooms round to here. The crate near the body on the left contains a lockpick. The key to the gate outside is on the table.
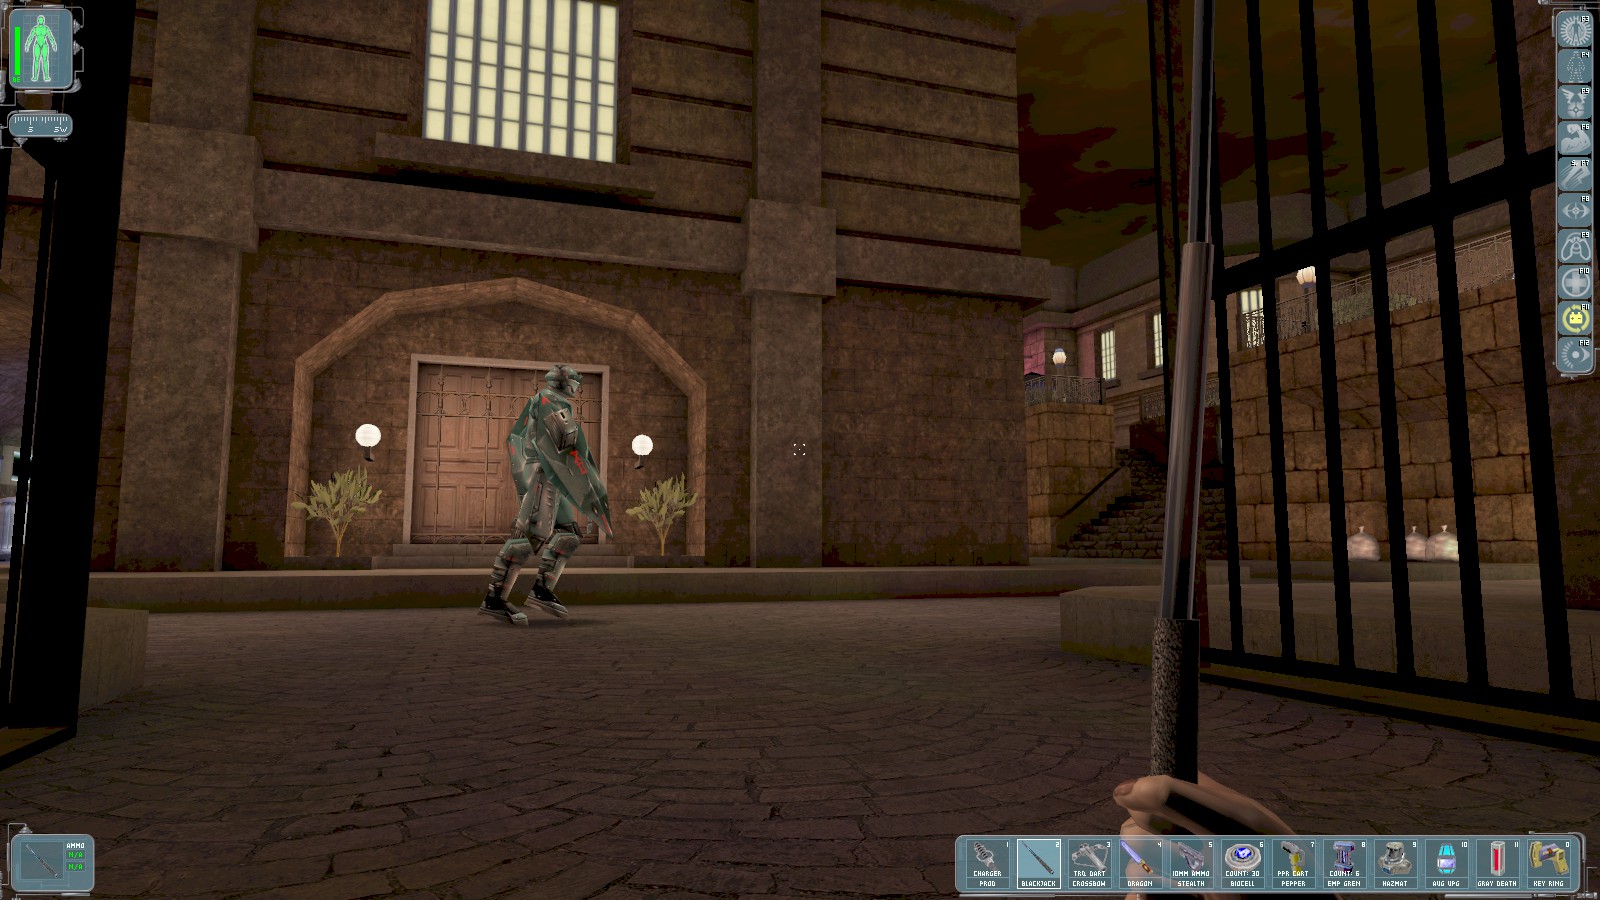
The area is patrolled by several commandos, troops, and bots. Open the gate when this one has passed and knock him out. Head right (West) a short way.
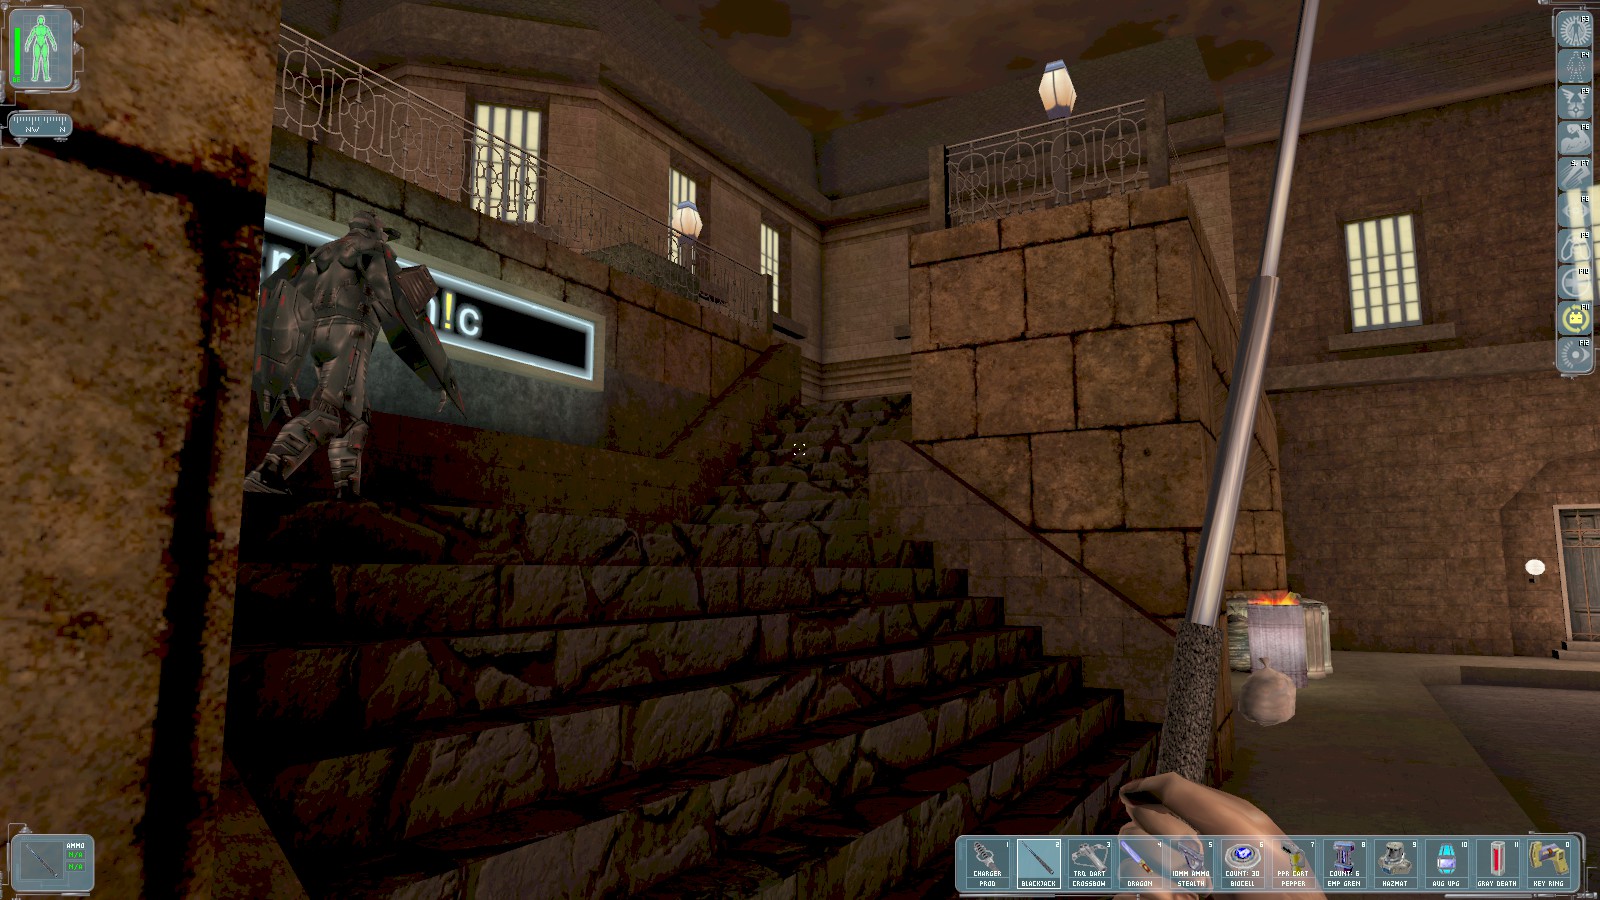
This commando patrols a fair distance to the South, but a military bot is that way. Knock him out here, then head left to deal with the bot.
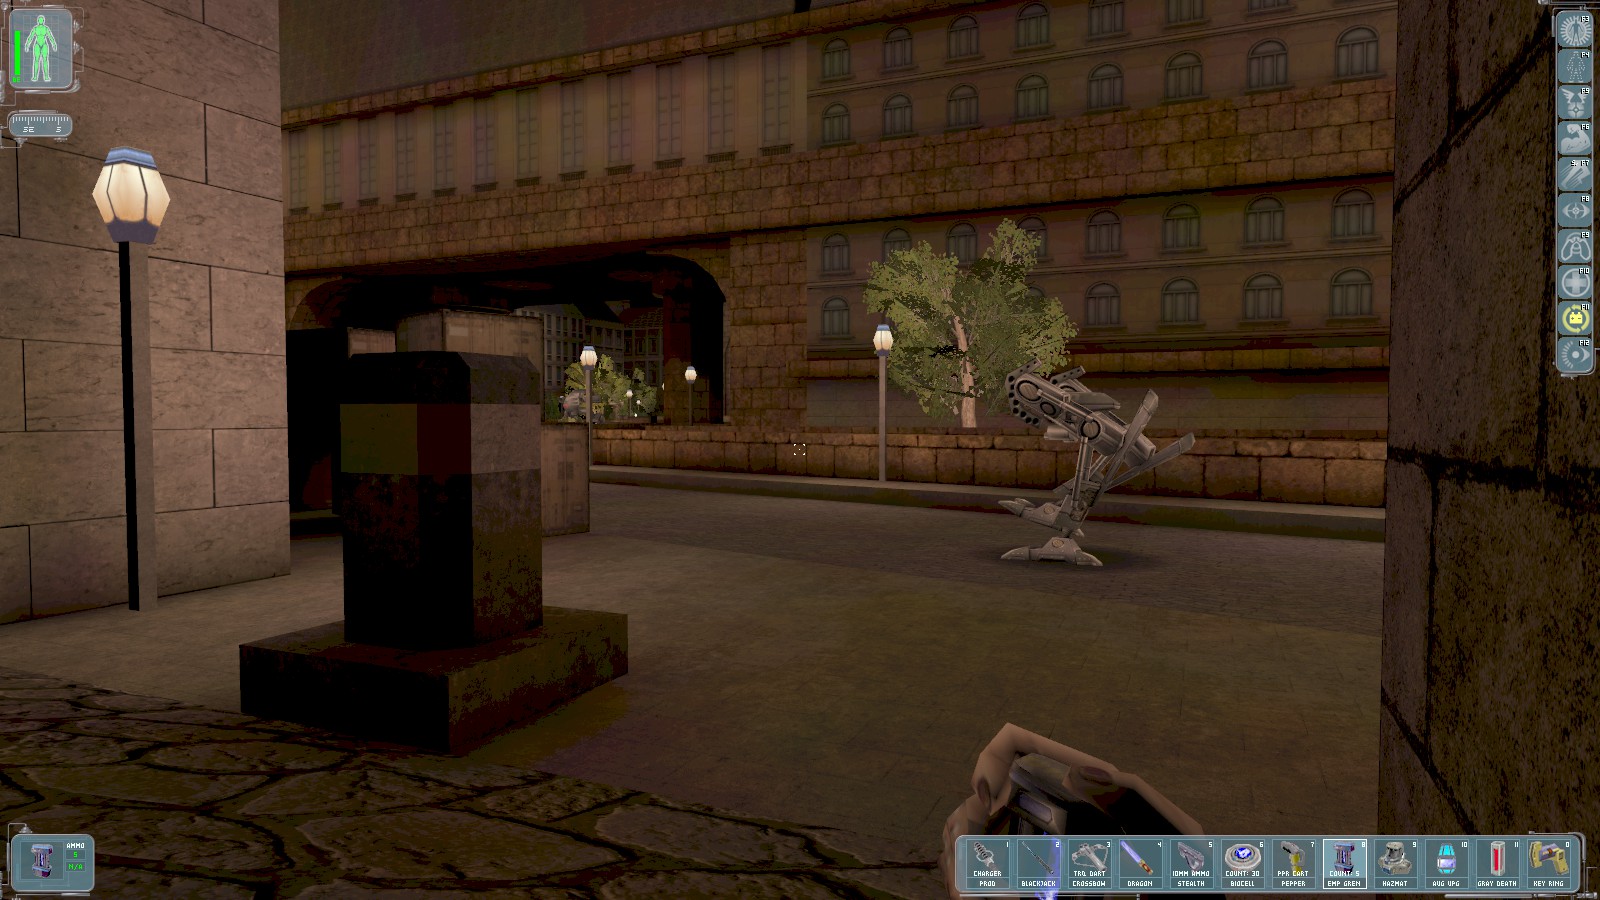
Plant an EMP grenade when the bot’s back is turned, then retrace your steps back to the gate, and go East.

Around a corner is the metro station. Daedalus (haven’t heard from Daedalus for a while) tells you to ignore the metro and sends a photo of the cathedral. Plant an EMP grendade to disable the patrolling bot. You can break into a control box behind this shot for a multitool.
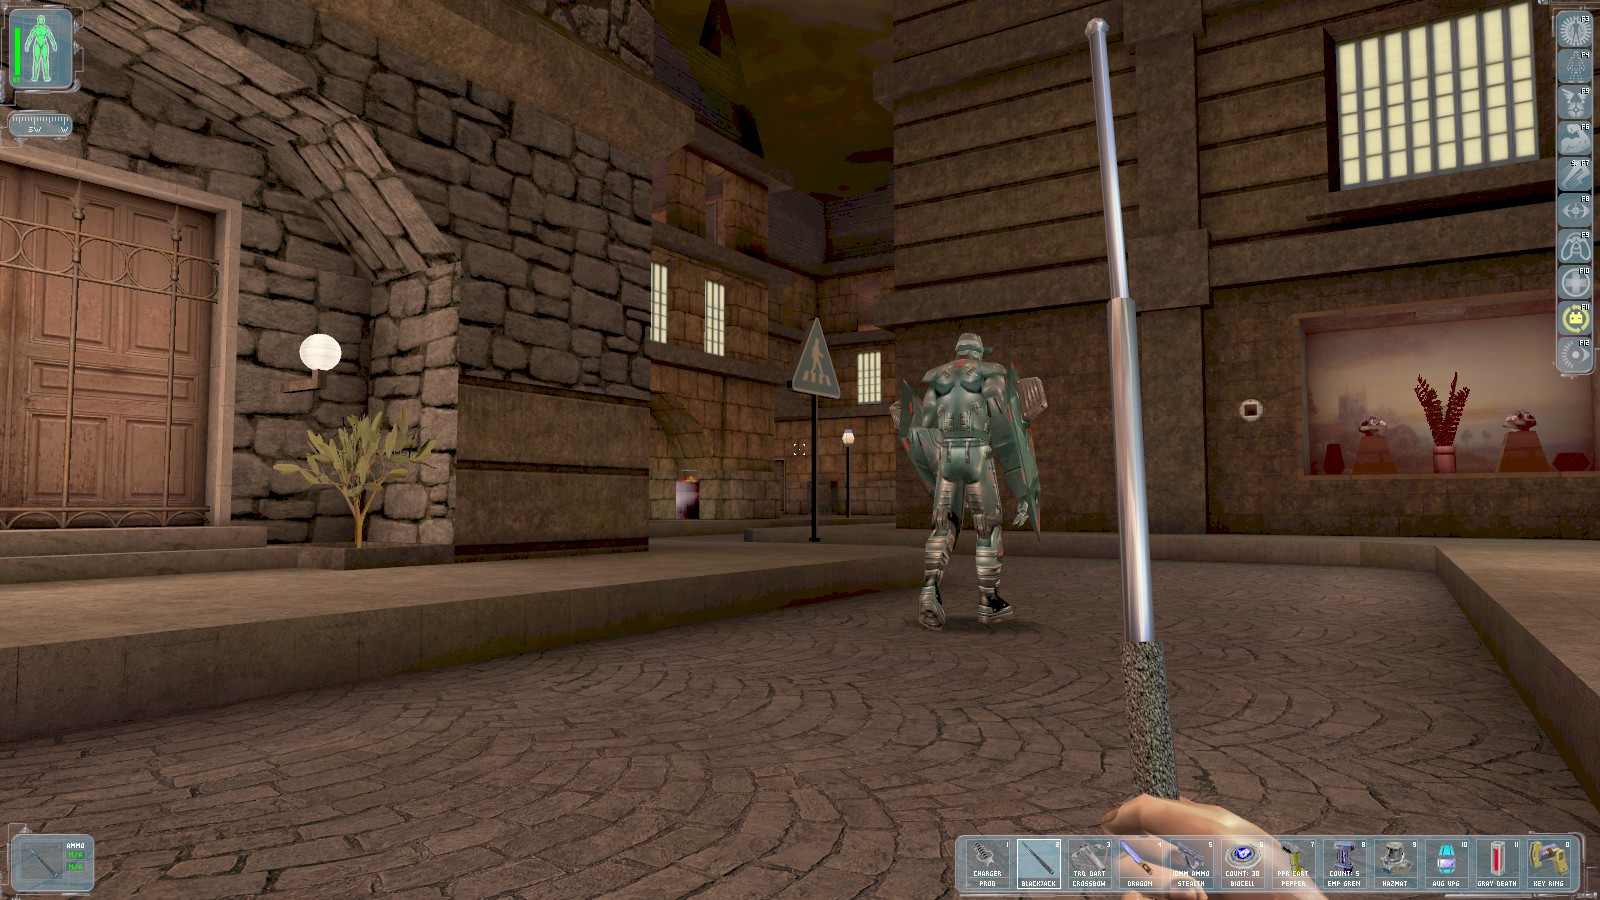
Another commando patrols around the corner. Take care with this one because a troop patrols further round. When you’ve knocked out the commando, hide the body from view.
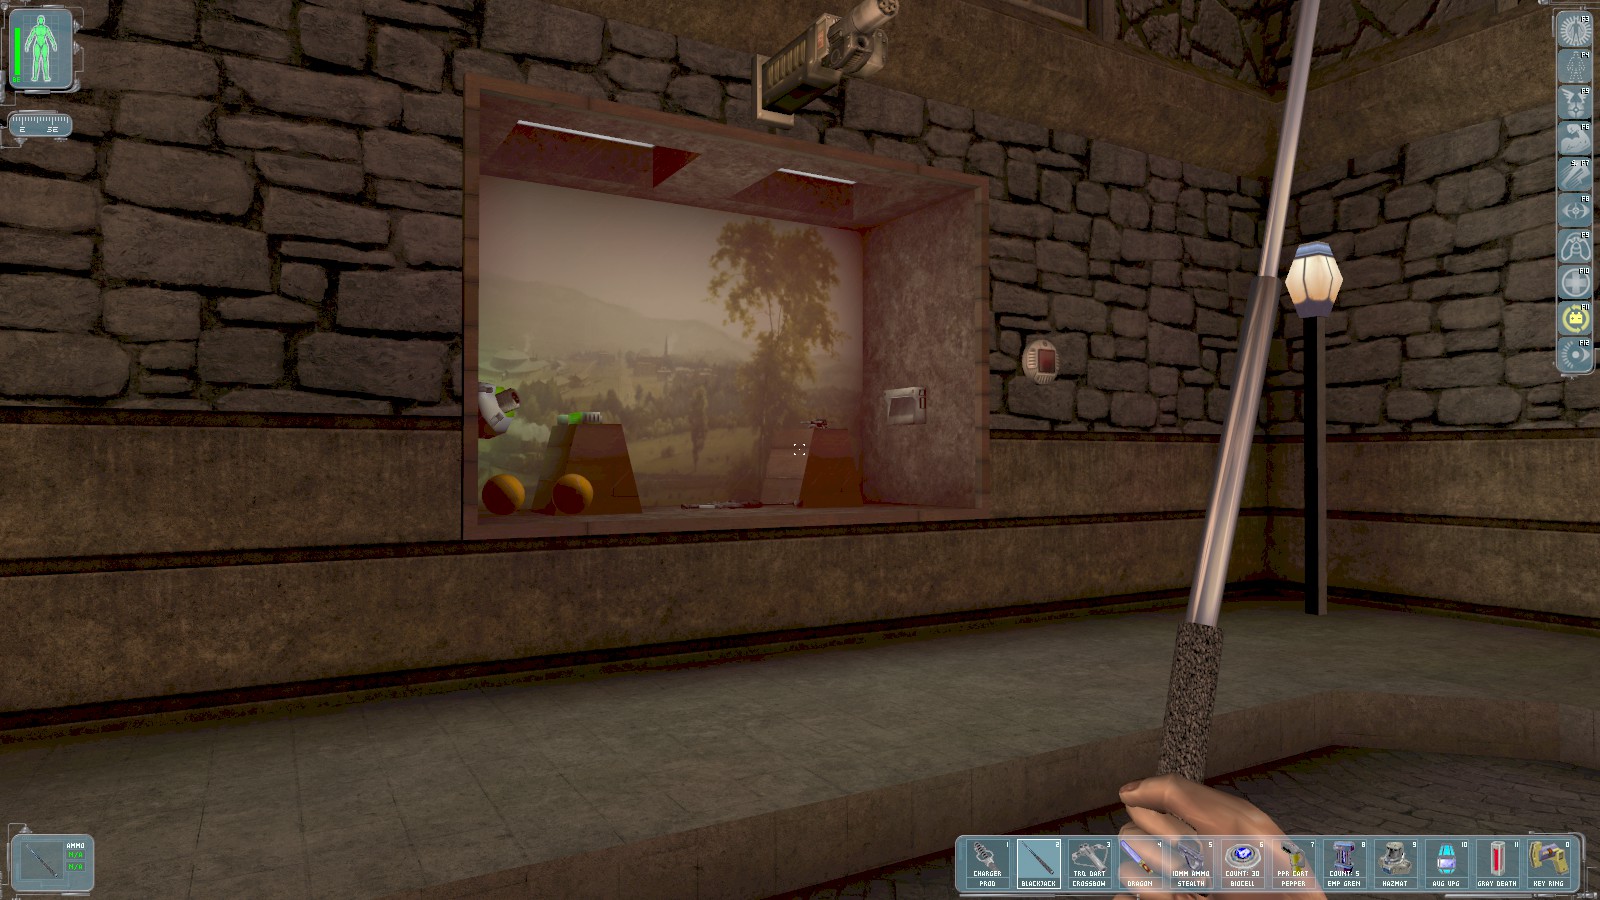
Breaking the shop window to get at the darts and/or sniper rifle will raise an alarm and activate the turret, but you can quickly hack the security console inside to silence the alarm and disable the turret.
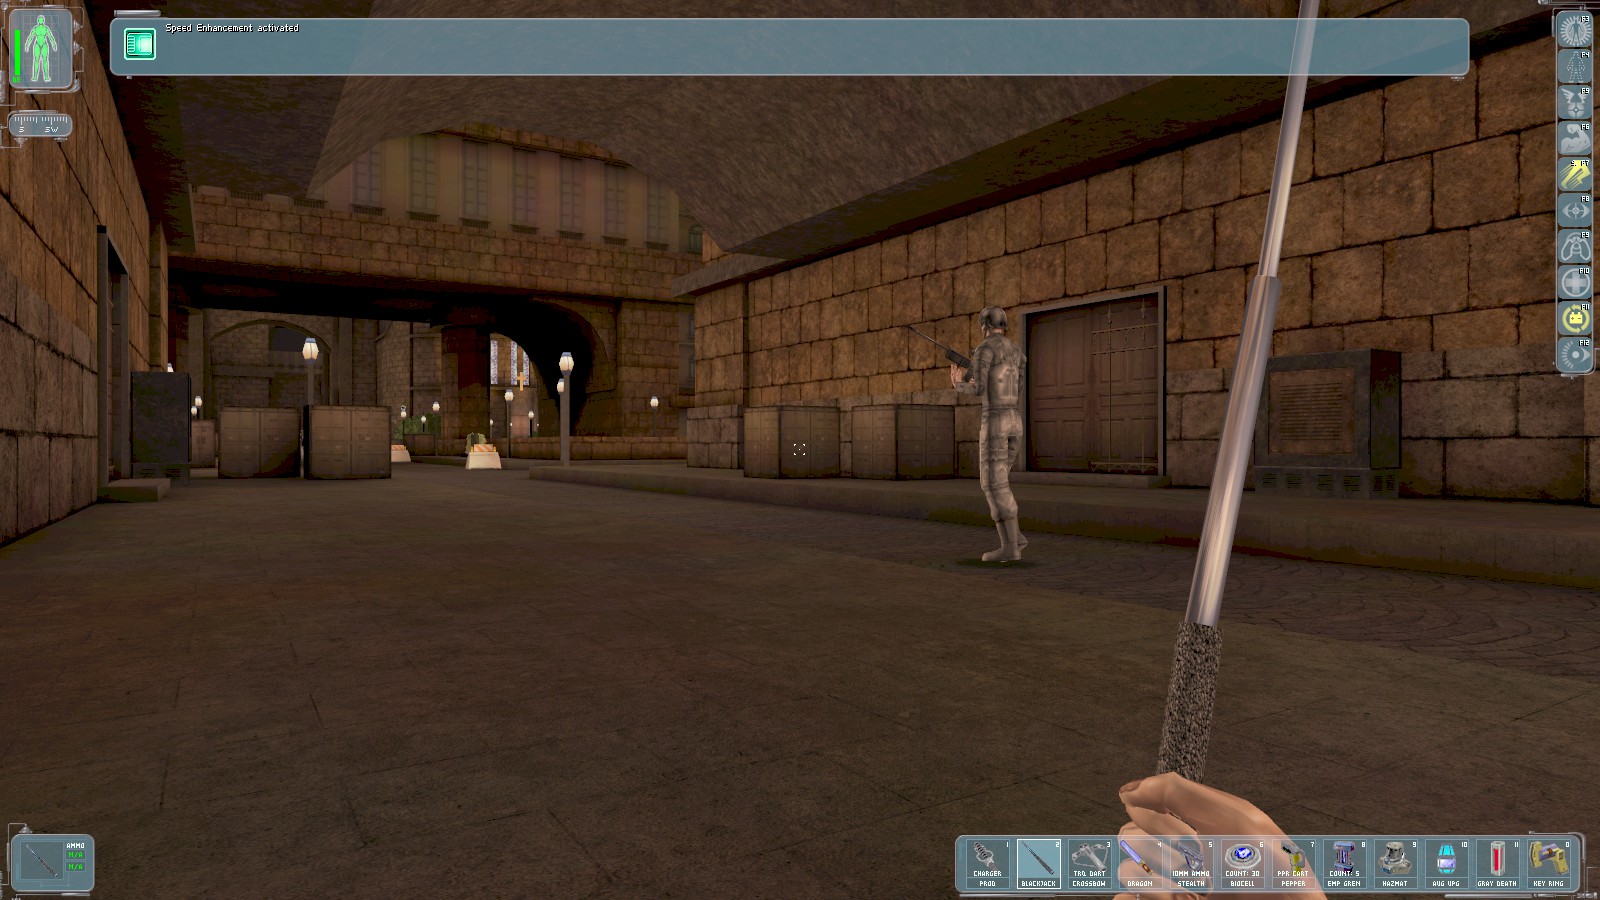
You may want to knock this troop out before raiding the shop window. Ahead of him is a large military bot and a pair of turrets, plus another patrol. My main concern are the turrets. Next to the guard here is an unlocked doorway.

Inside is a laser grid protecting the stairs up. To the right of the door is a maintenance box you can smash. Use a multitool on the control box inside it to disable the lasers, then head up the stairs.

Upstairs are 3 troops and a security console that can be hacked to alter the AI of the bots patrolling outside—a particularly noisy way to go about it!
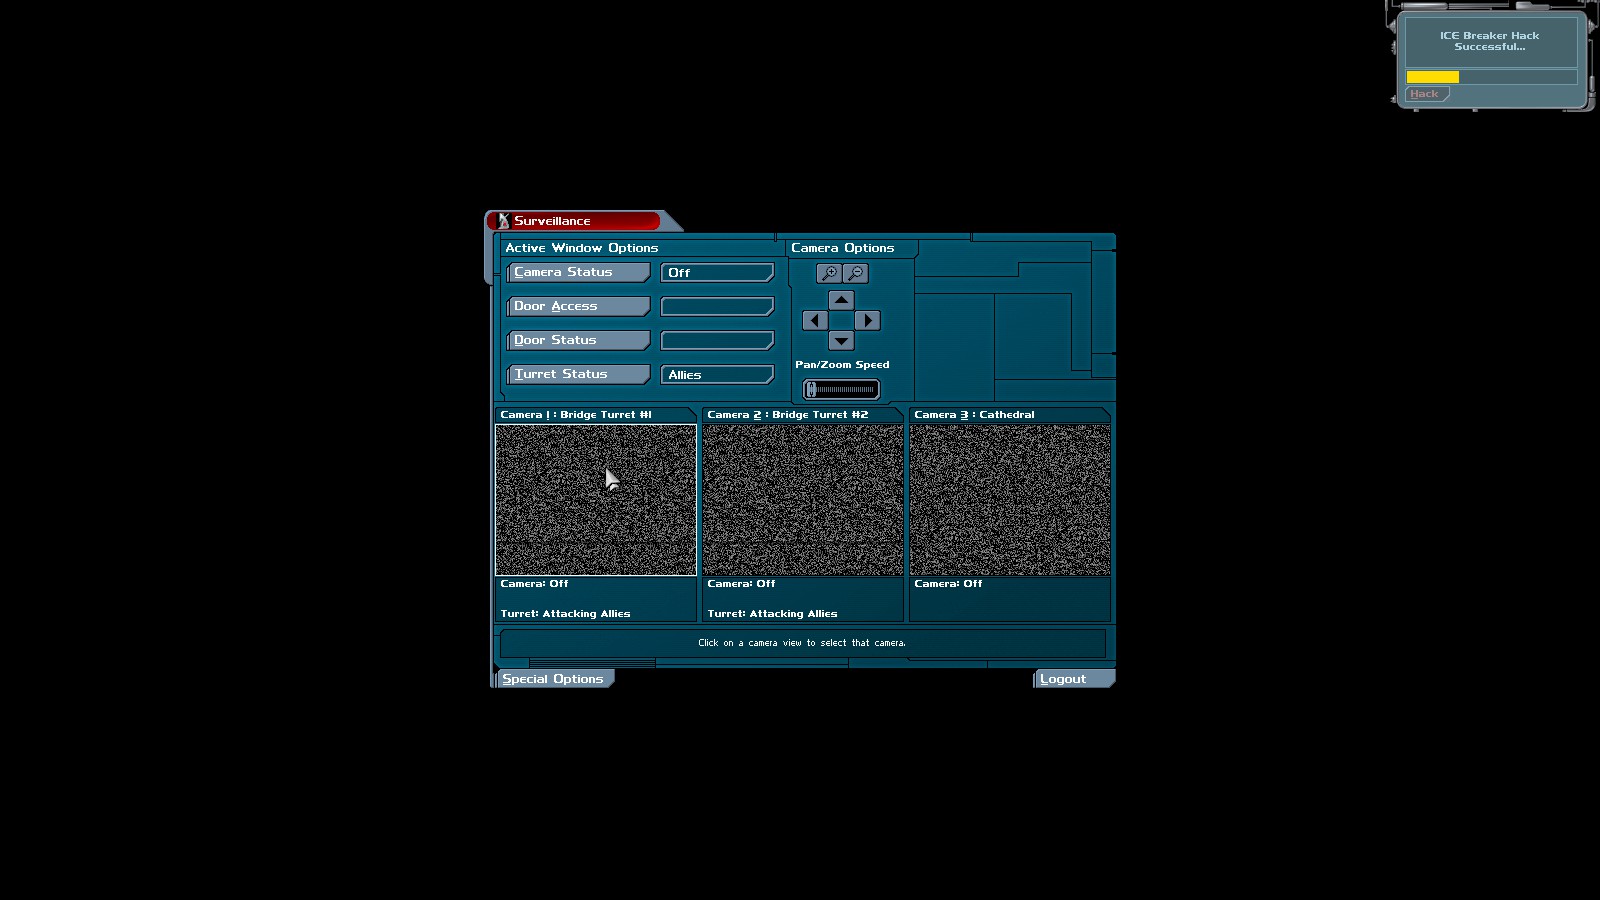
Leave the bots—we’ve already disabled one with an EMP mine—and choose the security option. All the cameras are off, but we can still bypass both turrets.
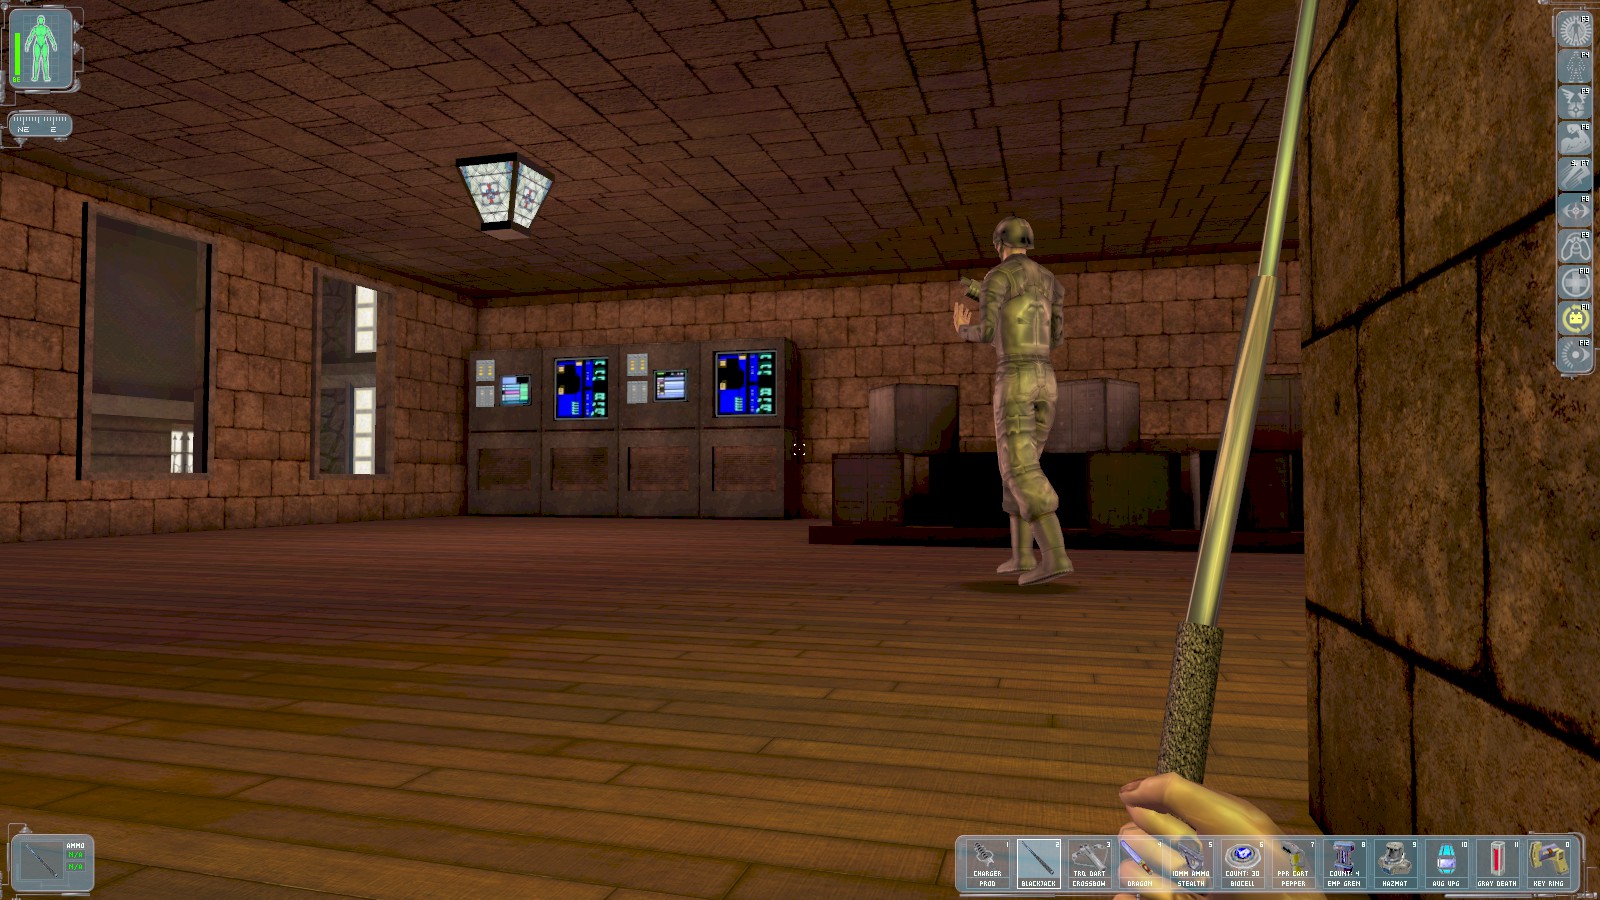
Two more guards are in the further section of the room. One patrols back and forth, the other is seated at a console. Take the patrolling one first; this is a good spot. Find a medikit, rebreather, and some ammo, then go back outside the way you came in.
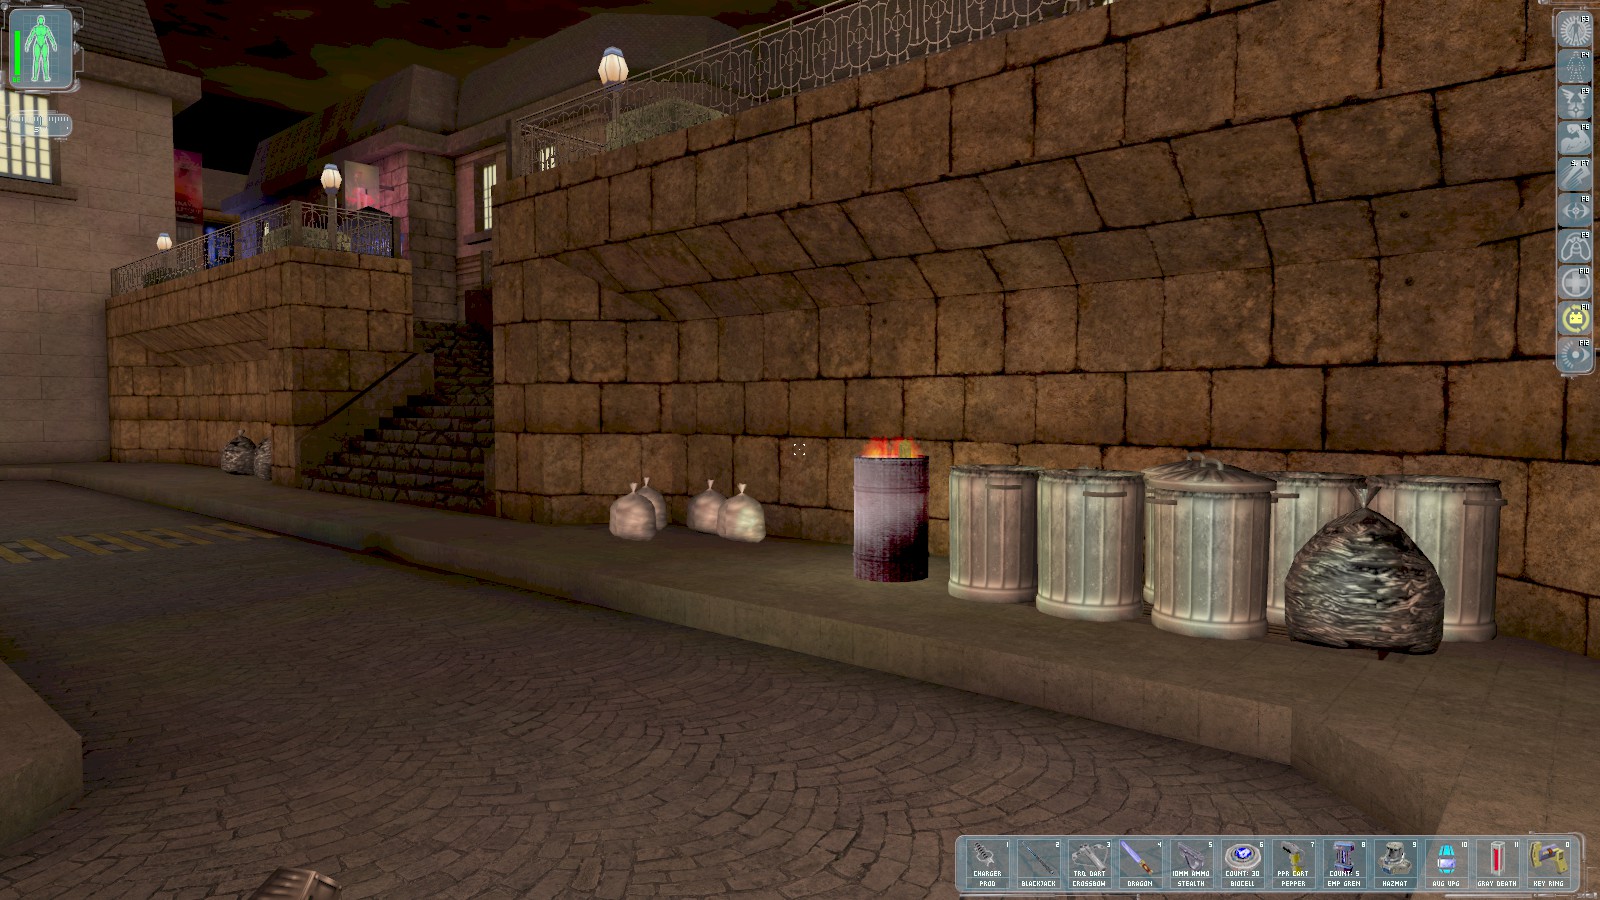
From here the last patrolling guard and large military bot can be dealt with head-on, but a stealthier approach is to use the sewers. Just to the West of the gate where you entered is a grate mostly hidden by a pile of trash. Head in for a 50 skill point bonus.
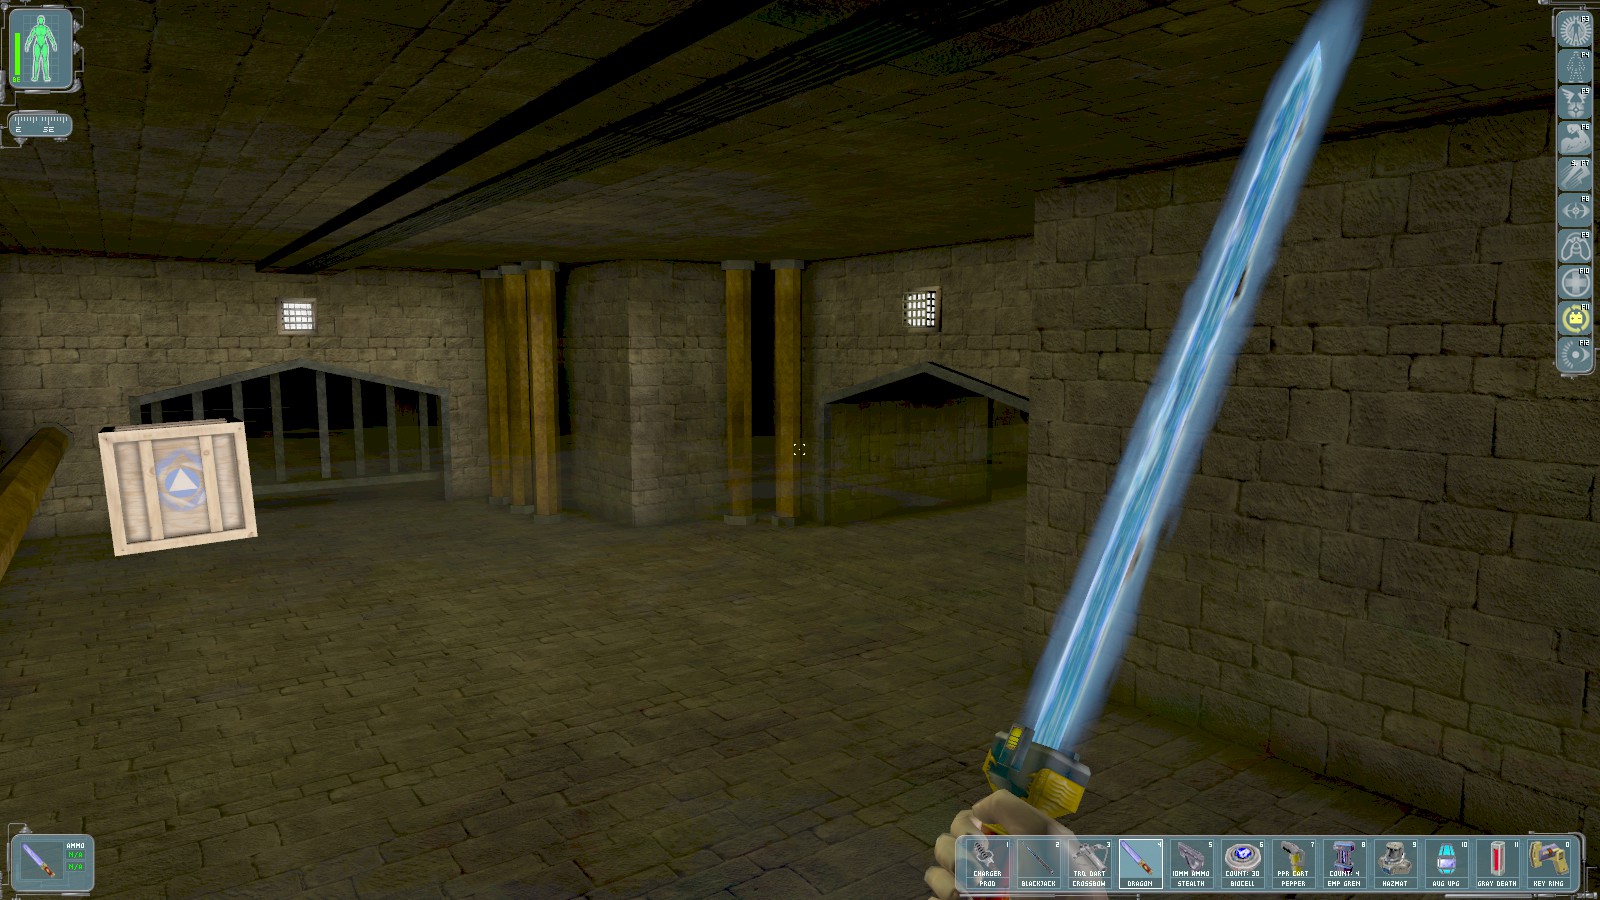
Smash the crate for a biocell, and continue through the tunnel. At the end are two exits into the moat. Go for the left one.
|
|
|
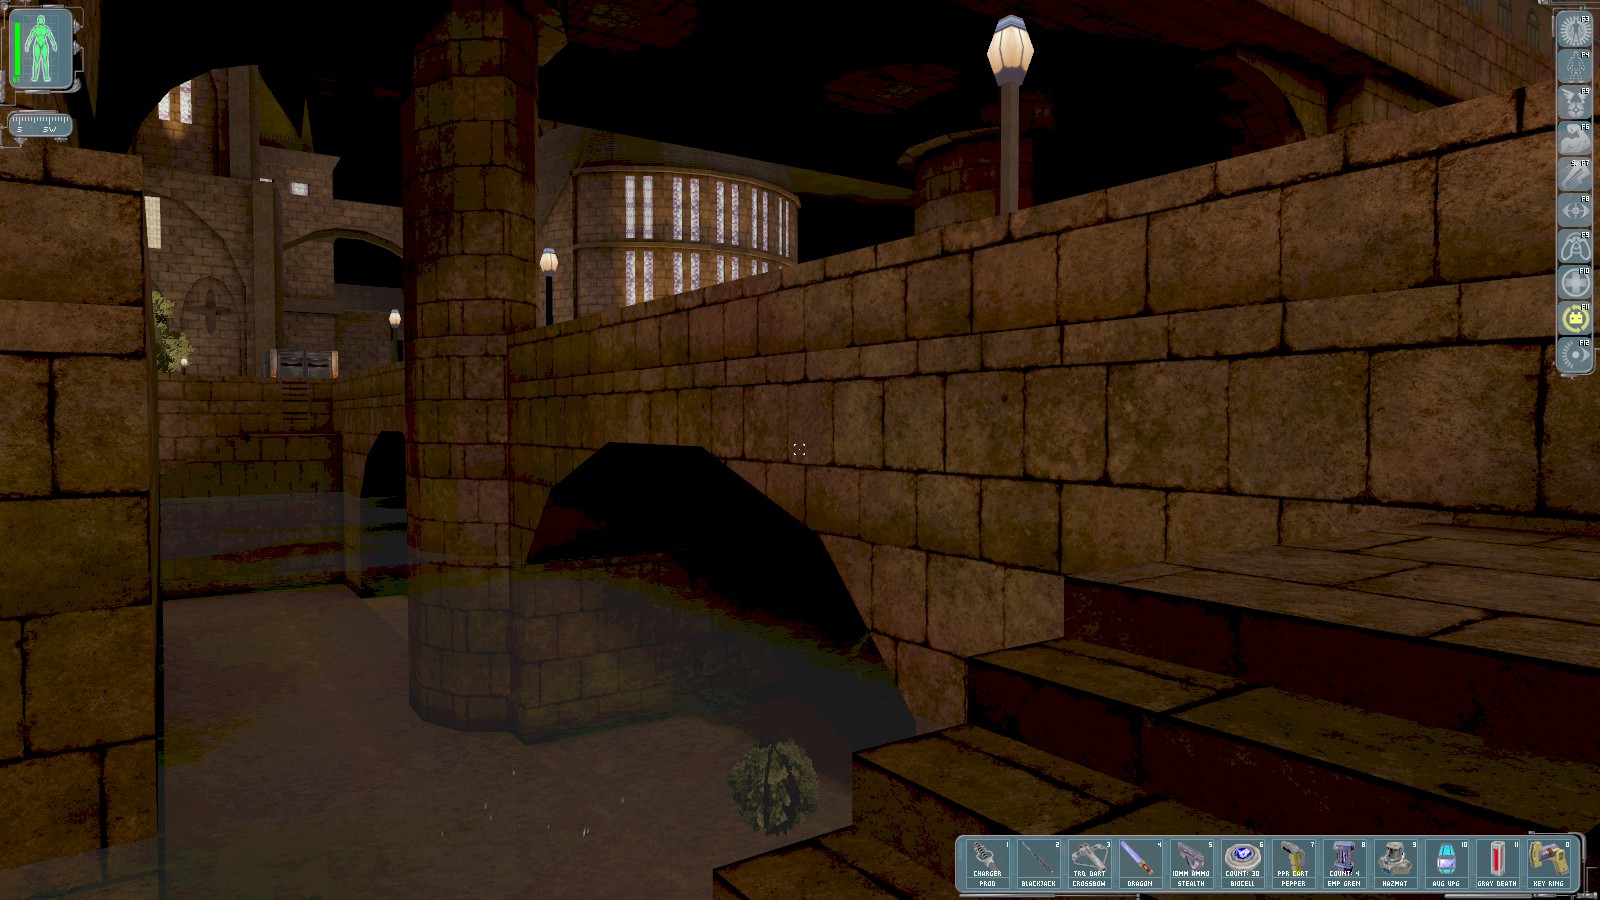
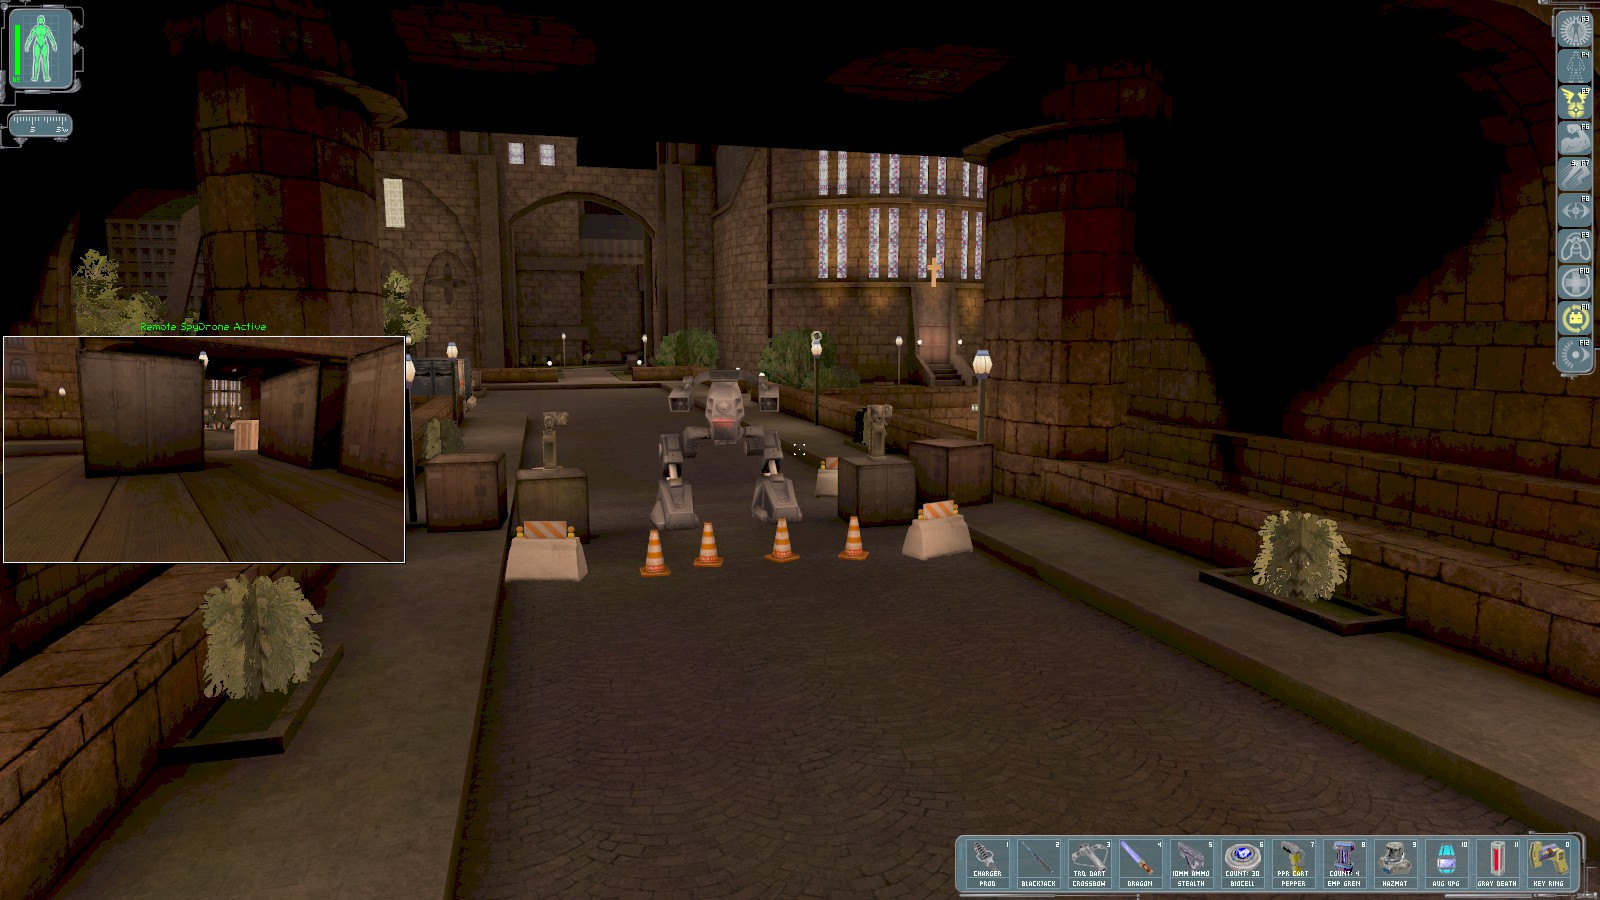
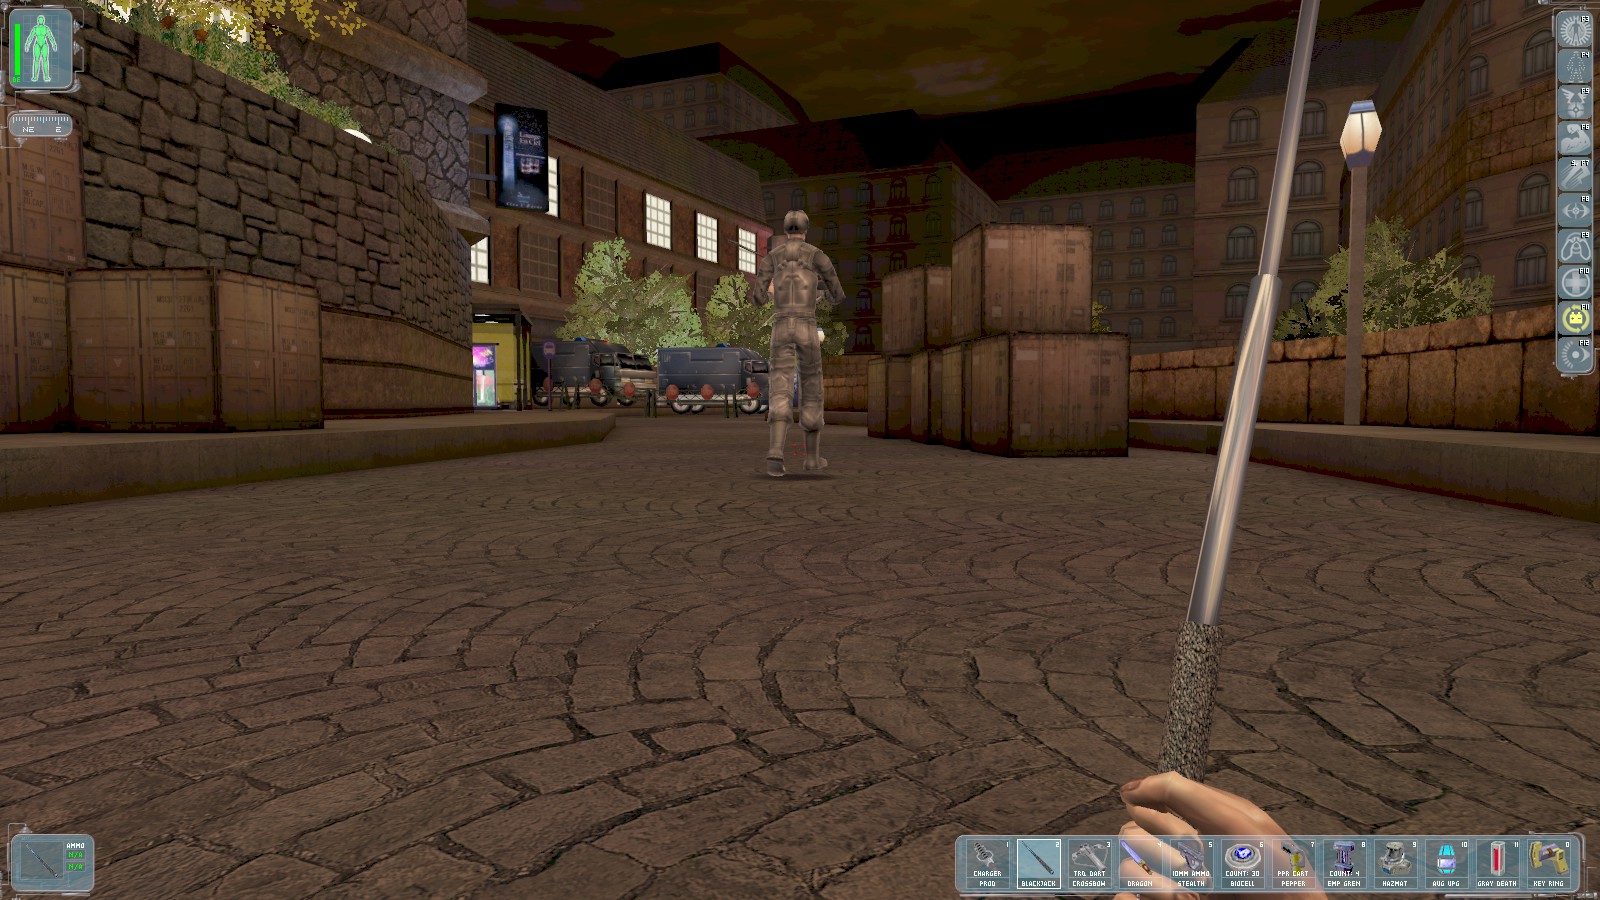
You emerge in the moat just below these steps in the left panel. This is a pretty good spot to disable the large bot with the drone, then slip back over the wall to knock out the remaining troop. That’s all the security in the area outside the moat dealt with. It’s not essential—almost all of the troops and bots can be bypassed—but it will make escape a bit easier.
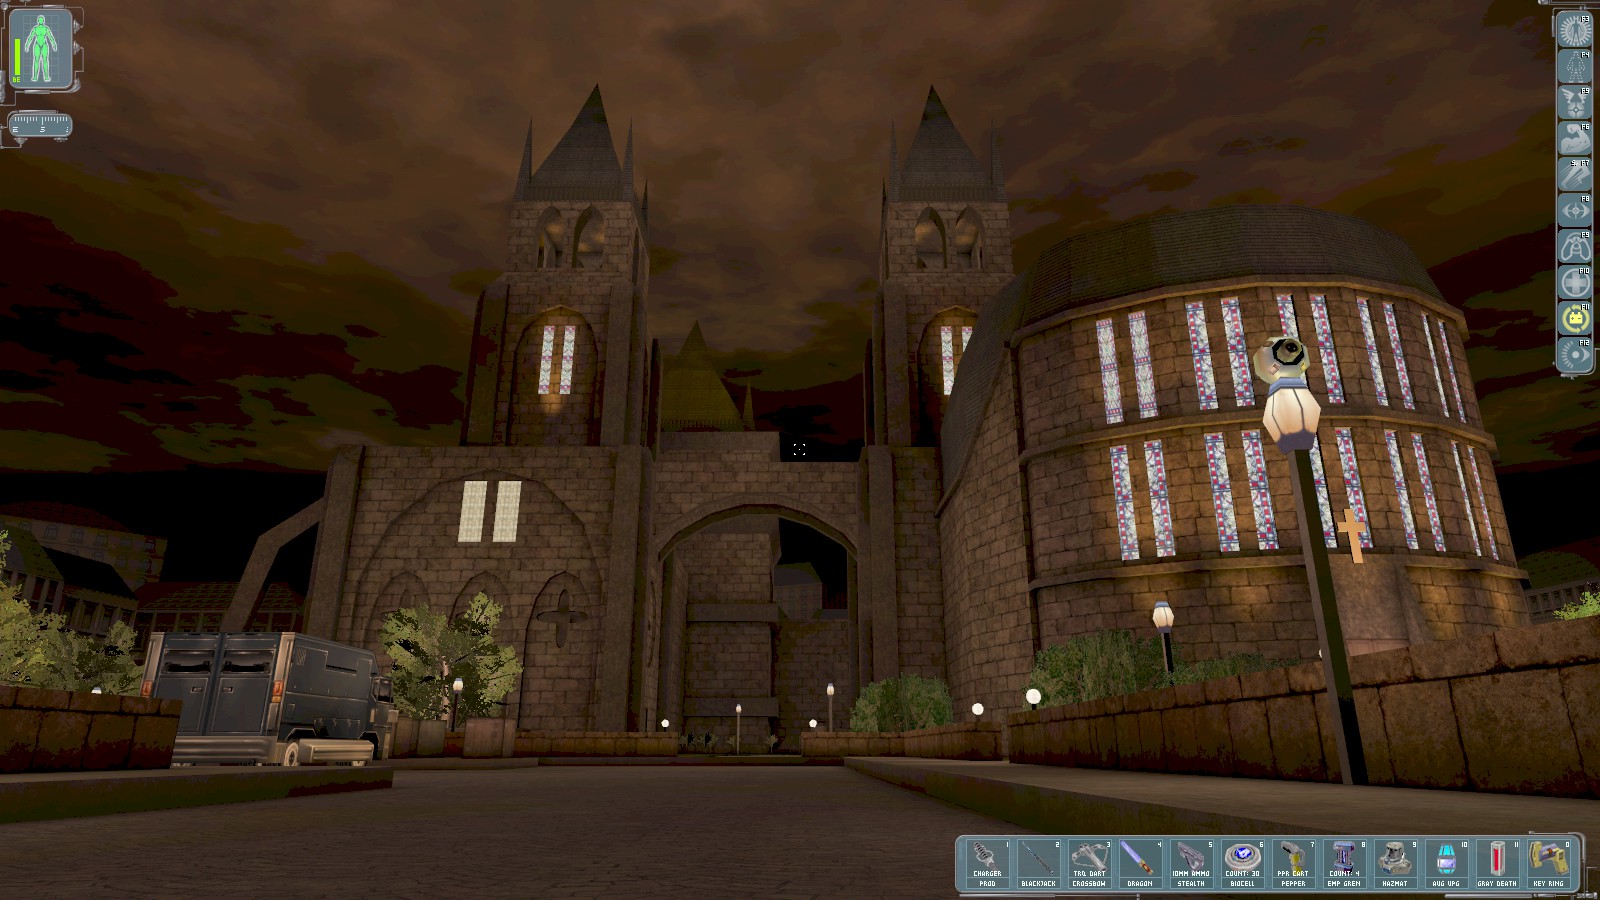
From here there is an underwater route or over land. I choose not to get wet and head behind the black van on the left. A quick scan with Enhanced Vision shows a commando patrolling to the right, a trooper to the left, and another trooper straight ahead.
|
|
|
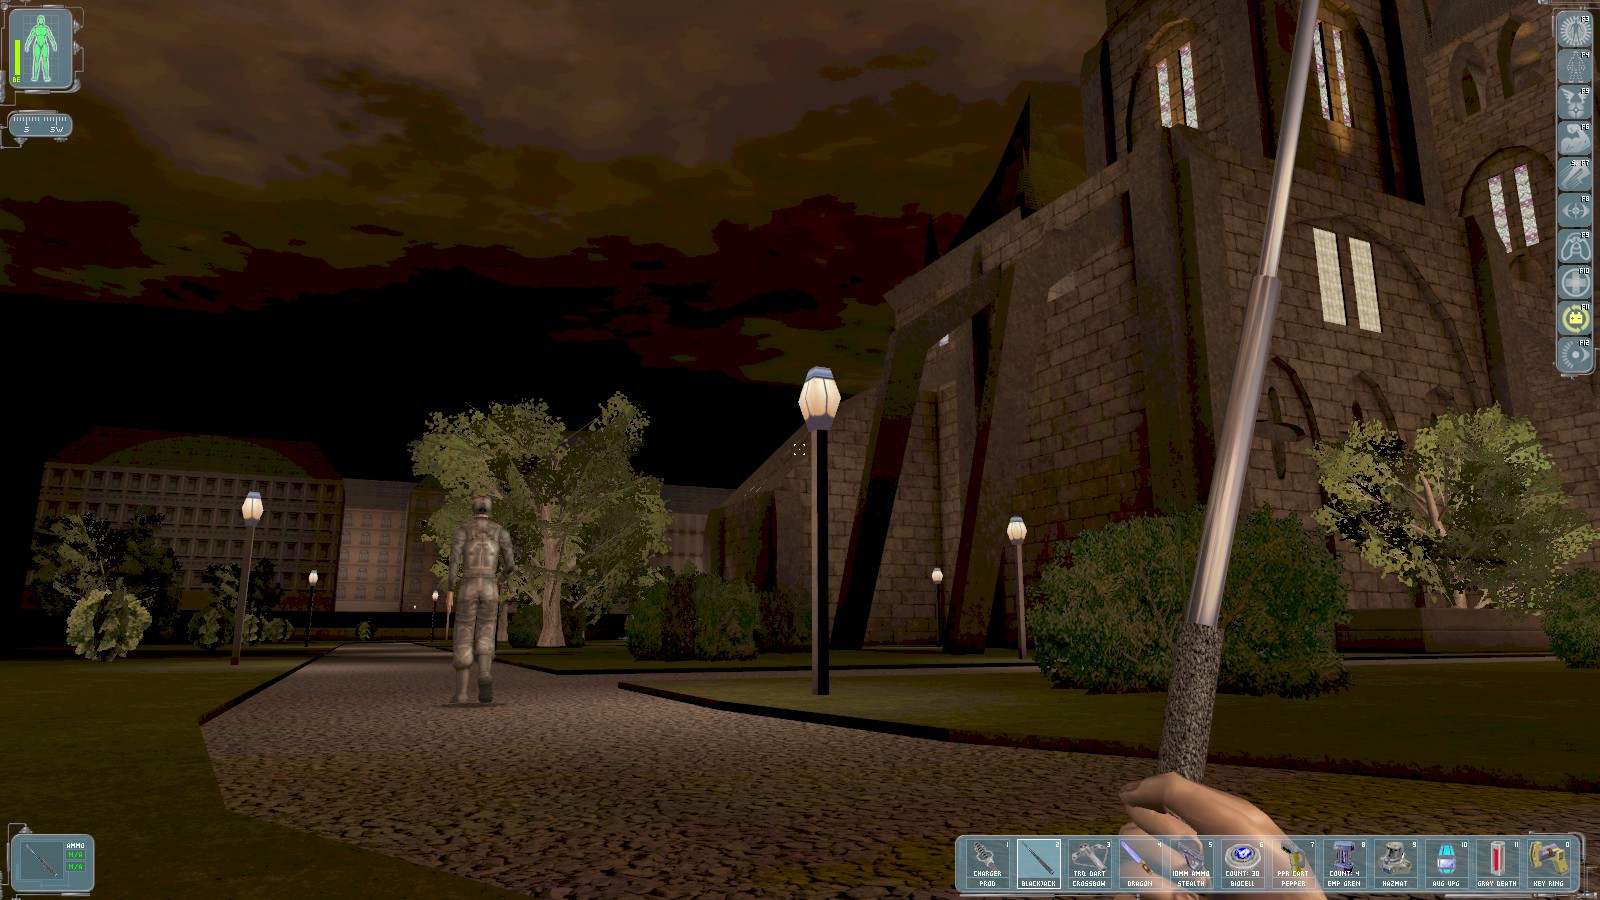
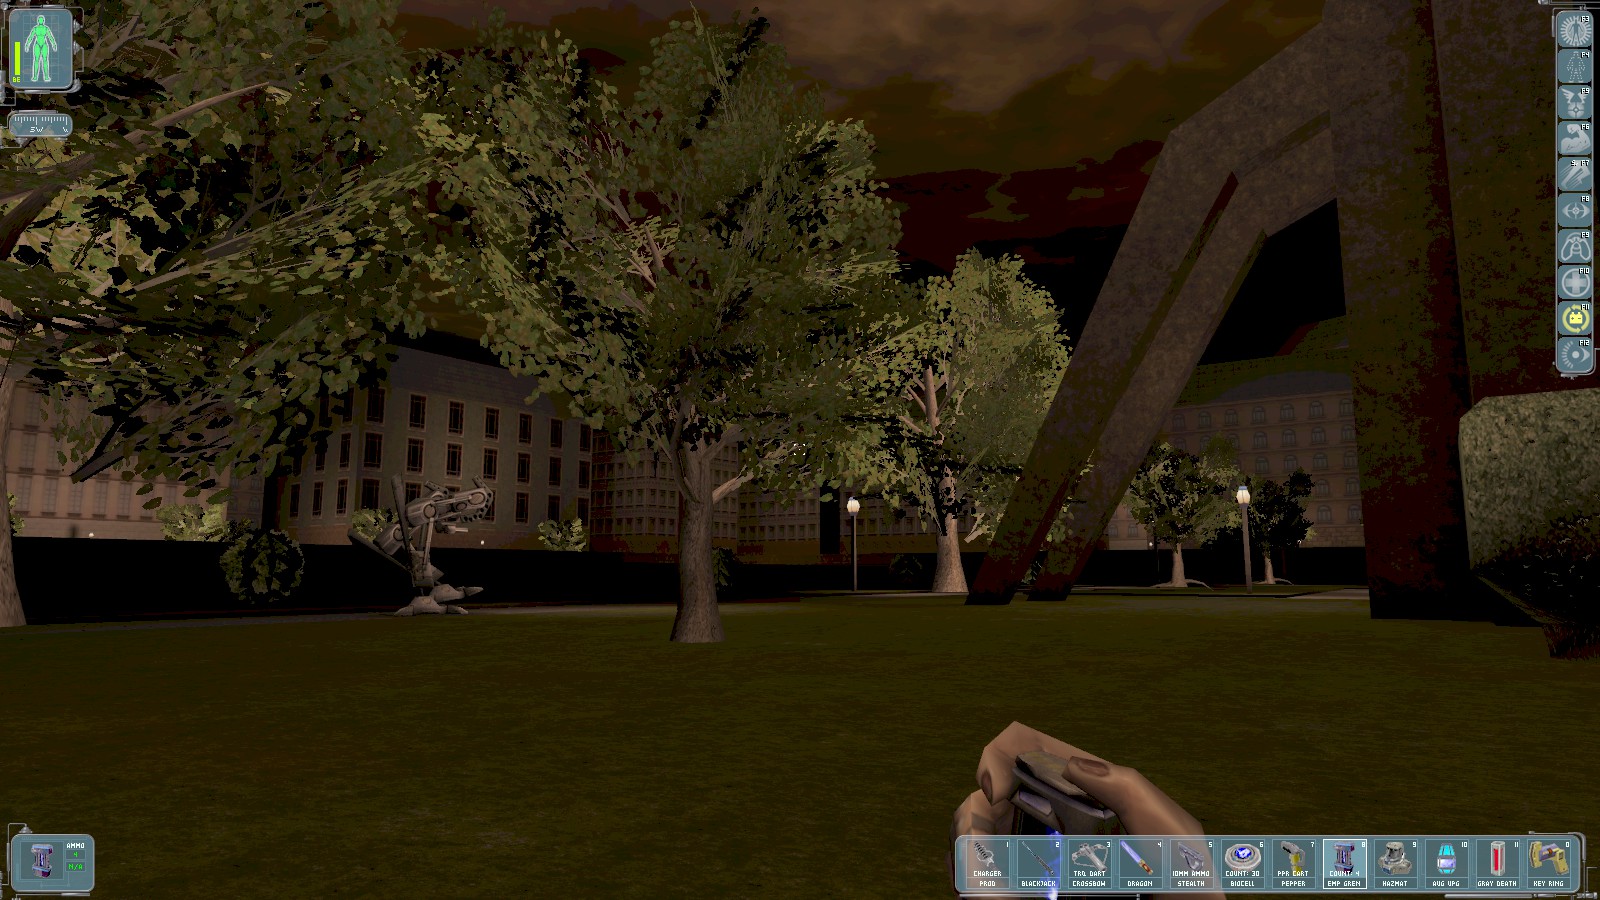
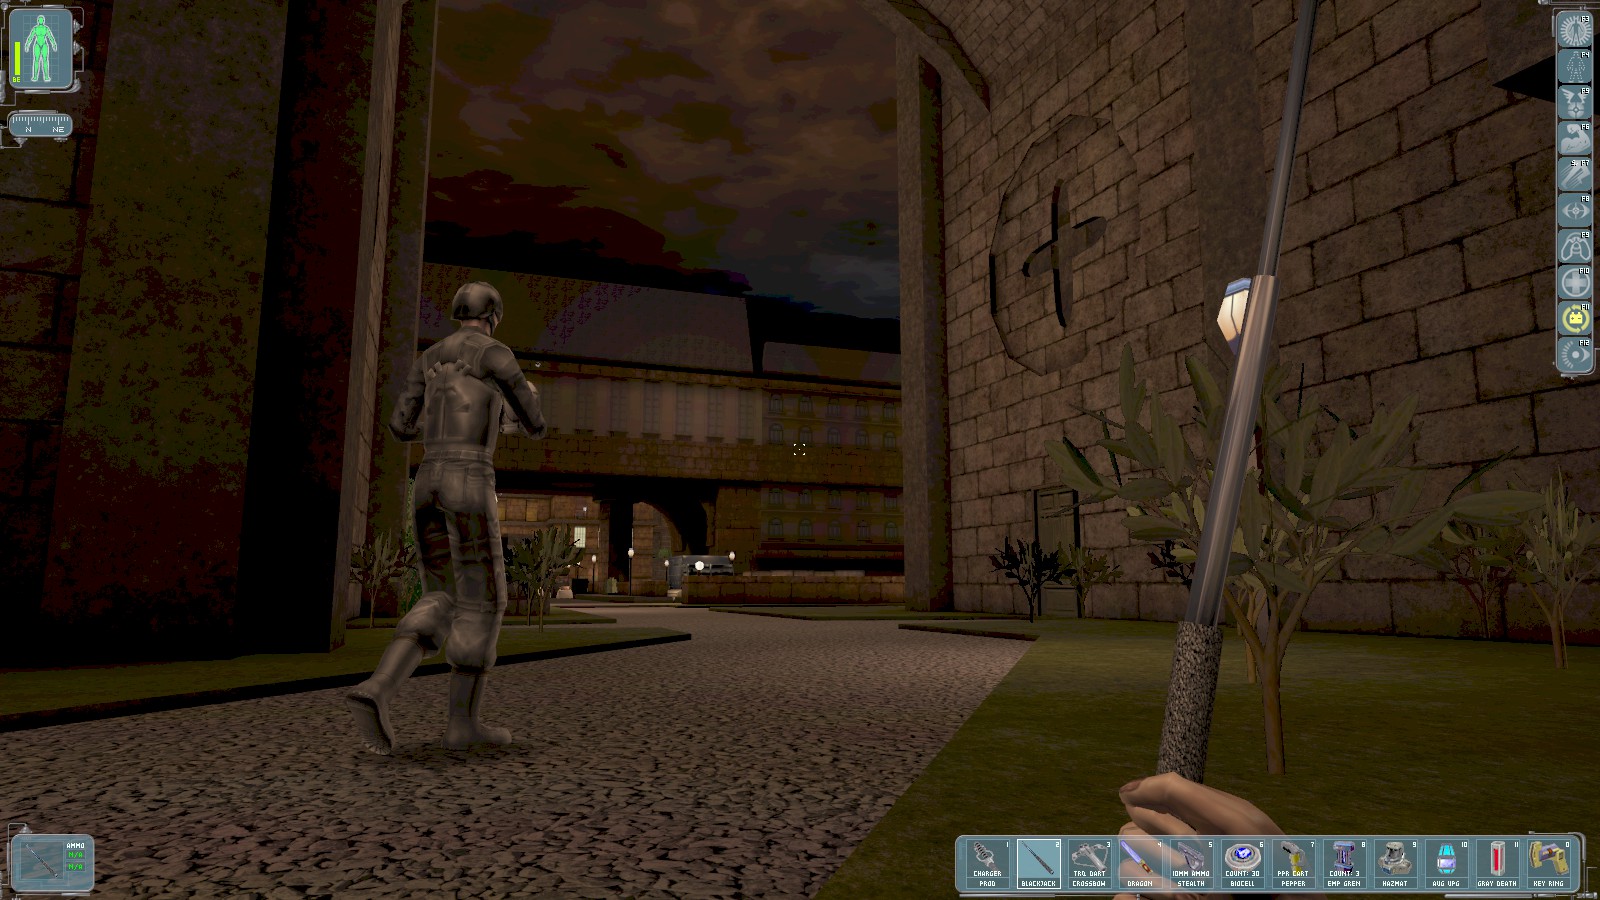
I decide to go left and knock that trooper out. Further round is a military bot which is easily dealt with using an EMP mine. Lastly, at the rear of the cathedral I find the other trooper on his patrol.
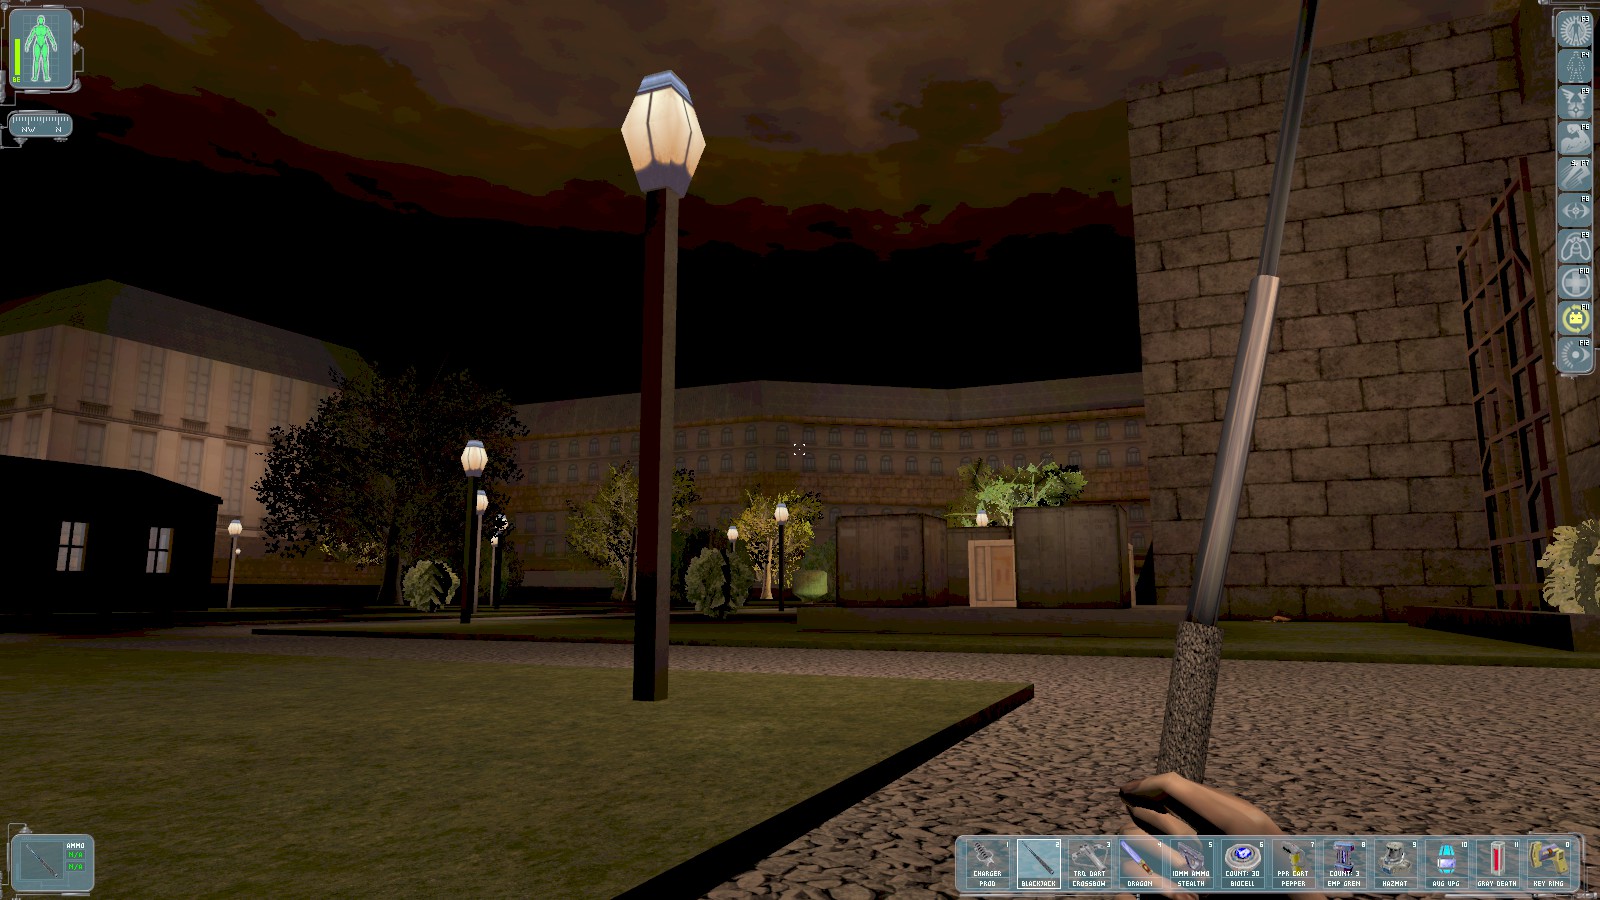
Further round the outside, heading West, is a trellis. Tracer Tong chimes in with helpful advice about climbing it. A couple of nearby crates contain ammo but two commandos patrol nearby. The small shed (windows just visible on the right) contains a weapon mod. Climb the trellis up to the roof.
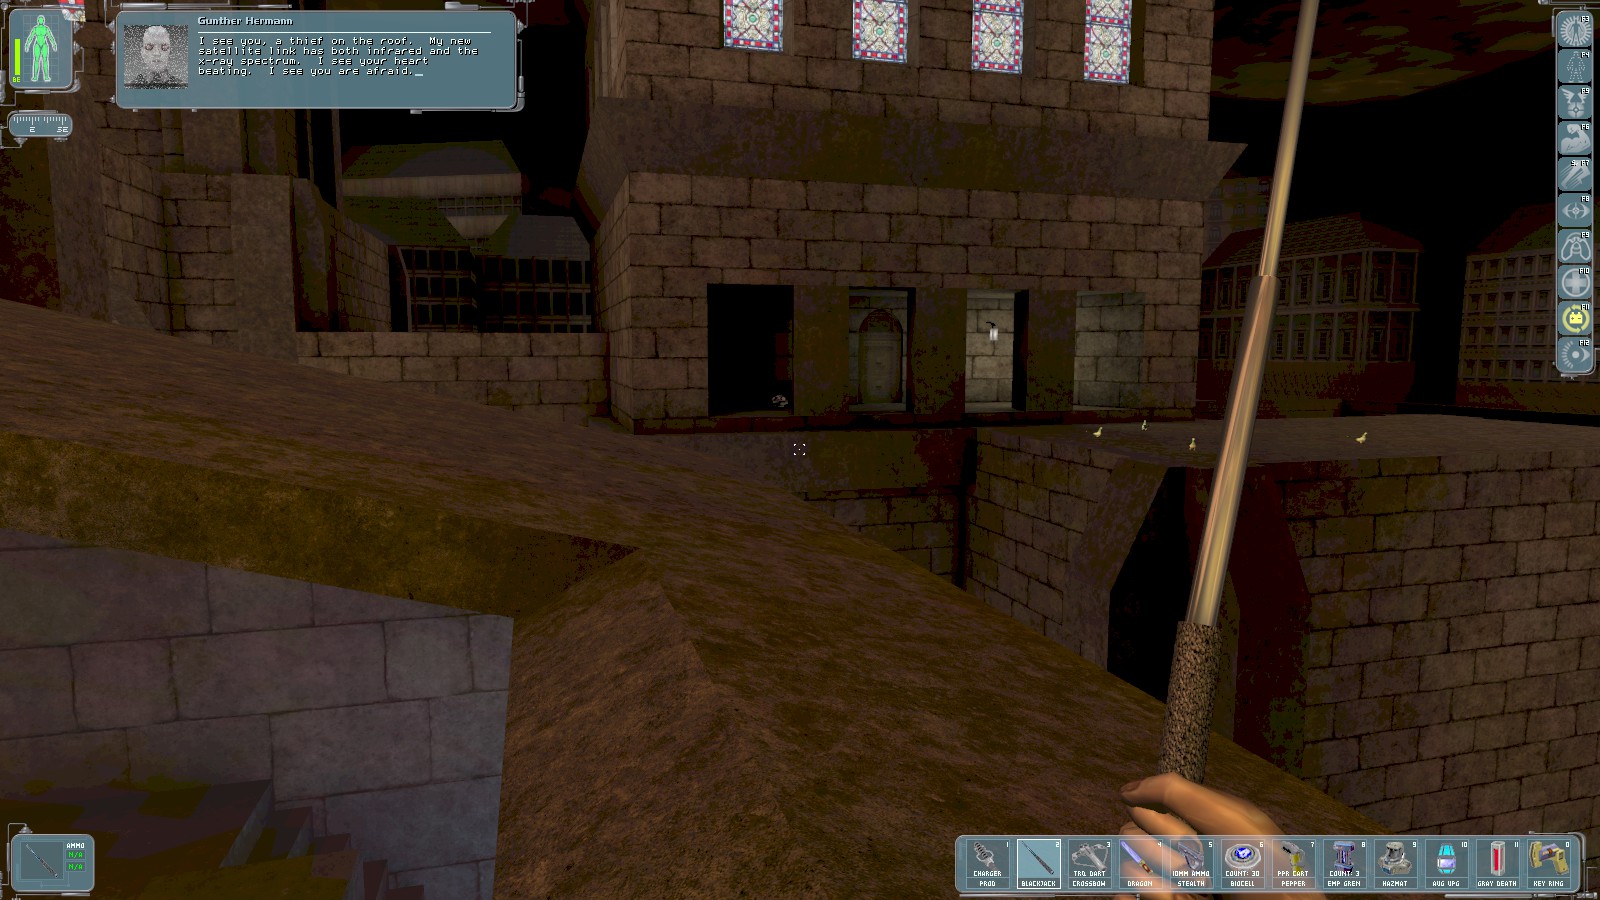
On the roof Gunther Hermann radios in to say he can see you on the roof. There are a number of ways to proceed from here, but one useful way is to break the glass of the window here and drop into the room below.
|
|
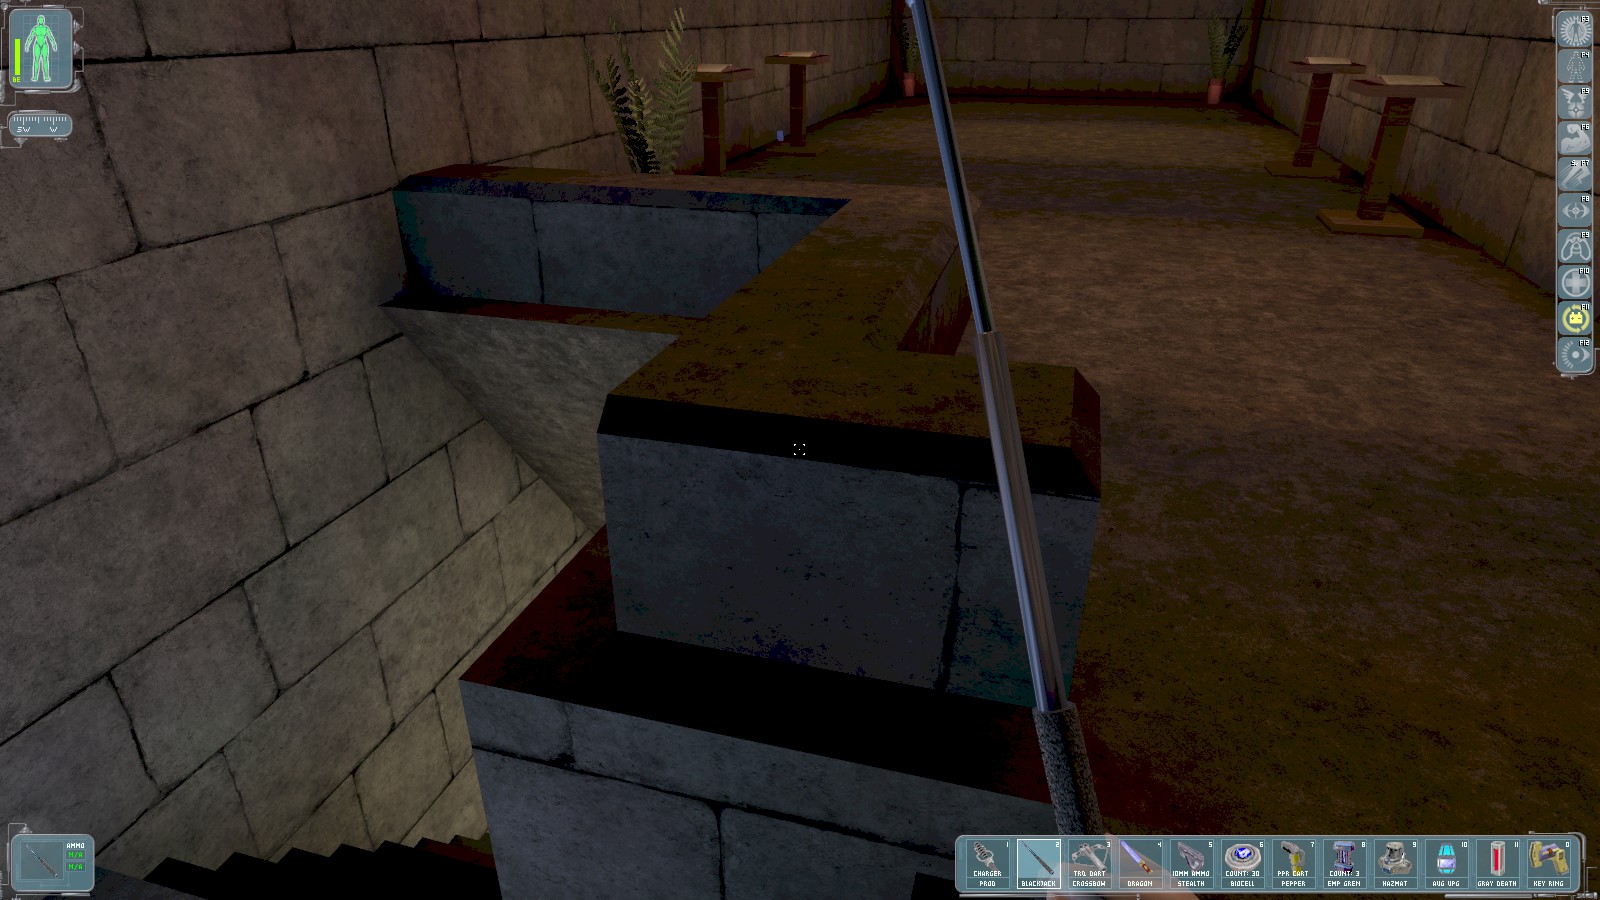
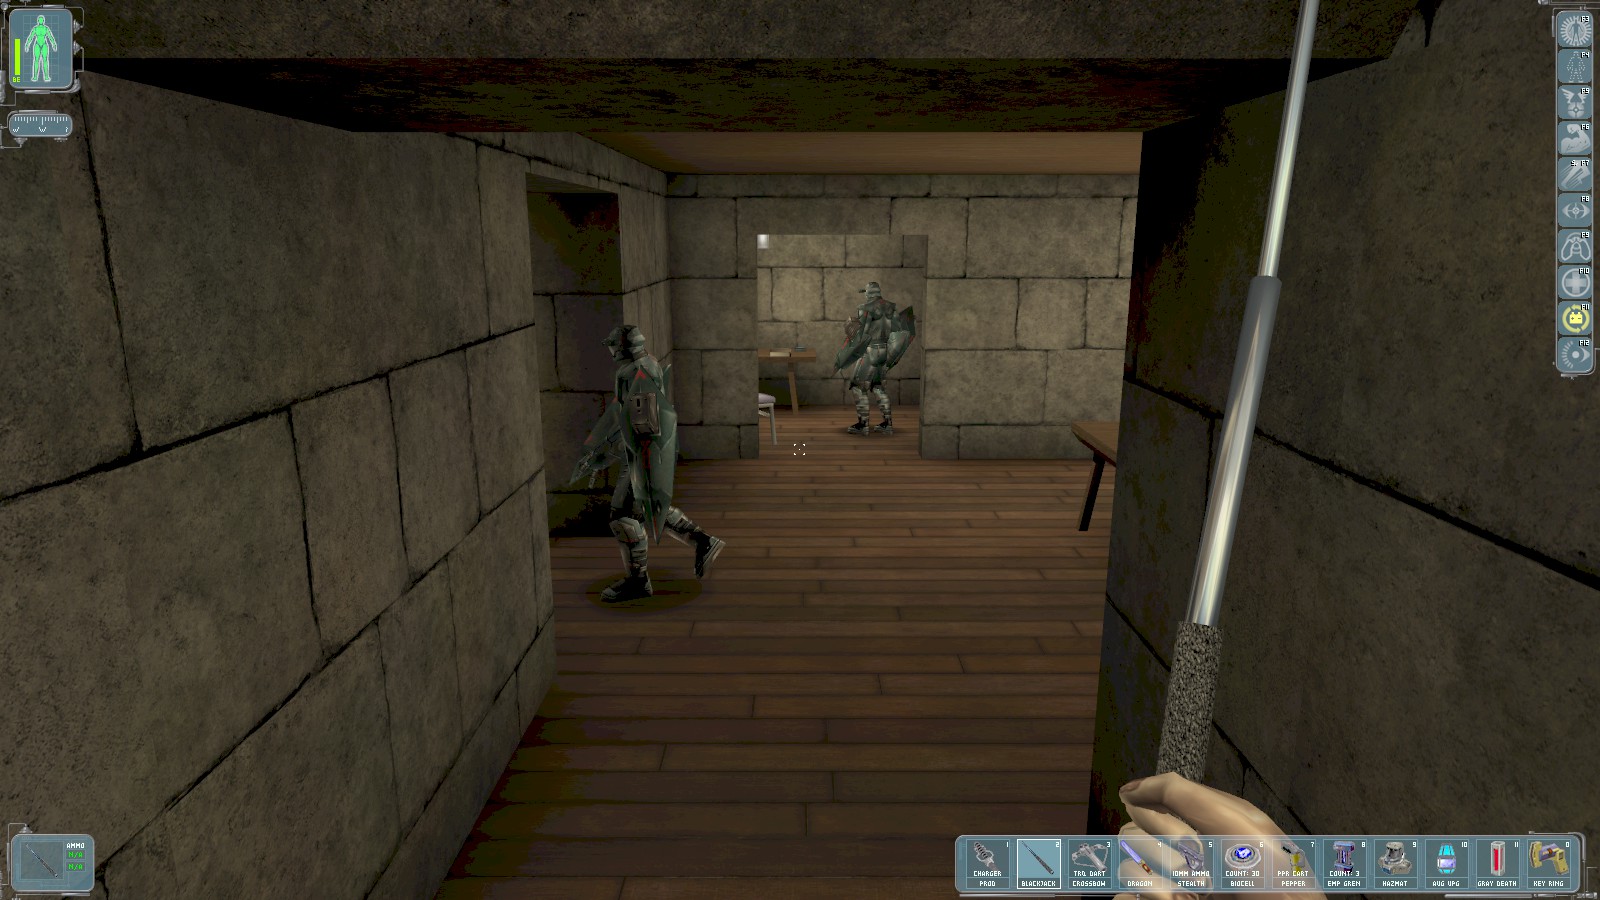
Read the books on the pedestals and Morgan Everett informs you you’re in the Old Library. Grab the key to the cathedral’s main doors from beneath the pedestal on the left, then proceed down the stairs carefully. Take out the patrolling guard first. Near the stationary guard (on the right in the right hand pane) is a datacube with some useful info:
-
Sidon’s Vault,
1942 -
Fountain of Wisdom,
0022 -
Credentials,
34501/08711
The cathedral main door key is also on a nearby table, and opens the door at the end of the passageway—it leads back outside near the trellis. Go back up the stairs.

Through the other door one guard patrols. He’s most easily taken down in this position, so await your moment. Continue up the stairs.
|
|
|
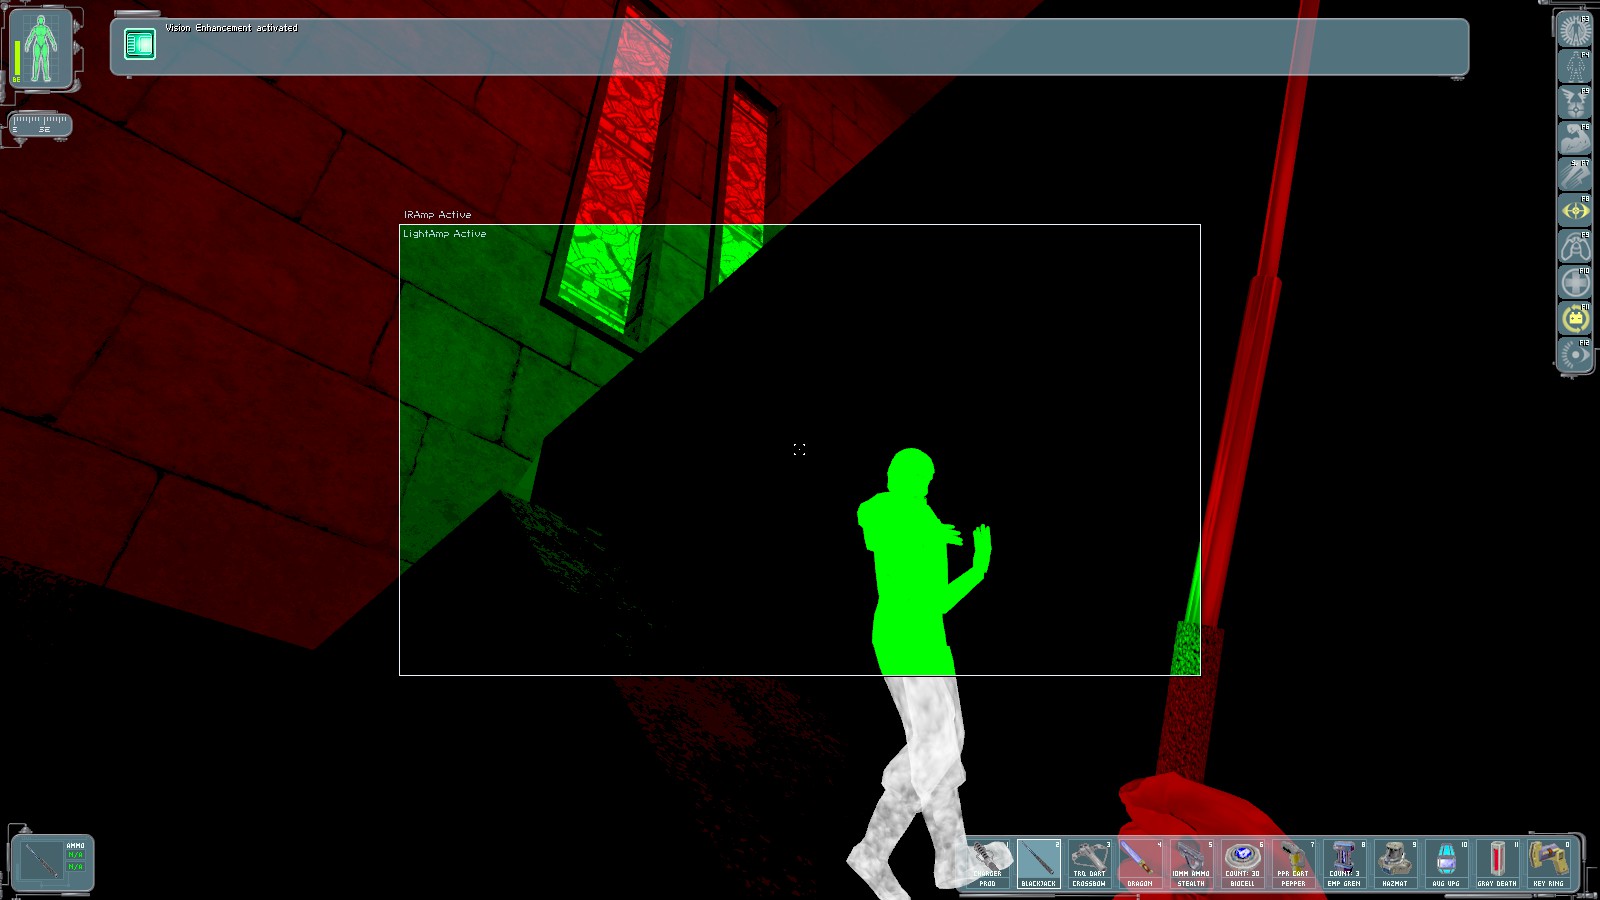
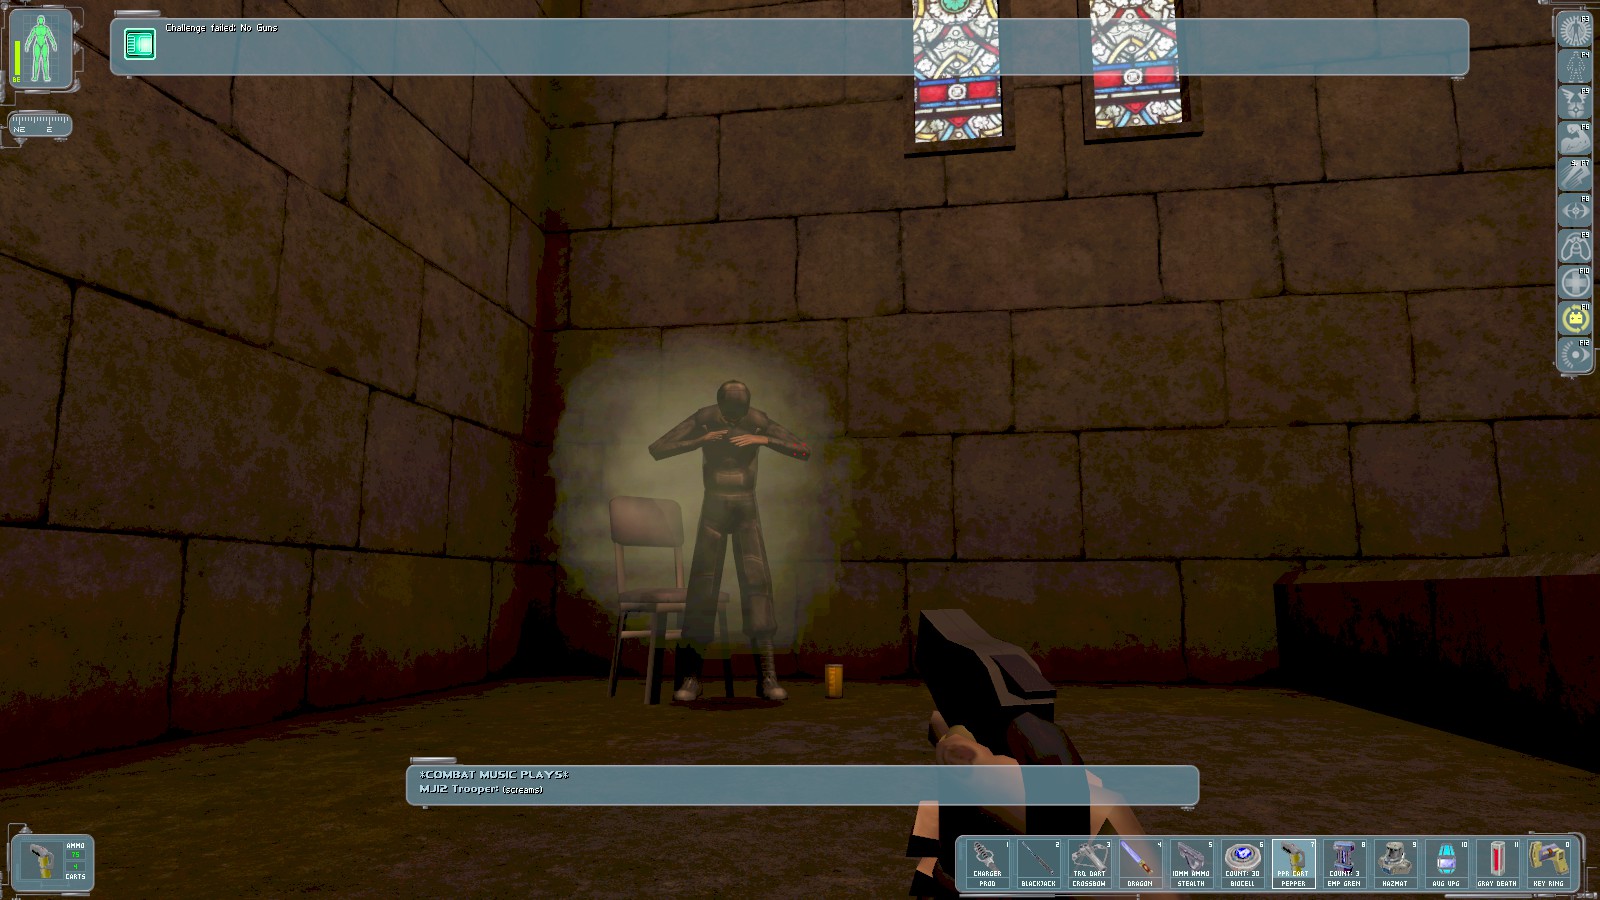
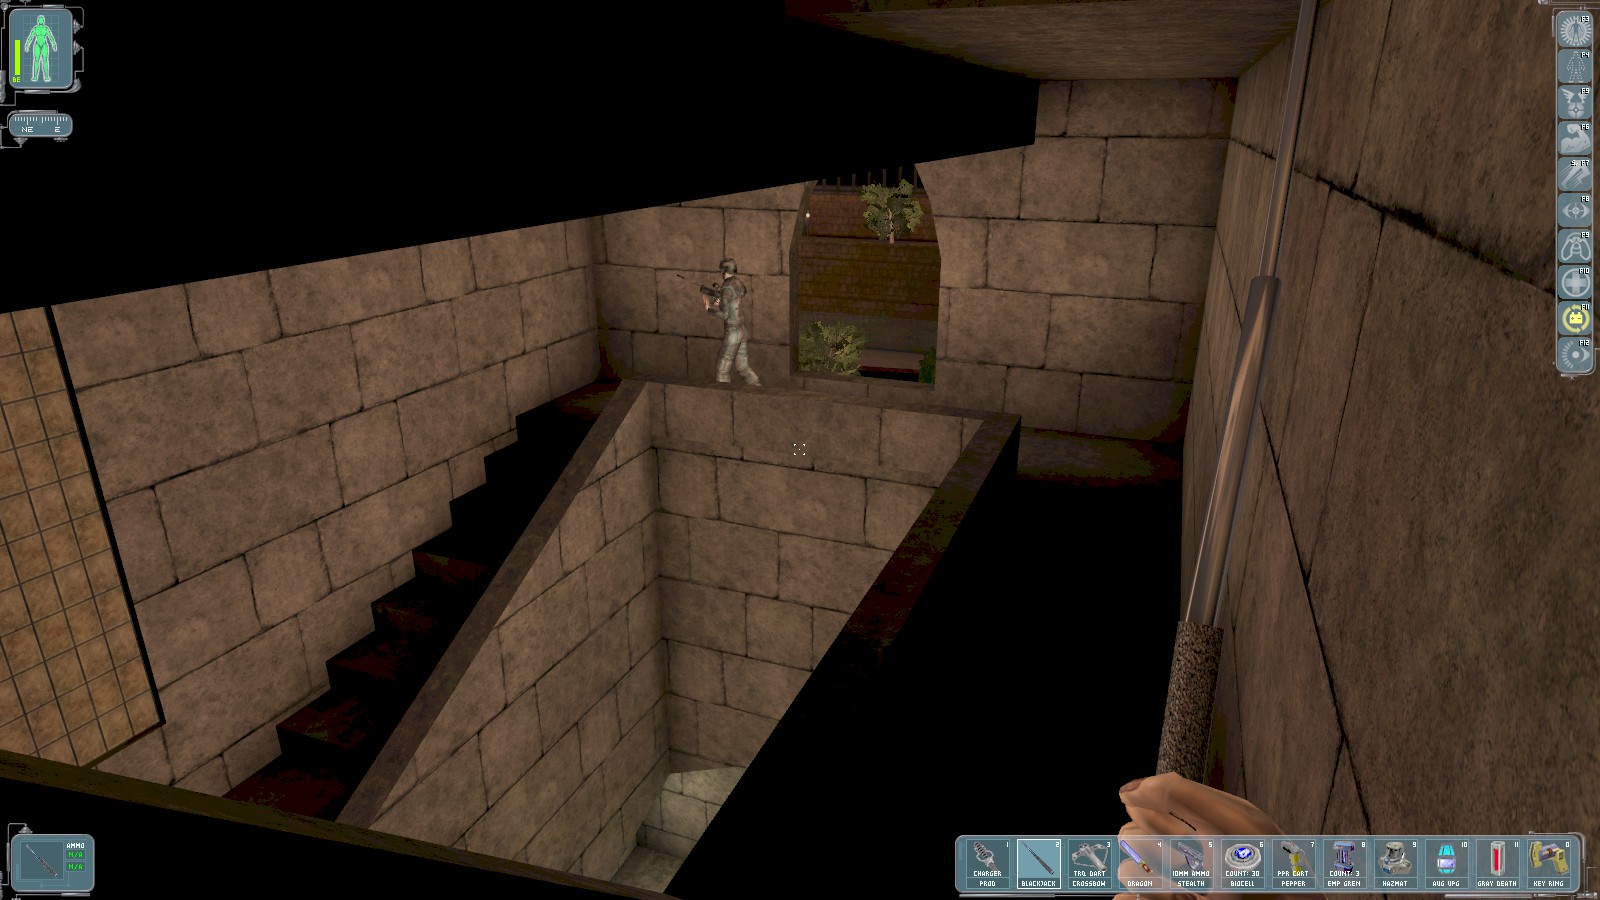
At the top another guard patrols. Take him out when his back is turned and head across the bridge that he was patrolling. At the other end is another seated guard. Pepper spray and the blackjack work well here. Down the next stairs is yet another troop to knock out when his back is turned. Head all the way to the bottom the stairs, ignoring 2 other doors leading off.
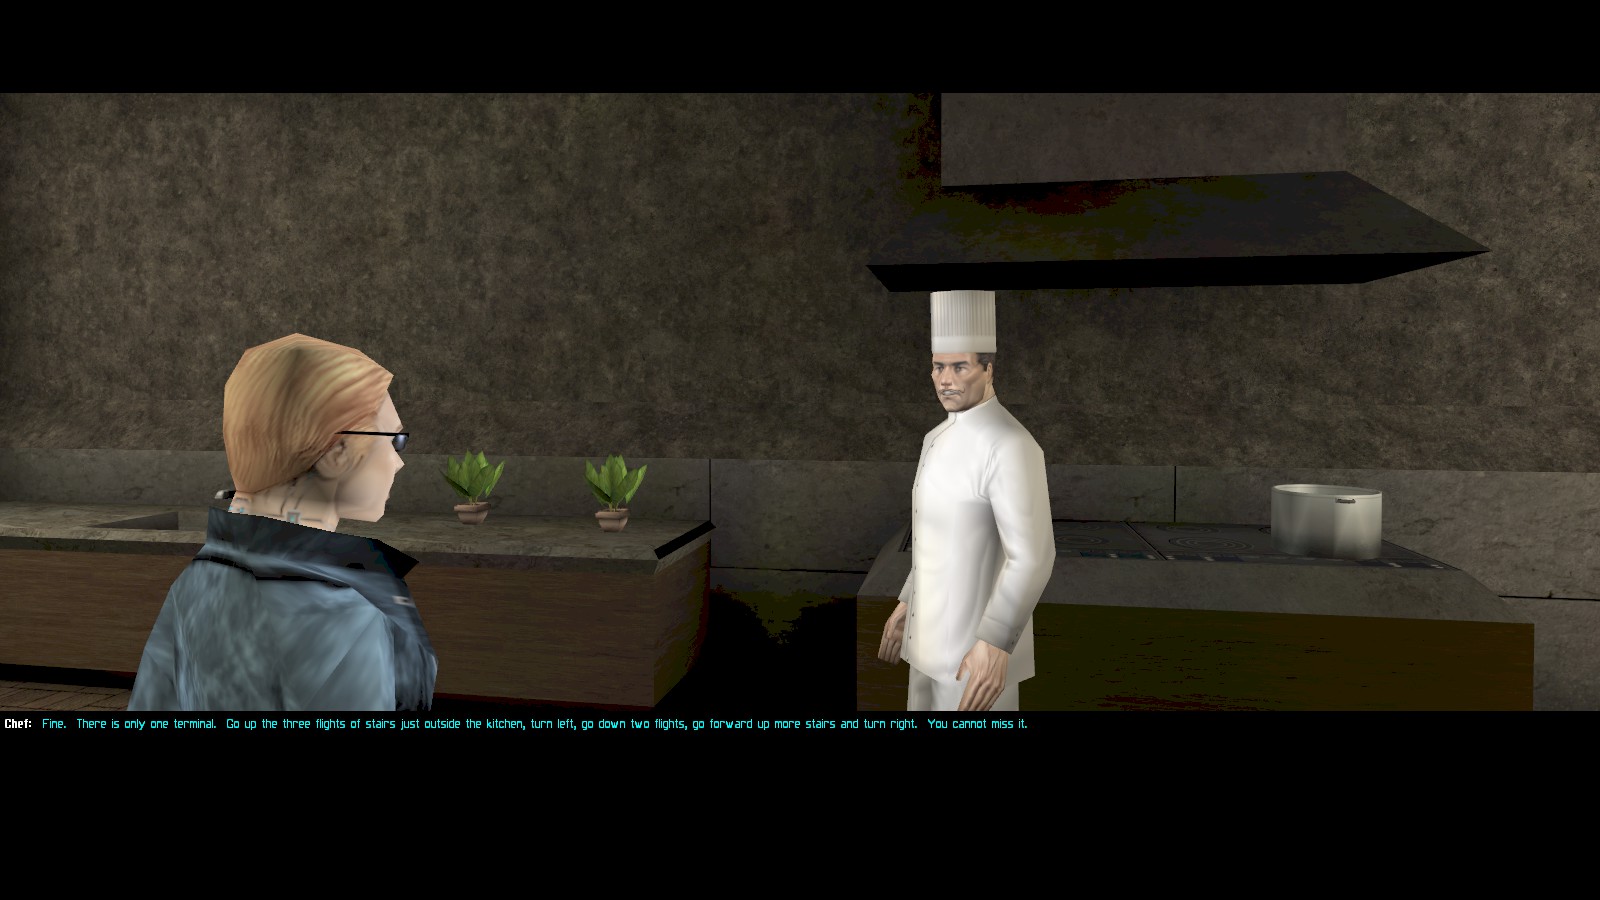
At the bottom you find yourself in the kitchen. Talk to the chef, who is none too impressed with his new MJ12 employers. He gives you some pretty incomprehensible directions to the computer room you’re looking for. Leave the 2 guards chatting a neighbouring room alone—nothing in there worth the trouble. There is a multitool in the kitchen to grab before heading back up 3 flights of steps, and then turning left.
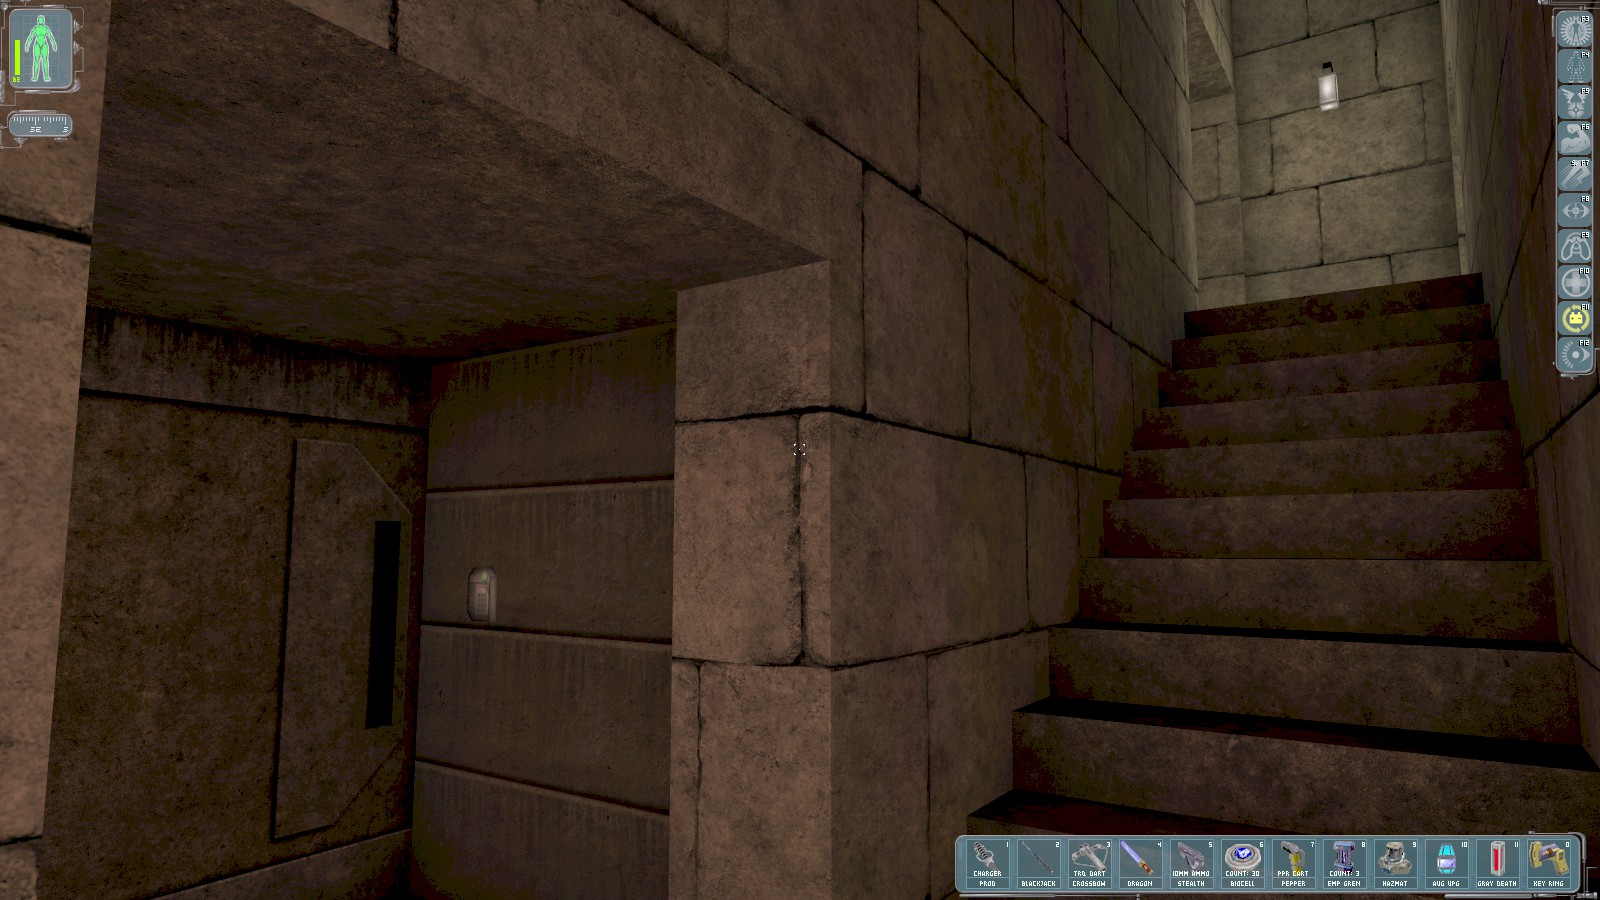
If you’ve gone the right way you should reach this junction. The code 1942 works on the
keypad.

Inside you can either spend multitools to disable the lasers or use Microfibral Strength to block the lasers with the large metal box and wait out the alarm.
|
|
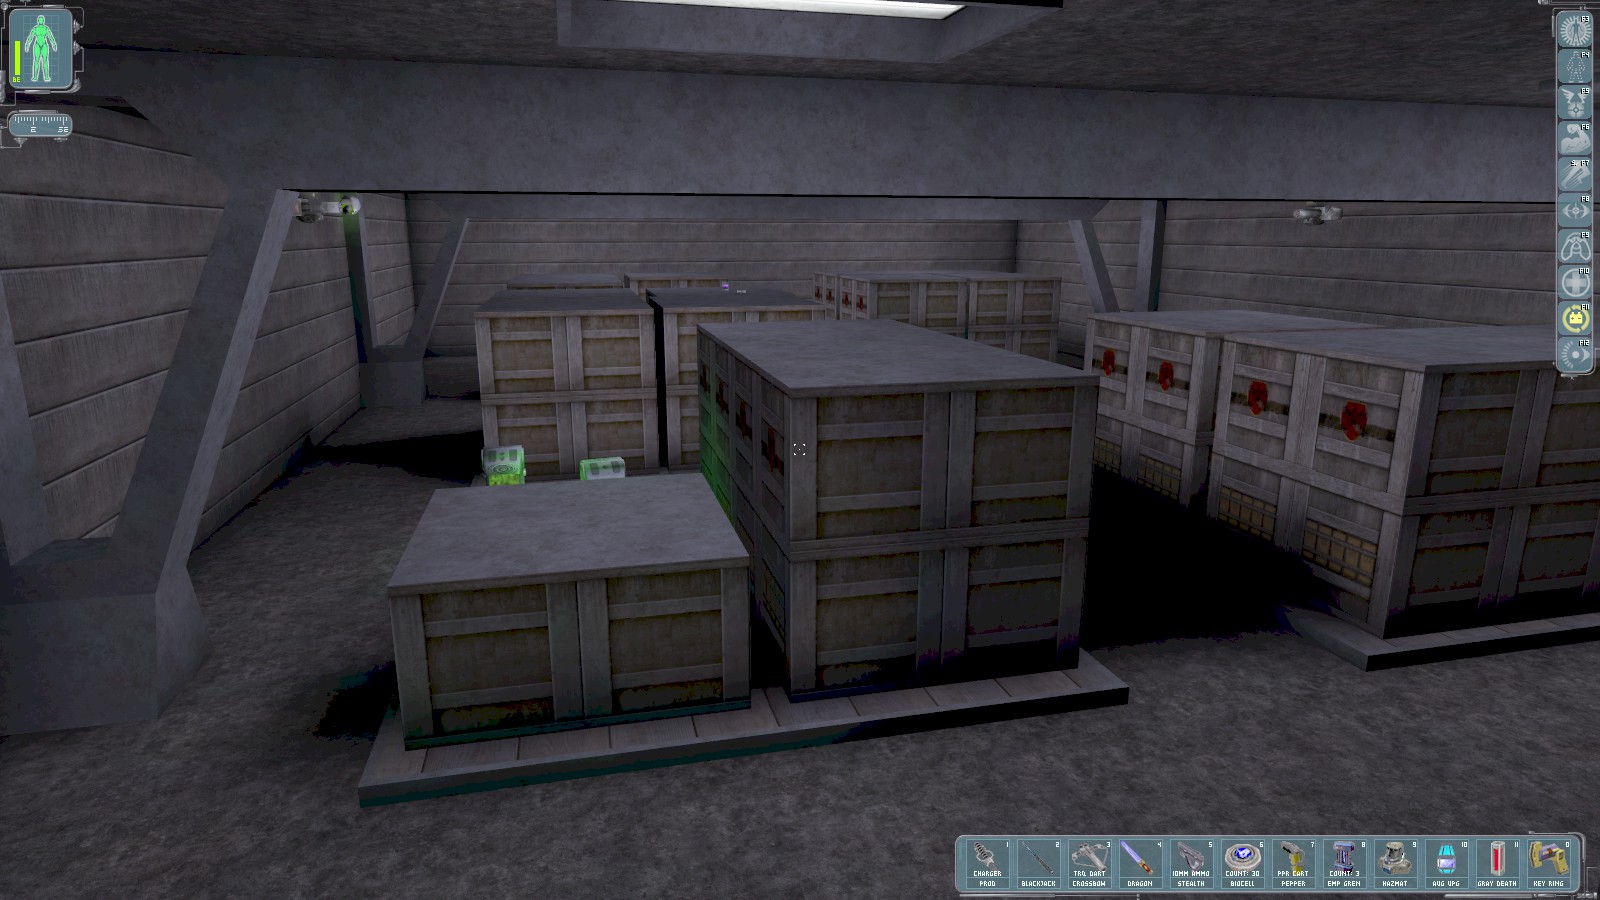

Everett informs you you’ve found the gold and you get 250 skill points. There are 3
cameras in here. Sprint down behind the piller just beyond the camera on the left, then sneak around
the boxes to find a repair bot and a security console. Access the console with the credentials 34501/08711 and disable 3 cameras and 3 turrets. Also here are rockets, and a scope
and reload weapon mod. On top of one of the crates of gold is a range mod and biocell.

Turn left out of the door and head upstairs as far as you can go. The door to Adept 34501’s room is
unlocked. Knock her out and loot the cabinet. Access the security console in here with the credentials 34501/08711 and disable a camera.
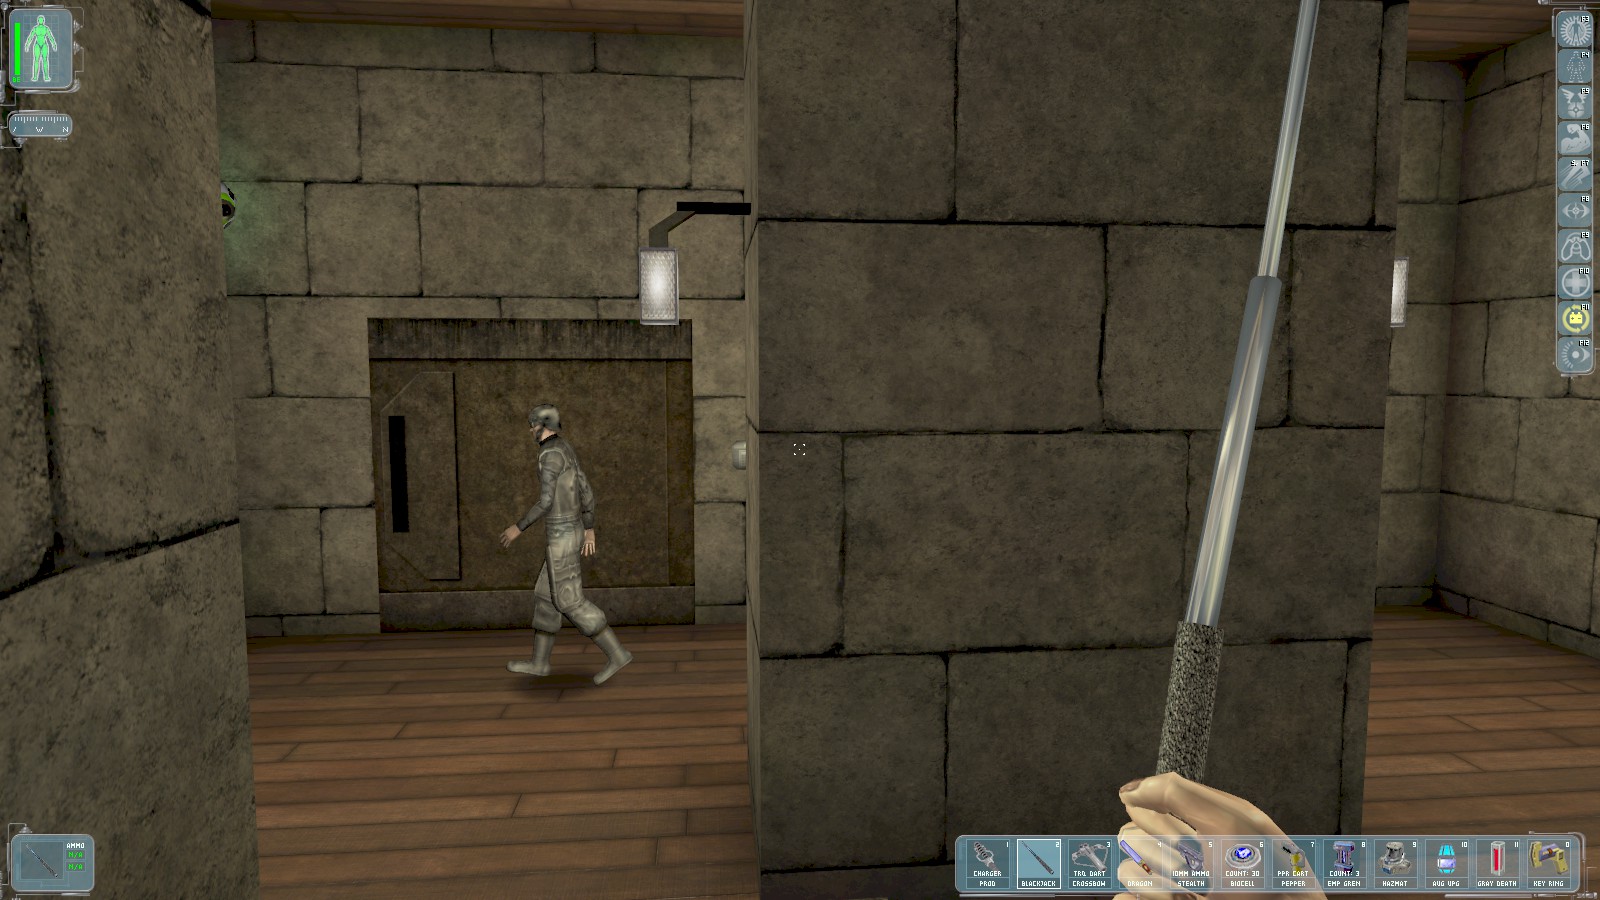
Return part way down the stairs to this room. Knock out the patrol when he’s out of sight of the
camera (top left), then use your spy drone to temporarily disable the camera. Use the code 0022 to open the door.
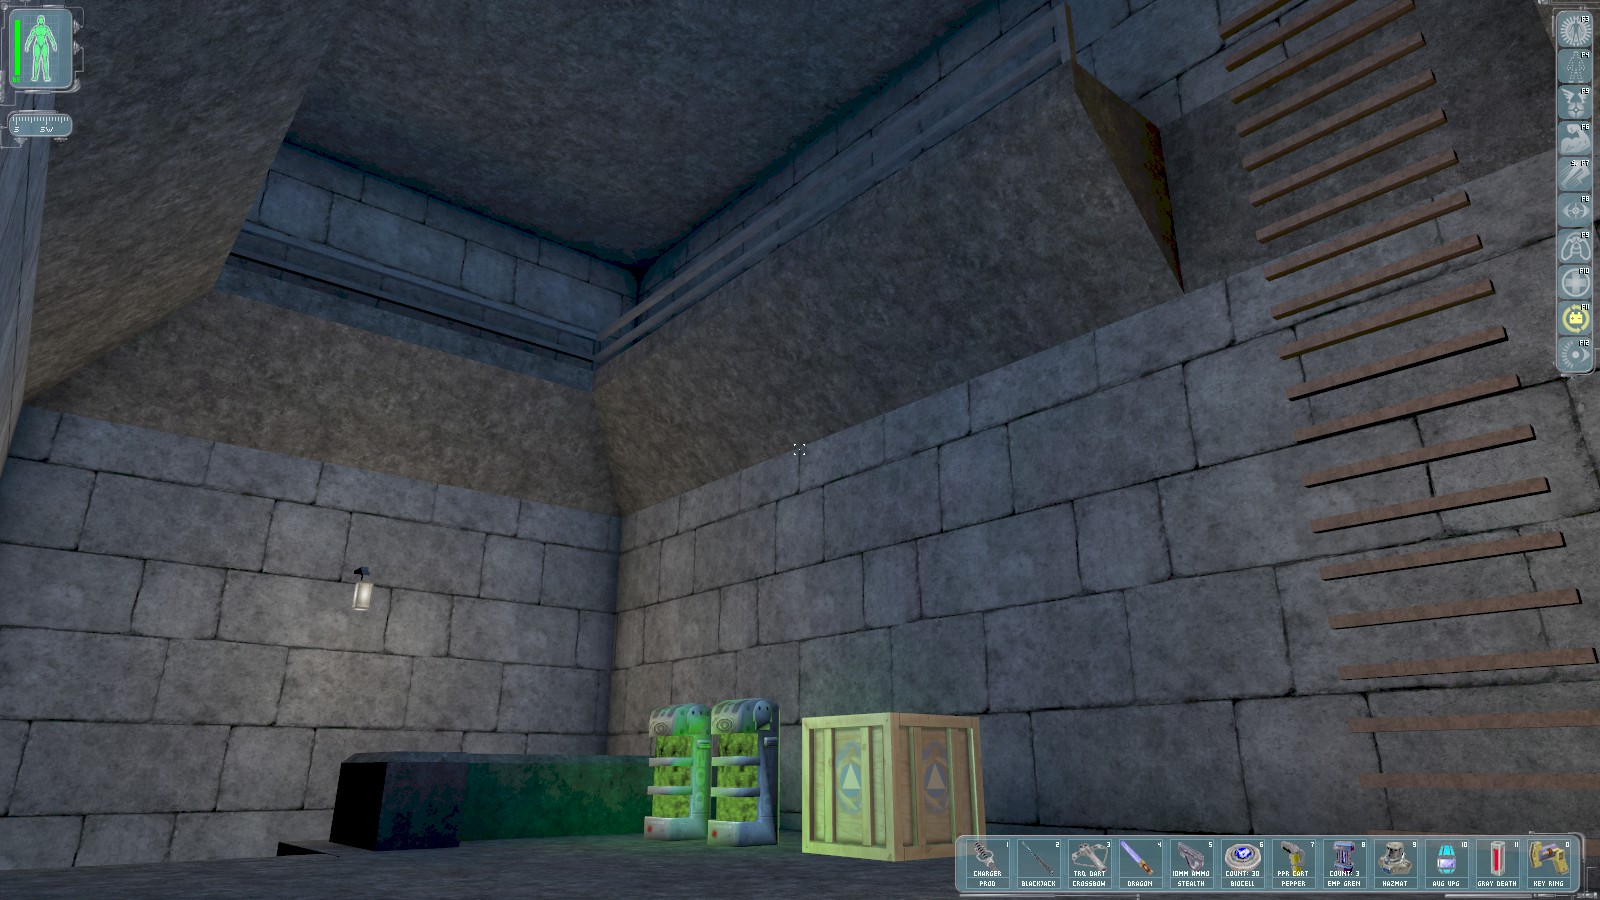
The crate has a fire extinguisher. If you don’t have a hazmat suit, grab it. Climb this ladder and follow the ledge around to find a secret door for 150 skill points. Through the door are crates containing darts. The door will close behind you, but using a nearby light fitting will reopen it. Return to here, then head carefully down these steps.
|
|
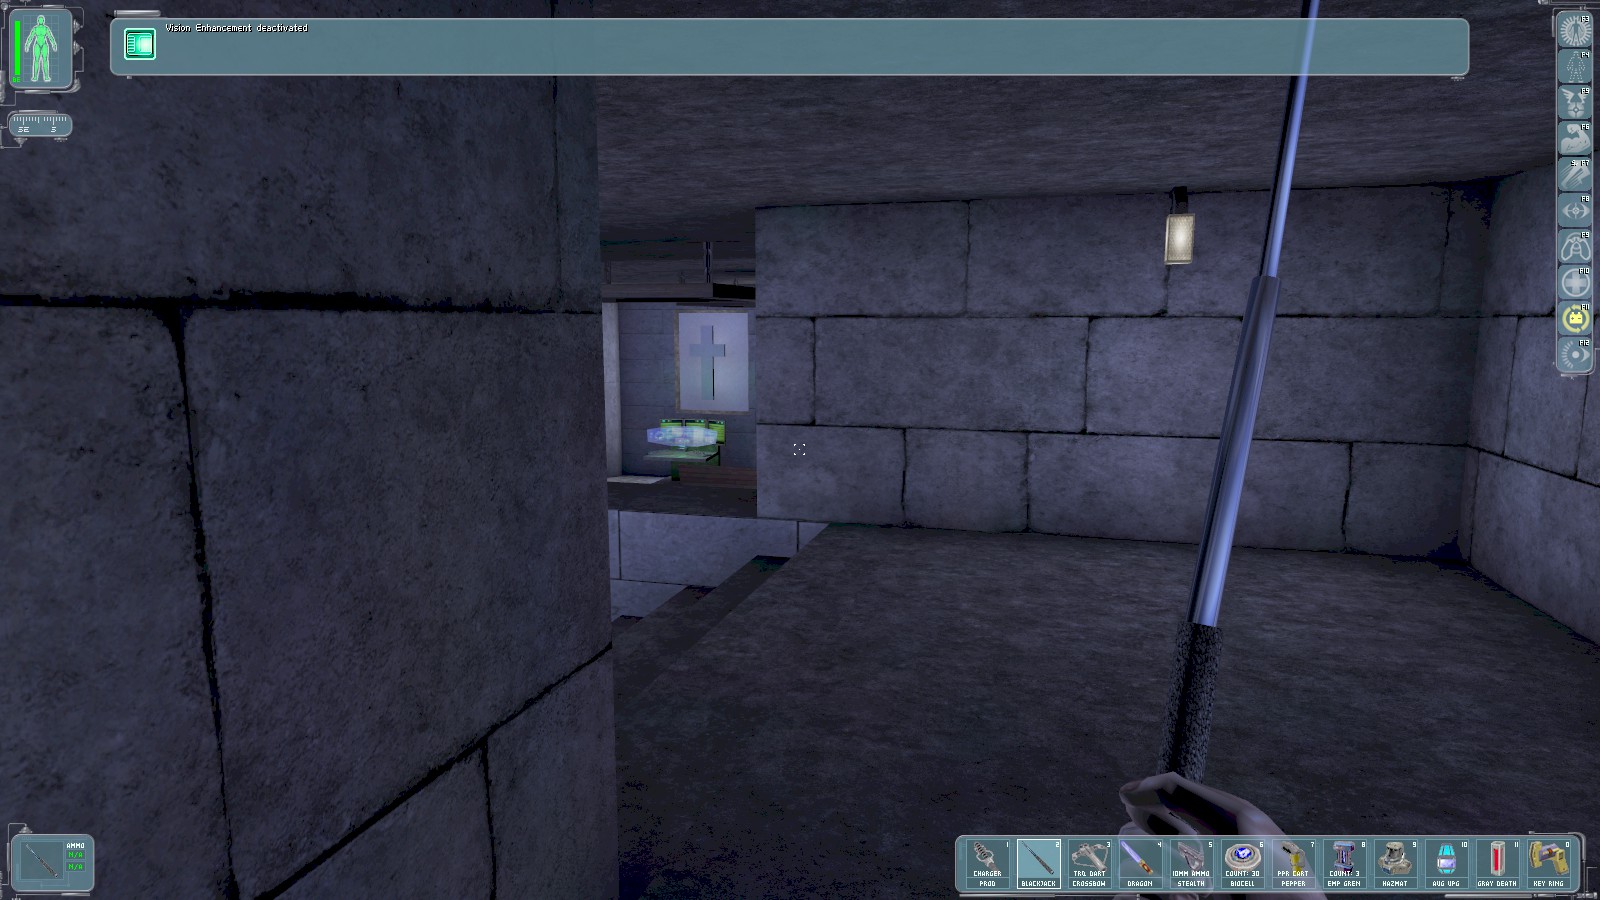
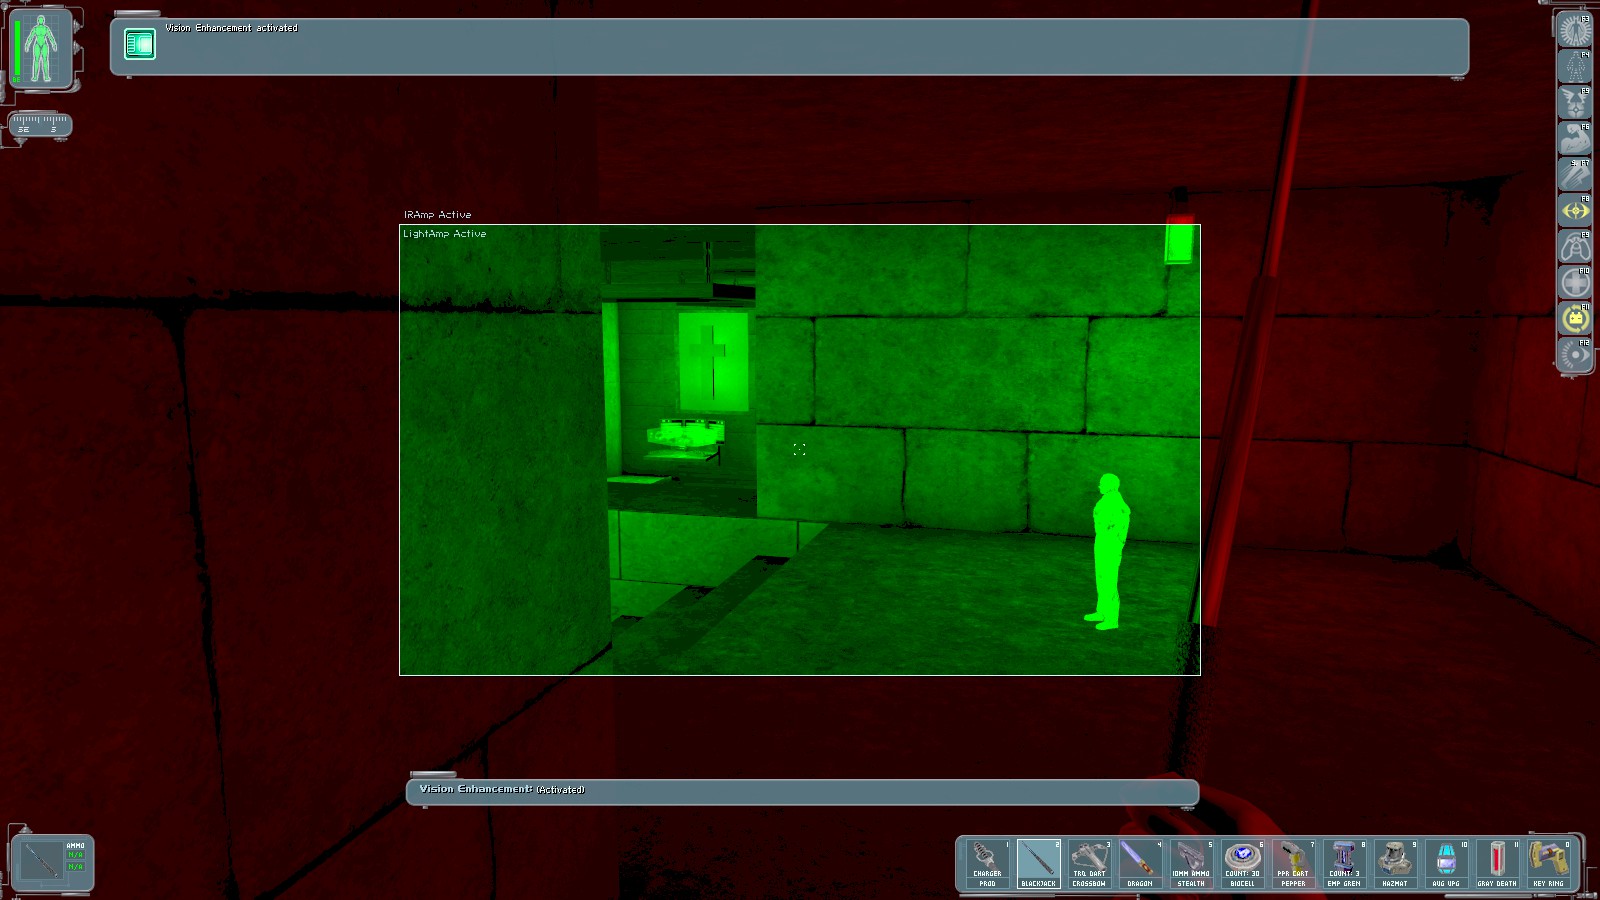
You’ve found the computer room, and get 250 skill points. There’s an EMP grenade on the steps down into the room. A quick scan shows a figure hiding…that must be Gunther Hermann.
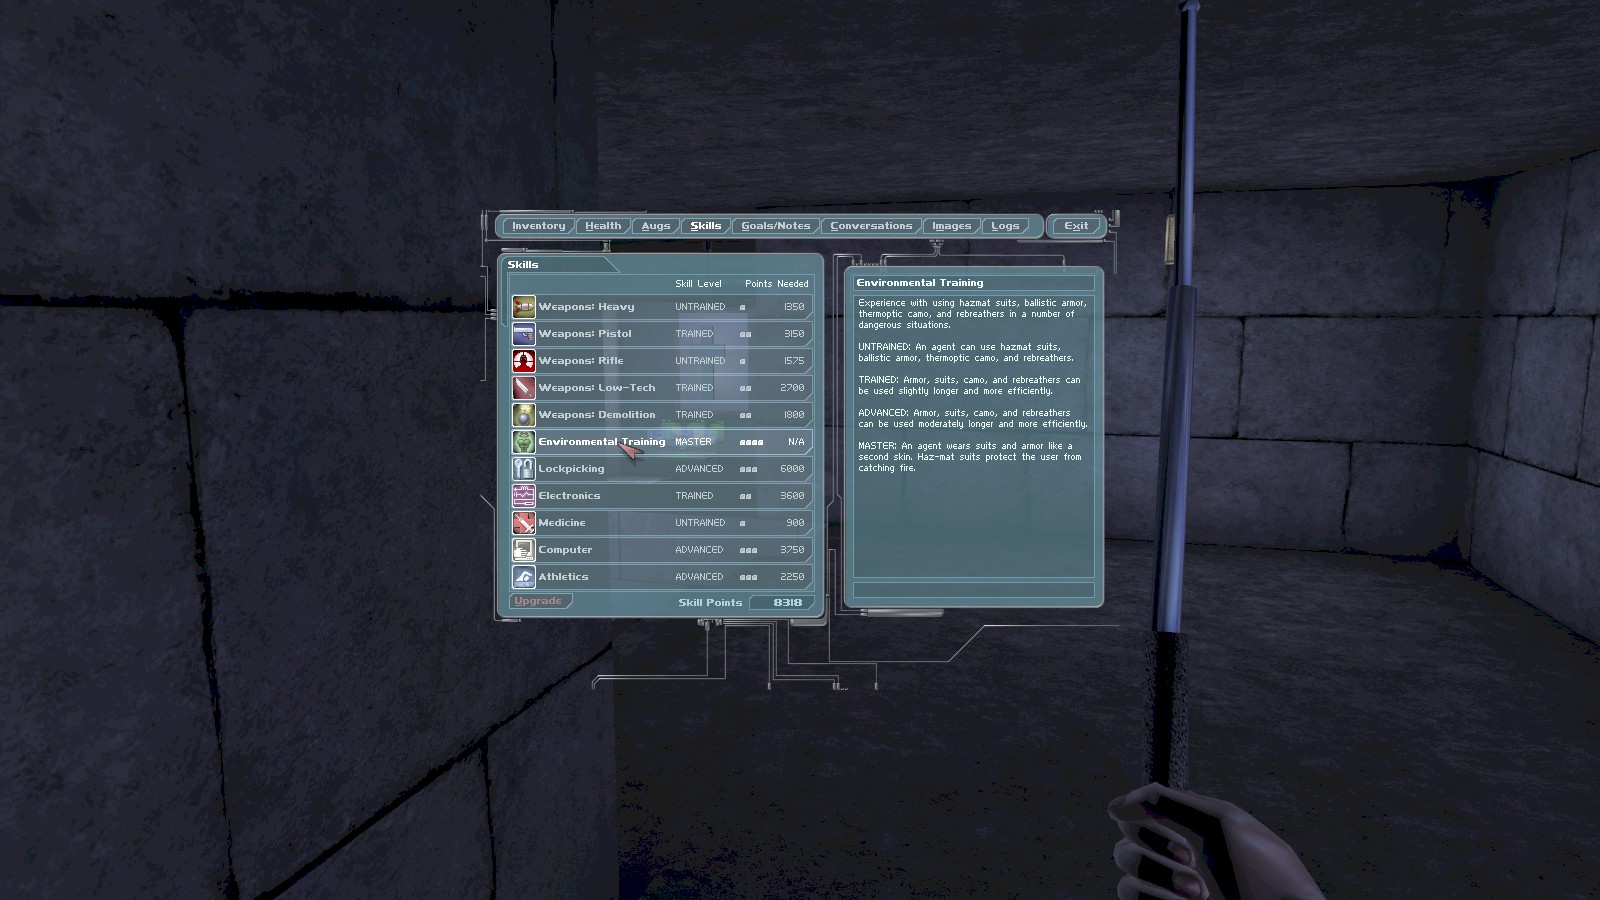
I decide it’s time to spend some of those skill points. I upgrade Weapons: Demolition to make
disarming the EMP grenade a little easier, and upgrade Environmental Training all the way to Master.
After grabbing the EMP grenade, don a HazMat suit and make a dash using Speed Enhancement to the
computer terminal. Access it before Gunther catches you up with the credentials
34501/08711 and click the button to establish the uplink. You get 500 skill points.
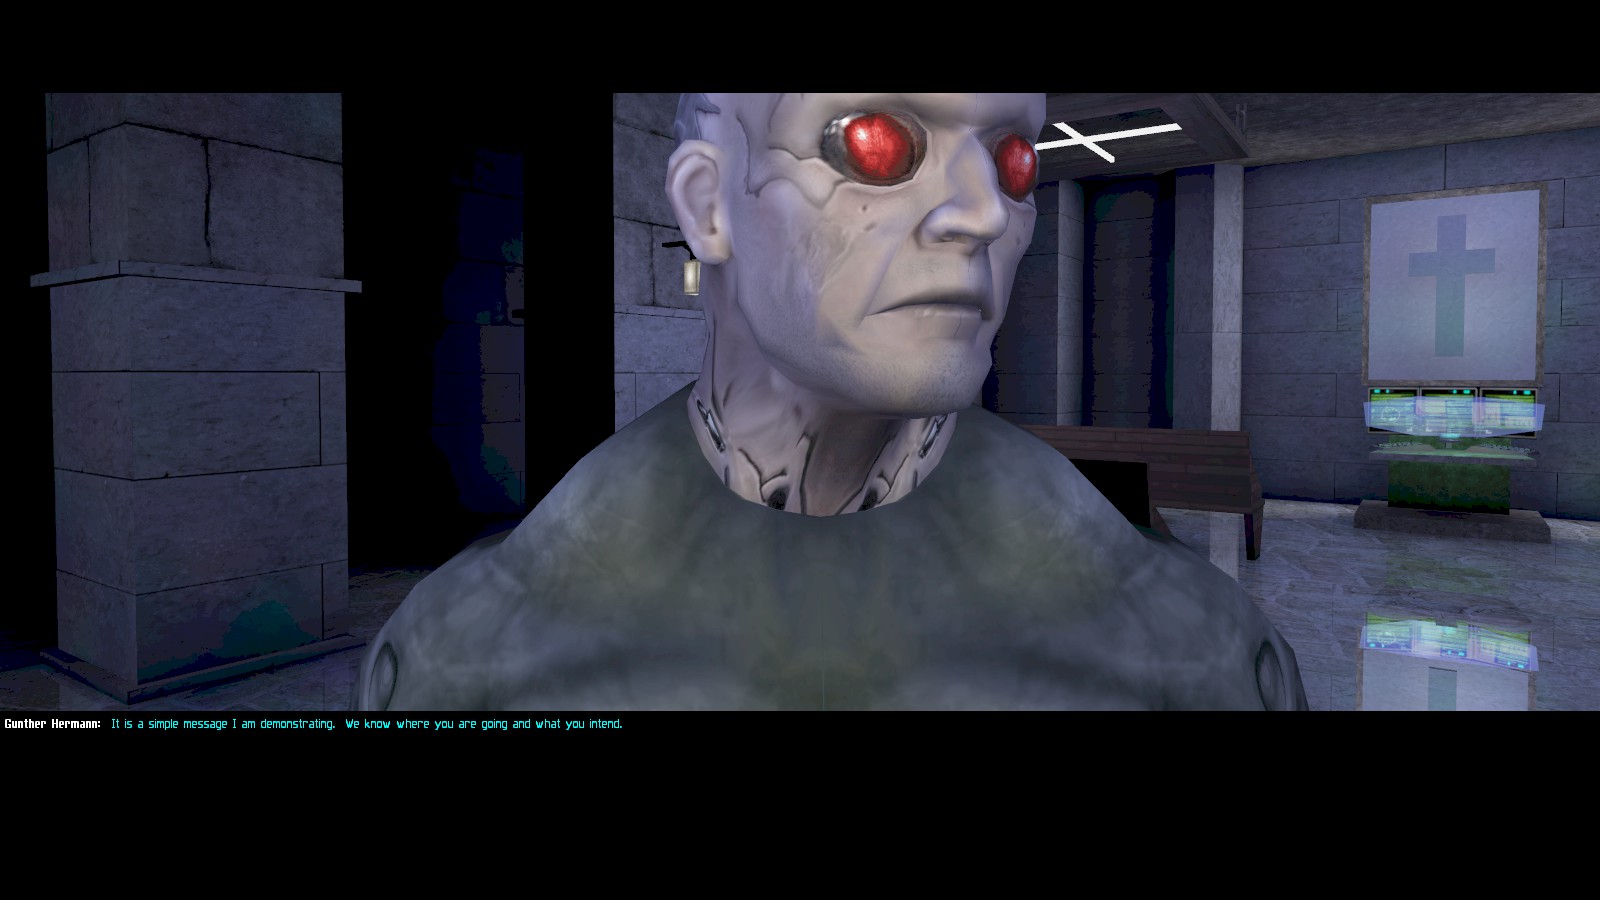
As soon as you logout the conversation with Gunther will begin.
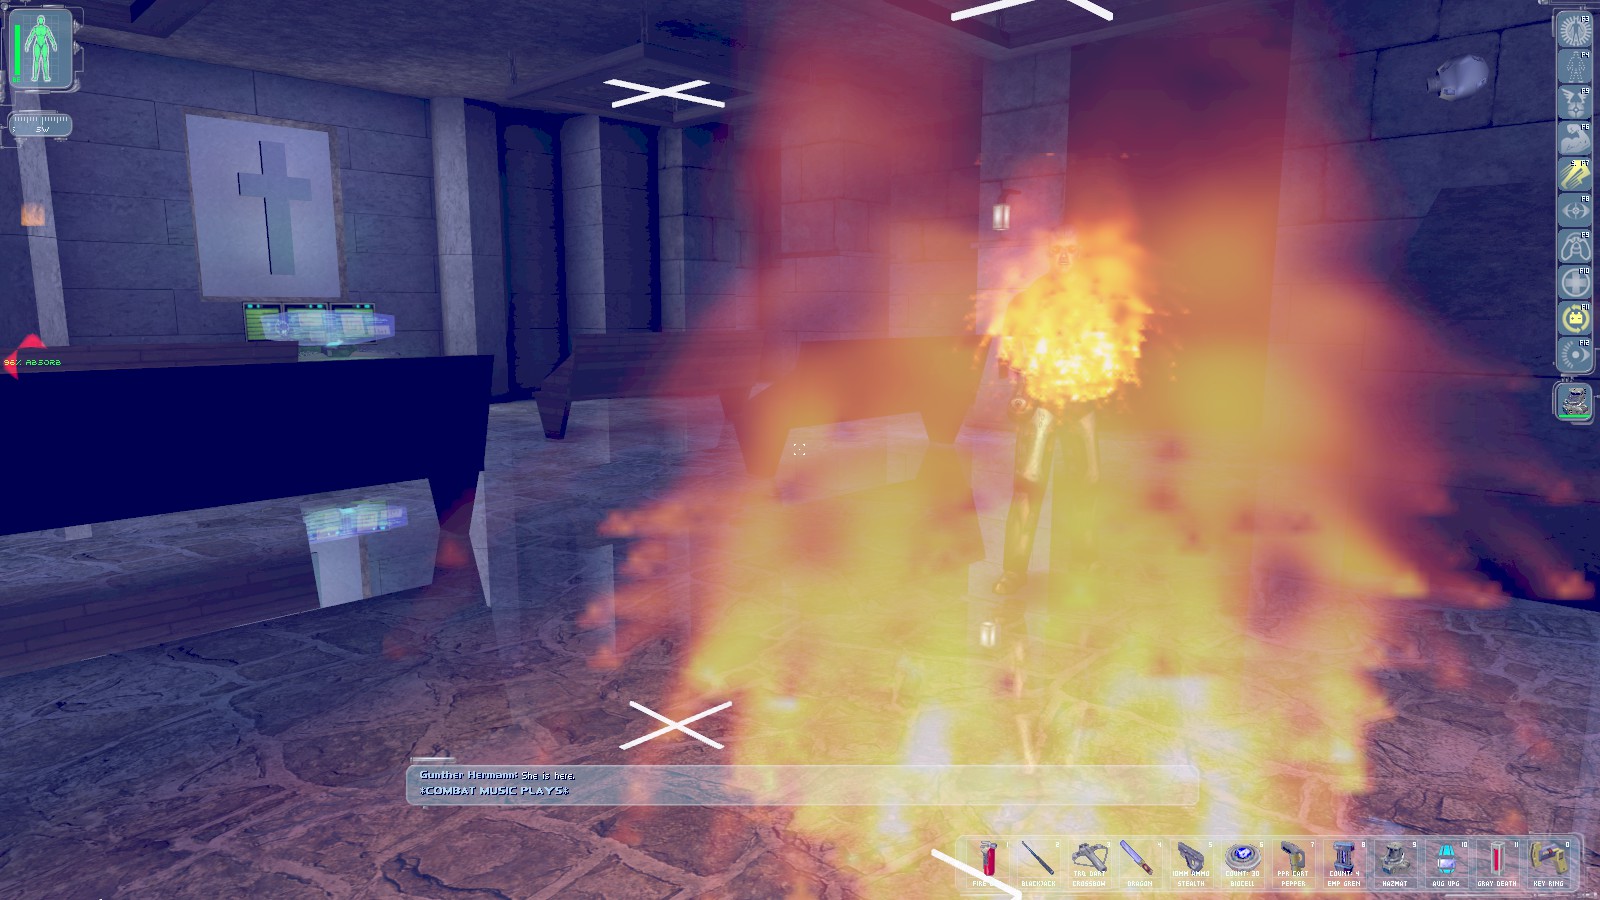
As soon as the conversation is over the fighting begins…he has a flamethrower but the hazmat suit will protect you if you also upgraded your Environmental Training. If you didn’t have a hazmat suit, now is the time to use the fire extinguisher! Don’t bother trying to engage Gunther, just make a run for the stairs. He won’t follow you up there.
|
|
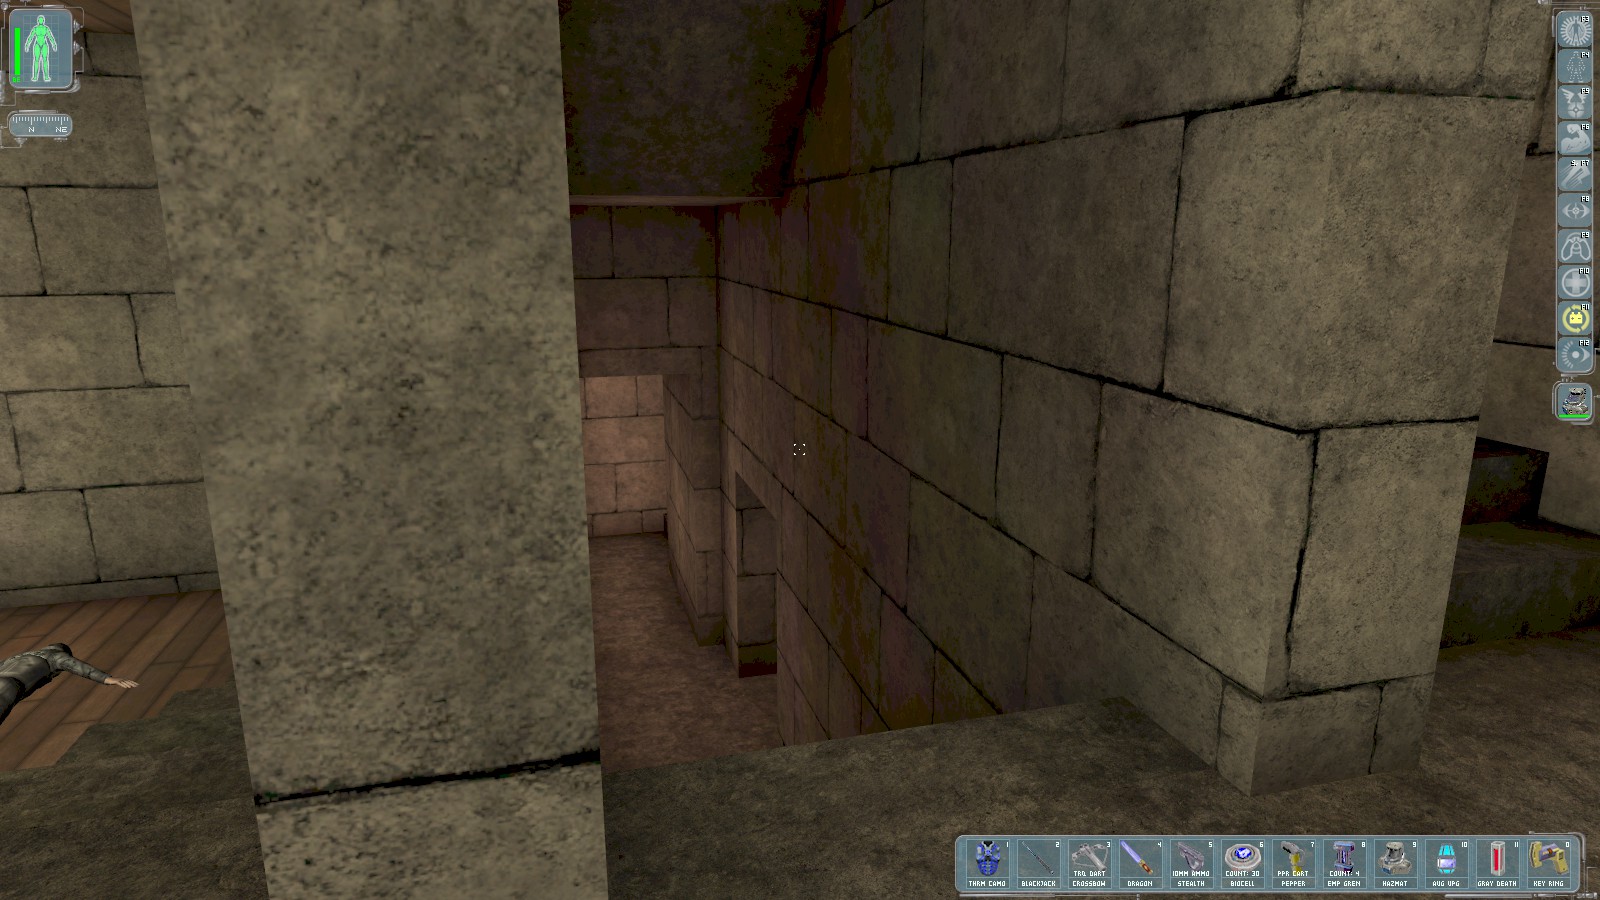
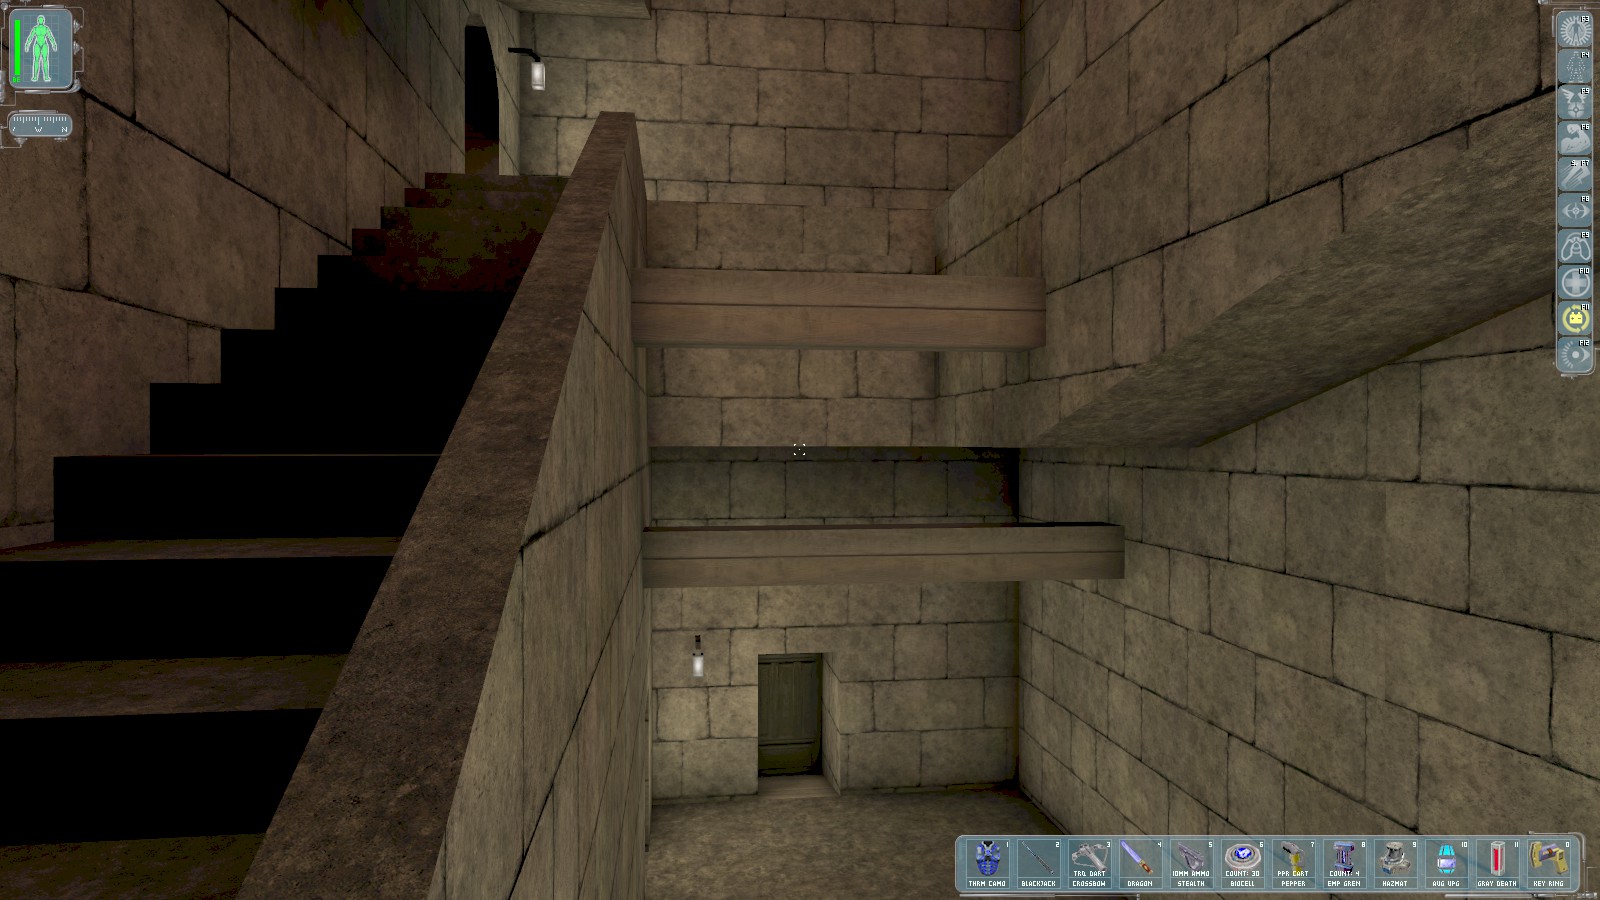
As soon as you reach the room with the fire extinguisher, Everett confirms he’s getting what he needs and instructs you to go to the metro station. Recharge at the repair bot, then follow the corridor up some steps beyond to the main stairwell. Exit via the door—your key unlocks it.
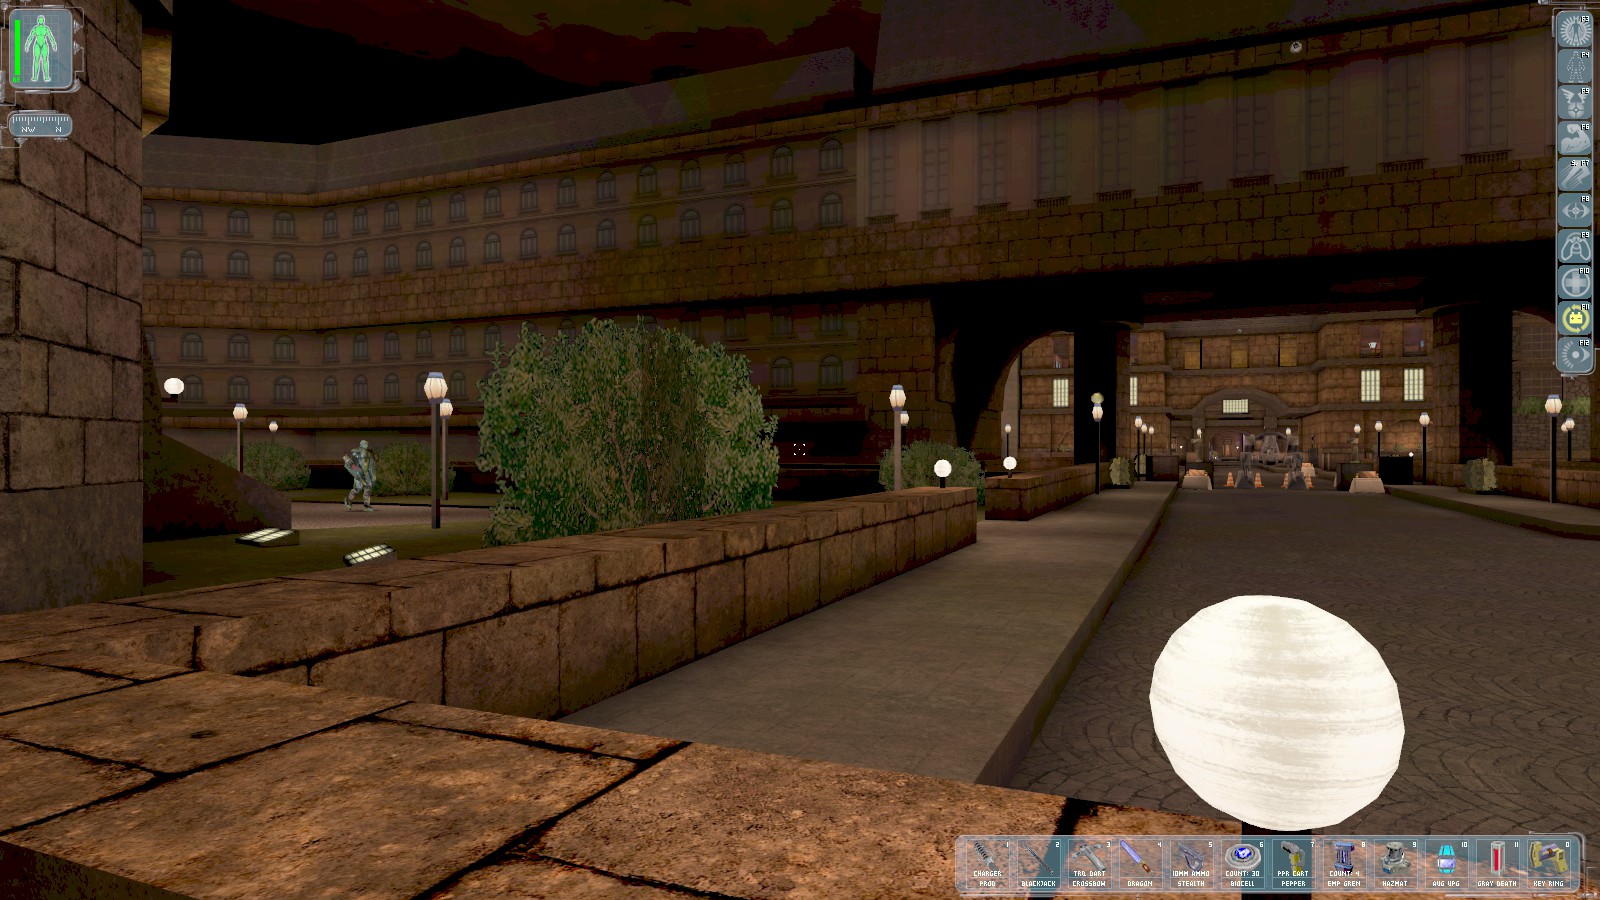
One commando still patrols the West of the cathedral’s grounds but he’s easily evaded. Head North, then East to reach the metro. Along the way Icarus pops up to warn you about helping the Illuminati. Morgan Everett explains that Icarus is an MJ12 AI.

As you approach the metro station, Icarus declares that the upload is complete, followed by Bob Page who now also has access to your infolink. Your privacy, it seems, is now fully compromised by the Majestic-12. Head down into the station.
|
|
|
|
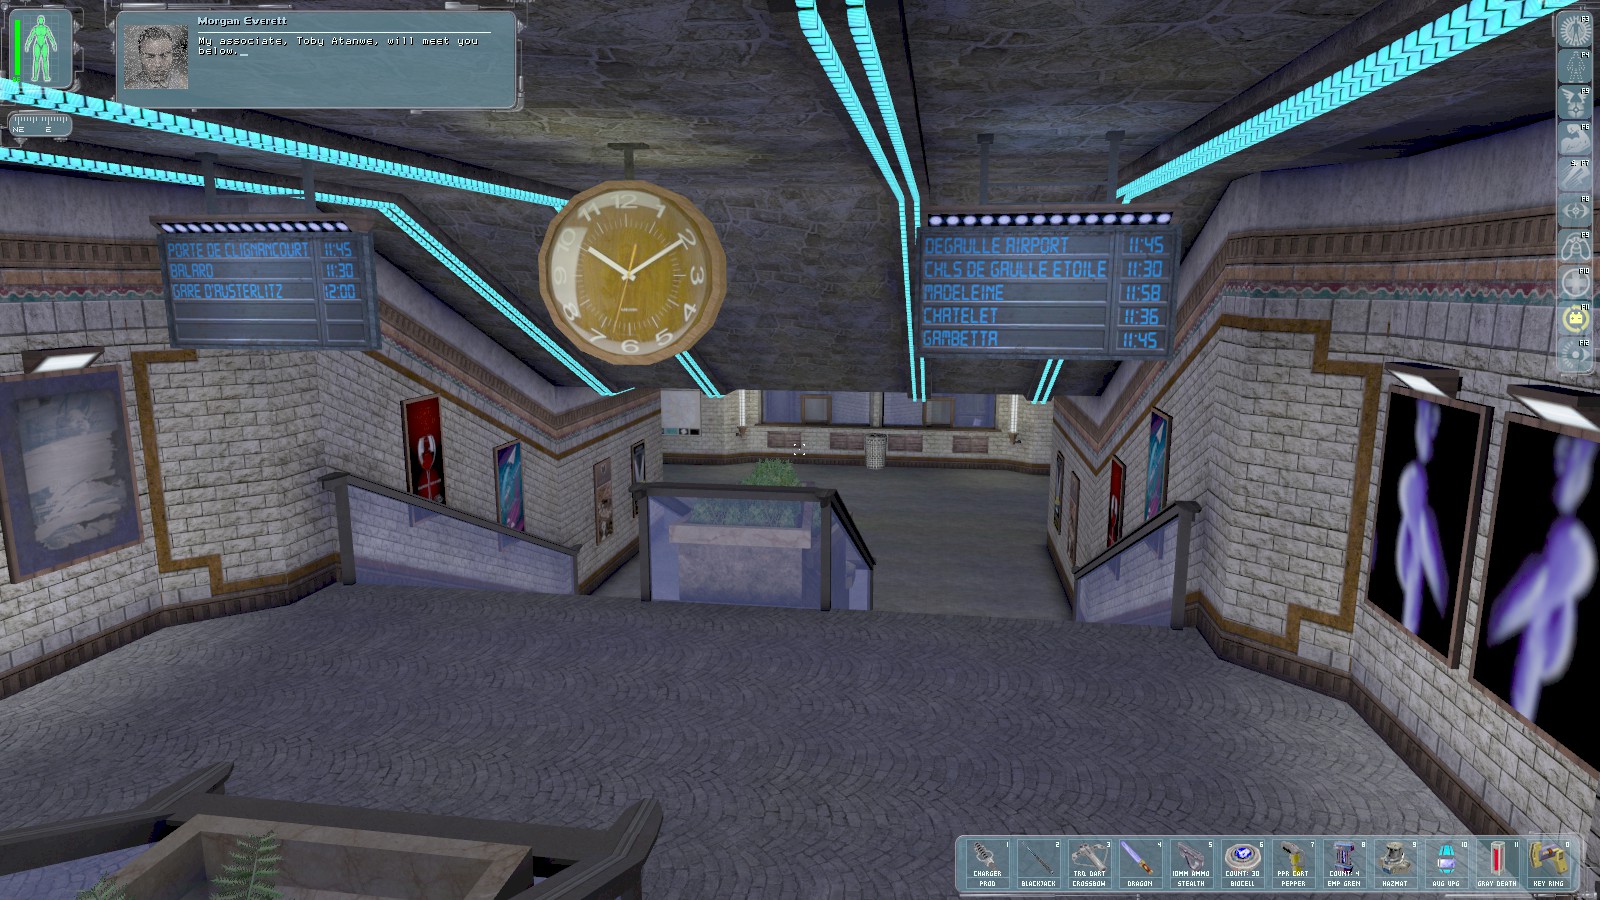
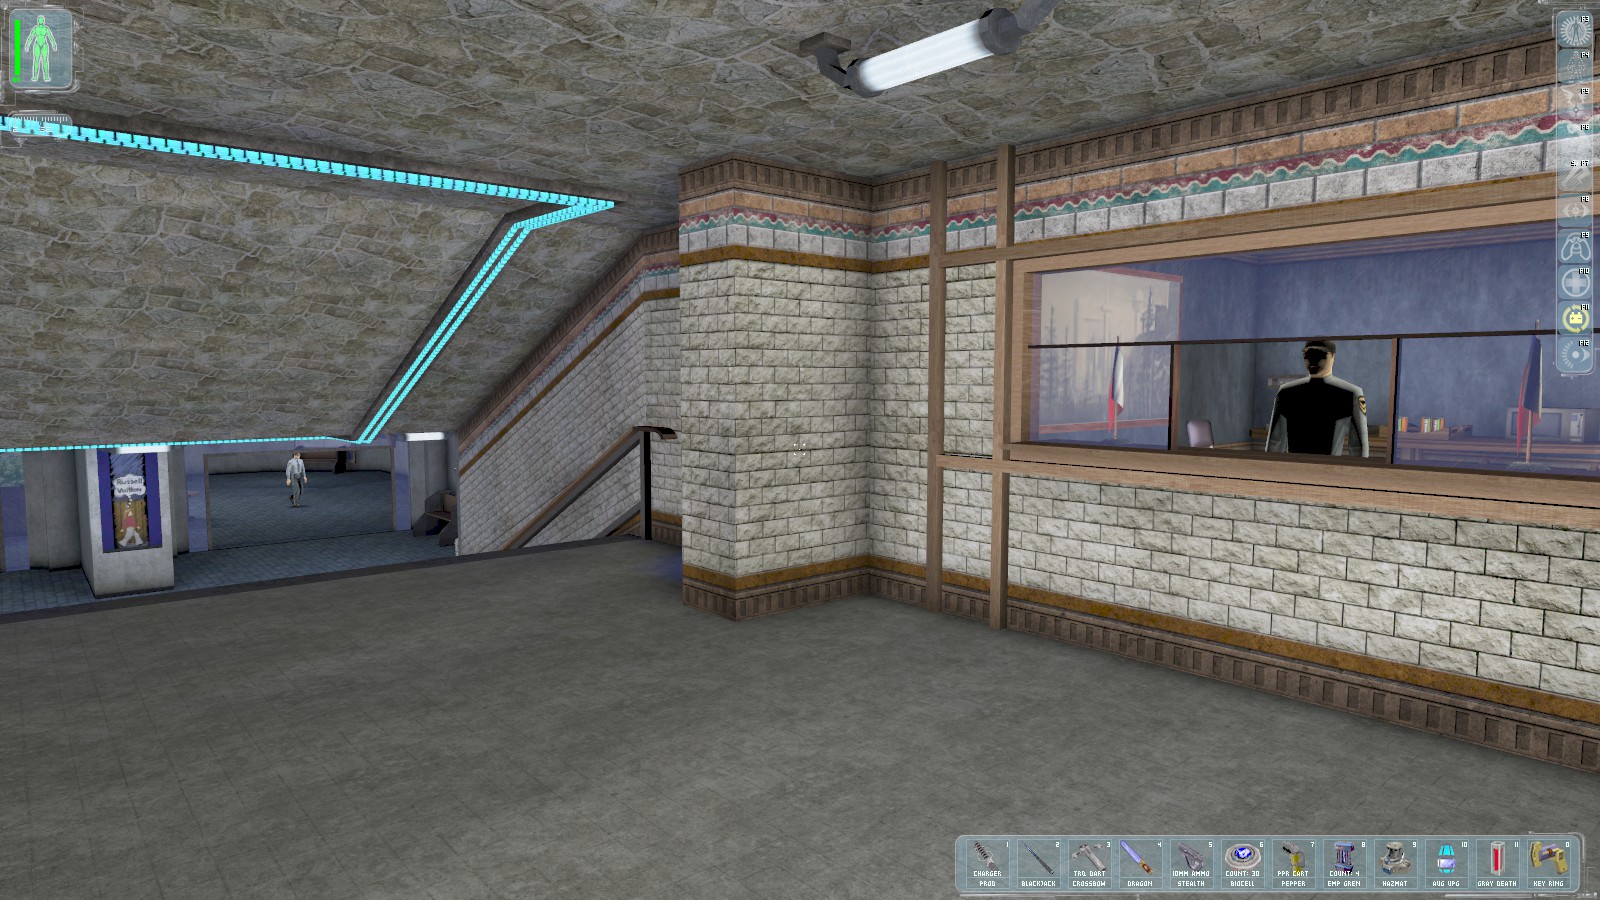

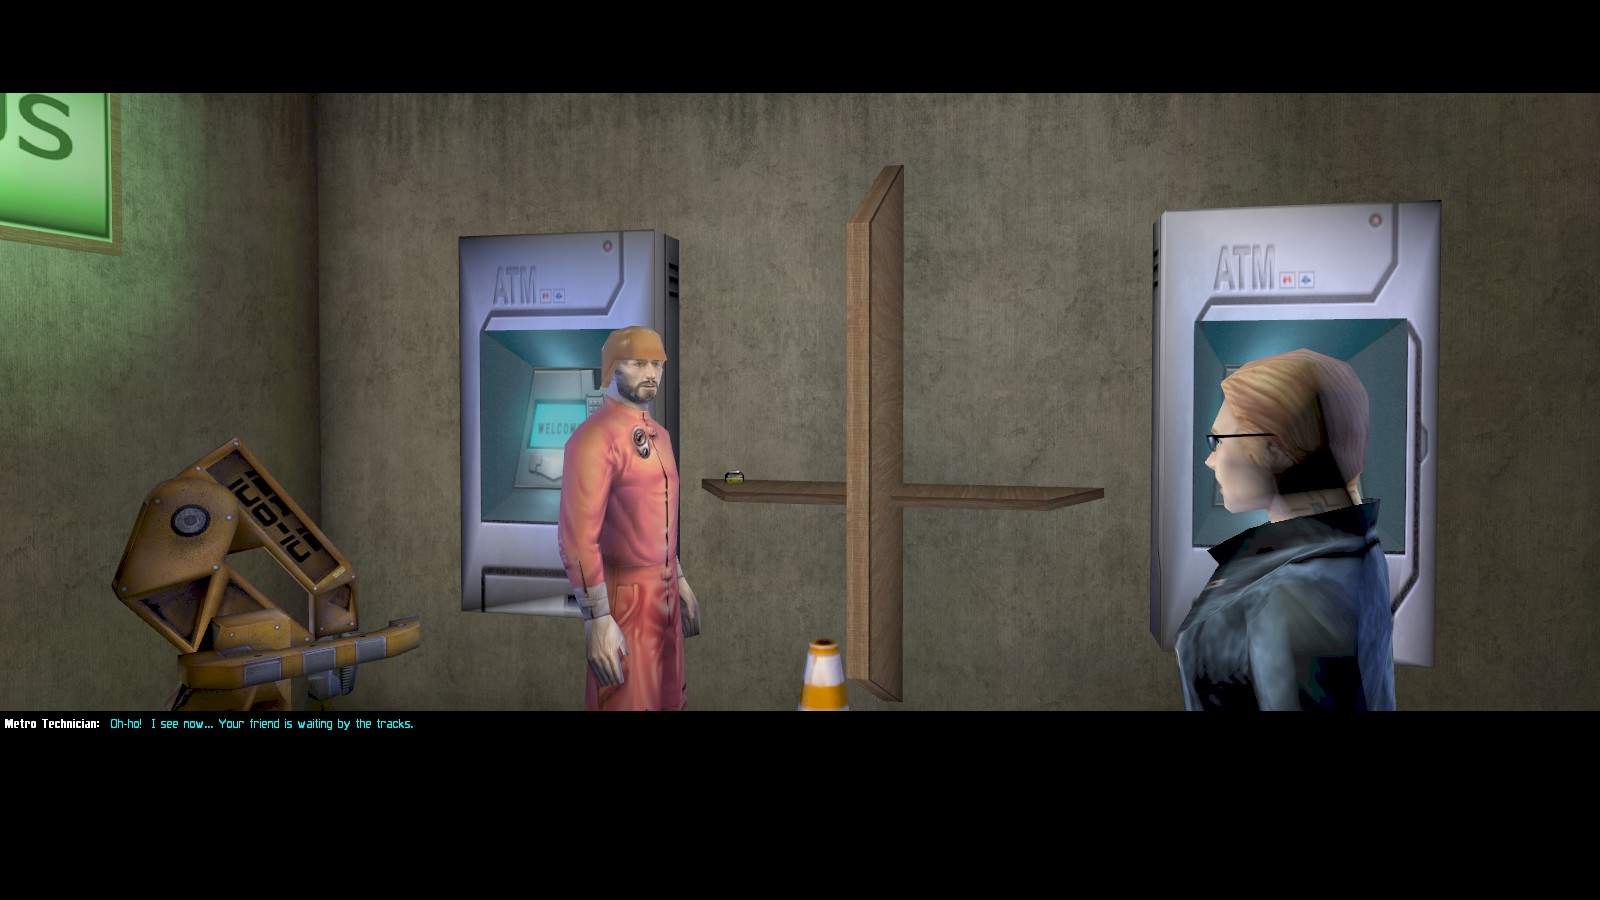
Morgan Everett contacts you again to say his associate Toby Atanwe will meet you. You can pick the
lock of the security booth on your way, but there’s not much in there. Further down, if anyone sees
you break into the room on the left the police will turn hostile, but it’s worth 50 skill points. A
diary on the table has the partial account code 576001/wyrdred0- (last digit is missing—try 8
in an ATM for 900c if you’re short of cash). A small vent leads to the room on the right where
you’ll find a repair bot, a mechanic who will sell weapon mods and equipment. If you read the diary
first (or you speak to him again) the dialogue changes.
|
|
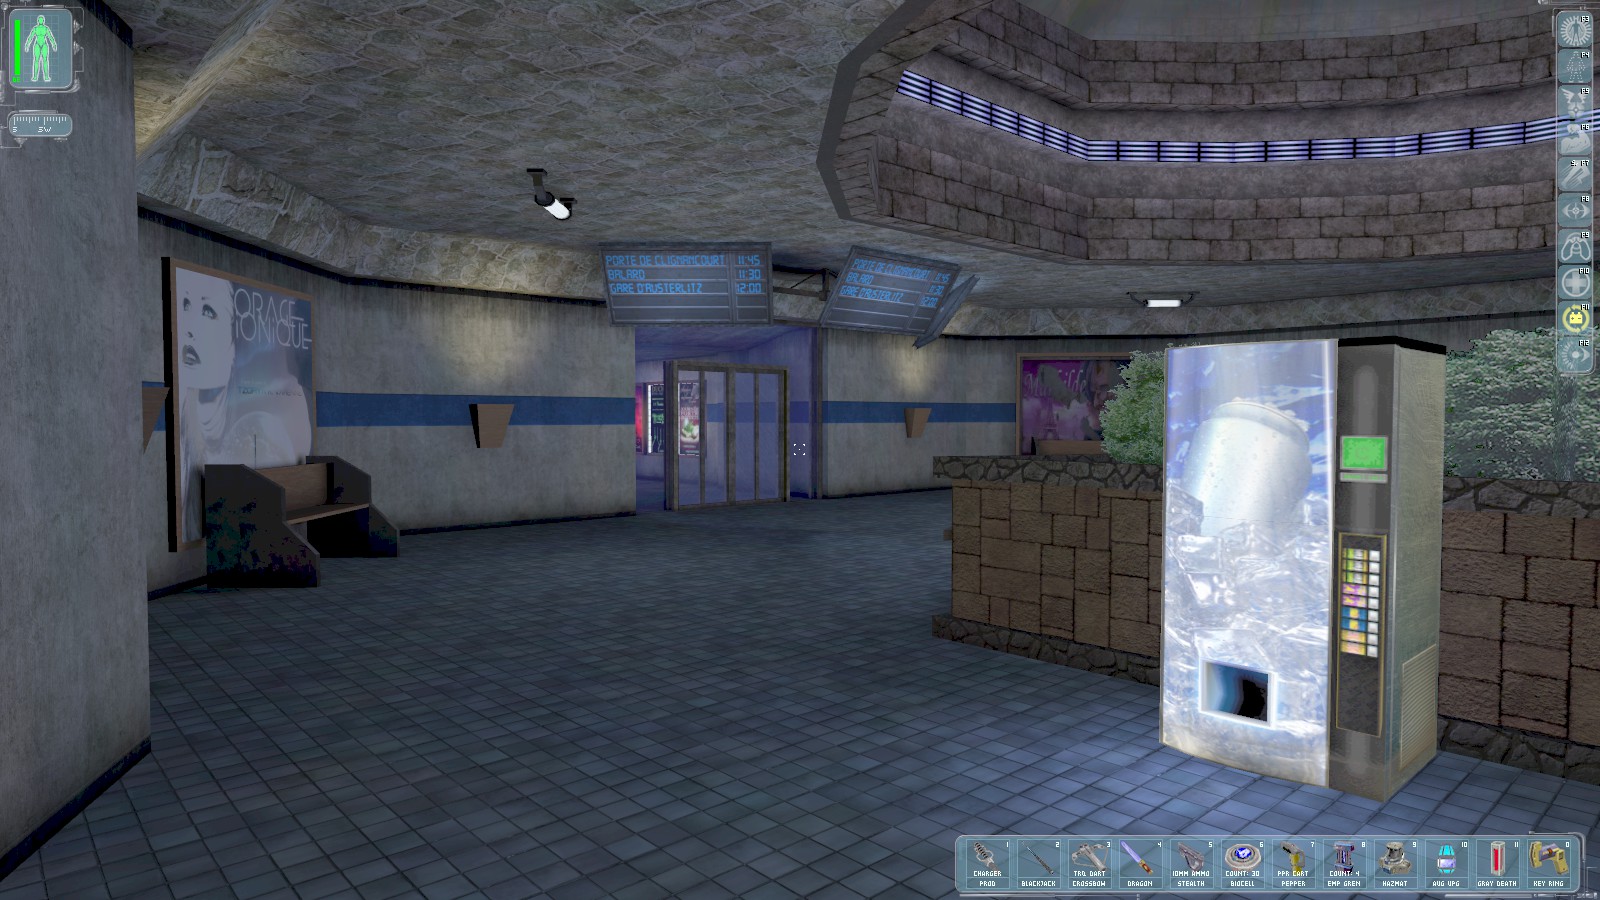

Head through the door to the South when you’ve finished fooling around. You can enter the Information Office via the window for 2 medikits before heading down the stairs to the platform.
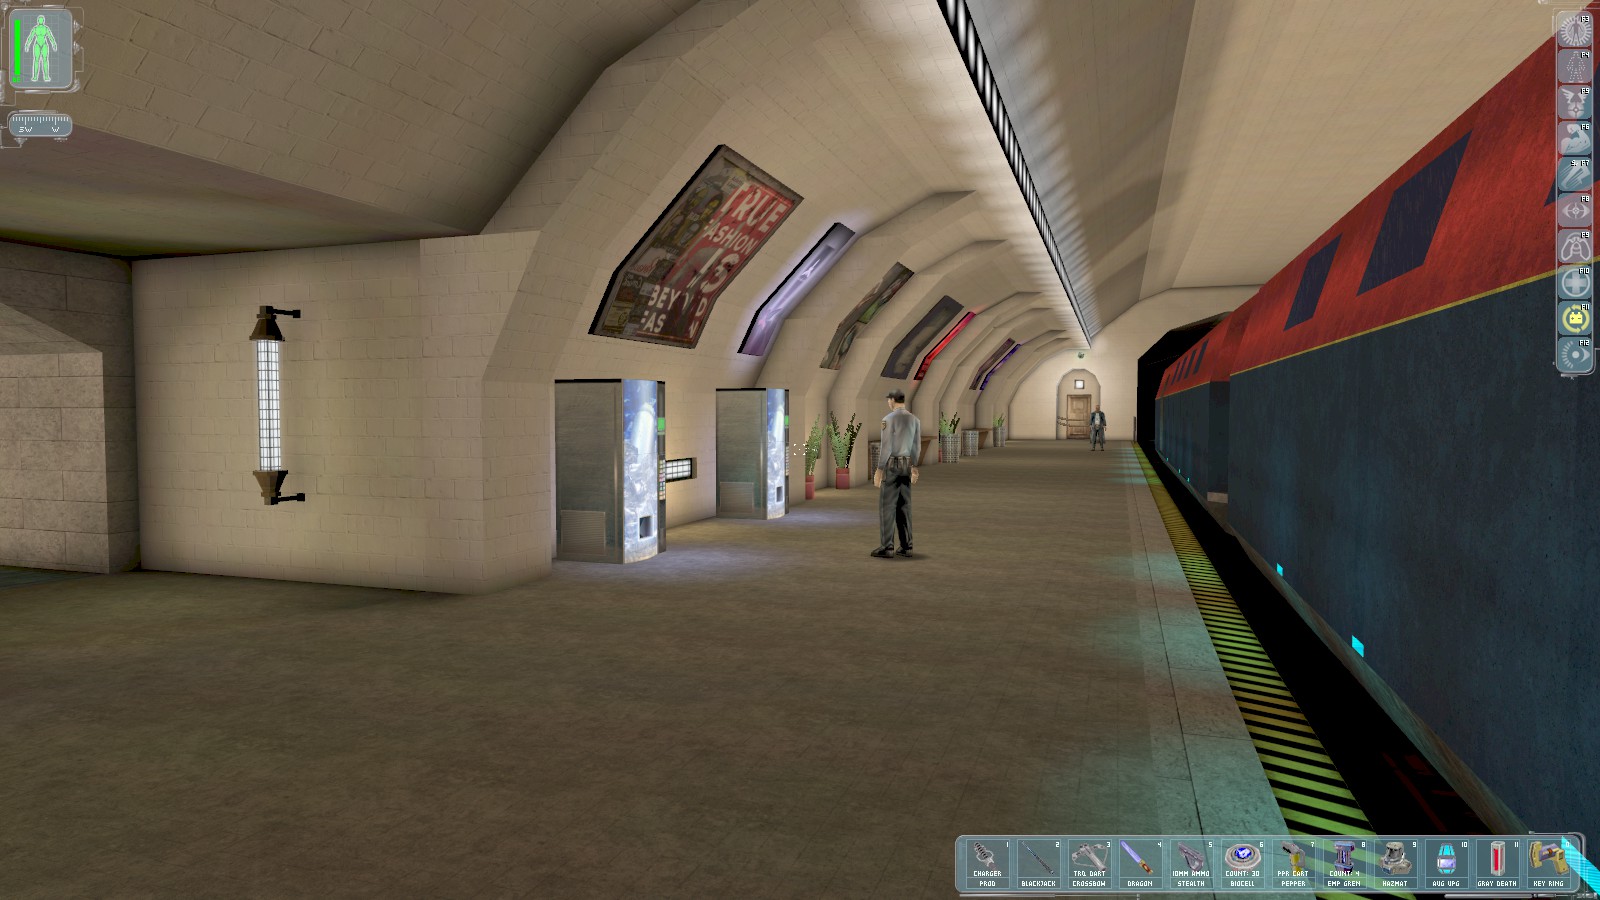
Everett’s man is at the far end of the platform.

Approach him for a short conversation. It doesn’t matter which option you choose, the outcome is the same…