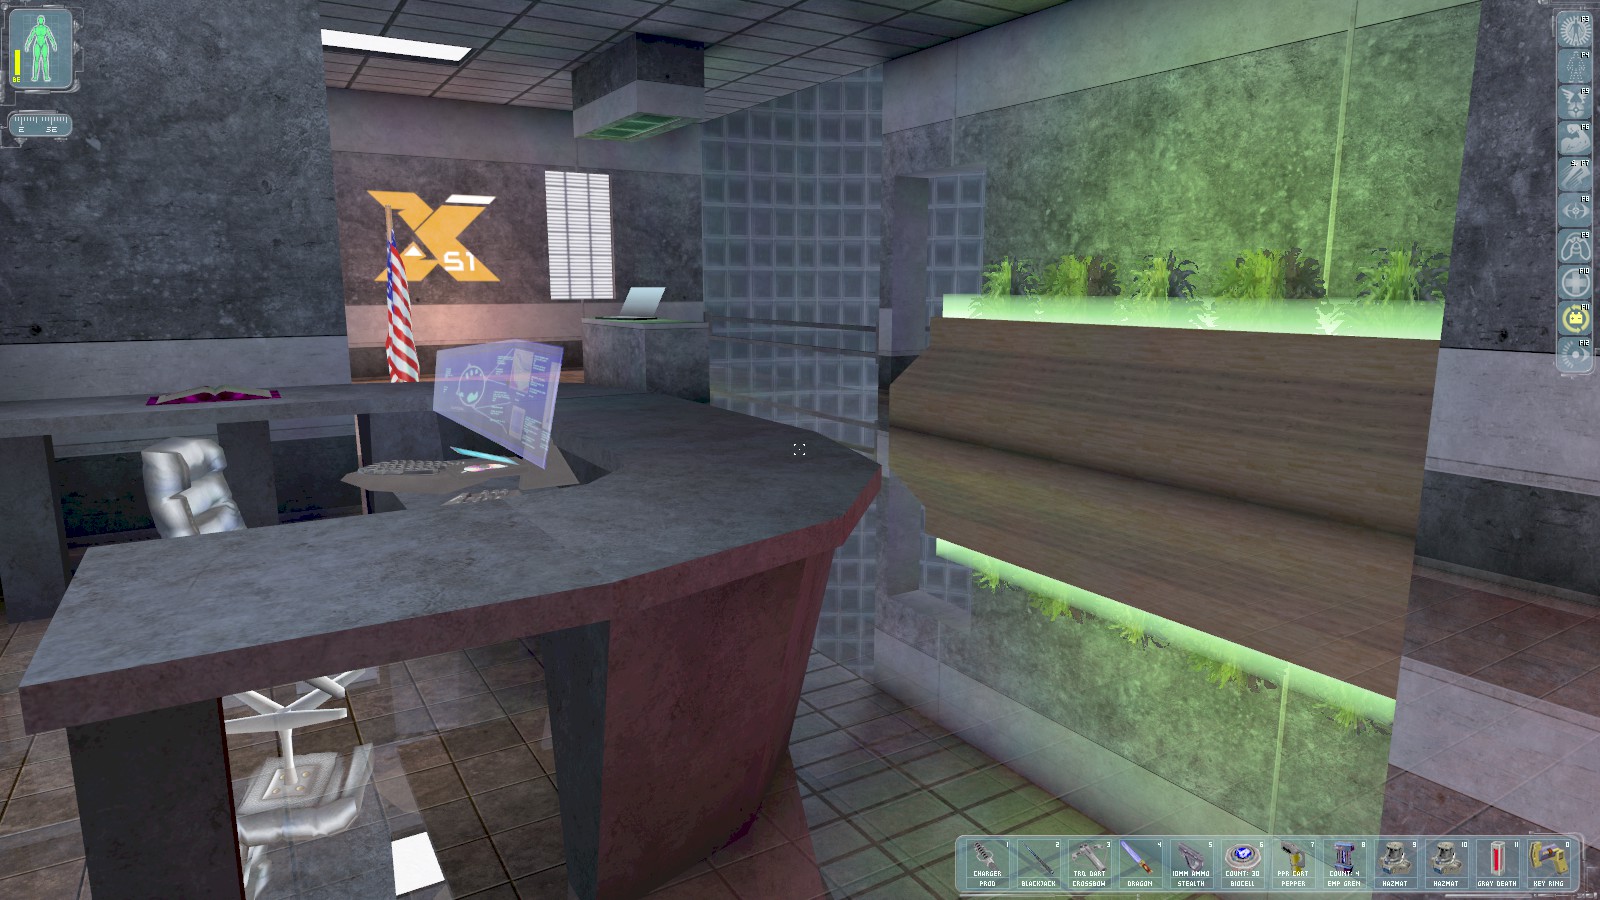
Inside the Control Centre, hack the PC to read some emails, then head down the stairs in the far corner.
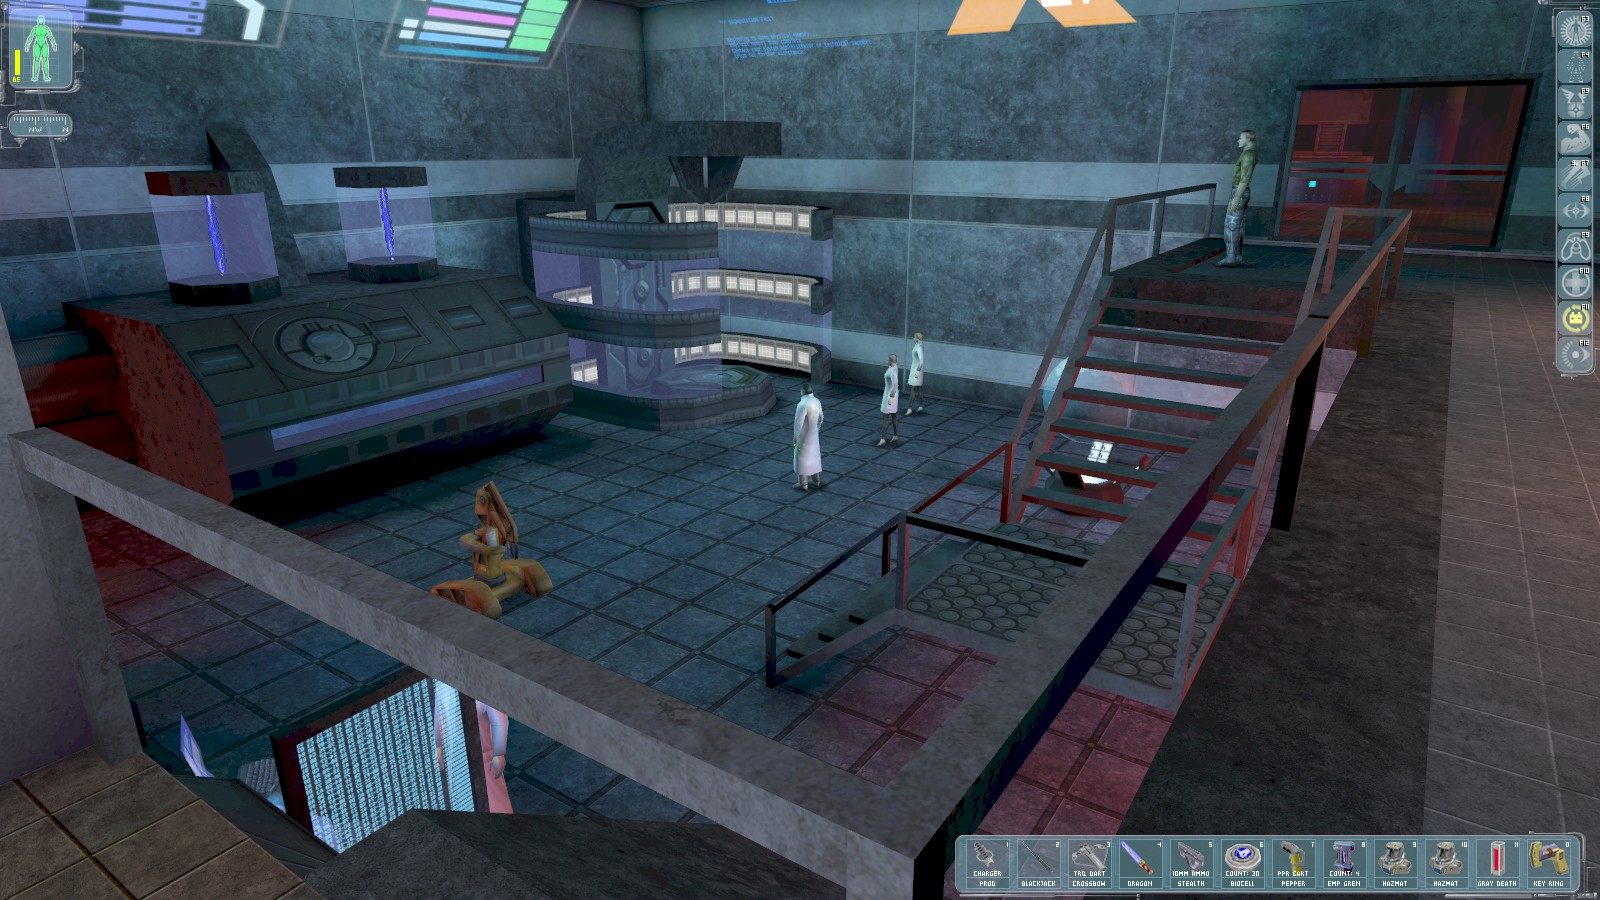
At the bottom find Sam Carter and a bunch of scientists. Talk to Sam to learn he was let go from UNATCO. Recharge at the bot, and speak to Gary Savage—he’s just visible at the bottom left of this shot near the repair bot.

Savage gives you the credentials GSavage/Tiffany to access the milnet computer, located through a
room at the very top of the stairs. Those credentials work on the PC next to Savage if you want to
read his emails. Head upstairs to the now open door next to Sam Carter.
|
|
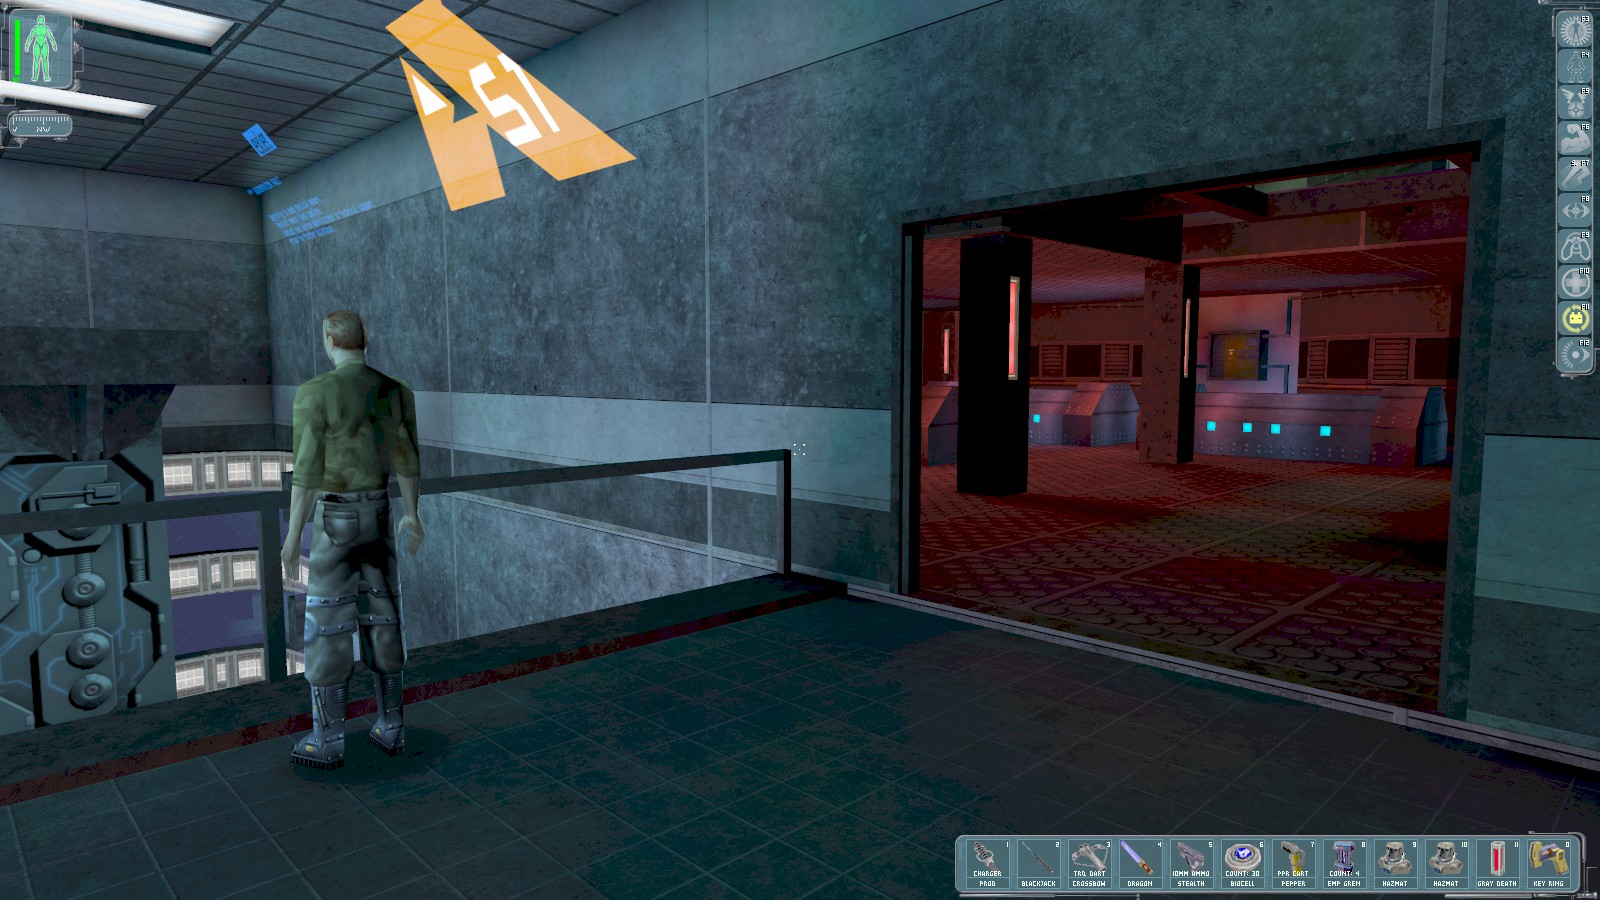
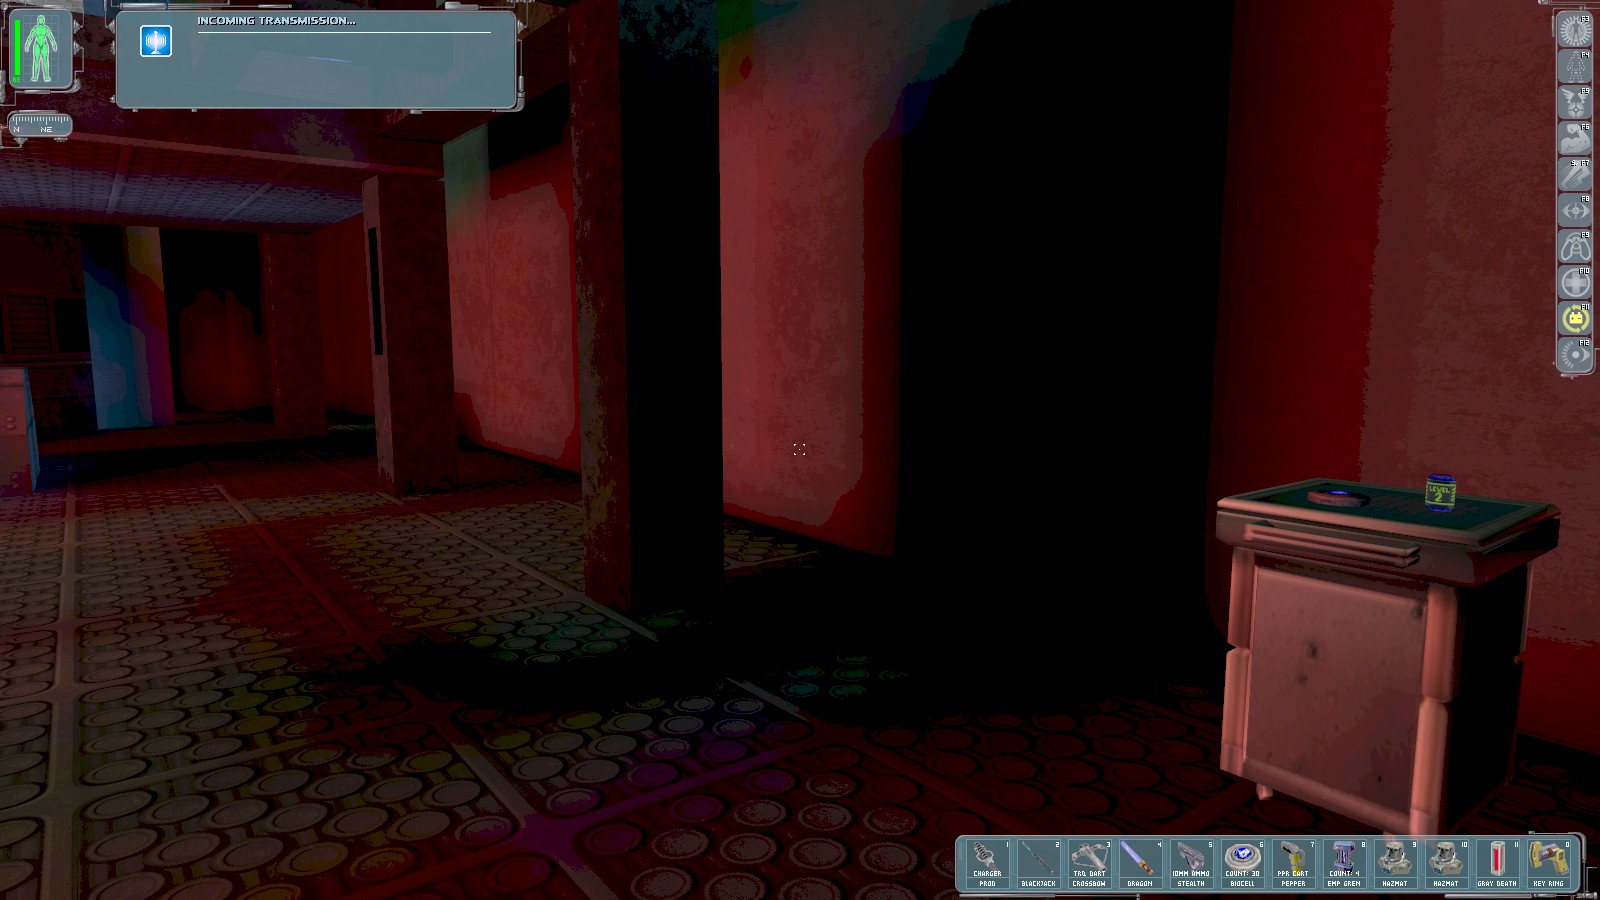
The room is currently somewhat hazardous. Slip inside and grab the nanokey and biocell, then return to the reception area upstairs.
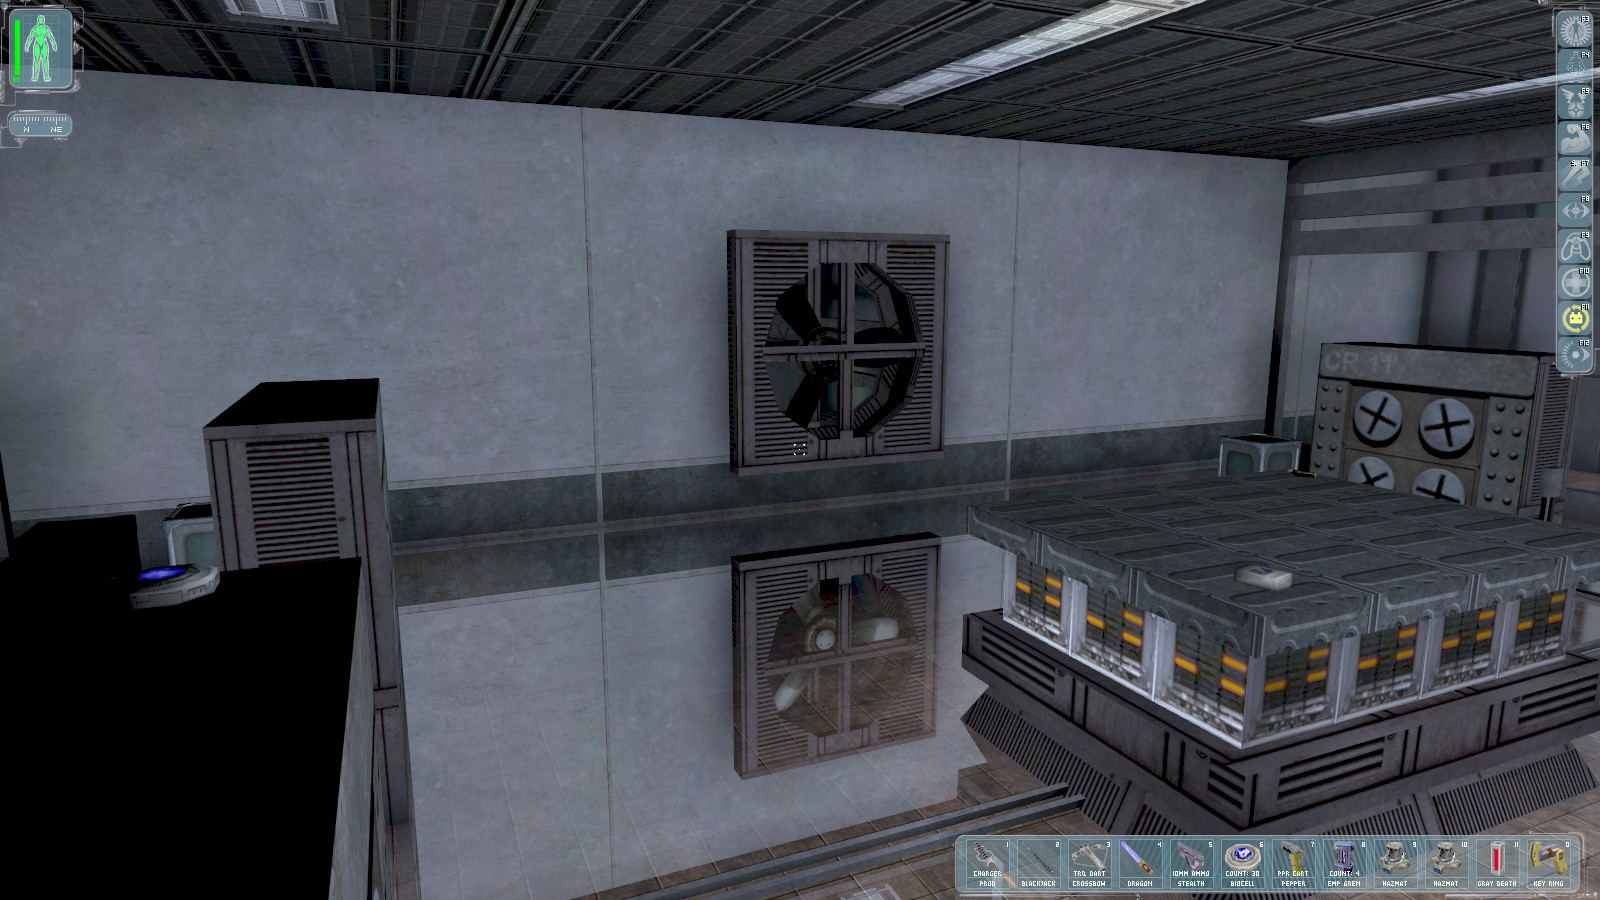
Go all the way to the top and open the door with the key you just found. Grab the biocell, then smash the fan using your Dragon’s Tooth sword (or a LAM).
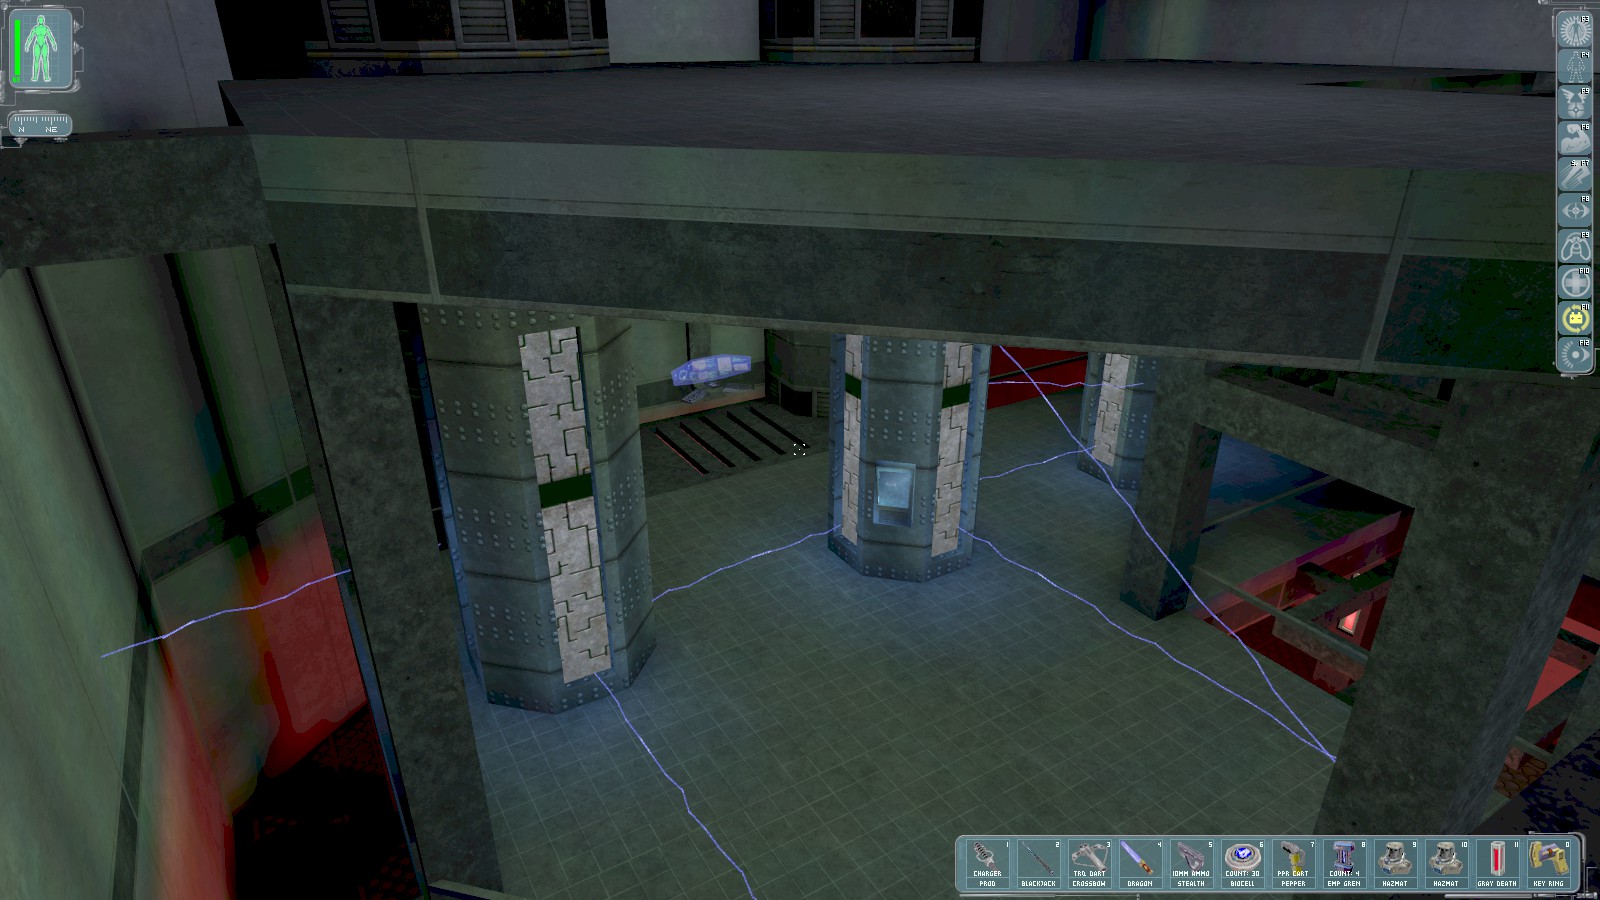
Don a hazmat suit and drop to the middle level to hack the control box using multitools. That will
disable the electrical hazard on this level. Access the PC with the login
GSavage/Tiffany and upload Daedalus to the military network.

You get 500 skill points for achieving the objective. The electrical hazard on the lower floor is now disabled, too, but there’s an unexpected problem: Daedalus and Icarus merge to form a new AI called Helios. Bob Page radios in to say that was his plan all along, and instructs you to rejoin Savage to hear a message. Use the lift to return to the Control Room floor.
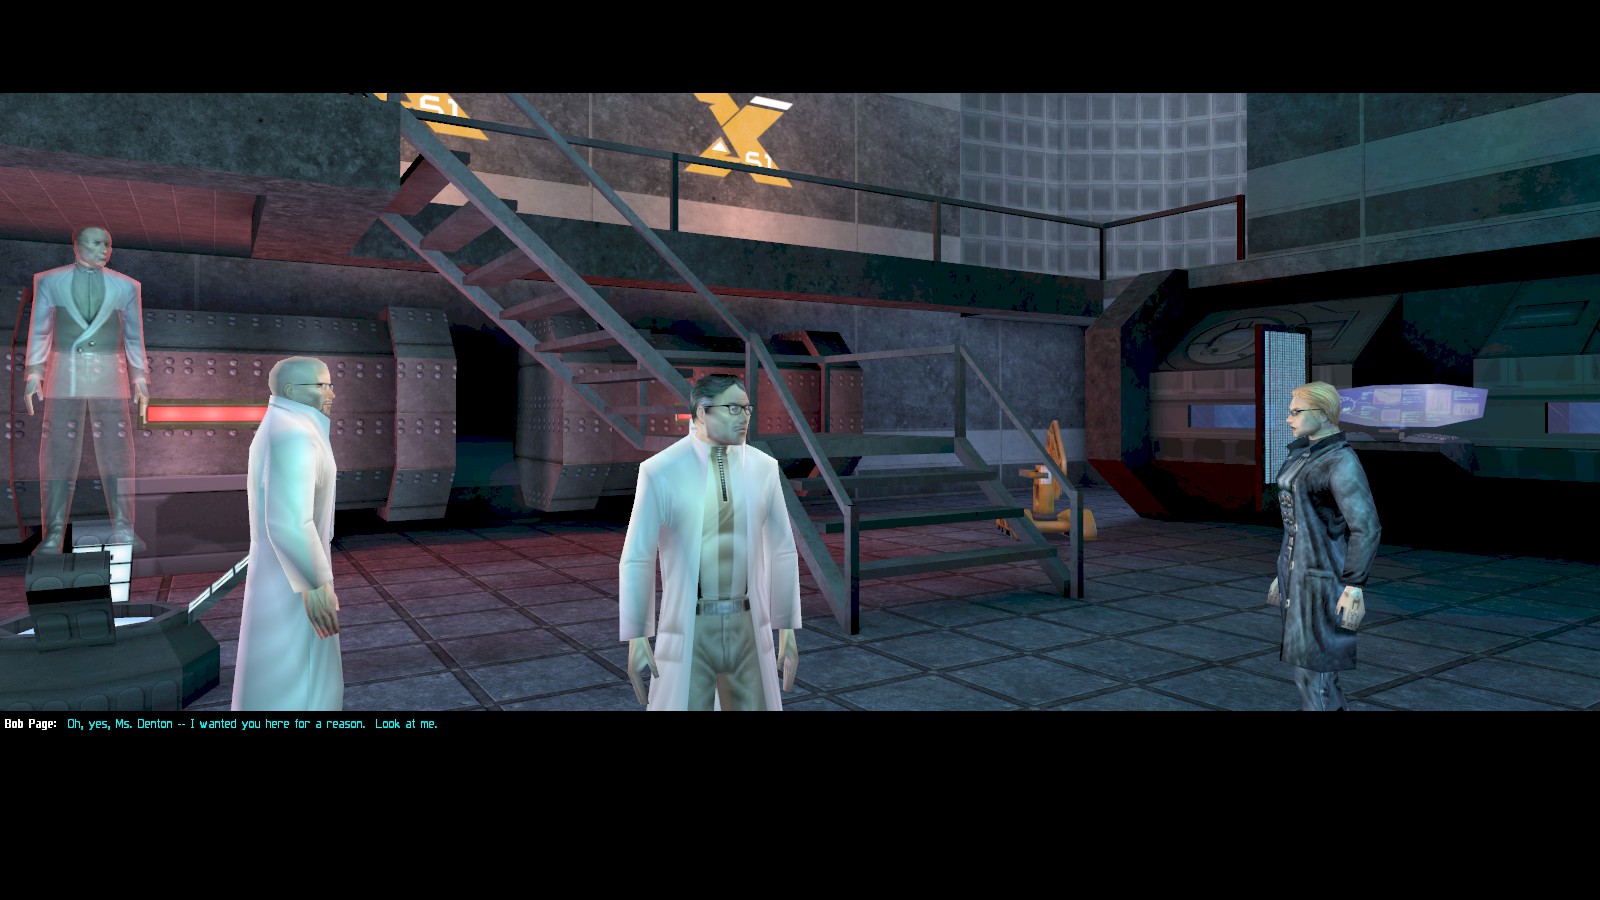
Bob Page is also trying to build a Universal Constructor, but Savage stole some crucial elements from Area 51. Page wants them back and has taken Savage’s daughter, Tiffany, hostage. She’s being held at an abandoned gas station nearby. Naturally it falls to you to rescue her and prevent the UC components reaching Page. After the scene with Page, talk repeatedly to Savage. He gives you a photo of Tiffany.

Talk to Sam Carter repeatedly on your way out. He takes a hard line about negotiating with terrorists, and reveals that UNATCO was aware of Daedalus and Icarus already. Carry on up the stairs to the reception area.
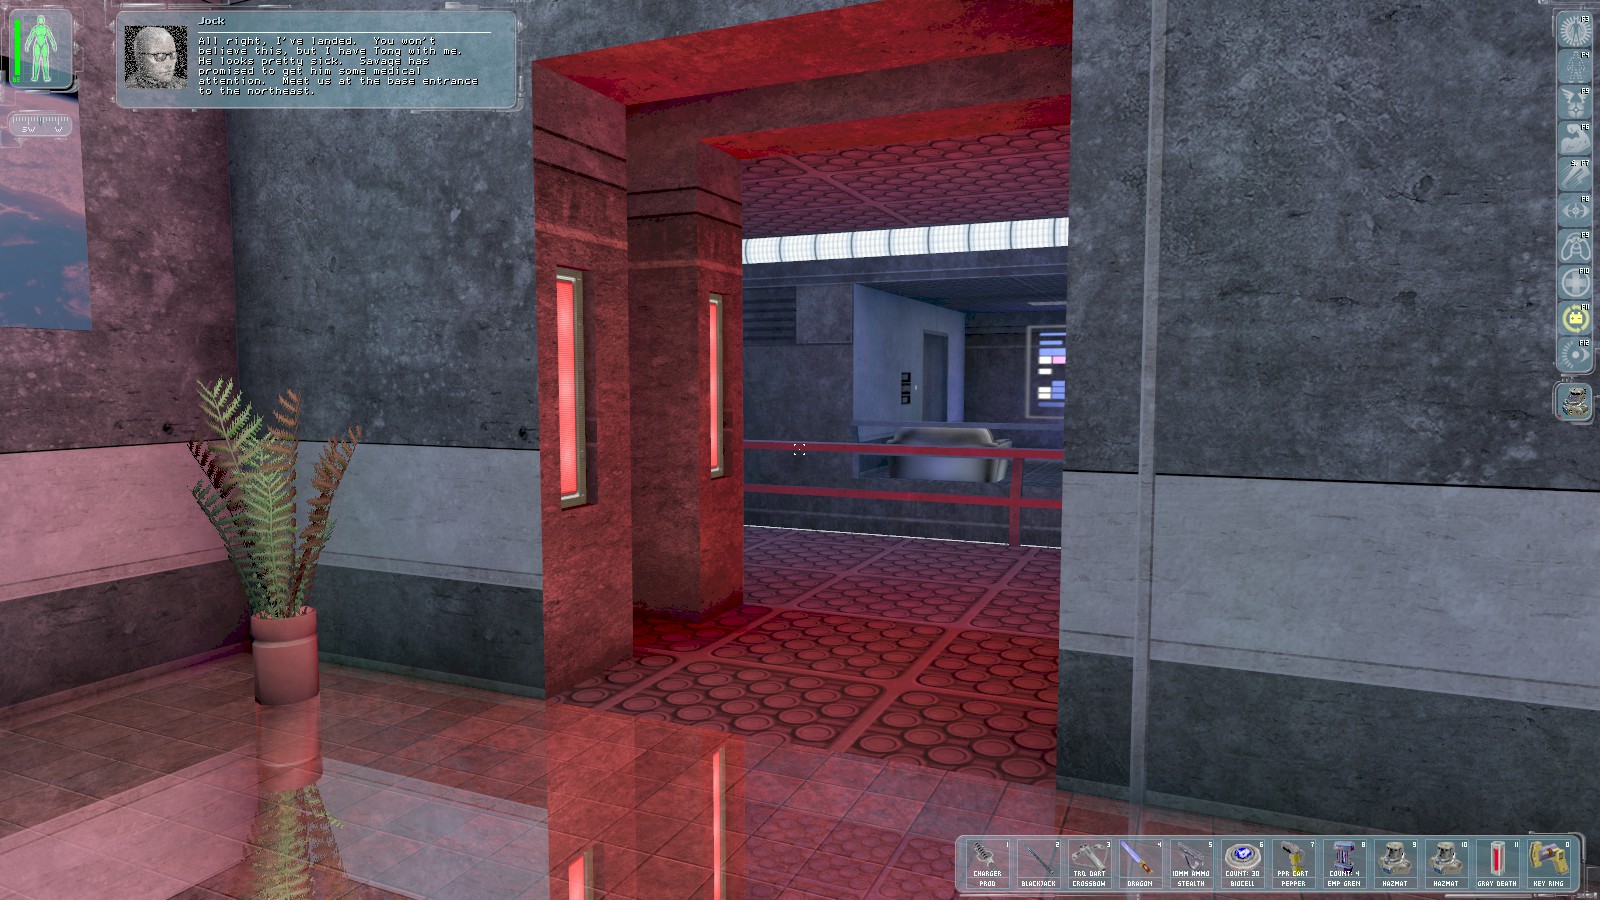
Jock radios to tell you to meet him at the base entrance to the North East—he has Tong with him. Sneak over to the elevator opposite the doors to avoid the 2 troops still seated to the right, and ride it down.
|
|
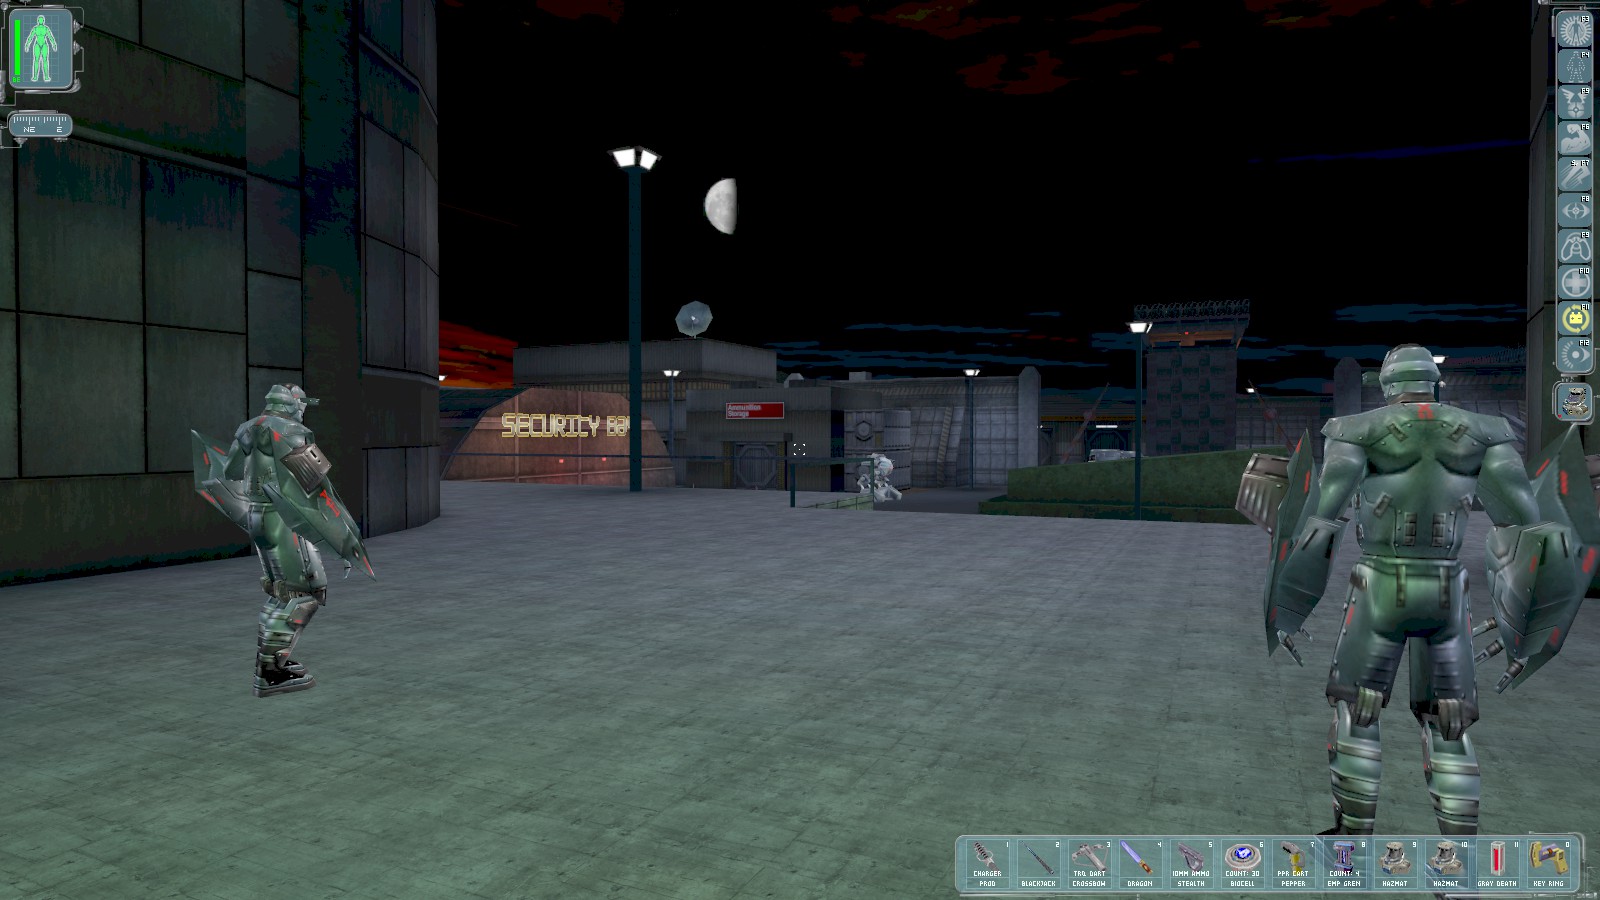
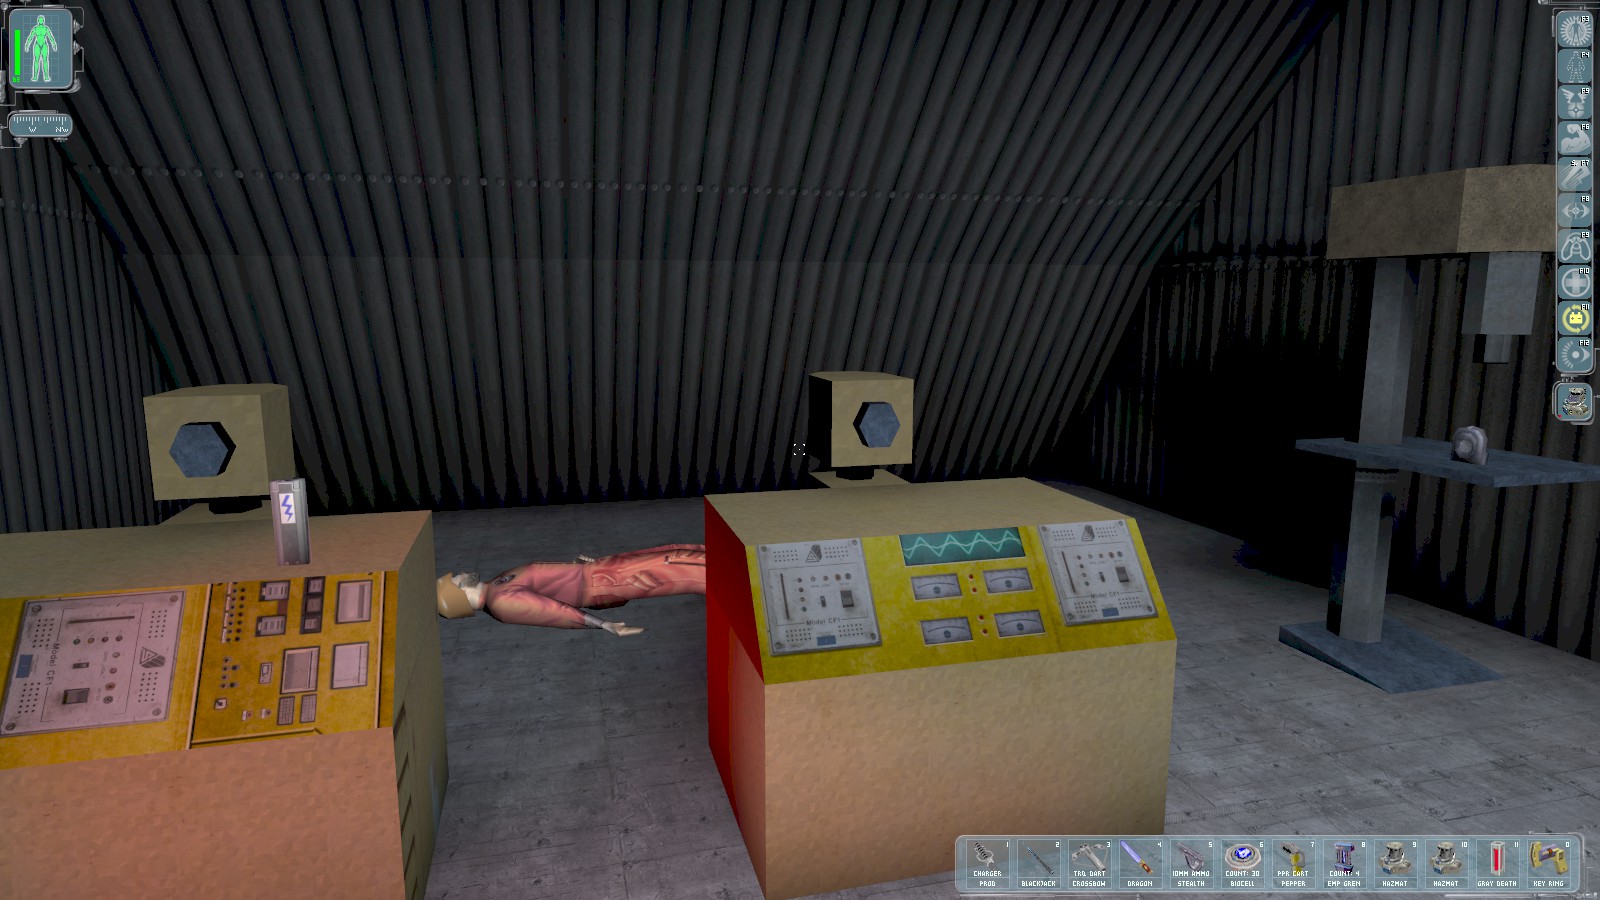
At the main entrance, cloak past the two commandos outside and head for the security bay, now open since you lifted the lockdown. Go in for 150 skill points, a LAM, a prod charger, and explosives. You can re-enable the base’s military bots here, but that’s a terribly noisy and dangerous thing to do.

You can also smash the door to the Ammo Storage building around the corner to the left for more LAMs and Ammo, plus some heavy weaponry if that’s your thing. Go through the gates in the East when you’re done looting.
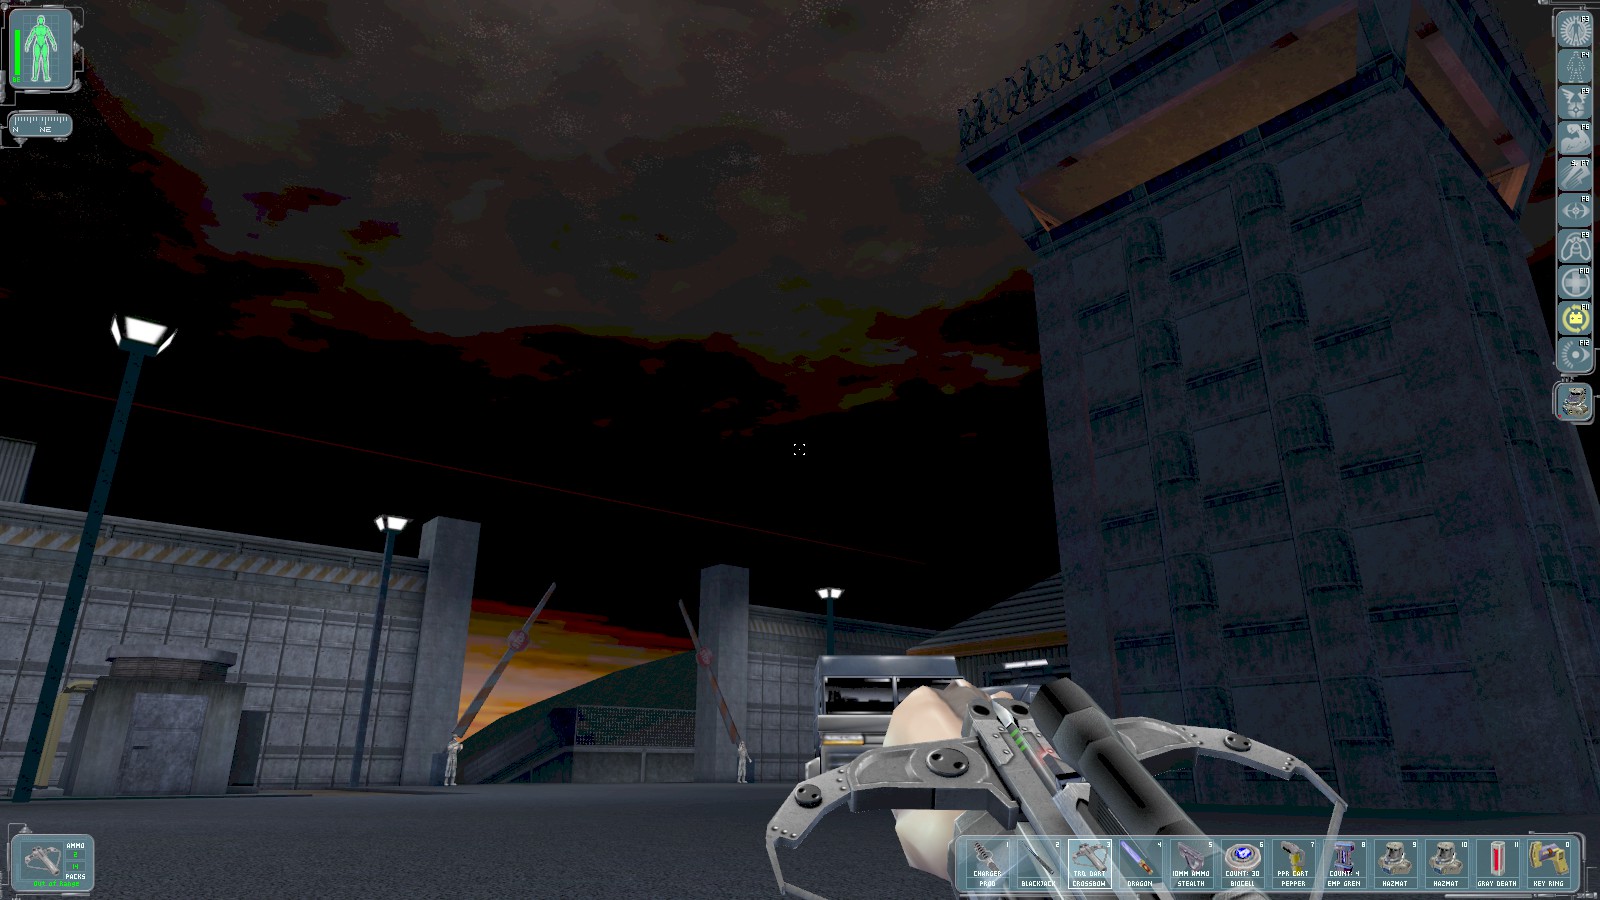
The two troops guarding the main entrance are easily dealt with using tranq darts. The watchtower is a pretty good place to do that. Head down the ramp when they’re unconscious.
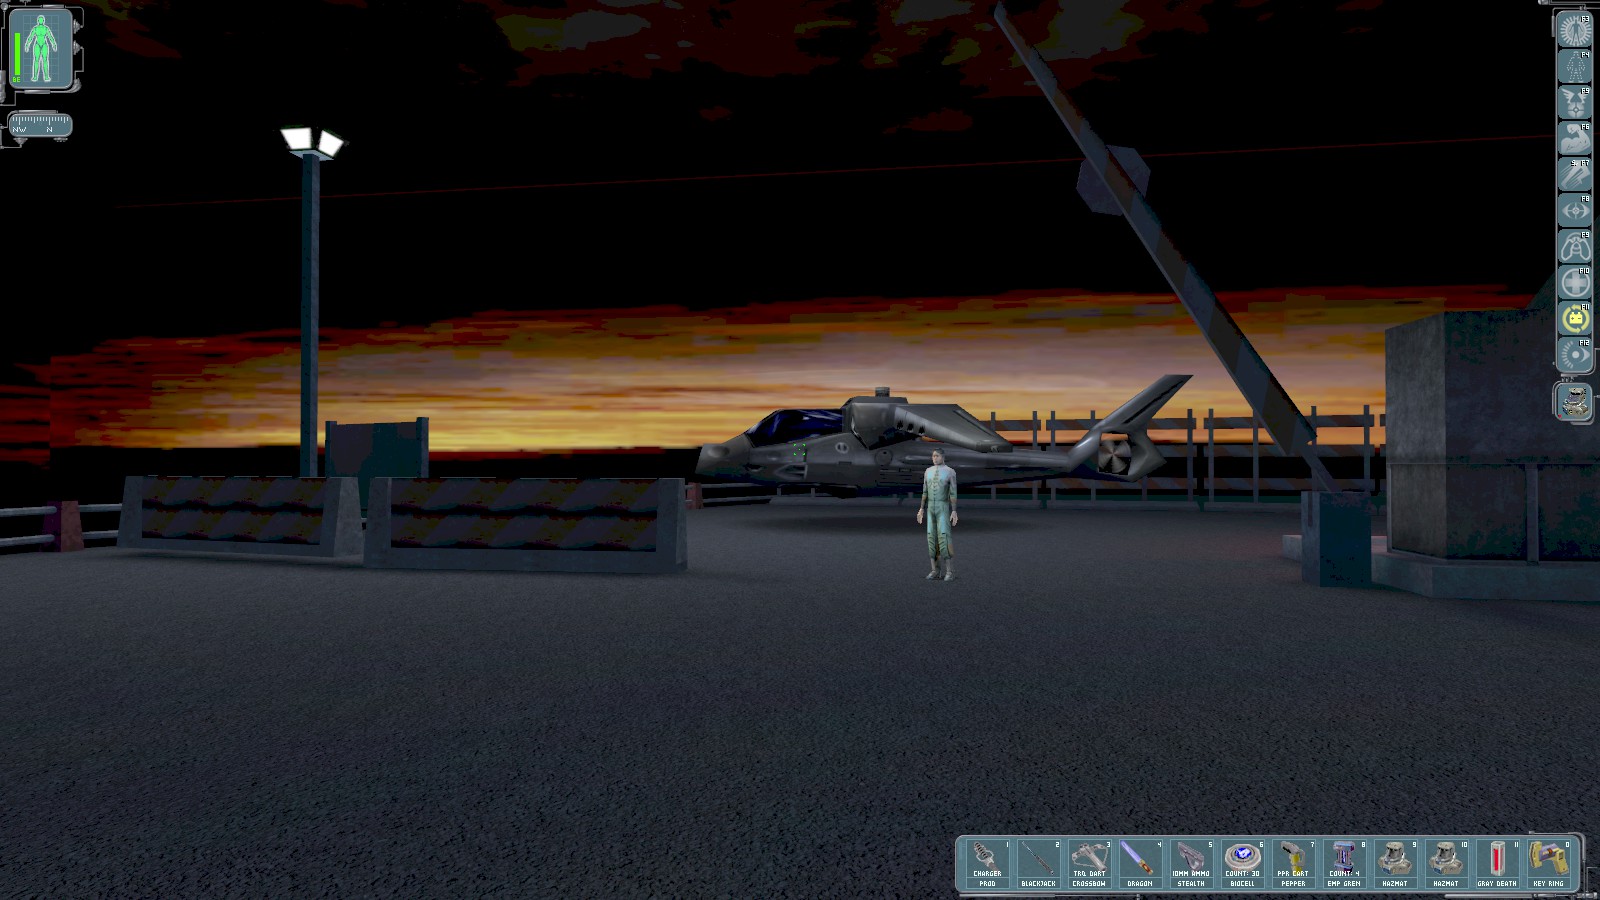
At the bottom you’ll find Tracer Tong. Speak with him to learn he has the Gray Death. Jock radios to say that Tony Mares is on his way to see to Tong. Get aboard the chopper and Jock takes you to the abandoned gas station.
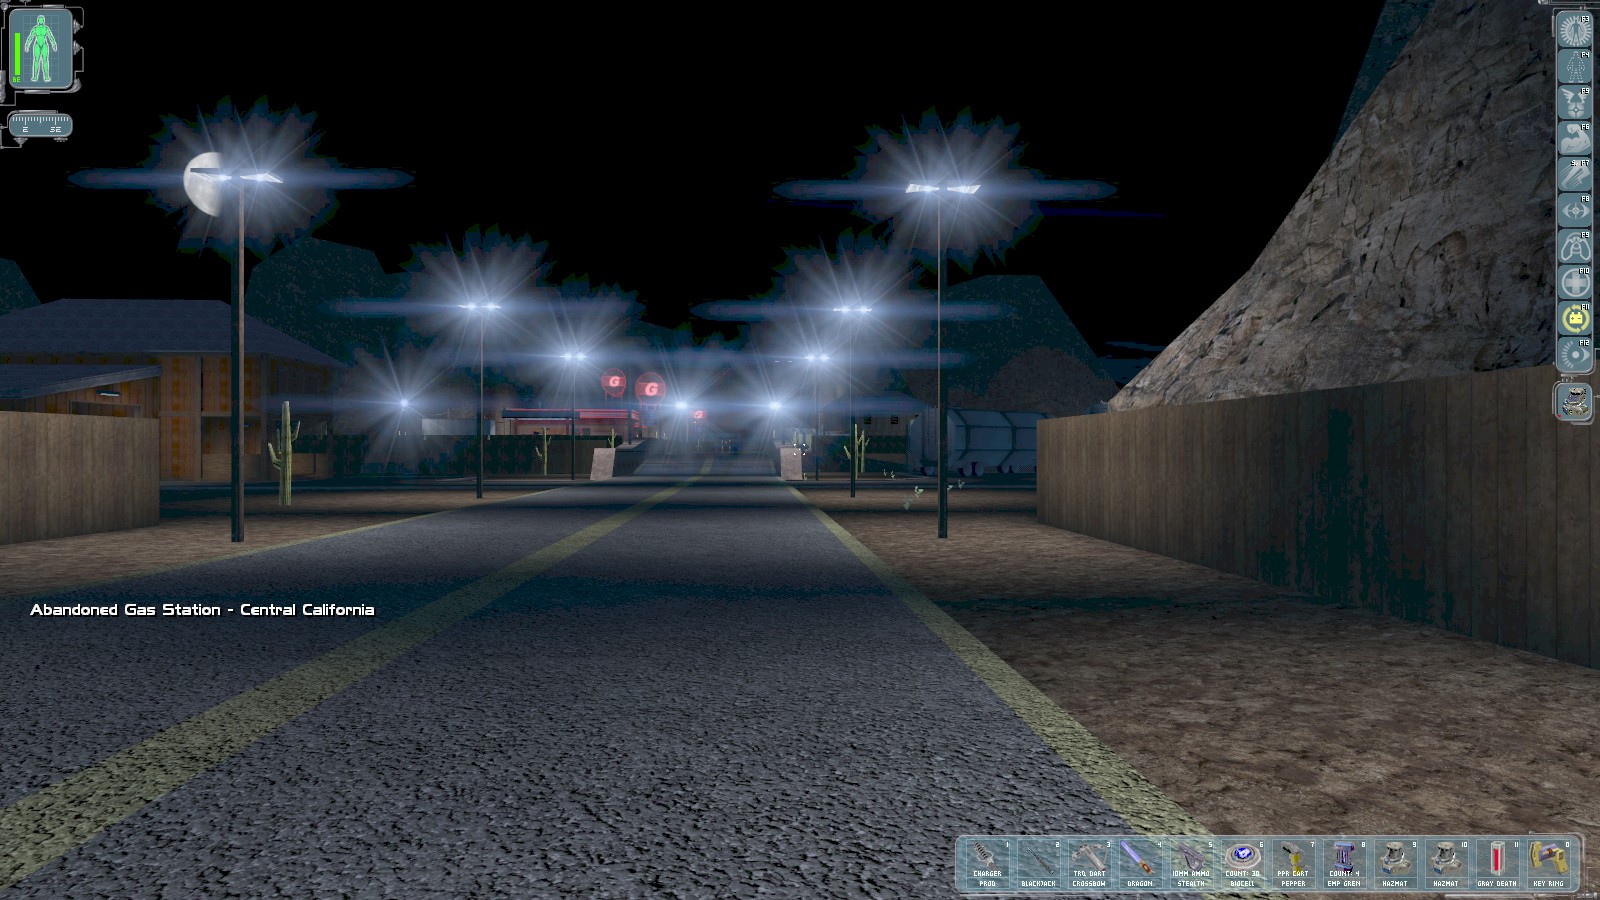
Jock drops you near the gas station. Ahead road is impassable, so you need to find a way across. Head behind the tankers to the right of the road.
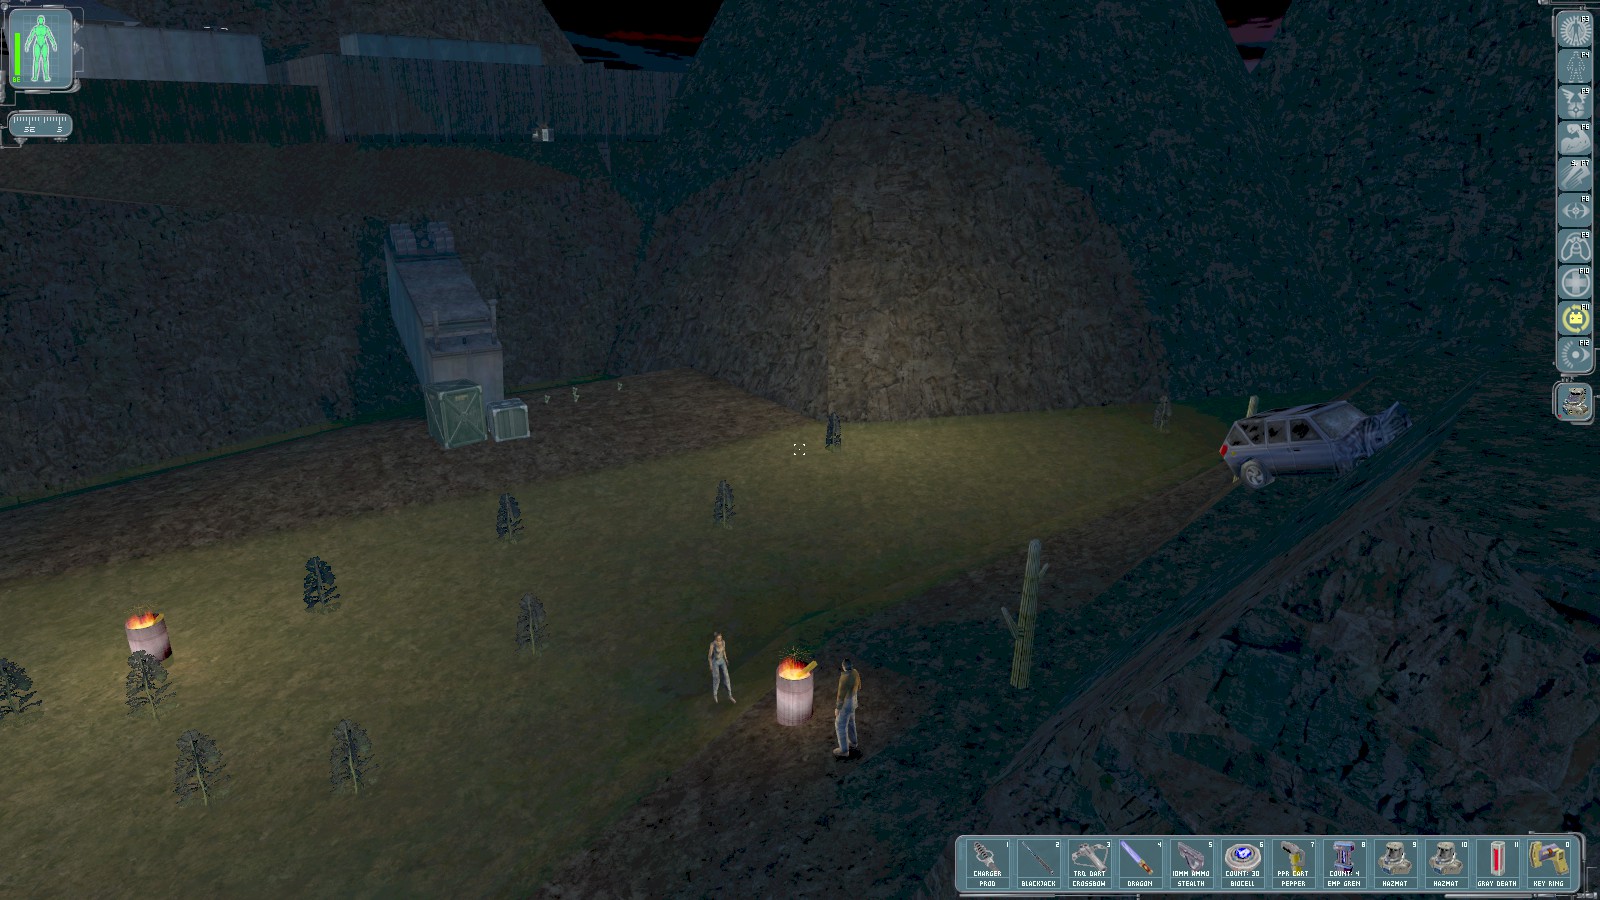
There’s a pathway down the rocks here. Speak to the homeless woman near the fire for a short conversation with her and her companion. She gives you a key to the sewers, and he offers to sell supplies. Climb onto the trailer behind her on the left here. Your objective is to get to the small hole in the fence just visible above and to the right of the trailer, but you can jump the fences. Either way you’ll need Speed Enhancement.
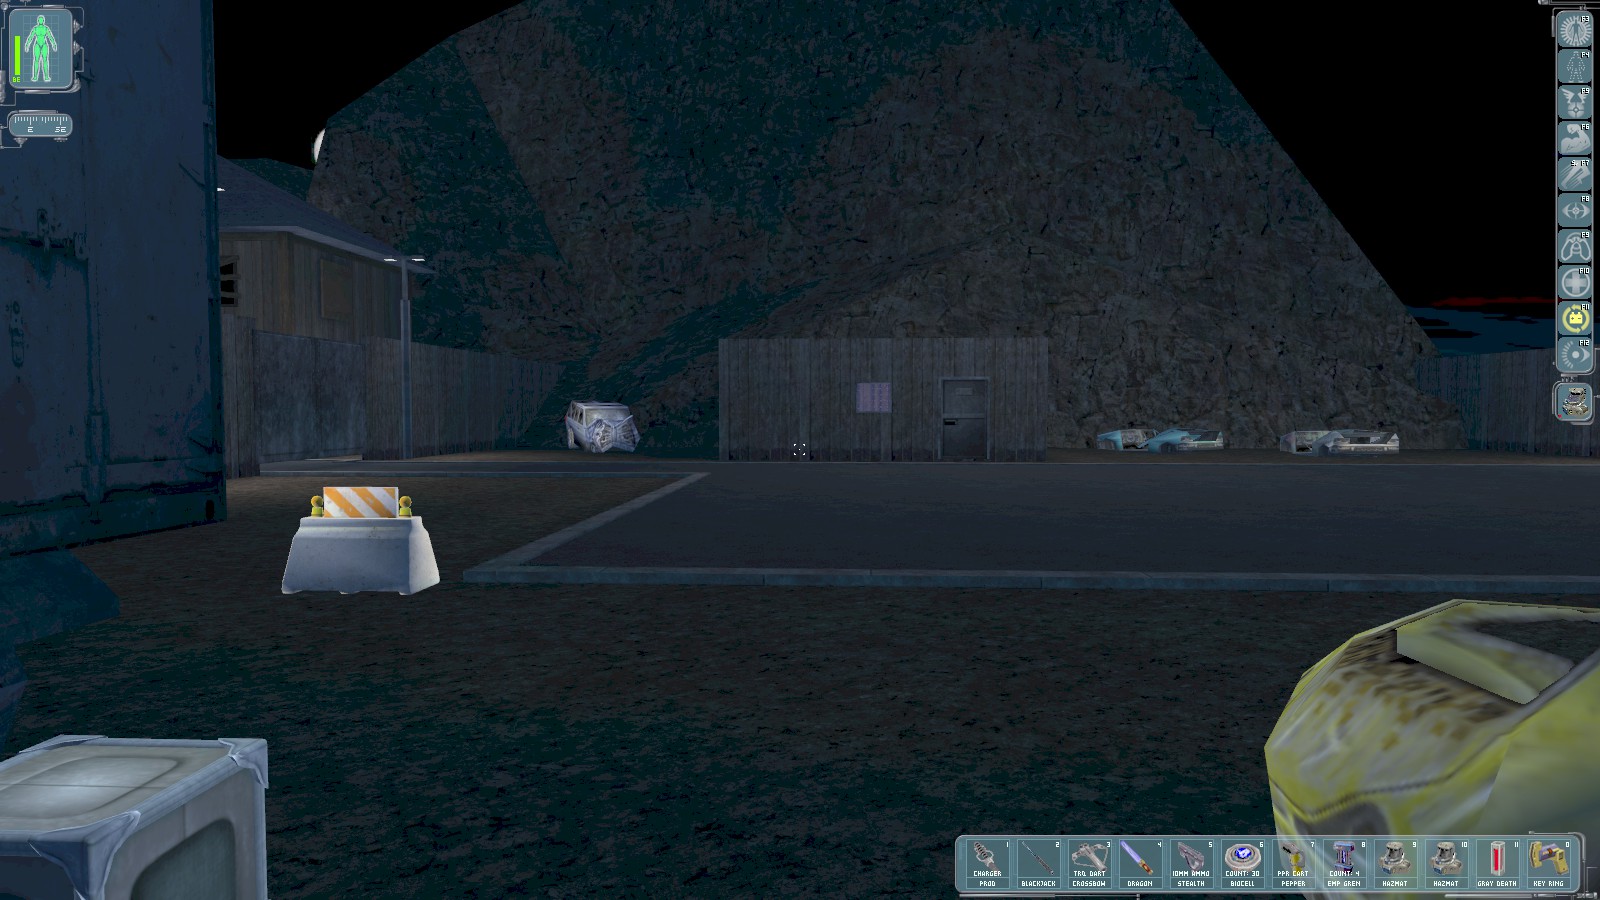
Jock radios in to remind you to be stealthy—if the troops get any hint of a raid, Tiffany’s life will be at risk. Inside this smaller compount head around to the right of the hut ahead. There’s a slope from which you can reach the roof.
|
|
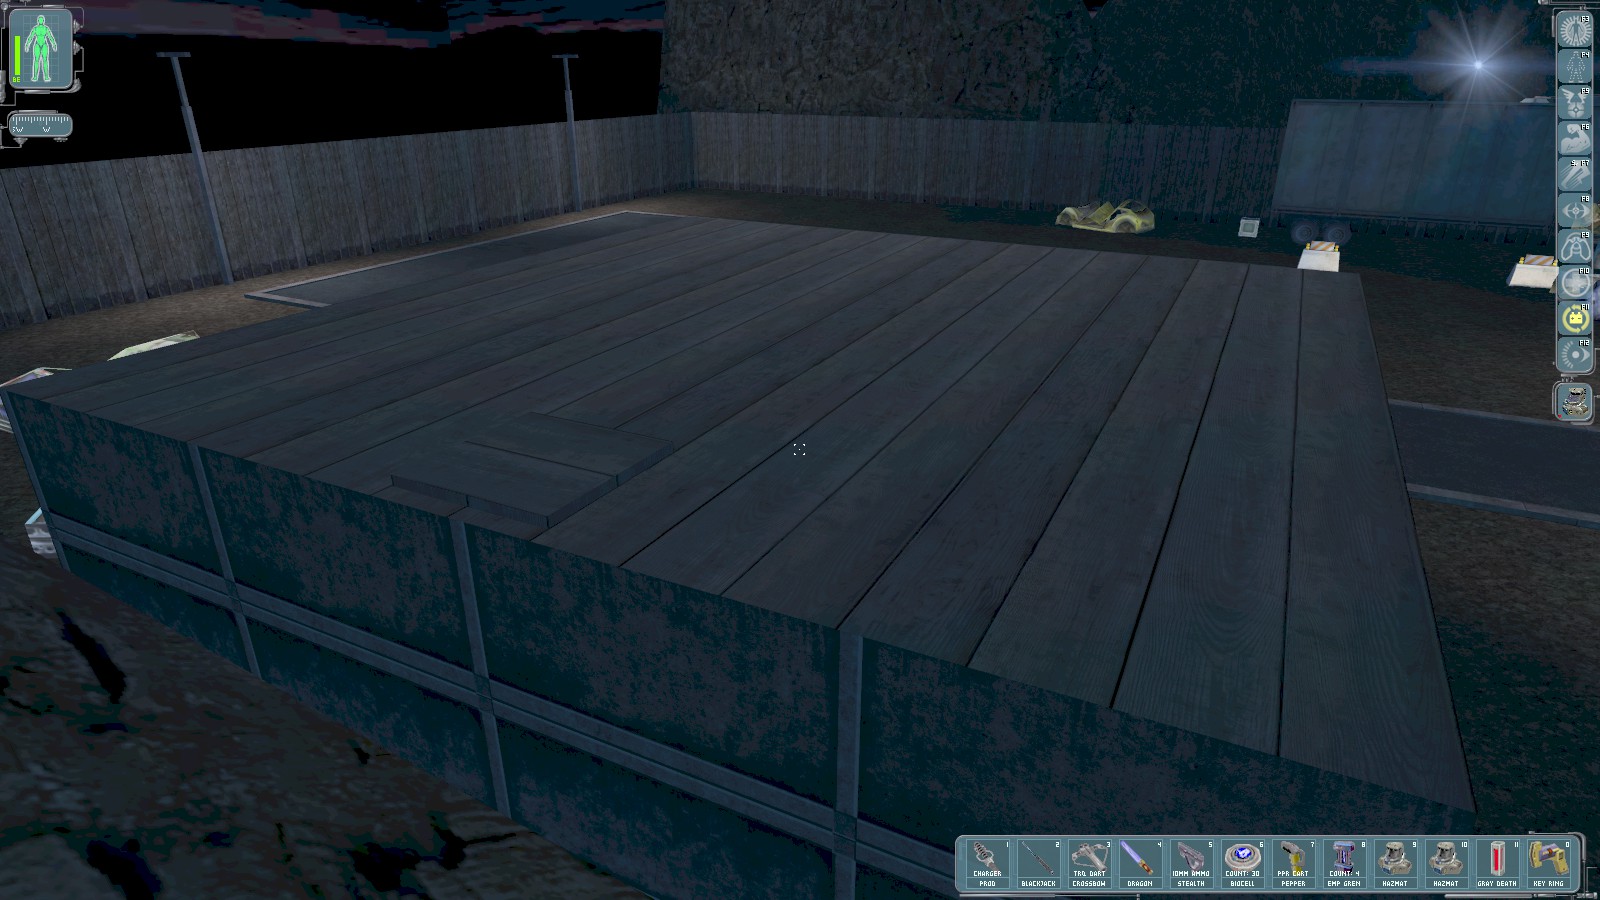
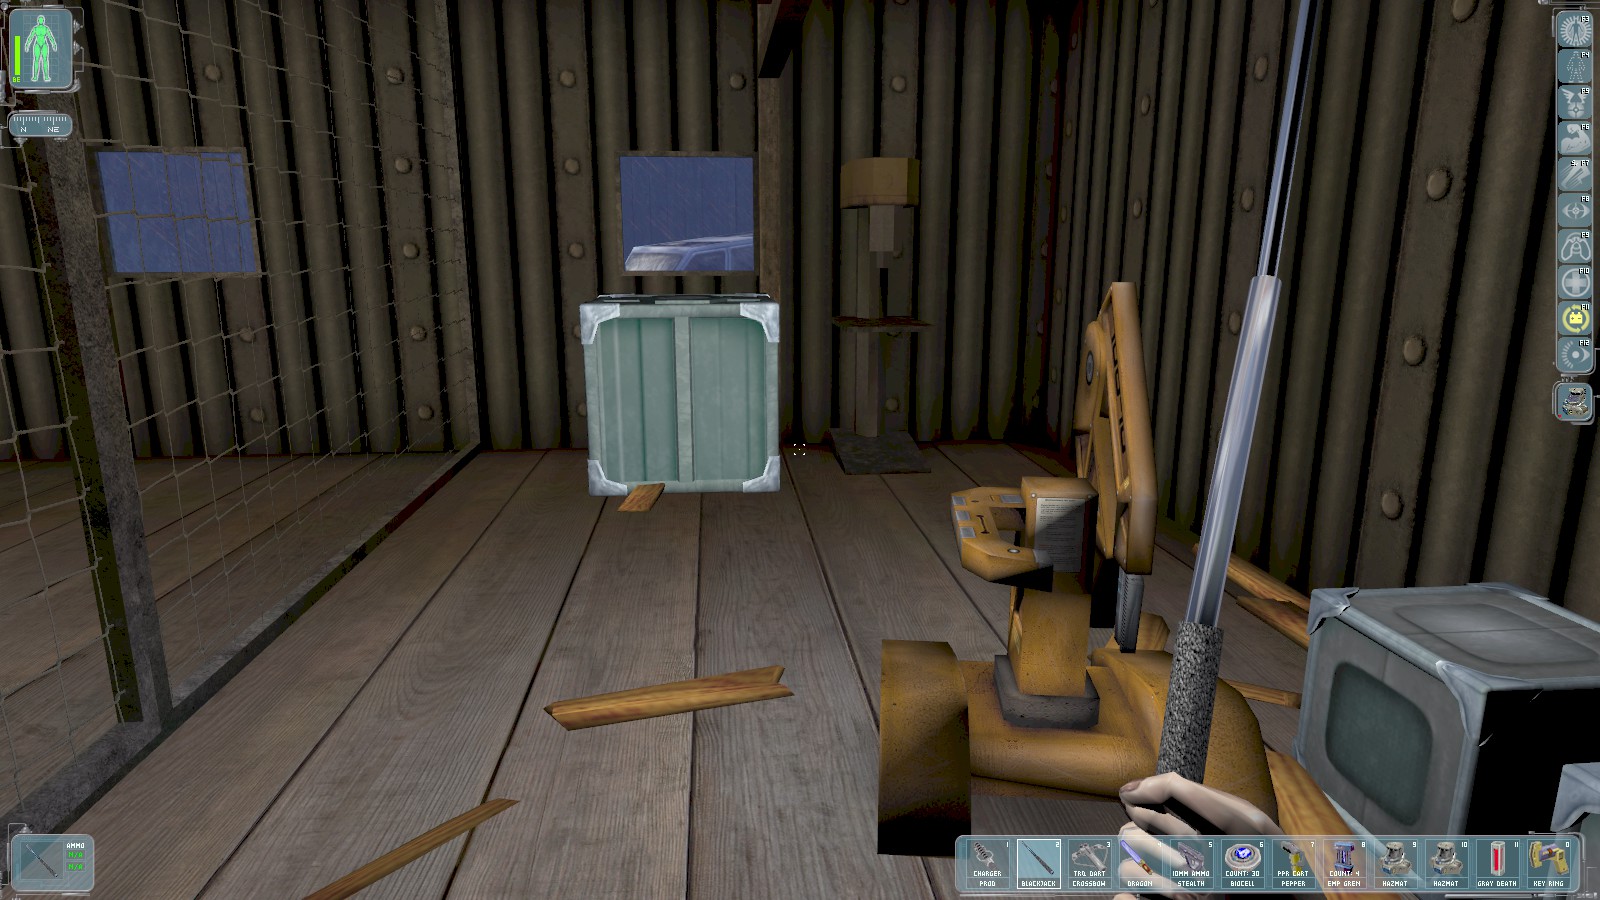
Break through the hatch in the roof and drop inside to find a very welcome repair bot. Climb onto the large metal box and break the window to get out again.
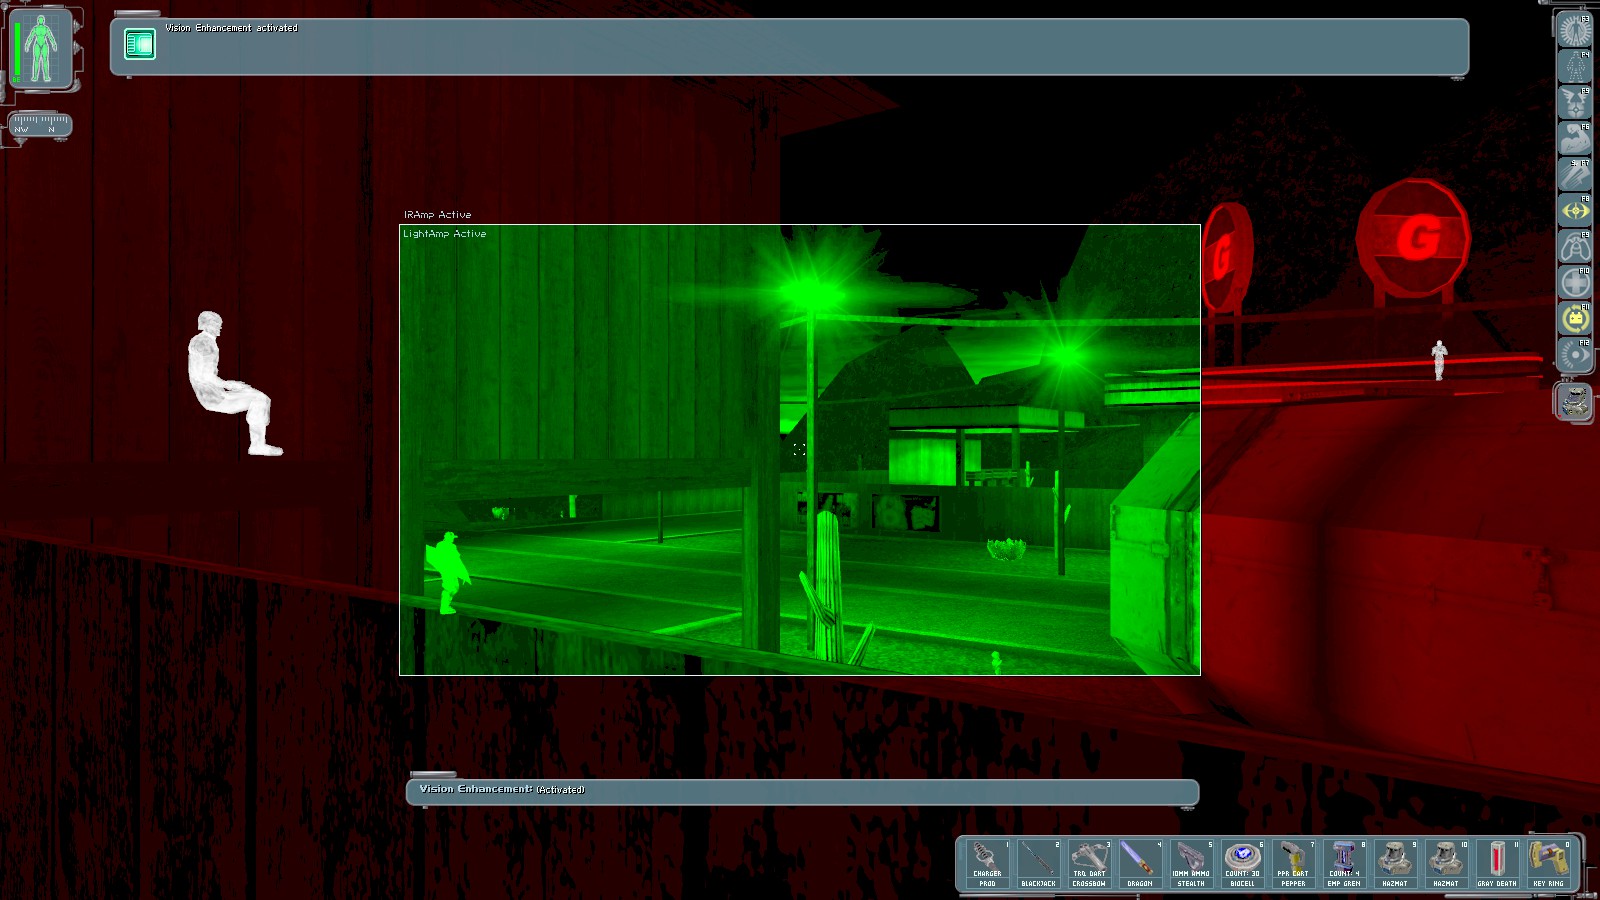
Head back up the slope but this time look toward the gas station. Vision Enhancement shows a sniper on the roof opposite, someone sitting in the upper floor of the building on the left, and a commando patrolling the far side of it. A security bot also patrols up and down the street. Seated guard in the building first. Slip off the fence and round to the front when the commando and sniper aren’t watching.
|
|
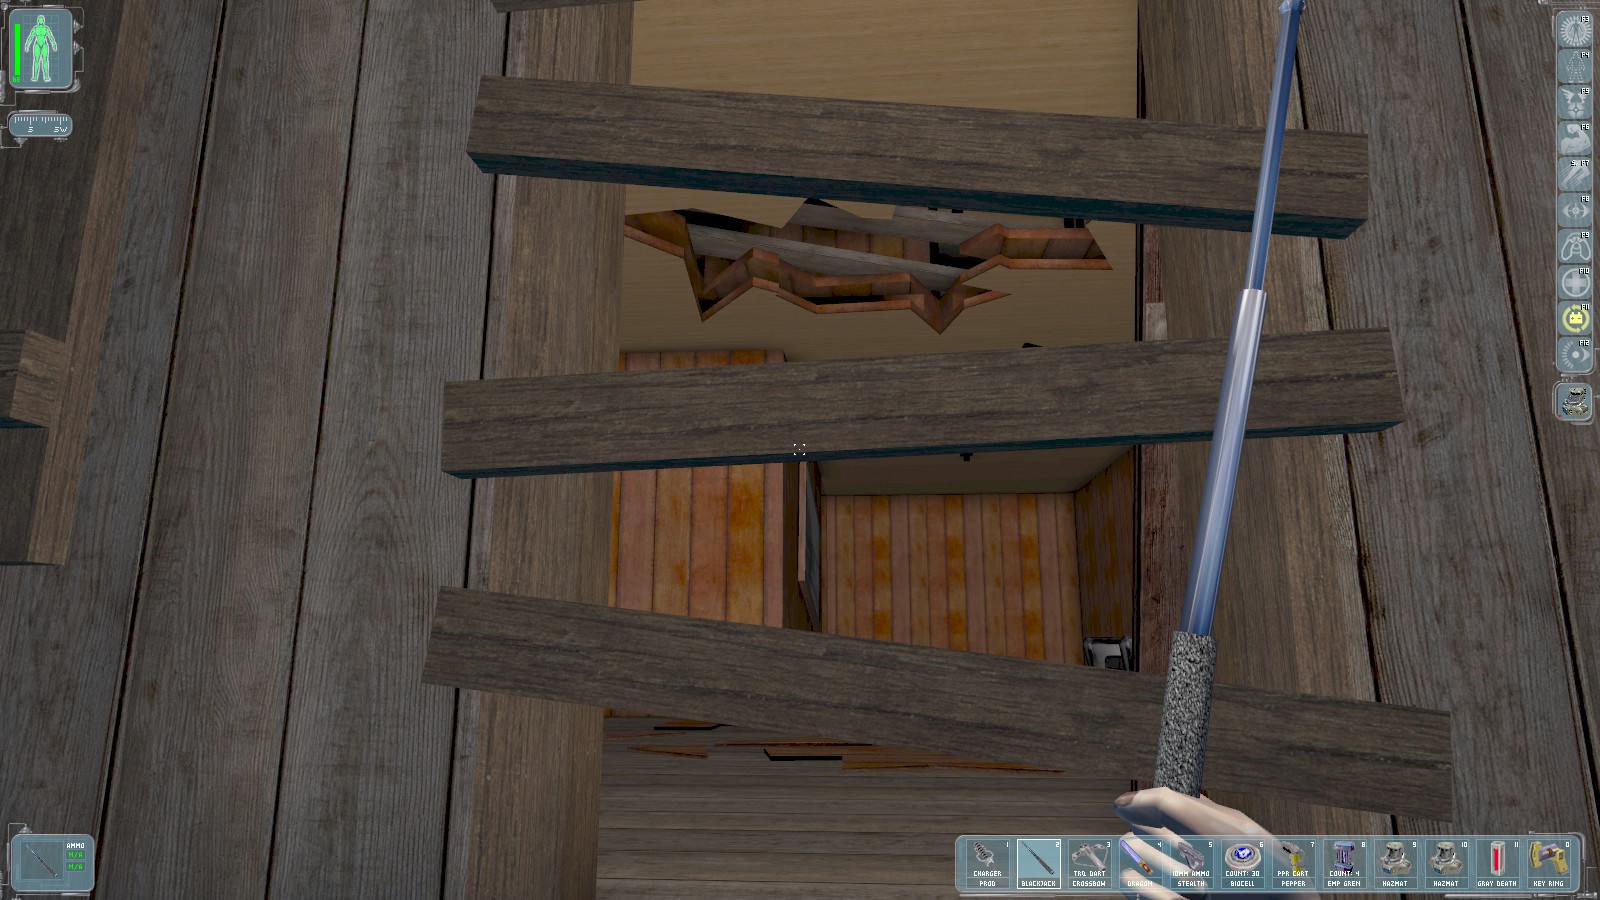

Break the planks to get through the door, then keep right as you head to the rear. Part way up the stairs is a LAM that will be triggered from the other side if you’re not careful. Grab the LAM and head up the stairs.
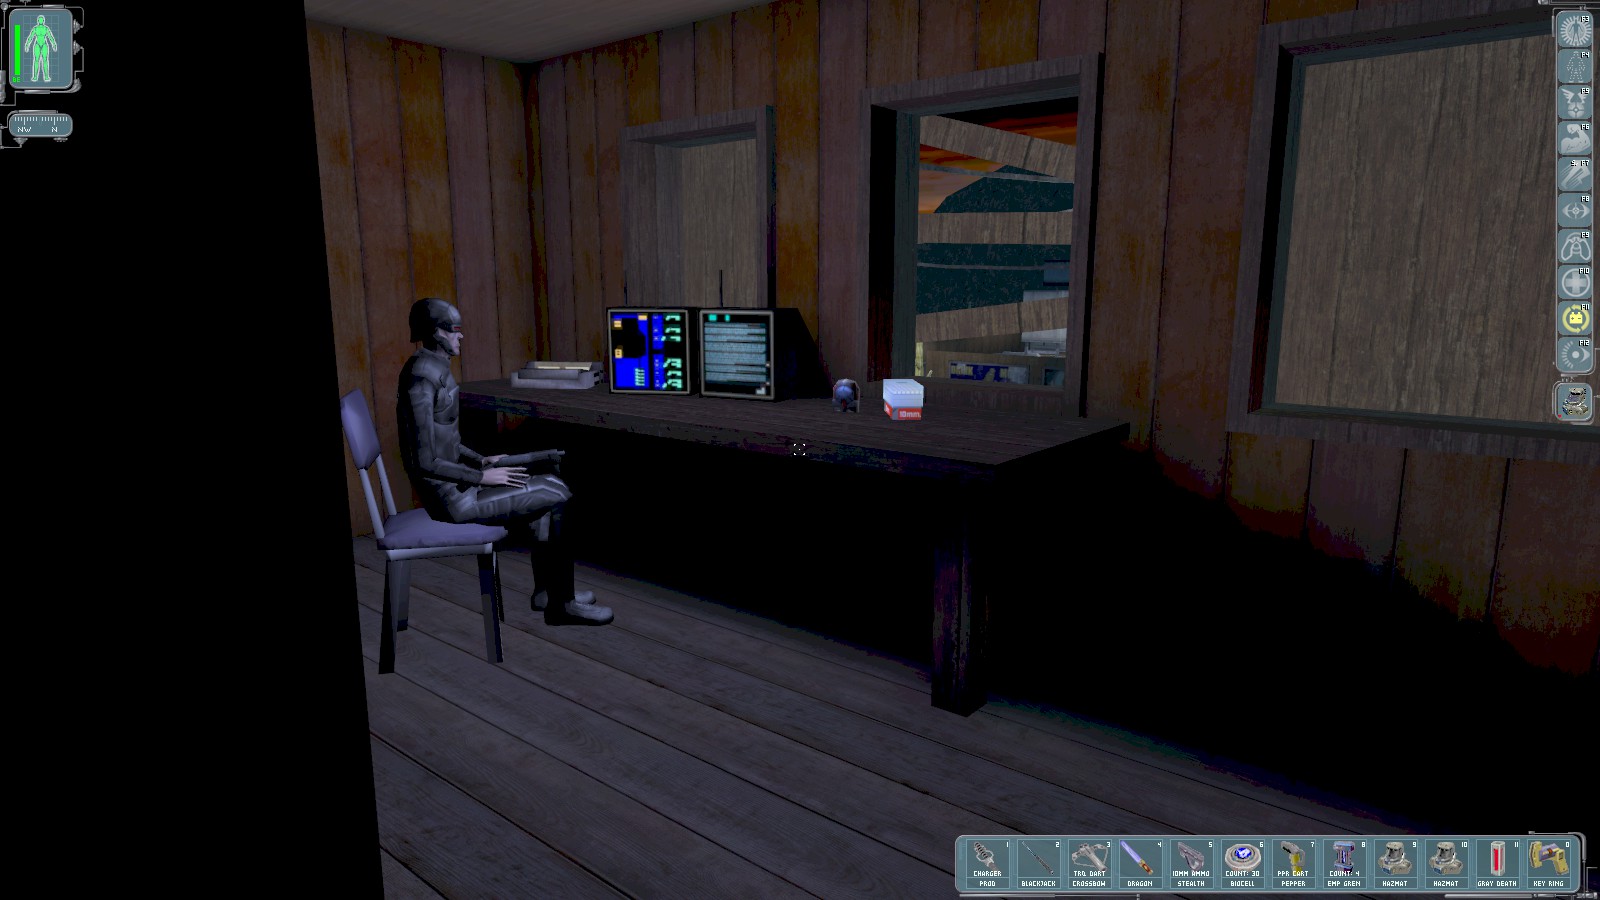
In the room facing the front is this guard. Knock him out and hack the security console next to him to disable 3 cameras. That will make moving around outside a whole lot easier!
|
|

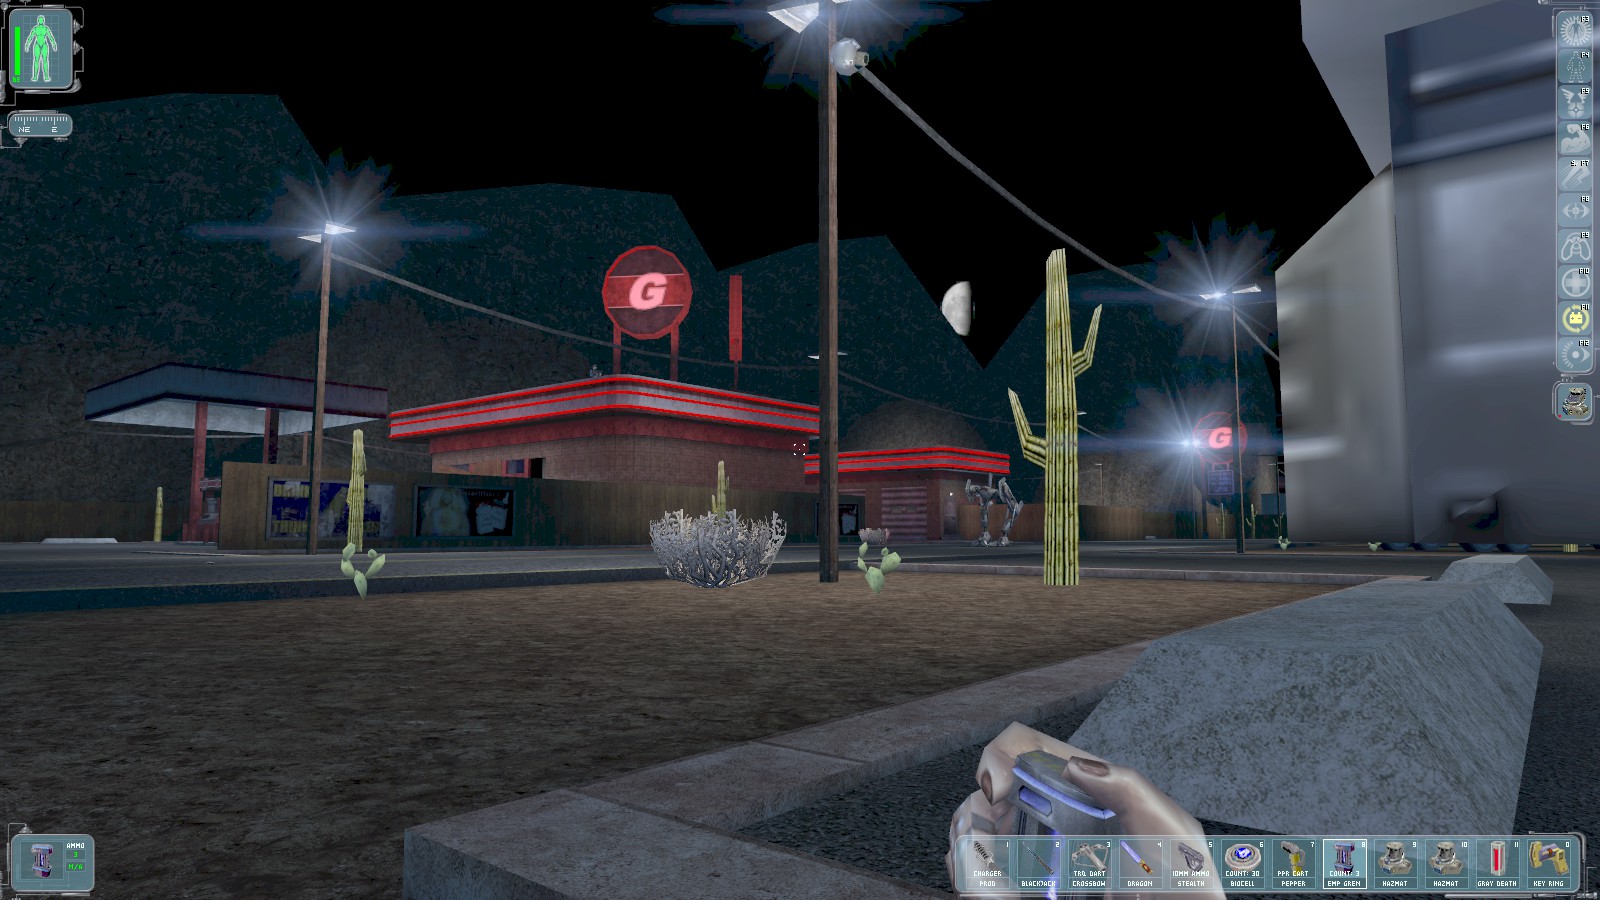
Back outside take out the patrolling commando, and to disable the security bot. It pauses right opposite the black van furthest from the hut, so that’s a good place to plant an EMP mine.
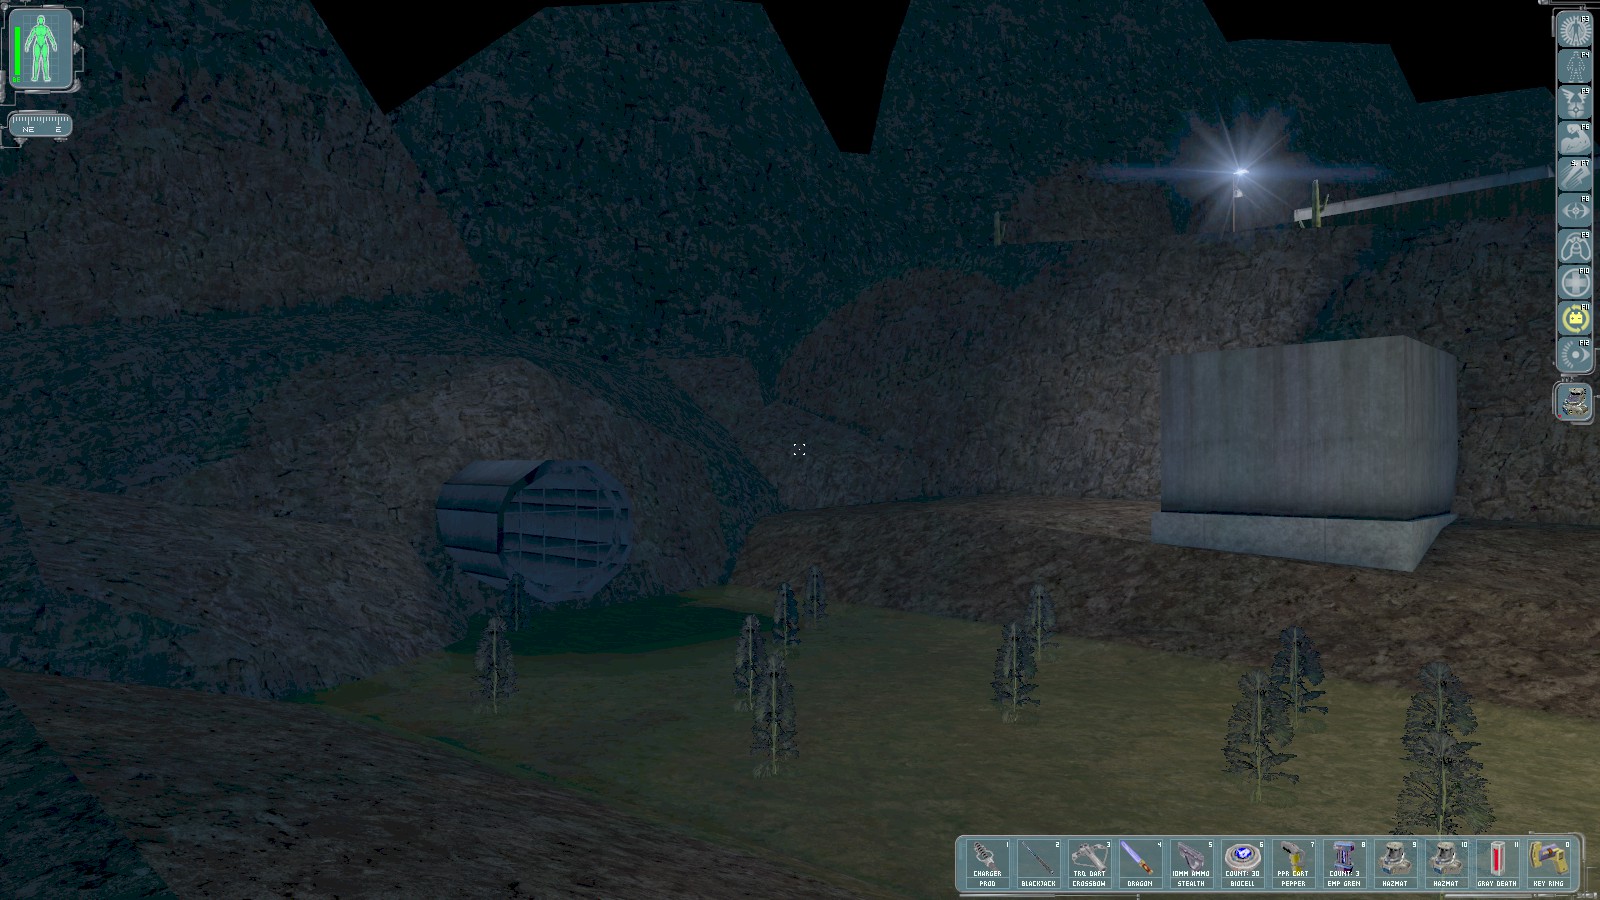
Return to the dried up river bed, and go to it’s North end. The sewer key opens a door in the concrete hut which leads to a ladder. I find it easier to climb the rocks here on the left to reach another small hole in the fence.

Whichever way you choose you end up approximately here. You can see the disabled security bot is on the right here for orientation. Another commando patrols this side of the road, and the sniper is still on the roof. Another guard patrols to the right (out of shot here) so make sure his back is to you when you knock out this nearest guard.
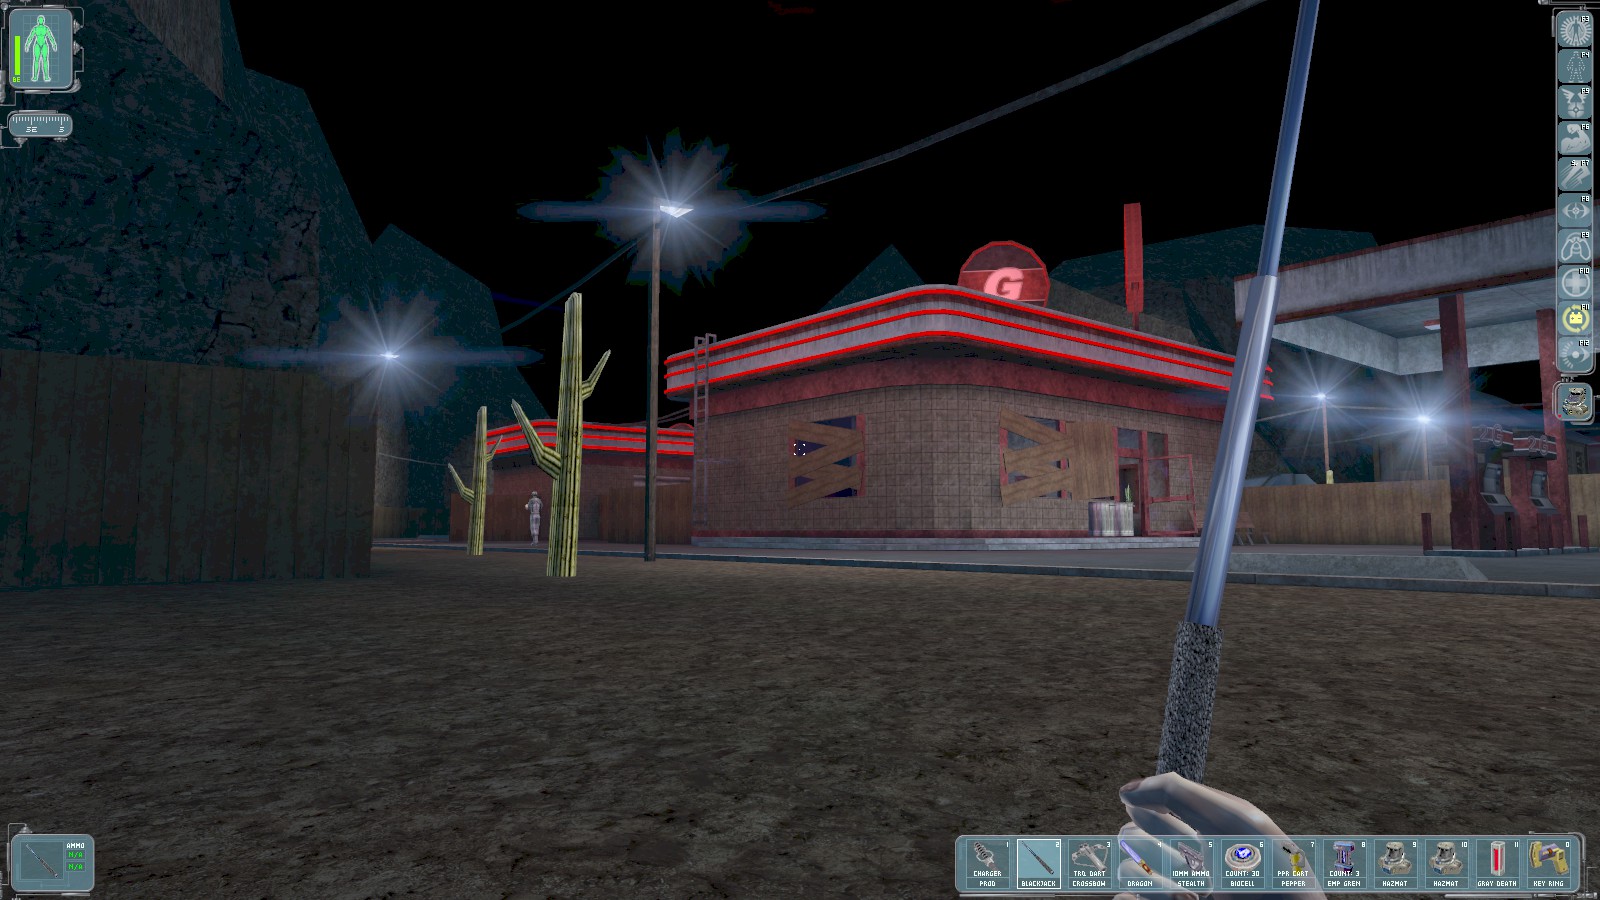
The most troubling take down is the sniper on the roof of the station shop. The roof can be accessed using a ladder on the rear left—time your approach when both the sniper and the patrolling guard below have their backs turned.
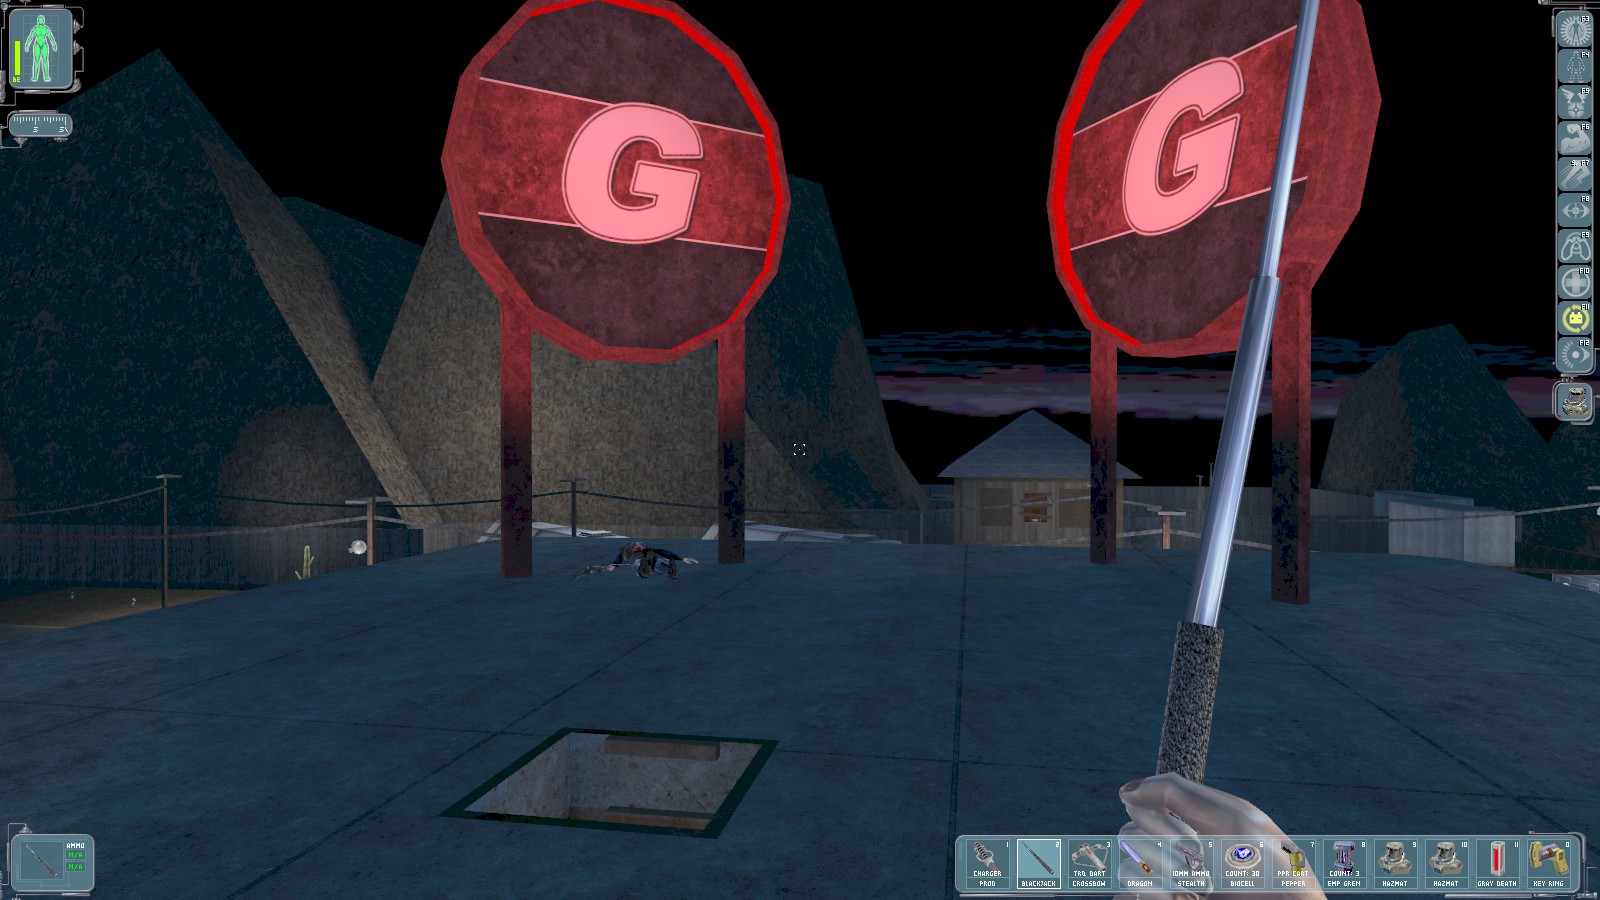
On the roof, knock out the sniper then descend to a suspended ceiling using this hatch. Go to the SW corner to earn 50 skill points and find another vent to drop into the shop itself.
|
|
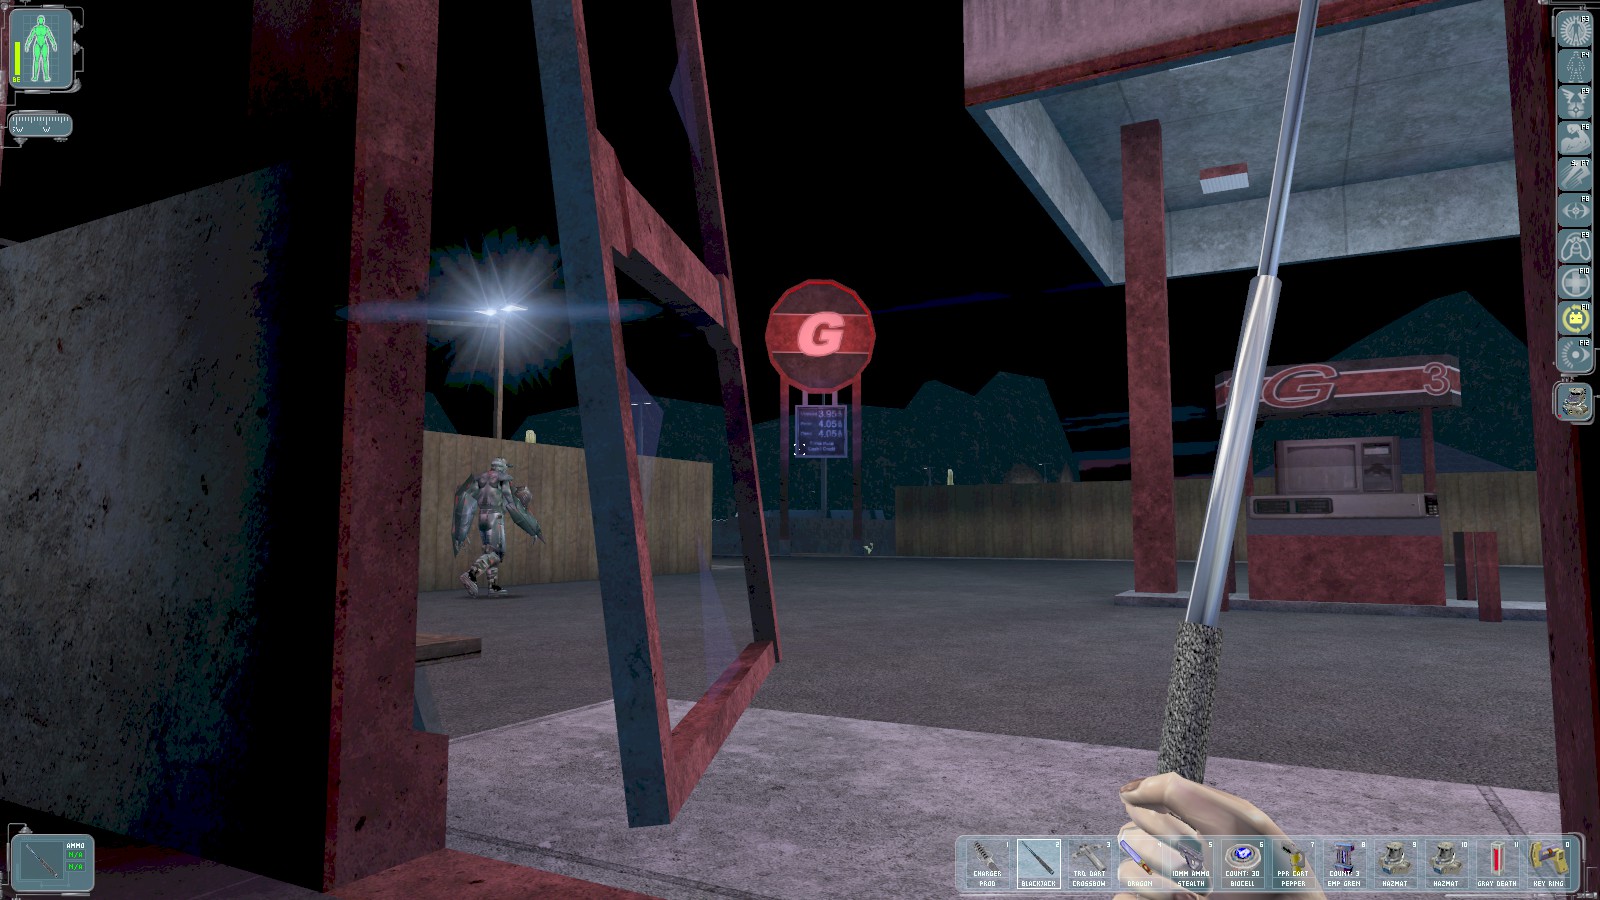

There is a biocell and some crates (lockpick and medikit) in the shop, but smashing them is likely to alert one of the troops. Come back for them later. Take out the commando, then head round the back to knock out the last patrolling guard.
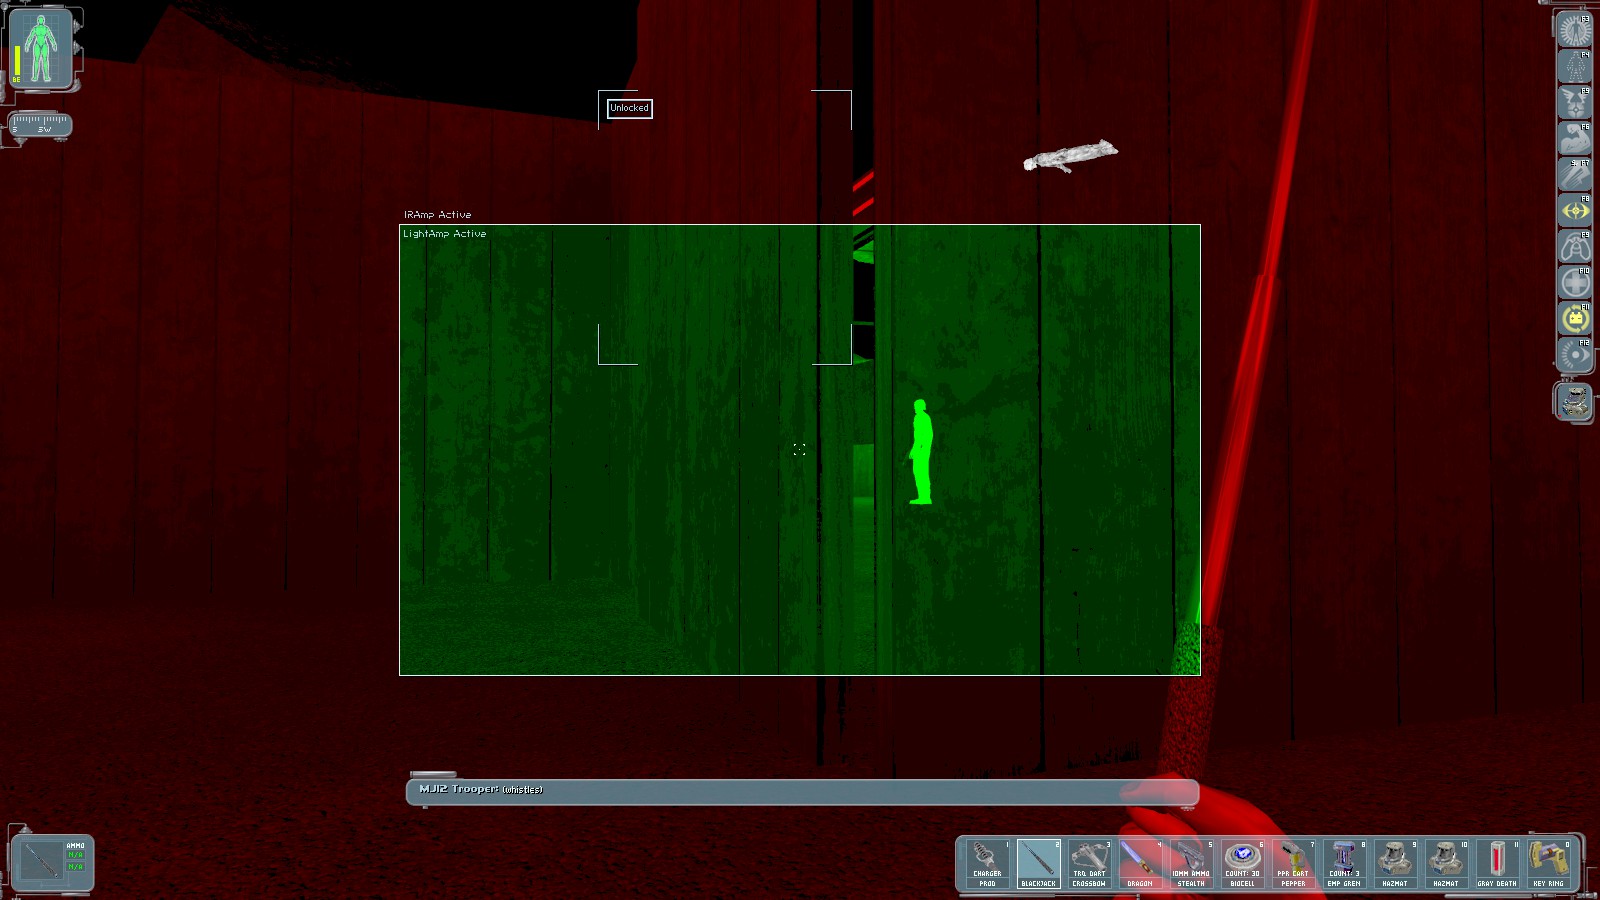
Another stationary guard is just beyond this (openable) fence. Opening it will distract him away from his current position. When he returns to idle slip through and knock him out.
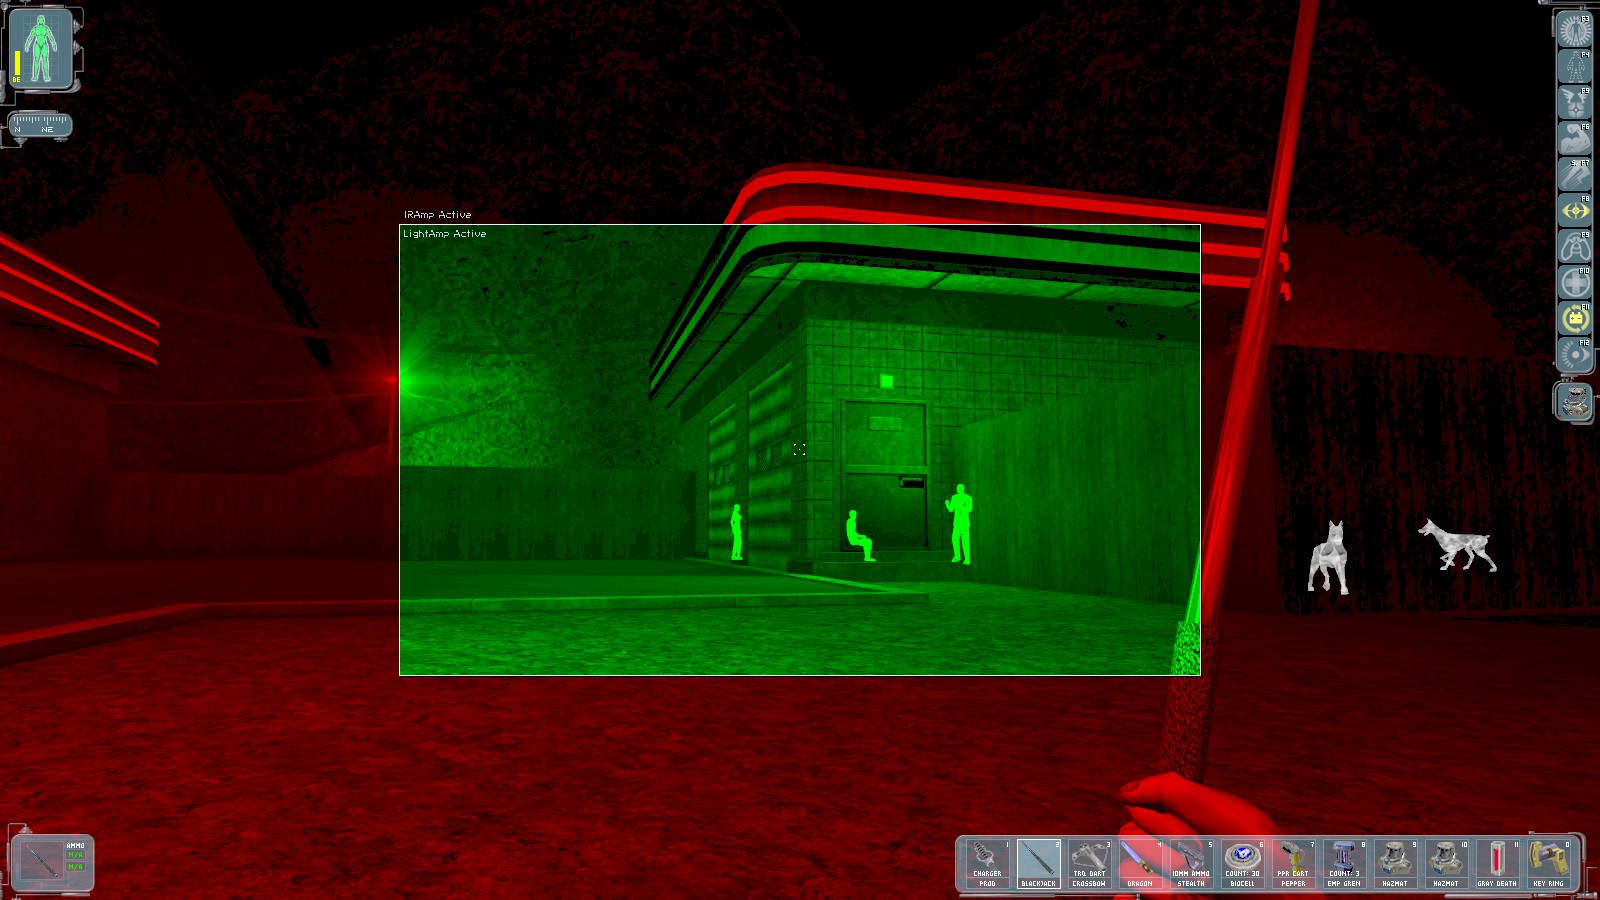
Tiffany is being held in the adjacent building—a garage. Two guard dogs are behind another fence and won’t bother you if you’re quiet. You could use the door, but a stealthier approach is to climb back onto the roof of the shop and traverse the cables linking it with the garage.

Once on the garage roof, drop down to the top of Tiffany’s cell.
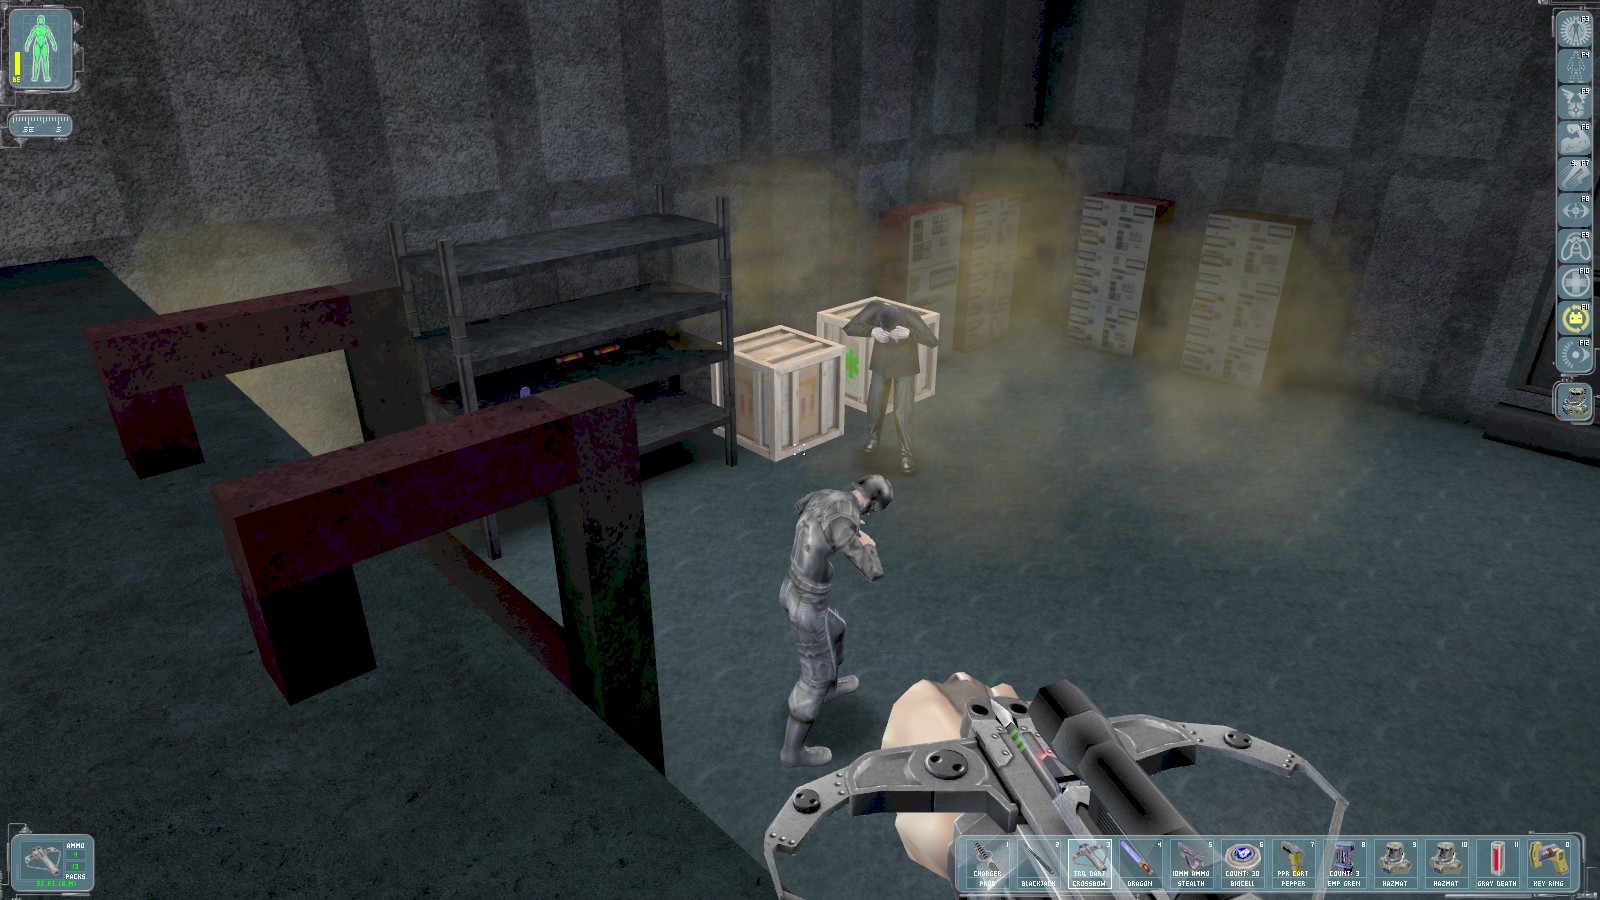
Drop a gas grenade below and pick off the MIB and trooper with tranq darts. 1 dart each should be enough if you’re patient. Wait for the gas to clear before dropping down to grab the garage key from the shelves and a medikit and ammo from the crates.
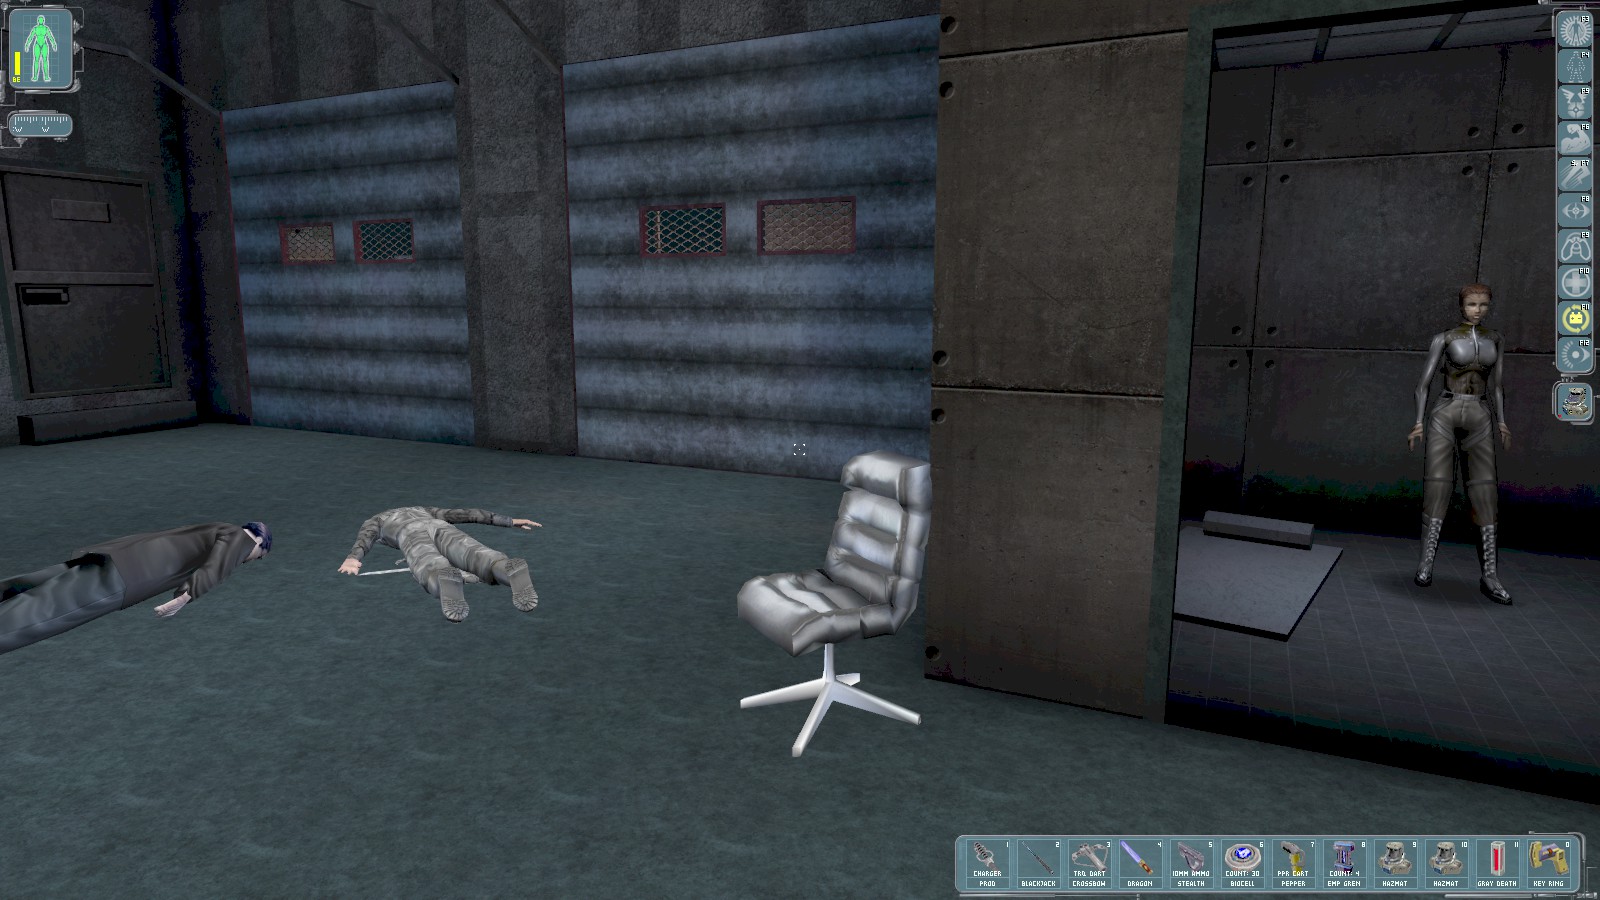
Open the cell and tell Tiffany to make a break for it.
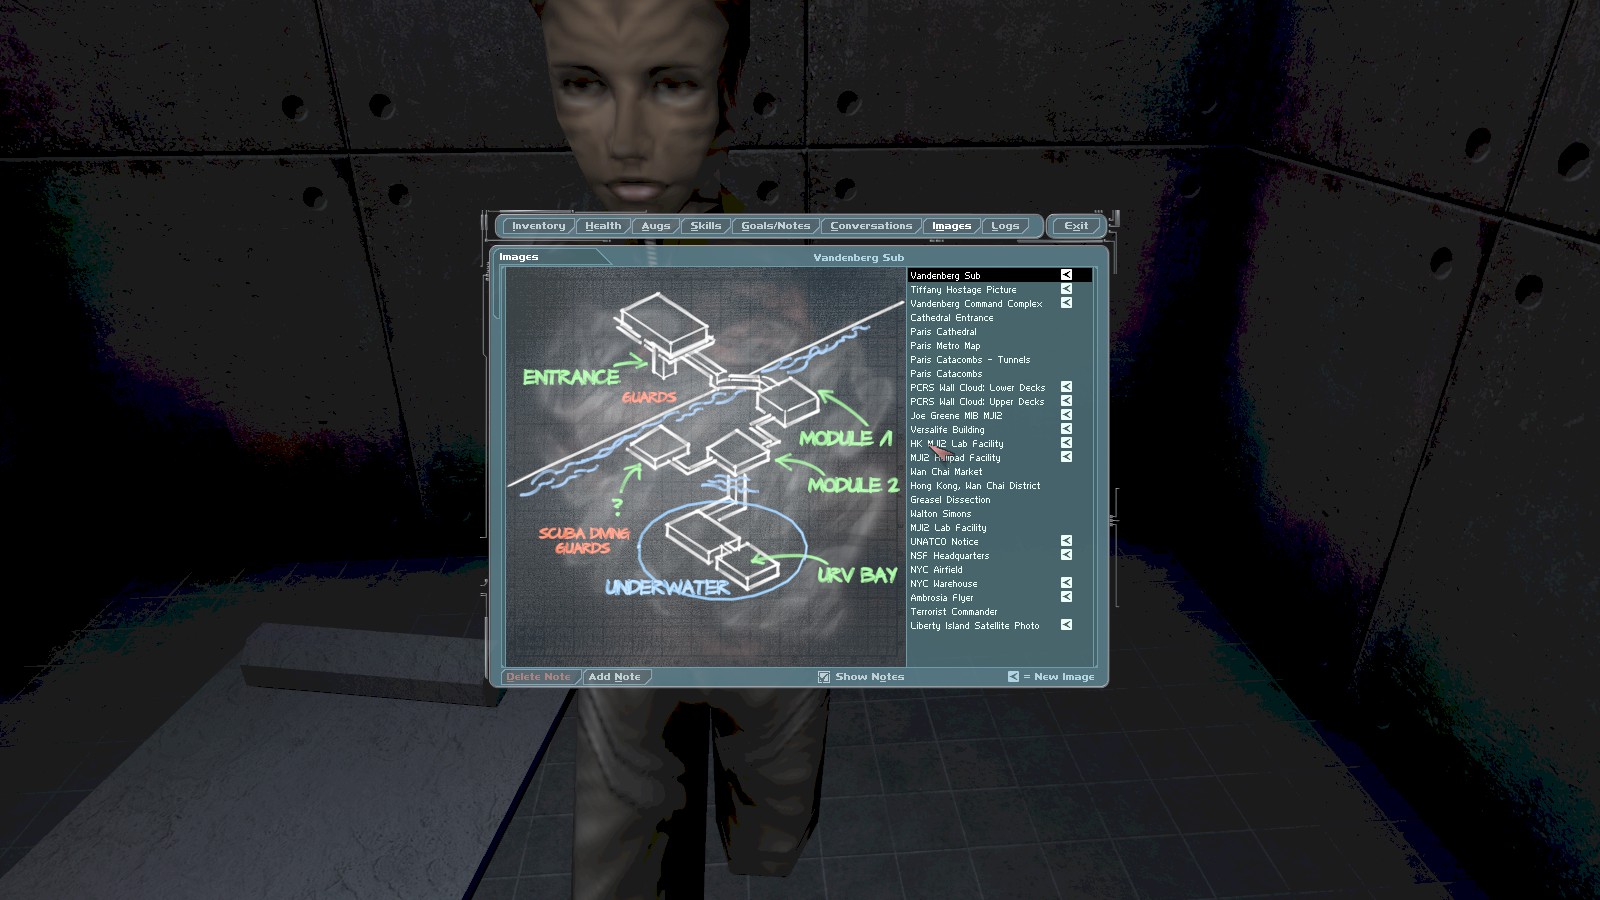
She gives you a map of the sub base. Open the garage door.
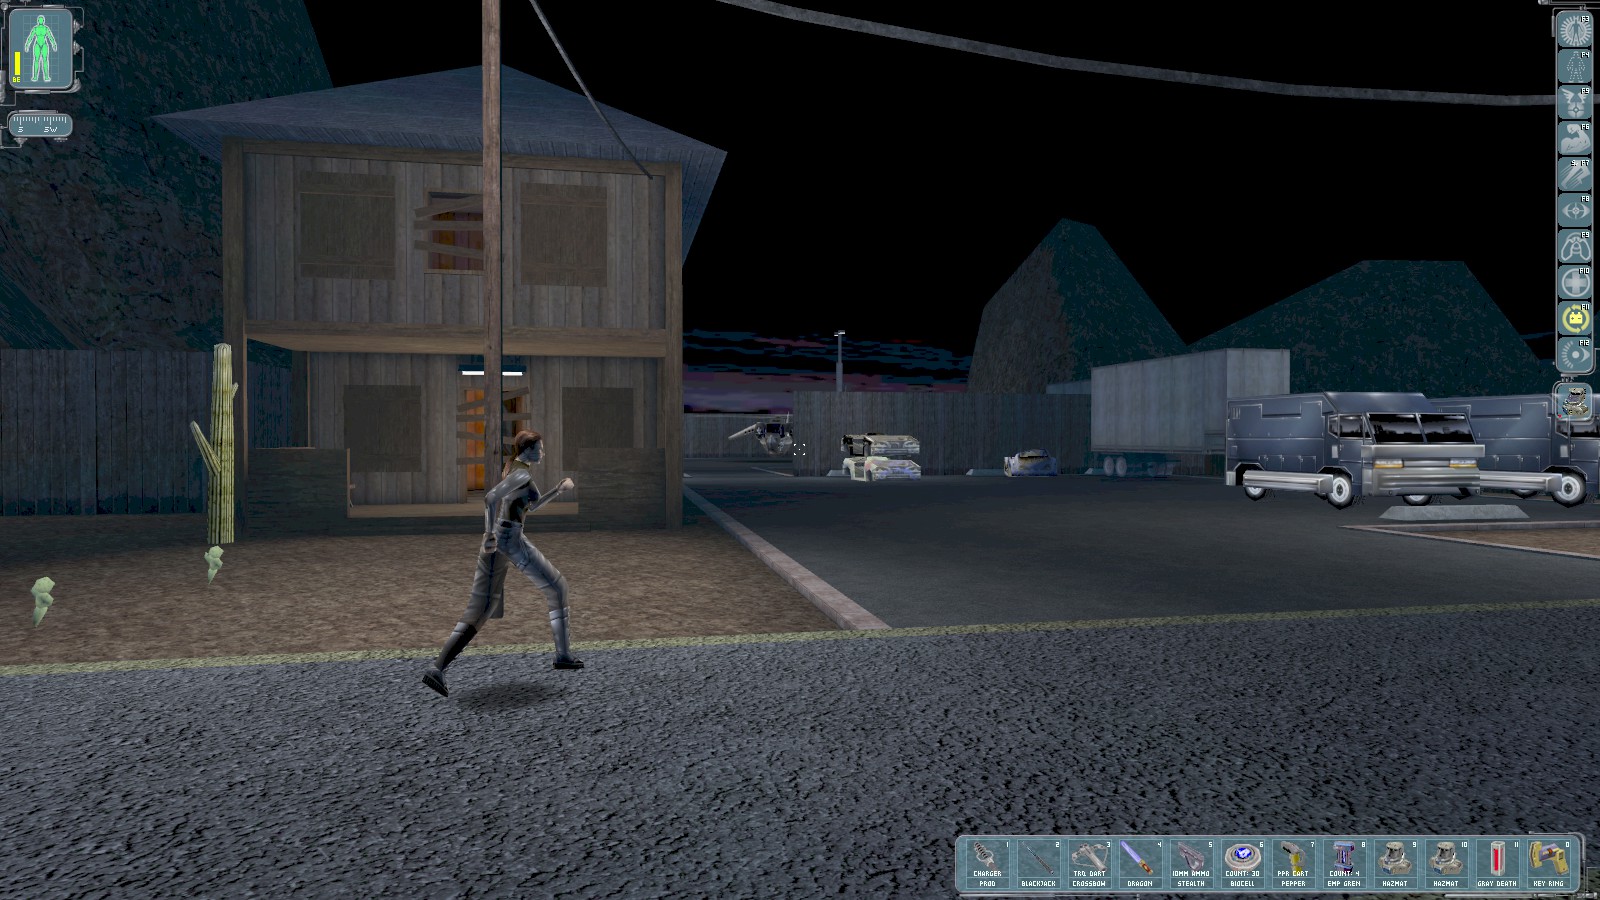
The junkyard is where you found the repair bot earlier.
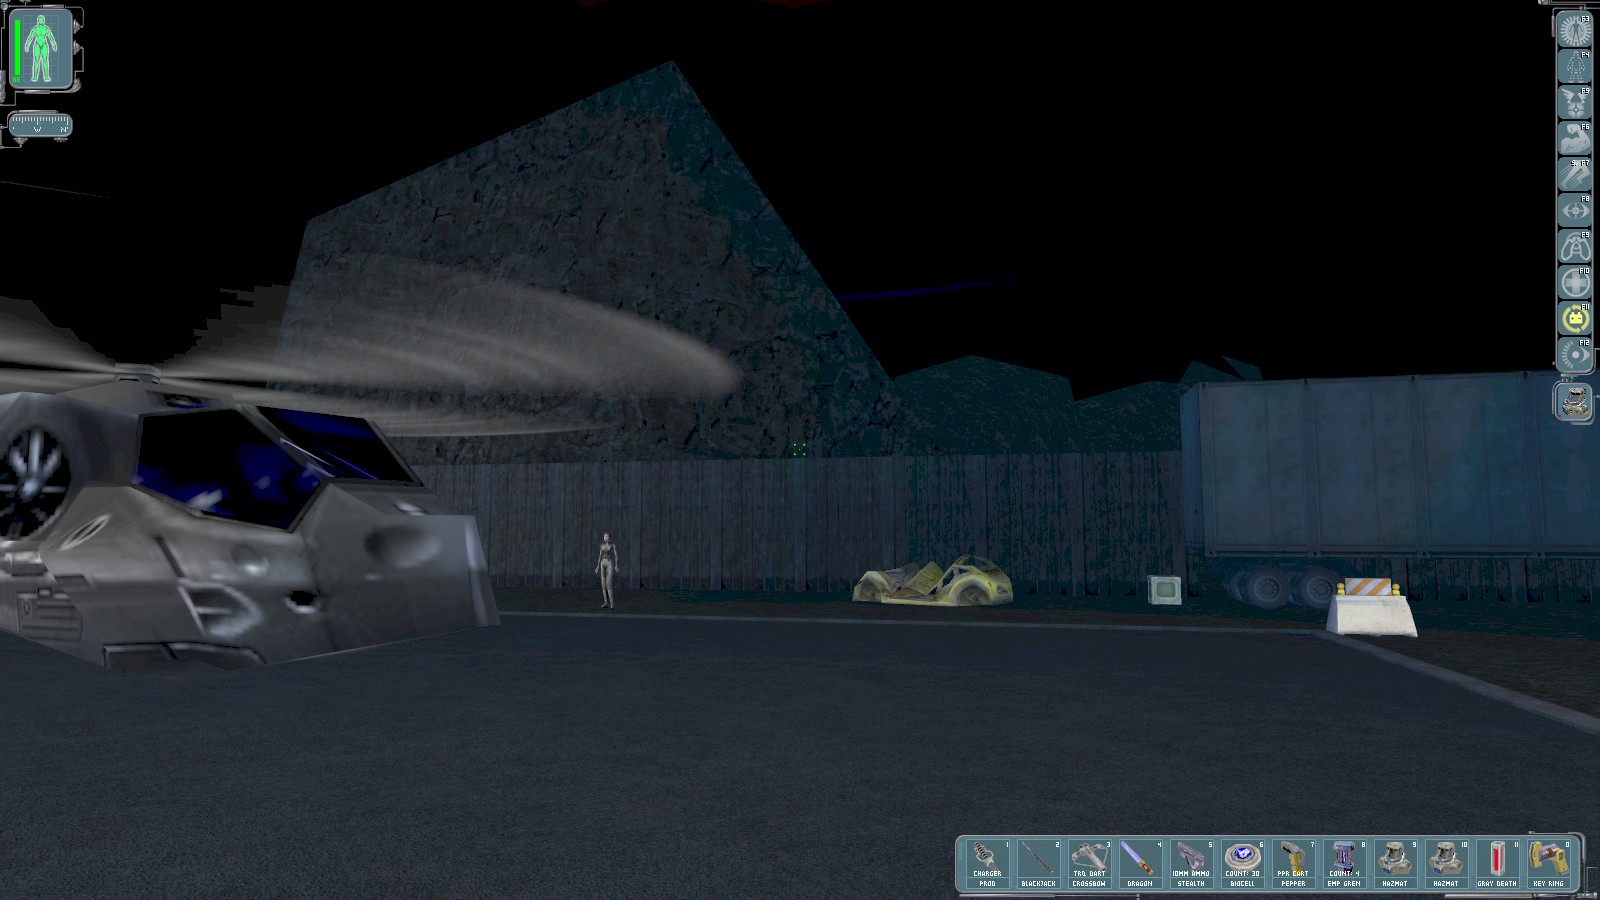
Recharge at the repair bot, and pick the lock of the trailer to find a gas grenade, ammo, and a medikit before leaving in the chopper.