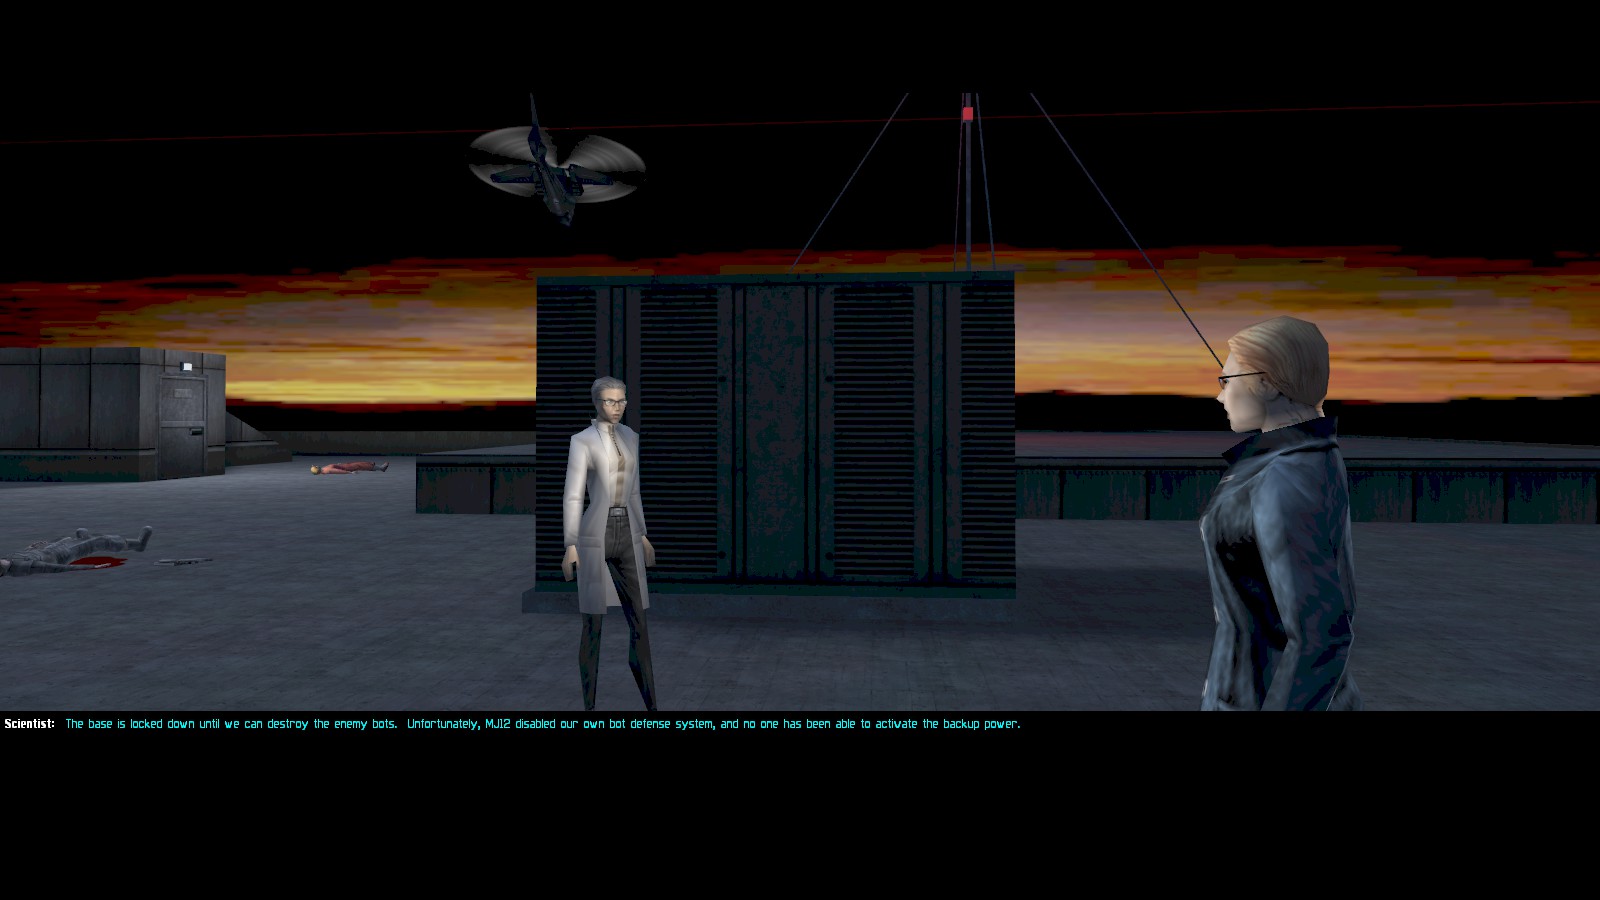
Jock drops you off on the roof of the base’s control centre. Carla Brown rushes up to say the base is locked down because MJ12 have hacked the security systems and deployed their own military bots. Backup power needs to be restored using two control points in the West of the complex.
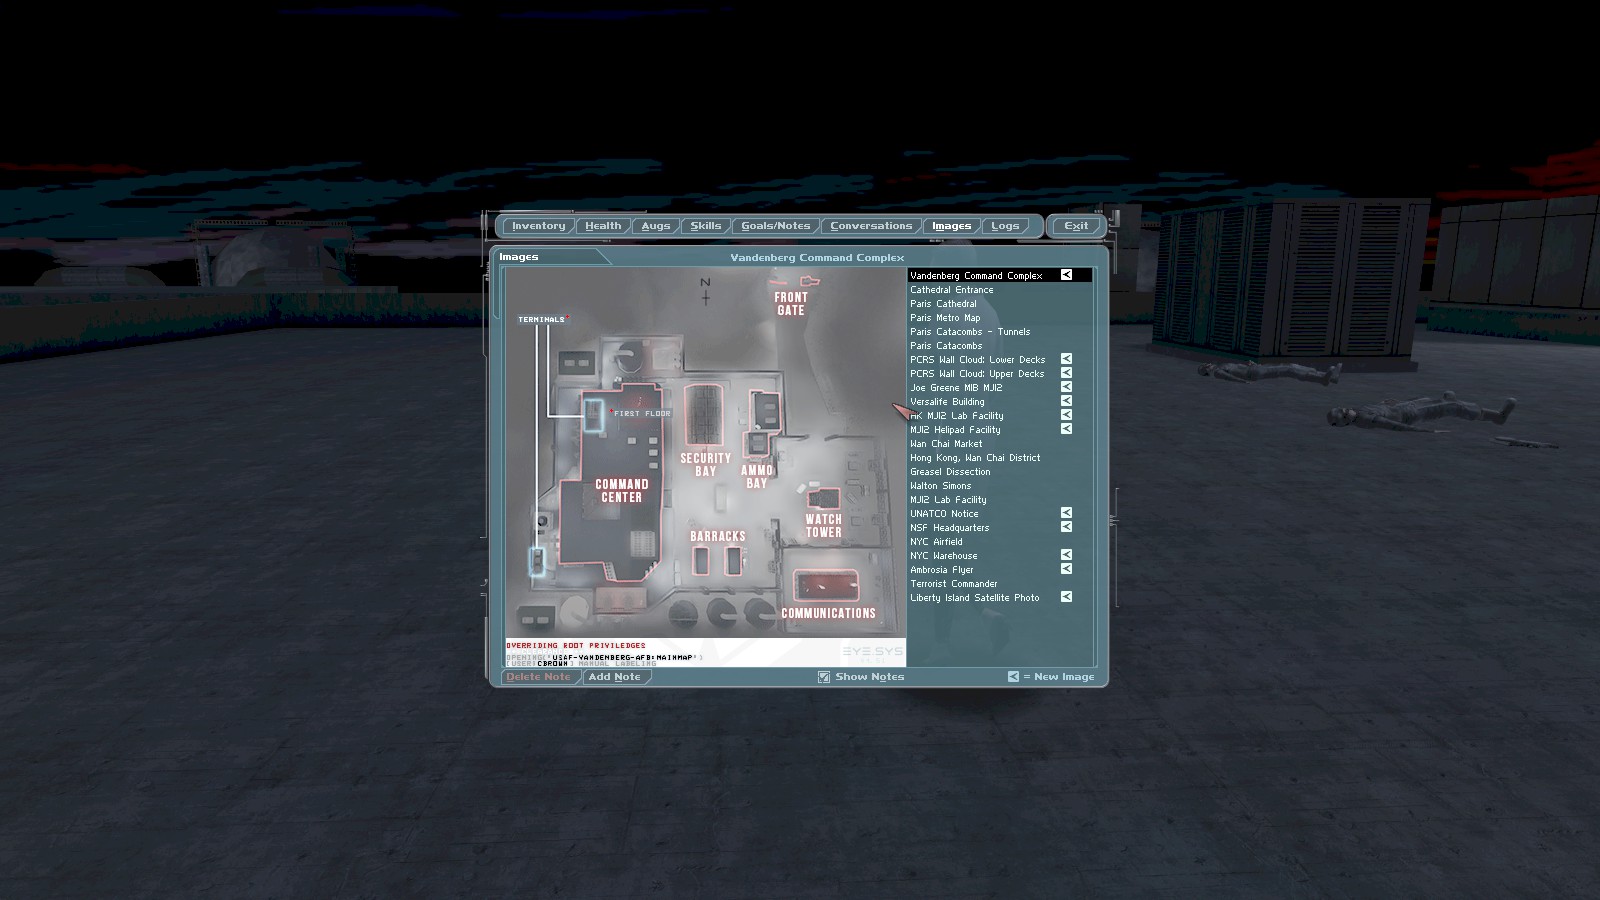
She provides a map of the complex, and the code 5868 to reactivate the power.

The first job then is to deactivate the enemy bots so the security lockdown can be lifted. Over the parapet to the East, all 4 MJ12 bots are visible. This is a job for the Spy Drone.
|
|

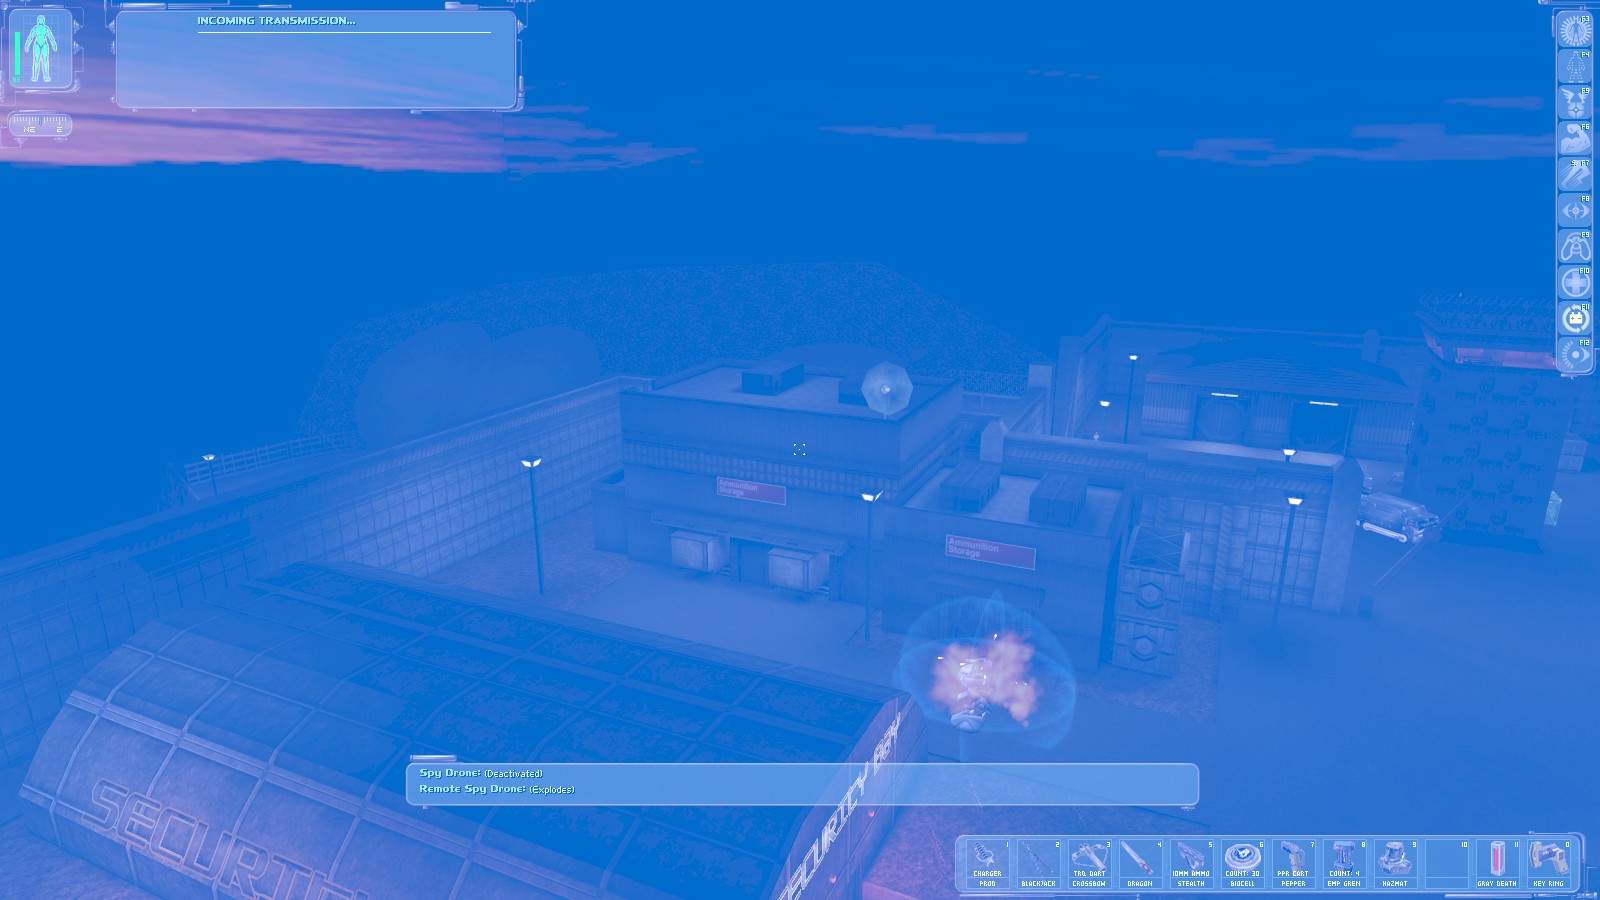
You need to get up-close and personal with the bots before detonating the EMP blast. Jock radios in each time you destroy a bot.
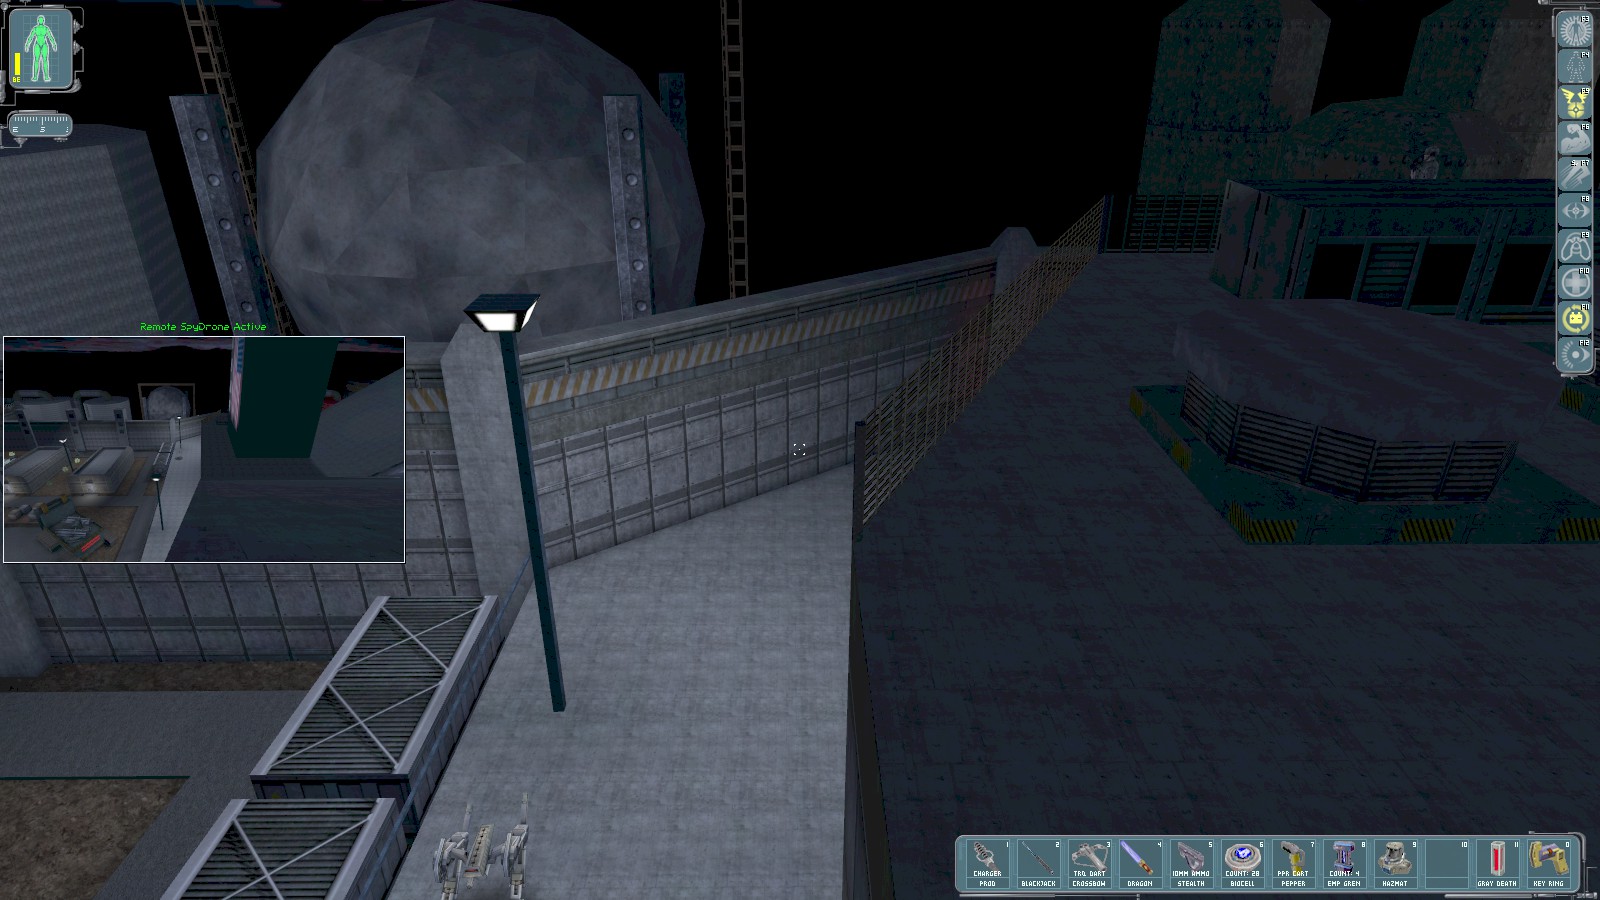
The final bot for me is the security bot to the South. As I’m flying the drone towards it I spy a sniper in the SE corner of the roof (just visible top right here). After disabling the bot I sneak down and knock him out.
|
|
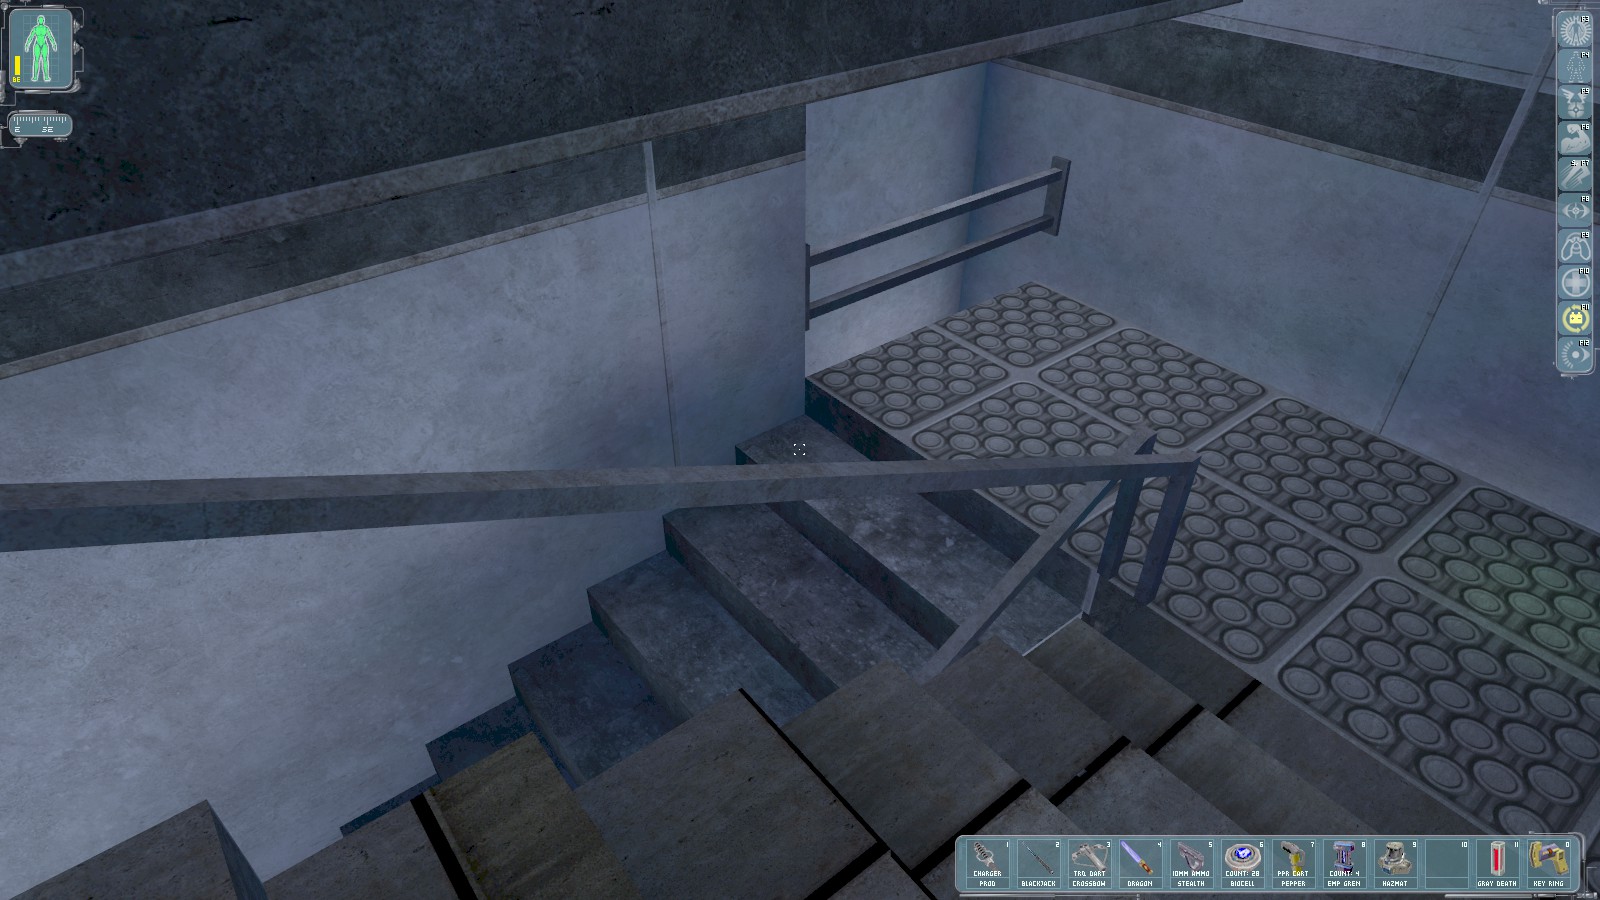

Head through a door in the NW of the roof and down some stairs. The bottom is protected by a turret and camera. You can bypass them by sneaking over this barrier partway down, then into the unlocked door below.
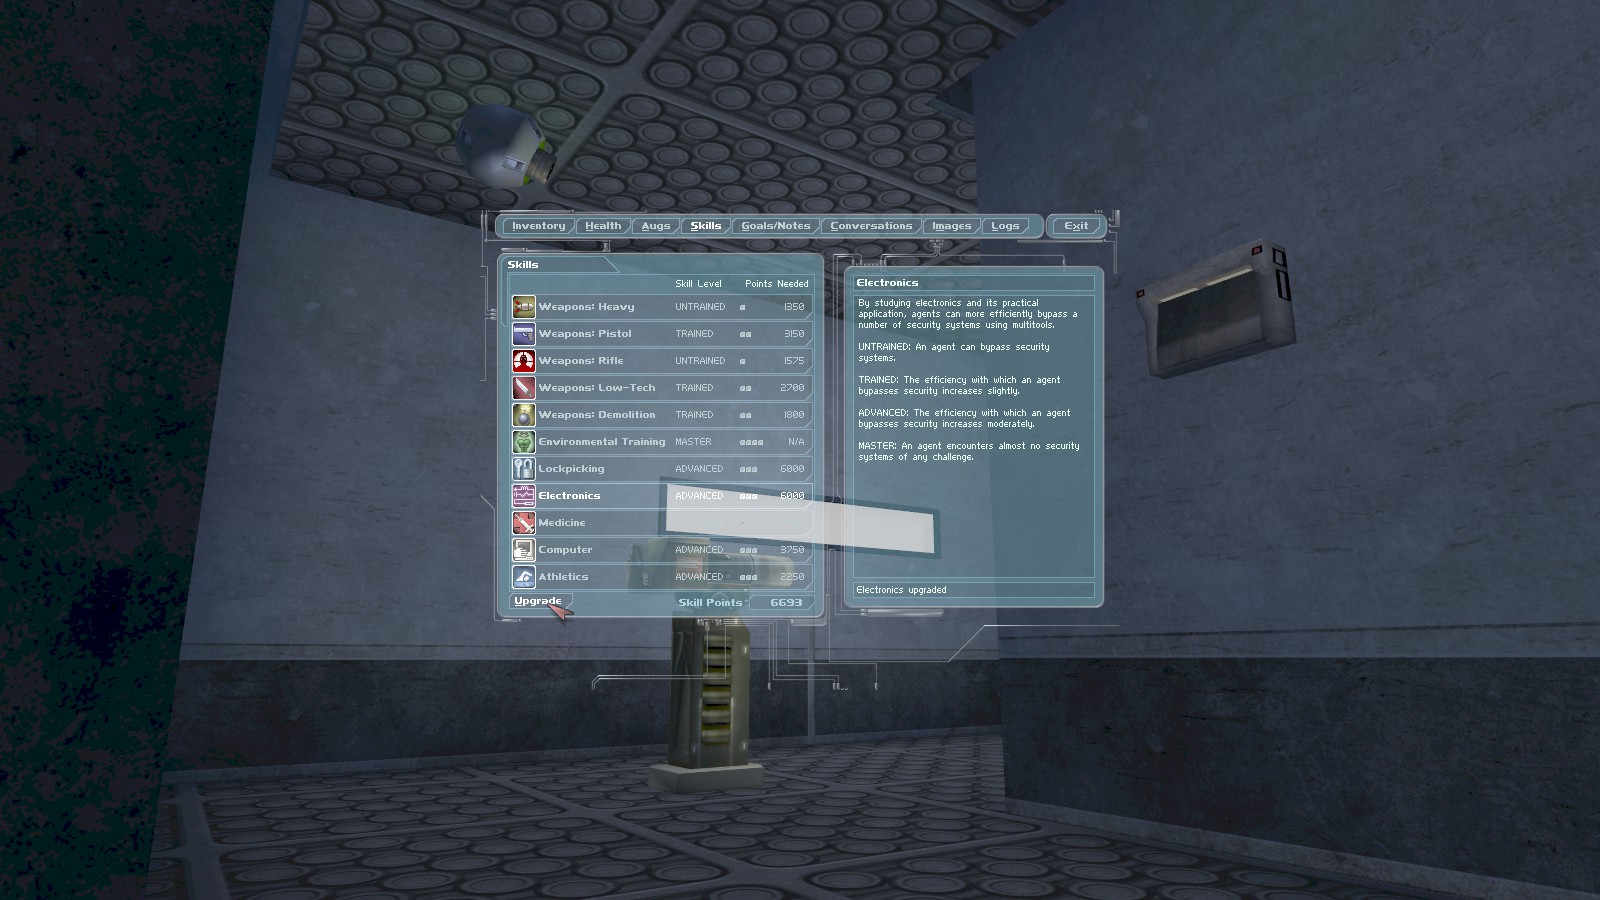
I reckon I can just about hack the control panel before the camera triggers the alarm if I upgrade my Electronics skill to Advanced. It works—just—so disable 2 cameras and the turret.

Back through the door Enhanced Vision reveals 2 troopers on the other side of the door. Head up the ladder and through the grate (the crate contains ammo).
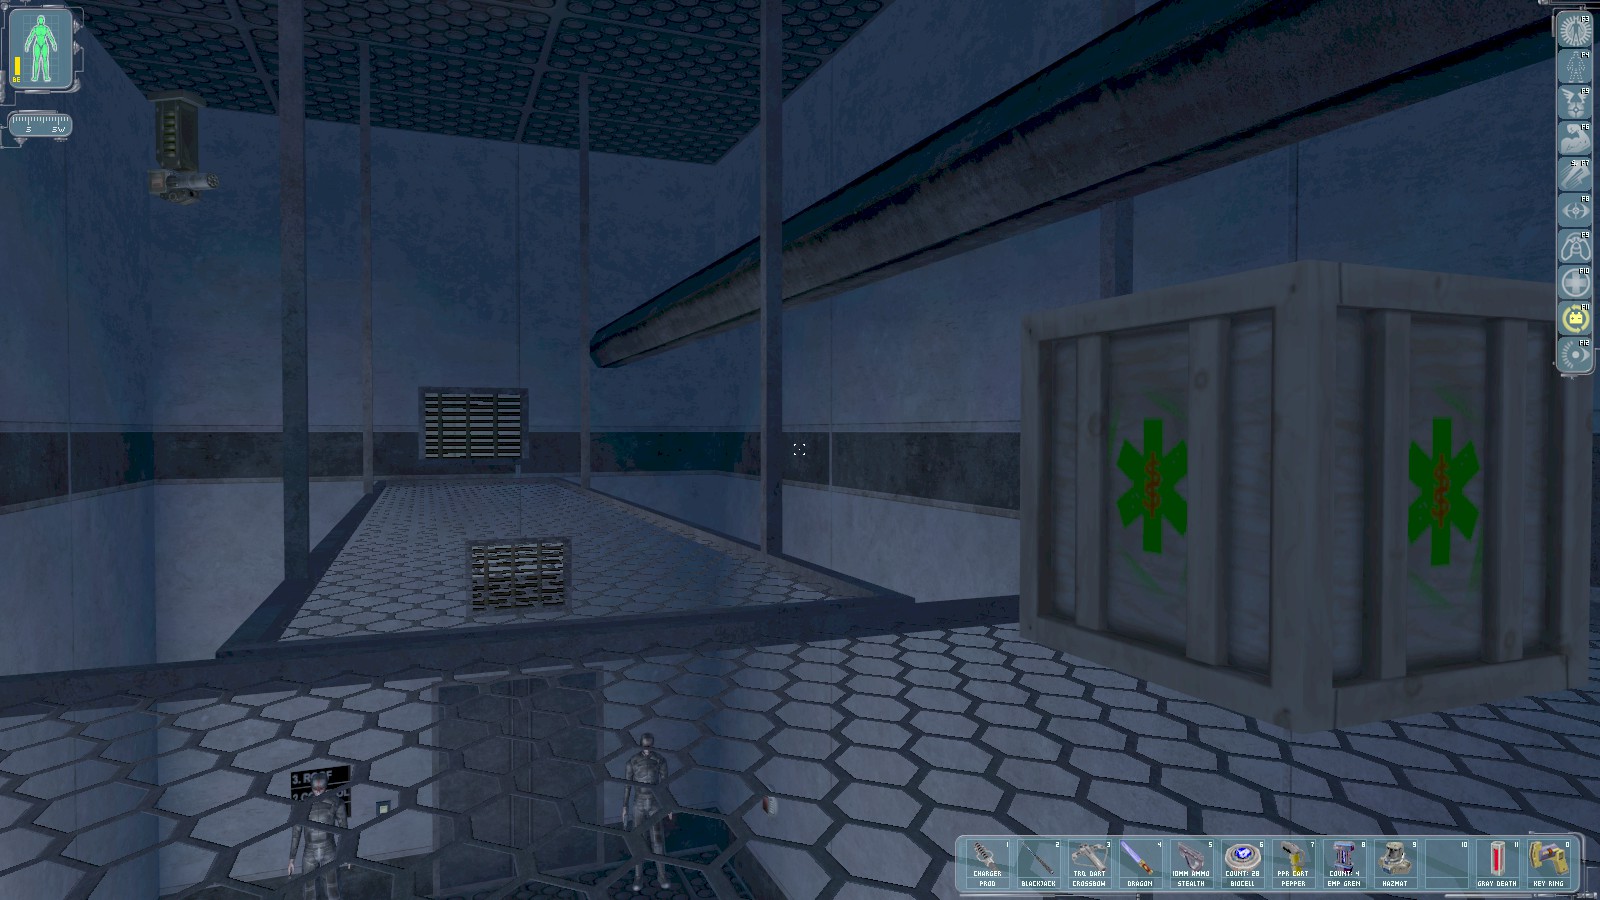
On the other side smashing this crate for a medikit will likely alert the troops below. Head for the grate ahead. Drop down the other side onto the roof of an elevator for 100 skill points. On the wall you’ll find a button labelled "Reset". Click it to ride the elevator down.
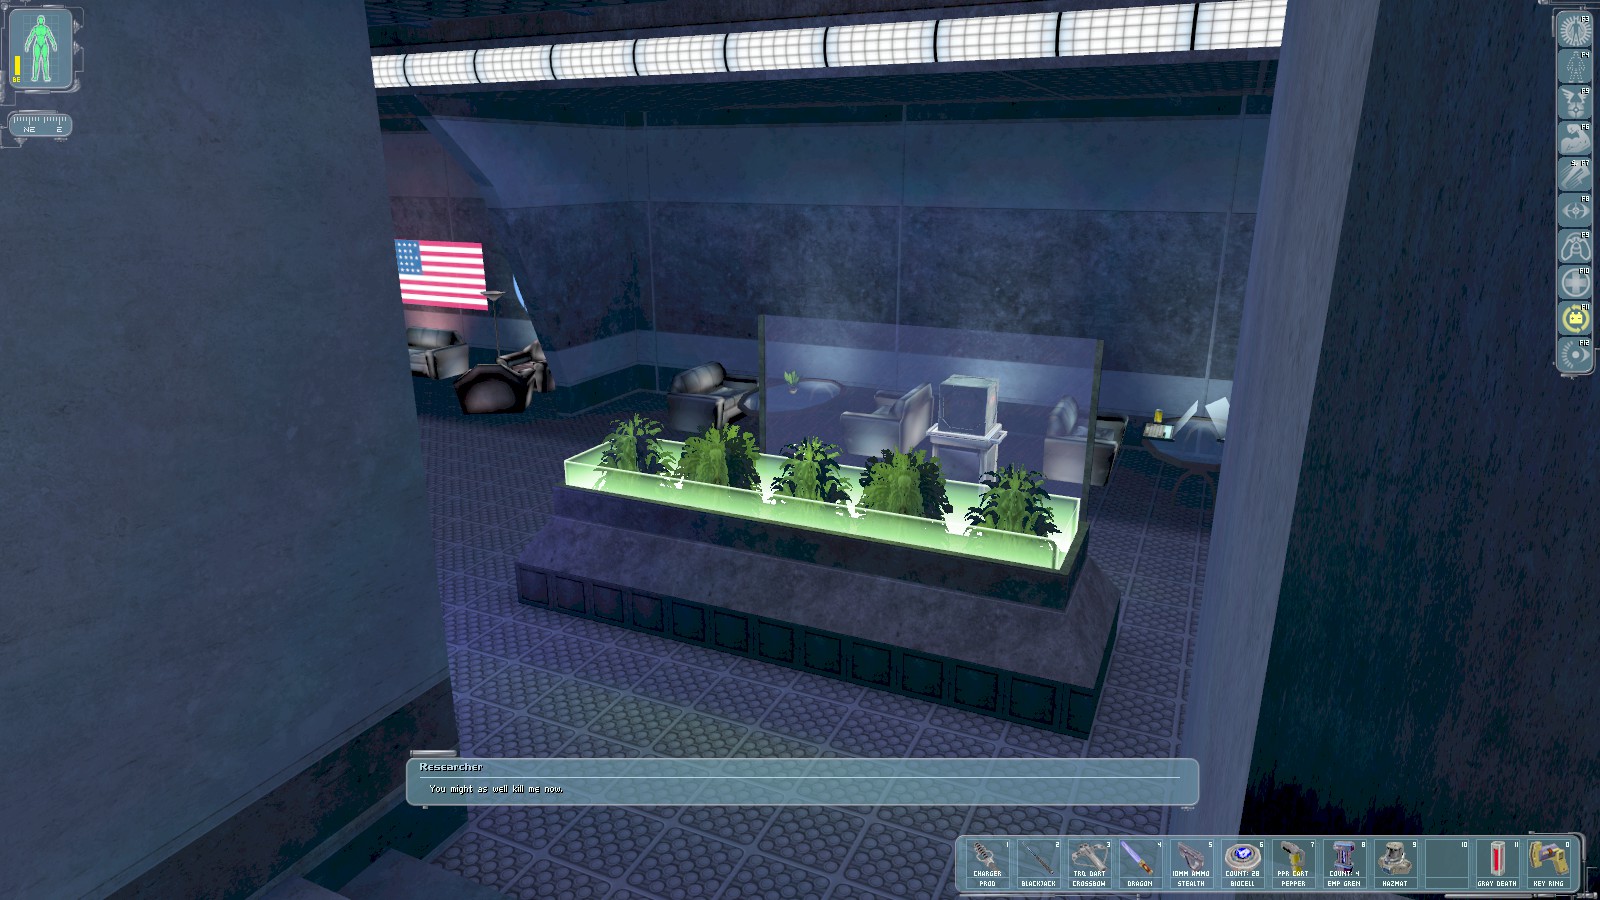
You come out here. Around to the left a MIB is talking to an MJ12 trooper. Head round to the left quietly—there are troops above as well.
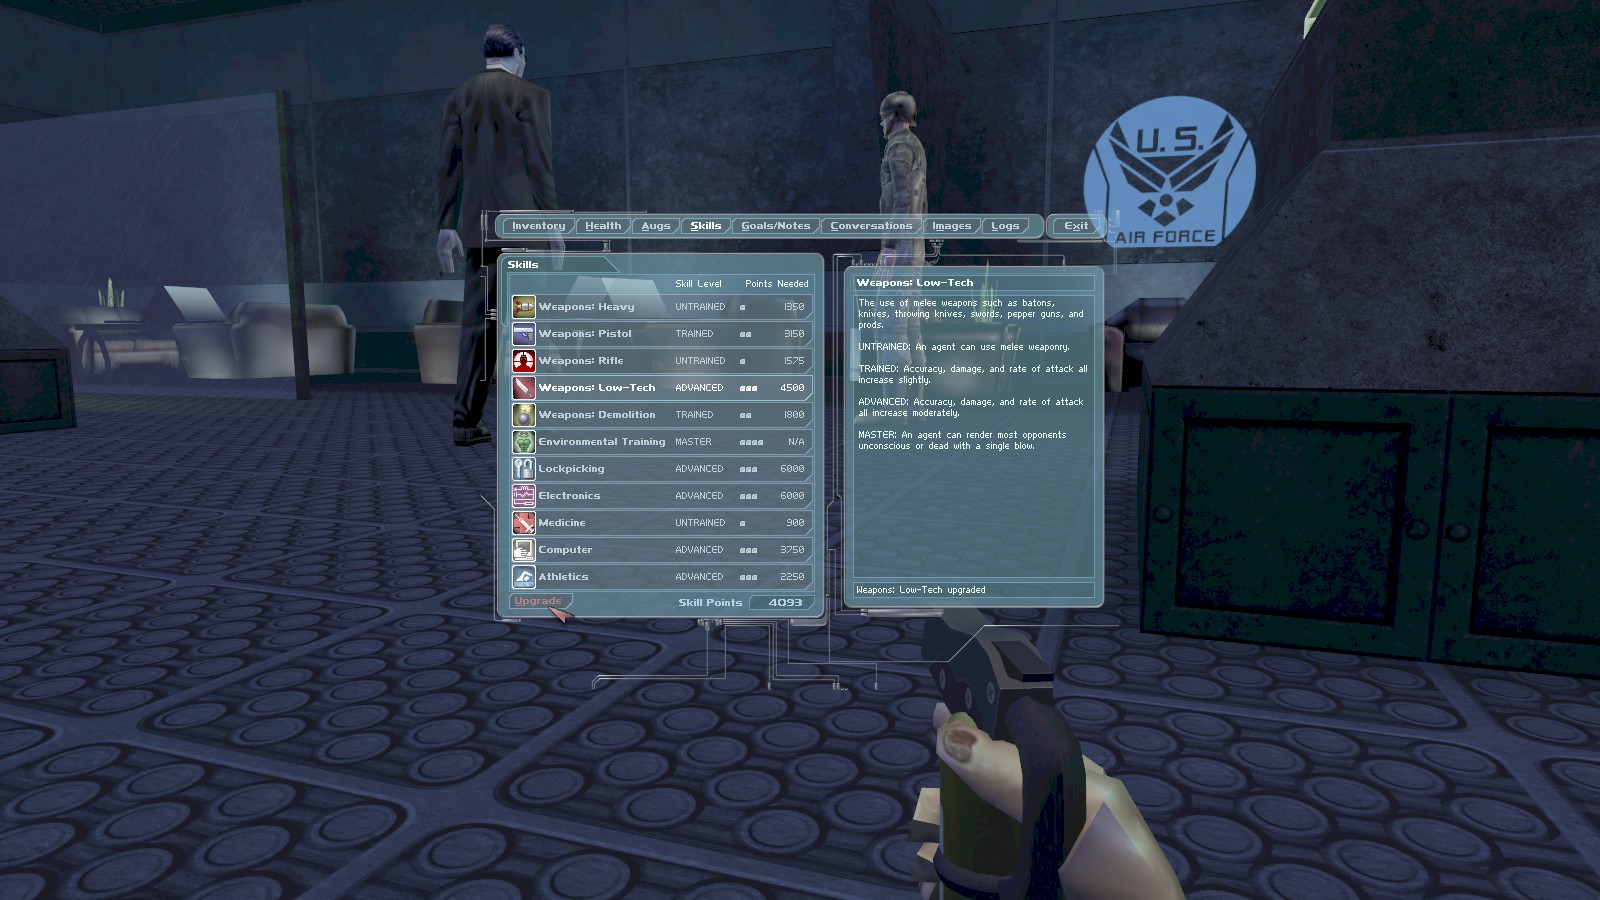
MIBs are OK to deal with using the blackjack on their own with their backs to you, but dealing with him and the trooper is going to need pepper spray and the prod. I decide it’s time to upgrade my Low-Tech Weapons skill to Advanced. Blast the pepper spray then use the riot prod to take both of them out.
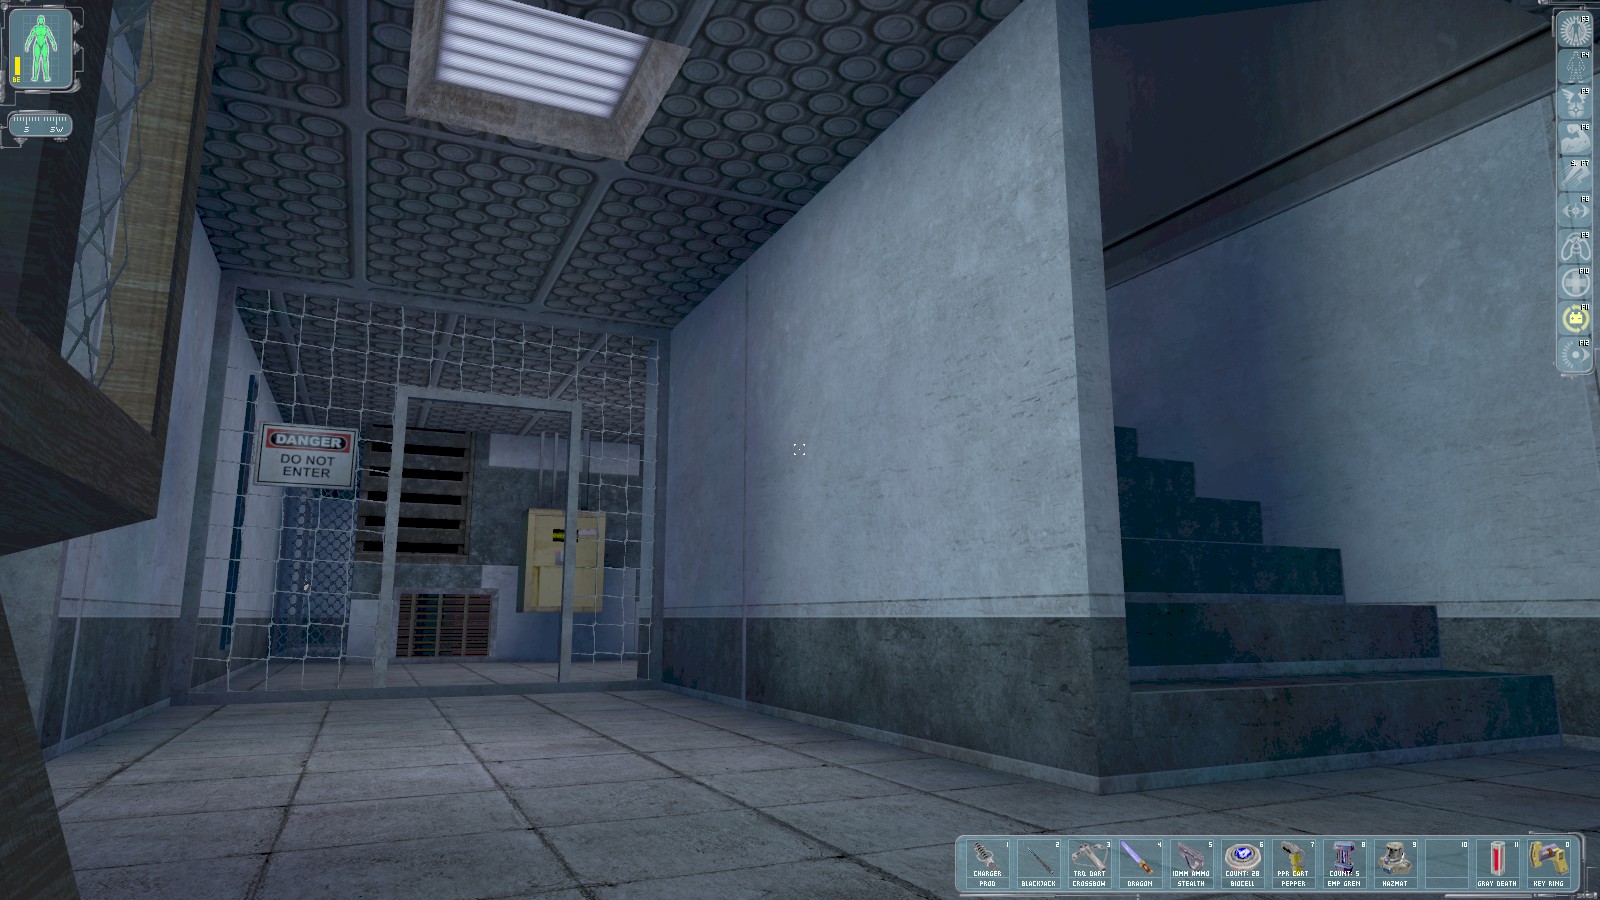
The door furthest from the lift is unlocked. Inside, ignore the stairs for now. The first backup
power control point is ahead. Use the code 5868 on the keypad. You’re awarded 100 skill
points.
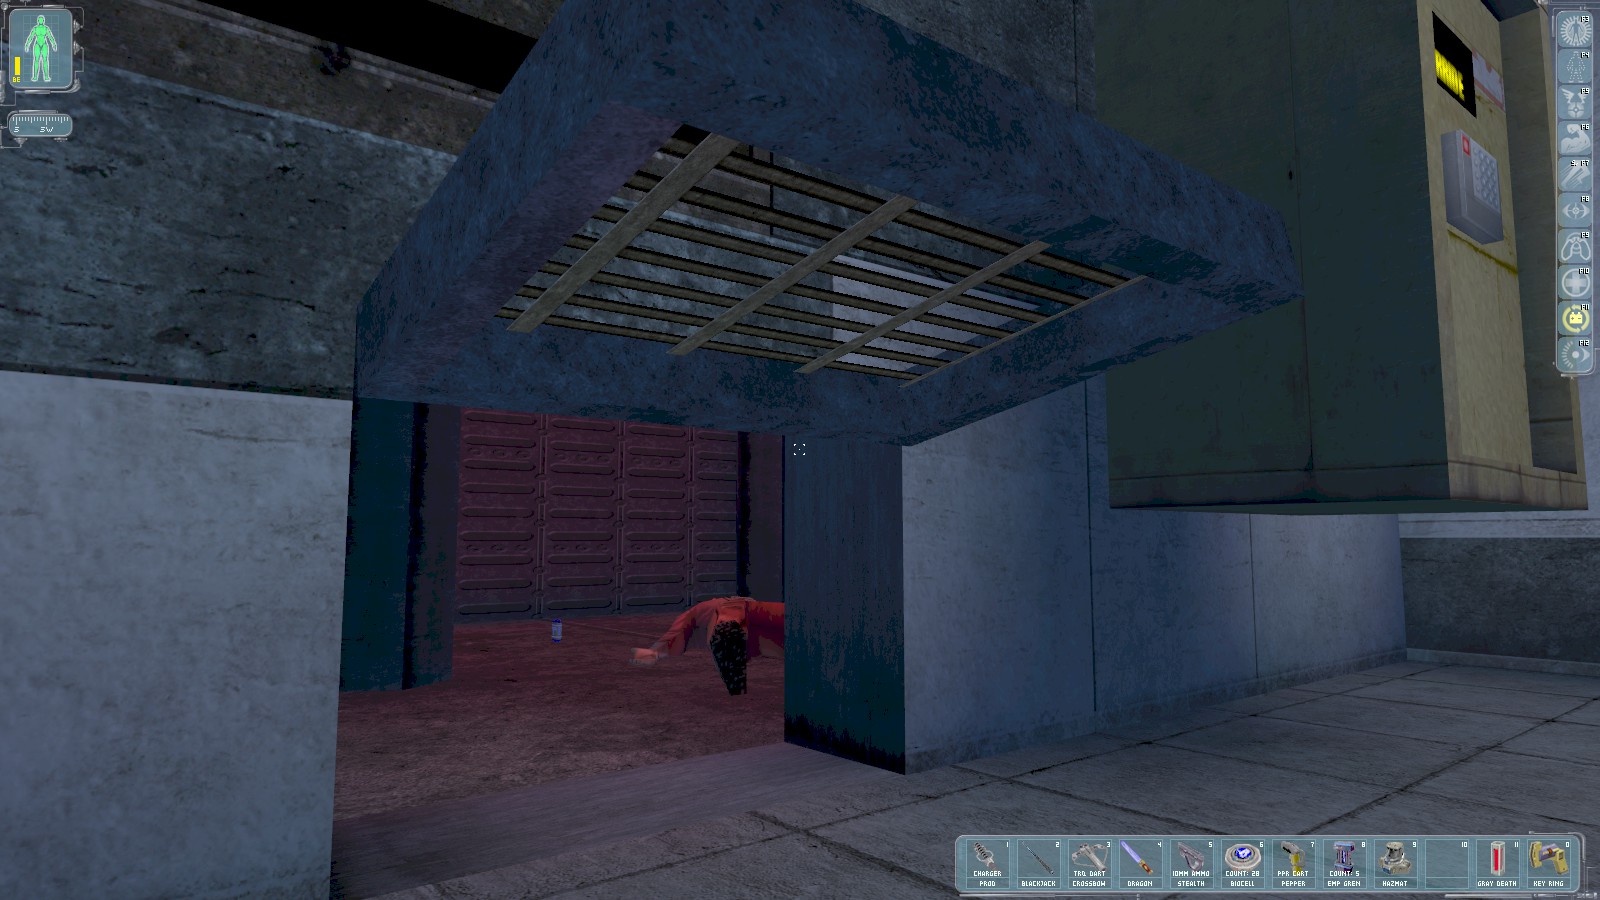
Head into the grate to earn another 50 skill points. Search the body for a LAM, and grab the medical supplies nanokey. Don’t go up the stairs yet, there’s a second control point to re-enable first.
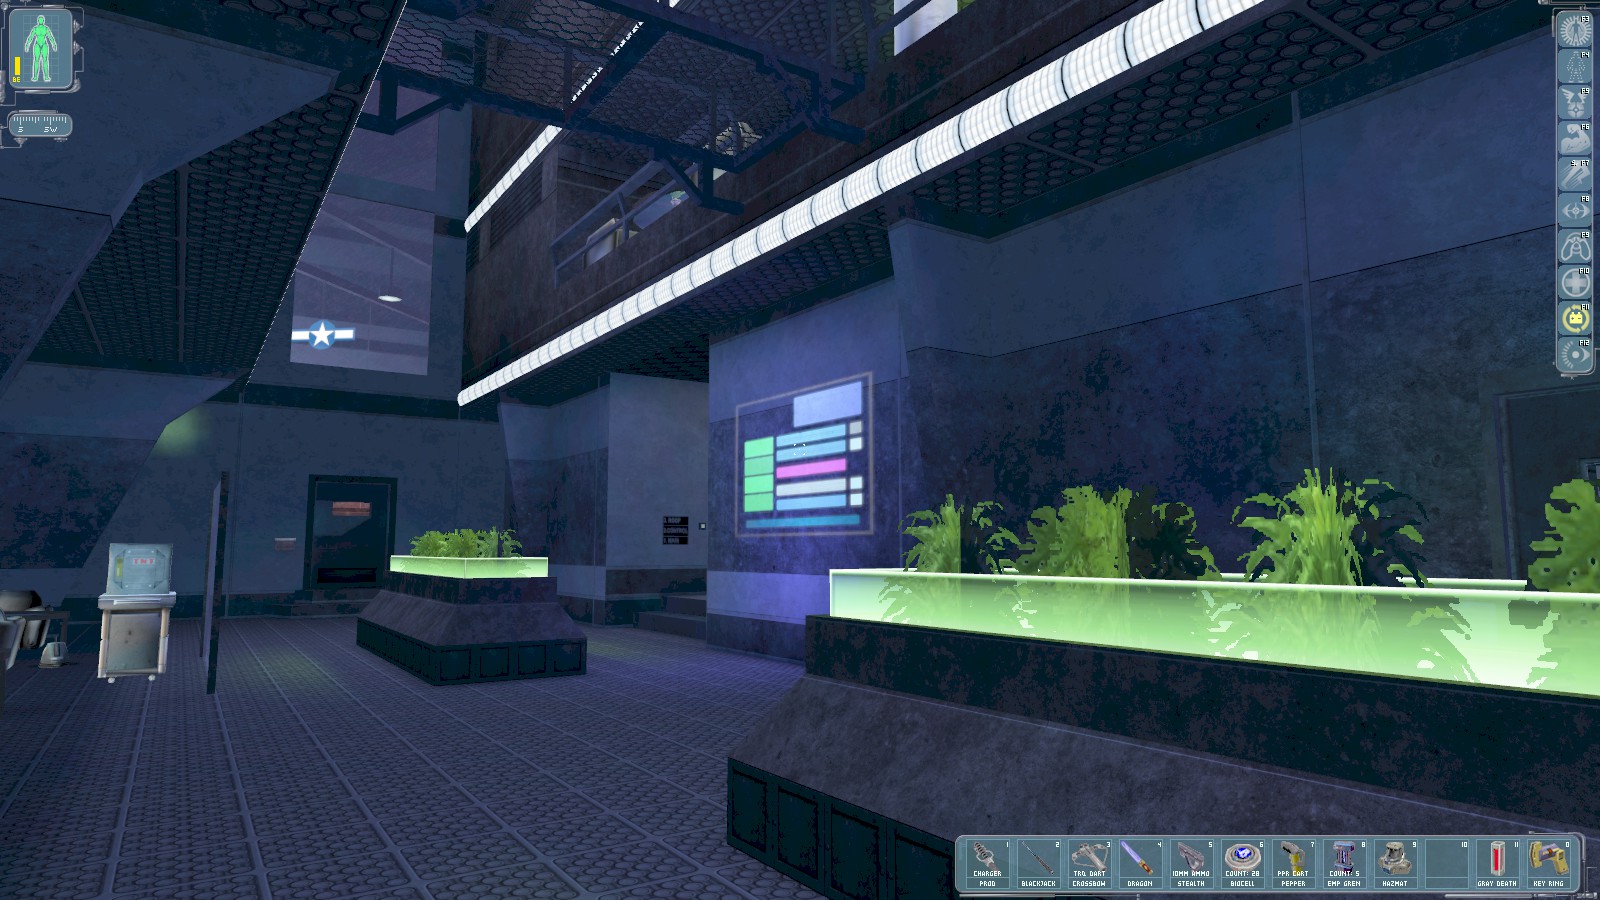
Head back past the elevator to another door. Hack the security panel next to the door at the end to disable 2 cameras and bypass 2 turrets, then head through the door.
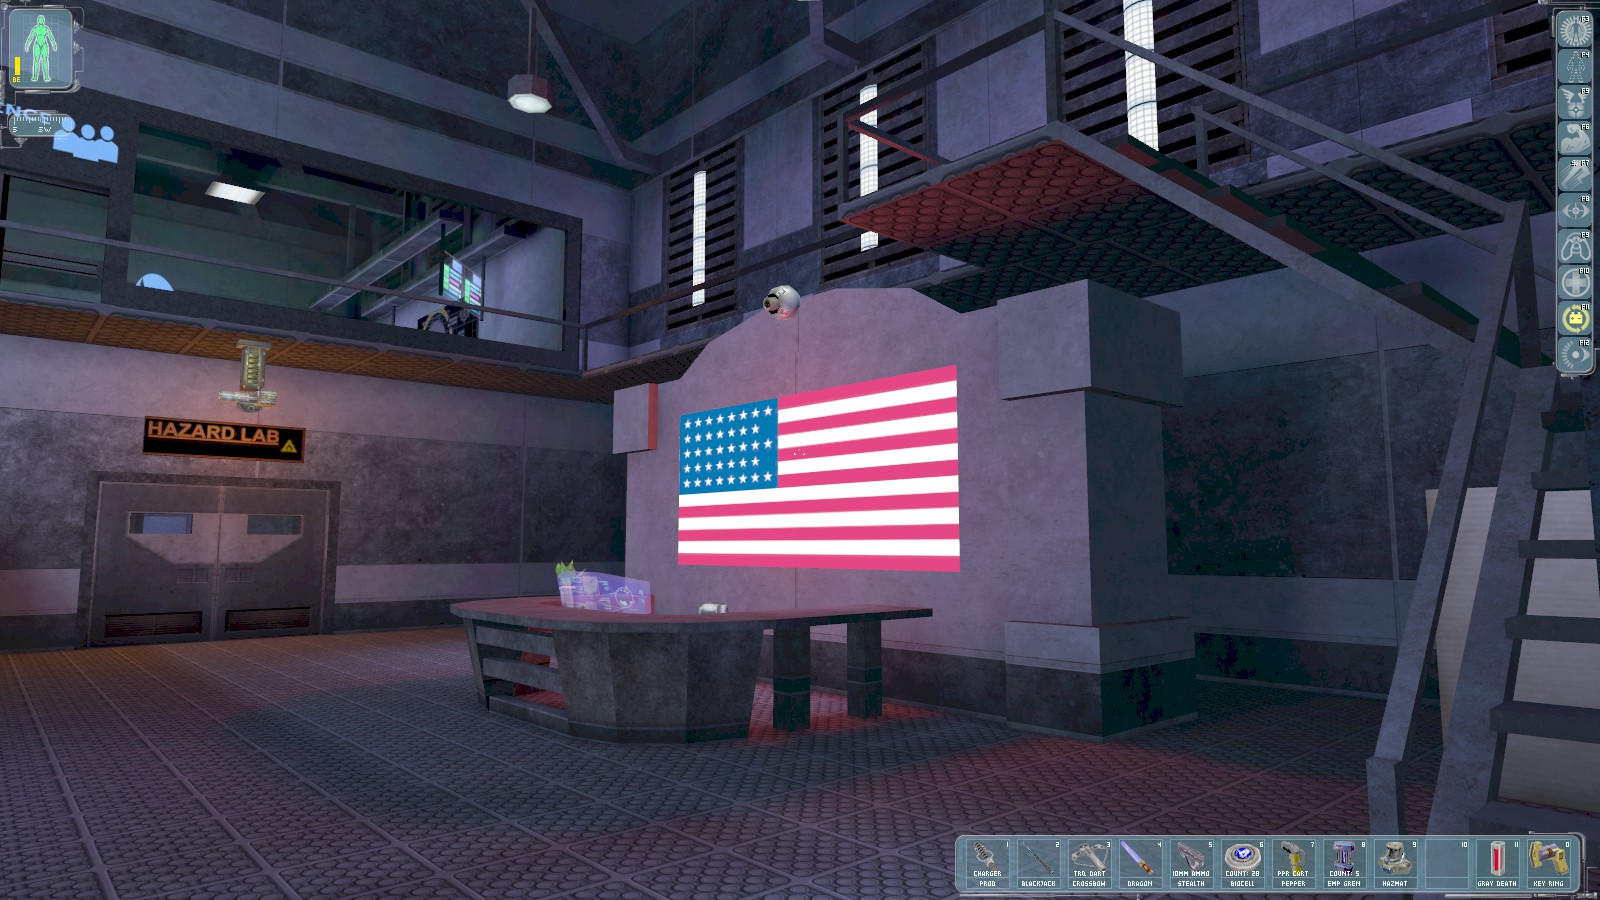
Head straight over through the door to the Hazard Lab ahead.
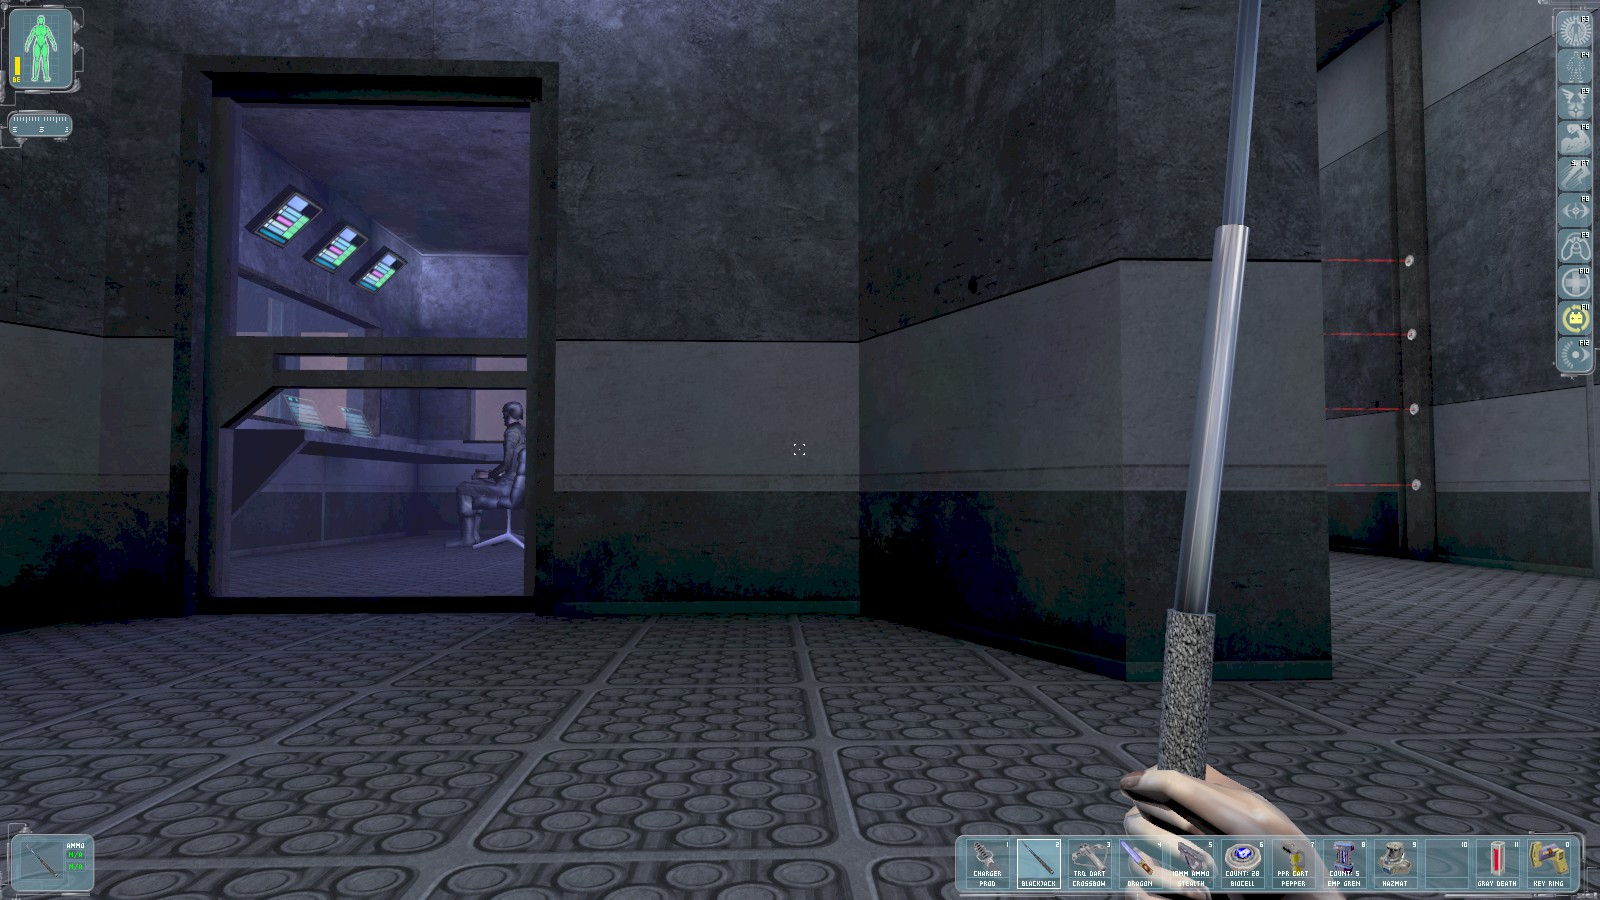
The key you collected earlier unlocks a door on the right for access to a medical bot and a medikit. Pick the lock of the security booth ahead. Opening the door will likely alert the guard inside. Knock him out when his back is turned. You can disable the lasers around the corridor from here, but safe your multitools—there’s another way. Return to the reception and up the stairs.
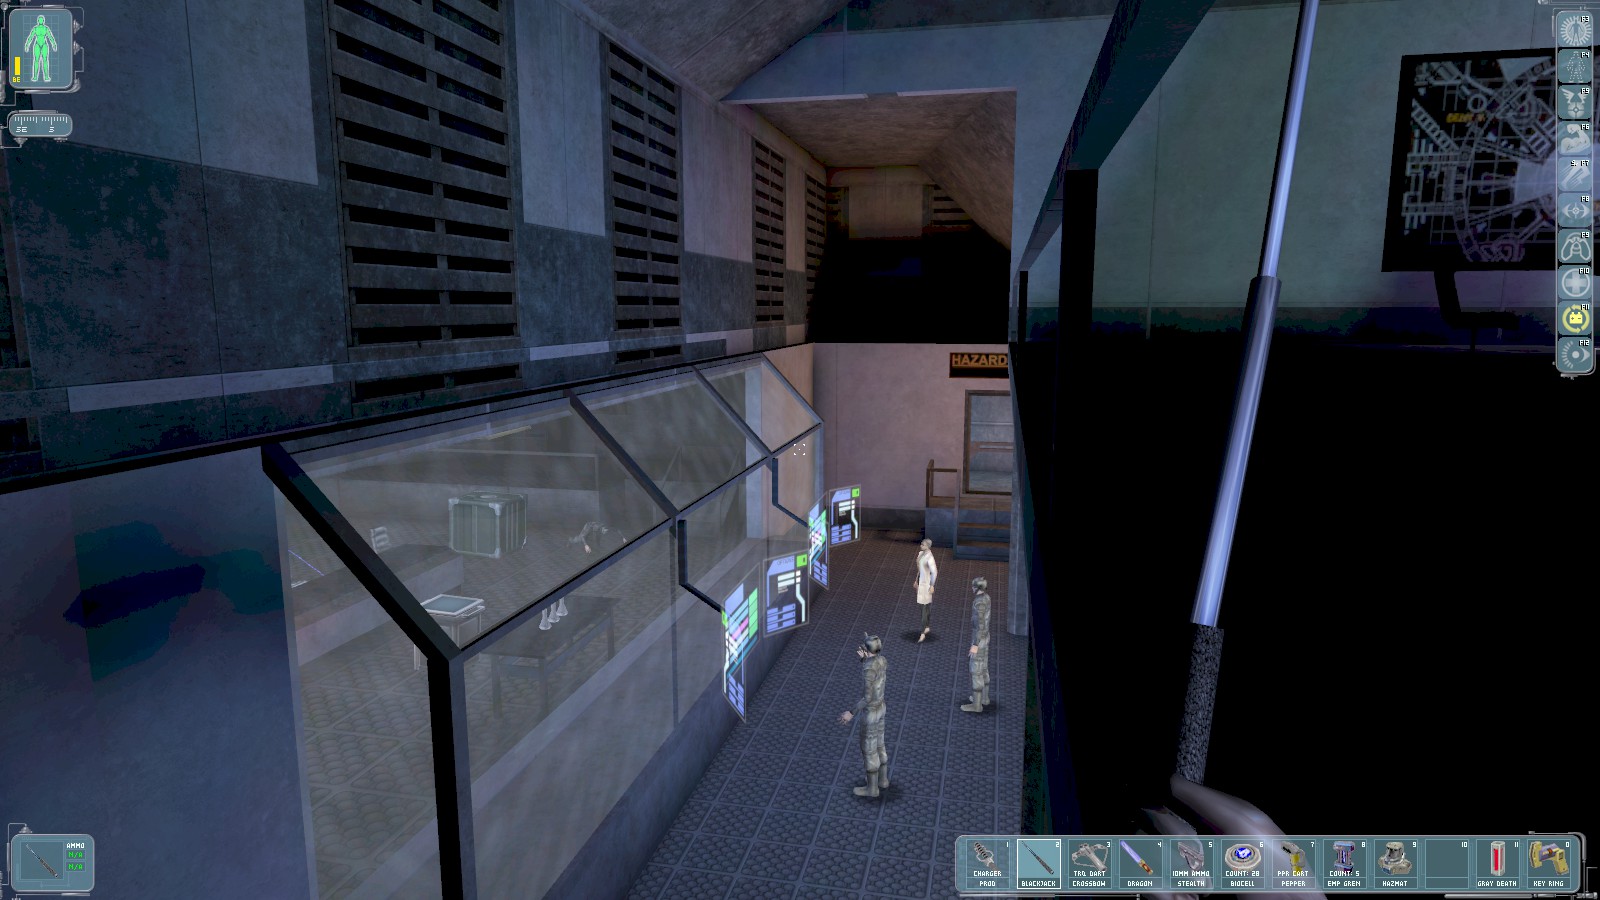
Head into the conference room and peek over the bannister to see 2 MJ12 troops guarding a scientist. Drop down silently and take the guards out with your black jack.
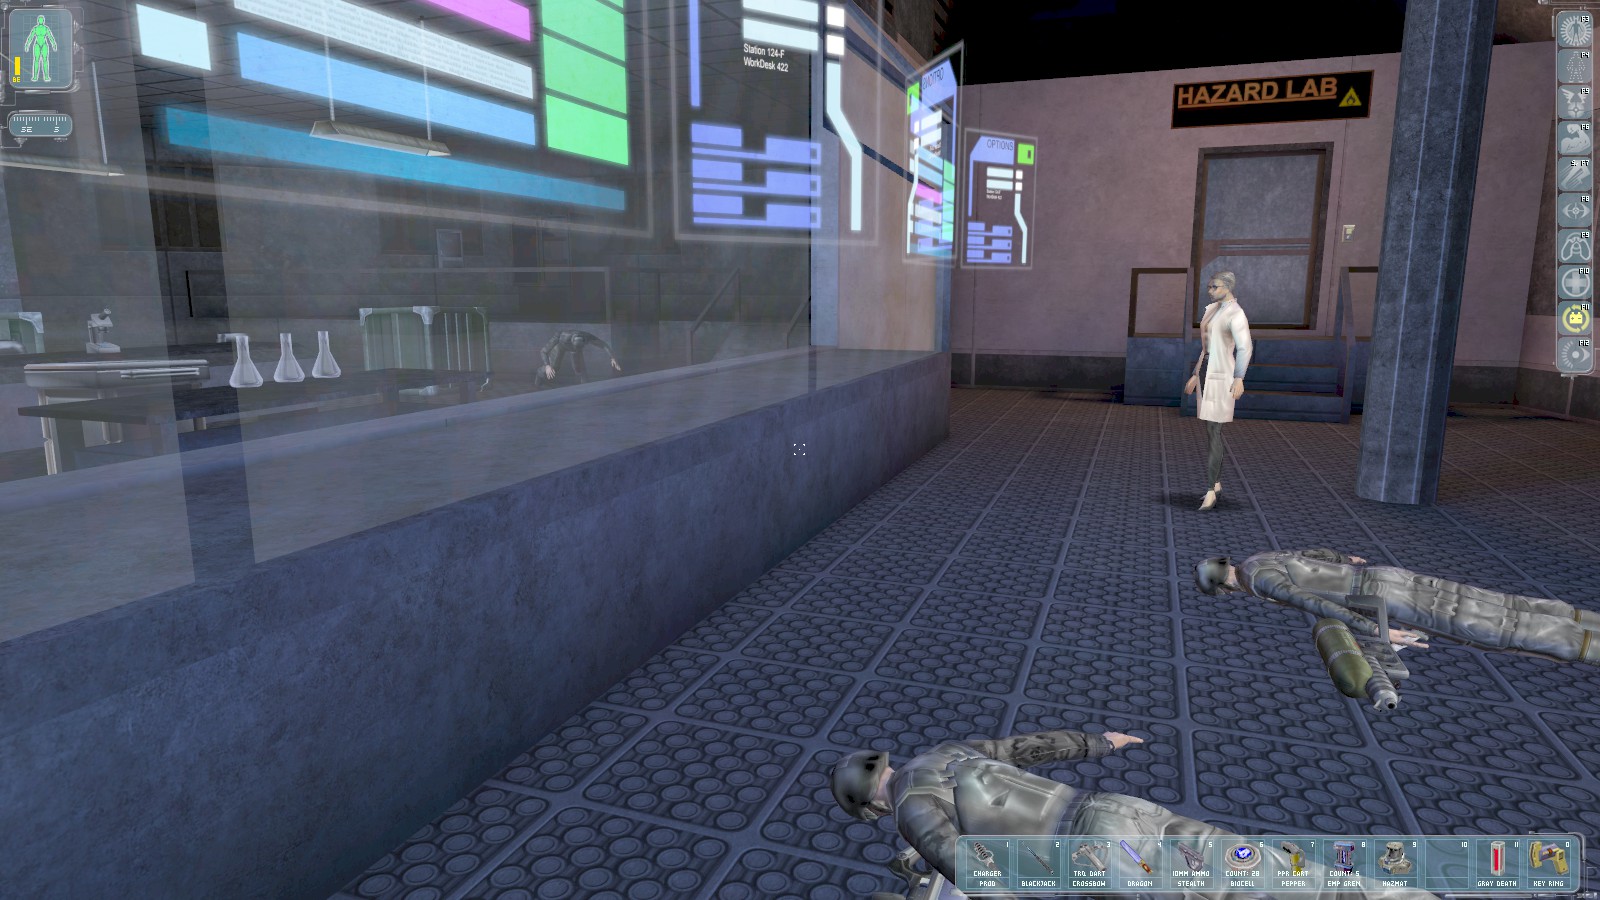
Speak with the scientist Stacy Webber to learn the credentials command/zebra42 for the security
network. head through the door to the Hazard Lab beyond her.

Inside is an electrical hazard which can be disabled with either 3 multitools on a "safe" control panel near here, or 2 multitools on the wonky control panel in the room. However, a hazard suit will protect you, and there are 2 replacement suits in the room (one of them in a cabinet that can be broken into using the Dragon’s Tooth sword behind this position that also contains biocells, a multitool, and 100c). Reach the security console far left for 150 skill points. Grab the thermoptic camo if you don’t have one (and have inventory space). The body nearest the security console has a range weapon mod. On the right is a Cloak/Radar Transparency augmentation canister—I want to keep my Cloak which is already at Tech 4, so don’t need the canister.
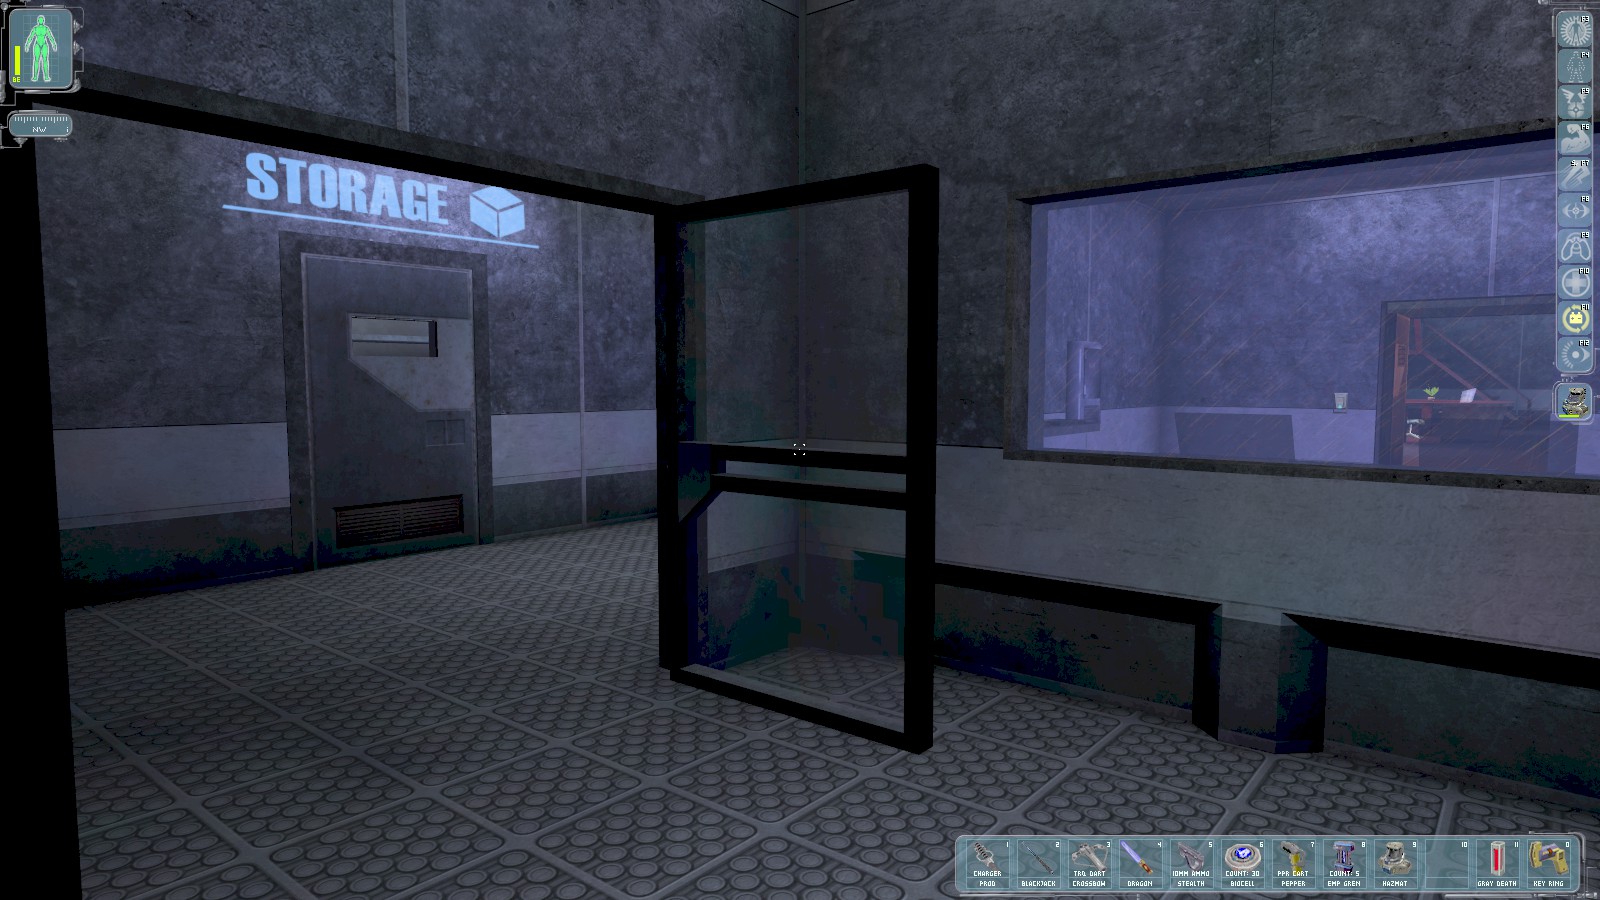
Head back out to where you met Stacy, and through the othe door to the Storage room. Your key opens the door.
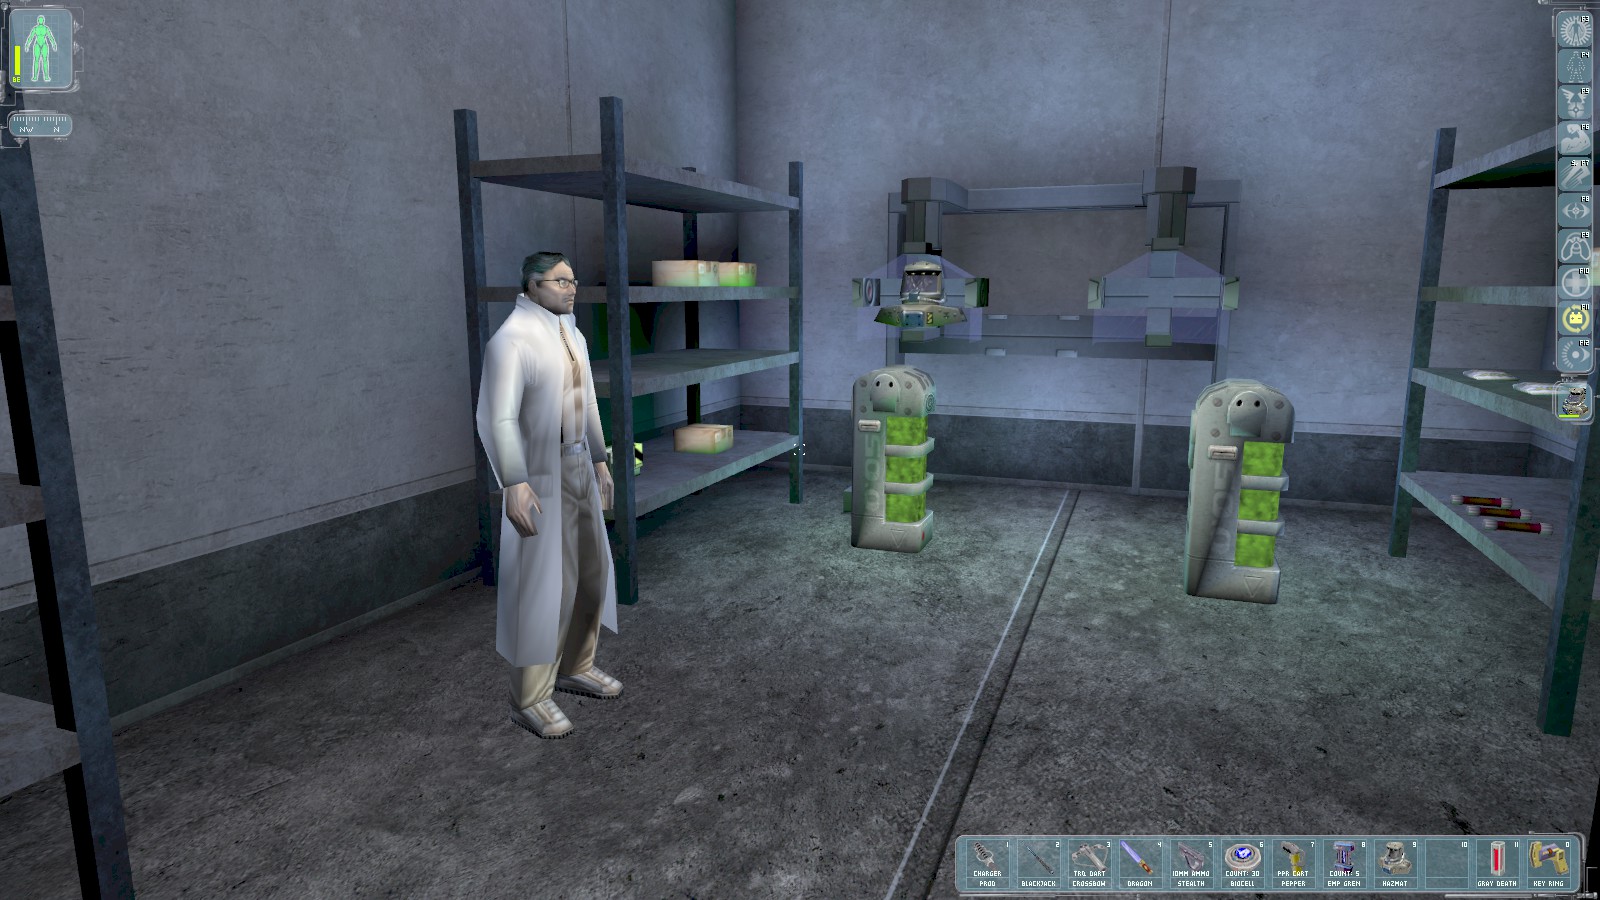
Inside, tell the scientist Tim Baker that you’re looking for the Command Centre and he suggests
using the tunnels to access it. He gives you the credentials Tunnel01/Omega2a. He also warns you
that spider bots inhabit the tunnels, and gives you an EMP grenade. Find a multitool, a biocell, and
another hazmat suit in the room.
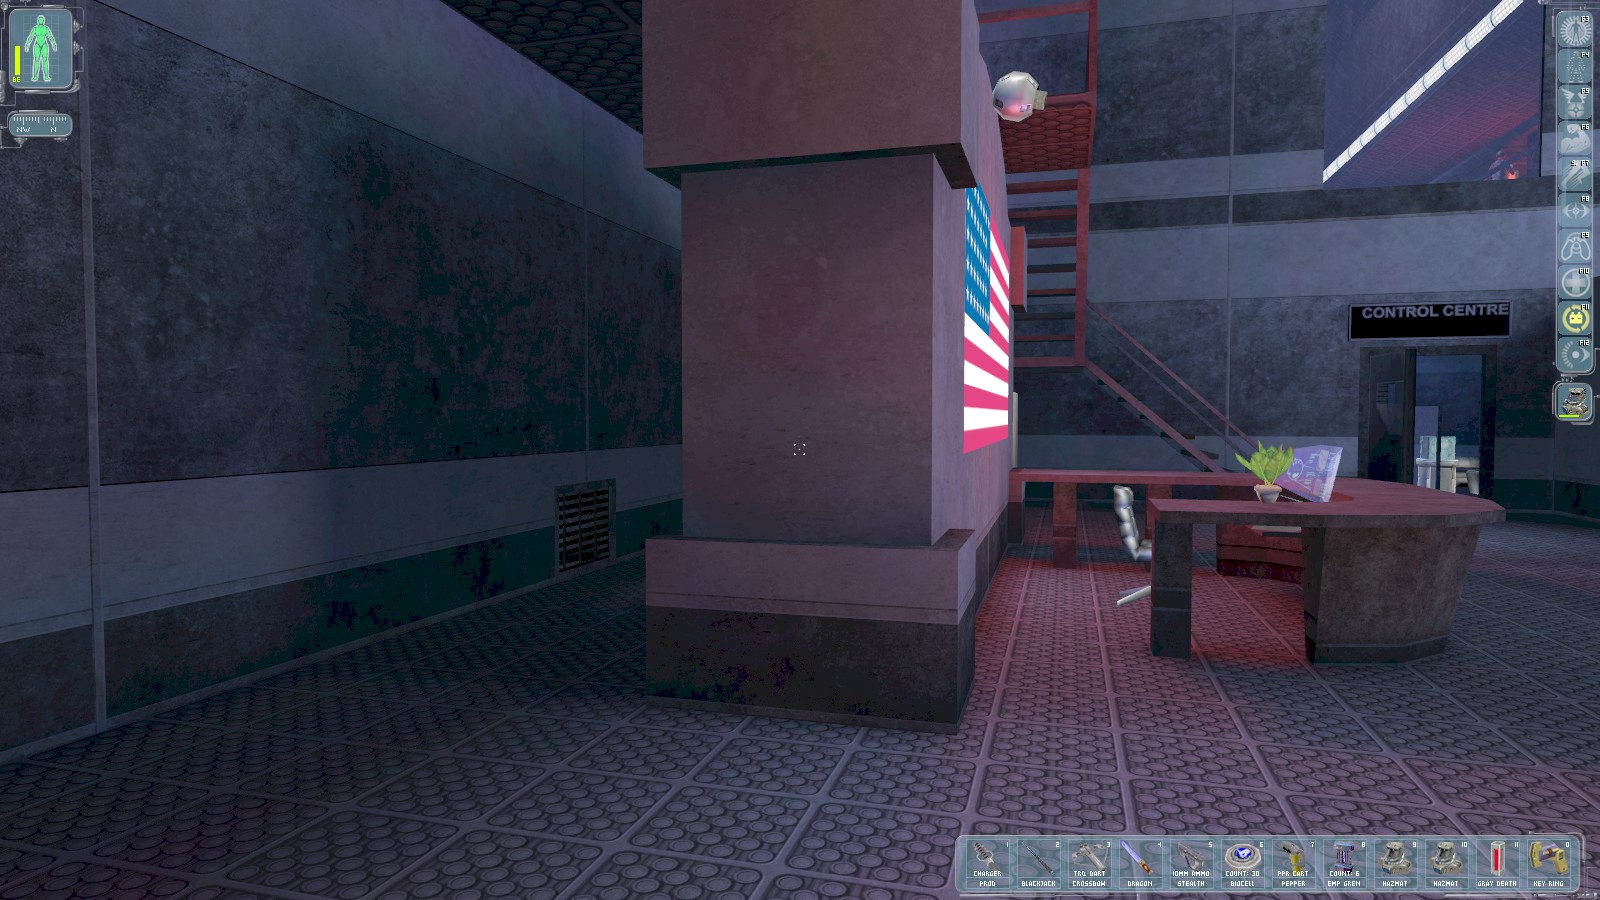
Return to the reception area, and into the grate near the floor behind the sign showing the US flag.
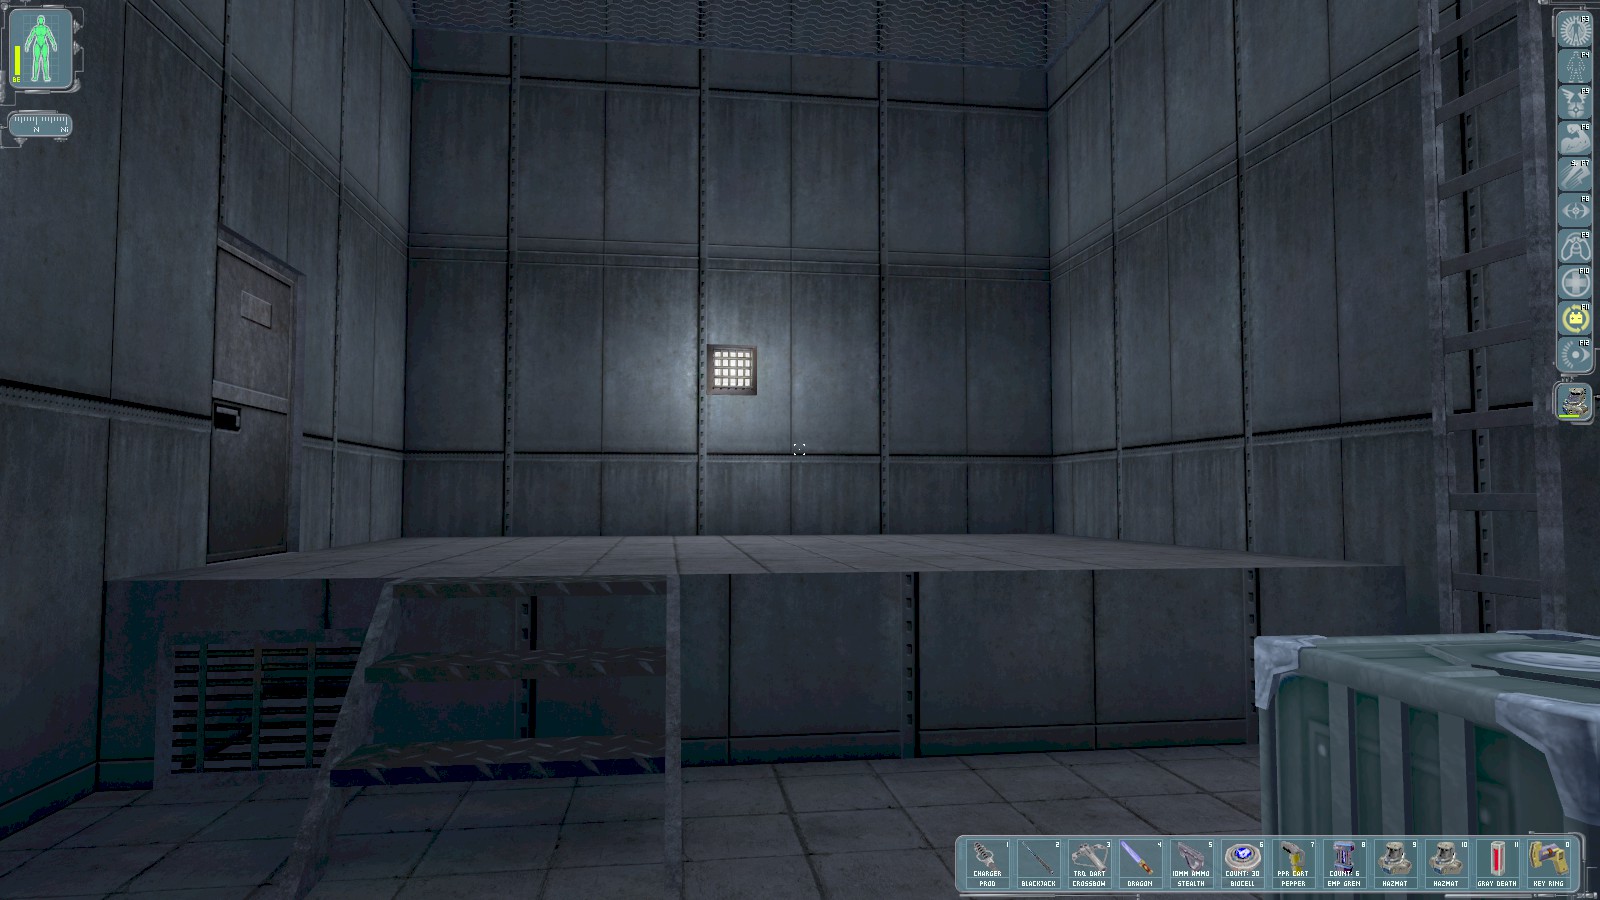
You earn 75 skill points for getting here. Head through another grate just next to the short steps.
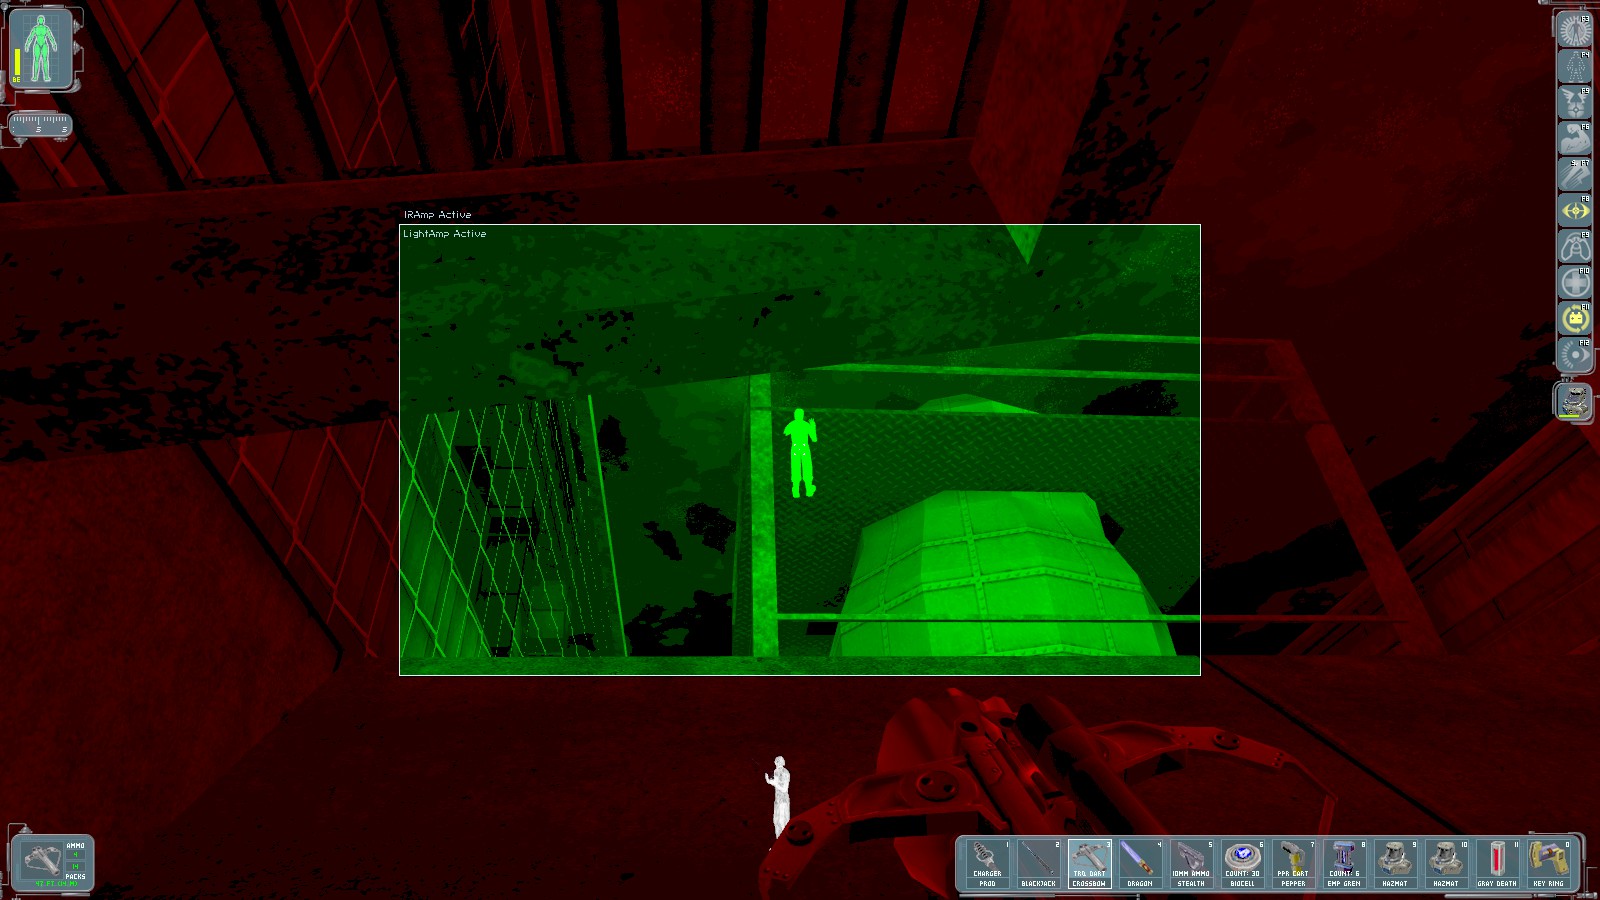
You come out through another grate. 2 troops patrol the gantry to the left. Take them out with tranq darts, then drop down.
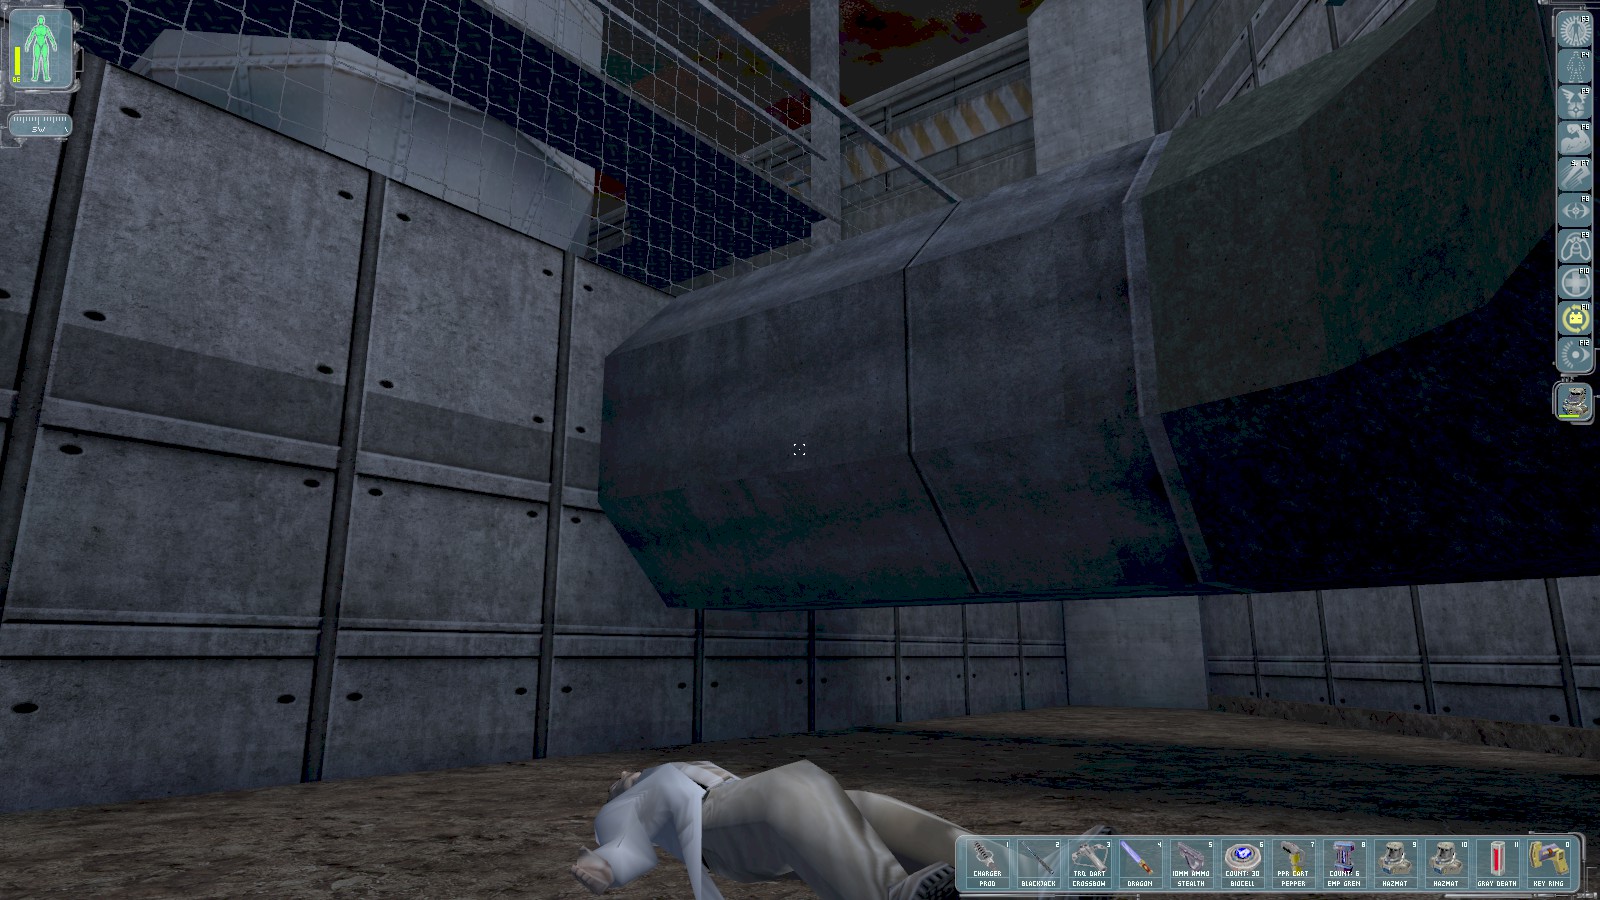
Drop down from the grate for another 50 skill points. Loot the body here for a LAM and a biocell, then use Speed Enhancement to jump onto the pipes and over the fence.

Climb up the gantry to search the bodies of the unconscious troops, and from the top level onto the large pipes. You’ll see a pair of supply crates on a ledge. They contain LAWs, but go to the ledge anyway for 75 more skill points before returning to the ground.
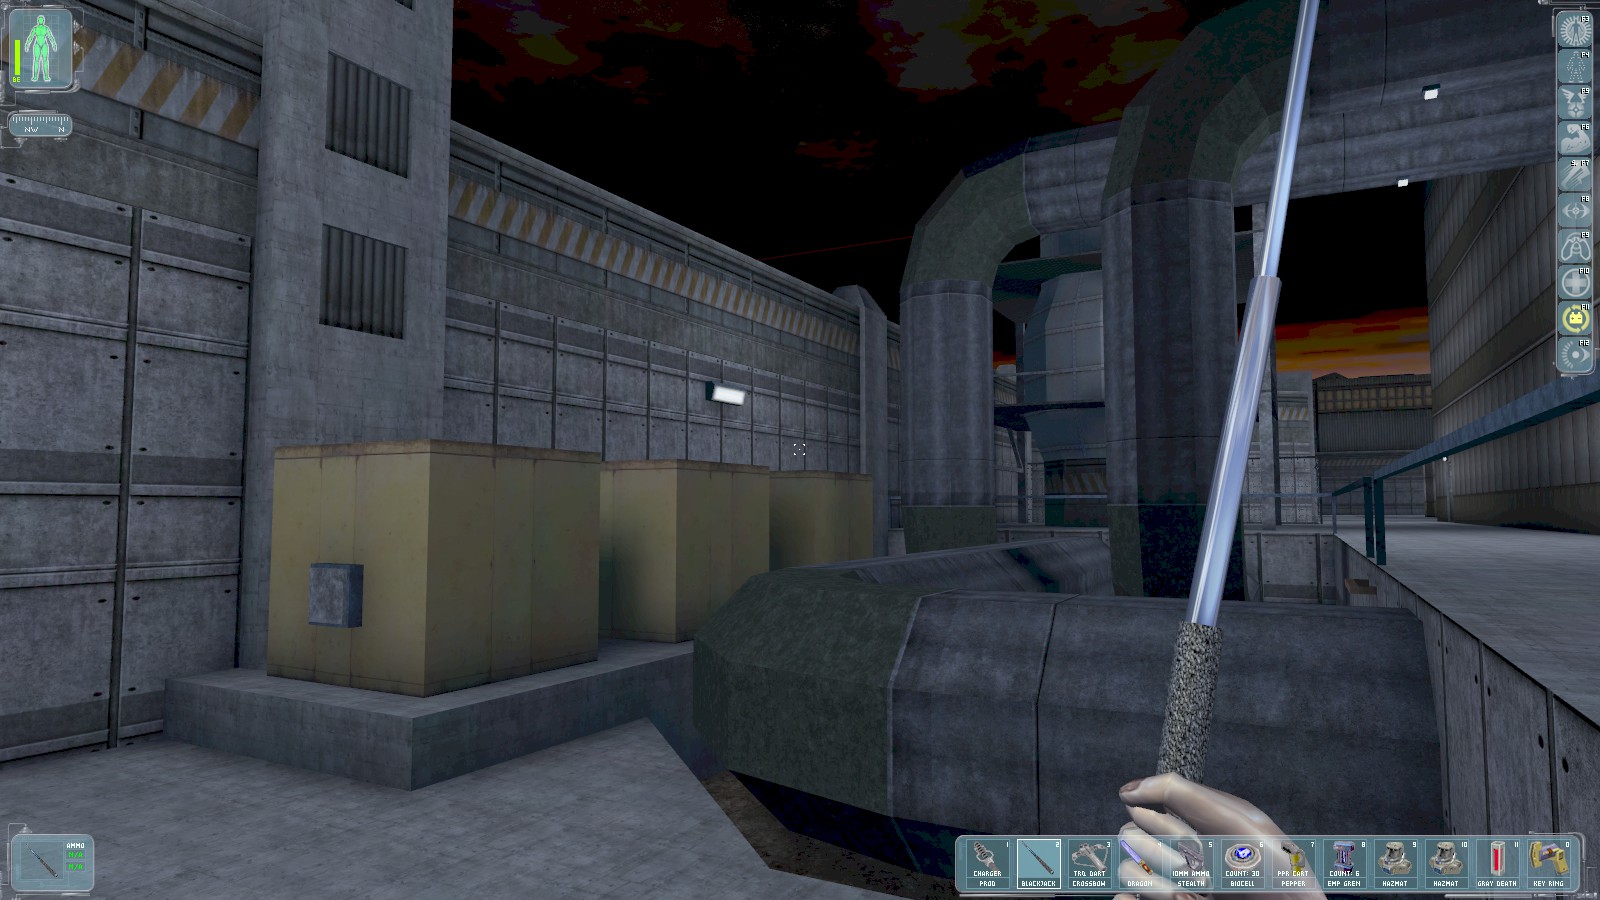
The second control box for the backup power is on the end of these yellow generators. Another troop
patrols near here. Knock him out. Use the code 5868 on the kepad to complete the
objective for another 100 skill points.

Follow the pathway round. Drop into this pool and find a medikit and rockets in some crates, and earn 50 skill points. Keep heading East and drop through some more railings ahead—but be careful of a patrolling MJ12 commando. Knock him out.
|
|
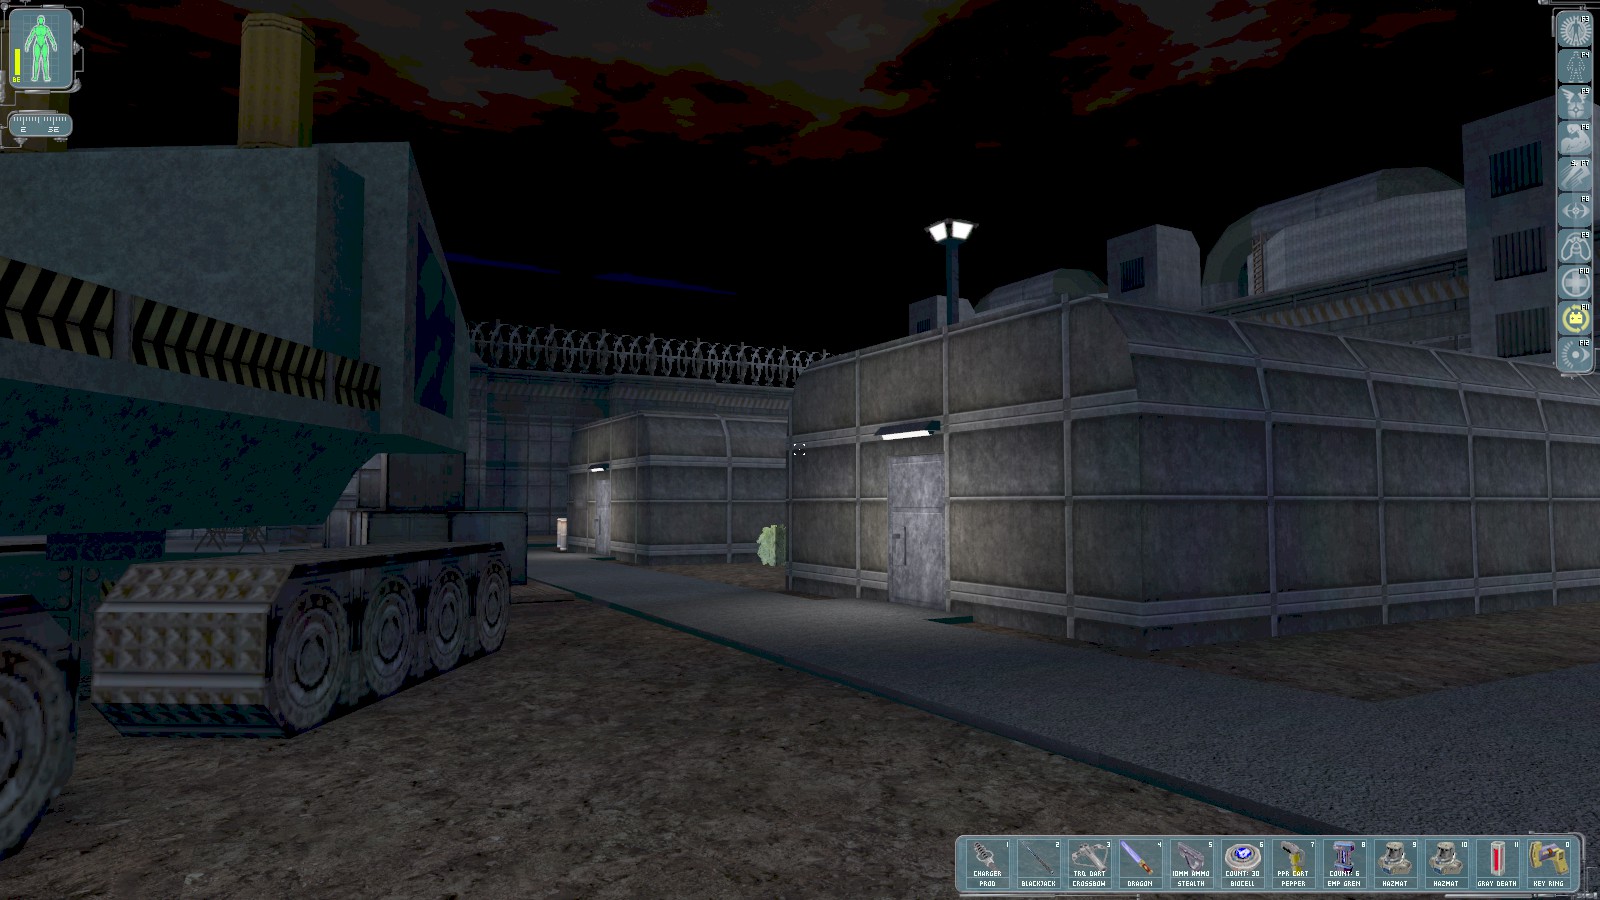
The commando patrolled the rear of these 2 huts. Break into the hut nearest the main building for a bit of optional stuff—a multitool, laser mod, and scope mod in the cabinet, a nanokey for some underground tunnels, and a key for the COMM01 building’s gate (it’s open anyway).
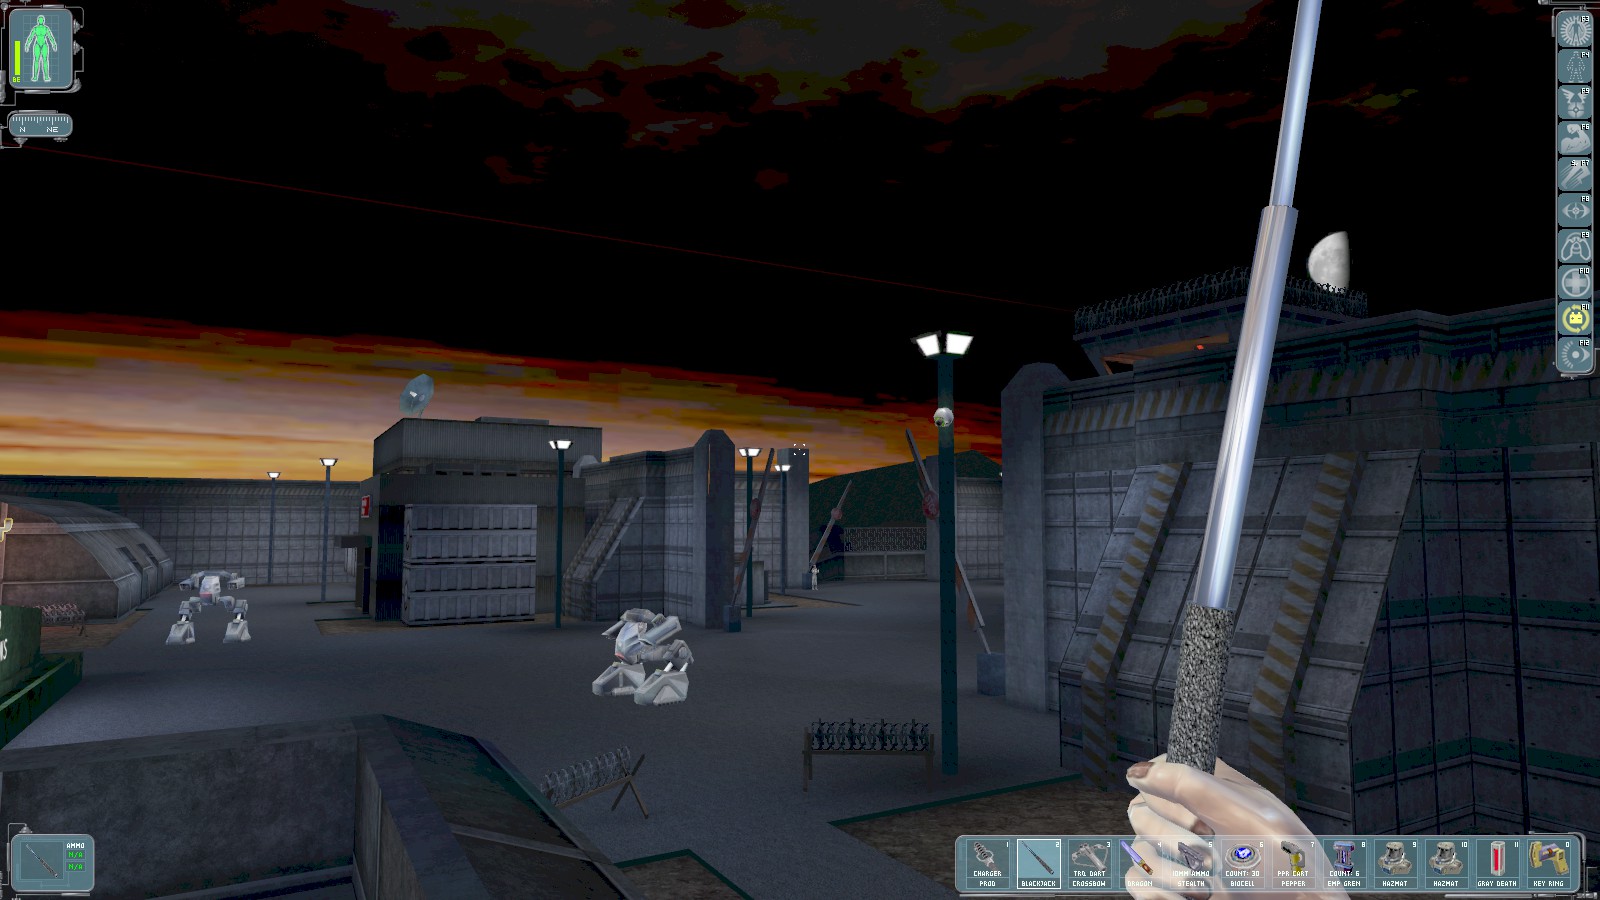
I’ve climbed onto the roof of the other hut to get a better view (inside is a single seated guard, not worth the trouble). Your objective is the Comms building through this gate and to the right, but the gate is covered by one camera this side, and another round to the right beyond it. Sneak under the camera here, and then through the gate. Head right once you’re through.

Avoid the camera around the back of the watchtower. You’ll need to cloak in order to approach the door and smash it with the Dragon’s Tooth sword to avoid being spotted by 2 guards to the North.
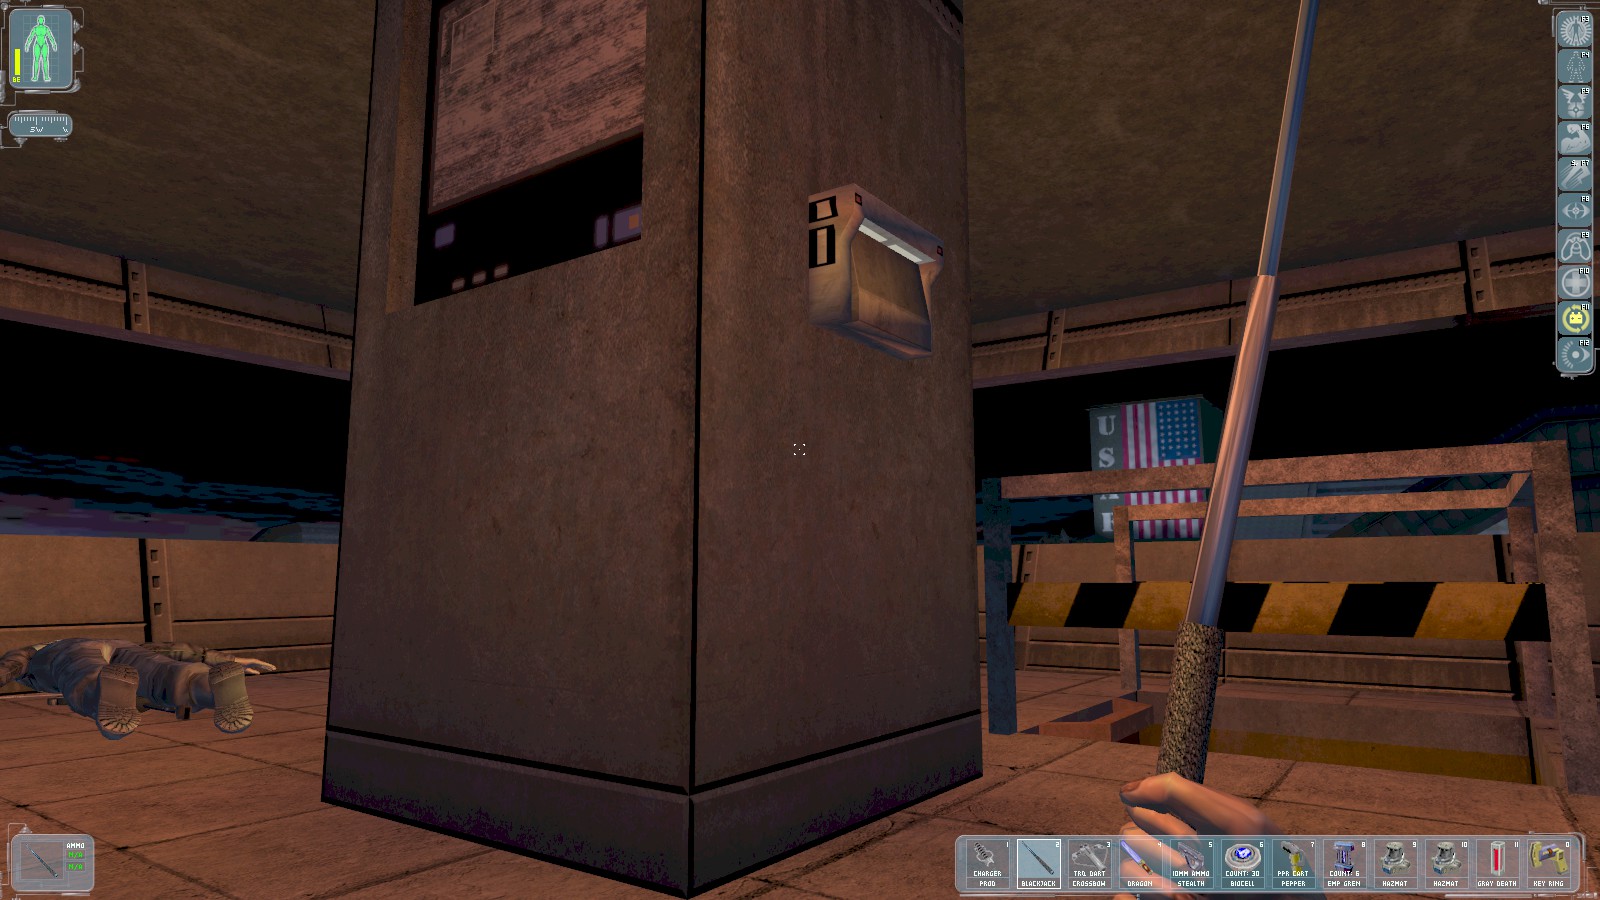
A single guard is on watch on the upper floor. Use Vision Enhancement to time how you knock him out. You earn 50 skill points for reaching the upper level. Hack the security console (the credentials given by Stacy don’t work here) to disable both cameras outside.
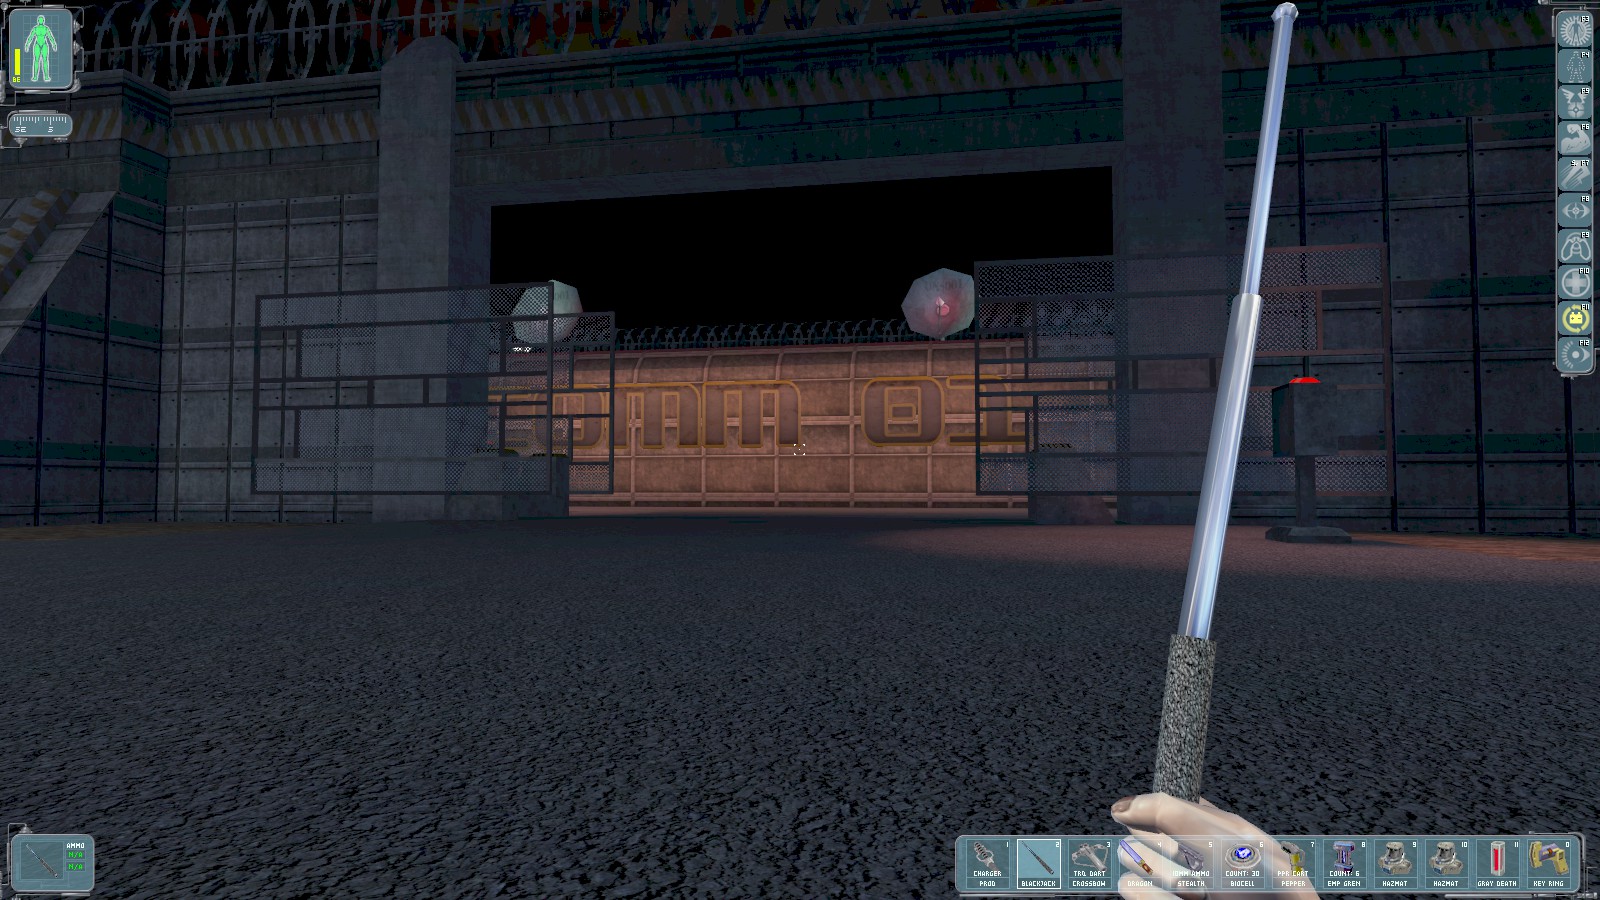
Your objective is the COMM01 building through another open gate to the South. Head round to the left of the building.
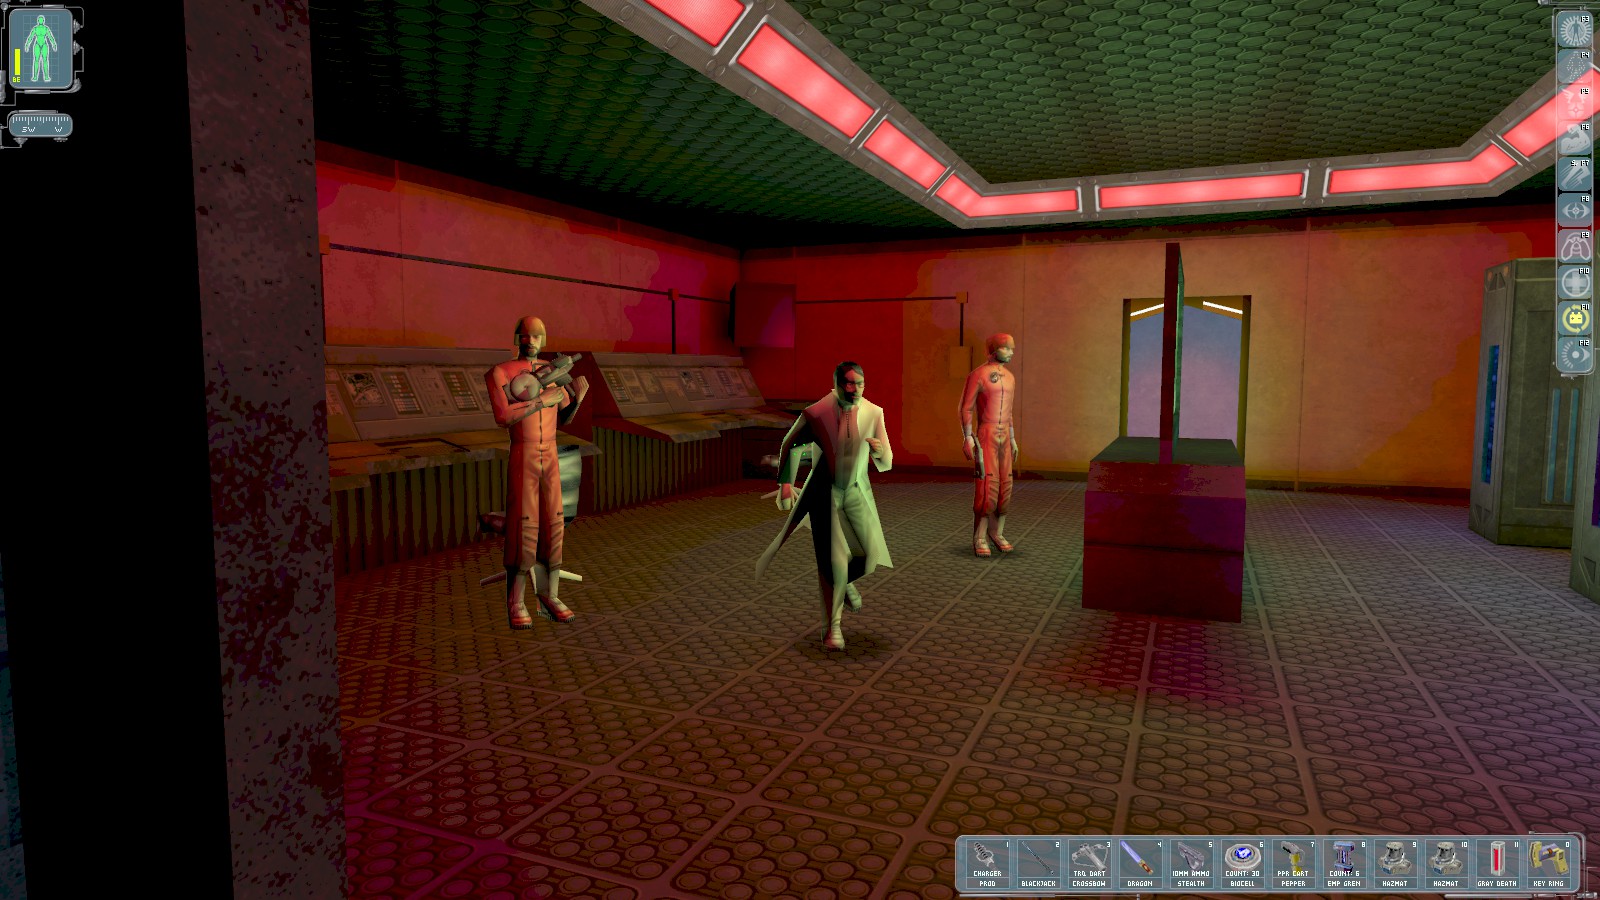
As you enter Dr Tony Mares comes running to speak to you. He tells you that Gary Savage is in the control room in the main command building, but the door is locked. The key is with one of his colleagues who tried accessing the main building via underground tunnels, but he never came back. You get 400 skill points. Head through the door just beyond these 3.
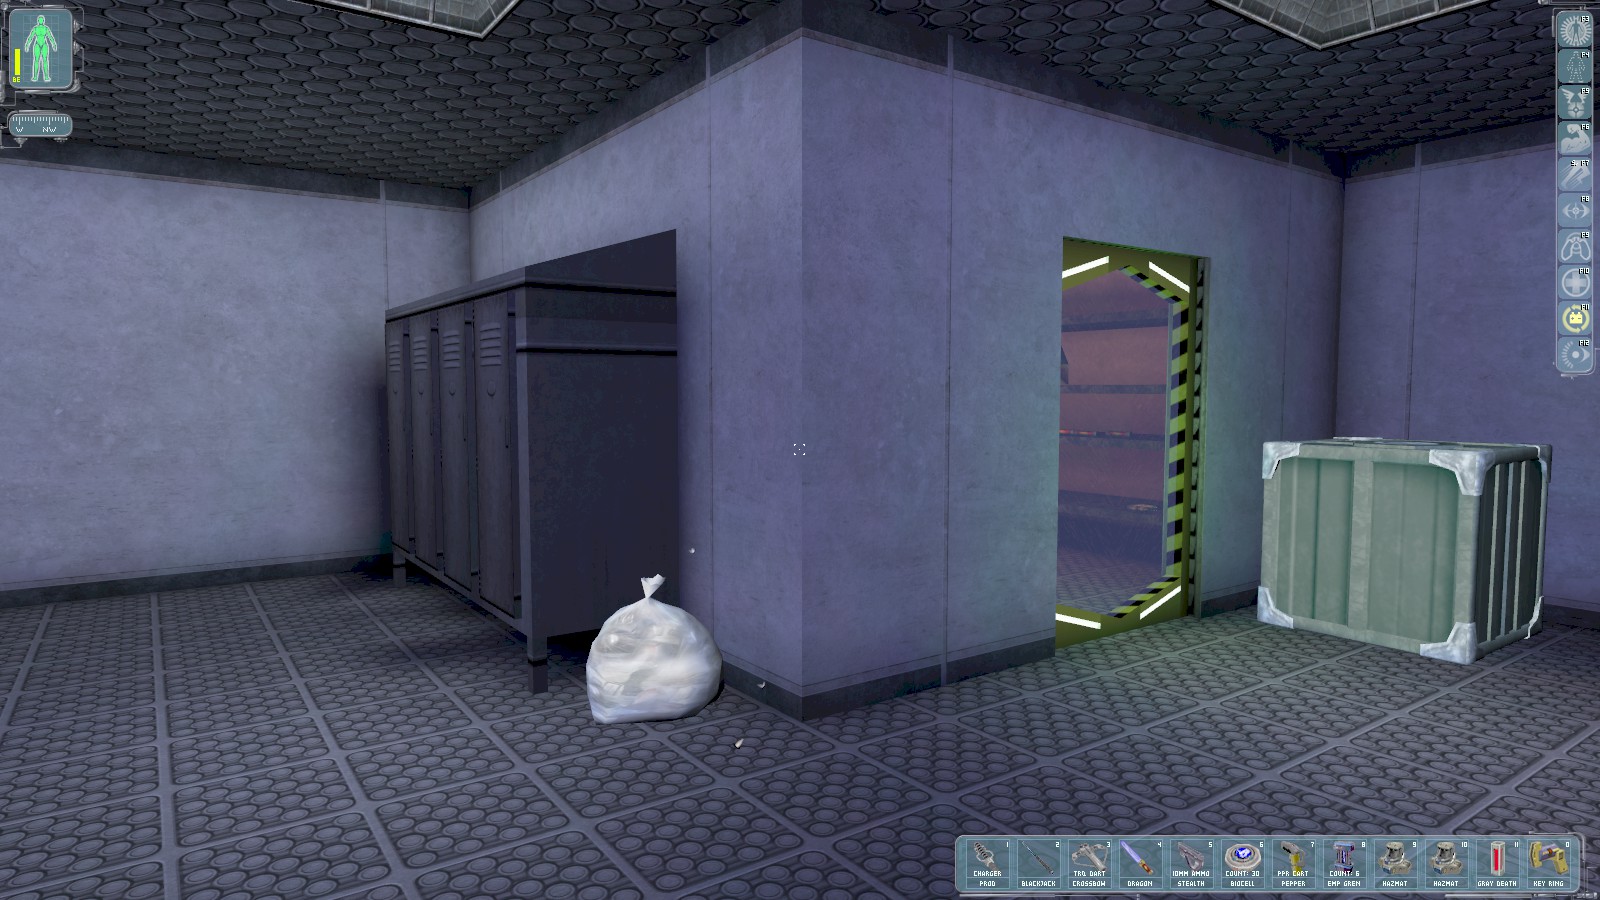
Break the doors of the lockers to find some darts, a multitool, and an augmentation upgrade canister. Go through the door on the right.
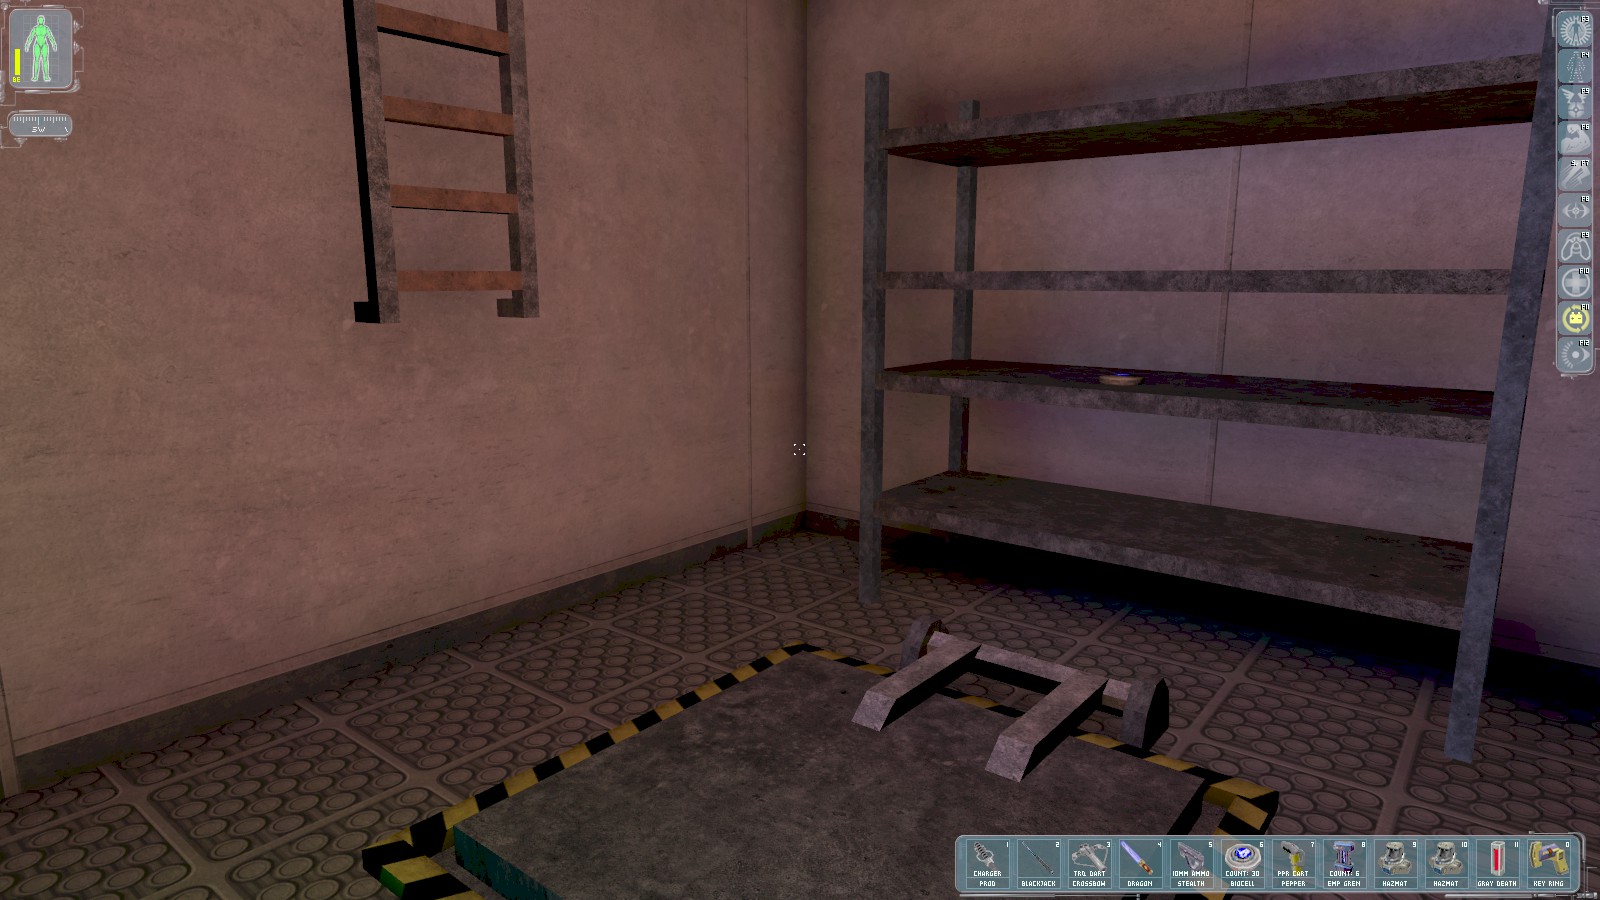
Climb the ladder for a 50 point skill bonus, grab the biocell and drop through the hatch.
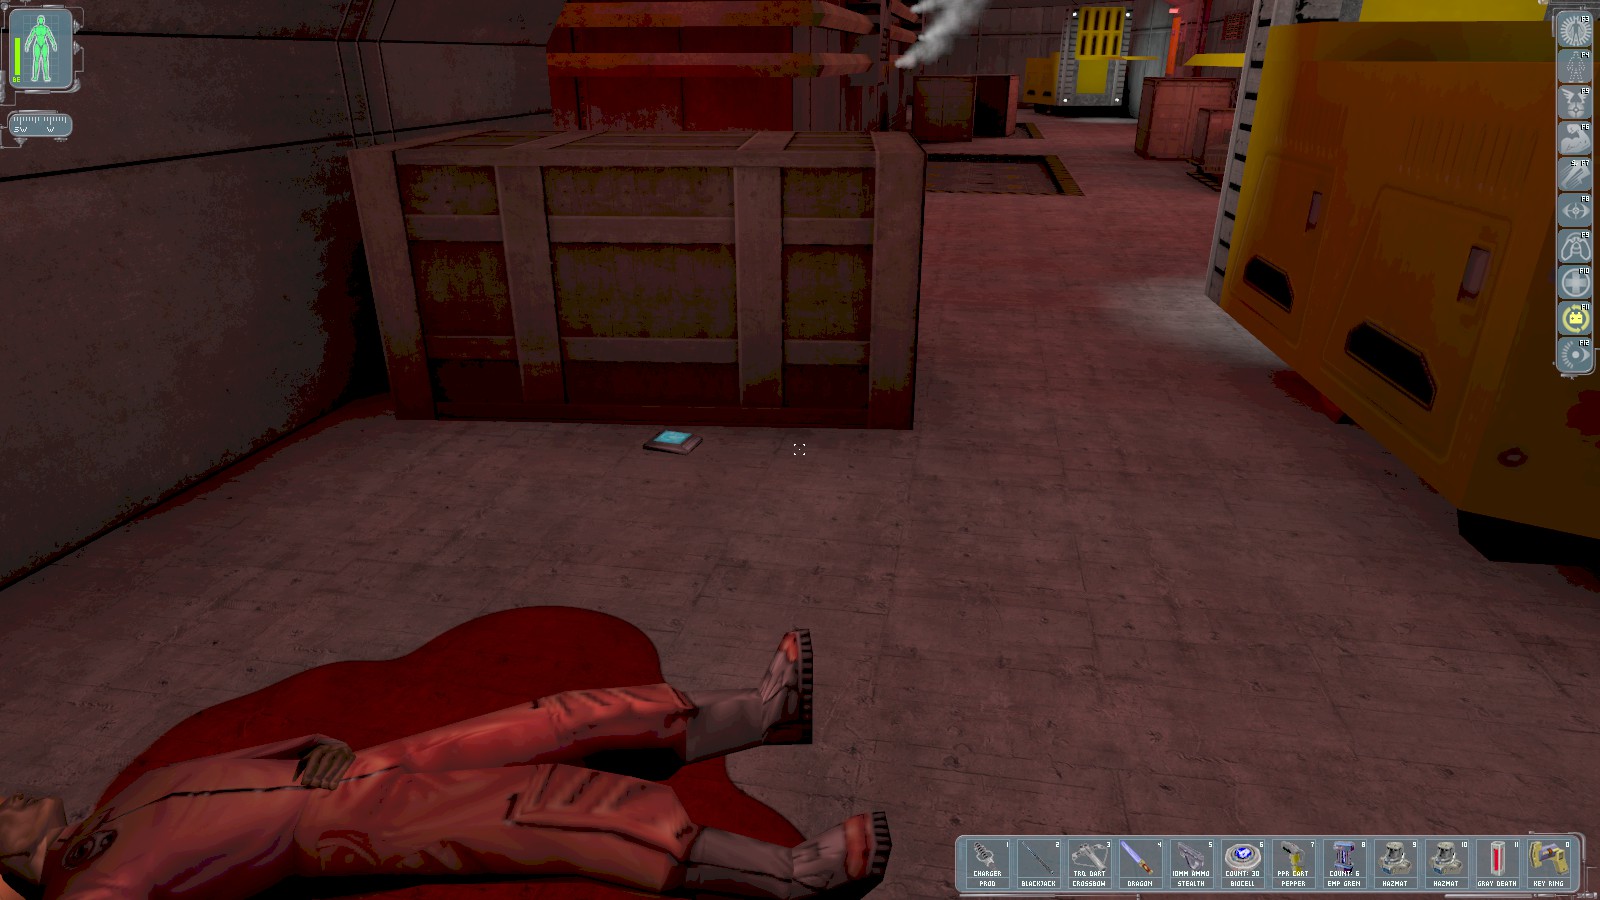
Just to the right of where you enter the area is this body with a lockpick and the datacube with the
credentials Tunnel01/Omega2a. Head along the corridor carefully and Morgan Everett radios in to
give you a new objective—upload Daedalus to the military network.
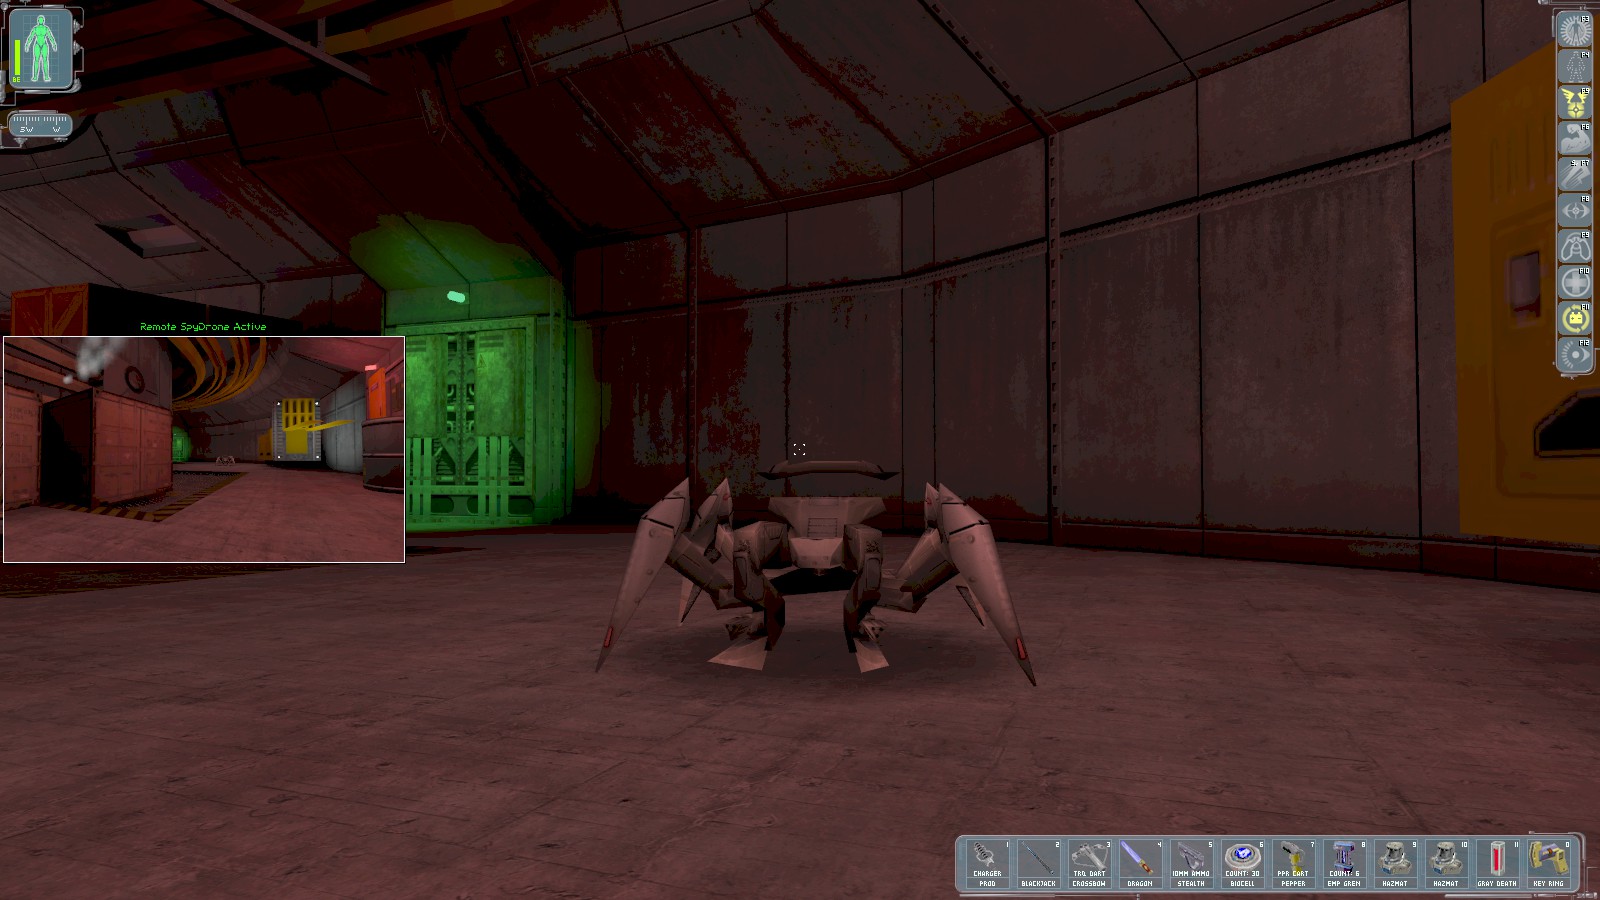
Ahead I hear the distinctive tinkling of a spider bot. The Spy Drone makes short work of it. 2 more spiders are further along.
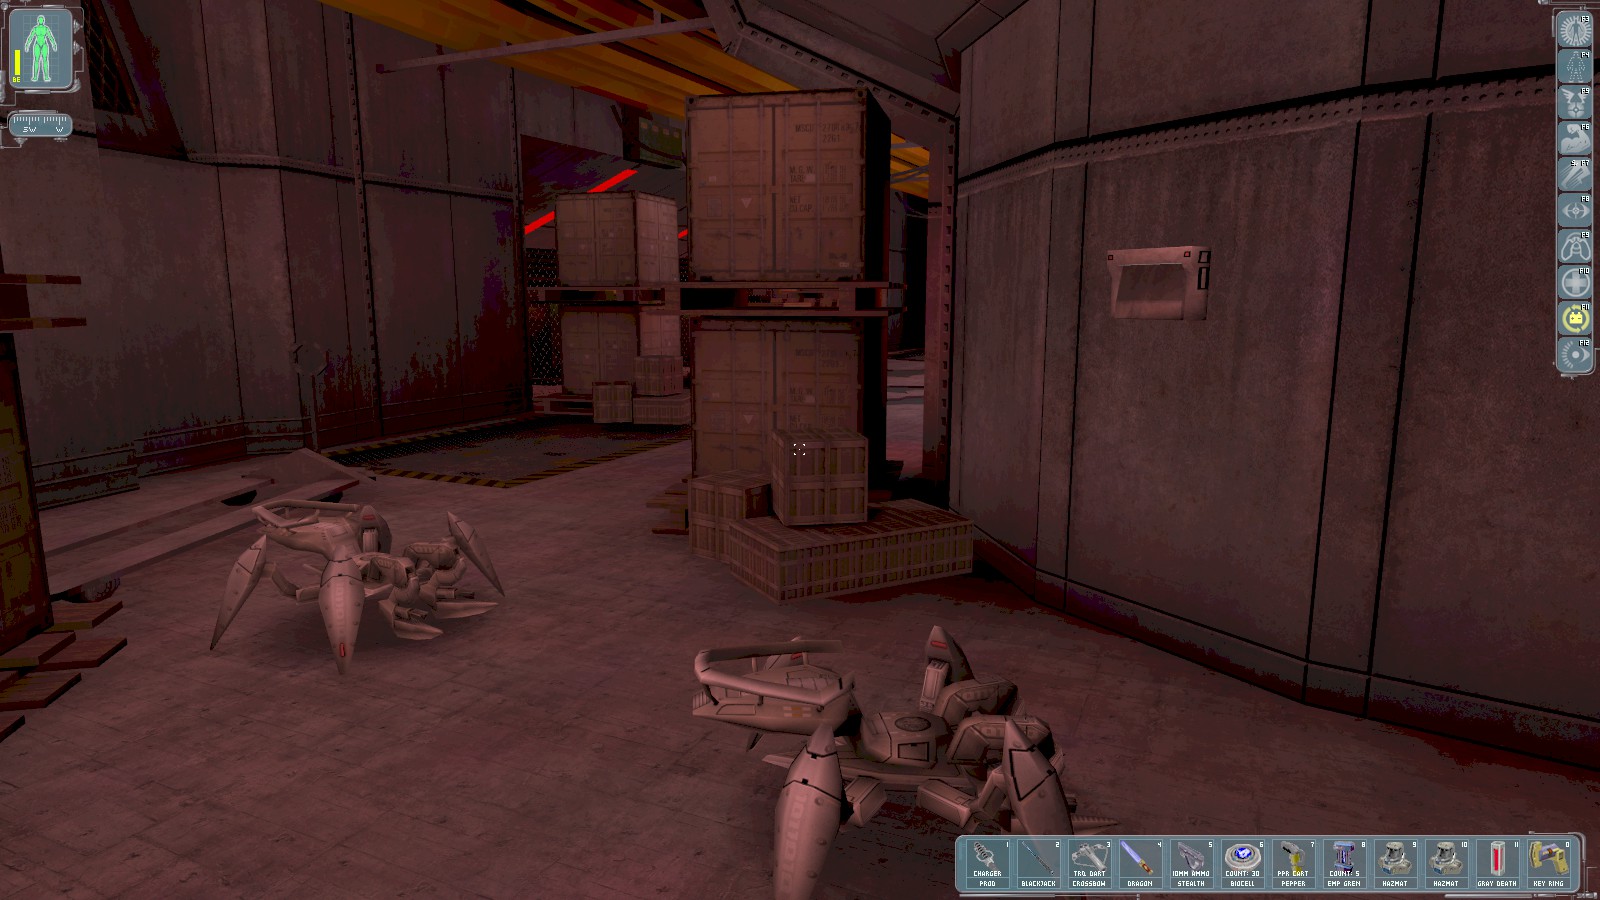
If you’re really lucky you can disable both at once if they’re close together. These 2 caught my EMP
grenade. Access the security console with the login Tunnel01/Omega2a and disable a
camera and turret.
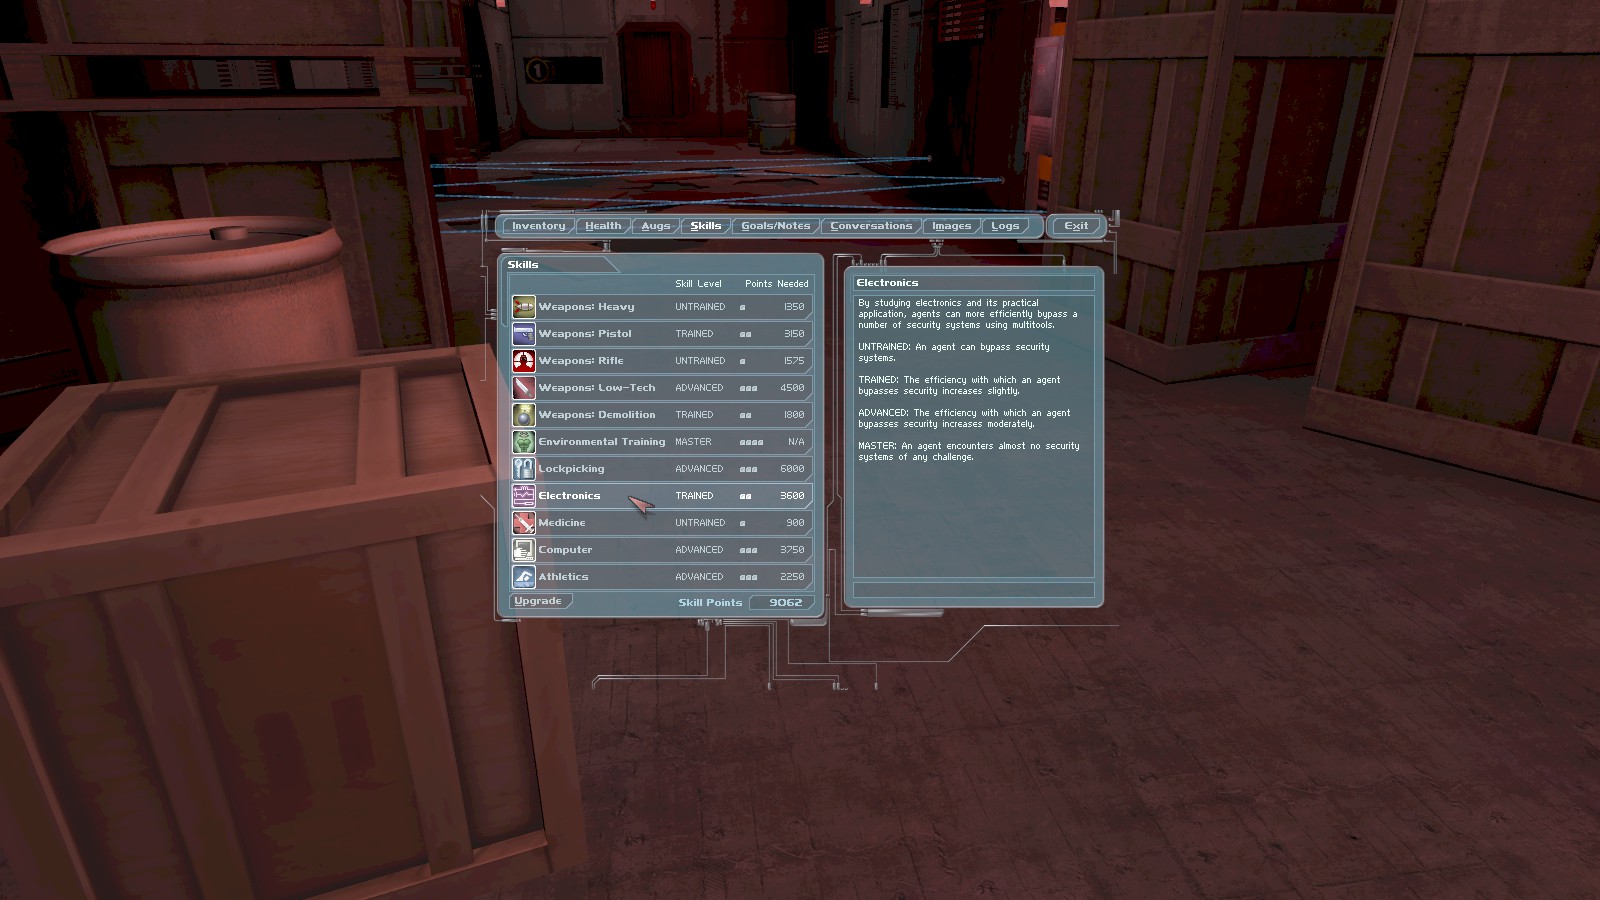
Keep going past the camera, ignoring a door with a keypad, to this laser trap. I decide an upgrade to my Electronics skill is in order before using multitools on the control box to disable the lasers.

Smash the cardboard box on the left to find a repair bot, then head through the door on the right.
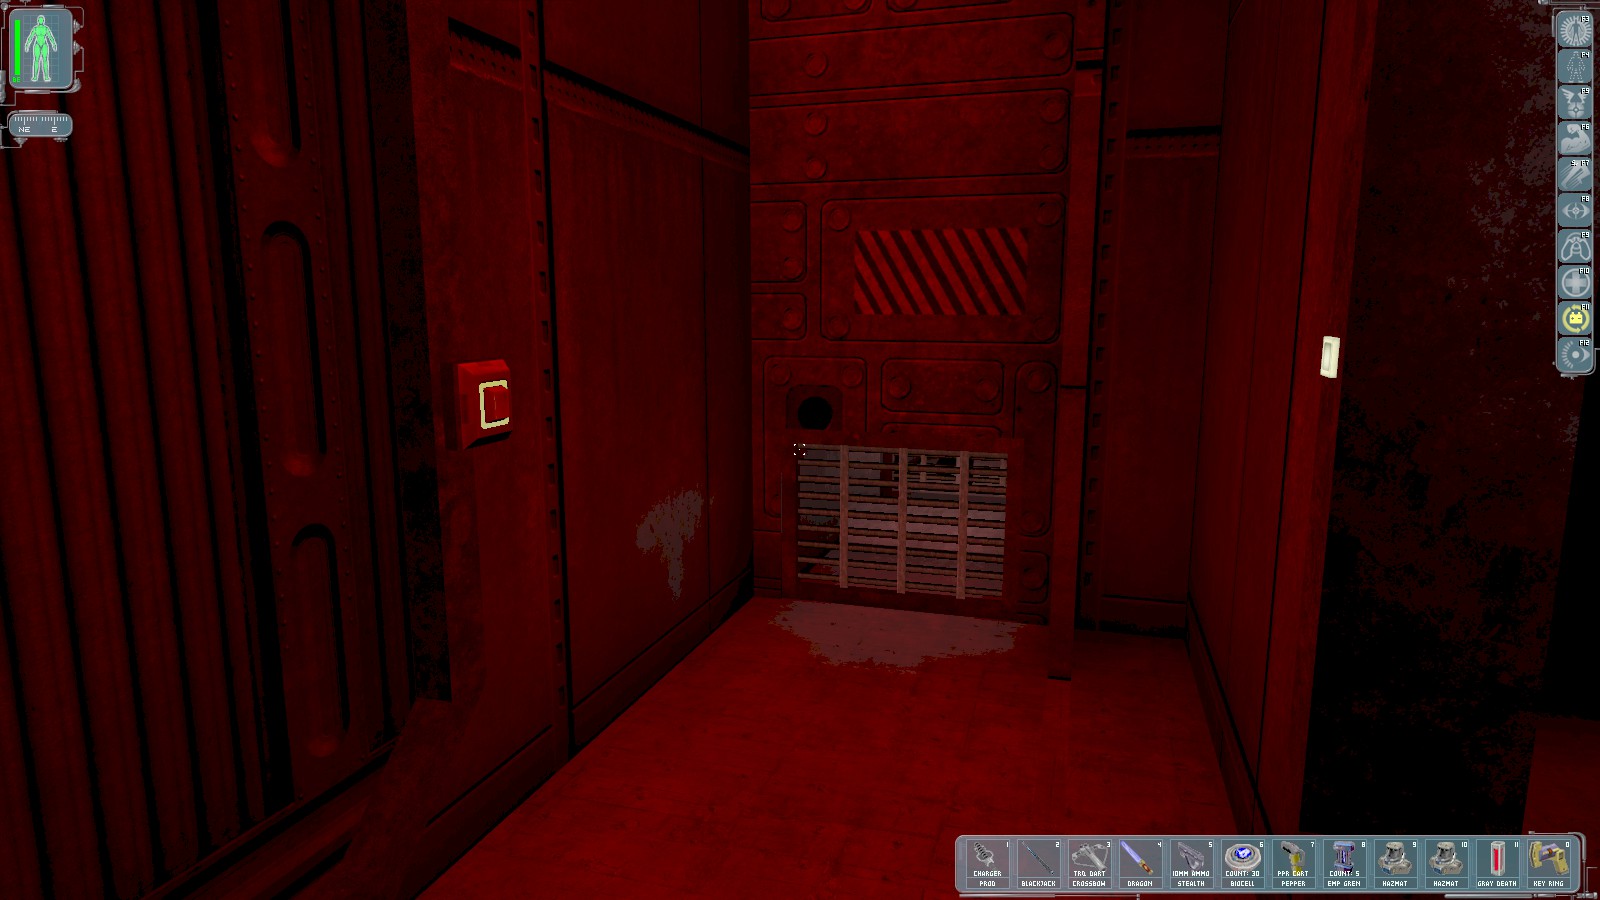
Rather than heading straight on, go through the small grate near the floor. A short way round is another grate in the floor of the ducting: drop through.
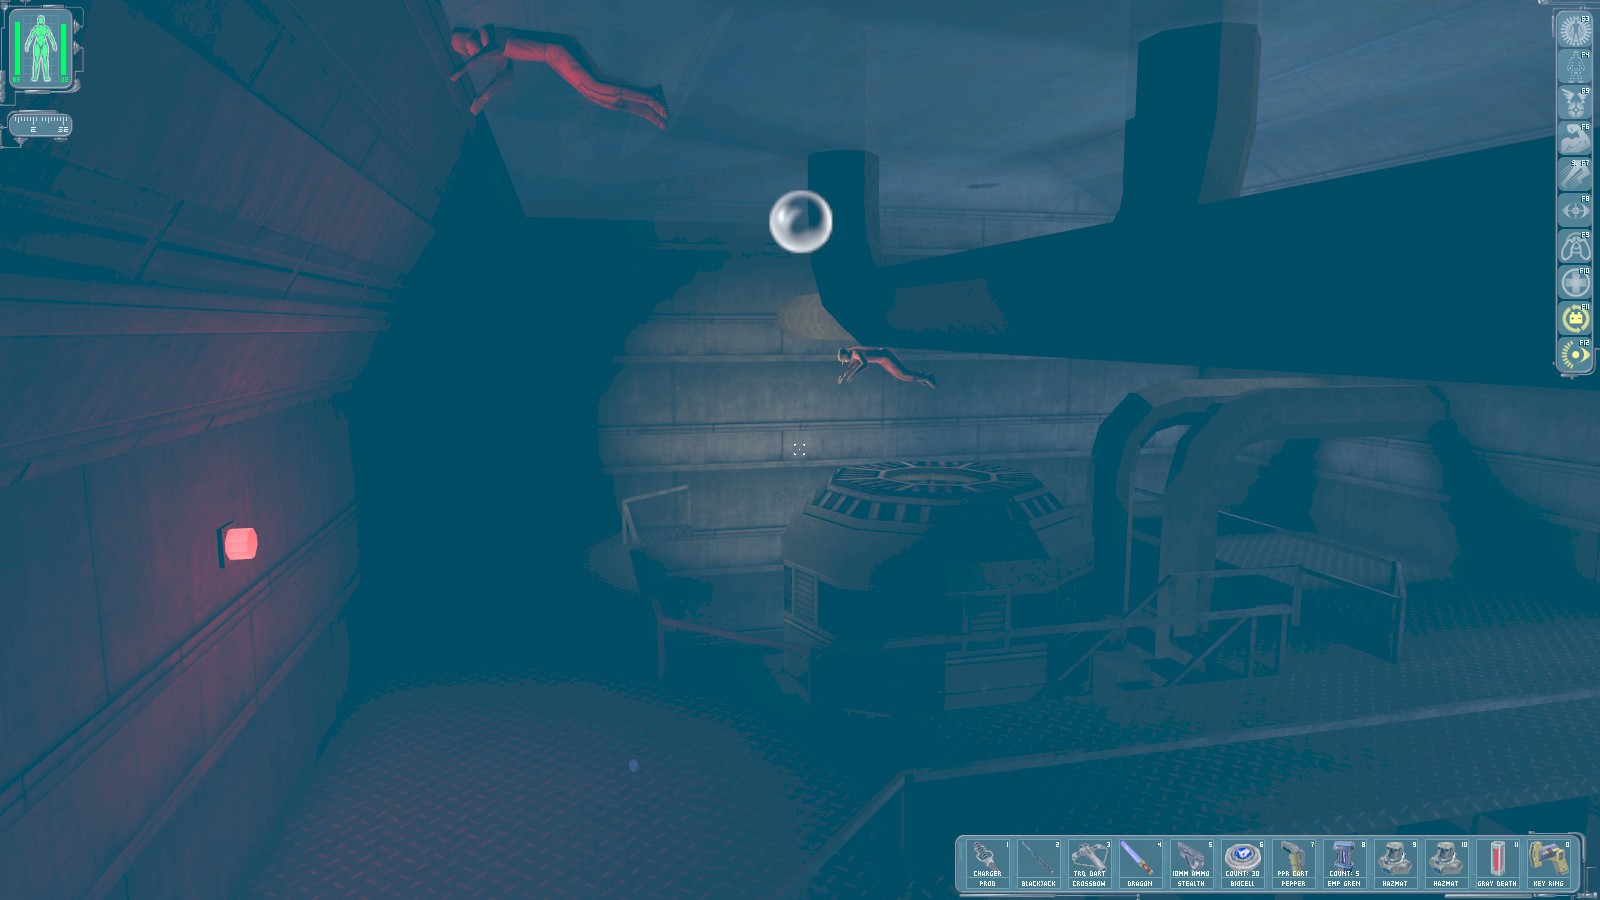
You emerge in this flooded area. The nearest body has nothing, the further one carries 2 biocells. Just visible on the ledge below the nearest body is a nanokey for a maintenance hatch.
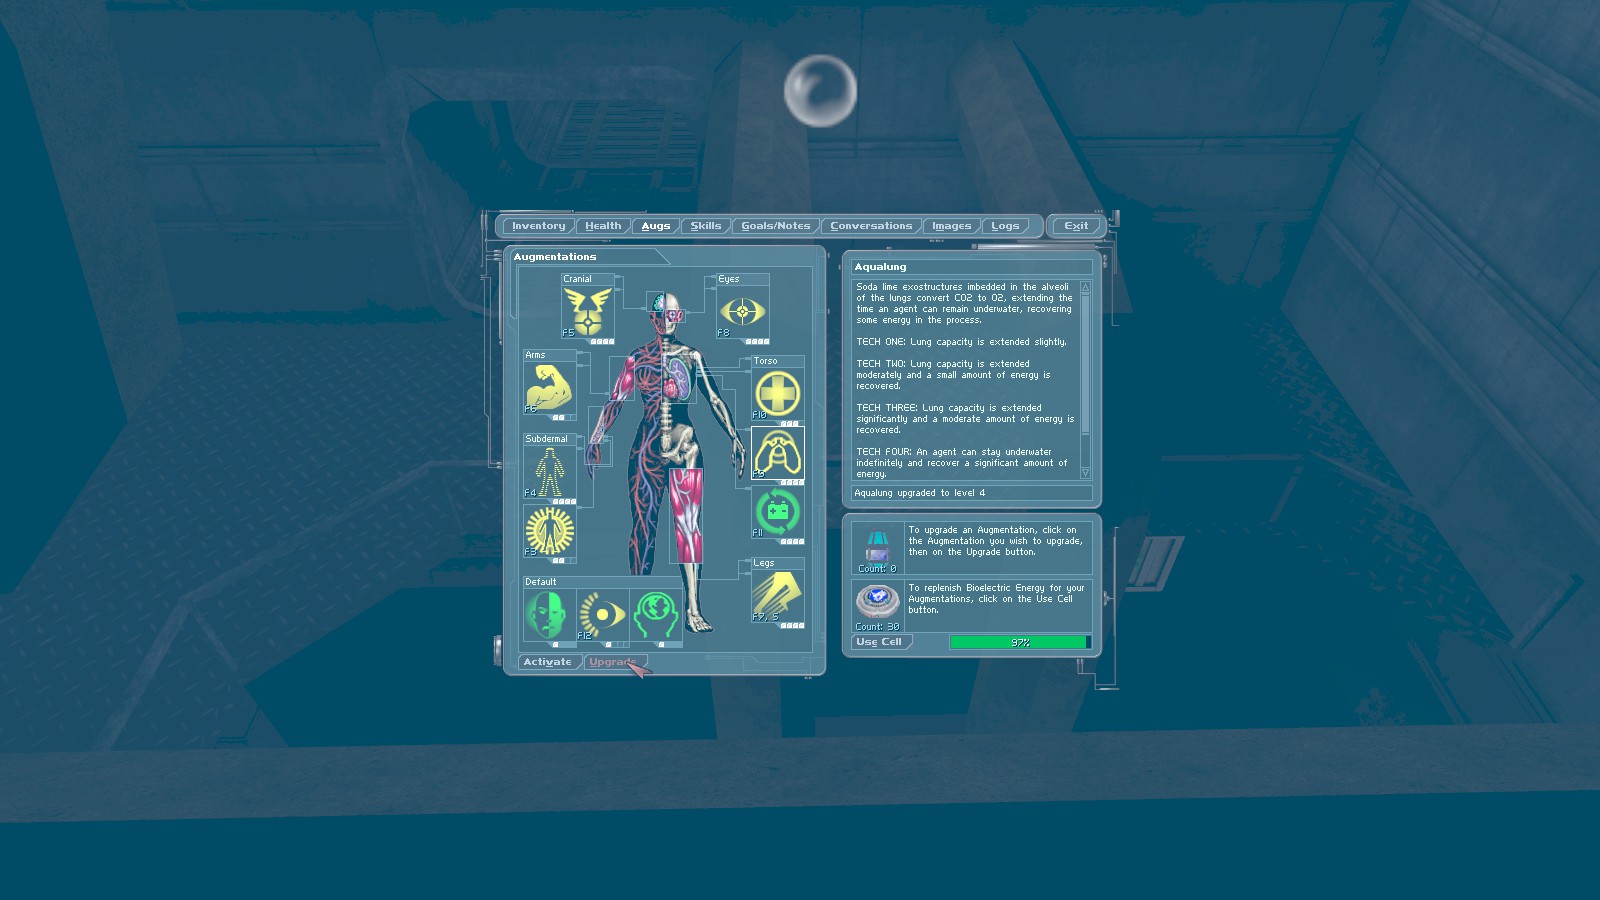
We’re heading through the doorway to the South. It looks like it might be a long dive, and I’m carrying an upgrade canister, so I upgrade my Rebreather augmentation to Tech 4. Activate the Rebreather, grab a medikit from the nearby crate then head through the doorway.
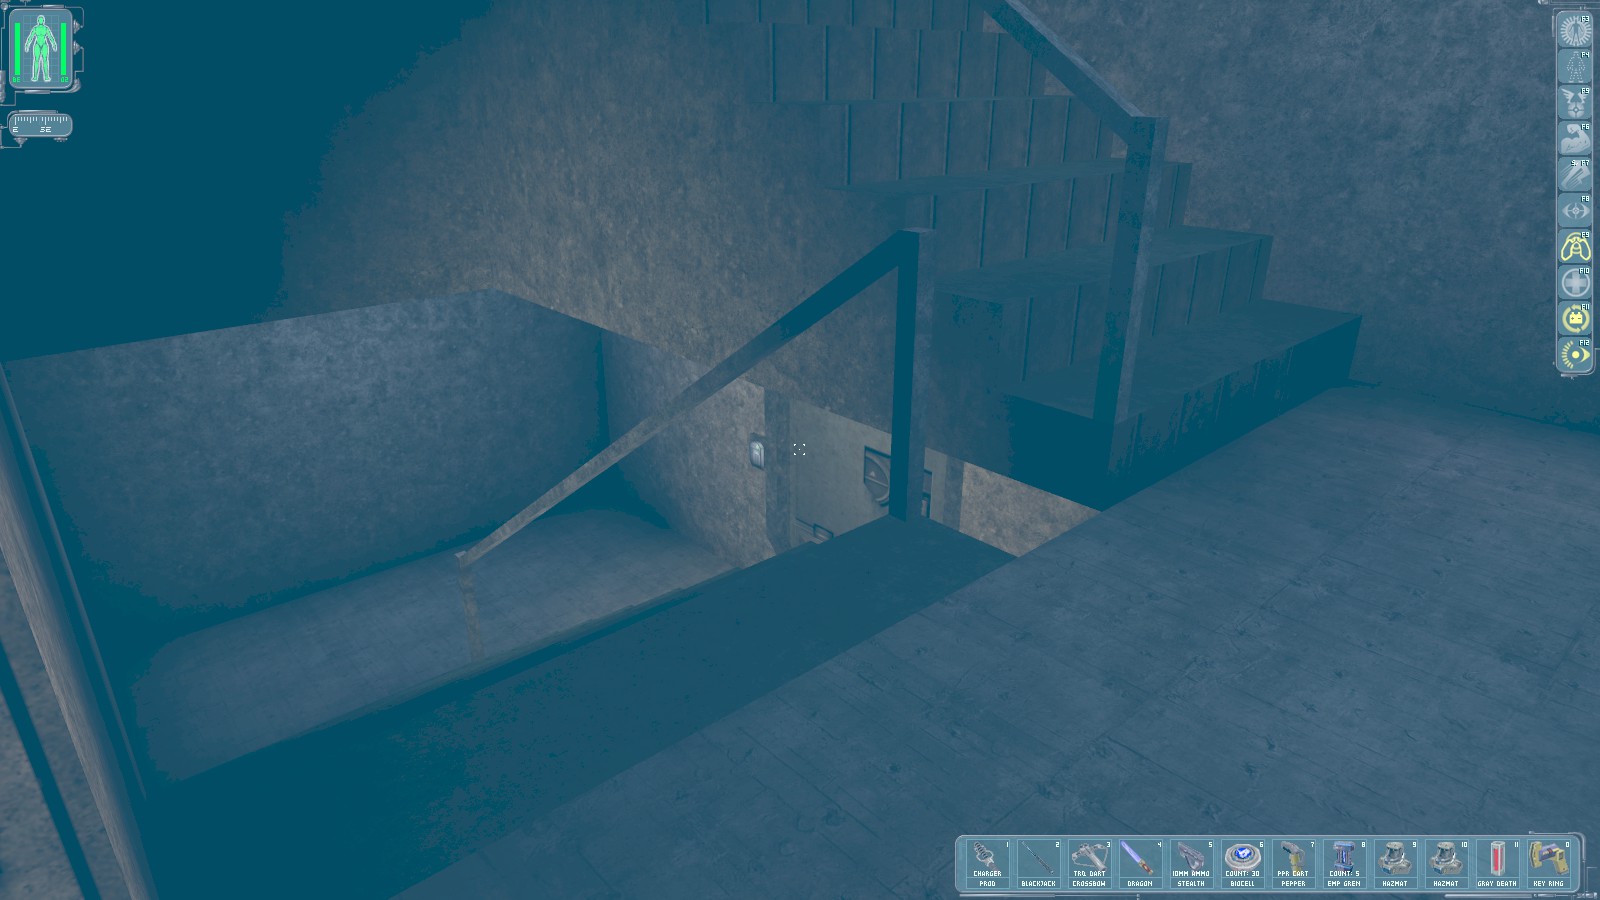
Inside, ready a multitool and go down to disable the keypad. You can return up the stairs for air if you need to.

Beyond the door, the nearest body has a lockpick and an augmentation upgrade. The other body has a pistol, and the crate contains ballistic armour. Go back outside and all the way up the stairs. A button opens the door you ignored before.
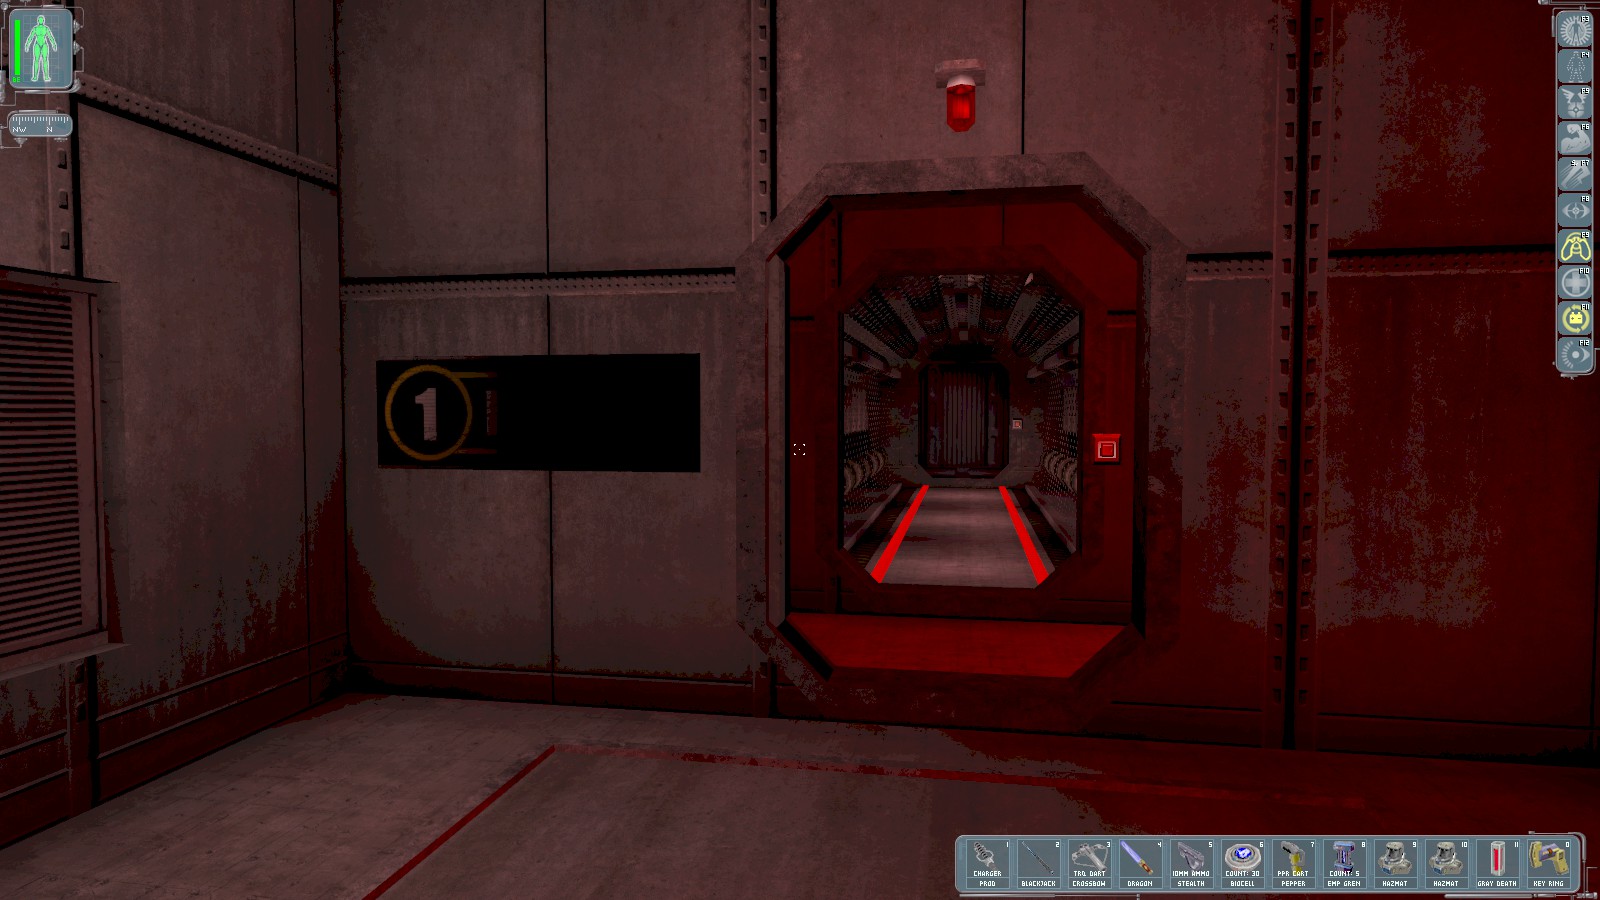
Recharge at the repair bot and this time head along a long corridor through a series of doors opened by buttons.
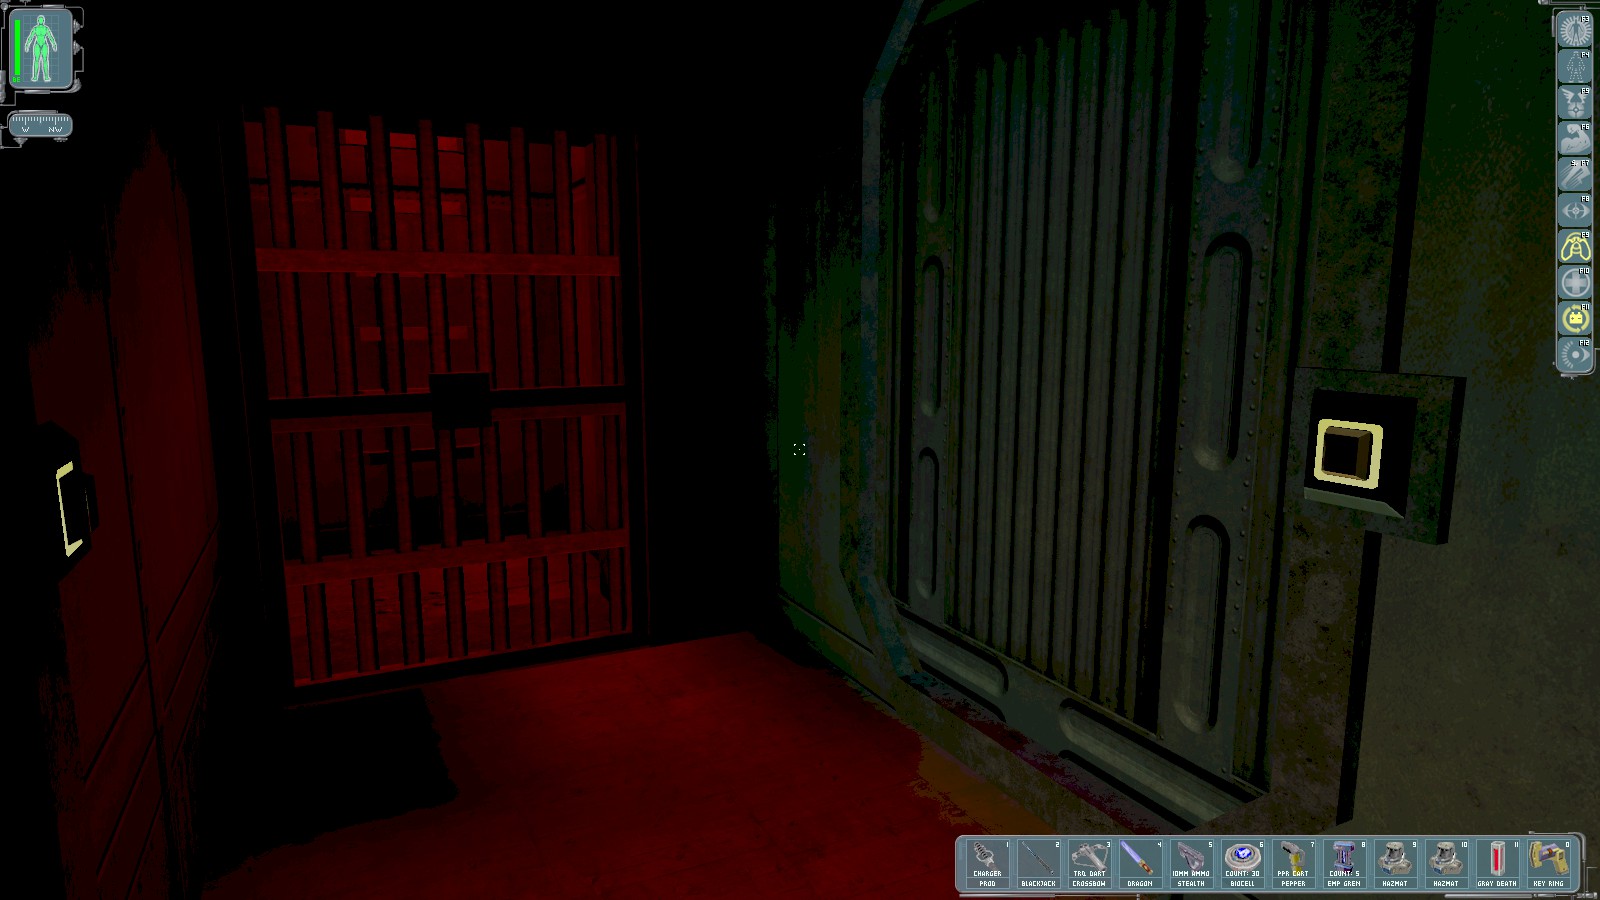
When you reach this door with the gate next to it, open the door and step away to avoid an explosion. The room beyond is extremely hazardous. Fortunately, your key opens the gate. Go in and up a ladder.
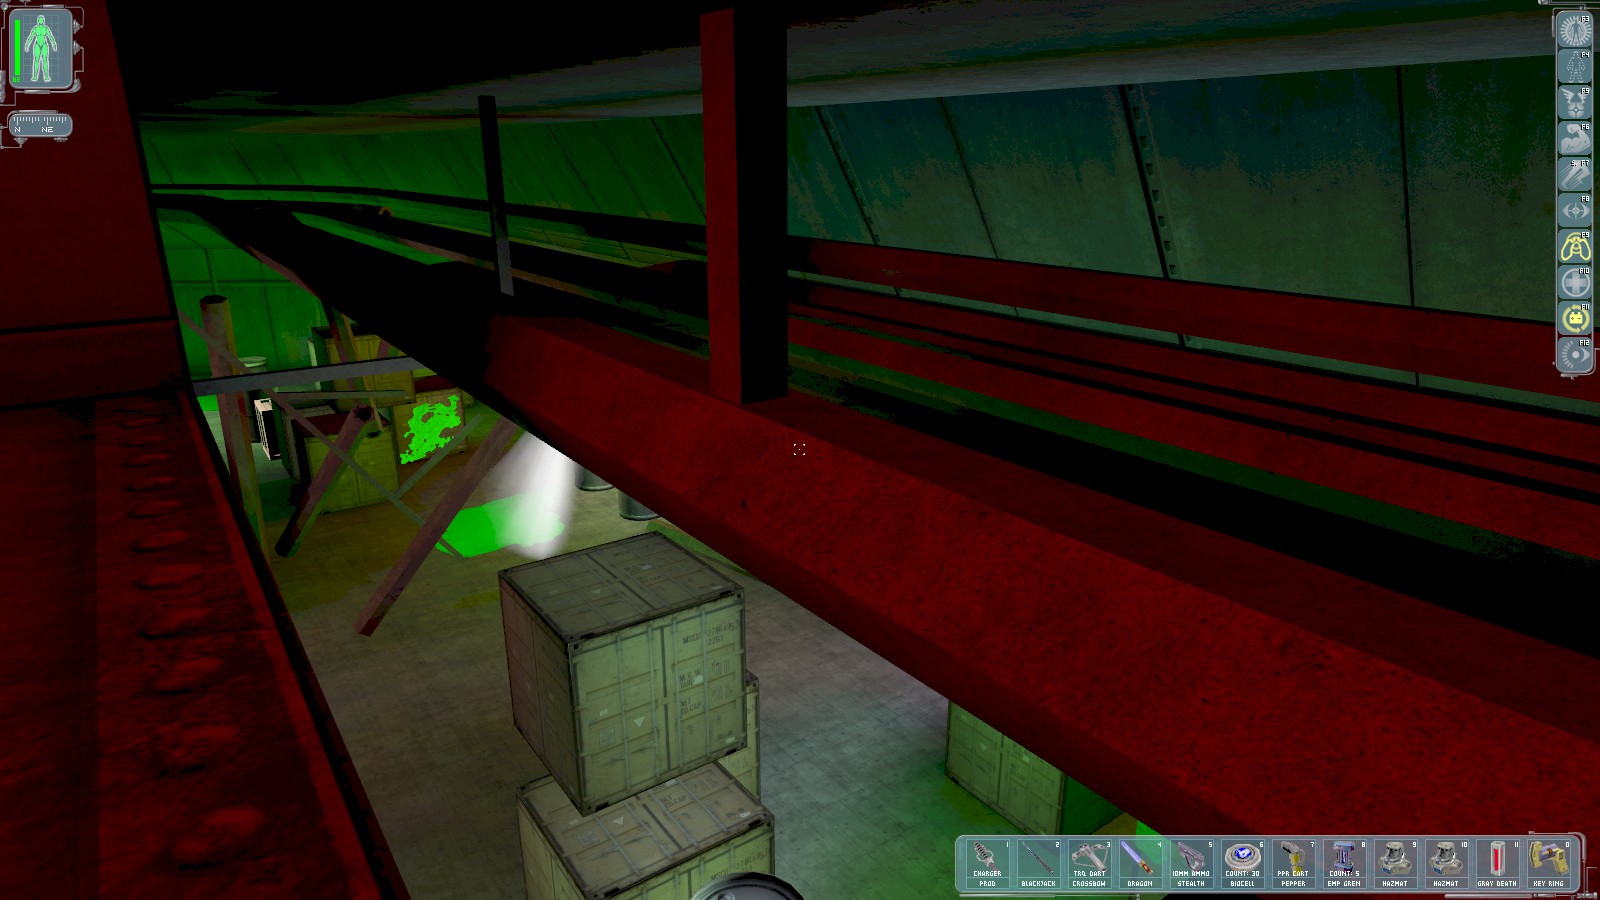
Climb out on to the pipes above the hazardous area for 150 skill points. There’s a body in slime with a multitool, but that requires traversing the poisonous muck, so I do without.
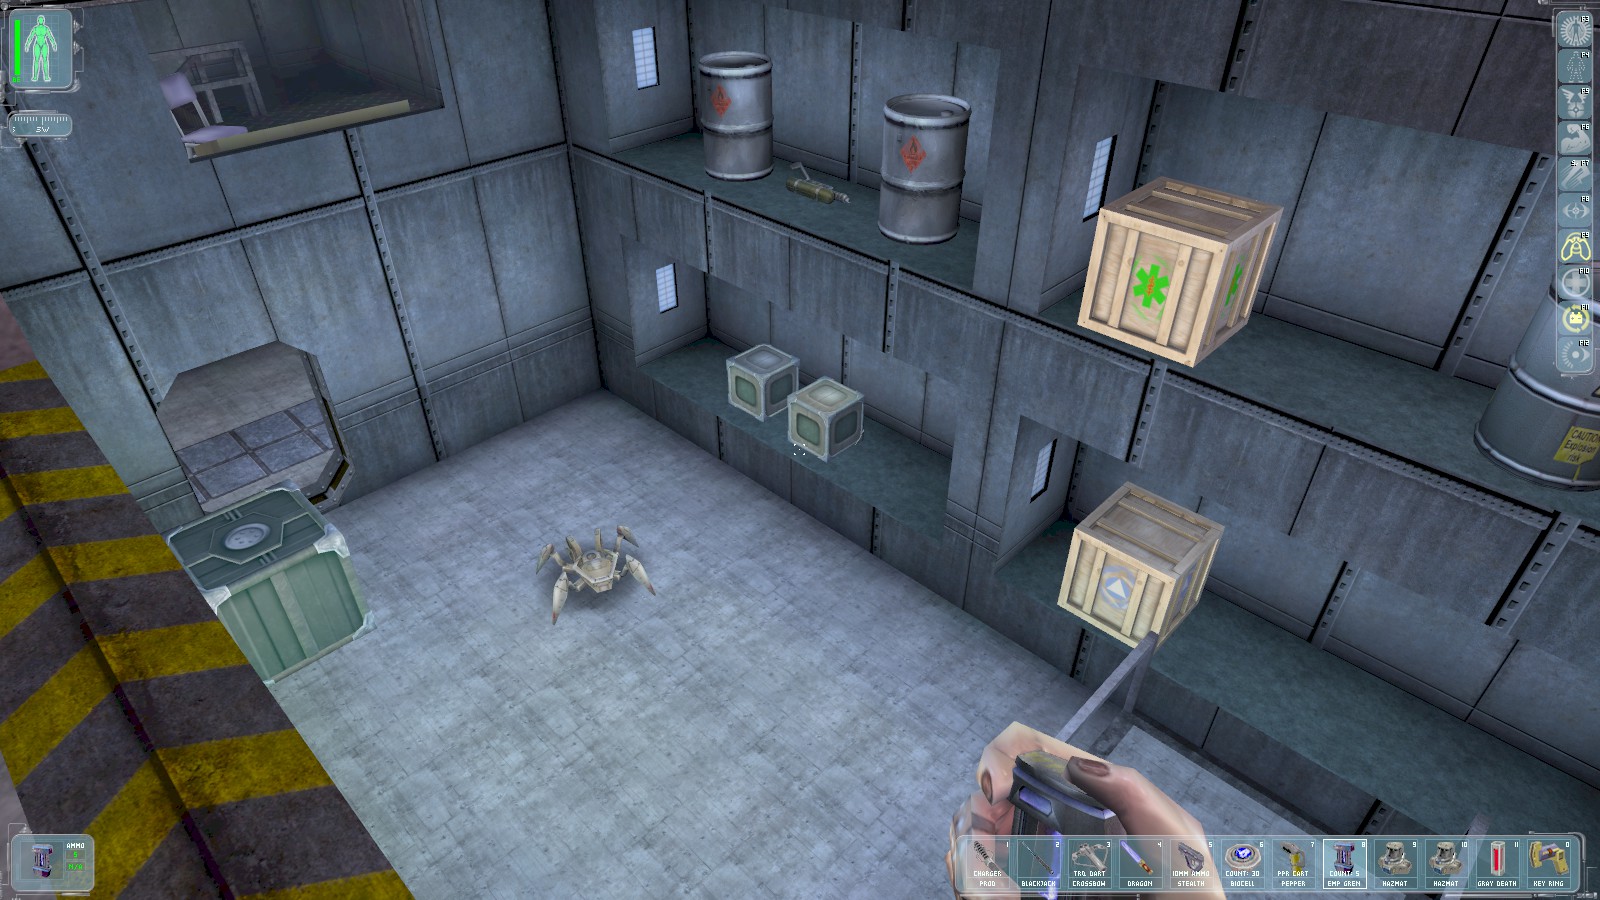
You drop down here. The spider bot below is easily dealth with using an EMP grenade. There’s a door behind this position that just leads to an EMP laser grid, so drop down to where the spider bot is (might need Speed Enhancement to break the fall), and head through the door on the left here and up some steps to a control room above.
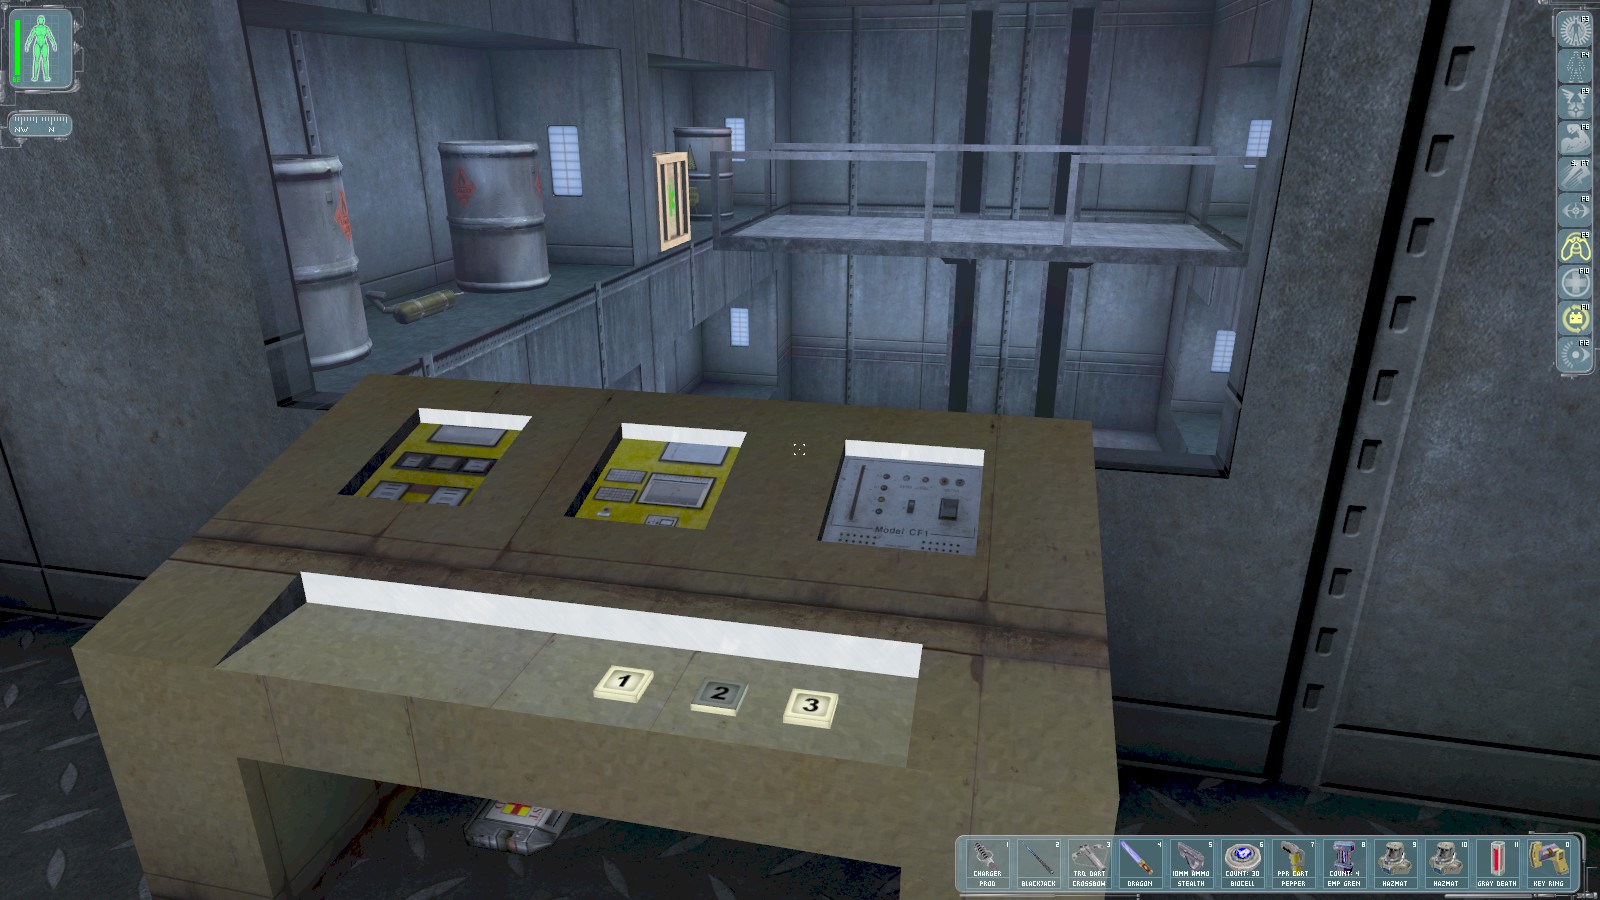
Use the button labelled 2 to raise the lift to the middle level. Grab the medikit and head back
down. The crate reachable from the floor by the lift contains a lockpick. Another crate is protected
by radioactive barrels and contains rockets. You may need to stack some small crates to reach the
lift using Speed Enhancement, giving access to another crate for a medikit. Speed Enhancement also
enables you to jump up to the sign labelled 2 HAZARD.
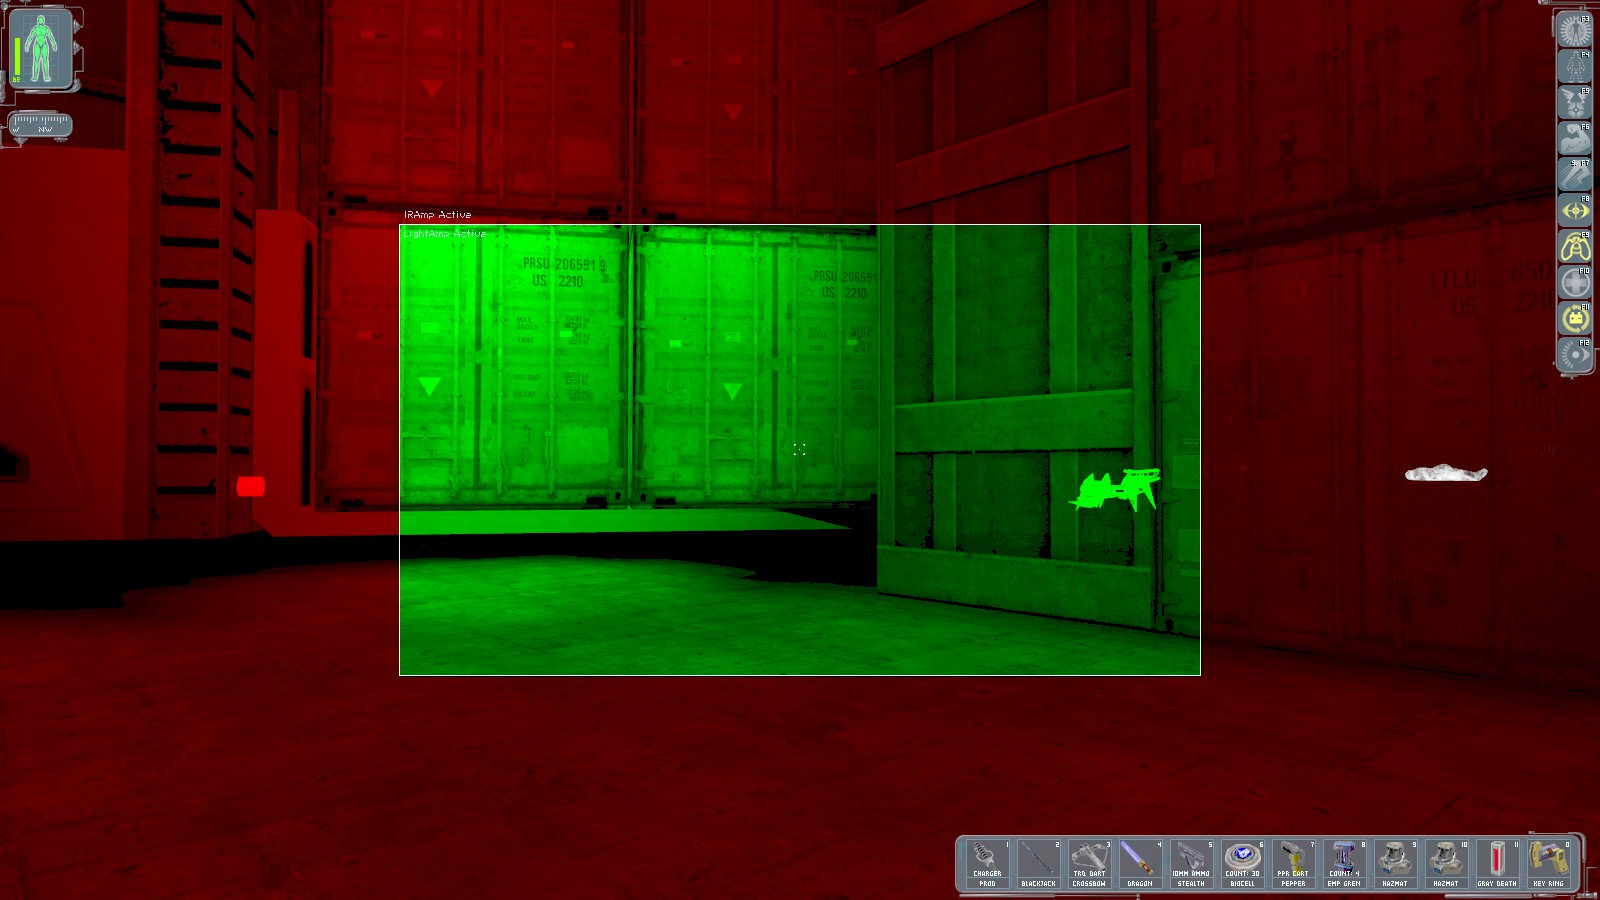
I can still hear a spider bot, and sure enough it’s behind the boxes ahead. Another job for the Spy Drone. A button on the forklift raises the forks allowing you to pass when it’s disabled.
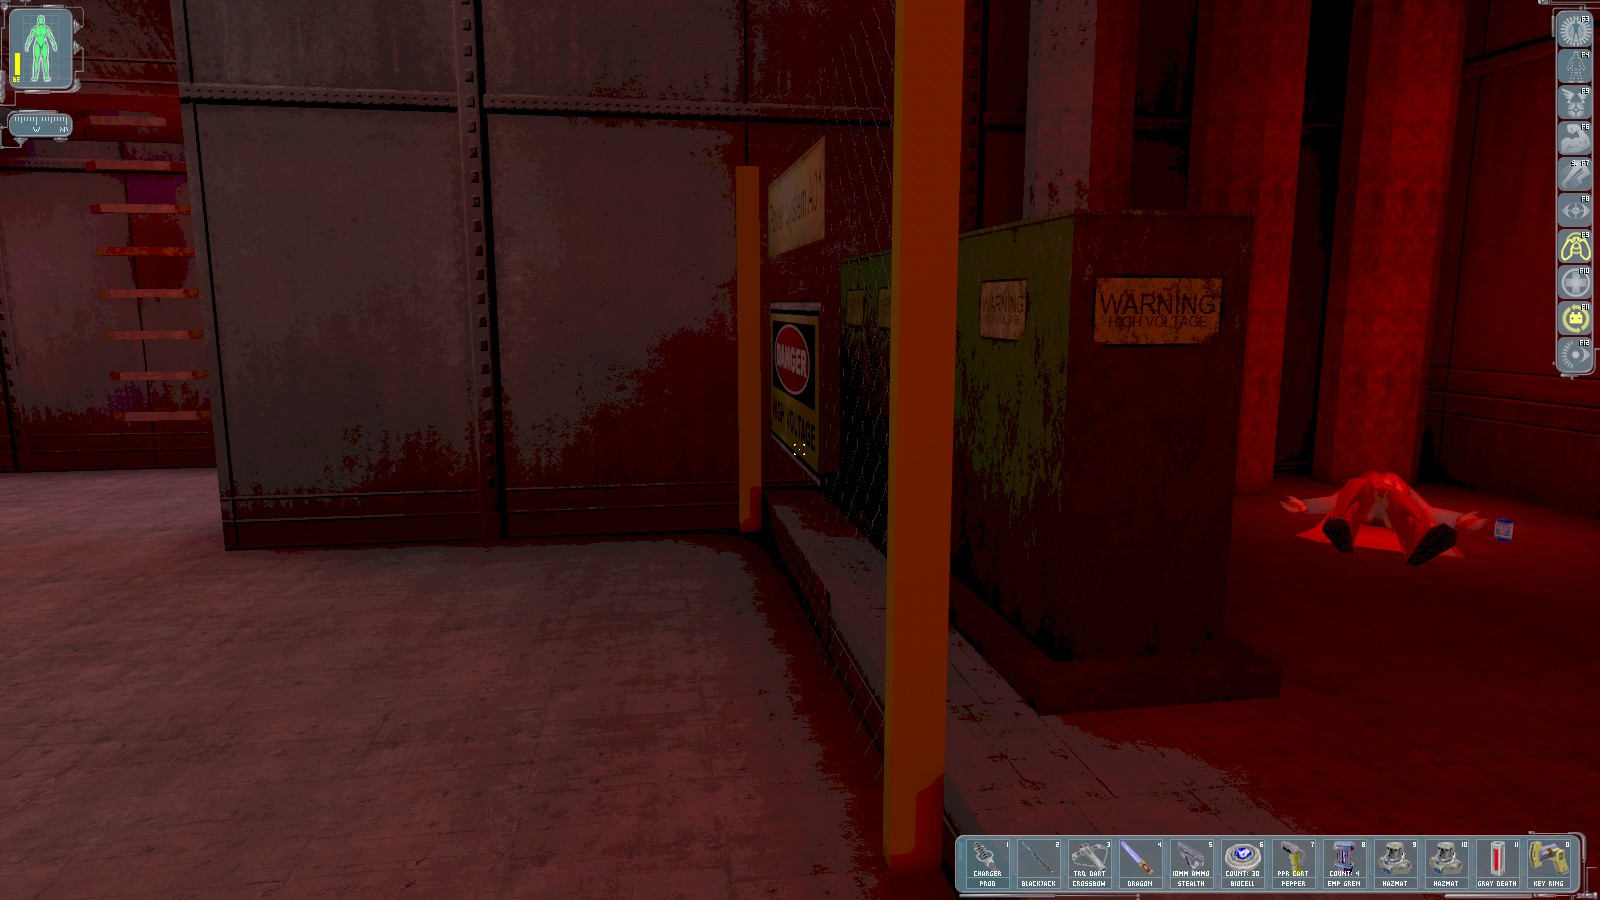
Beyond is your objective—they key next to the body. You get 400 skill points. Grab a multitool from the body, then head up the ladder.
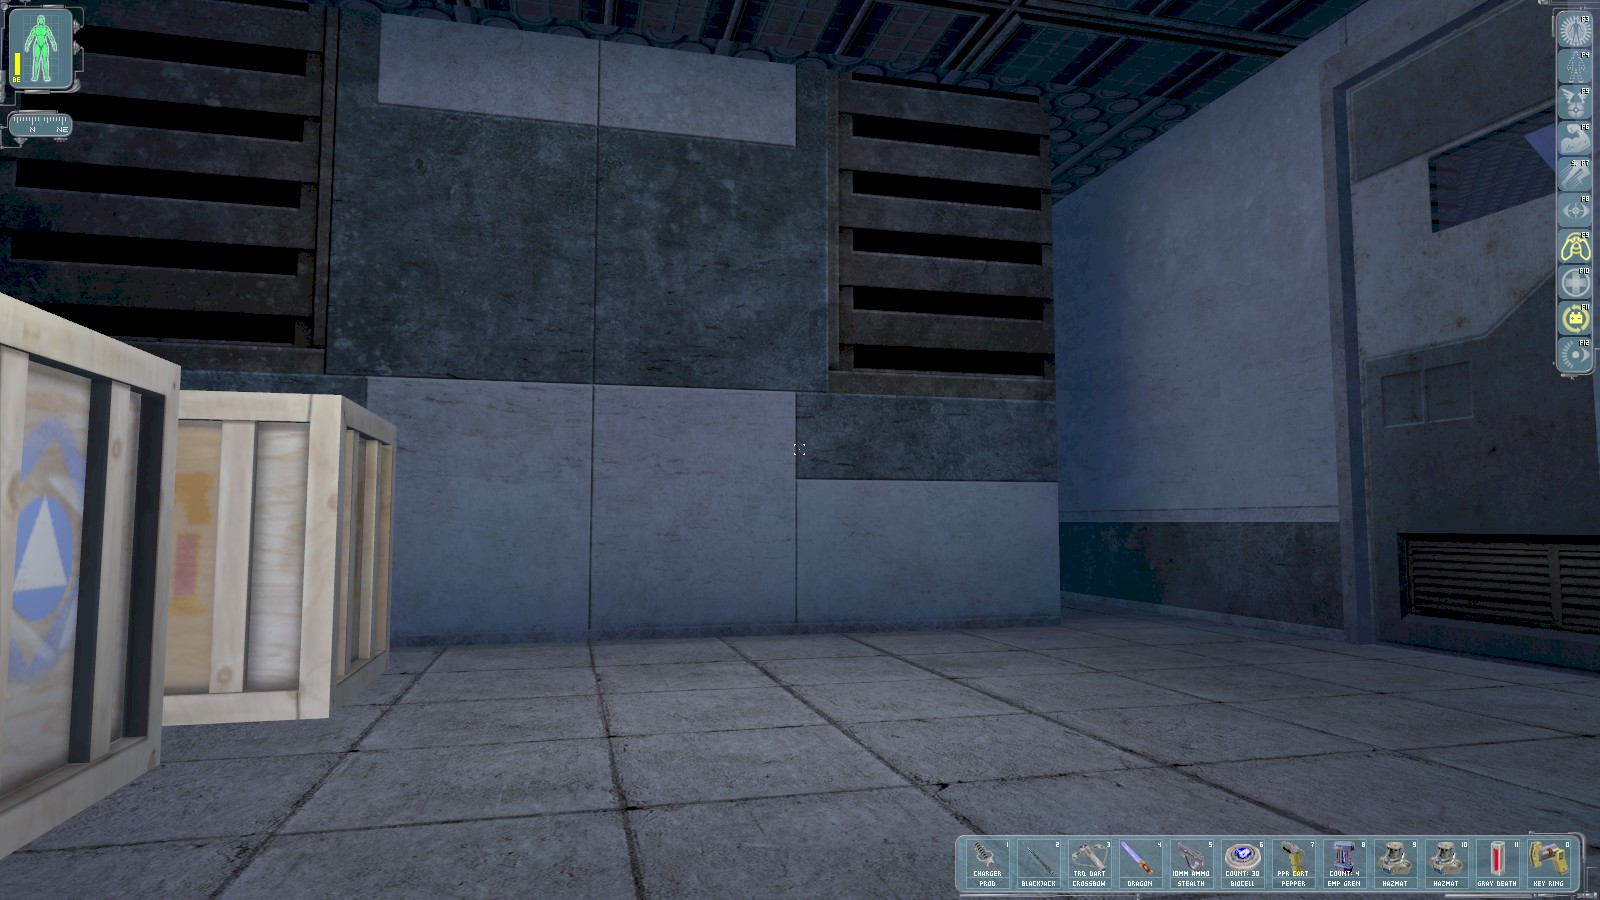
You come up back in the main command centre building. You receive a threatening message from Icarus. Smash the crates for a multitool and ammo, and use the button to open the nearby door.
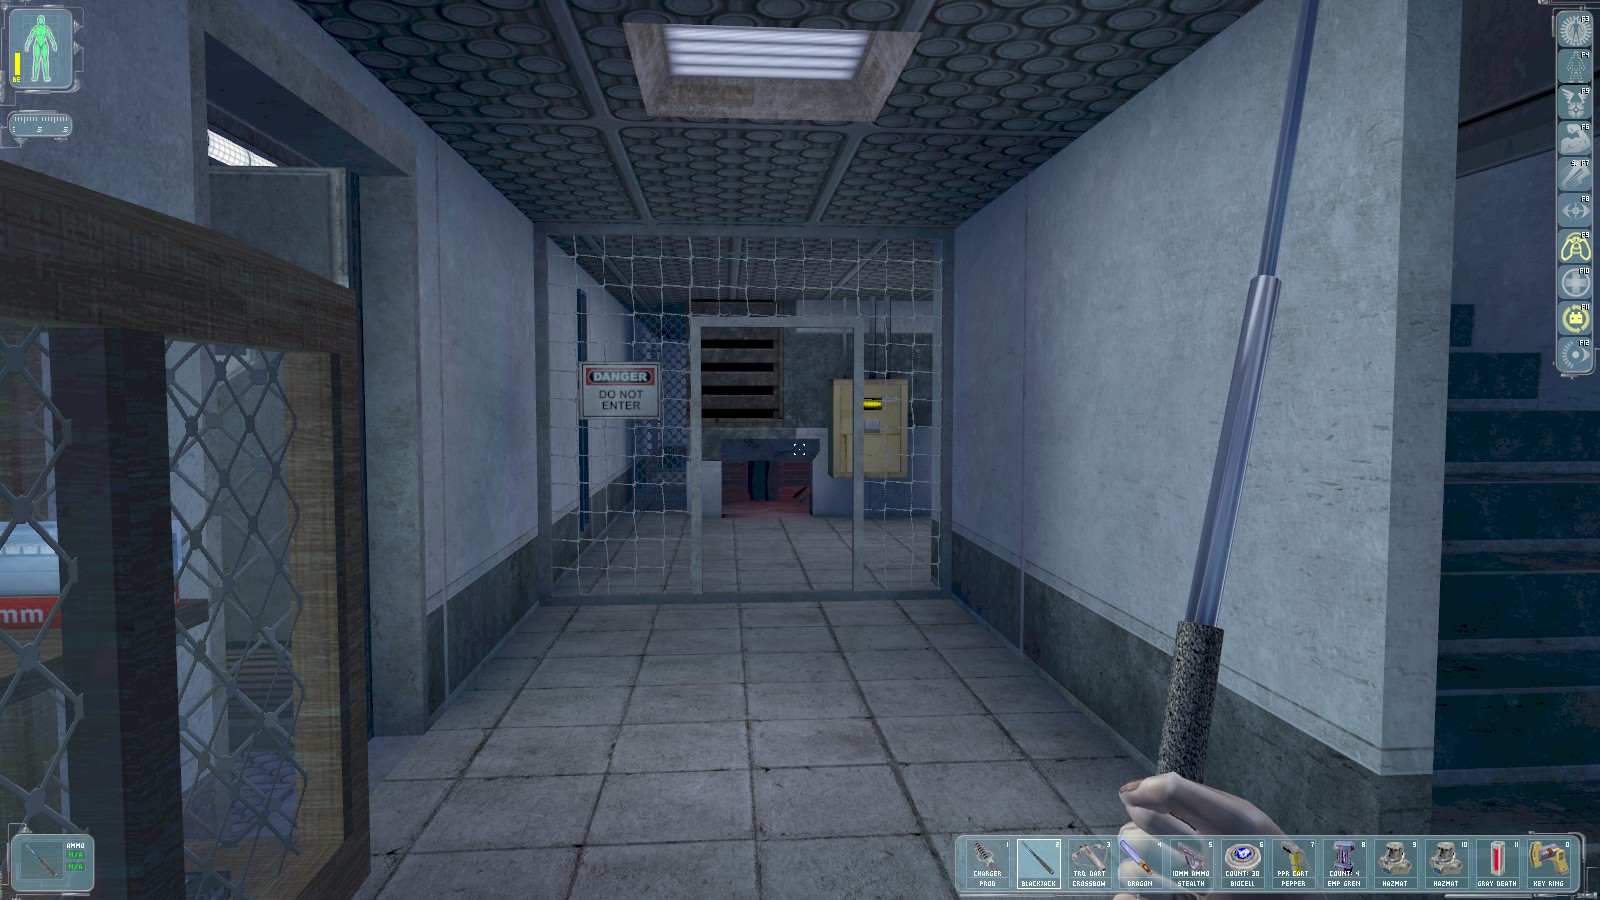
Head left and into the room where you overrode the first control box. This time head up the stairs.
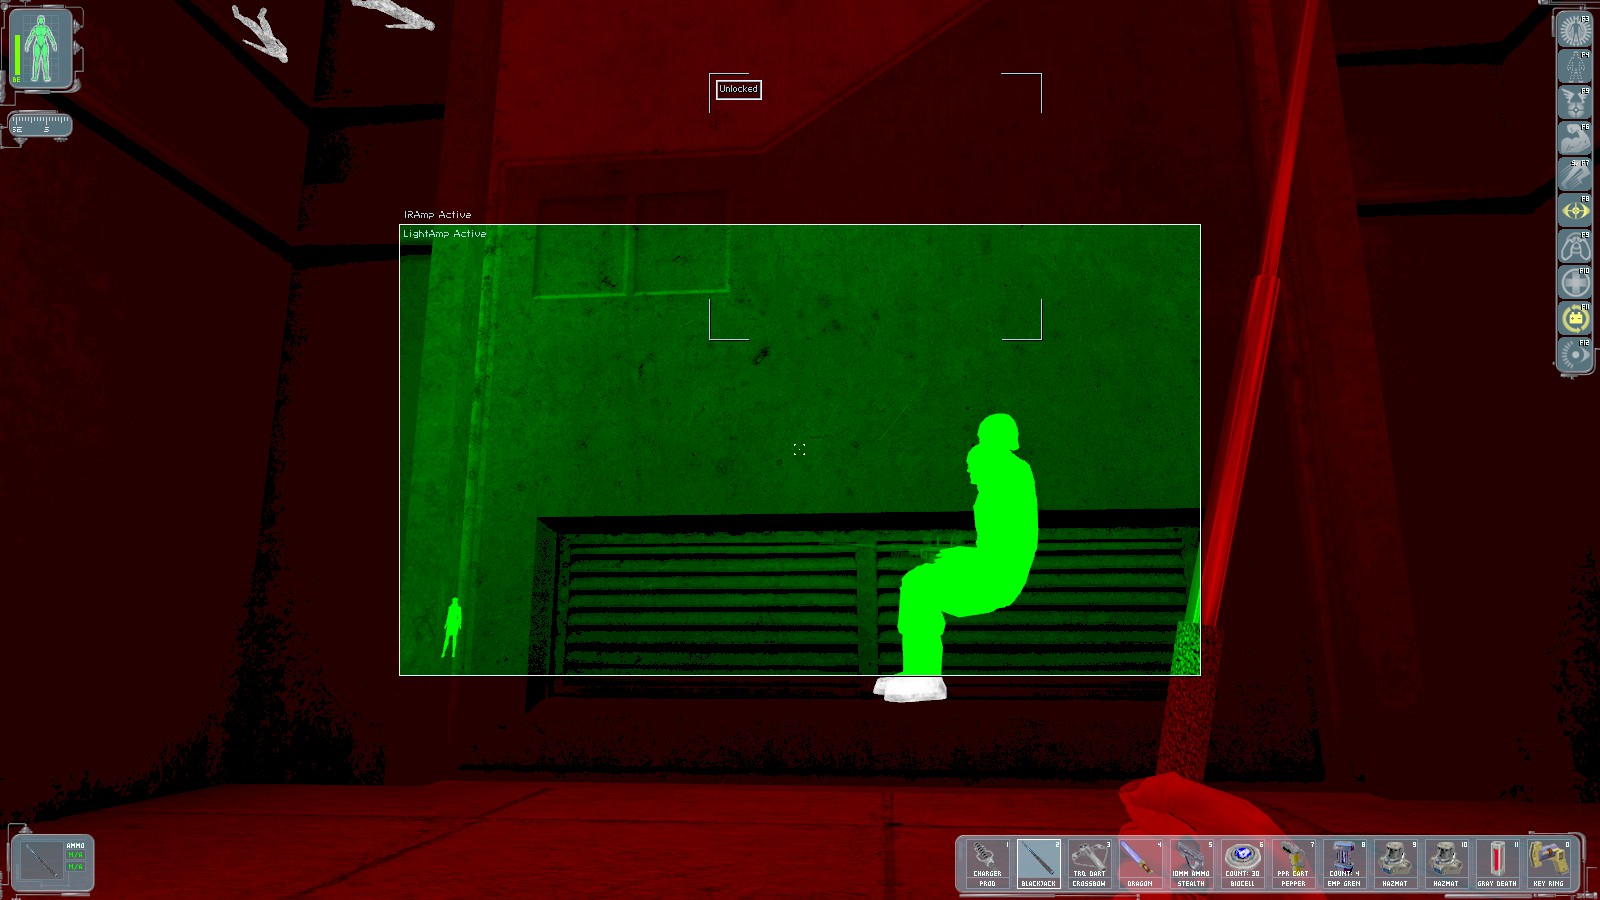
Cloak before opening the door at the top of the stairs. Scoot past the two troops sitting just beyond it.
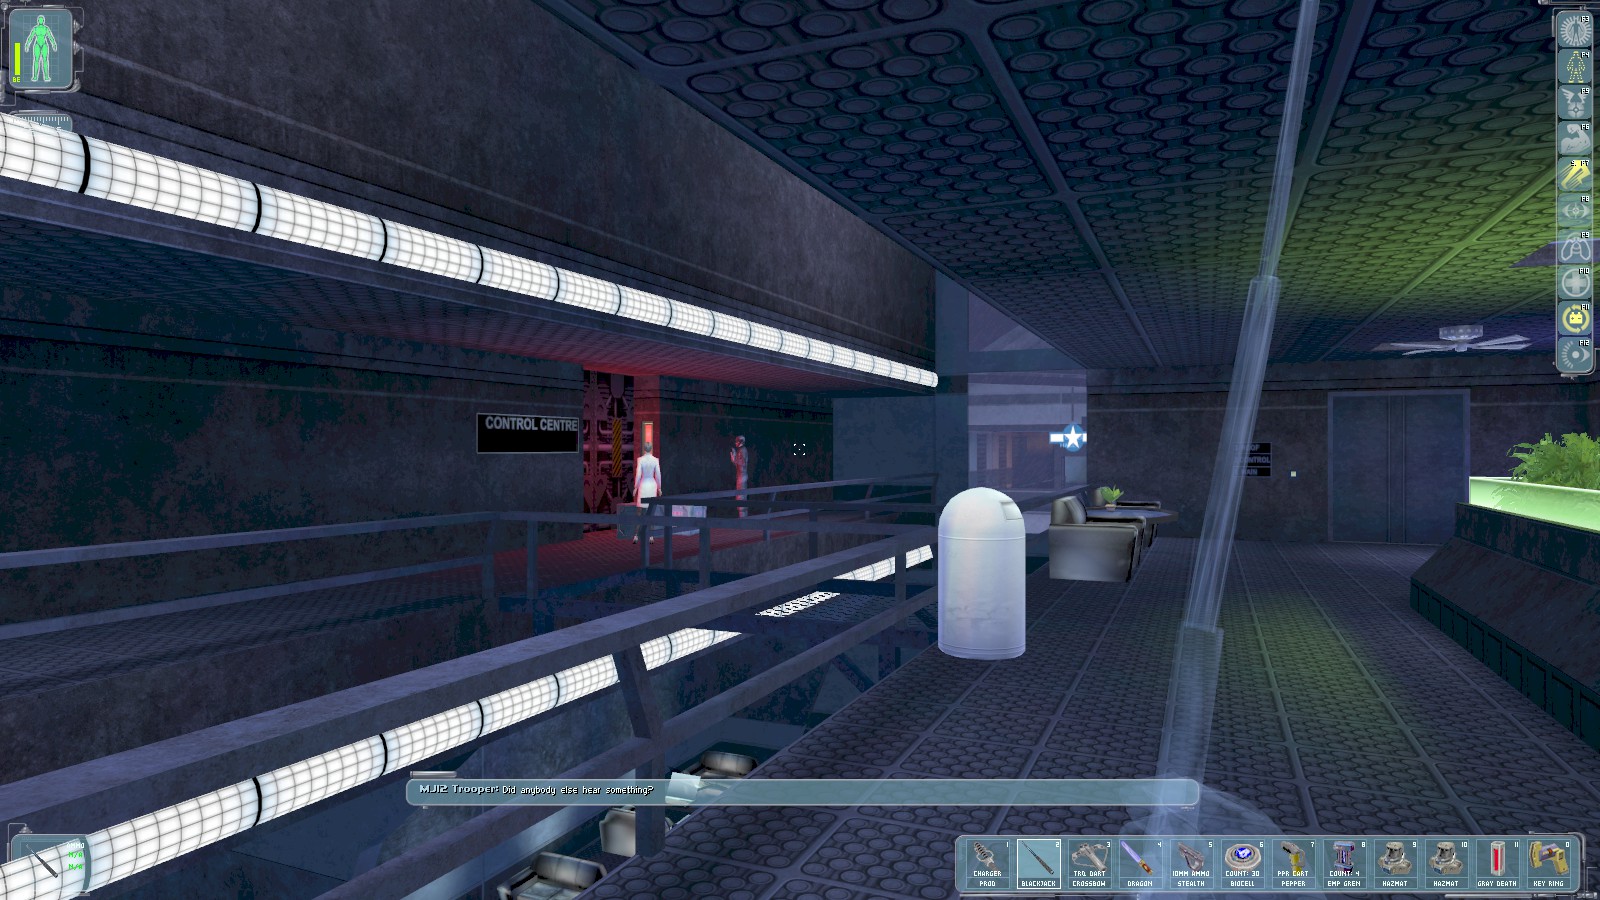
Remain cloaked and silently (crouched) slip over to knock out the third guard next to the scientist.
Speak to her and she gives you the credentials command/zebra42. Use your key to
open the door to the Control Room and go through.