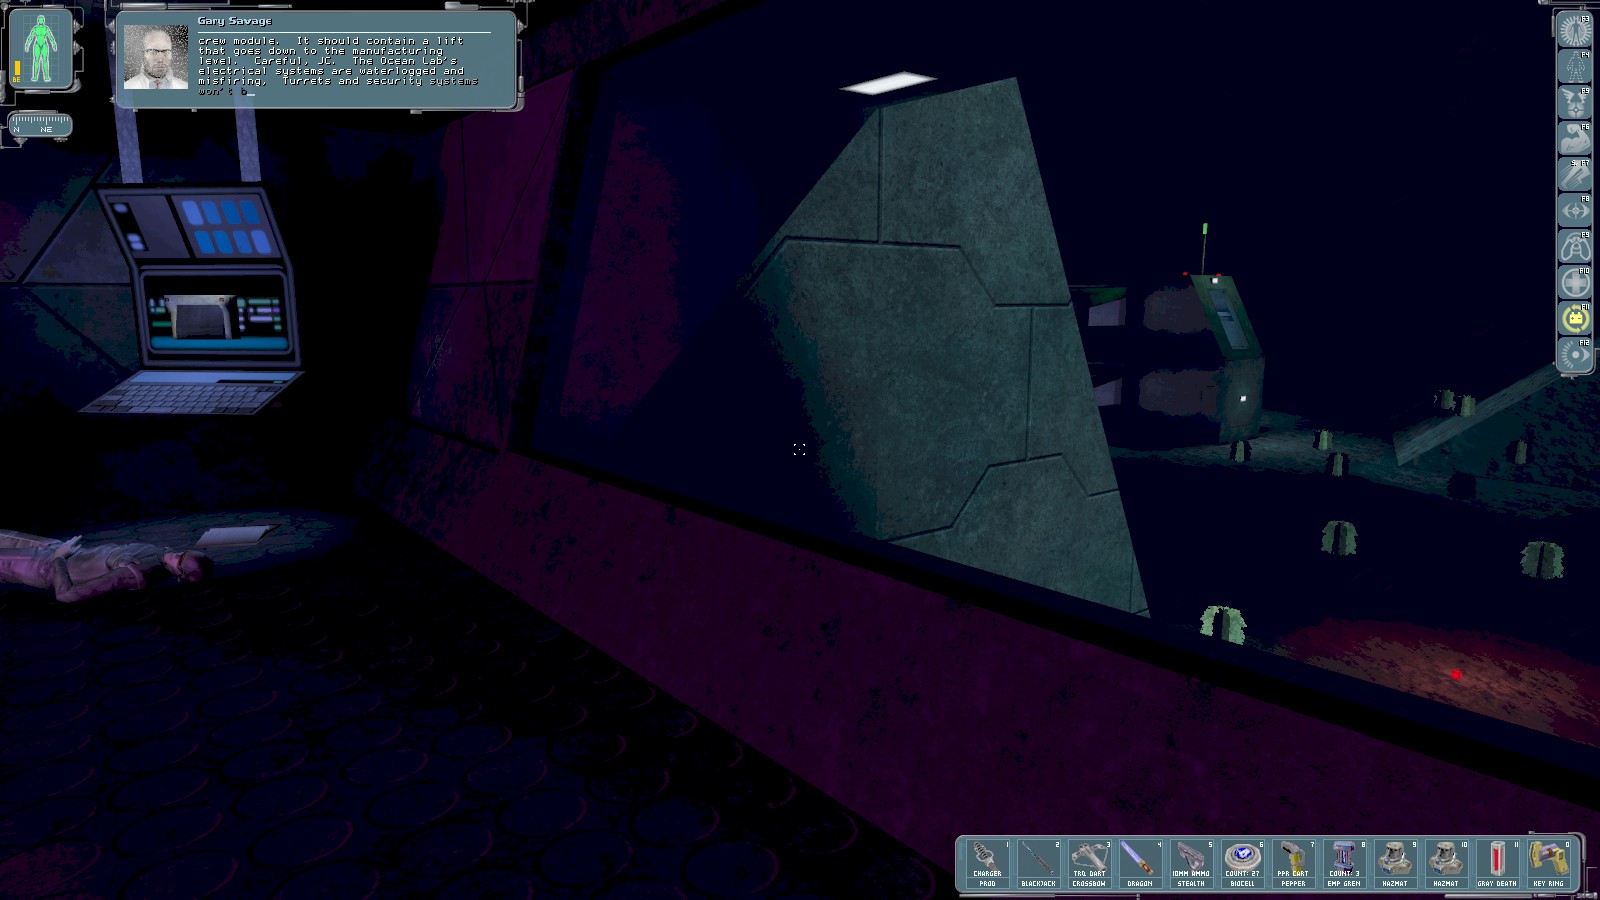
Gary Savage radios in to tell you to look through the window to see the crew quarters to the NE outside. That’s our objective. Hack the nearby security console to open the bay doors here, and disable 3 cameras and a turret.
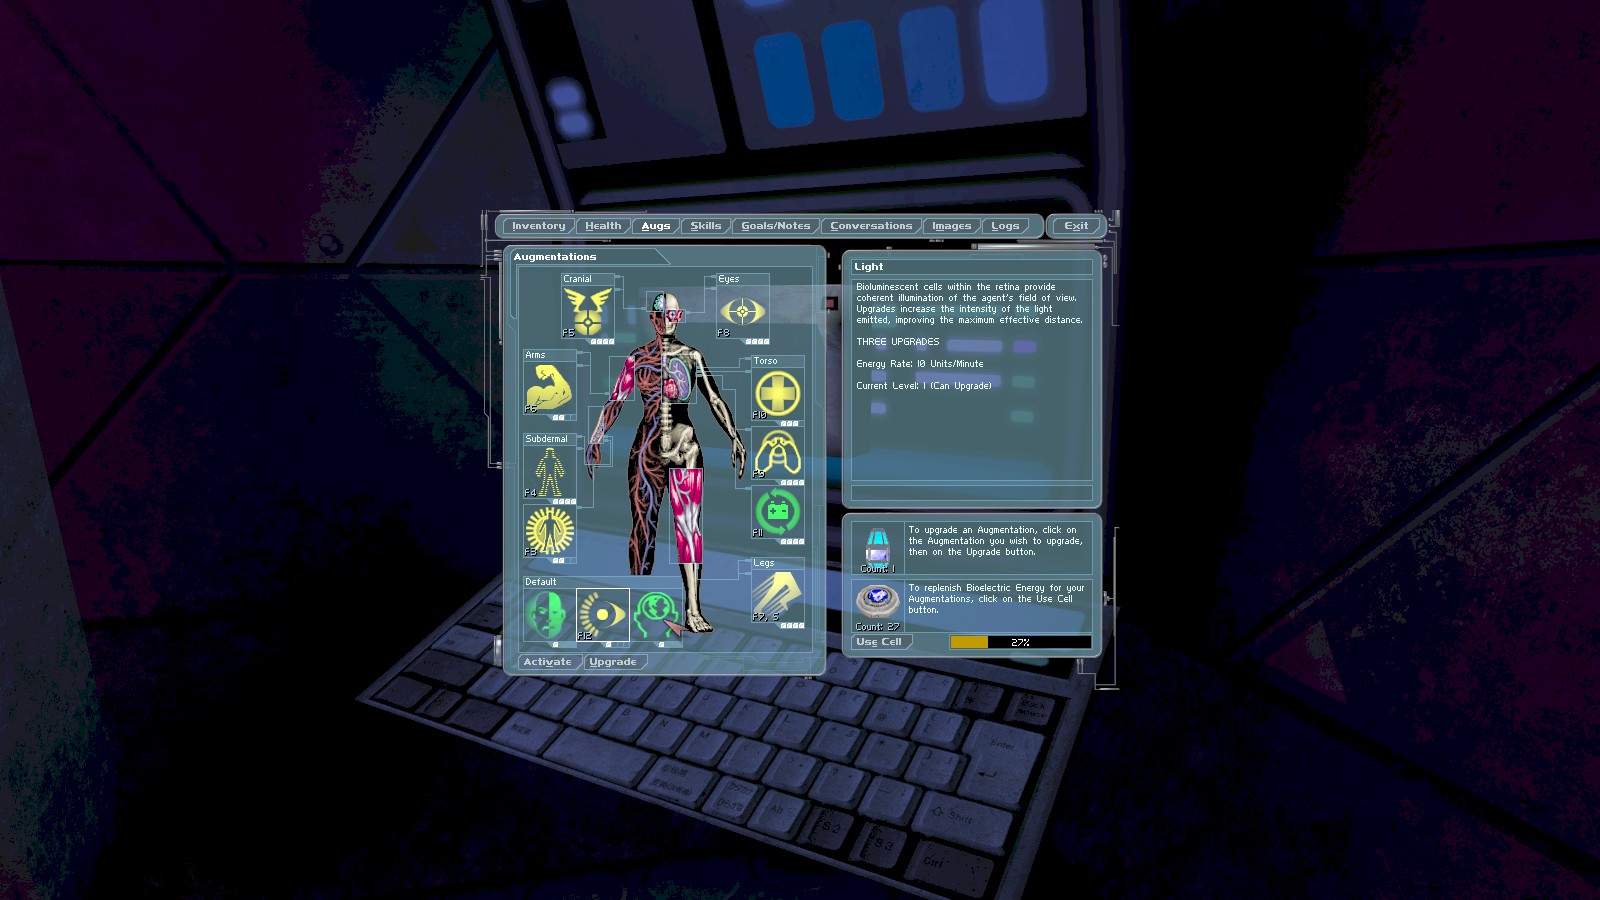
I decide it’s time for a bit more exploration. I have an augmentation upgrade canister that I use to upgrade the Light augmentation to help find things in dark places. Then I go for a swim. If you’ve been following along the Rebreather augmentation at Tech 4 will help a lot—enable it before diving in.
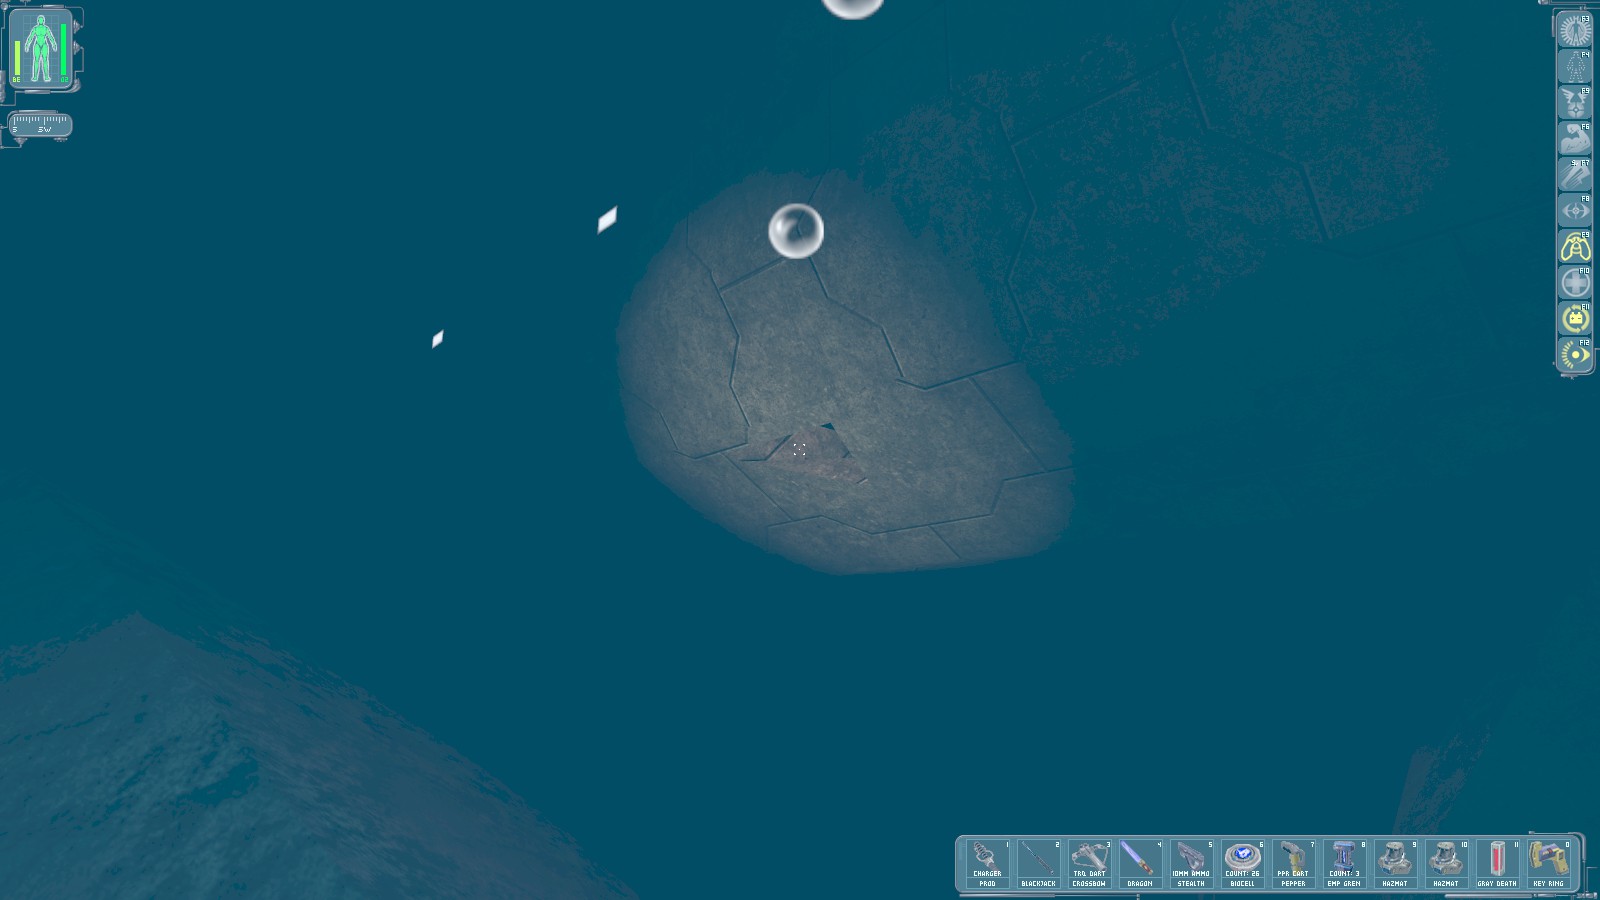
First head South as far as you can go to find this hole (kinda hard to see here, but it’s identifiable by a flashing light inside). Head in for 200 skill points.
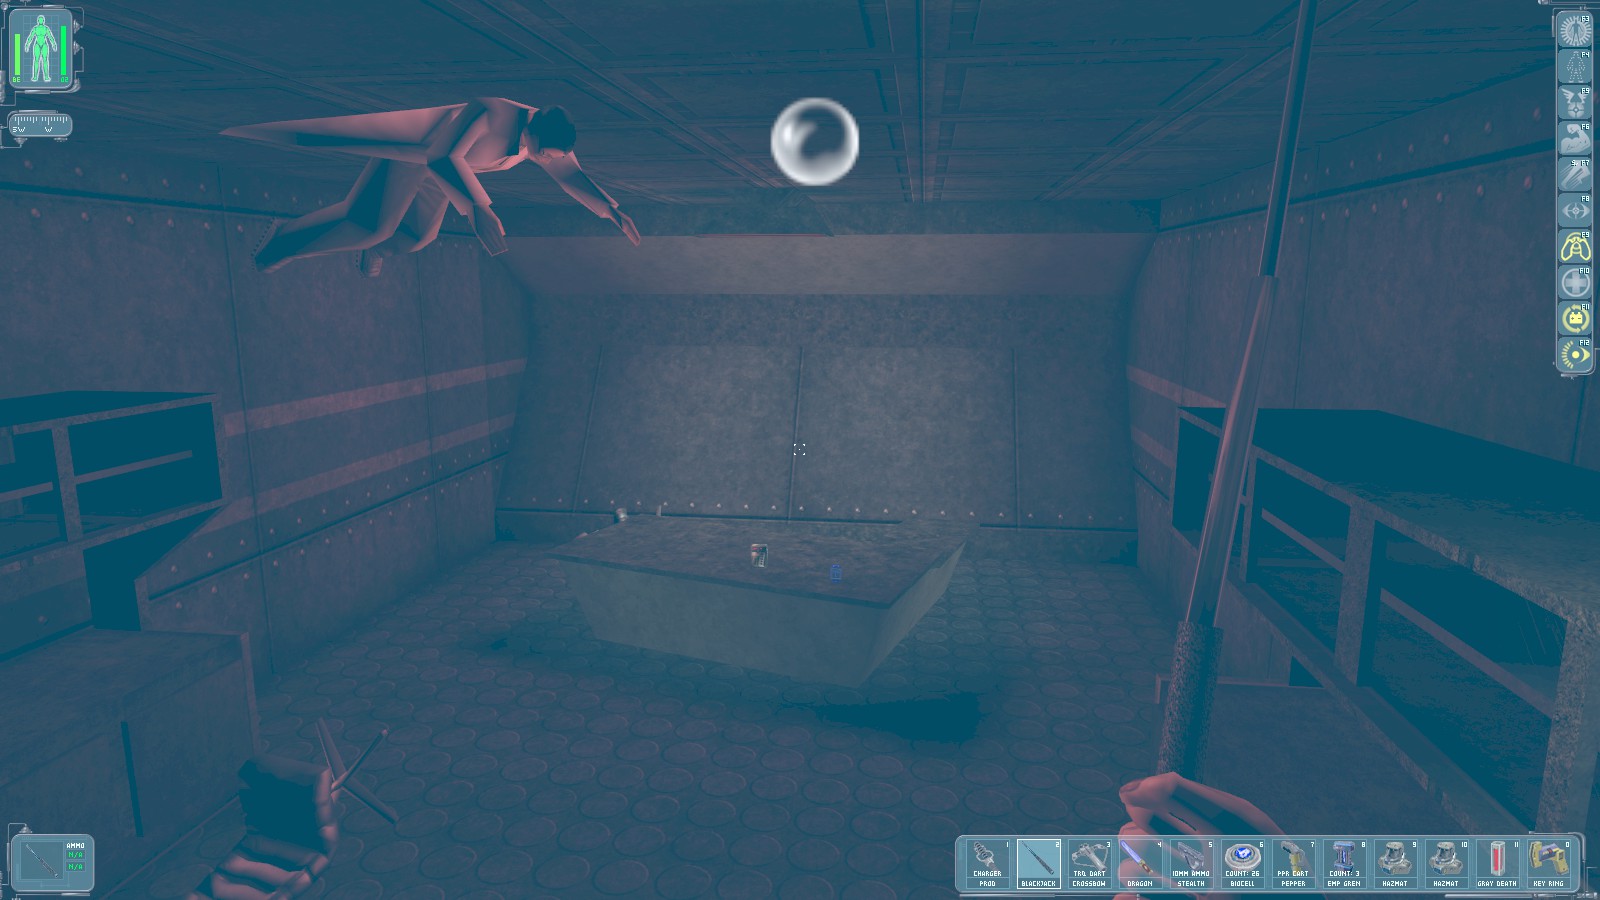
Grab the storage access key from the table, and search the floating body for a prod charger a biocell. A GEP gun is behind the table too. Head back outside.
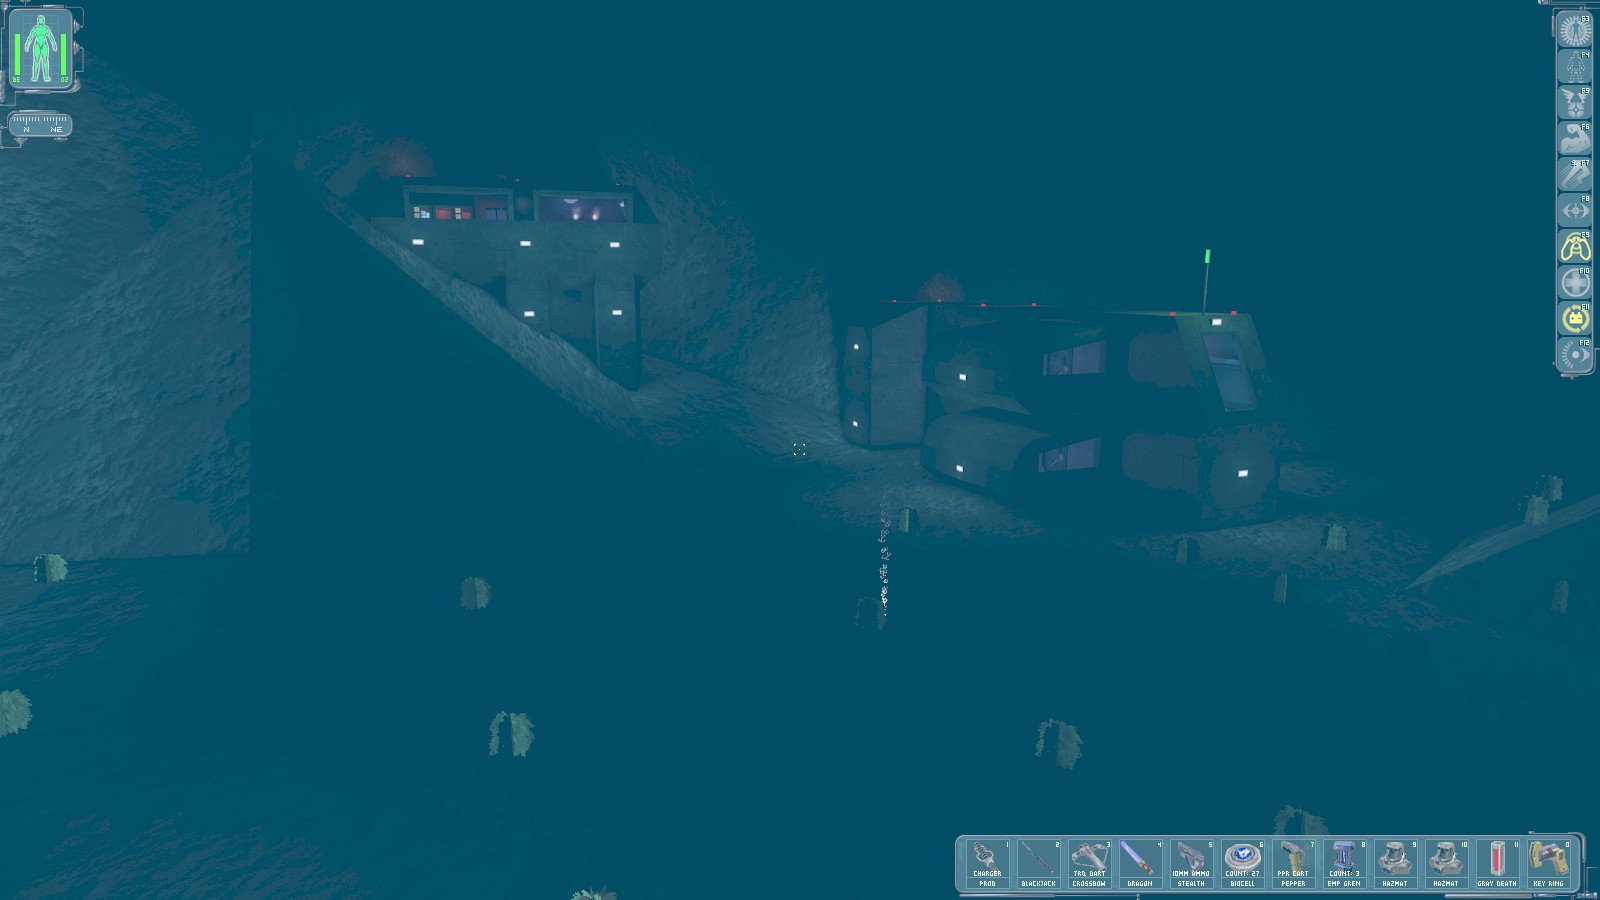
To the NE is the crew quarters that Savage mentioned. Head there (pop back inside the sub bay for air if you need to).
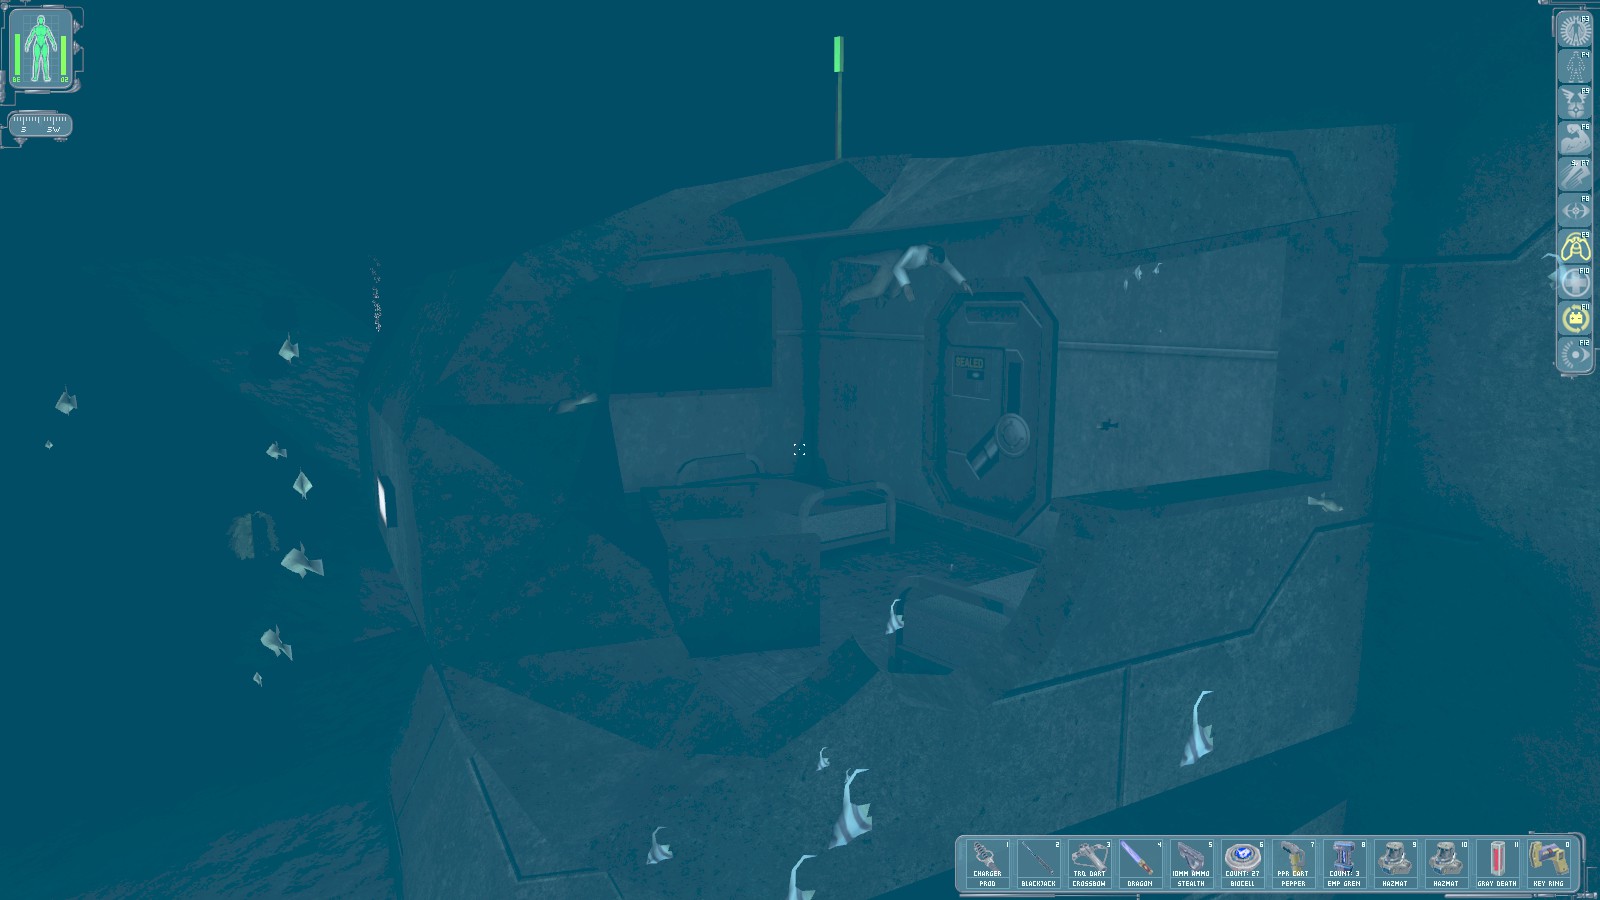
On the far side from the sub bay, this module has a hole in it. The floating body has 2 biocells and an augmentation upgrade canister. Smash a locker with the Dragon’s Tooth sword for an accuracy mod and tranquilizer darts before swimming back to the sub bay.
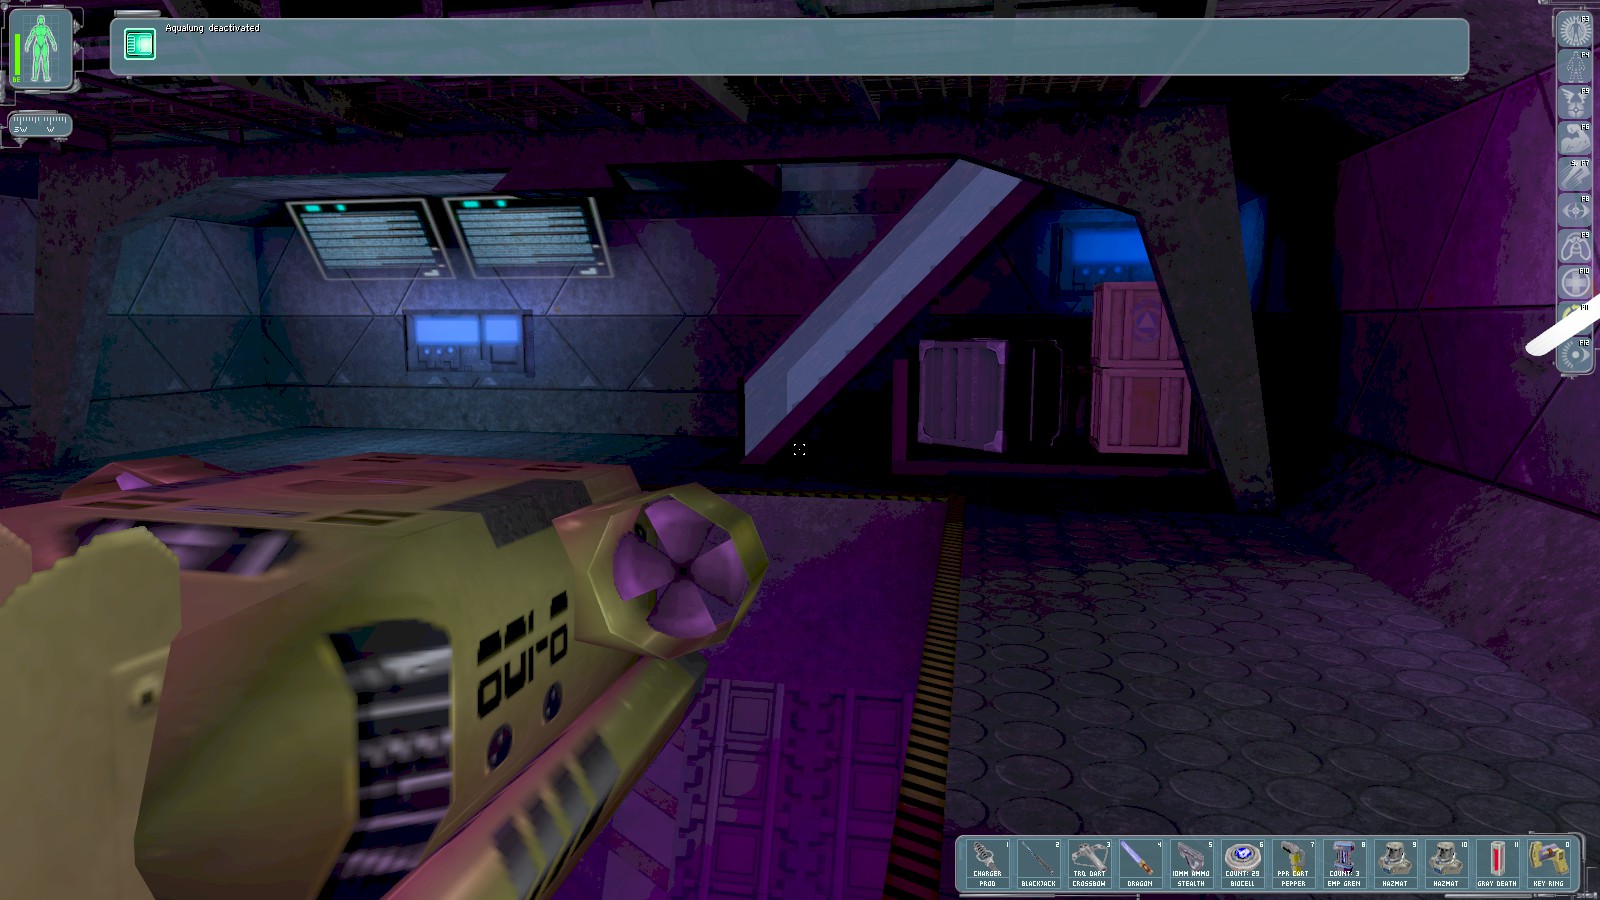
Back inside, the crates beneath the stairs have a LAM and another biocell. Head up the stairs.
|
|

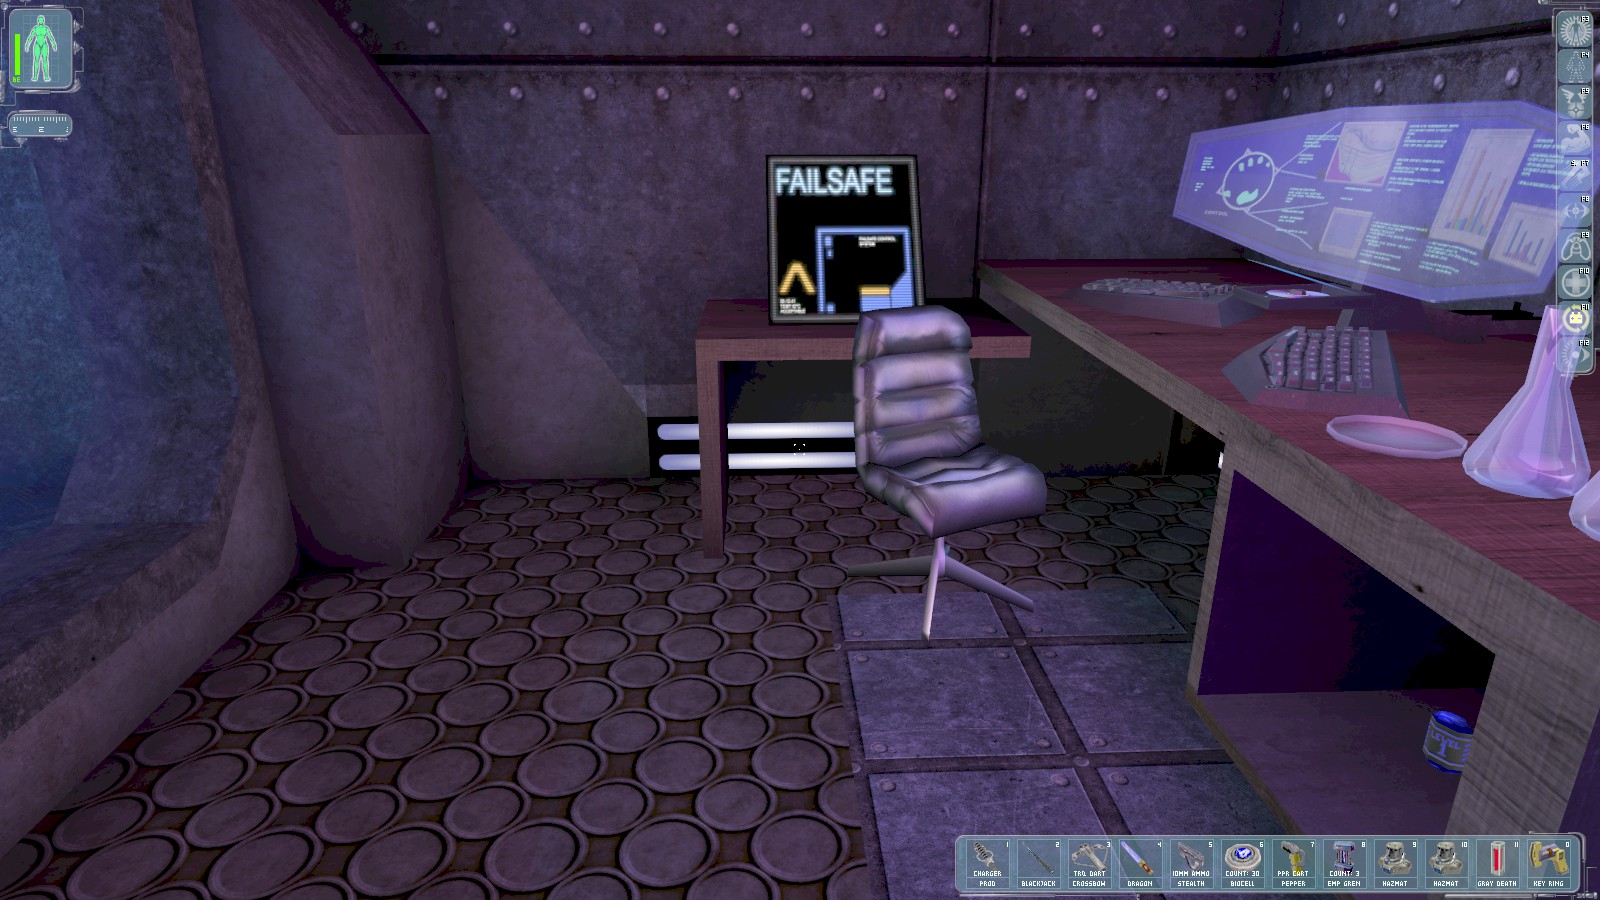
At the first level are two unlocked doors. In the one on the right is a key for the lab upstairs. Grab it, then go up another flight.
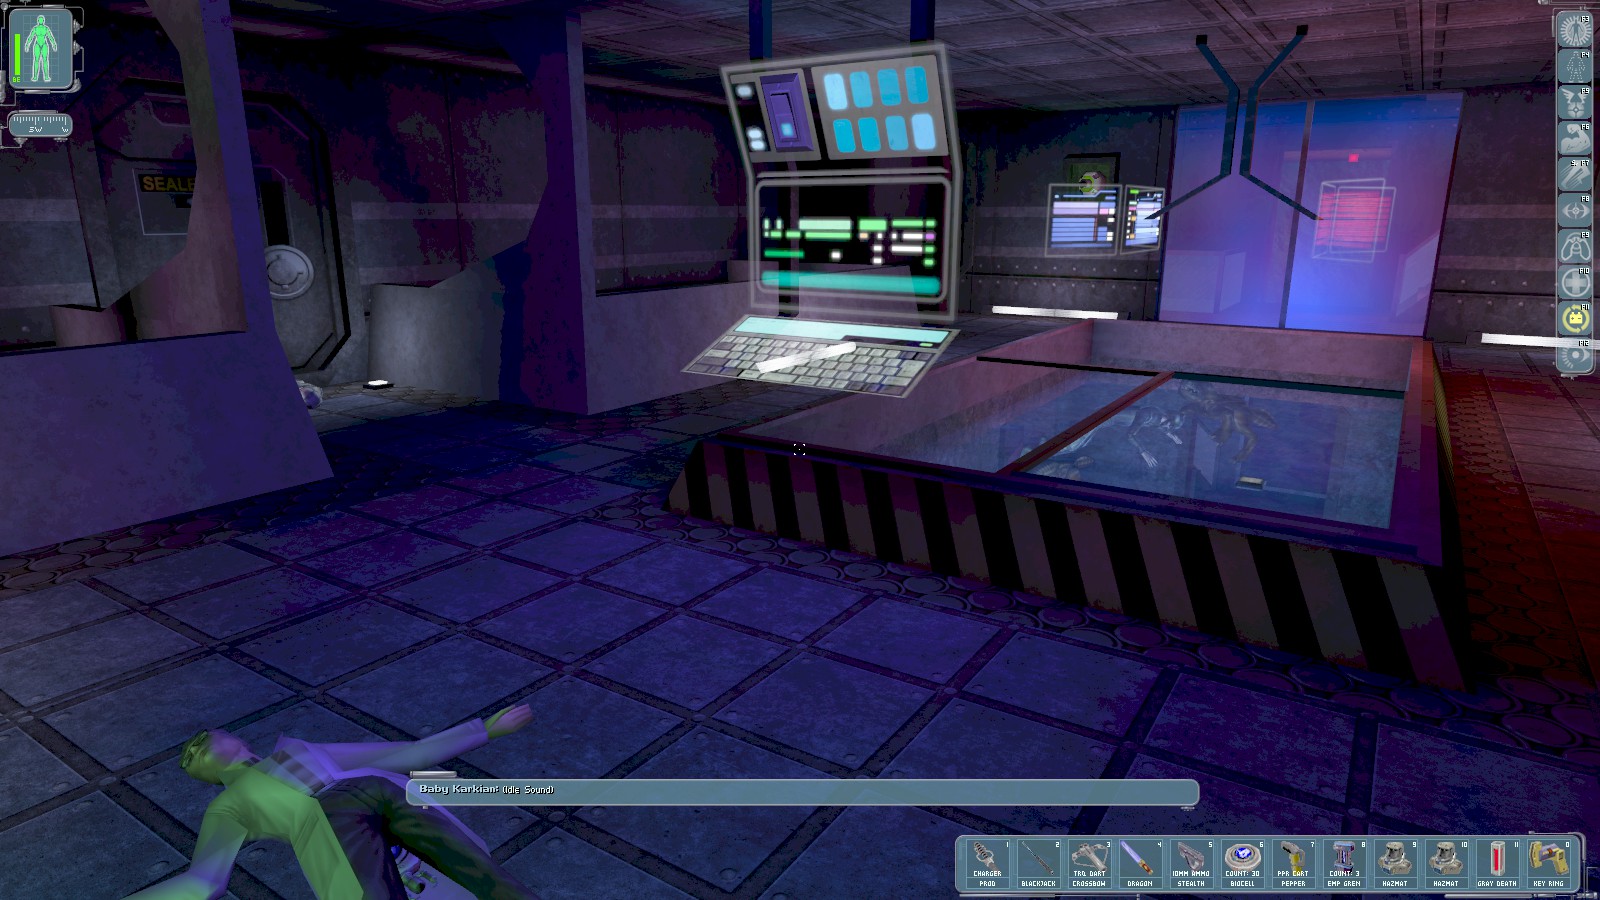
Either door will get you in here. Search the scientist’s body for a riot prod. Watch out for the
baby Karkians when searching the body floating in the tank for a pair of scramble grenades and a
rebreather. Activate the switch on the console above the tank to move the covering so you can
(again, careful of the Karkians) read the datacube for the credentials Oceanguard/Kraken for the
security systems. Back outside go up another flight of stairs to the Command Centre at the top.

The door is opened using a switch nearby, and it’s immediately apparent that the turret in the room has gone rogue. Dive beneath the small table near the door on the left side of the room before it can get a fix on you.

There’s a security console on the wall. Access it with the login Oceanguard/Kraken
and disable the turret and two cameras, and open the nearby door. Helios
radios in to say not every door has been sealed. Bob Page tells you to lead the way. Feeling
watched?
There’s another rogue turret down the passage to the left. Send your Spy Drone down to temporarily disable it, then dash down and use multitools to take out of action permanently. Grab the nanokey for the Greasel Lab from the floor, and open the Storage Unit to the left of the turret for a biocell, lockpick, and multitool. The open door to the right has another multitool and biocell.
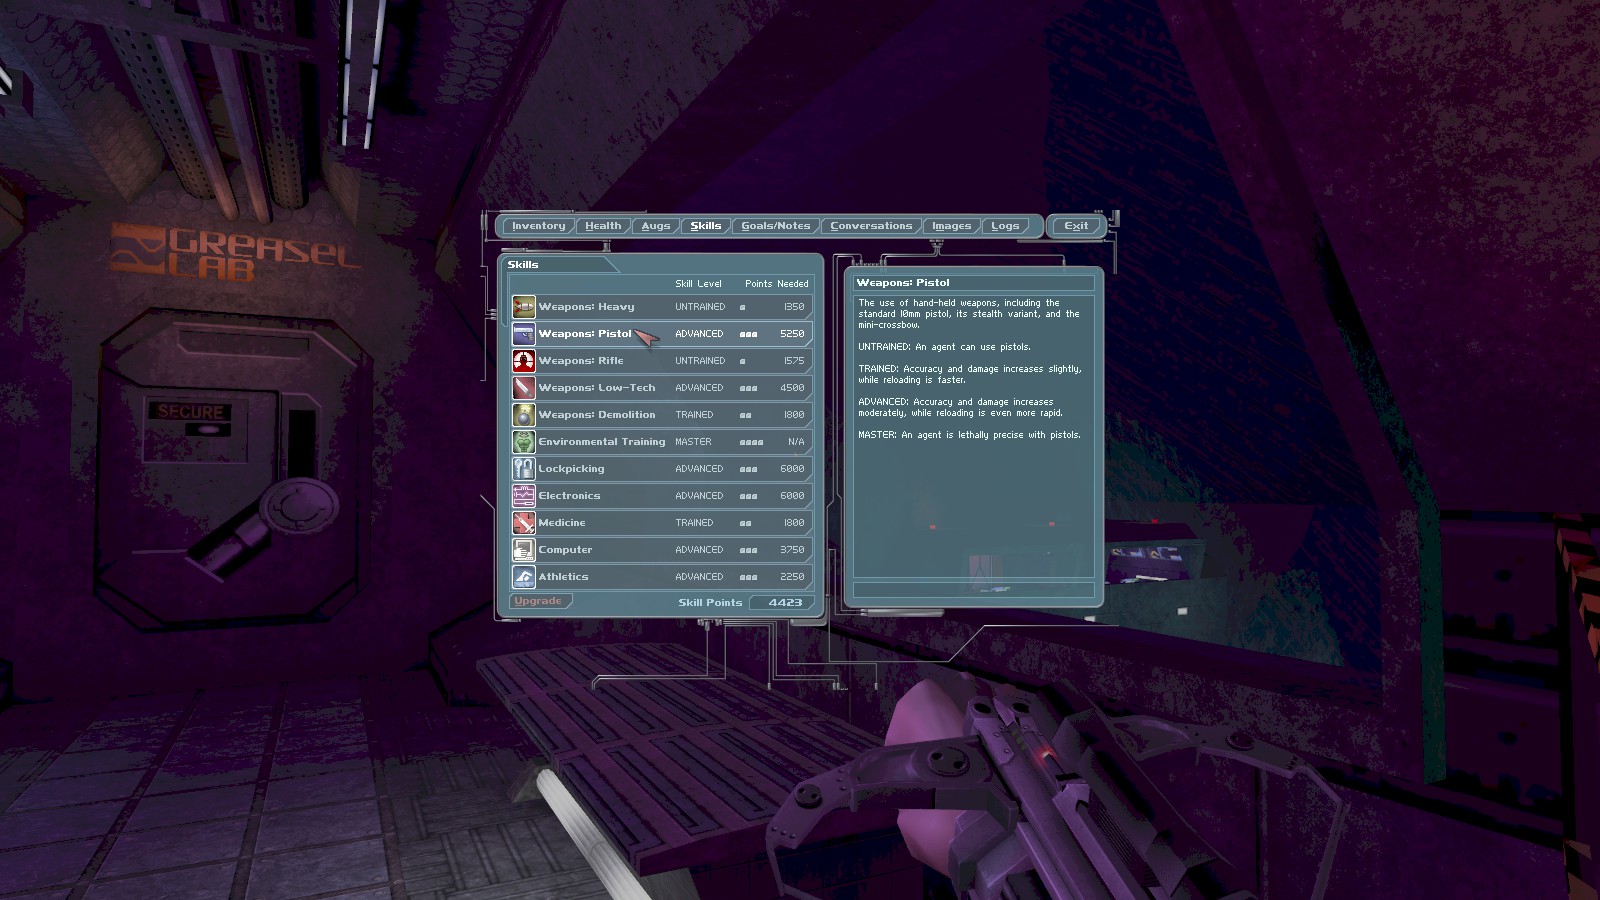
Before entering the Greasel Lab I decide to upgrade my Weapons: pistol skill to Advanced. The transgenics in here are a bit hardier than those we’ve met previously, and the extra skill level makes dealing with them a little easier. While I’m at it I also upgrade the Medicine skill to Trained, making biocells more effective.
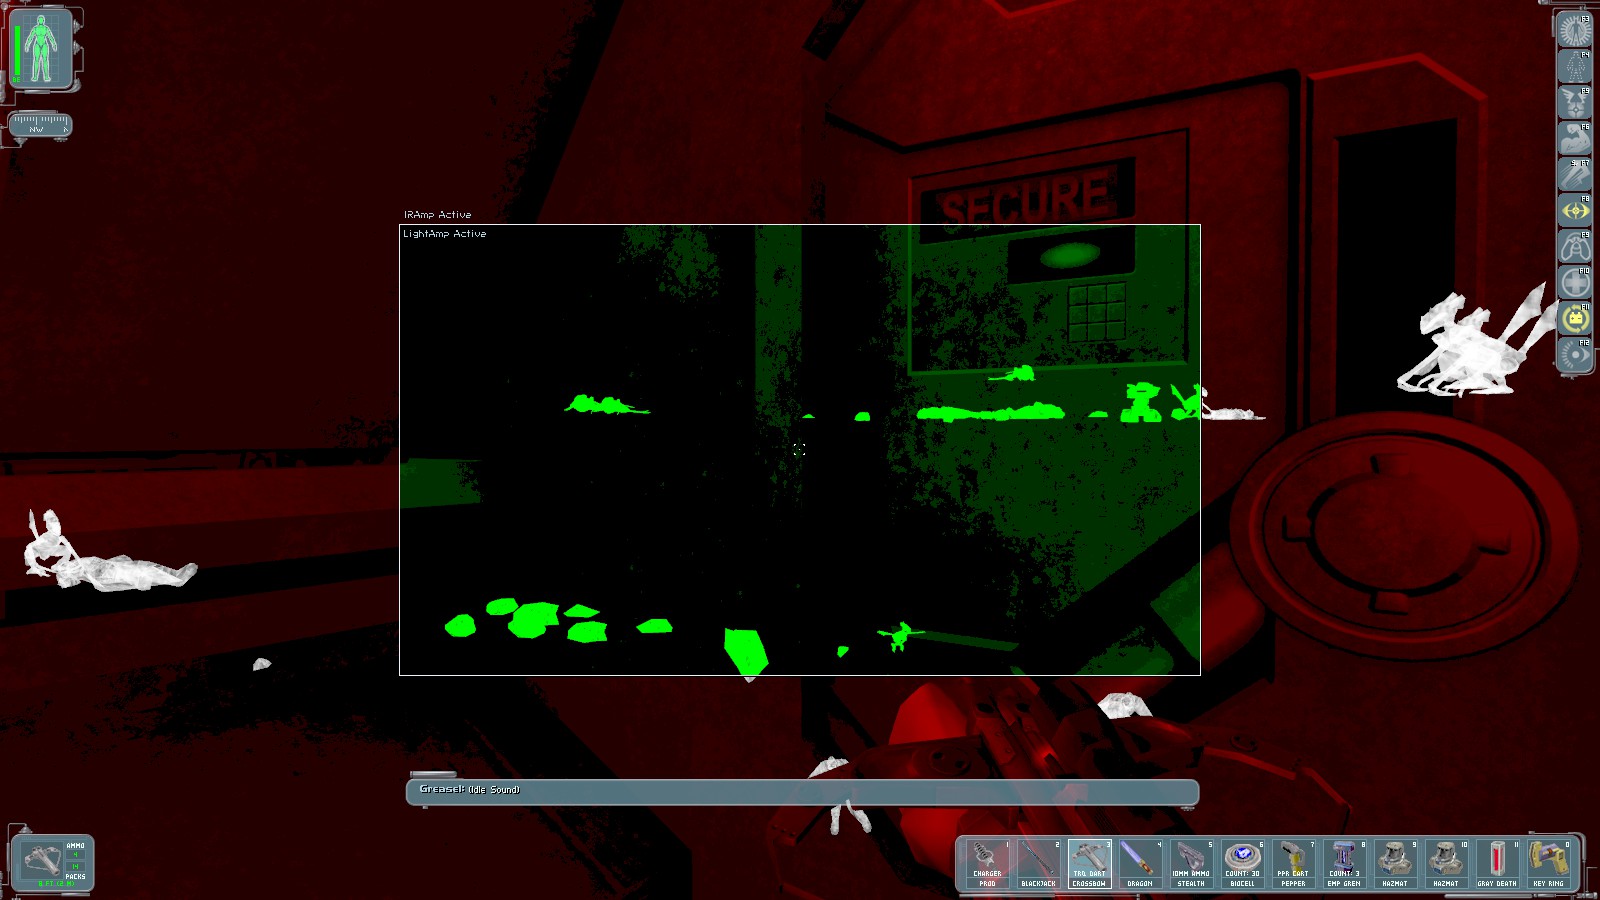
A scan with Vision Enhancement shows 4 greasels in the lab, with the nearest to the left inside the door. I shoot a couple of bullets using the stealth pistol to weaken it, then retreat back up the hall.

The greasel follows me so I shoot a tranq dart, and go back through the command centre and shut the door. It takes a couple more tranq darts to knock it out.
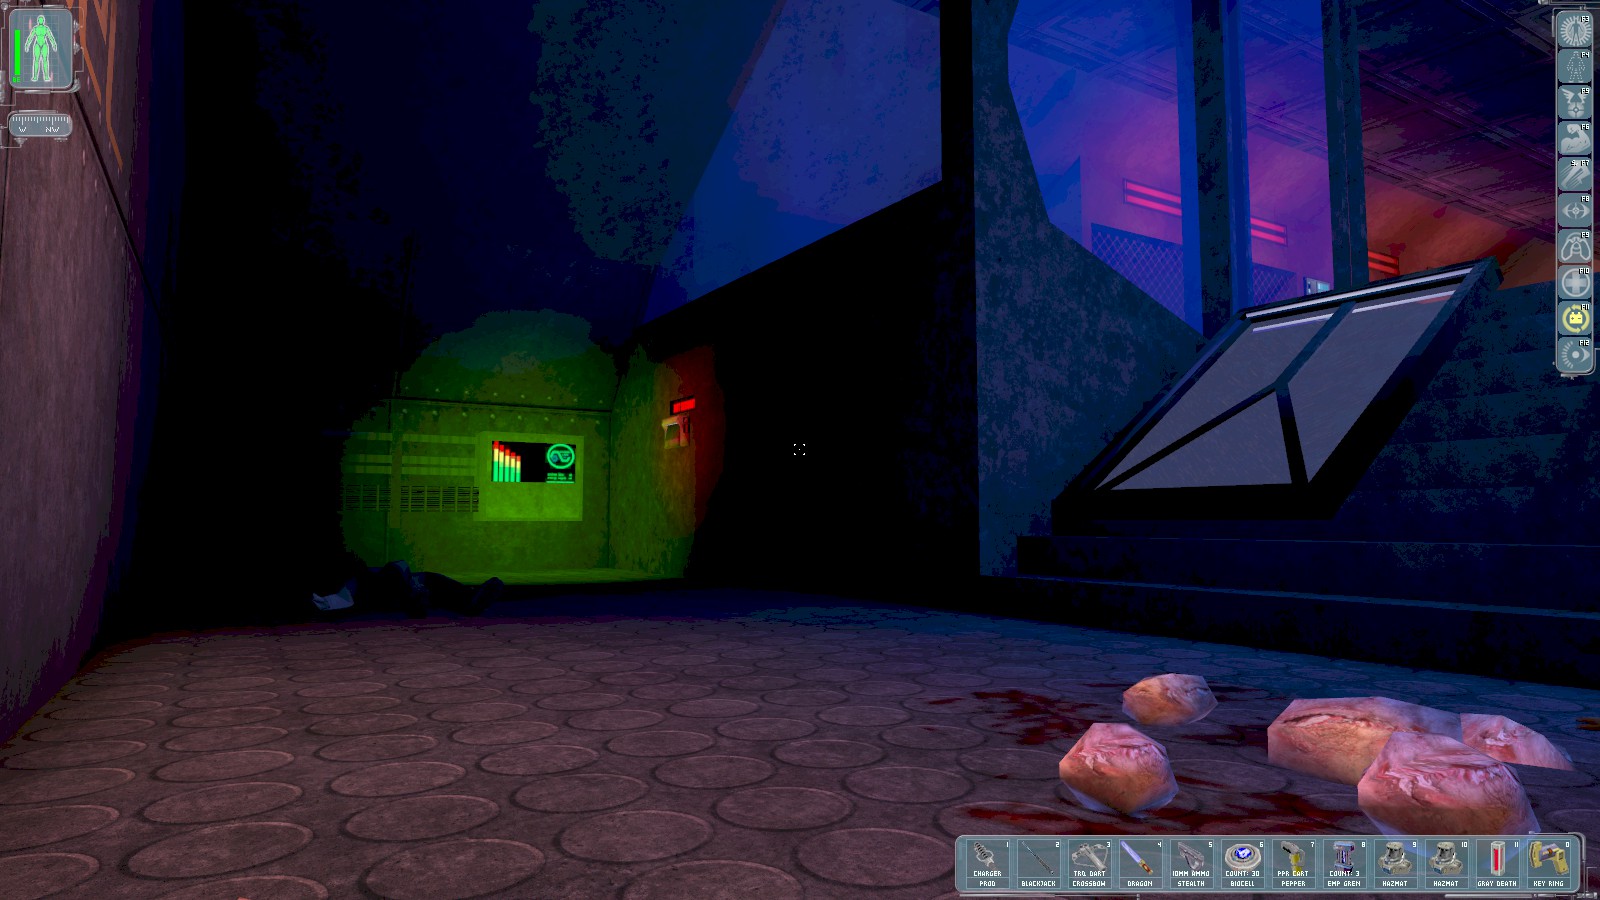
Quietly returning to the greasel lab so as not to alert the remaining 3 critters, I access the
security console on the left inside the door with the login Oceanguard/Kraken and
activate the security bot. It makes short work of the others.
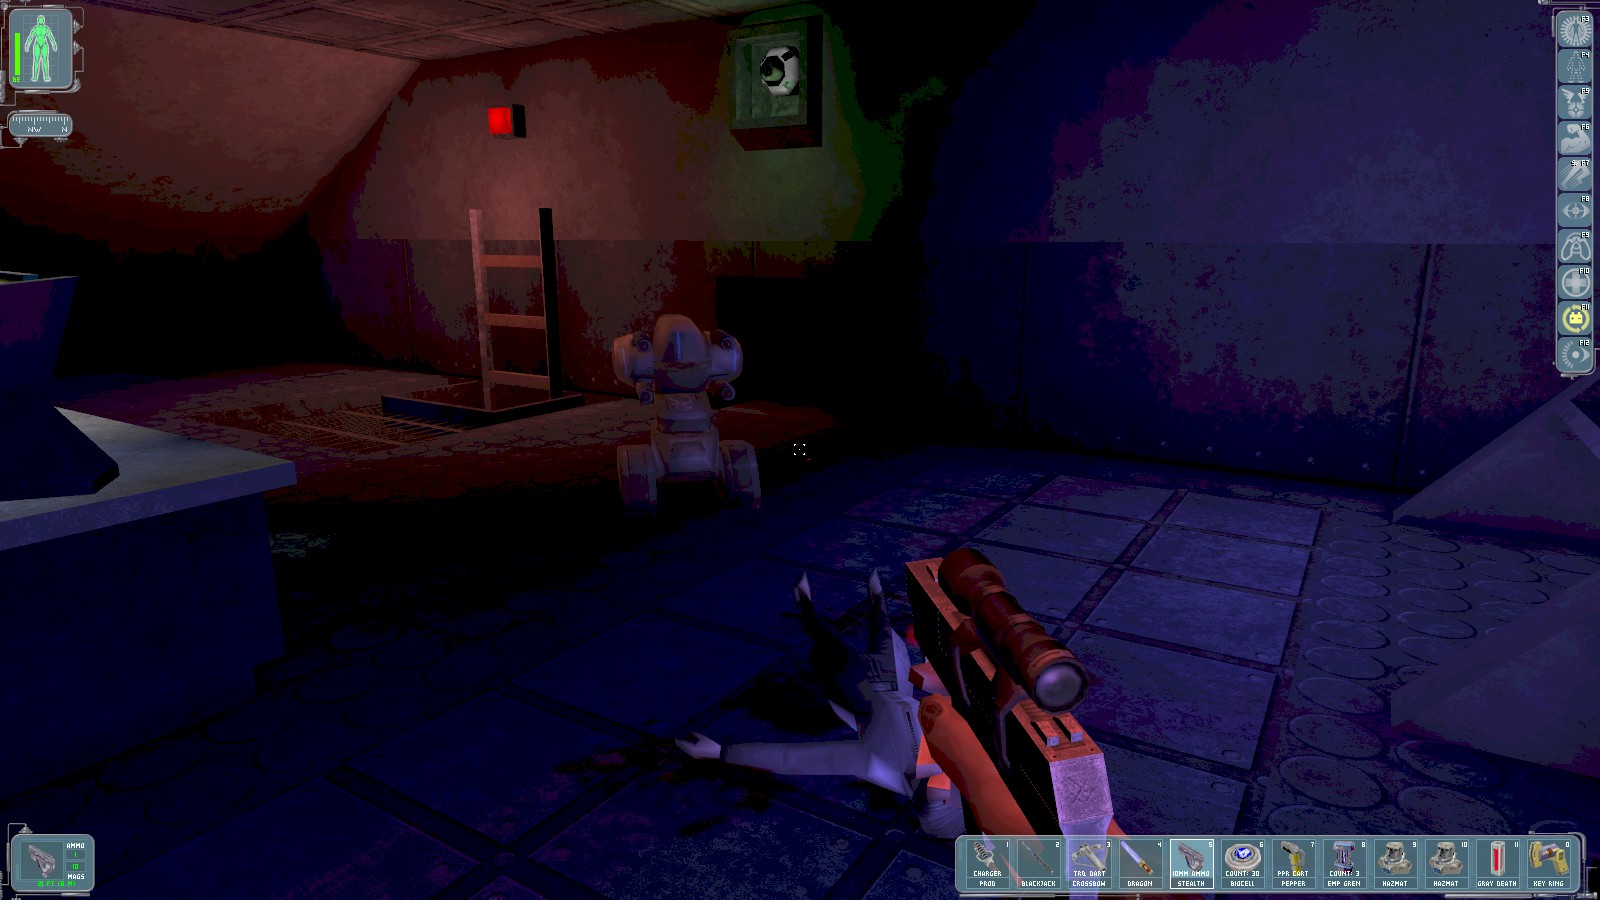
Up in the lab this body has a medikit. At the foot of the ladder is another greasel in a flooded room. Again, a combo of stealth pistol followed by tranq darts knocks it out.
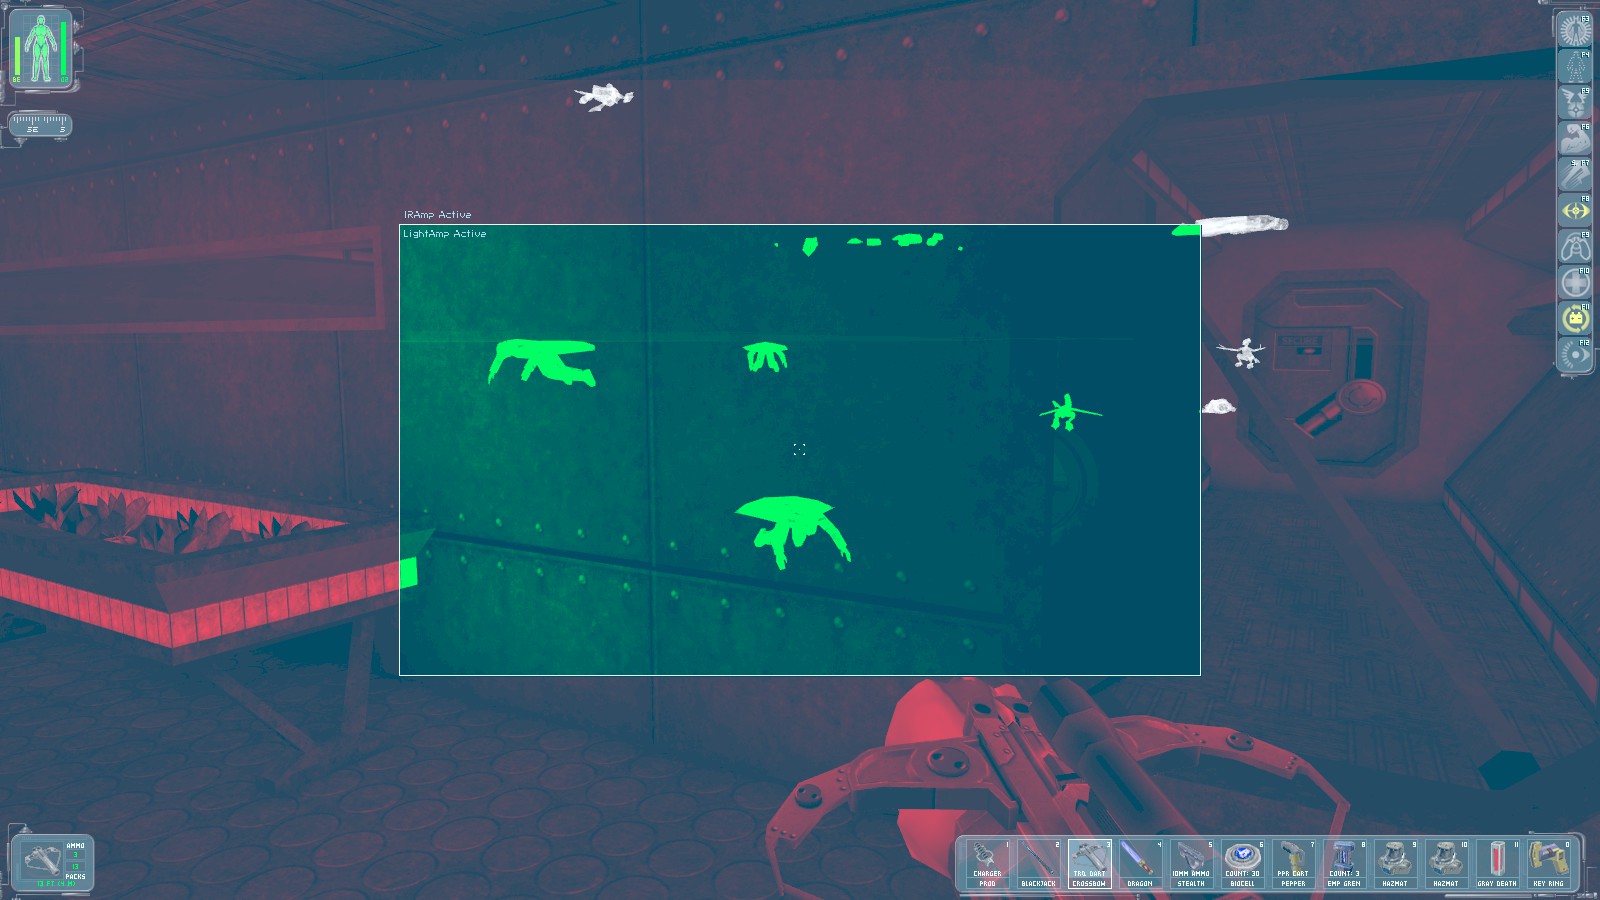
In the room below there are 2 doors, one locked with a keypad. The other is open and leads to a partially collapsed corridor. Beyond another 3 greasels (2 shown here) float around. The pistol doesn’t work under water, so tranq darts and patience needed. Retreat back up the ladder in the previous room as needed until the tranquilizers take effect.
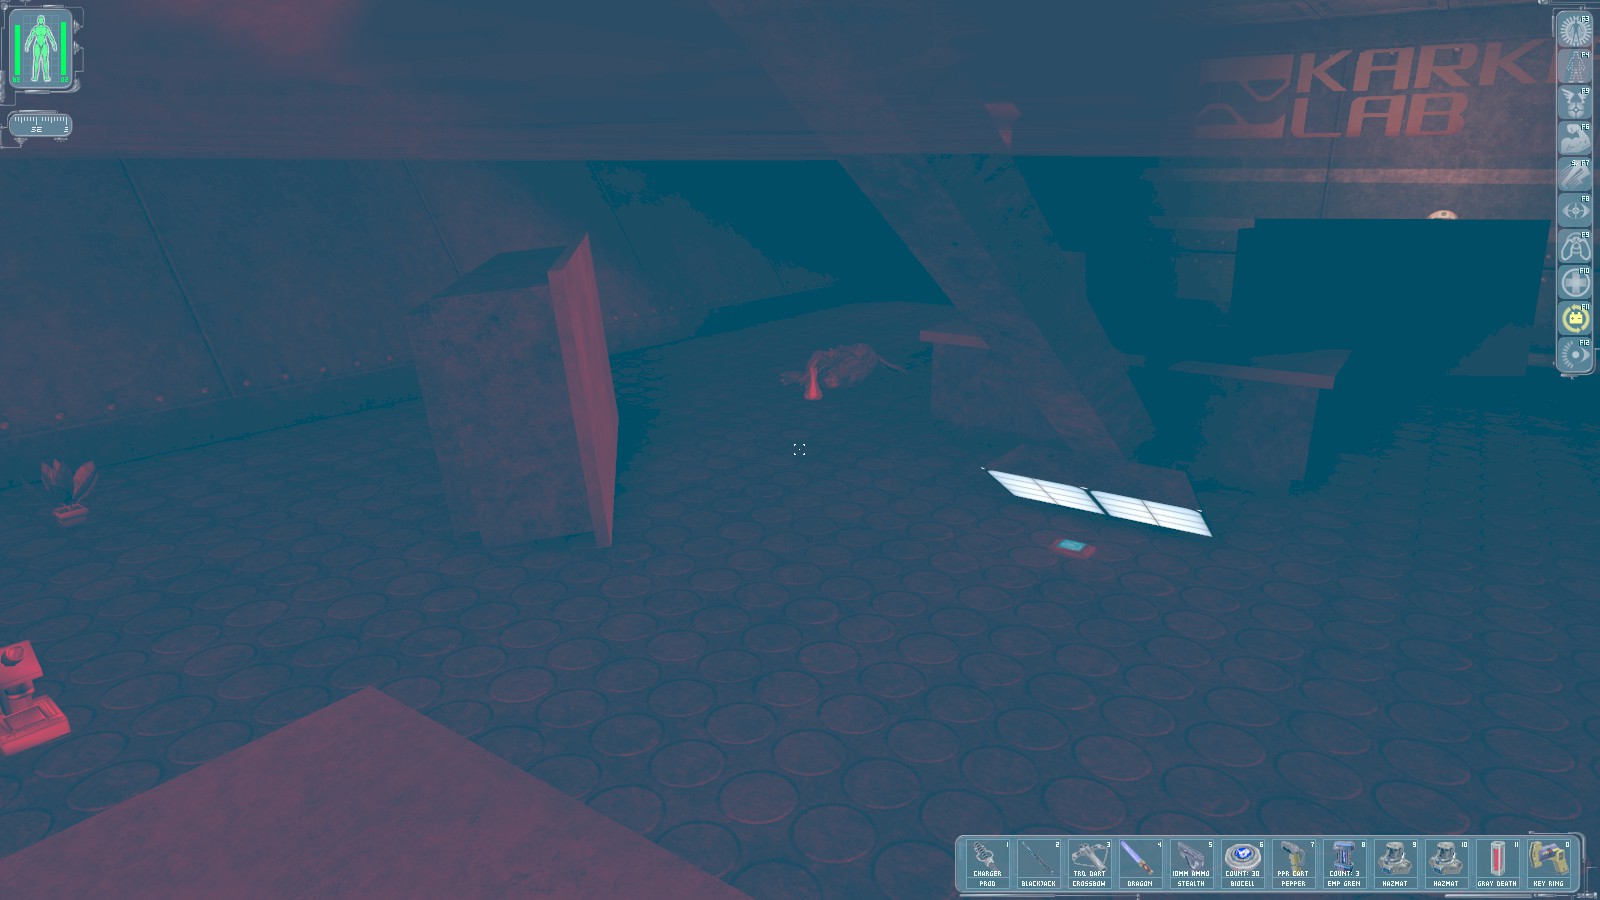
The 3rd and final greasel is feeding in the corner and not a danger as I read the datacube for the
code 5690 for the locked door, and search the floating body for a biocell. Your key opens the
other door in here (to the left of this shot) for a medikit.

Use the code 5690 on the keypad to the right of the ladder and pass through to receive
400 skill points and a message from Gary Savage to tell you you’re near to the crew module.
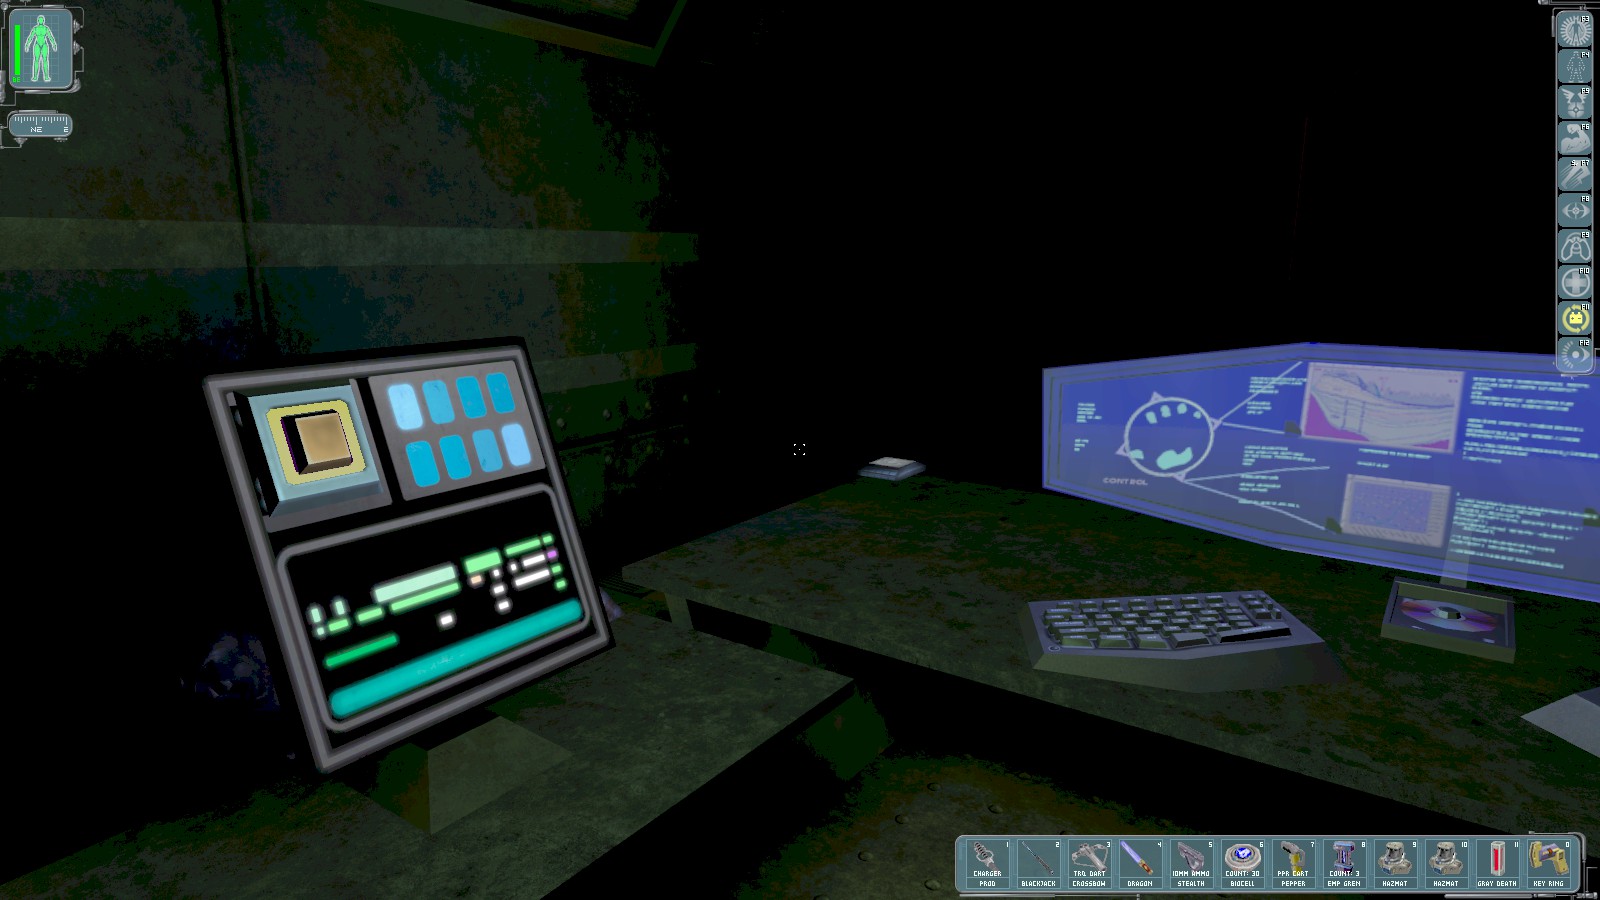
At the top of the stairs the electrical hazard is easily skirted. Keep quiet to avoid alerting the baby karkian, and slip round the desk to press this button to open the door ahead. The datacube gives a reminder of the security login.
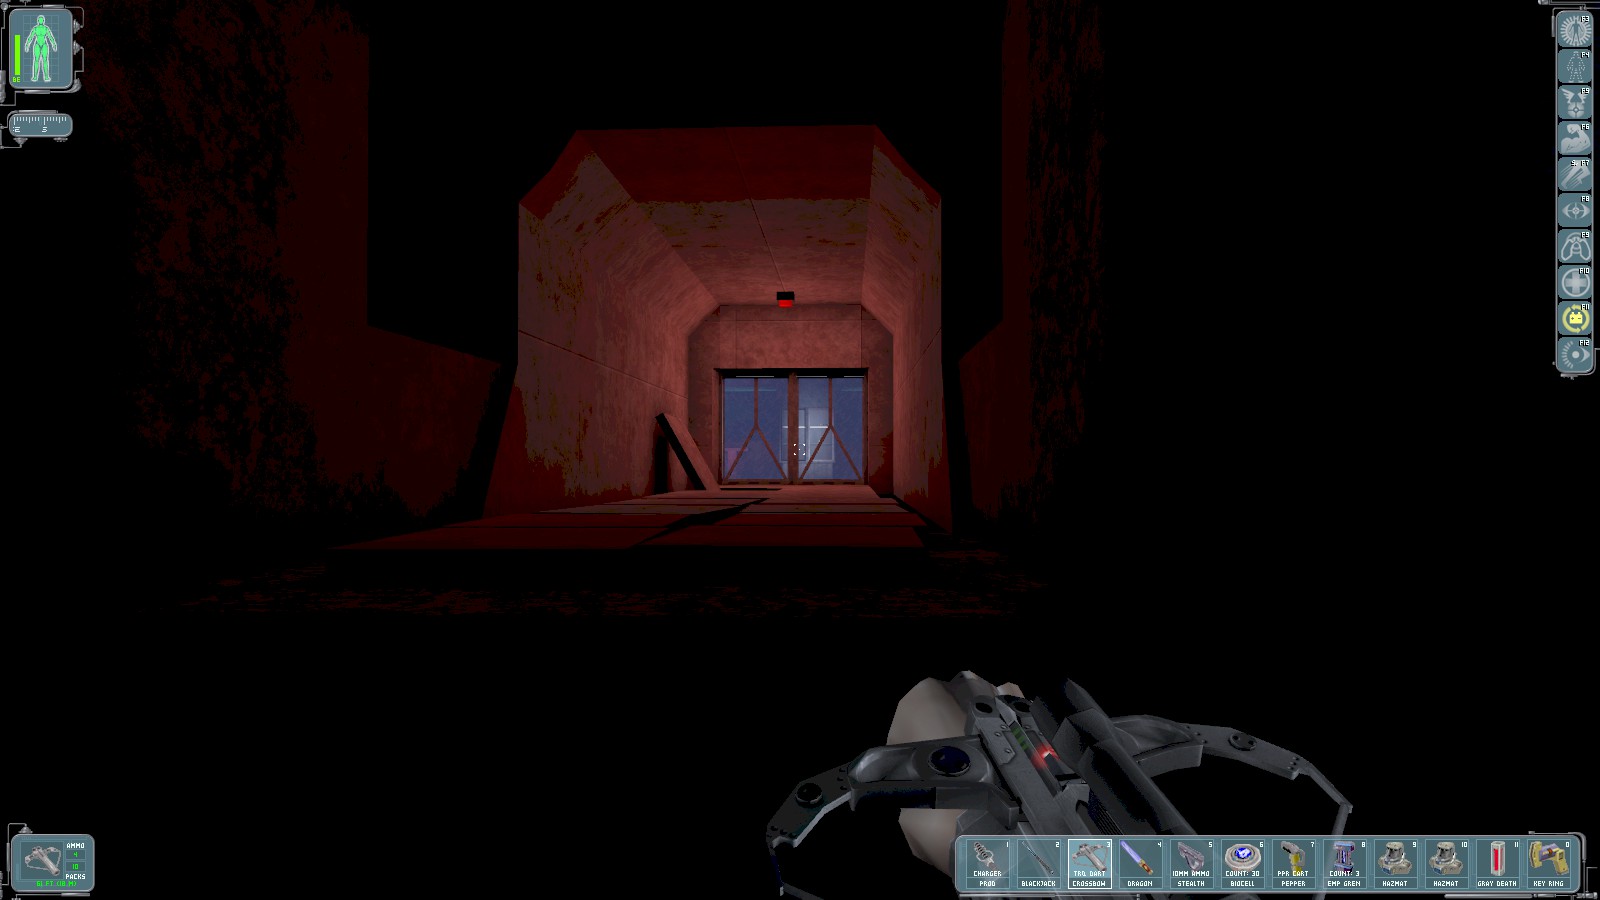
Down the stairs is an excavation site. You may need to knock out a couple of greasels if they’re close to the door. Head to the South to find this passageway.
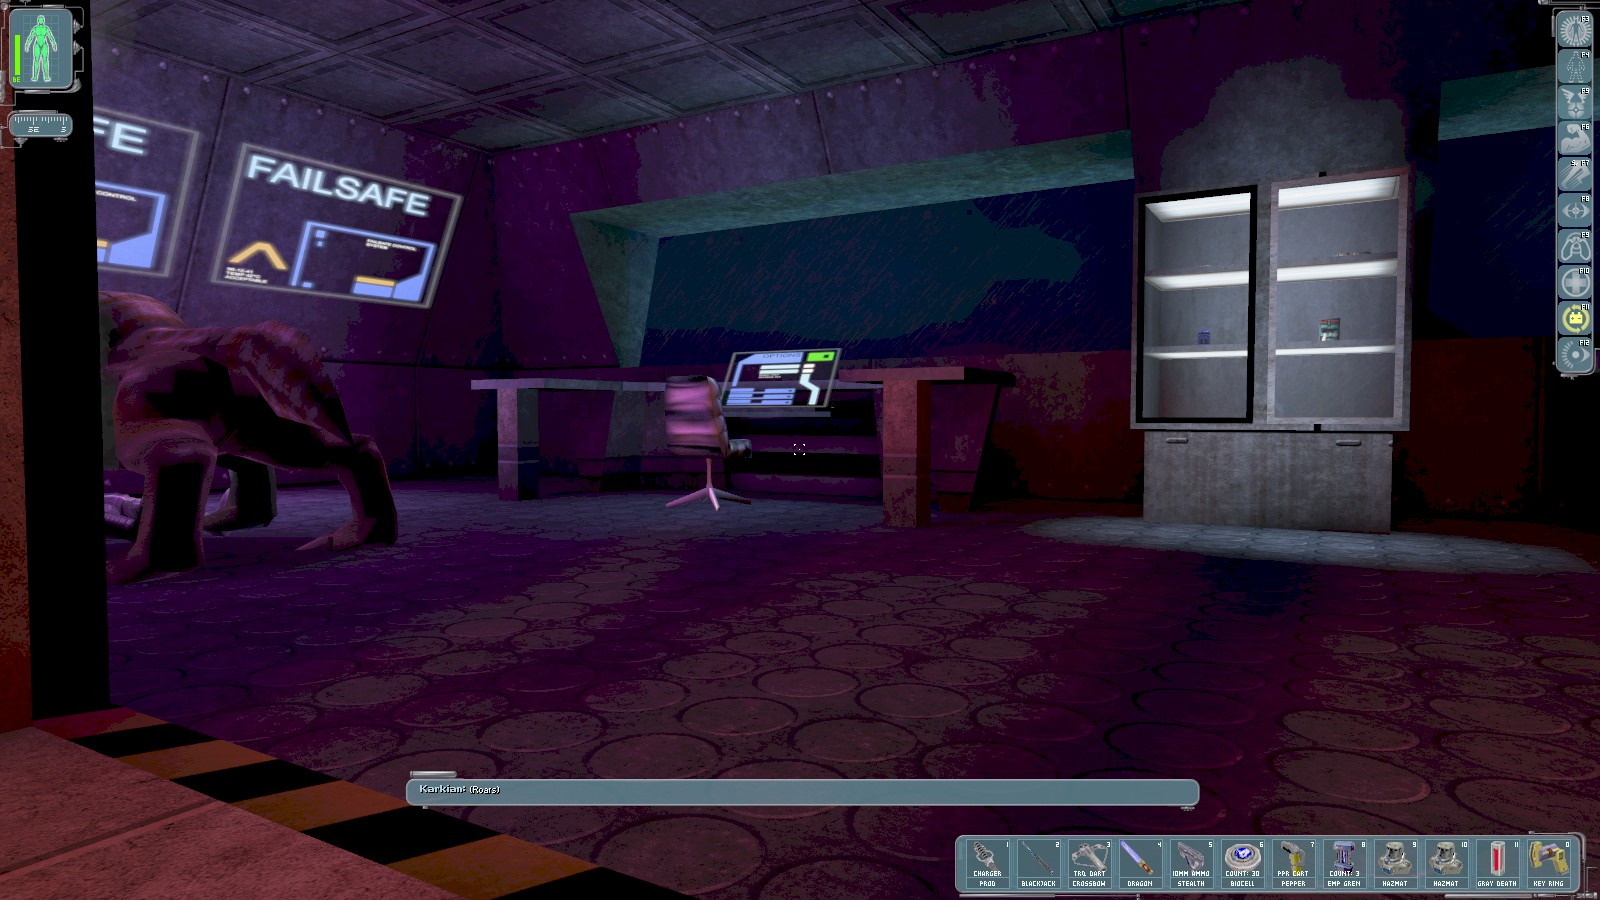
As you enter a full grown karkian runs across the room and starts feeding on a body. Quickly and quietly open the cabinet ahead to grab the crew module access key and a recoil mod. Close the door on your way out—when the karkian finishes feeding it goes roaming.
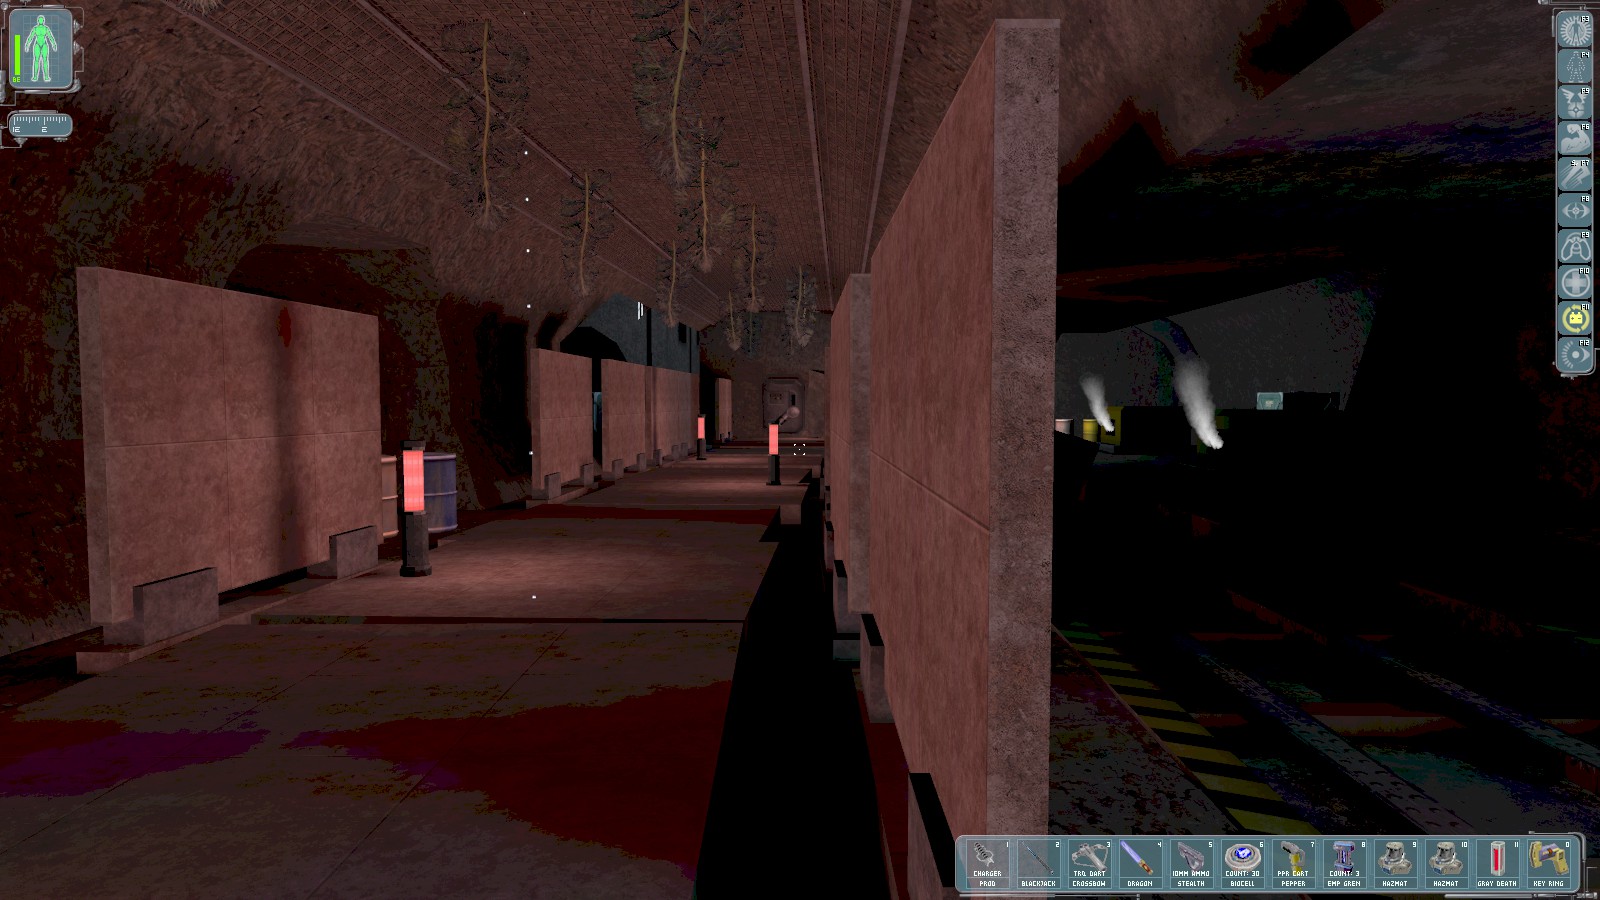
The crew module access key opens this door to the East. There are a few more greasels around that you can ignore if you’re quiet.

Enhanced Vision reveals where the karkian’s feeding sound comes from. Slip down the ramp to the right while it’s distracted.
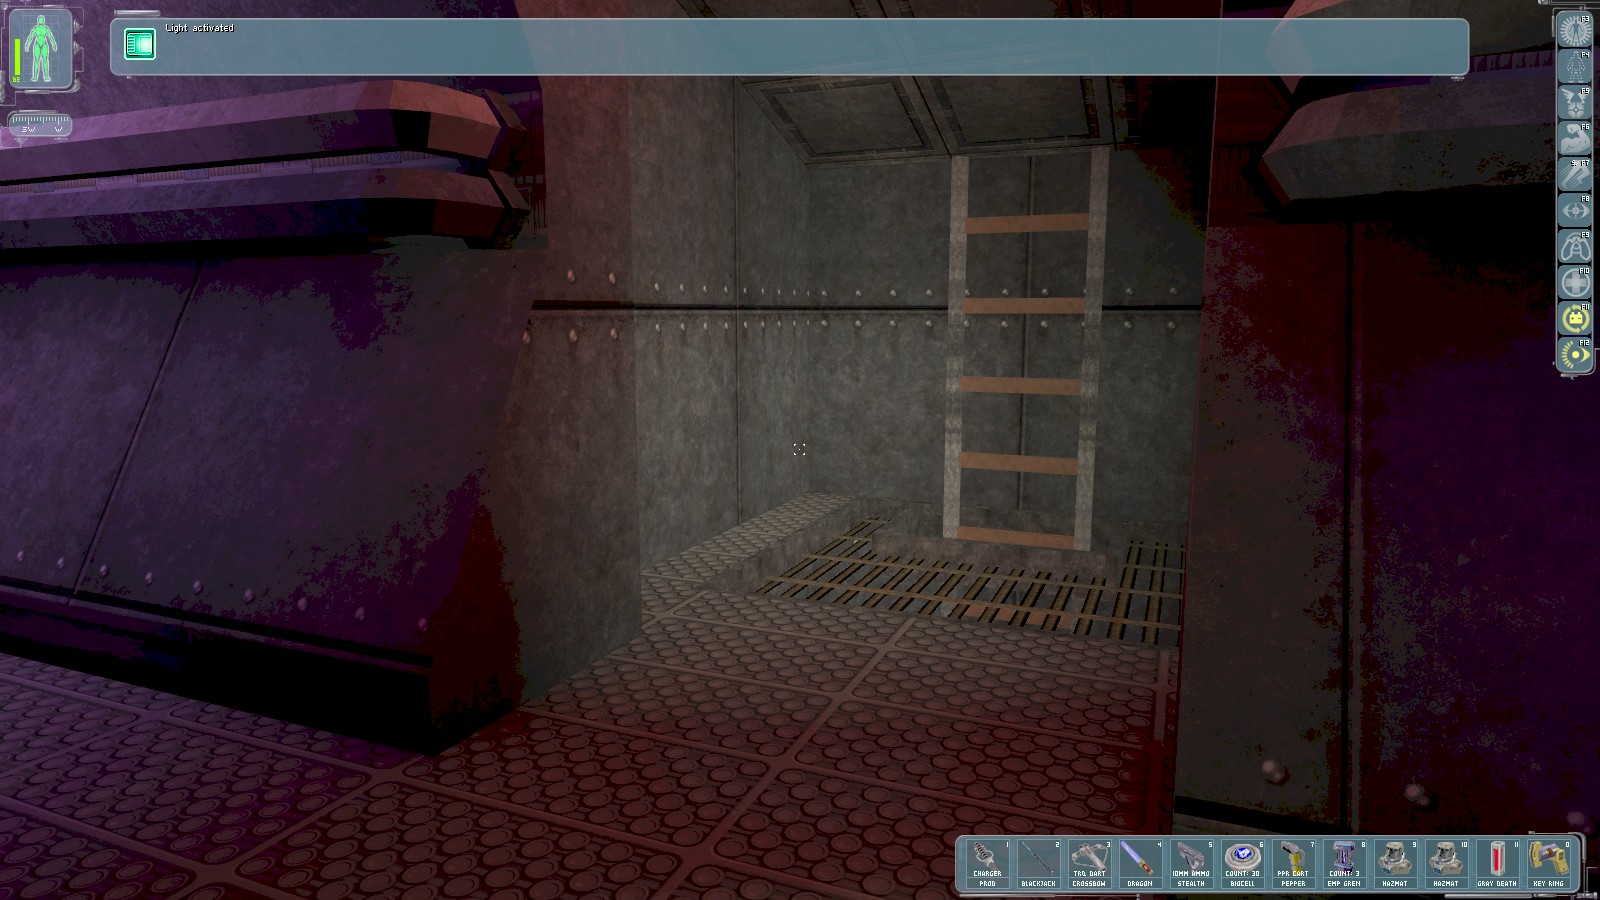
You’re now in the crew quarters—near to here. The accessible room down the hall has a greasel and little else, so just climb down the ladder.
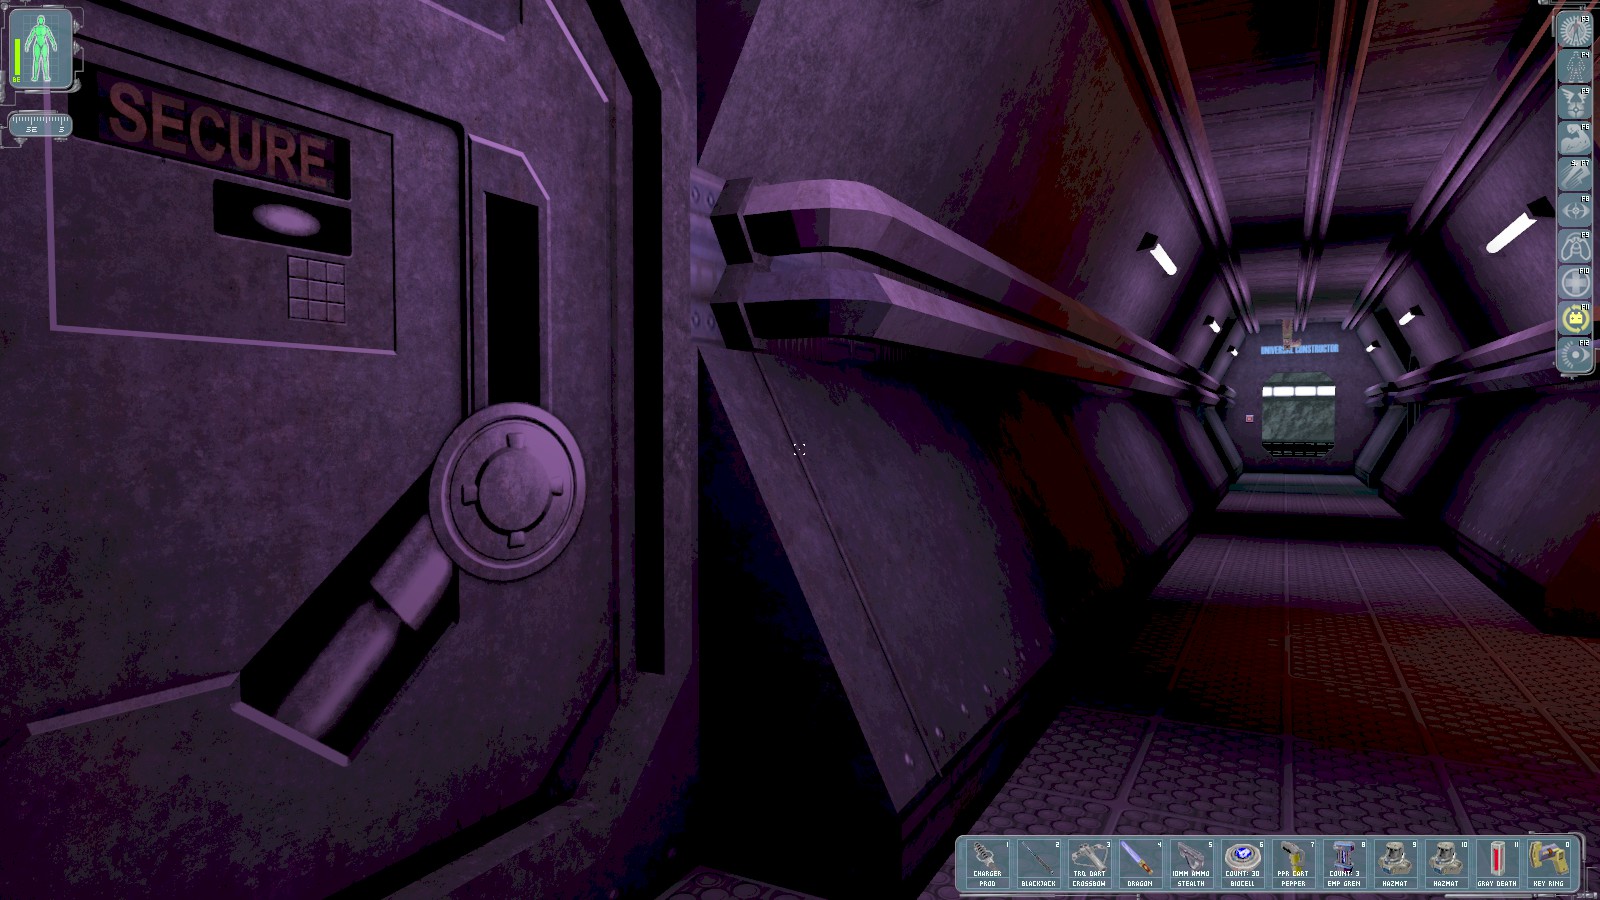
Your key opens the door near the foot of the ladder which has ballistic armour and thermoptic camoflage. Further along both rooms are open but you’ll need to break into the lockers for a multitool (if you have none, definitely take this one) on the left and a laser mod on the right before heading down the elevator beneath the "Universal Constructor" sign.
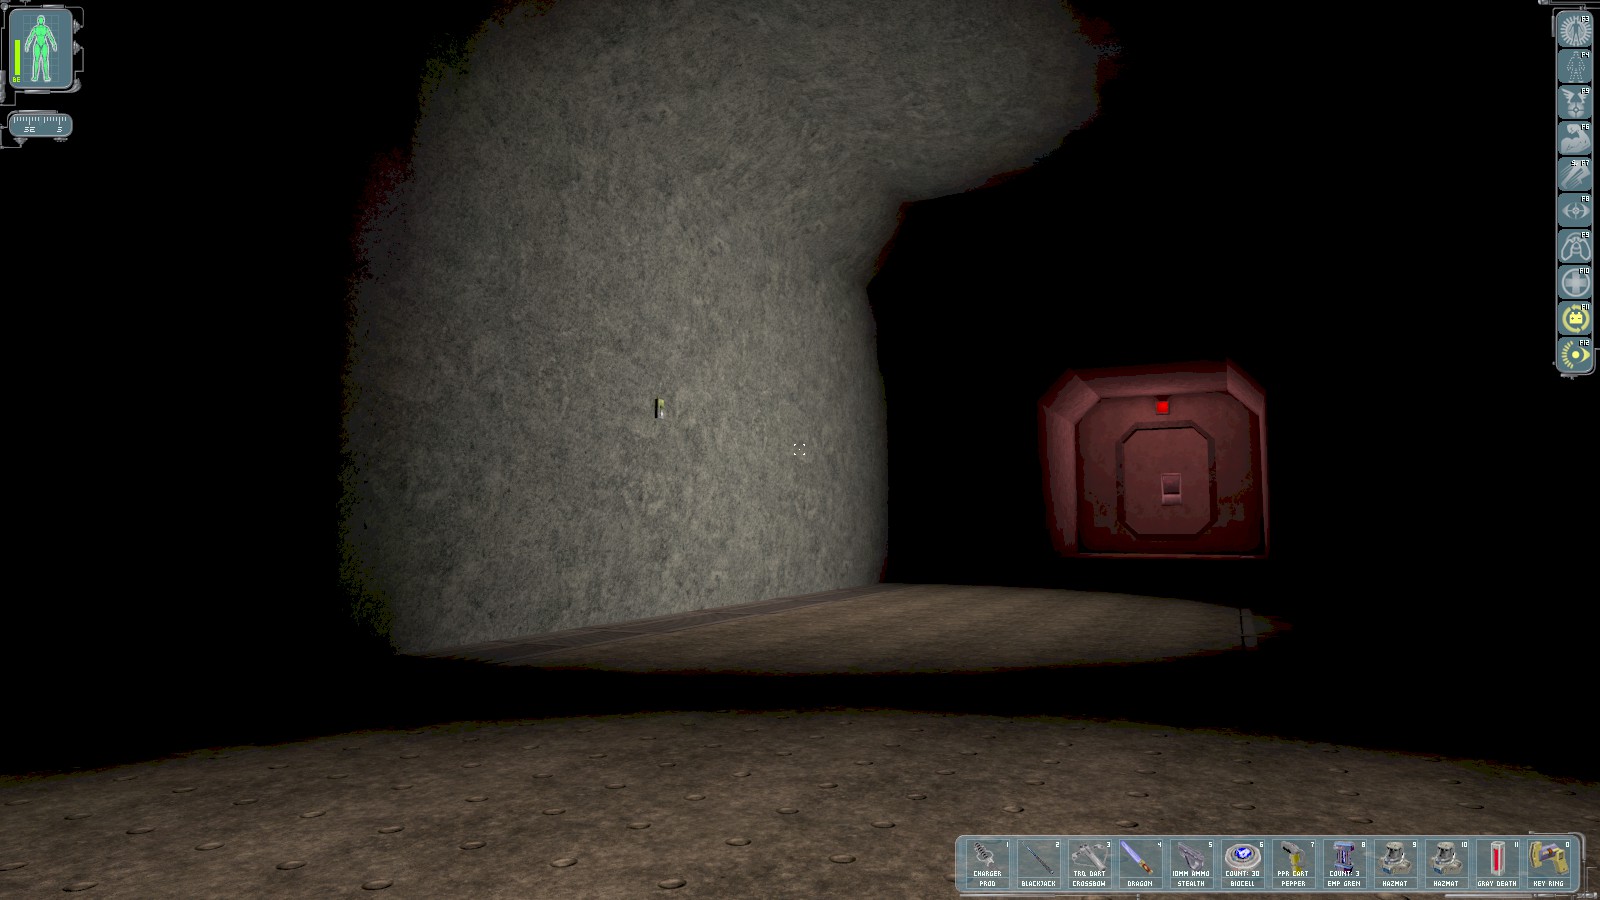
You get 400 skill points for making it this far. Grab the gas mine from the wall before heading down the corridor to read a datacube (just this side of the door) warning of spider bots ahead. Helios contacts you, as does Bob Page who reveals his dastardly plan.

There are options at this point—pick the lock of the grate or use multitools on the control panel to disable the lasers (which release several spider bots if triggered). The grate leads to overhead ducting, a greasel, and a tricky drop navigating through a fan. I have been stockpiling multitools, so spend 3 to disable the lasers. Head to the SE corner.
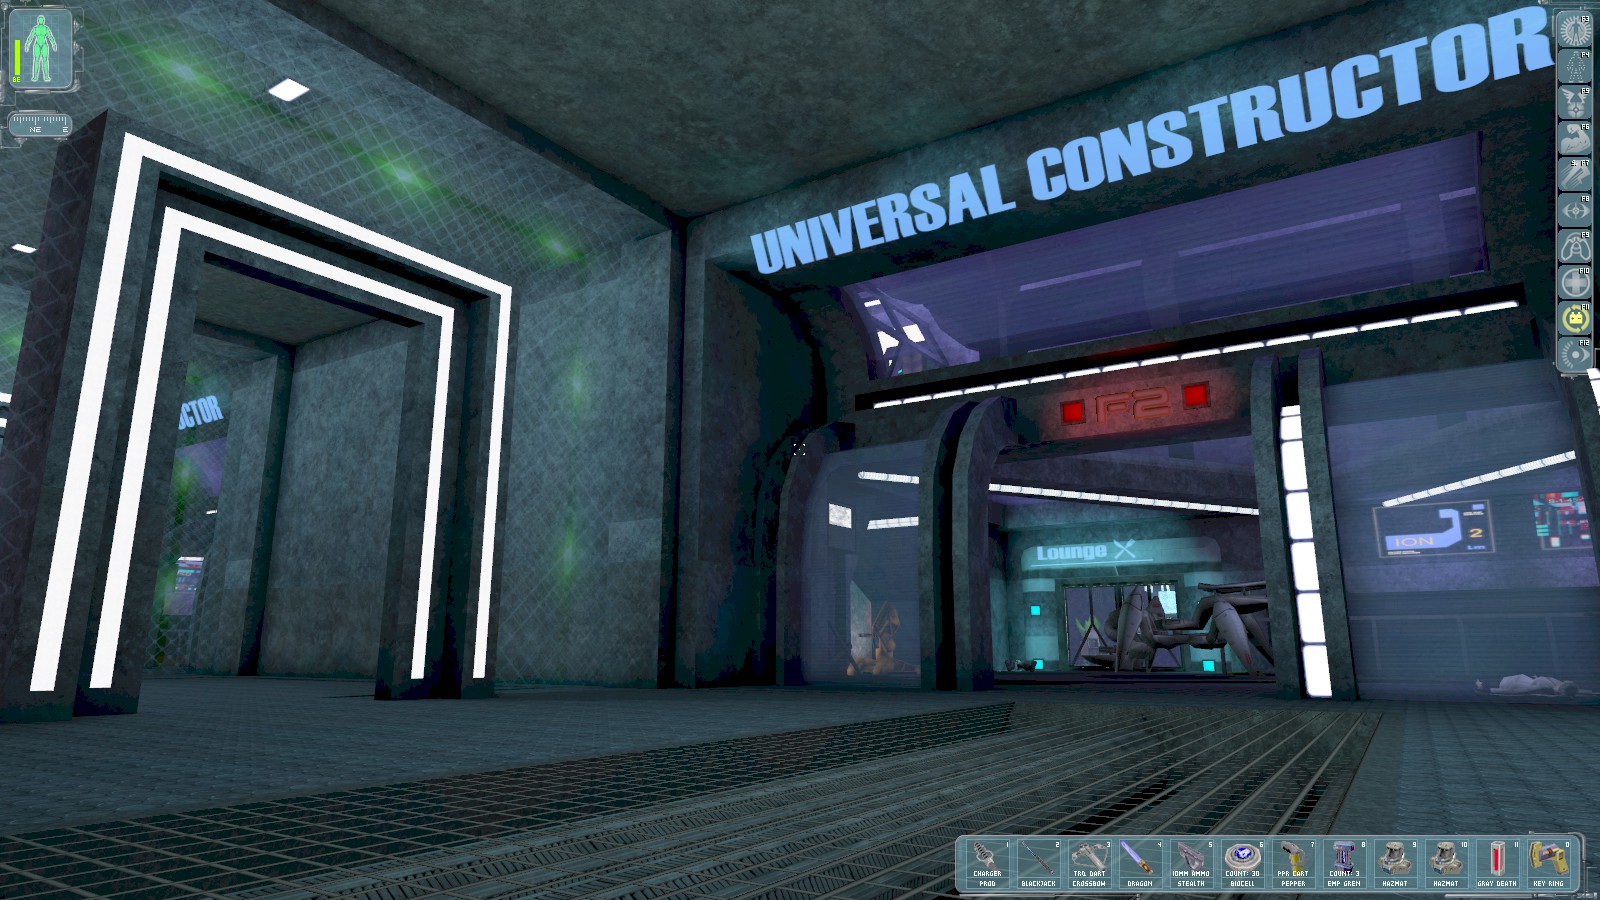
Here is a welcome repair bot, but it’s guarded by a giant spider bot. Use the Spy Drone to disable the spider when it’s far away from the repair bot.
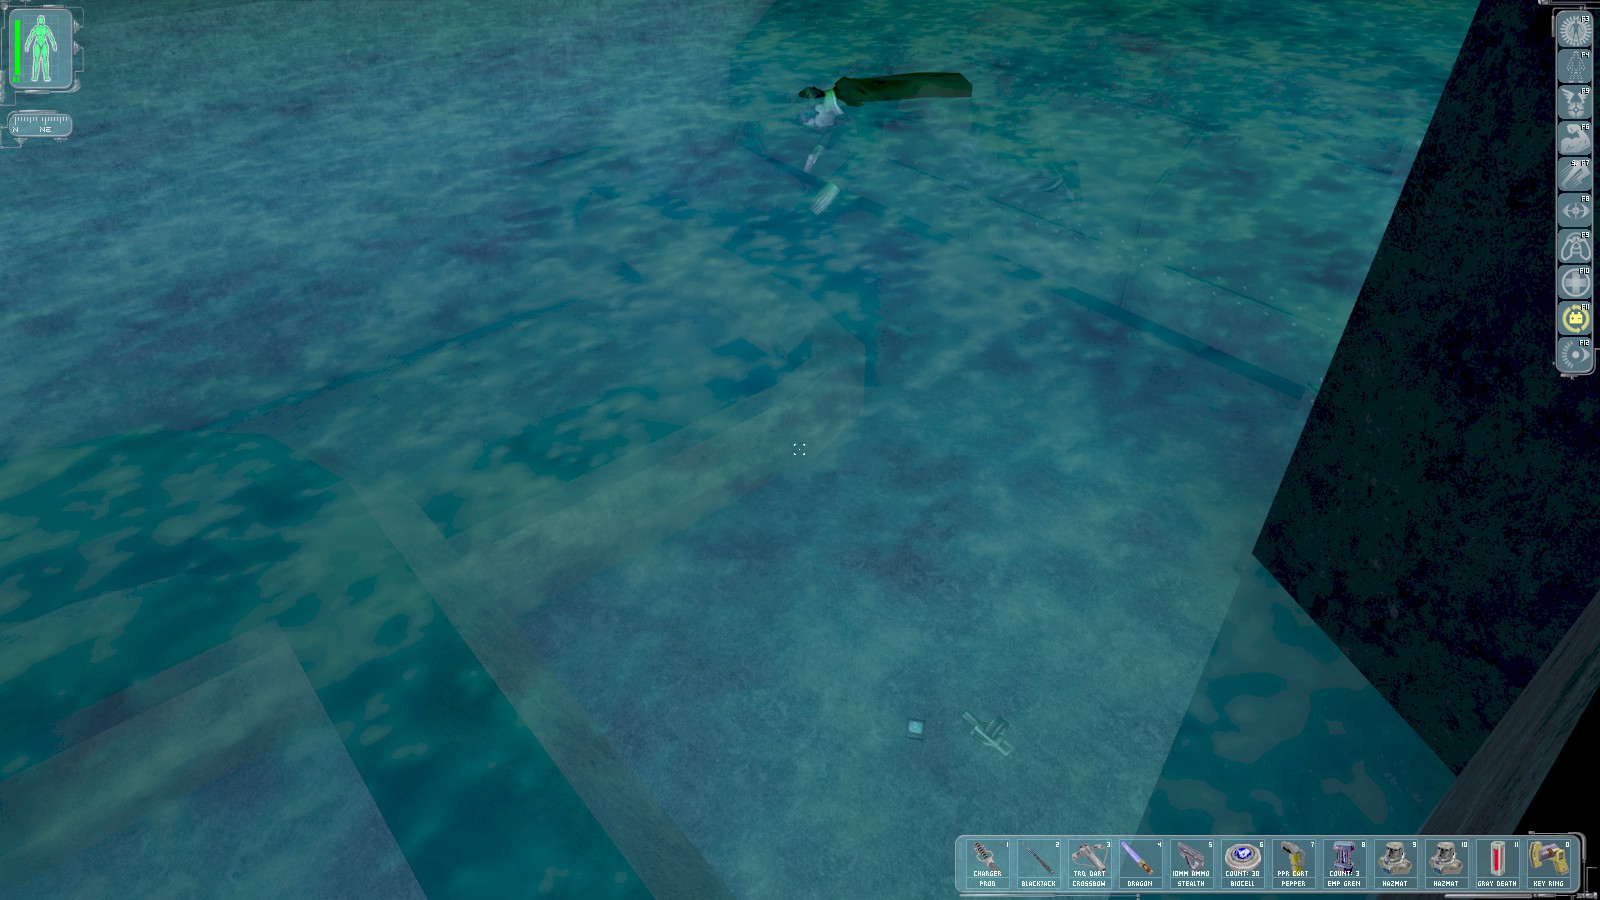
Don a hazmat suit before jumping into the pool beneath the UC. The MIB’s body has an augmentation
upgrade. Read the datacube on the floor below him for the credentials MJ12/skywalker. Use the
pipes to climb out and back to safety.
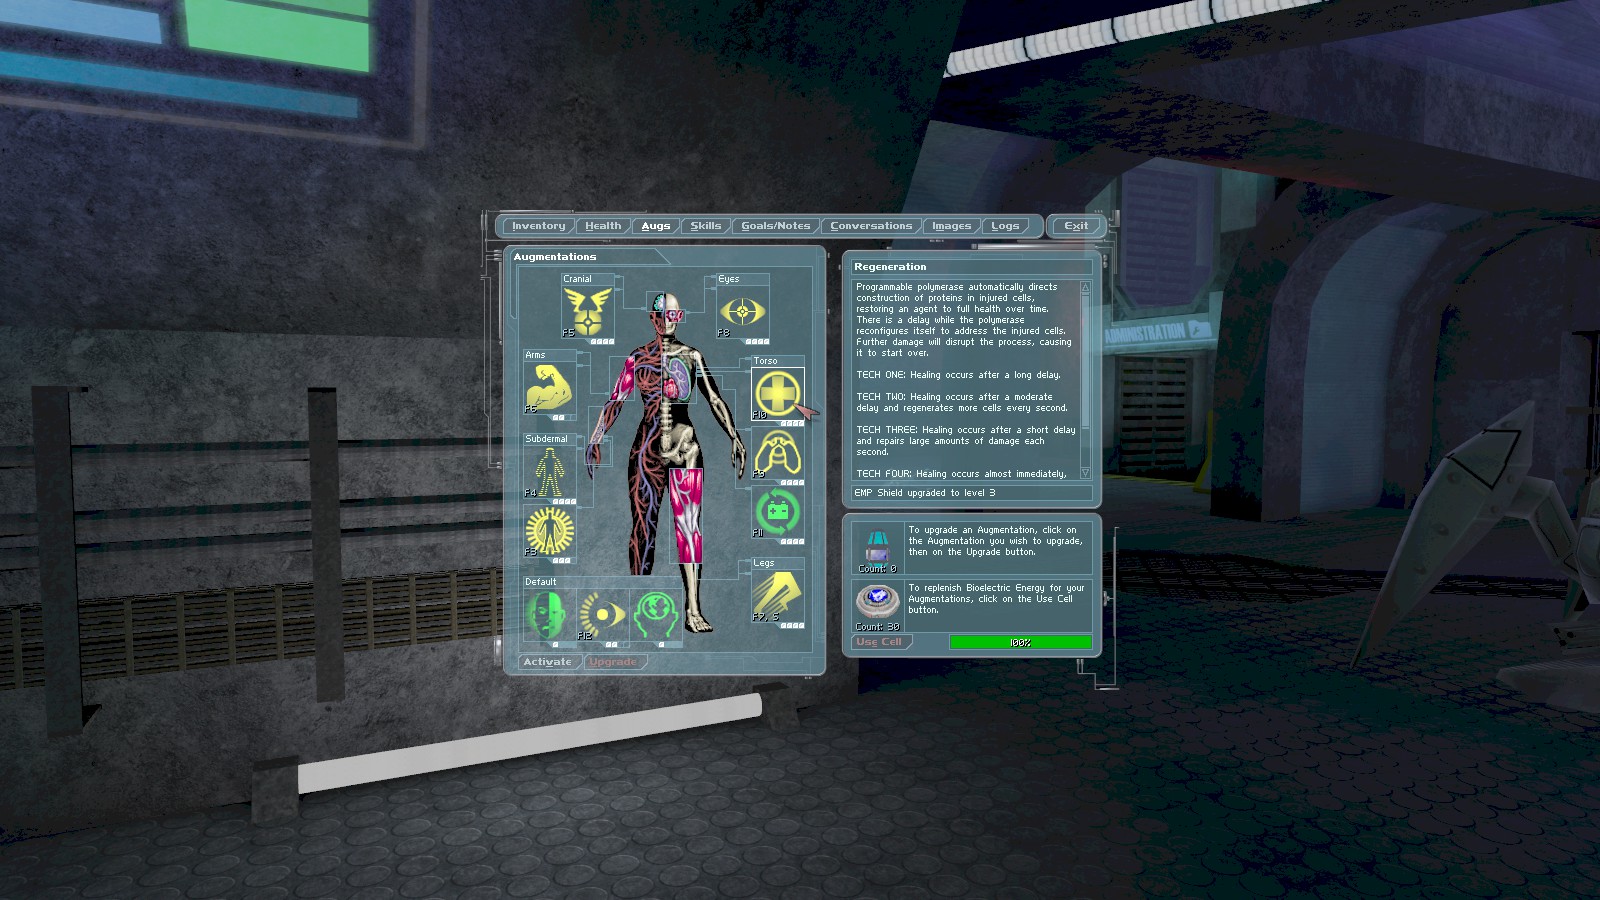
I’ve collected 2 augmentation upgrades now, so I put EMP protection up to Tech 3, and Regeneration up to Tech 4. Use the elevator on the Northern side to go up a level.
|
|

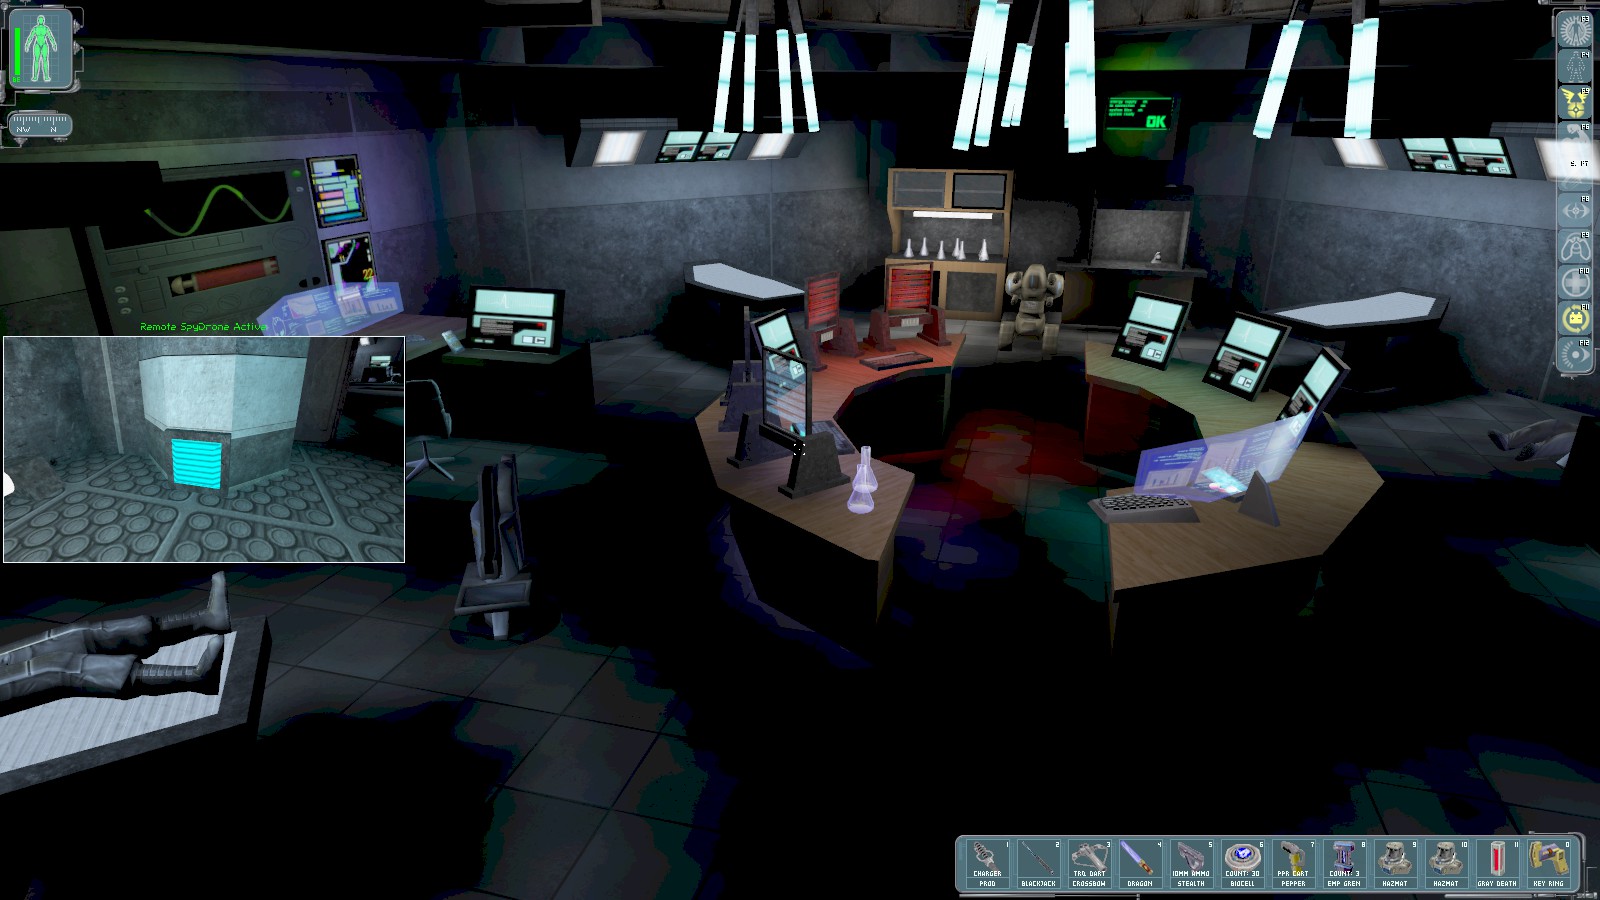
Around the corner is the medical lab, but don’t just go charging in because it’s guarded by a machine gun bot. Open the door and send in the Spy Drone. Wait until the medical bot is far from the sentry before using the EMP blast.
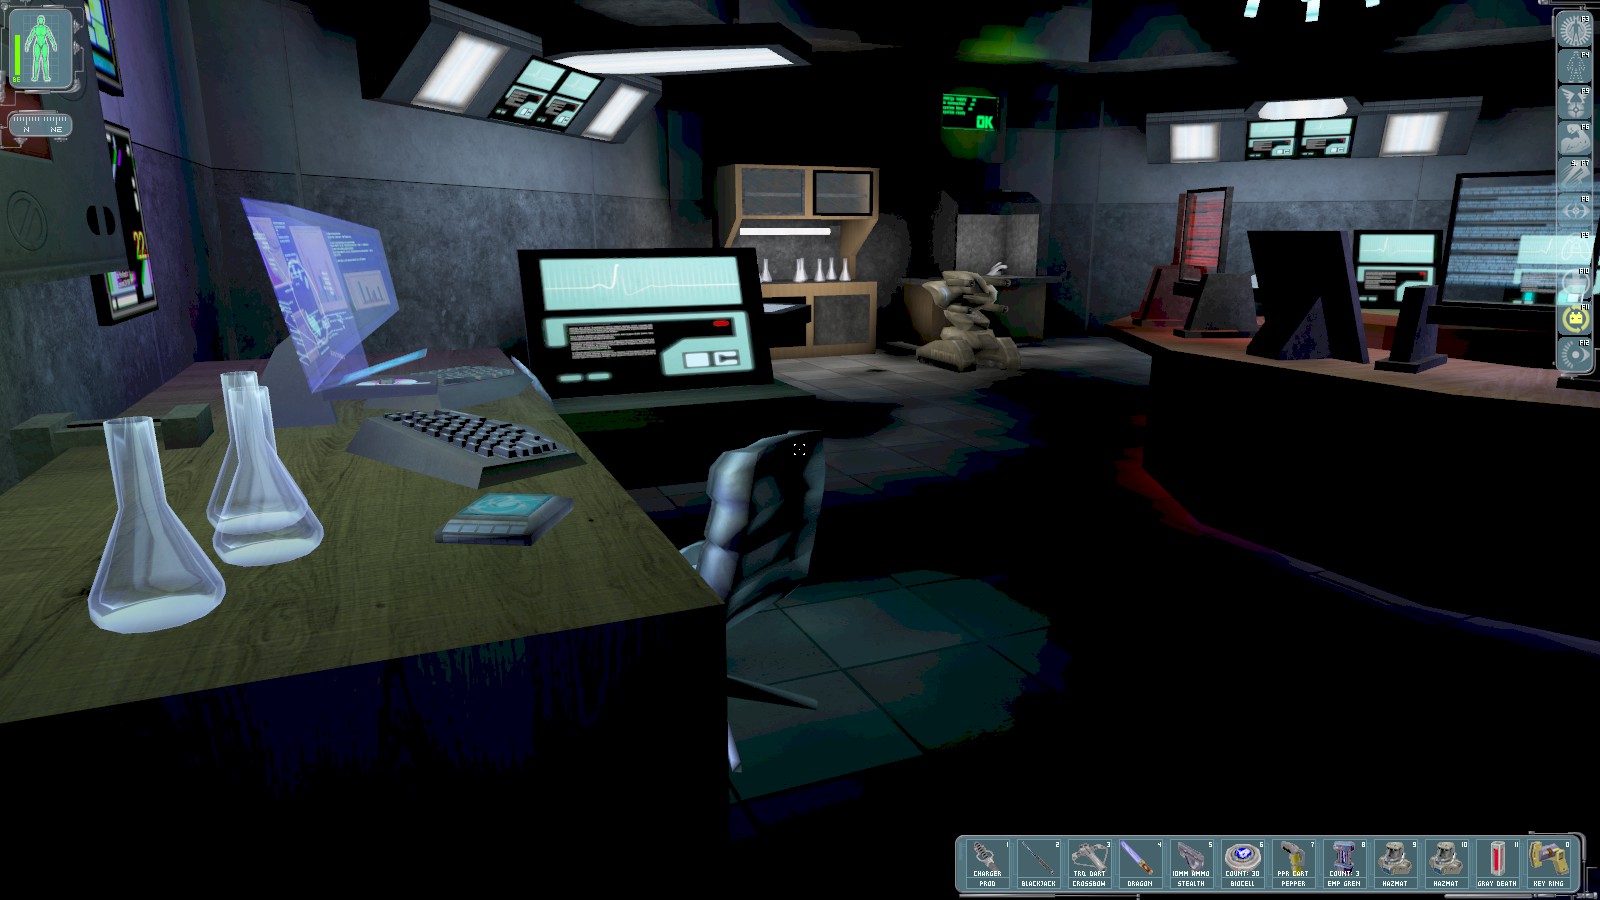
Head in and read this datacube for the code 1234.
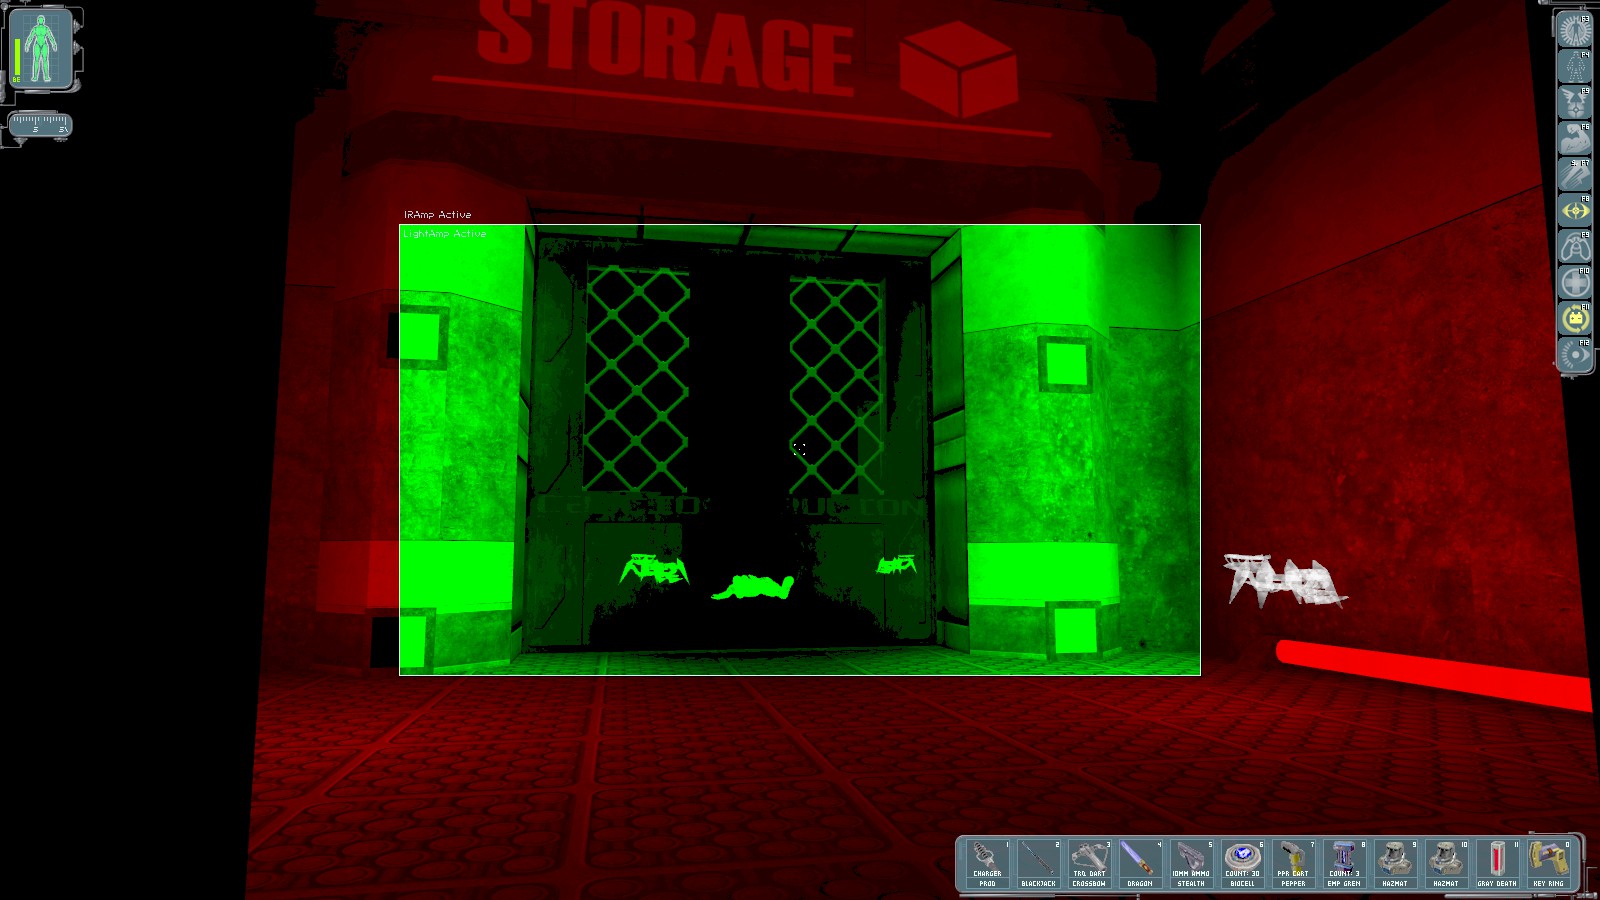
At the Southern end is a storage bay protected by 3 spider bots. Nothing to protect in here, so have at it with the Spy Drone. Inside are various canisters of Gray Death, and some supply crates for a pair of biocells, plus gas and EMP grenades.
|
|
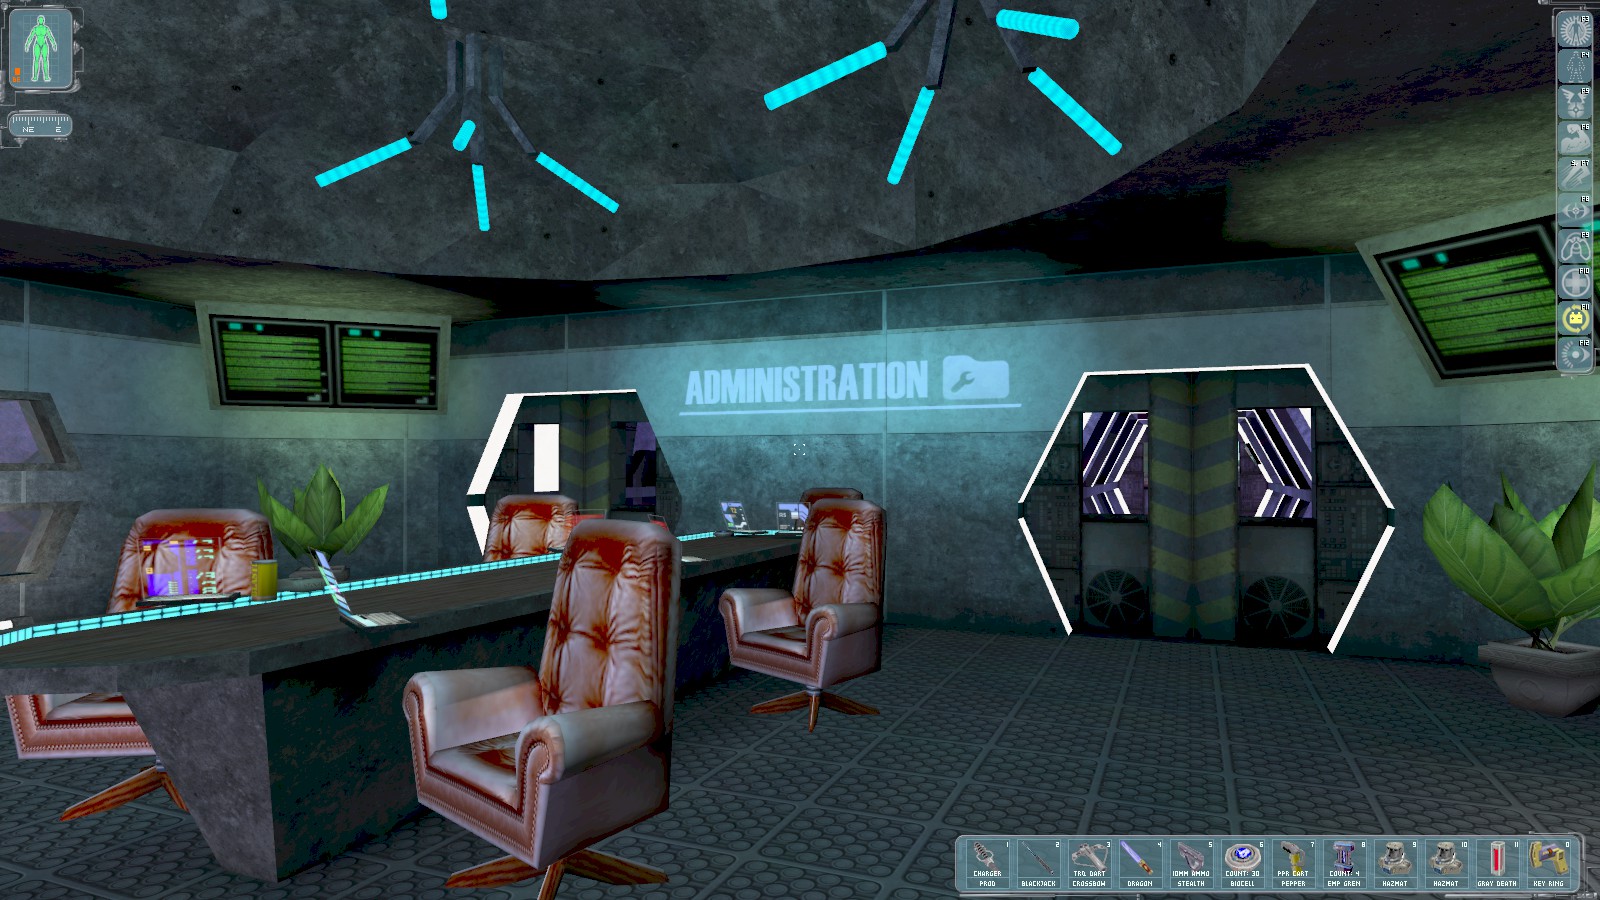

Back in Administration (between the Medical and Storage bays) use either door to access the
Operations Room. I chose the one on the right. A lockpick and multitool are near the body on the
suspended ceiling below the access passage—get to it either through a gap in this passageway or via
vents near the lifts on the lower floor. The door ahead is locked with a keypad. The code
1234 opens it (works in either passageway from Administration).
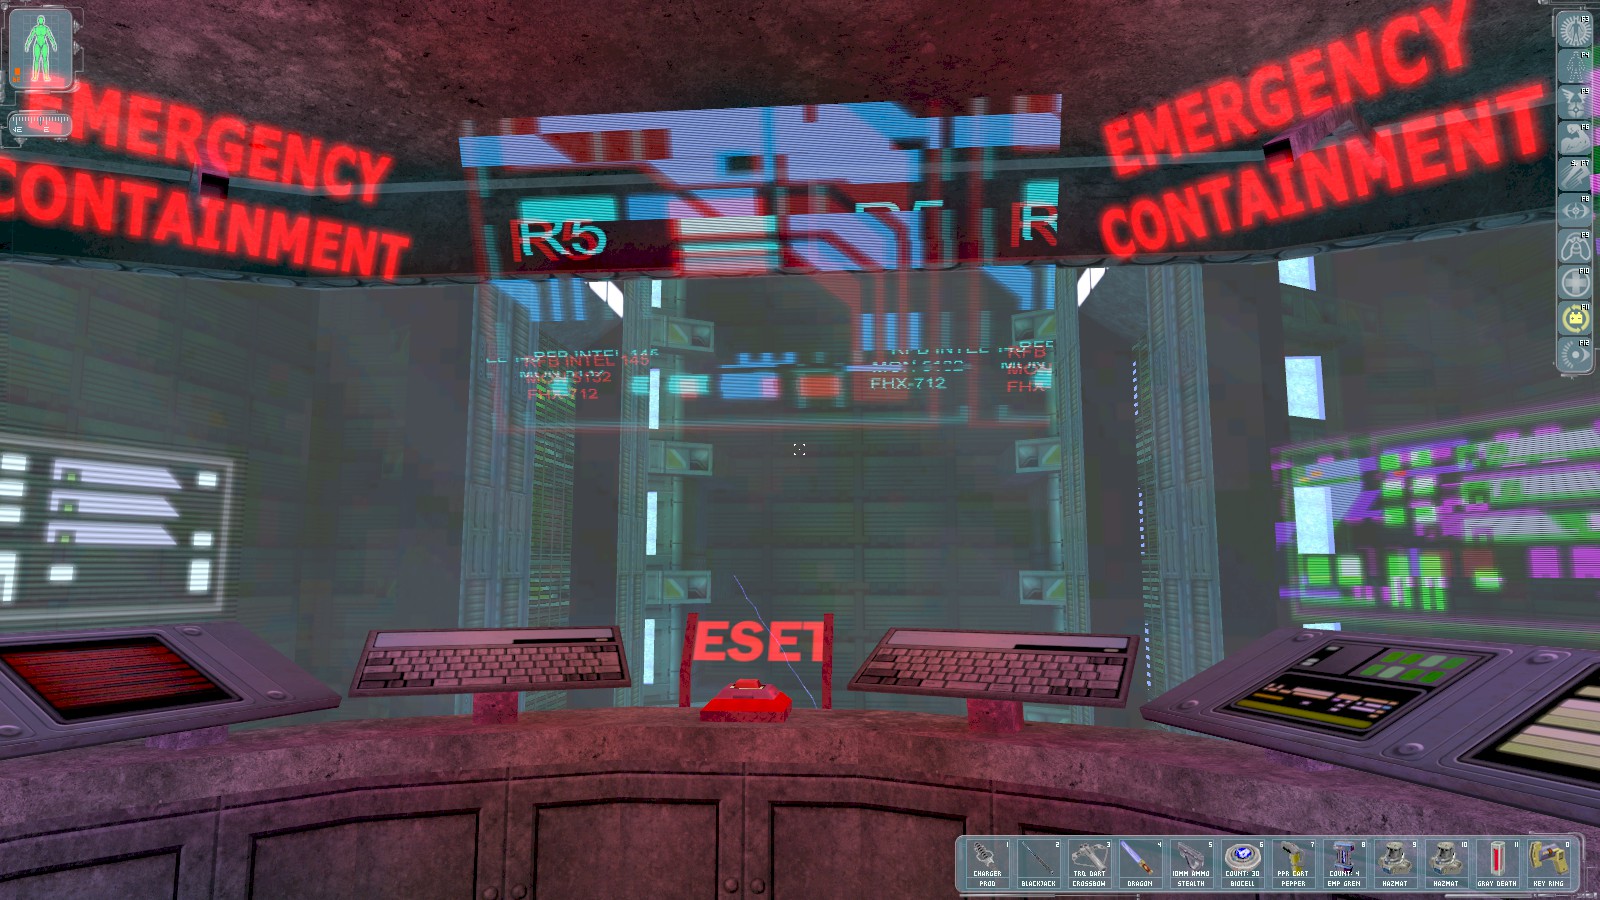
Hit the RESET button to lower the lift. There’s a crate containing an accuracy mod behind a door to the left of here. Return down one of the elevators to the Universal Constructor.
Recharge at the repair bot, then ride the elevator up.
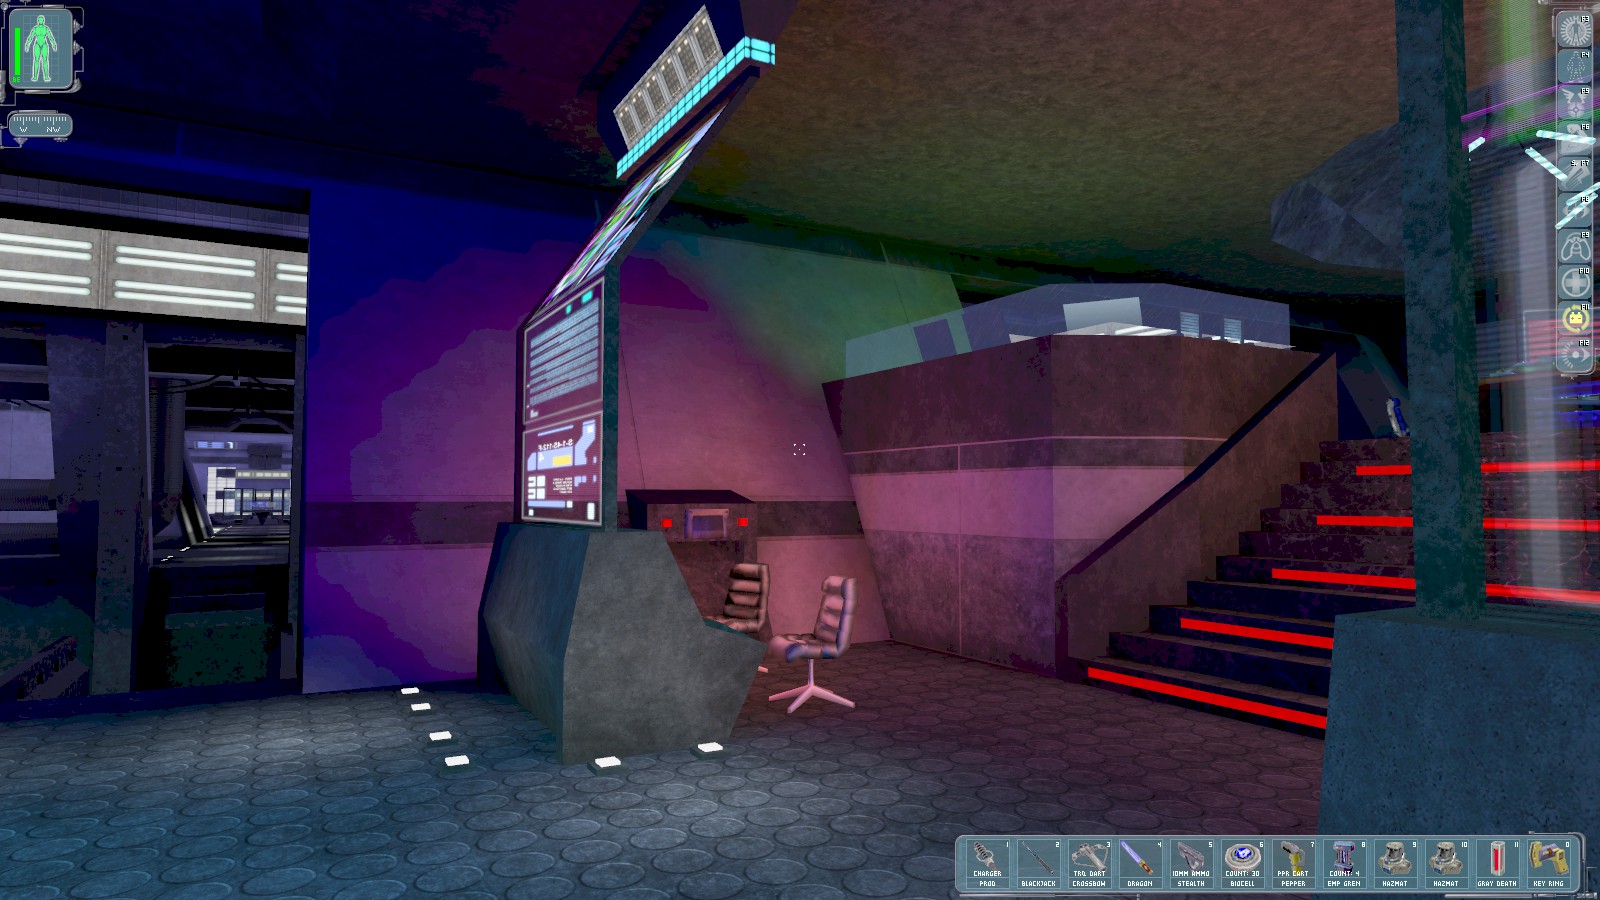
At the top make a dash for the security console to the right of the door. Access the console with
the login MJ12/skywalker to activate the bridge and disable a camera. Up the stairs
to the right is another malfunctioning turret. Deal with it using the Spy Drone and a multitool to
access a body with a biocell.
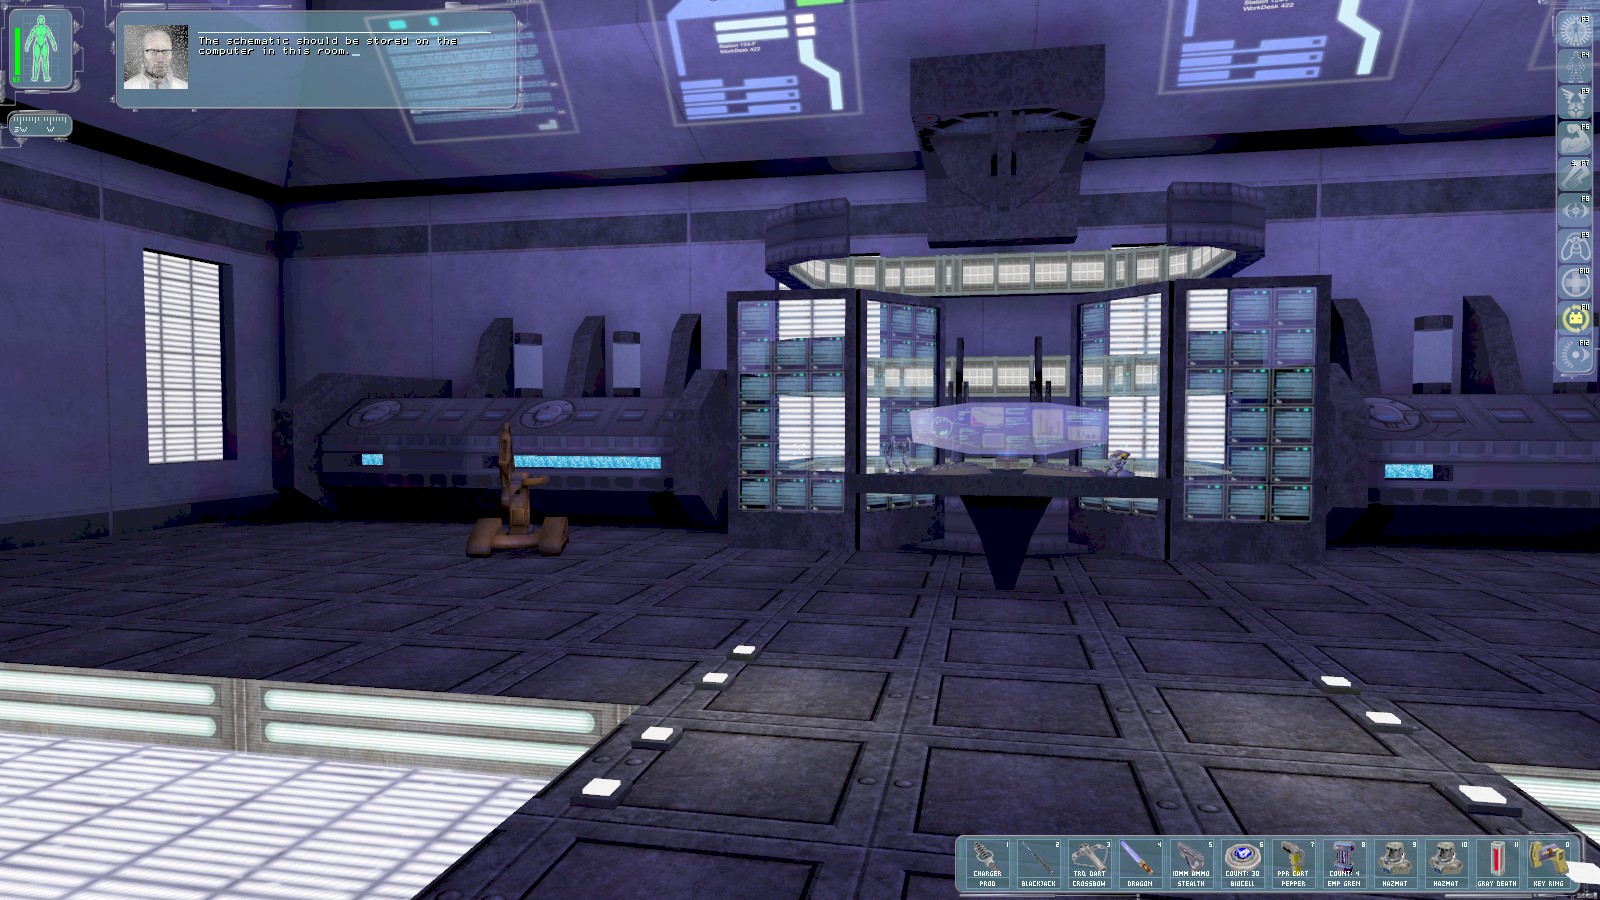
Cross the bridge and Gary Savage calls to say the UC schematics are on a computer in the room ahead.
Log in with the credentials MJ12/skywalker and access the schematics. You get 500
skill points. Recharge at the repair bot and head back down the elevator. Savage radios in to tell
you to meet him and Jock with the chopper at the top of the sub base’s command module.
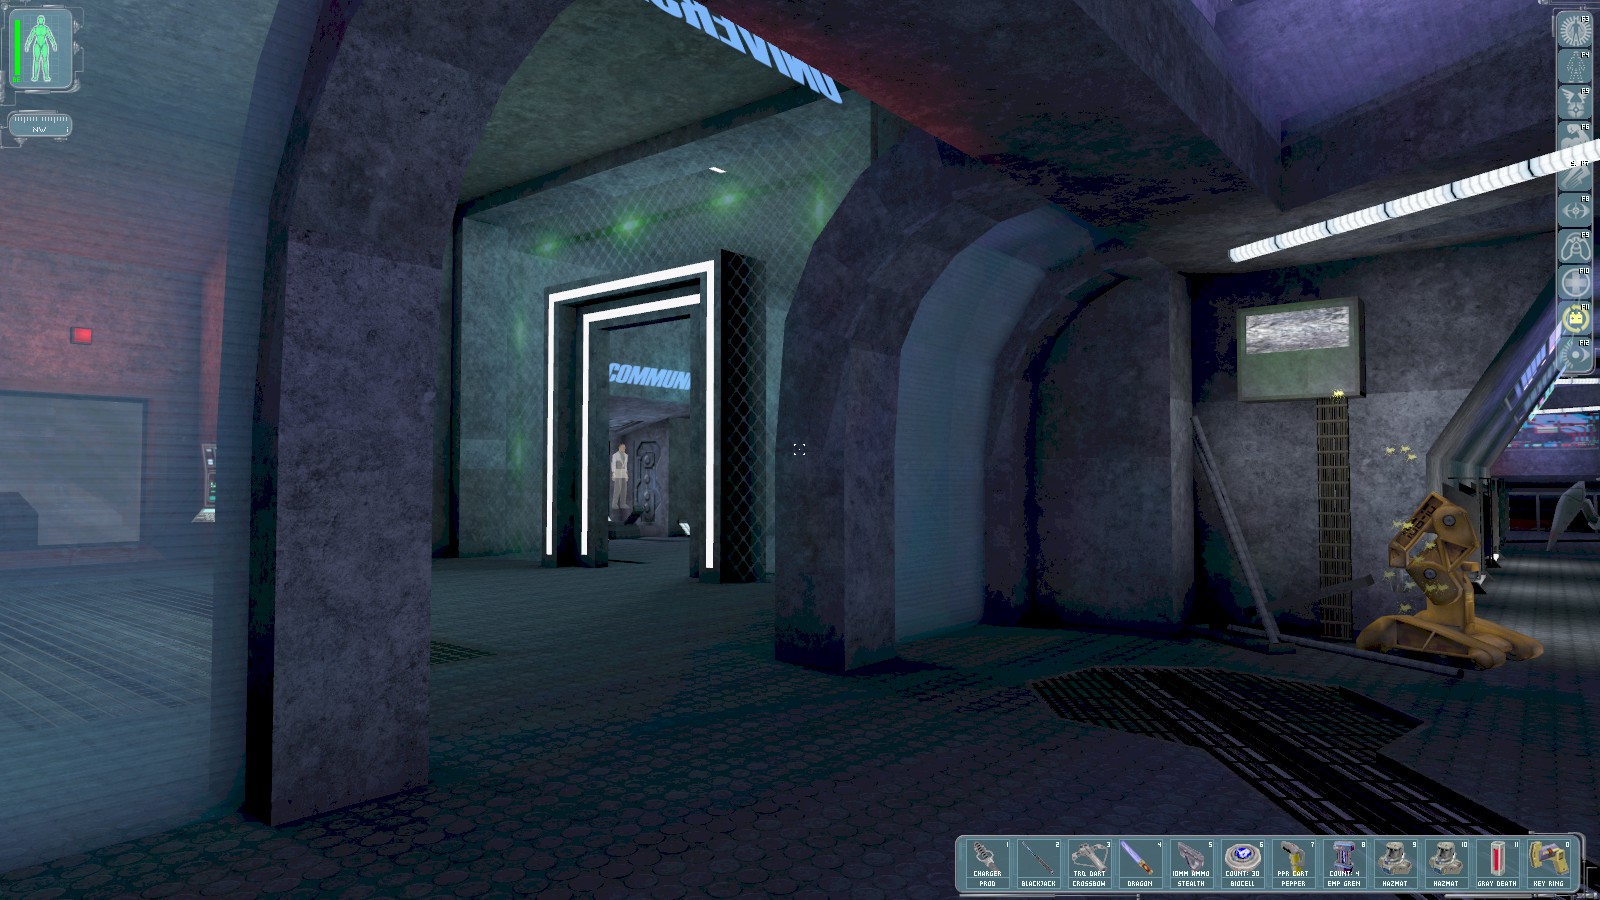
When you reach the bottom Bob Page radios in to tell you to go to the Communications booth. He tells you that Helios intercepted the schematics and he’ll be manufacturing the Gray Death soon. He also mentions that you’re going to have difficulty exiting the Ocean Lab, and that he’s already preparing to send a missile to destroy the Vandenberg facility where Morgan Everett is planning his own Universal Constructor.
|
|
|

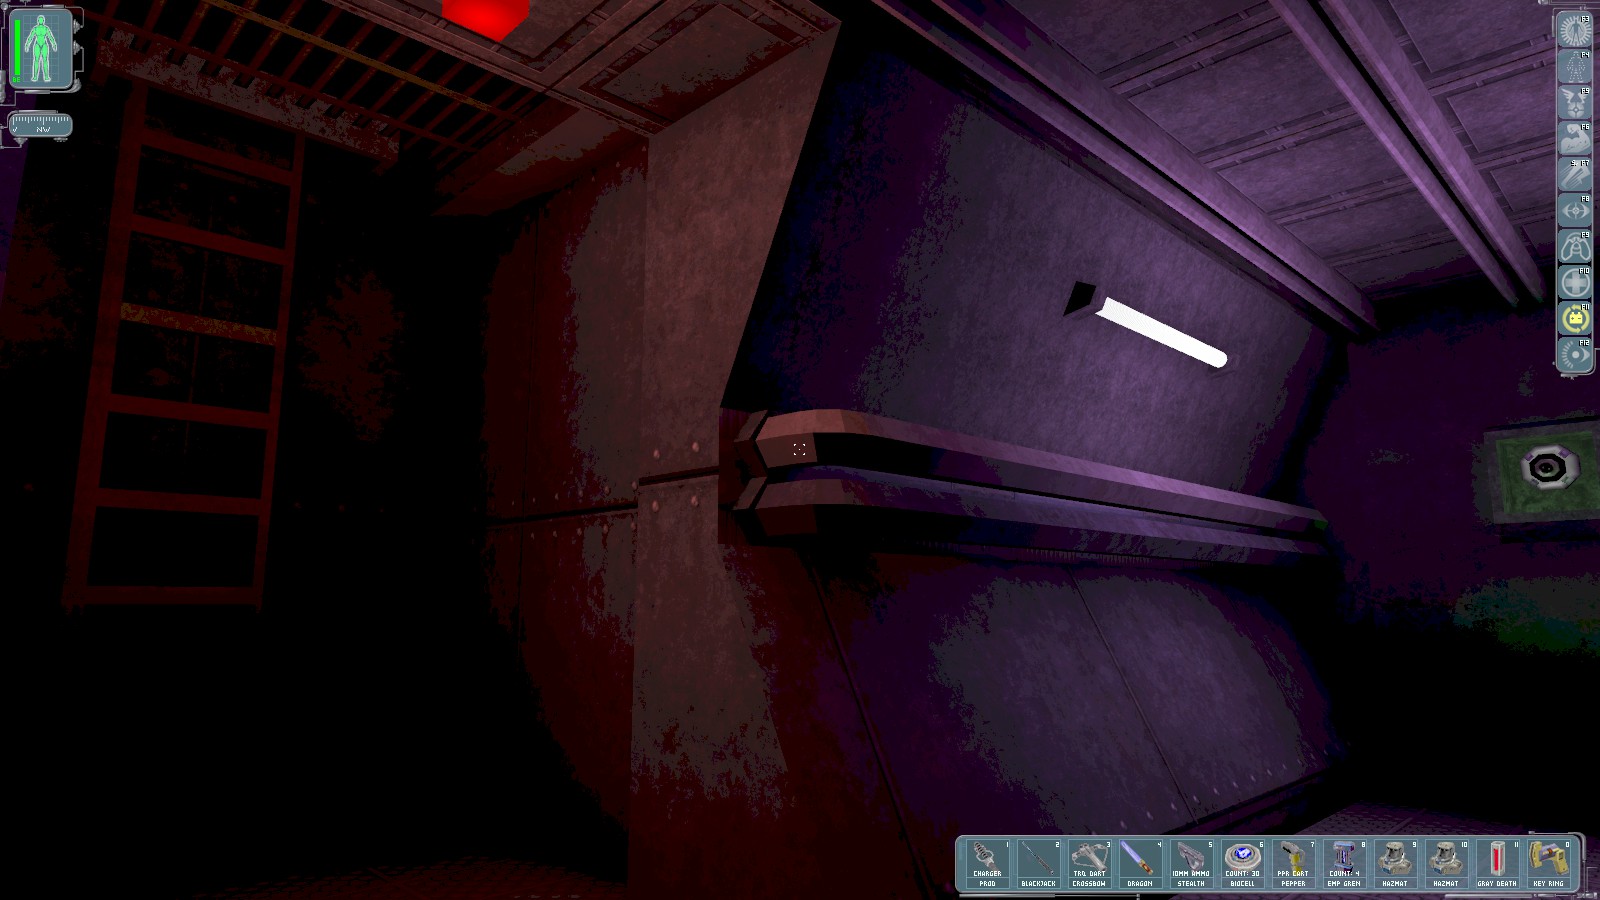
Retrace your steps back to the crew module. As you reach the elevator, Savage radios to say he’s picking up signals from a possible ambush. As you reach the ladder Walton Simons also calls with a message.
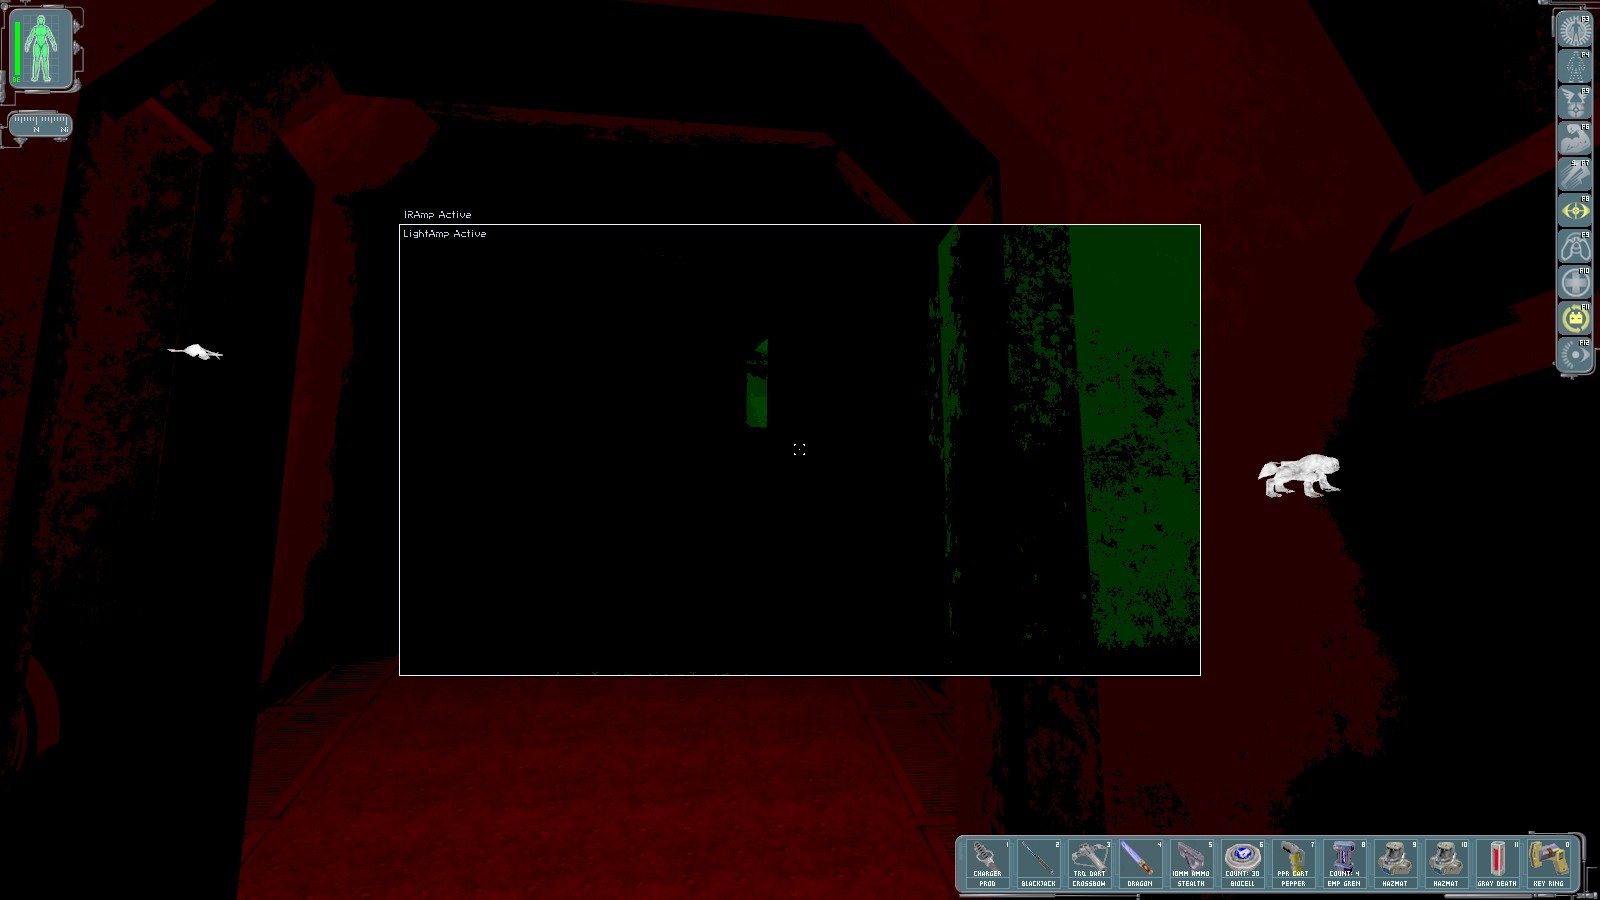
After the elevator, the karkian is still roaming up the slope. Sneak past using Cloak if you need to. Now is a good time to don a hazmat suit, and activate your Speed Enhancement—Walton Simons radios again to say he’s here to kill you, and he is through the door at the top.
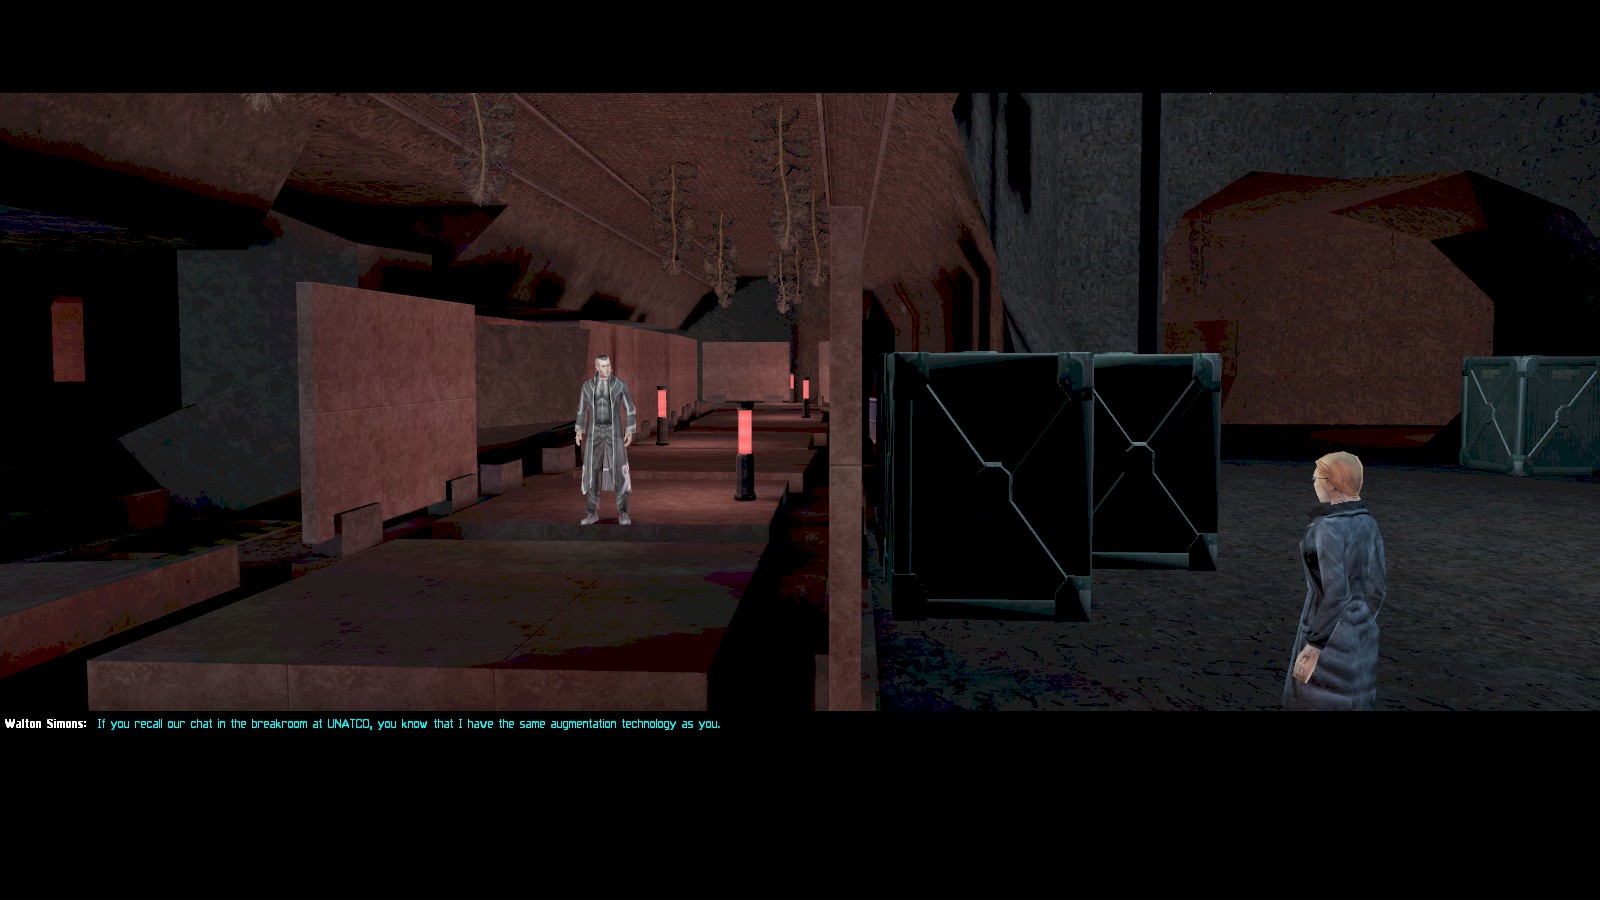
As soon as you open the door he’ll come running up. Exit the door as fast as you can and go through (or at least get near to) the gap on the right. It’s definitely not wise to get trapped in the doorway here.
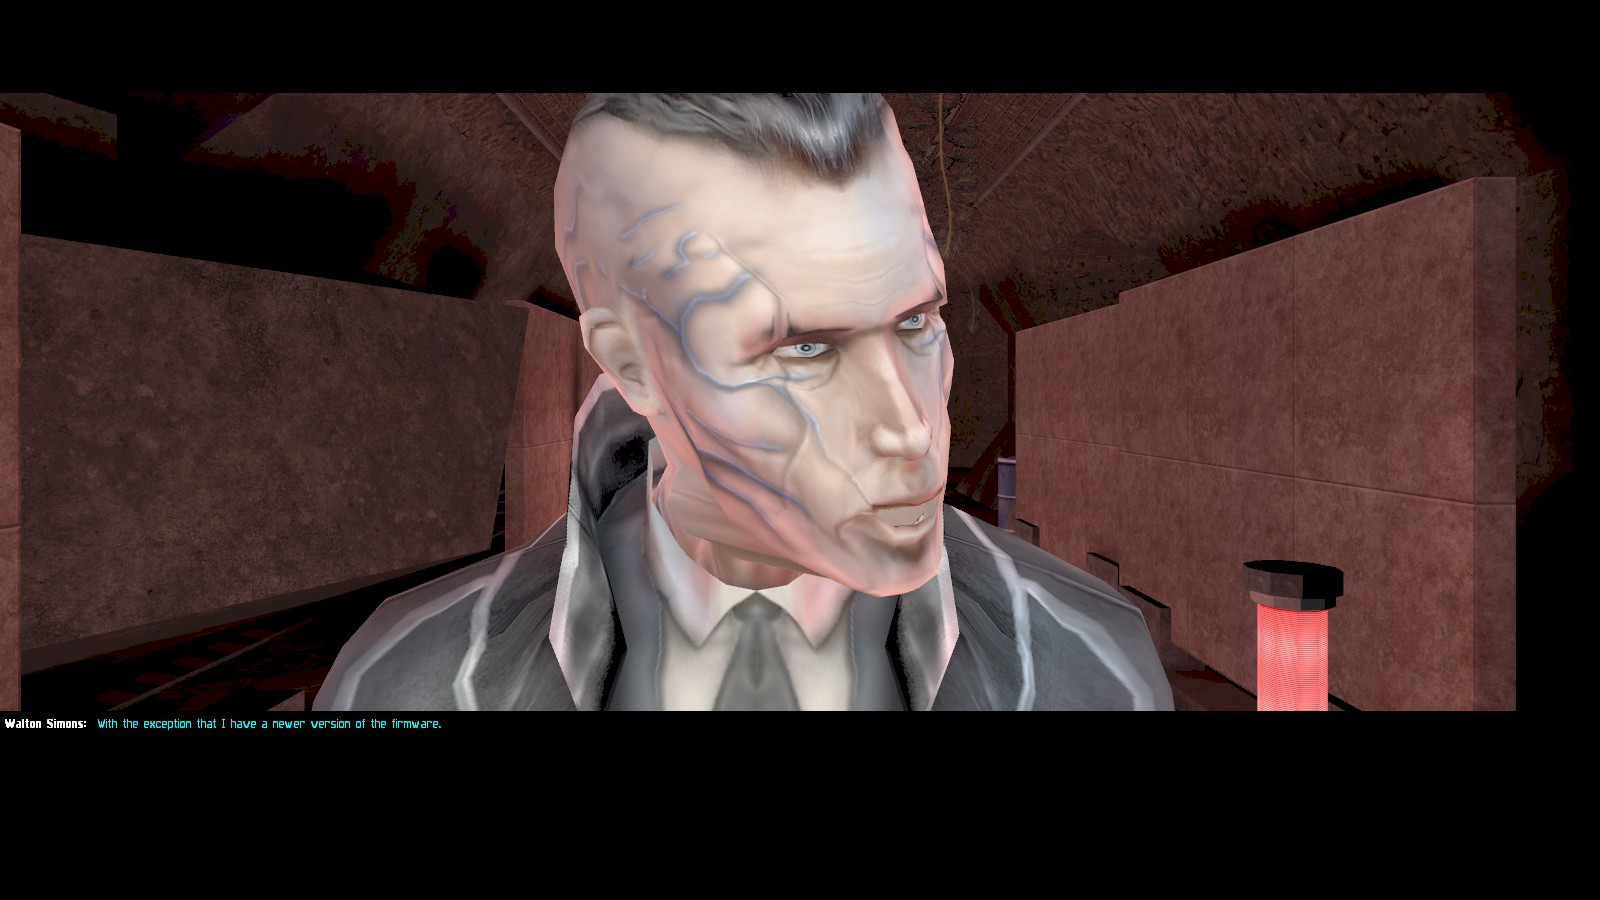
Simons is a truly fearsome opponent. He can see through your cloak, and even see you if you’re wearing thermoptic camoflage. He has a shield, making him hard to kill, and is immune to almost all your non-lethal weapons. It’s possible to weaken him with explosives and/or the Dragon’s Tooth sword (which he also carries) and finish him with tranquiliser darts. Simons starts firing his plasma rifle as soon as the conversation ends (hence the hazmat suit), so I choose to run, and just jump and run as fast as I can to the door in SW corner.
|
|


Simons will follow you through the first door, but doesn’t enter the room with the electrical hazard (possibly due to the presence of the karkian behind the desk).
|
|
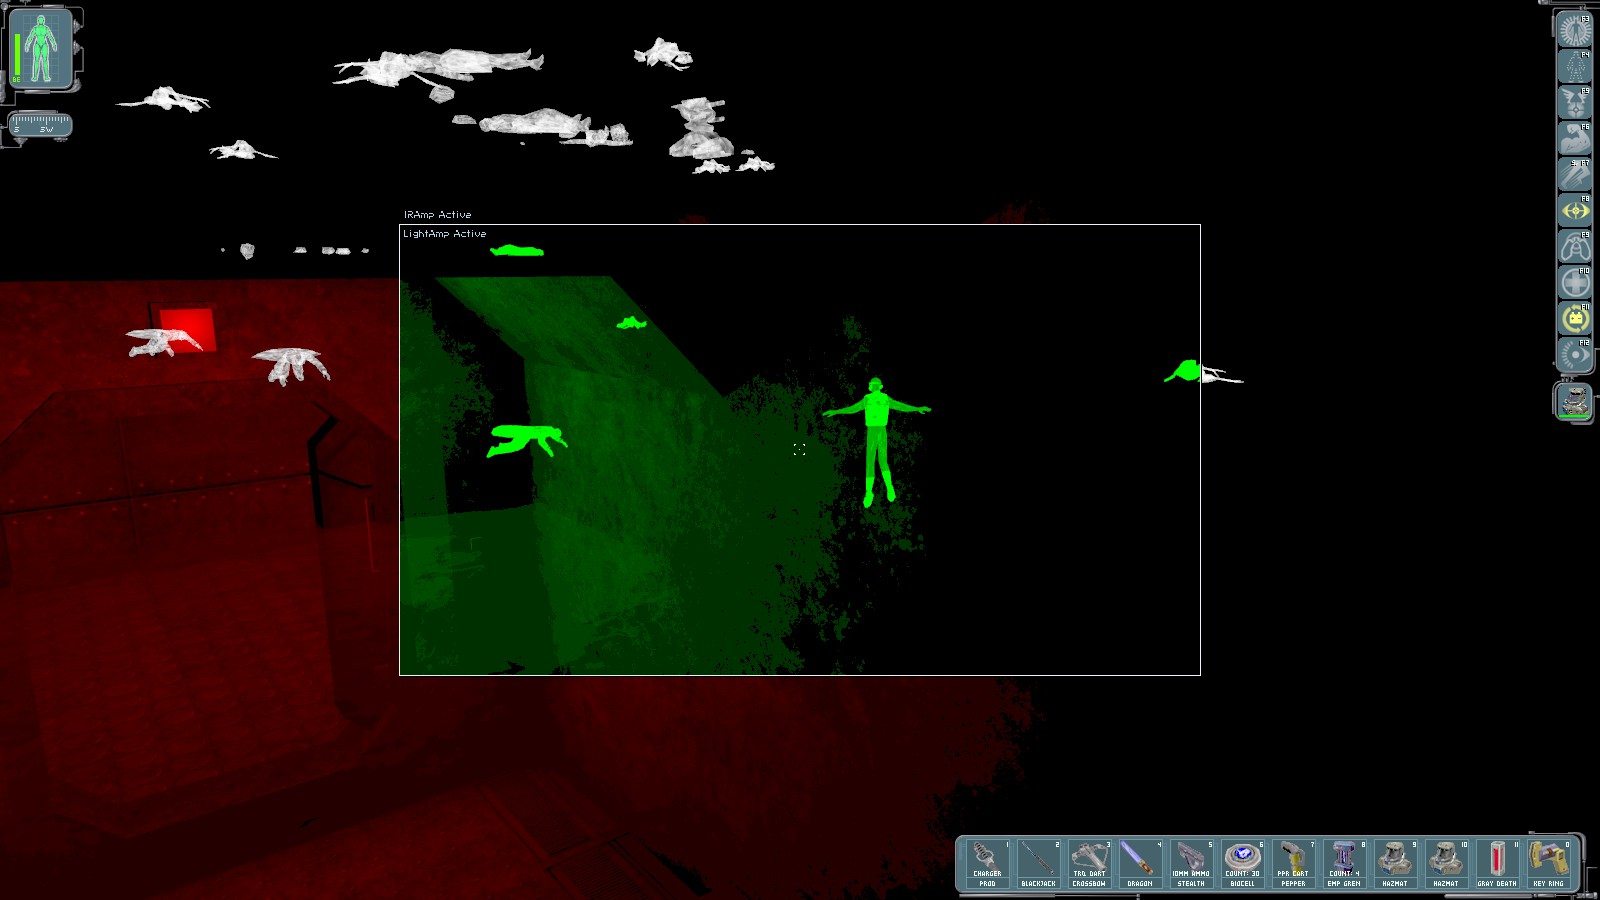

However, a quick Enhanced Vision scan shows a SCUBA diver in the flooded room, so activate your Cloak before heading into the flooded room, and from there up the ladder to the greasel lab.

Note that the security bot you used to deal with the greasels has been disabled. In the command centre beyond, another SCUBA diver paces around. Knock him out for the tranquiliser darts, then follow the steps all the way down to the URV bay.
|
|
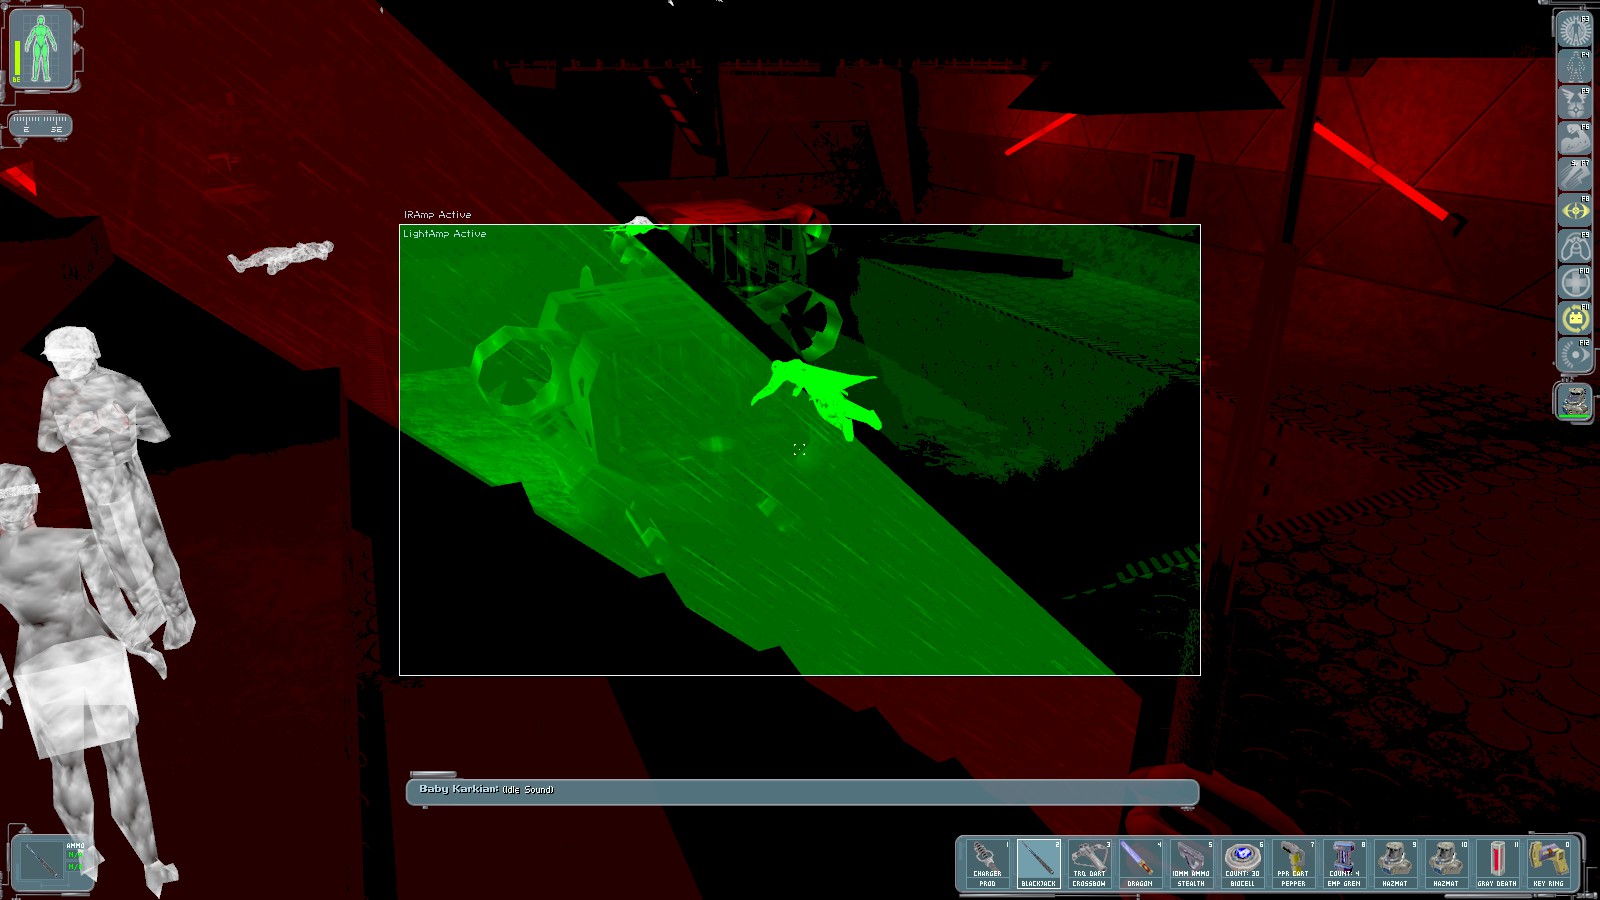
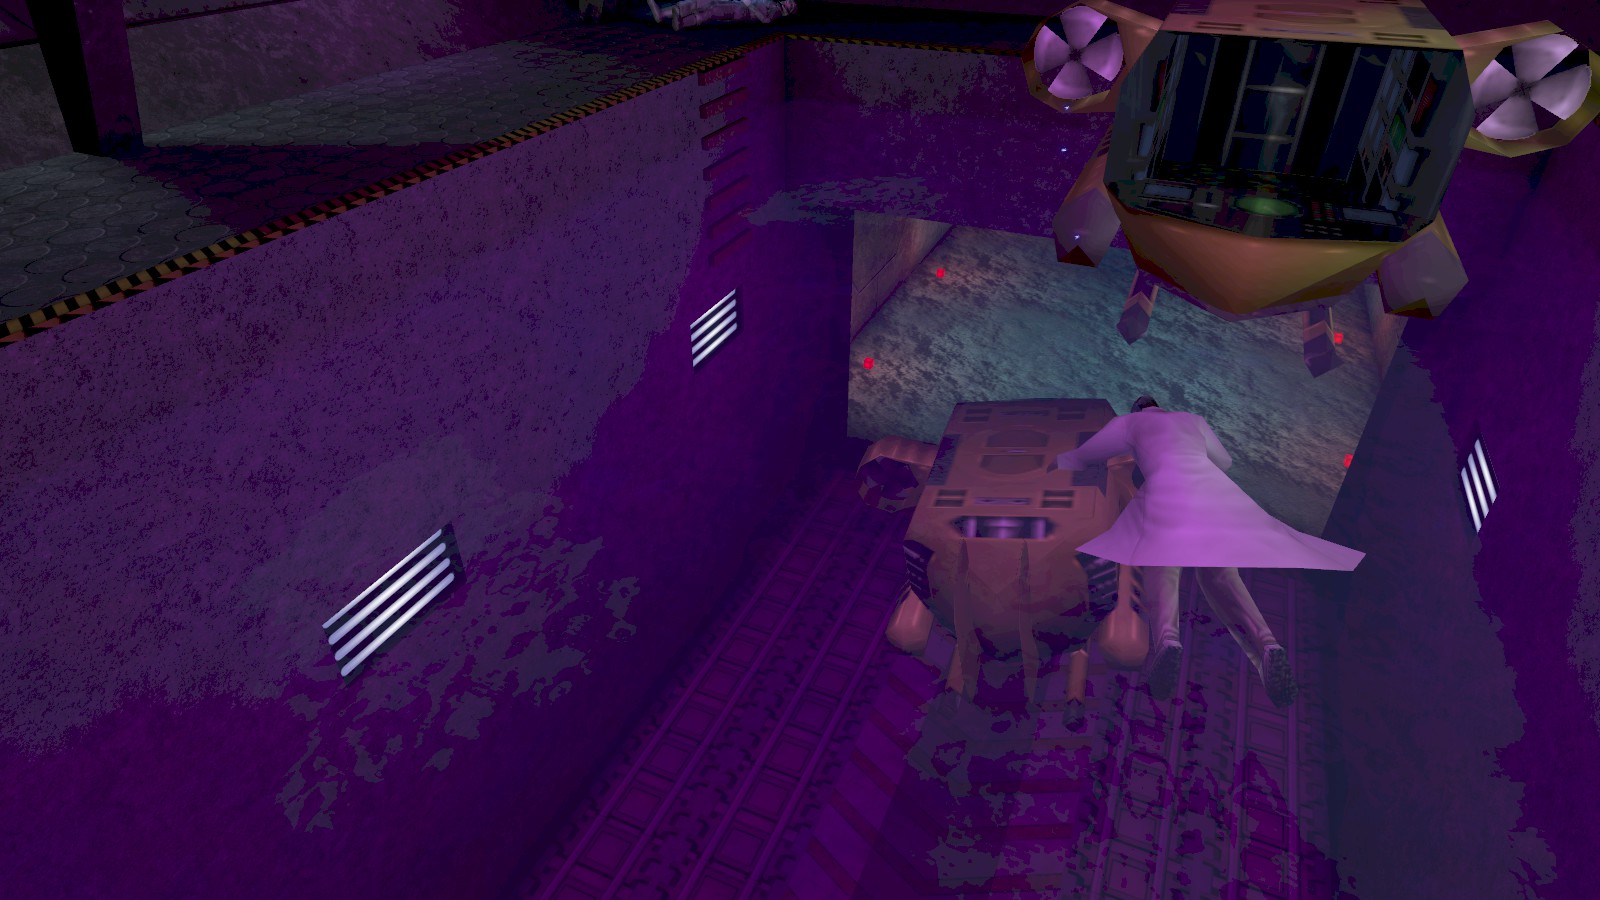
At the bottom, a quick scan shows a Woman In Black and a trooper guarding the subs. There are 2 in the bay now. The one you need is on the left here. If you’re lucky you can knock both the WIB and trooper out, but it’s simpler to just cloak and use the sub.
|
|
|
|
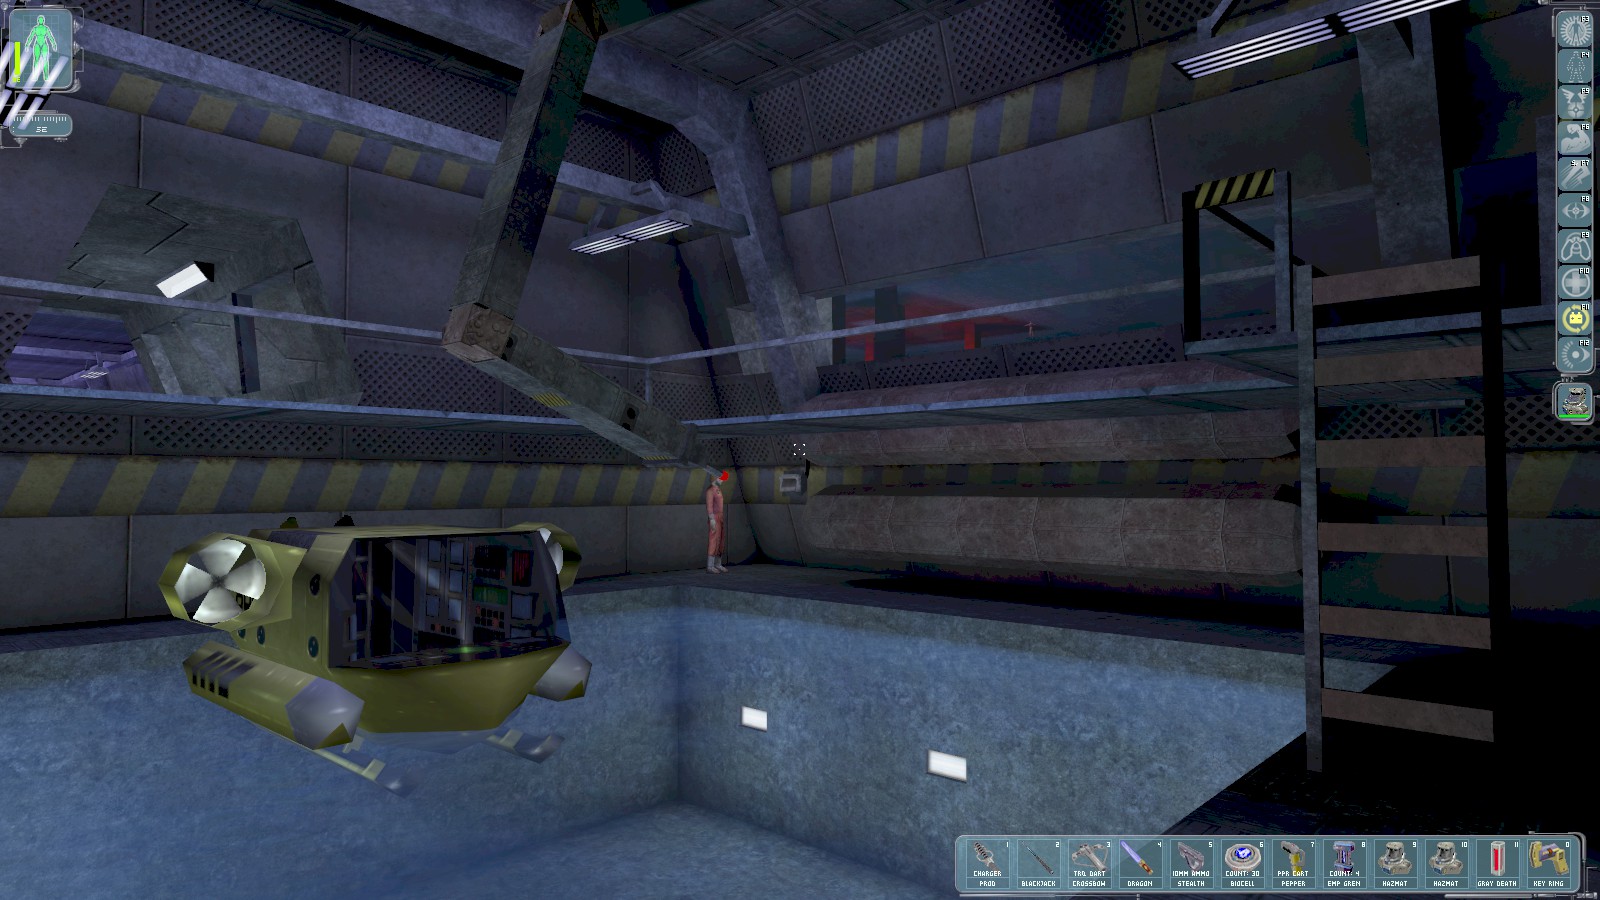
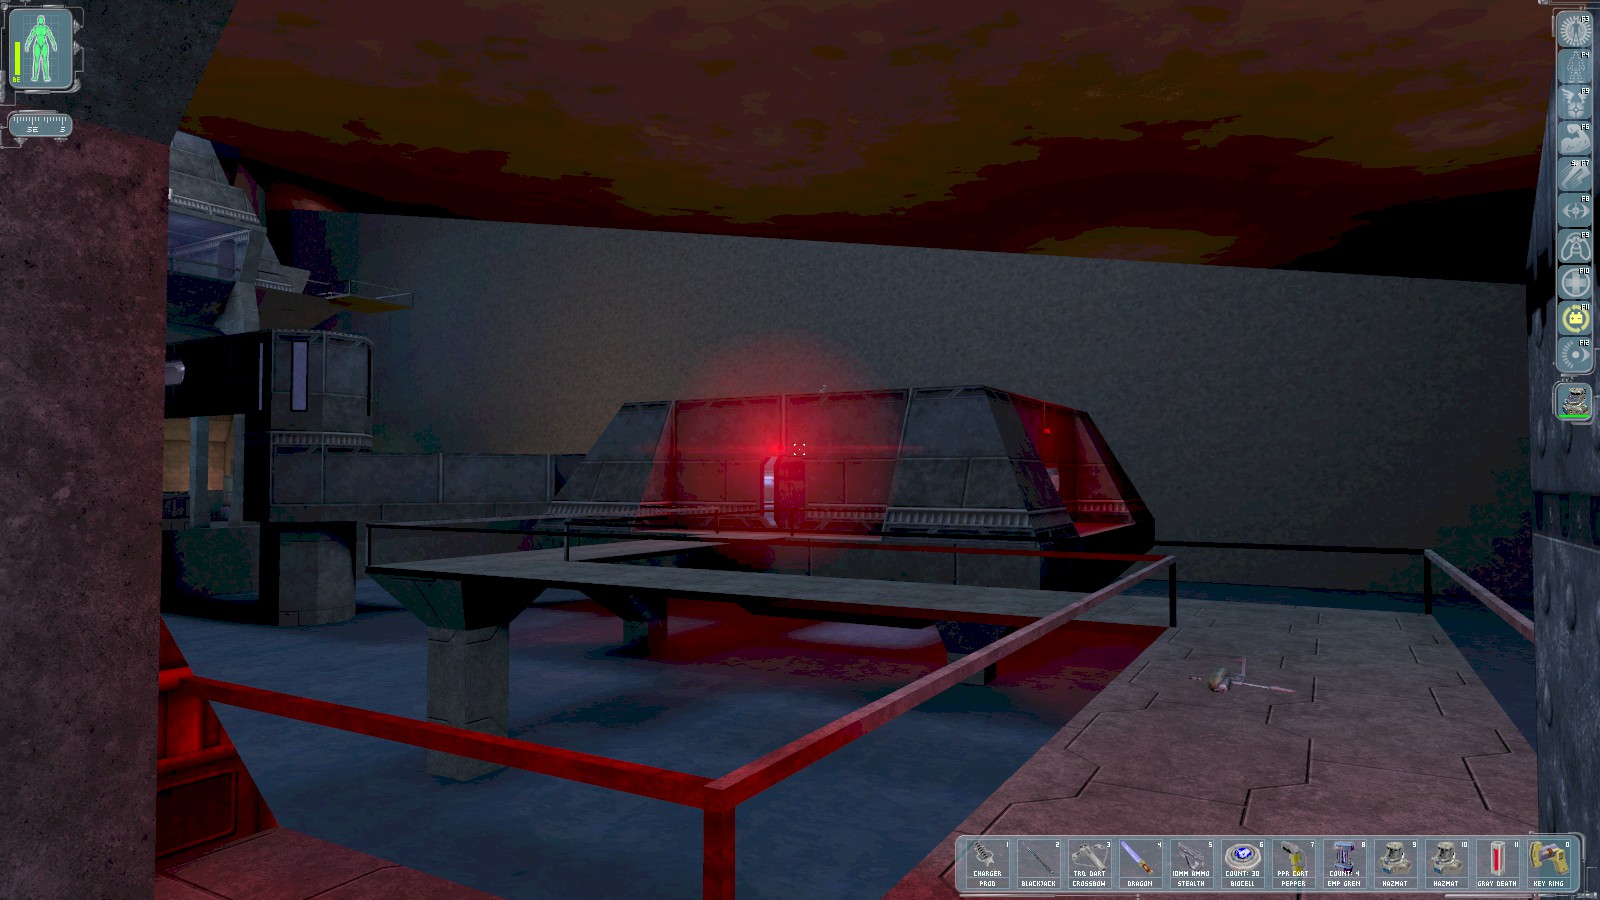

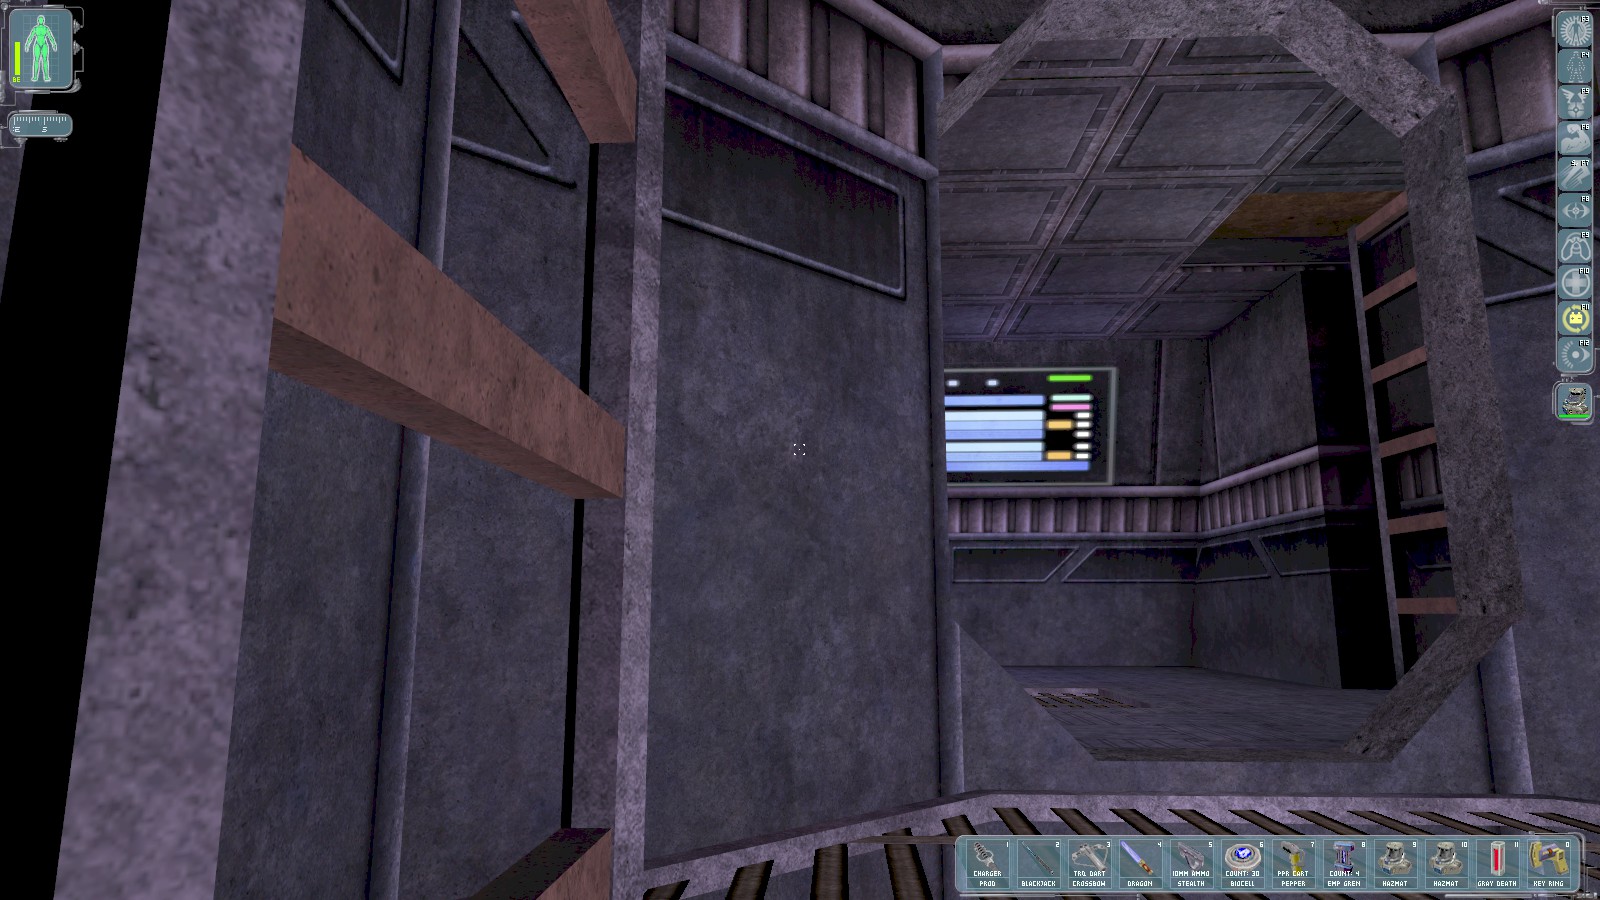
Back at the sub base retrace your steps, but stay crouched to avoid alerting the several troops still roaming. You may need to cloak over the walkway to avoid being spotted by snipers. Follow your nose up several ladders to the very top.
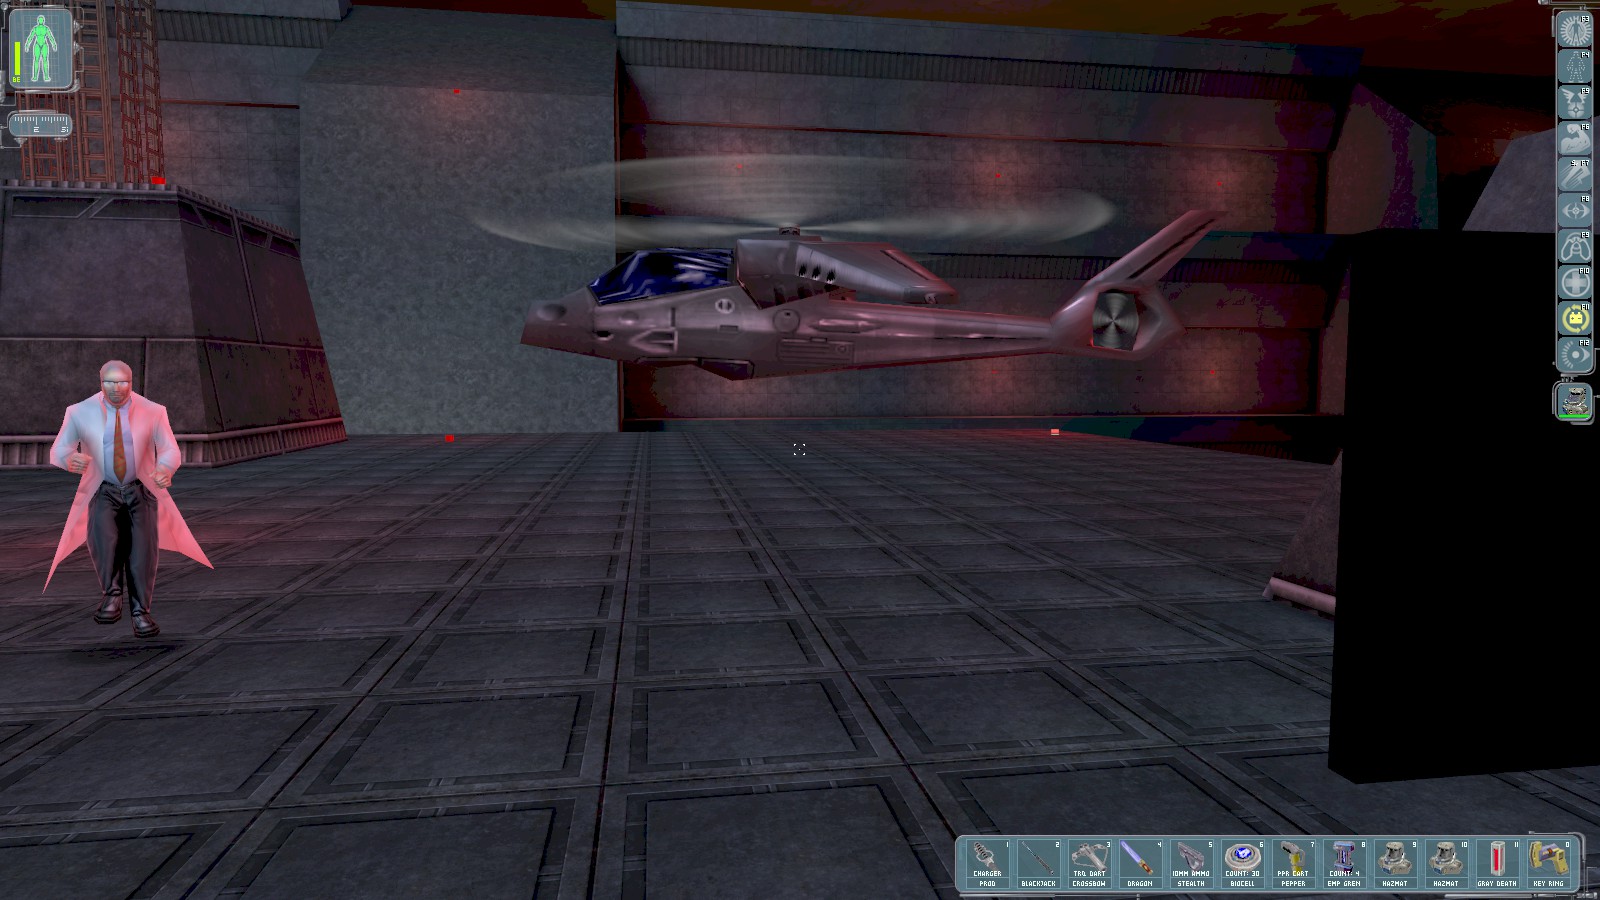
Gary Savage runs over to tell you that Page intends on just destroying the base with a missile launched from a silo nearby.
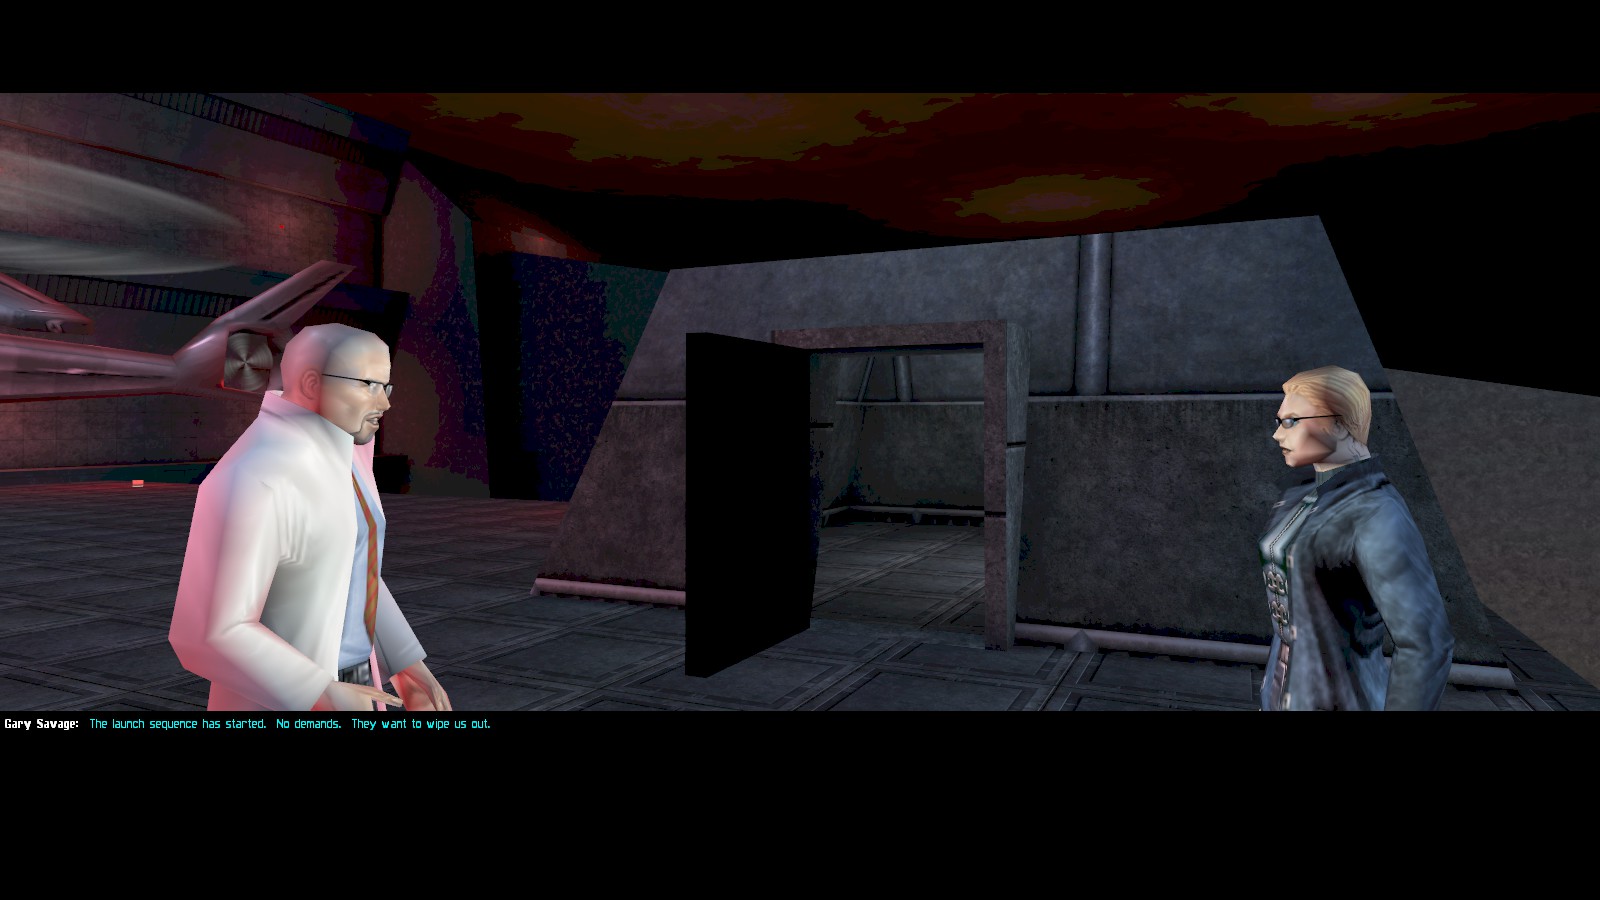
He also gives you an augmentation upgrade for saving Tiffany. Your next mission: abort the missile launch to save the Vandenberg complex.